paauto
-
Posts
173 -
Joined
-
Last visited
1 Follower

Recent Profile Visitors
3,728 profile views


paauto's Achievements
")
Enthusiast (4/11)
30
Reputation
-
Here's are a few pics of it put back together. Still need to finish up a few loose ends and then will take her for a test drive. BTW, i had previously installed LED rock lights on the lower B pillar trim and in the front seat foot wells. I tapped into Pin 23 on the BCM X1 connector to trigger a Beuler relay that energizes the lights. The Beuler relay has a turn off delay function so that the Pulse Wave Modulation signal coming from the BCM to fade the interior lights does not cause a normal relay to flutter on and off repeatedly.

-
On it!!
-
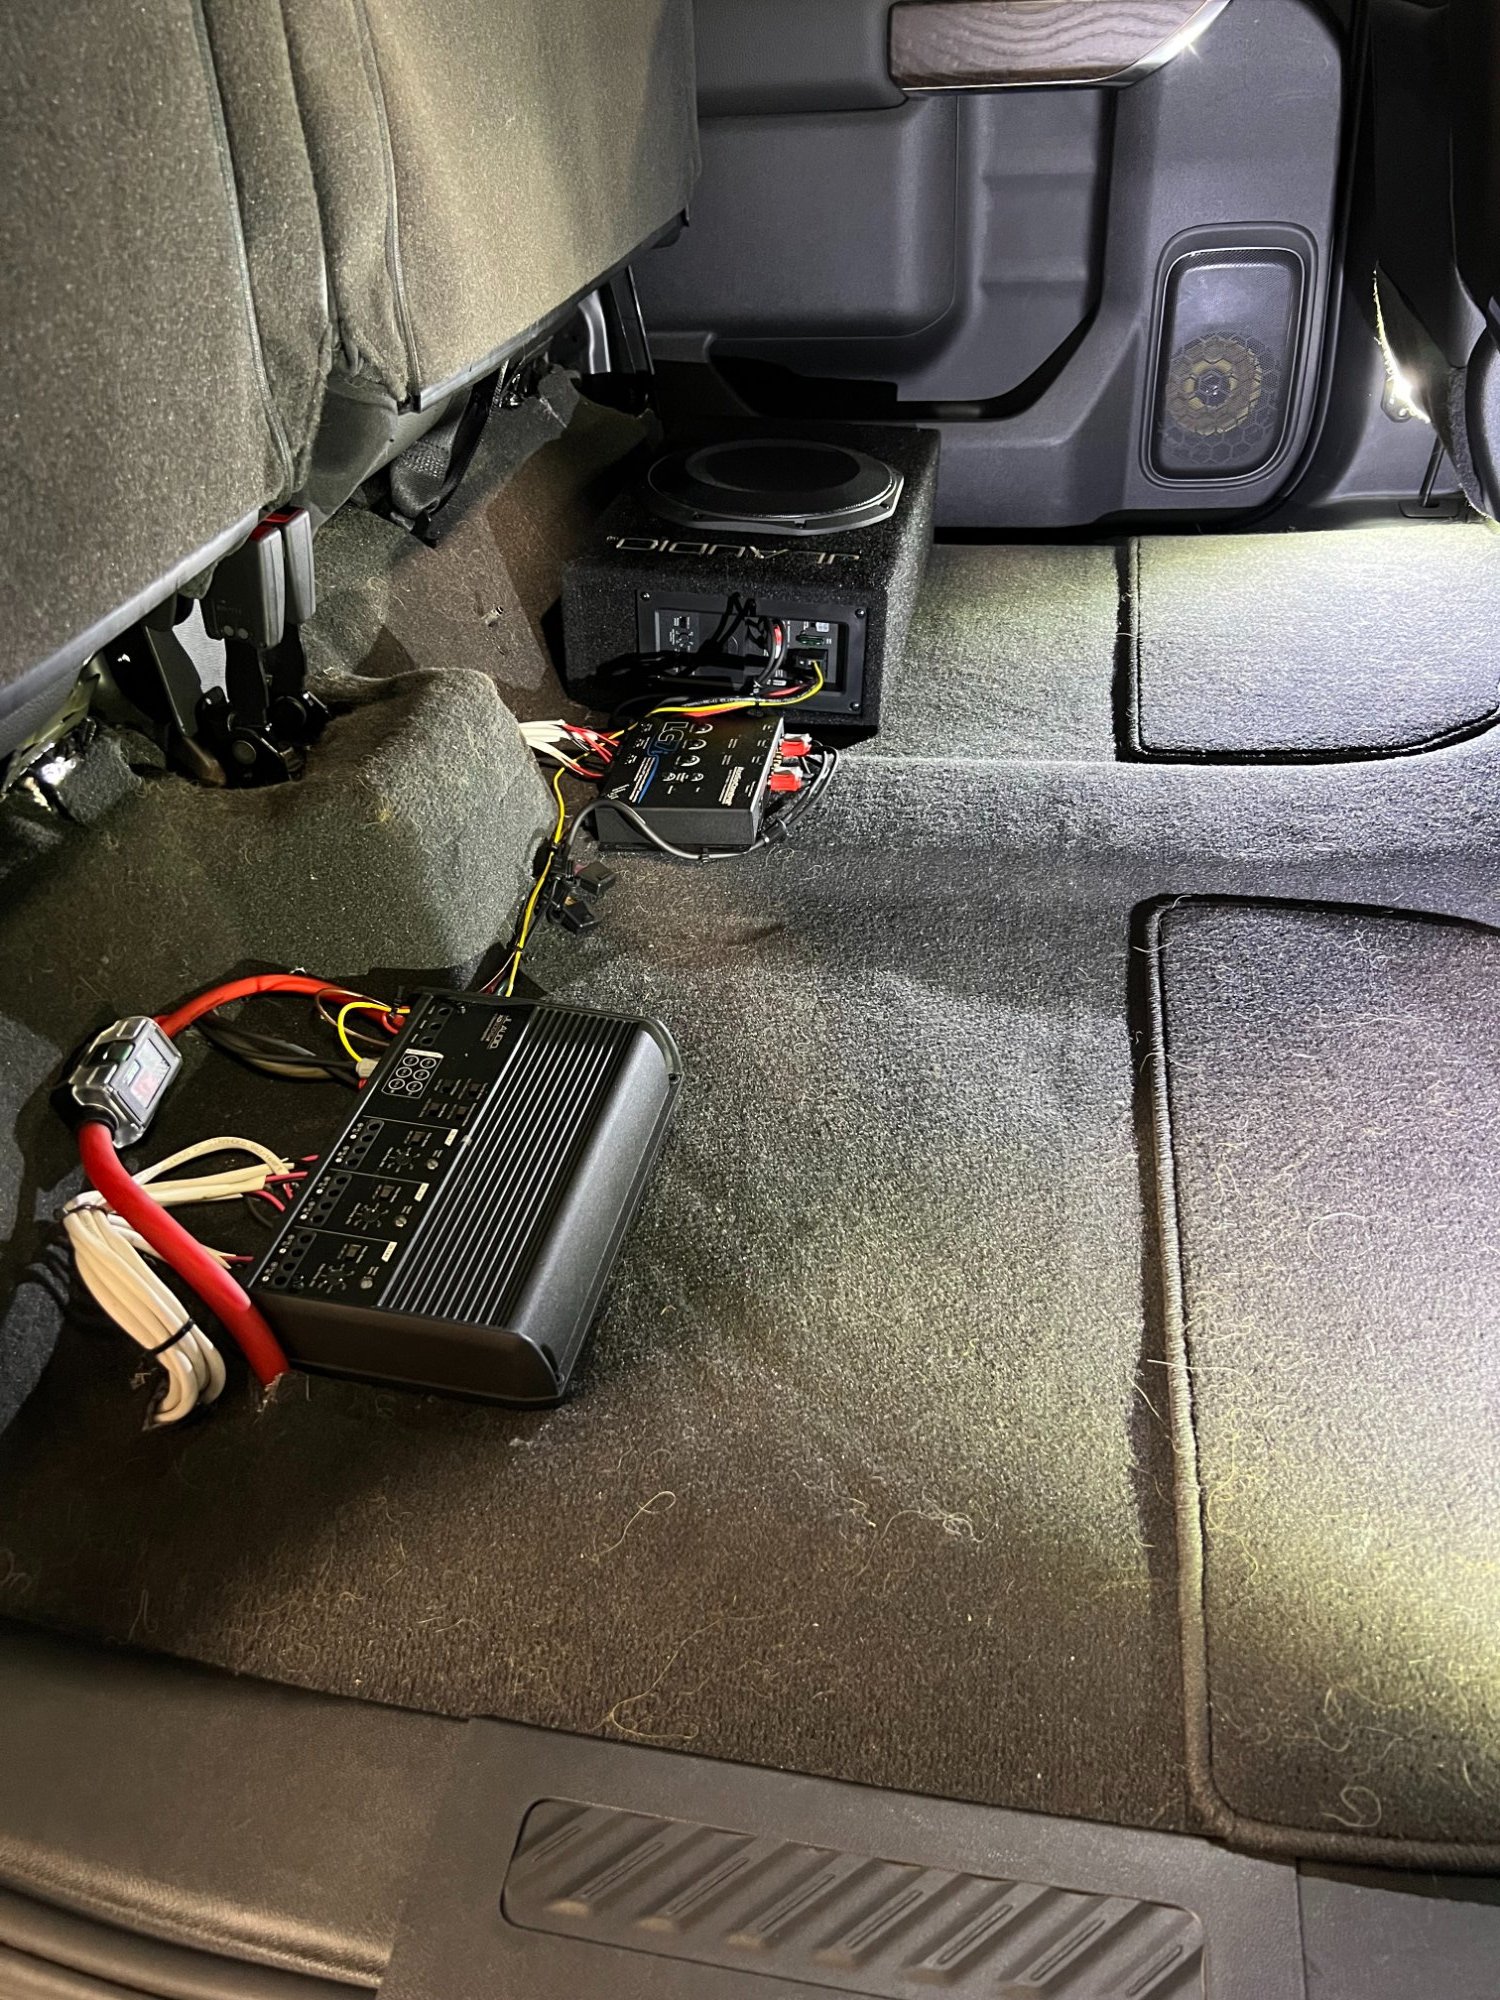
Running a 600w, 6 channel JL Audio amp to drive the rear & front doors and the dash tweeters. Also running a JL Audio 400w subwoofer. Door speakers are JL Audio C1 - 690x (front) and - 650x (rear). Tweeters are Kenwood Excelon KFC-X2C.
-
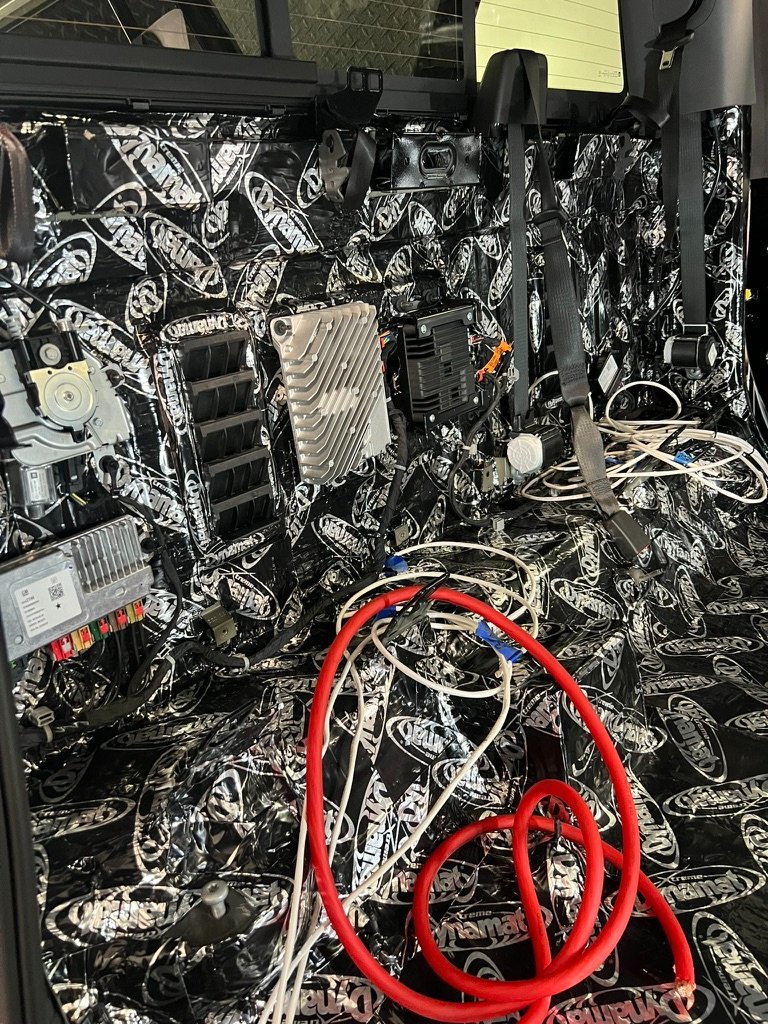
140 sq feet in total! Finished the back wall today - see picture. That was a PITA - had to remove all those electronics and pull the wires out of the way. Two amplifiers - 50 amp for the speakers / 30 amp for the subwoofer. I ran the cable under the truck along the factory harness and entered the cabin by drilling a hole and adding a grommet in the "knockout" on the passenger side floor under the back seat.
-
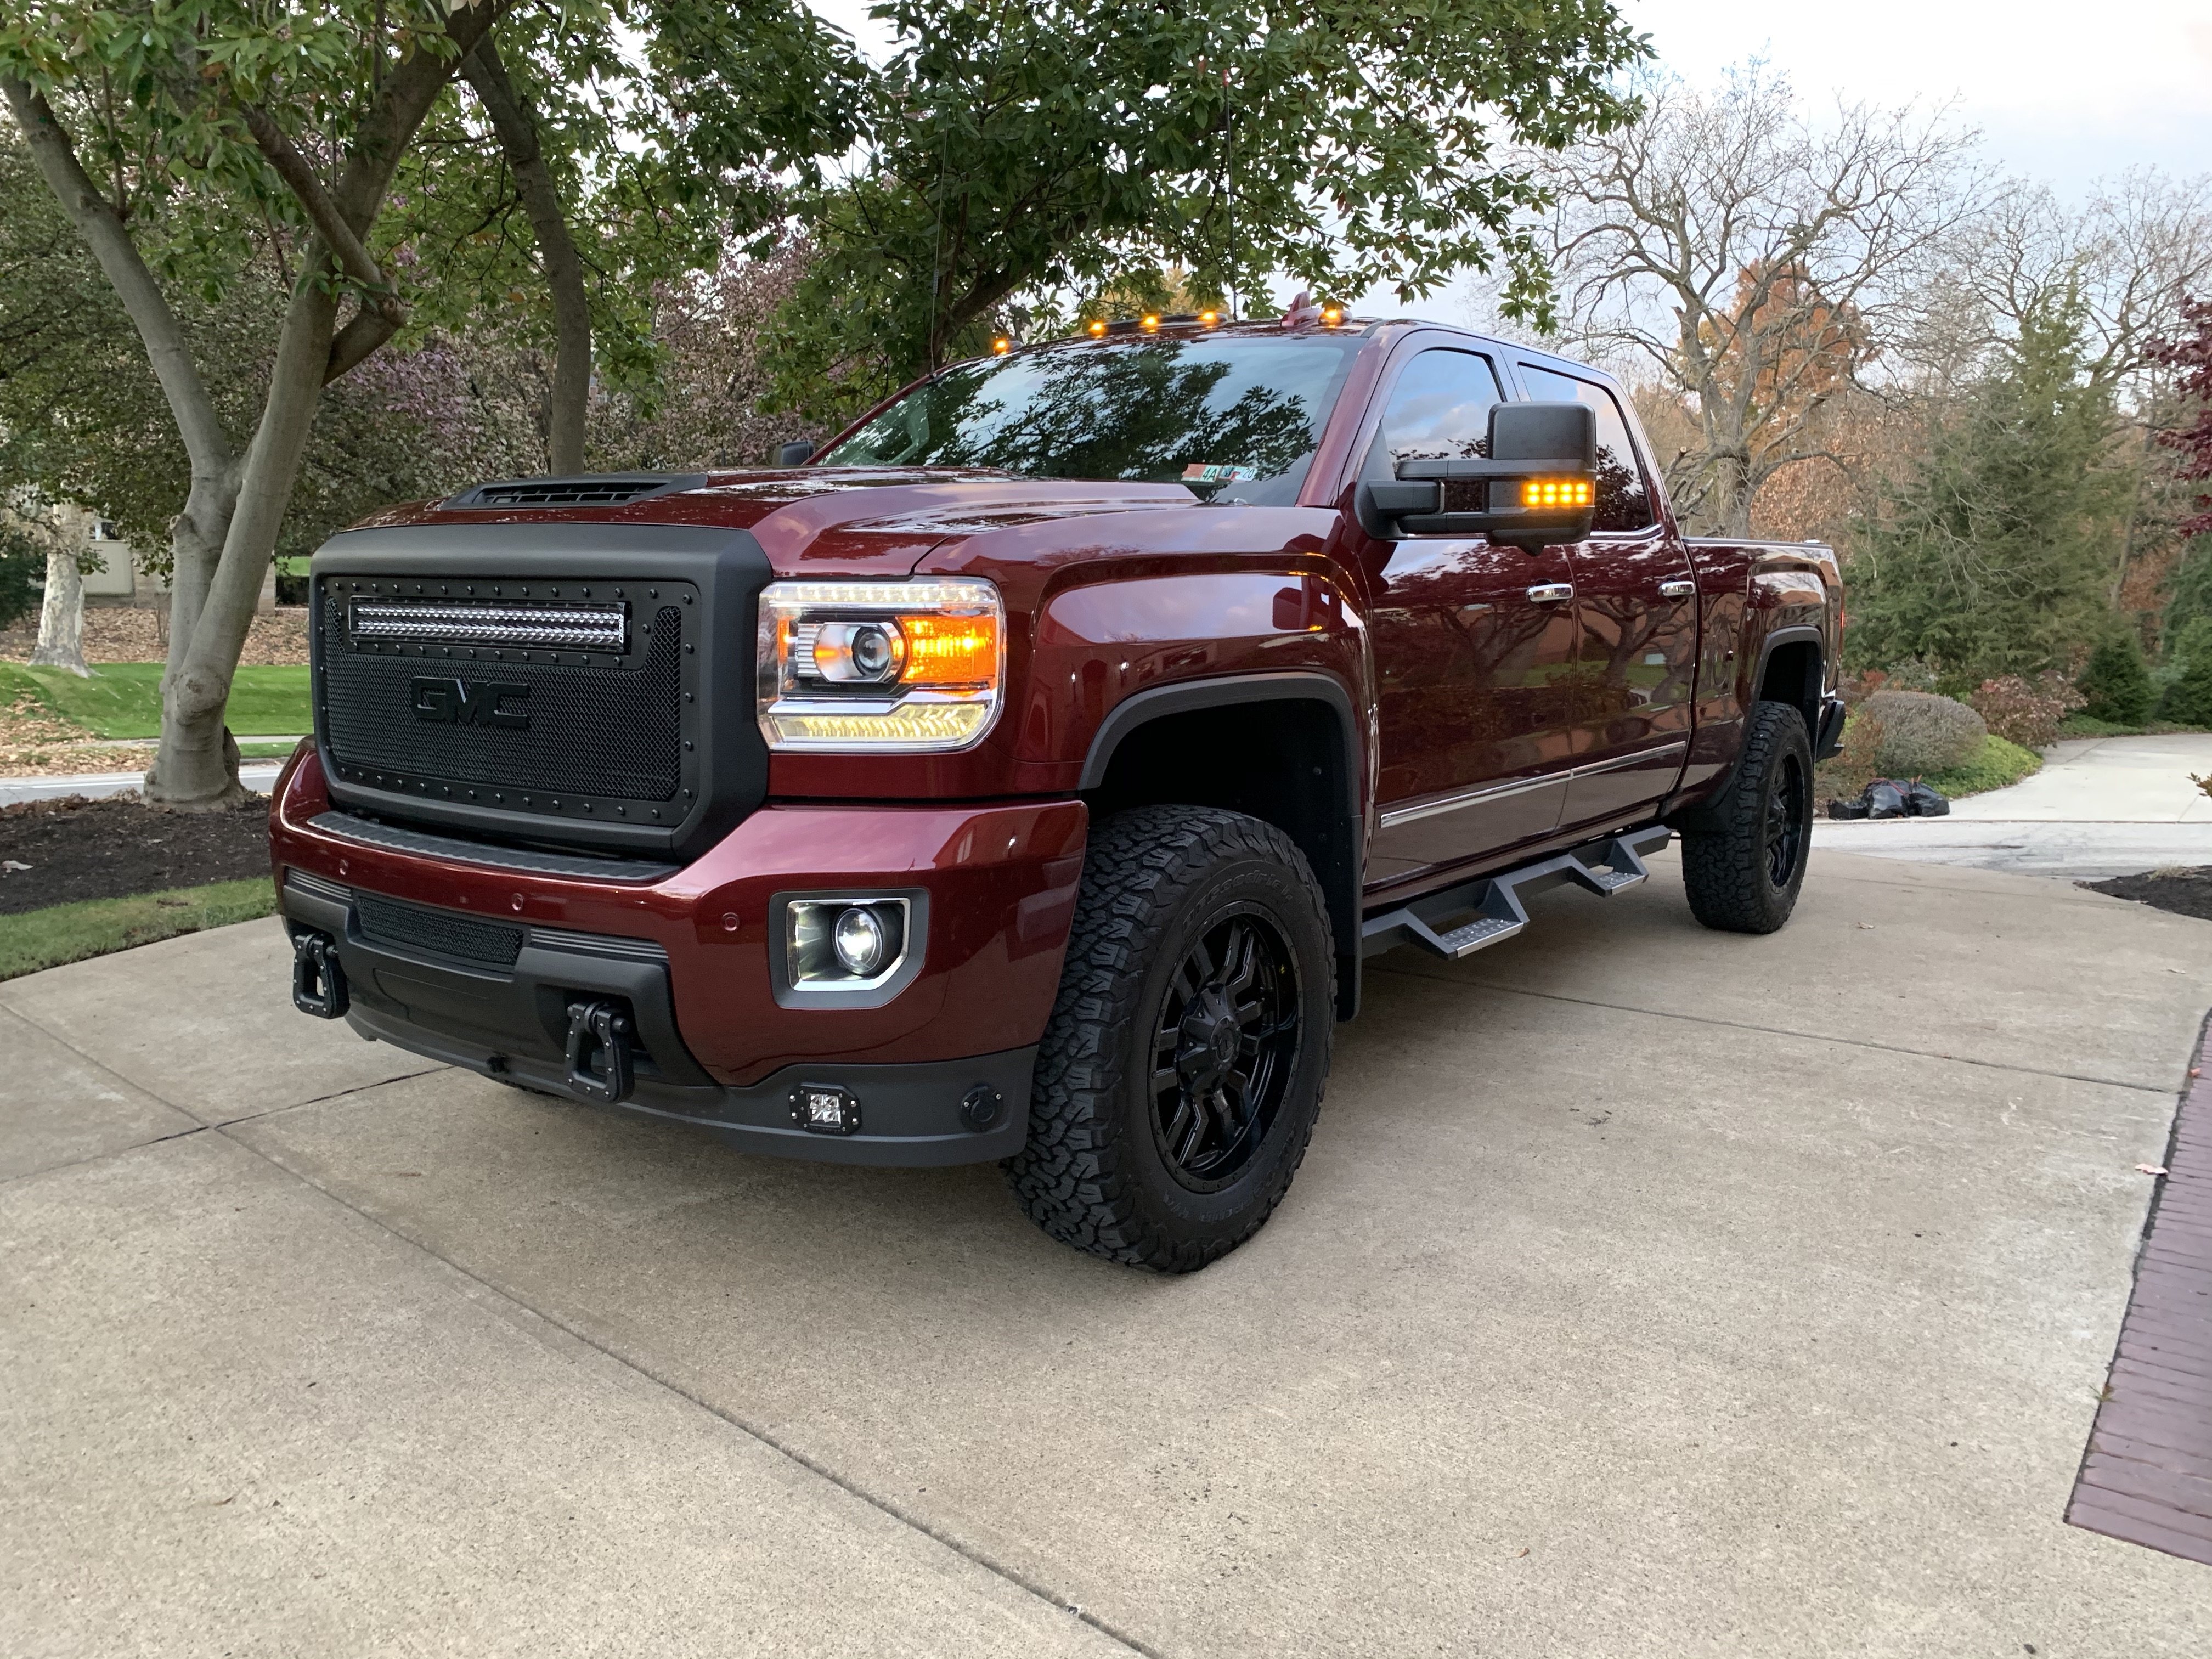
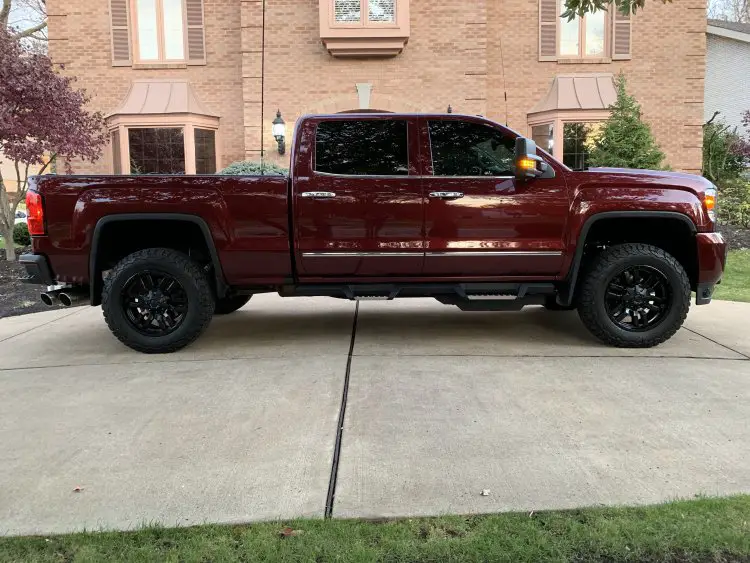
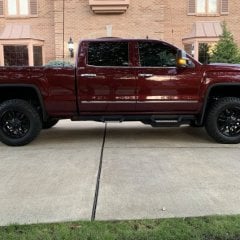
I've embarked on a new project to replace the stereo system in my 2023 2500. I've always liked to take things apart, so i started by removing the interior of the truck - A, B & C pillar trim, all seats, door cards, center console and removed all the panels on the dash. Thus far i have installed Dynamat on the door interior cavities and inner door skins and the floor. Still need to do the back wall of the truck and the pillars. I installed new JL Audio speakers in the doors and Kenwood tweeters in the dash and did a home run of 14 guage speaker wire to the back seat are where i will install an Audio Control LC7i signal processor (tapping into the factory amp for line signal), a JL Audio 6 channel AMP and a JL Audio subwoofer. I ran 1/0 gauge wire from the battery to the back seat to power this stuff. While i had her apart, i installed a Blackvue front & rear dash cam system and ran the controller for my rear AirLift air bag system to the dash. I also installed the Upfitter Auxillary Swithches and are using them to control other crap that I've installed on the truck. I plan on putting Dynamat on the back wall tomorrow and then putting her back together. 1B898CF7-64E2-4BA0-AF19-4883D7BDE35F.heic
-
Upfitter Switch Question
paauto replied to paauto's topic in 2020-2024 Silverado HD & Sierra HD Mods
Thank you Another JR! Finishing up my install this week. I went a tad overboard and removed teh entire interior of the truck. Seats, carpet, center console, etc. Putting a new stereo in and decided to DynaMat the doors, floor, back wall.... -
Upfitter Switch Question
paauto replied to paauto's topic in 2020-2024 Silverado HD & Sierra HD Mods
Thanks! I was checking the switches out today. When pressed, they don't seem to physically "latch", but seem to send a signal to the BCM. I guess i'll have to get it installed and see how they work when the ignition is cycled on & off & on again. Hoping that they will remember their previous state when cycled back on and don't default to "off". -
I am about to install the upfitter auxilliary switch kit on my 2023 Sierra 2500. Do the switches recall their status (on or off) from the last time the truck was shut off? I plan on putting a dash cam in the truck and would like to power it from one of the aux switches. Do i need to turn the switch on everytime I start the truck or will it remember that it was on when i i shut it down? thanks.
-
Footwell lights 2022 refresh Silverado
paauto replied to RedLT's topic in 2019-2025 Chevy Silverado & GMC Sierra Mods
I think that should work. That's circuit 4786. Check out page 2-32 for the schematic. I looked thru all the BCM plugs and don't see anything more specific for the dome lights. Let us know!- 75 replies
-
- 1
-

-
- Footwell light
- 2022 refresh
- (and 1 more)
-
Footwell lights 2022 refresh Silverado
paauto replied to RedLT's topic in 2019-2025 Chevy Silverado & GMC Sierra Mods
You'll want to use the "Delay-Off" version. For my 2023, I am hooking the trigger up to Pin 23 on the first plug (X1) on the BCM. This controls the "Dome Lights". The wire color is gray. In the 2023 up fitter manual, you can find it on page 6-308. PM me if you want me to send you the manual. I'm still in the process of installing. I put the lights in today (for the back row, I put them at the bottom of the B pillar and for the front I put them at the top of the kick panel. On my 2017 I installed footwell lights and tapped into the equivalent pin as above. At first I used a standard relay. I learned, though, that the dome lights "fade" off. The BCM uses PWM (pulse wave modulation) to accomplish this. Essentially, it rapidly cycles the circuit on & off at varying frequency to dim the lights to the off state. A standard relay will turn on & off as the PWM kicks in, essentially flashing the footwell lights on and off. The Bueler delay off relay provides for a delay once the trigger power (i.e., the dome light PWM circuit) starts to fade to off. Even a 5 second delay will "ignore" the PWM issue described above with a standard relay. Hope this helps.- 75 replies
-
- 1
-
-
- Footwell light
- 2022 refresh
- (and 1 more)
-
Footwell lights 2022 refresh Silverado
paauto replied to RedLT's topic in 2019-2025 Chevy Silverado & GMC Sierra Mods
I'm in the process of installing footwell lights. On my 2017 I used the following relay, which allows for an adjustable "off time". I initially used a standard relay, but it pulsated on and off due to the PWM feed off the BCM. The Beular relay fixed this by holding the relay on for 5 seconds. It only requires 8 volts to trigger. Going to try this on my 2023 Sierra... https://www.qualitymobilevideo.com/bu510td.html?gclid=CjwKCAiAzKqdBhAnEiwAePEjkqSzrm9emtUhz0gqI-MJDodizLSS_FPZAVijfTnmT94-Gocj82c8jRoCC-QQAvD_BwE -
recommend a good aftermarket audio system
paauto replied to 94yj's topic in 2015-2019 Silverado HD & Sierra HD
Check out Crutchfield.com. I've bought a lot of home and car stereo stuff from them. They have great customer service - will get on the phone with you and help you figure out exactly what you need and also how to install it. -
Blower motor hush panel? loose
paauto replied to nnklem's topic in 2015-2019 Silverado HD & Sierra HD
Take a look at the attached link - looks like there are four screws that hold this in place. I don't know what the screw size is though. https://www.gmpartscenter.net/auto-parts/2017/gmc/sierra-2500-hd/denali-trim/6-6l-v8-diesel-engine/body-cat/instrument-panel-components-scat You'll need to remove the trim piece on the side of the center console (that piece that looks like a sideways "L") to get to the screws on the left side of the hush panel. To get the "L" piece off, you'll need to remove the center cup holder assembly first. To do that, open the center console and use a trim removal tool to lever the piece up at the back where the door comes down (there's a ~3/4" area on both sides that the door covers when closed - wedge the tool in there). It just pops up (bunch of clips around the periphery). Once you have that off, you simply pull the "L" piece straight toward the passenger door and it will pop off as well. You'll see why you need to remove the cup holder assembly to get the "L" off - there is tab in the cup holder that slides into the "L up by the radio. Probably more info than you need... -
Monitoring system for the L5P
paauto replied to 1BATES's topic in 6.6L (LML/L5P) & 6.0L (L96/LC8) Tech
It will work. I use one on my 2017, although I'm in the process of upgrading to the CTS3 once I build a new console to house it. -
I control the light bar via a pneumatic foot switch that I placed on the dead pedal. I bought it from Pressair if anyone is interested. I hit my limit on photo uploading so am unable to post the picture. If interested you can navigate to: https://paauto.weebly.com where I've posted a bunch of pics of my mods to the truck and the wiring diagram. I've made a bunch of additions/changes since I posted those pics, but you'll get the drift. In any case, I wired a master switch (located in the center console) in series with the light bar foot switch so I can be assured all power is cut to the light bar and it's not inadvertently switched on (i.e. by my 17 y/o daughter who loves to drive the truck with her friends!).


-
Forum Statistics
246k
Total Topics2.6m
Total Posts -
Member Statistics
333,593
Total Members8,960
Most Online
-
Who's Online 30 Members, 0 Anonymous, 1,991 Guests (See full list)