

starbuck62a
-
Posts
12 -
Joined
-
Last visited
Content Type
Profiles
Forums
Gallery
Events
Articles
RPO
Store
Blogs
Everything posted by starbuck62a
-
Hellwig 7735 rear sway bar install
starbuck62a replied to mikepol2's topic in Modifications & Accessories
Its been 6 years with the 7735 installed on my truck and I've driven about 2500KM. I wash the underside annually and the rest of the truck is starting to show the normal GM rust on the frame rails and axle housings. I'm pretty disappointed in what the Helwig looks like. All of the coatings on the sway bar and brackets as well as endlinks is totally rusted and flaked off. For what I paid for this sway bar I would have expected much better quality. -
So are you saying that the 5100 is a superior shock over the 4600 on a totally stock 2016 sierra CC Z71?
-
After adding the shackle kit, is the bump stop now closer to the axle because of the drop?
-
Hellwig 7735 rear sway bar install
starbuck62a replied to mikepol2's topic in Modifications & Accessories
I looked on their website and it appears that you can get a kit with longer endlinks, I believe it is #7886. Check the online catalog or phone them. -
Hellwig 7735 rear sway bar install
starbuck62a replied to mikepol2's topic in Modifications & Accessories
I dont think it will fit with 3" blocks as this would increase the distance between the axle and the tubular cross member by about 2". There is not enough thread in the endlink to extend it by any amount. If you were to lower the truck by removing the spacer it would be fine. -
Hellwig 7735 rear sway bar install
starbuck62a replied to mikepol2's topic in Modifications & Accessories
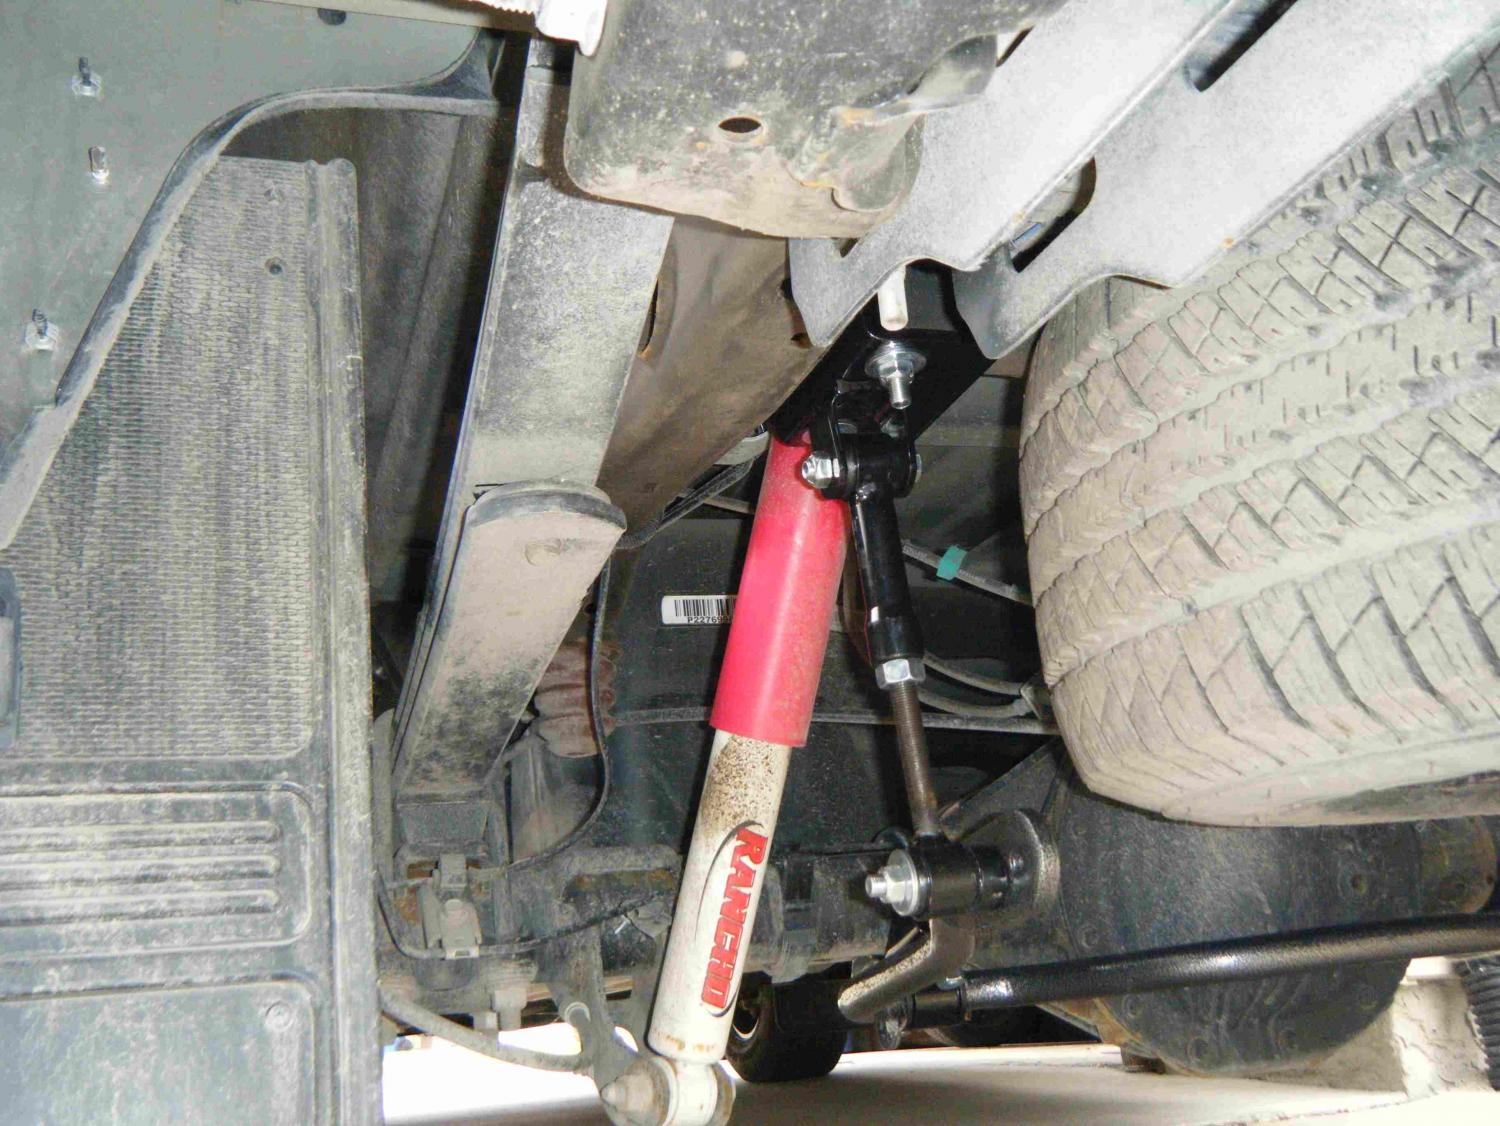
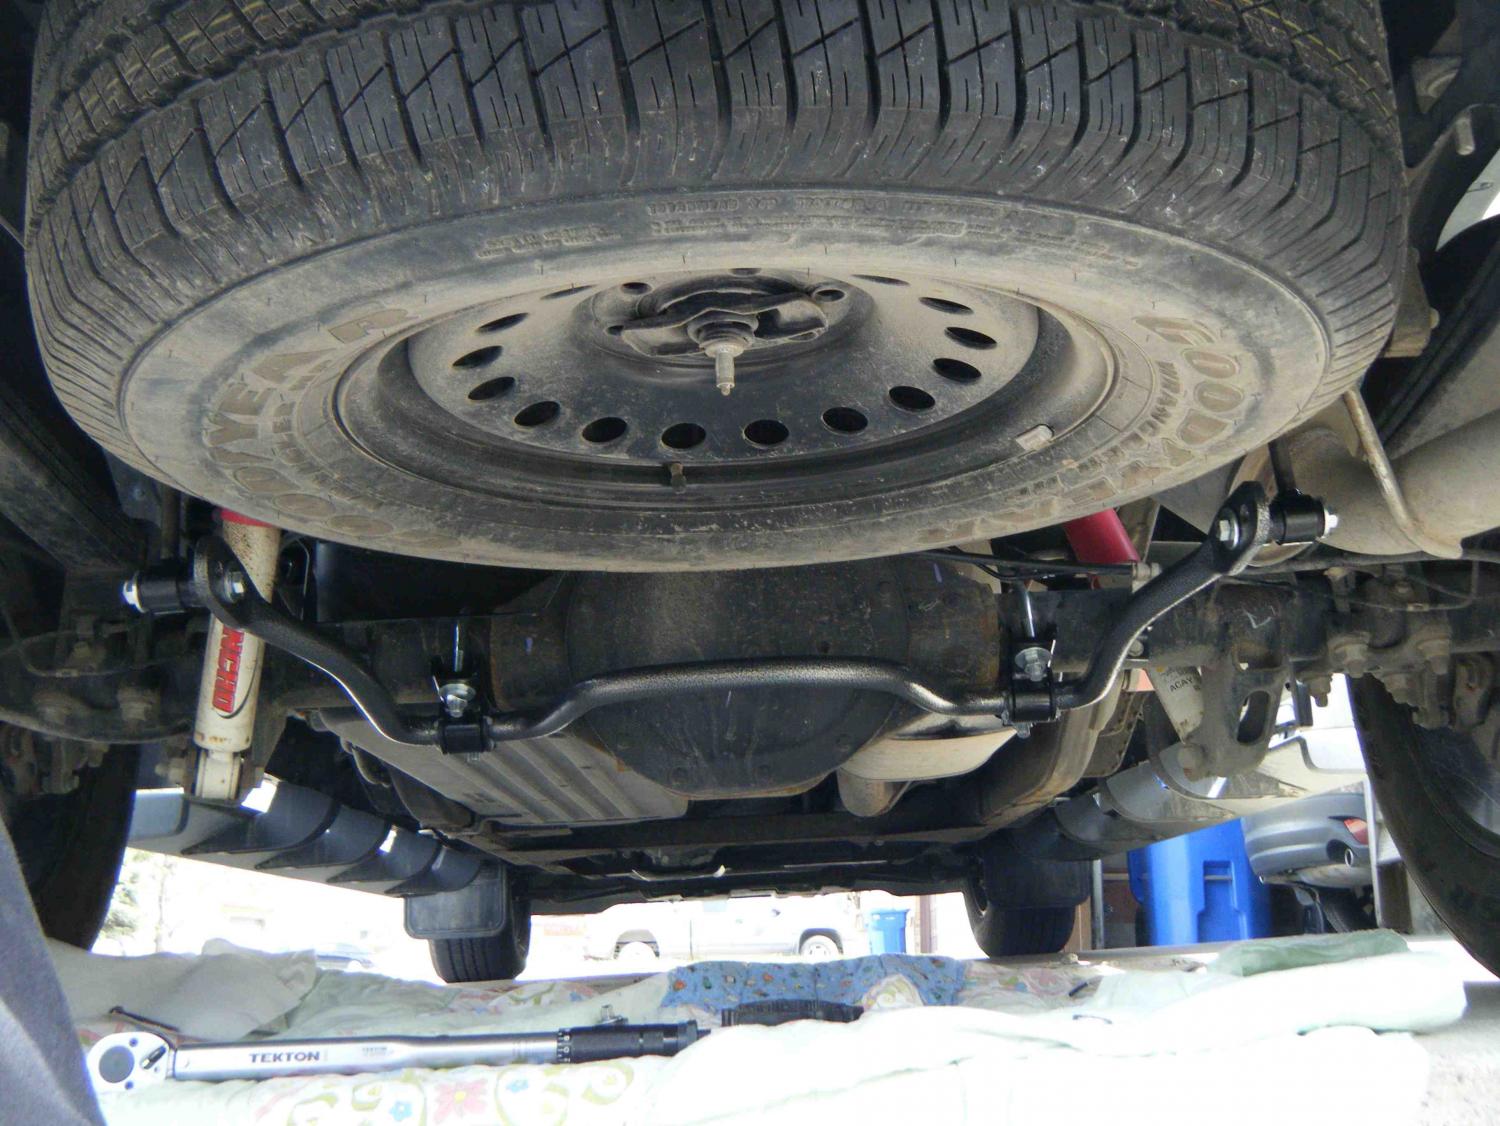
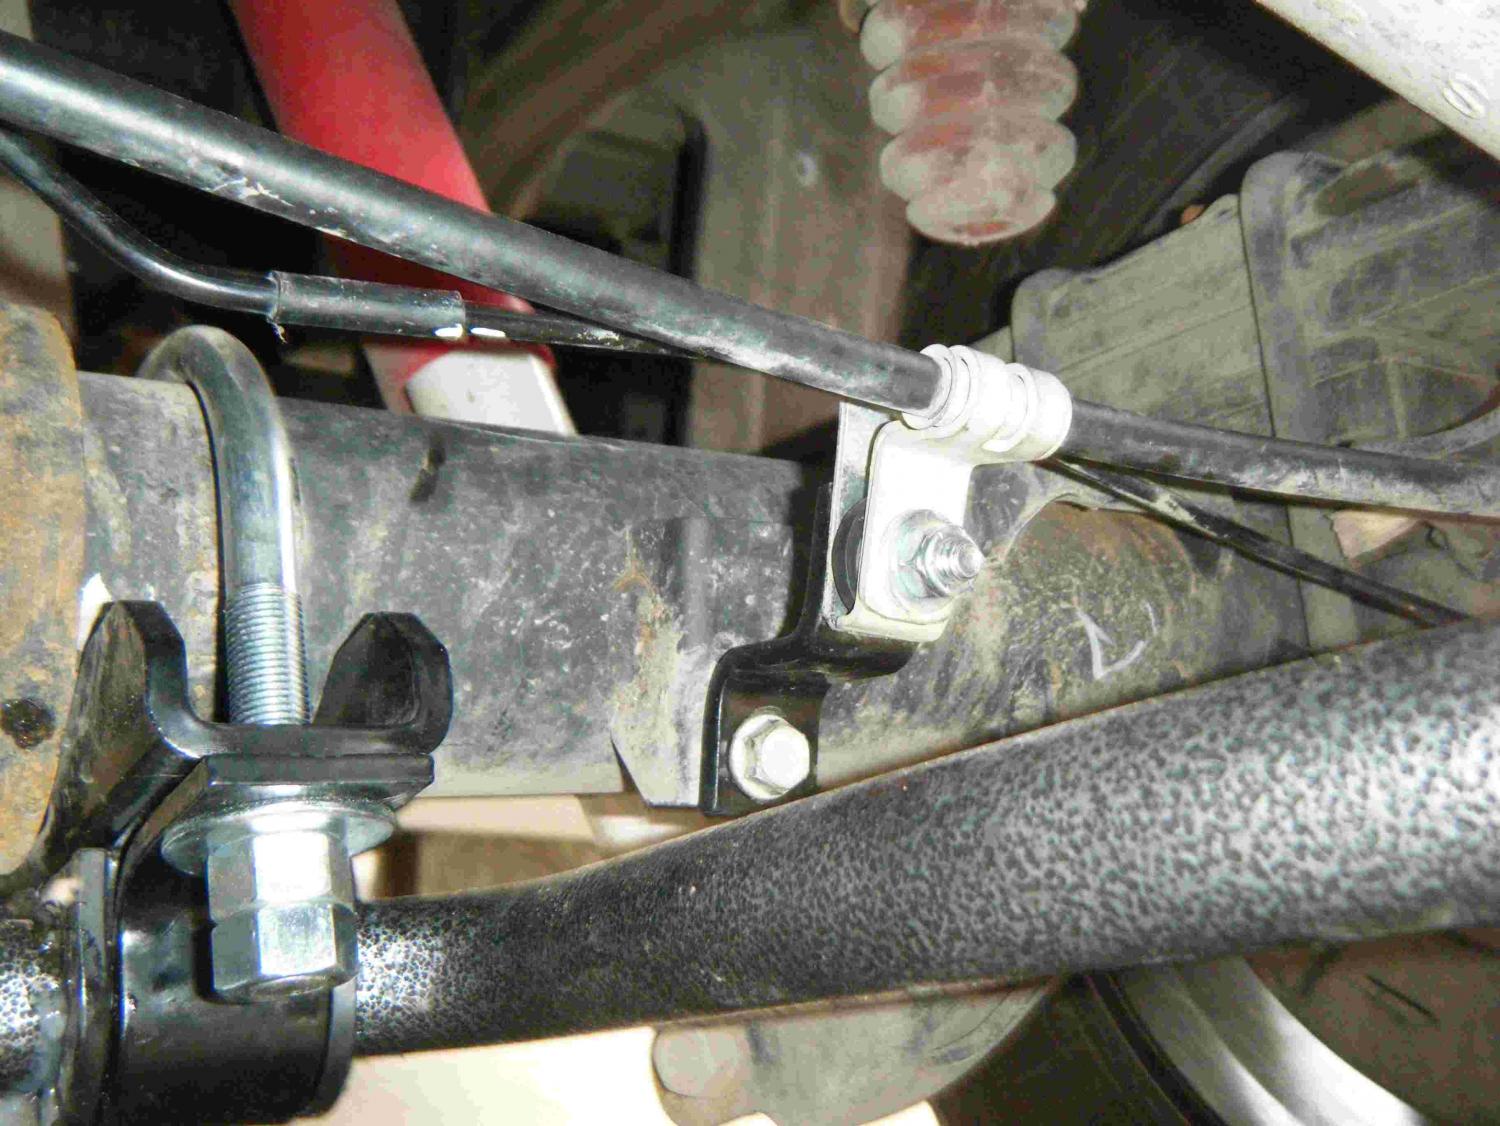
Here are are pics of the end-links and sway bar installed.
-
Hellwig 7735 rear sway bar install
starbuck62a replied to mikepol2's topic in Modifications & Accessories
I installed a Hellwig 7735 on my 2016 Sierra 6.2L crew this weekend. Here are some notes I think you may find helpful. These notes are not a replacement for the instructions supplied with the sway bar kit! 1. I did mine in the driveway on my back, very uncomfortable. If you have ramps or a drive-on lift it will be much easier. I did not remove the spare. 2. Besides the obvious sockets and box wrenches, the following are required: 11/16" and 3/4" deep sockets for u-bolts, 12" ratchet extension (2 x 6" works well), side cutters, torque wrench, some pieces of wood if you are doing it on a flat surface by yourself. 3. First thing you need to do is remove the axle-diameter sized plastic clip that holds the brake line on the passenger side next to the differential. If you remove this band it is easy to align the bar so it is evenly positioned. I could not get it lose so I used side cutters to careful free the brake line. 4. The instructions suggest the brake line/parking brake bracket should be relocated and with the band removed it is a good idea. A few extra washers were required to make the connection sturdy. Be very gentle when moving the brake line as you don't want to bend it. You now have lots of space for the sway bar bracket. 5. I pre-assembled the end-links including attaching the upper clevis brackets. If you do this, it makes the end-link assemblies easier to install and you won't have problems with torquing the clevis/end-link bolt after it is installed. Remember to use a little of the the supplied lubricant within each end-link loop before pressing/hammering in the hourglass bushings. This allows them to be inserted easier and allows the end-link to move more freely after assembly. 6. Make sure the U-bolts are under any brake lines, hoses or wires. The tubular cross member above the spare tire has hidden wires attached to it that can't be seen from below. The passenger side is easily avoided but the driver side wire is tighter to cross member and could be easily pinched. The axle brake lines are very visible. 7. Attaching the sway bar to the axle can be awkward if you only have two hands. I did mine on the driveway so I used some wood to prop up the sway bar so I could easily connect the bar at the point where the D-shaped poly-bushings attach to the axle and the saddle brackets. Make sure you lube the D-shaped poly-bushings well where they clamp around the sway bar. You don't want any squeaks. 8. I attached the end-links to the center hole of the three holes on the sway bar end. Because my sway bar was perfectly centered over the differential I had to use the longer bolts and the spacers, one on each end-link. 9. I had no trouble torquing all the supplied hardware to 35 ft lbs.


-
Forum Statistics
250.4k
Total Topics2.7m
Total Posts -
Member Statistics
342,855
Total Members8,960
Most Online
-
Who's Online 4 Members, 0 Anonymous, 663 Guests (See full list)