

semonscj
-
Posts
21 -
Joined
-
Last visited
Recent Profile Visitors


semonscj's Achievements
")
Enthusiast (2/11)
10
Reputation
-
Light bar and active shutters
semonscj replied to semonscj's topic in 2014-2018 Silverado 1500 & Sierra 1500
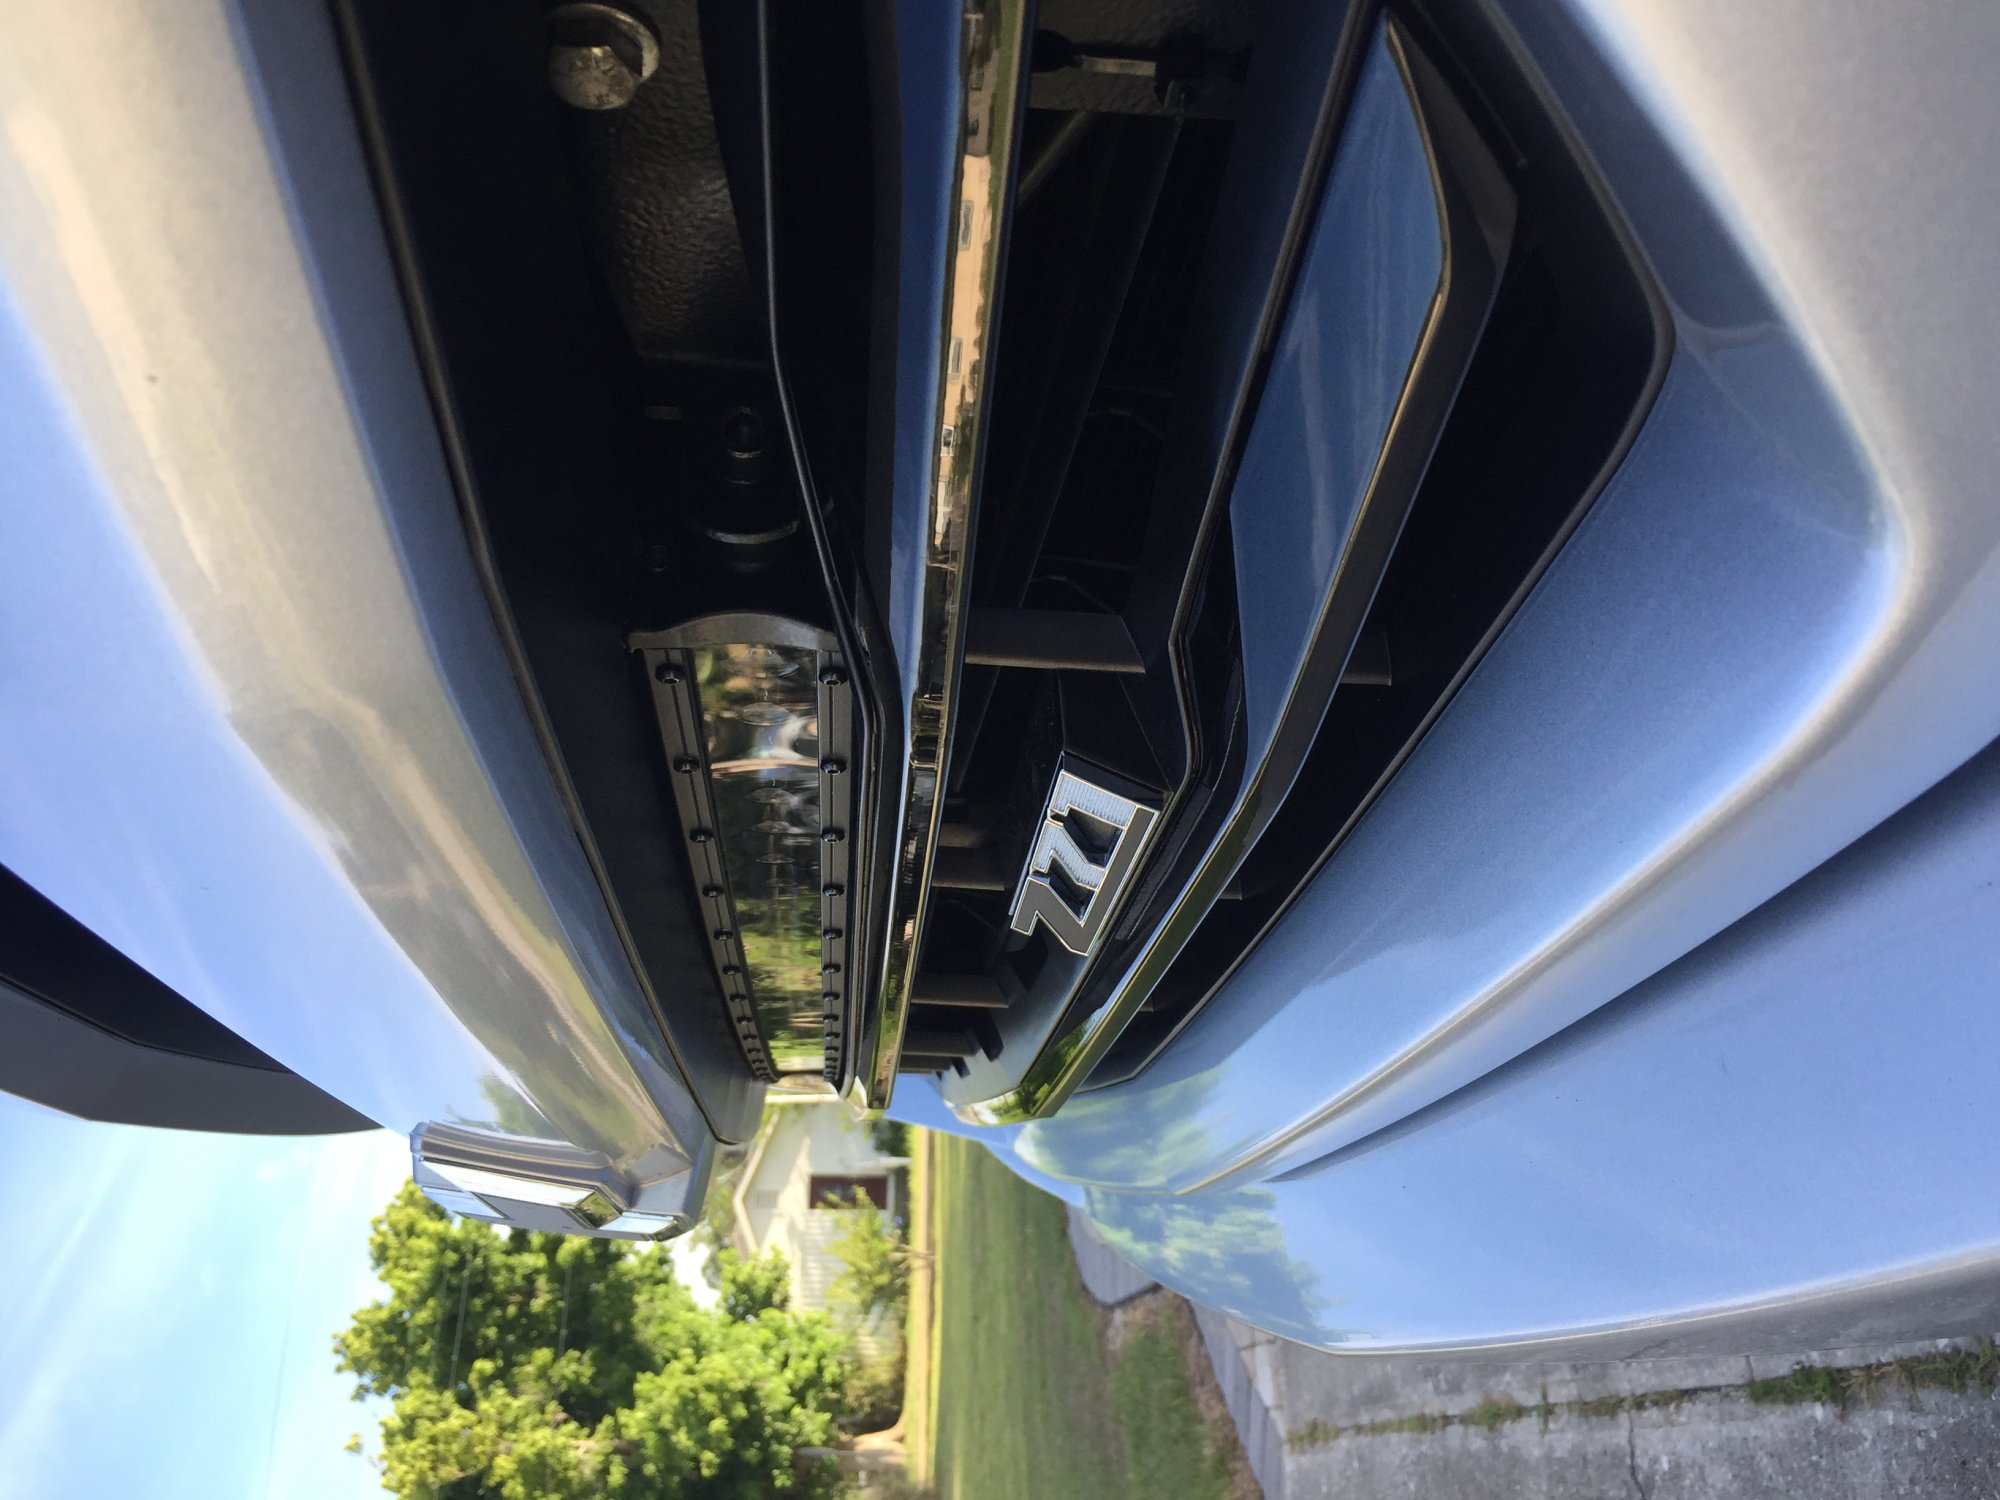
Yes. All the vertical slats had to be cut. If you zoom in on the picture above you can see what I cut. I used 1/2 inch spacers to clear the active shutters but still had to cut 2 of them where the light bar dips back on the outer edges -
Light bar and active shutters
semonscj replied to semonscj's topic in 2014-2018 Silverado 1500 & Sierra 1500
On the website in the search area type bolt led. They are the 12 mm -
Light bar and active shutters
semonscj replied to semonscj's topic in 2014-2018 Silverado 1500 & Sierra 1500
Also just put my tow mirrors on
-
Light bar and active shutters
semonscj replied to semonscj's topic in 2014-2018 Silverado 1500 & Sierra 1500
Made the brackets out of 1/4 inch plastic -
Light bar and active shutters
semonscj replied to semonscj's topic in 2014-2018 Silverado 1500 & Sierra 1500
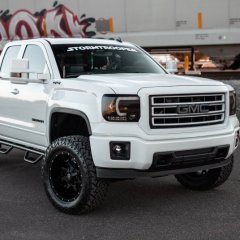
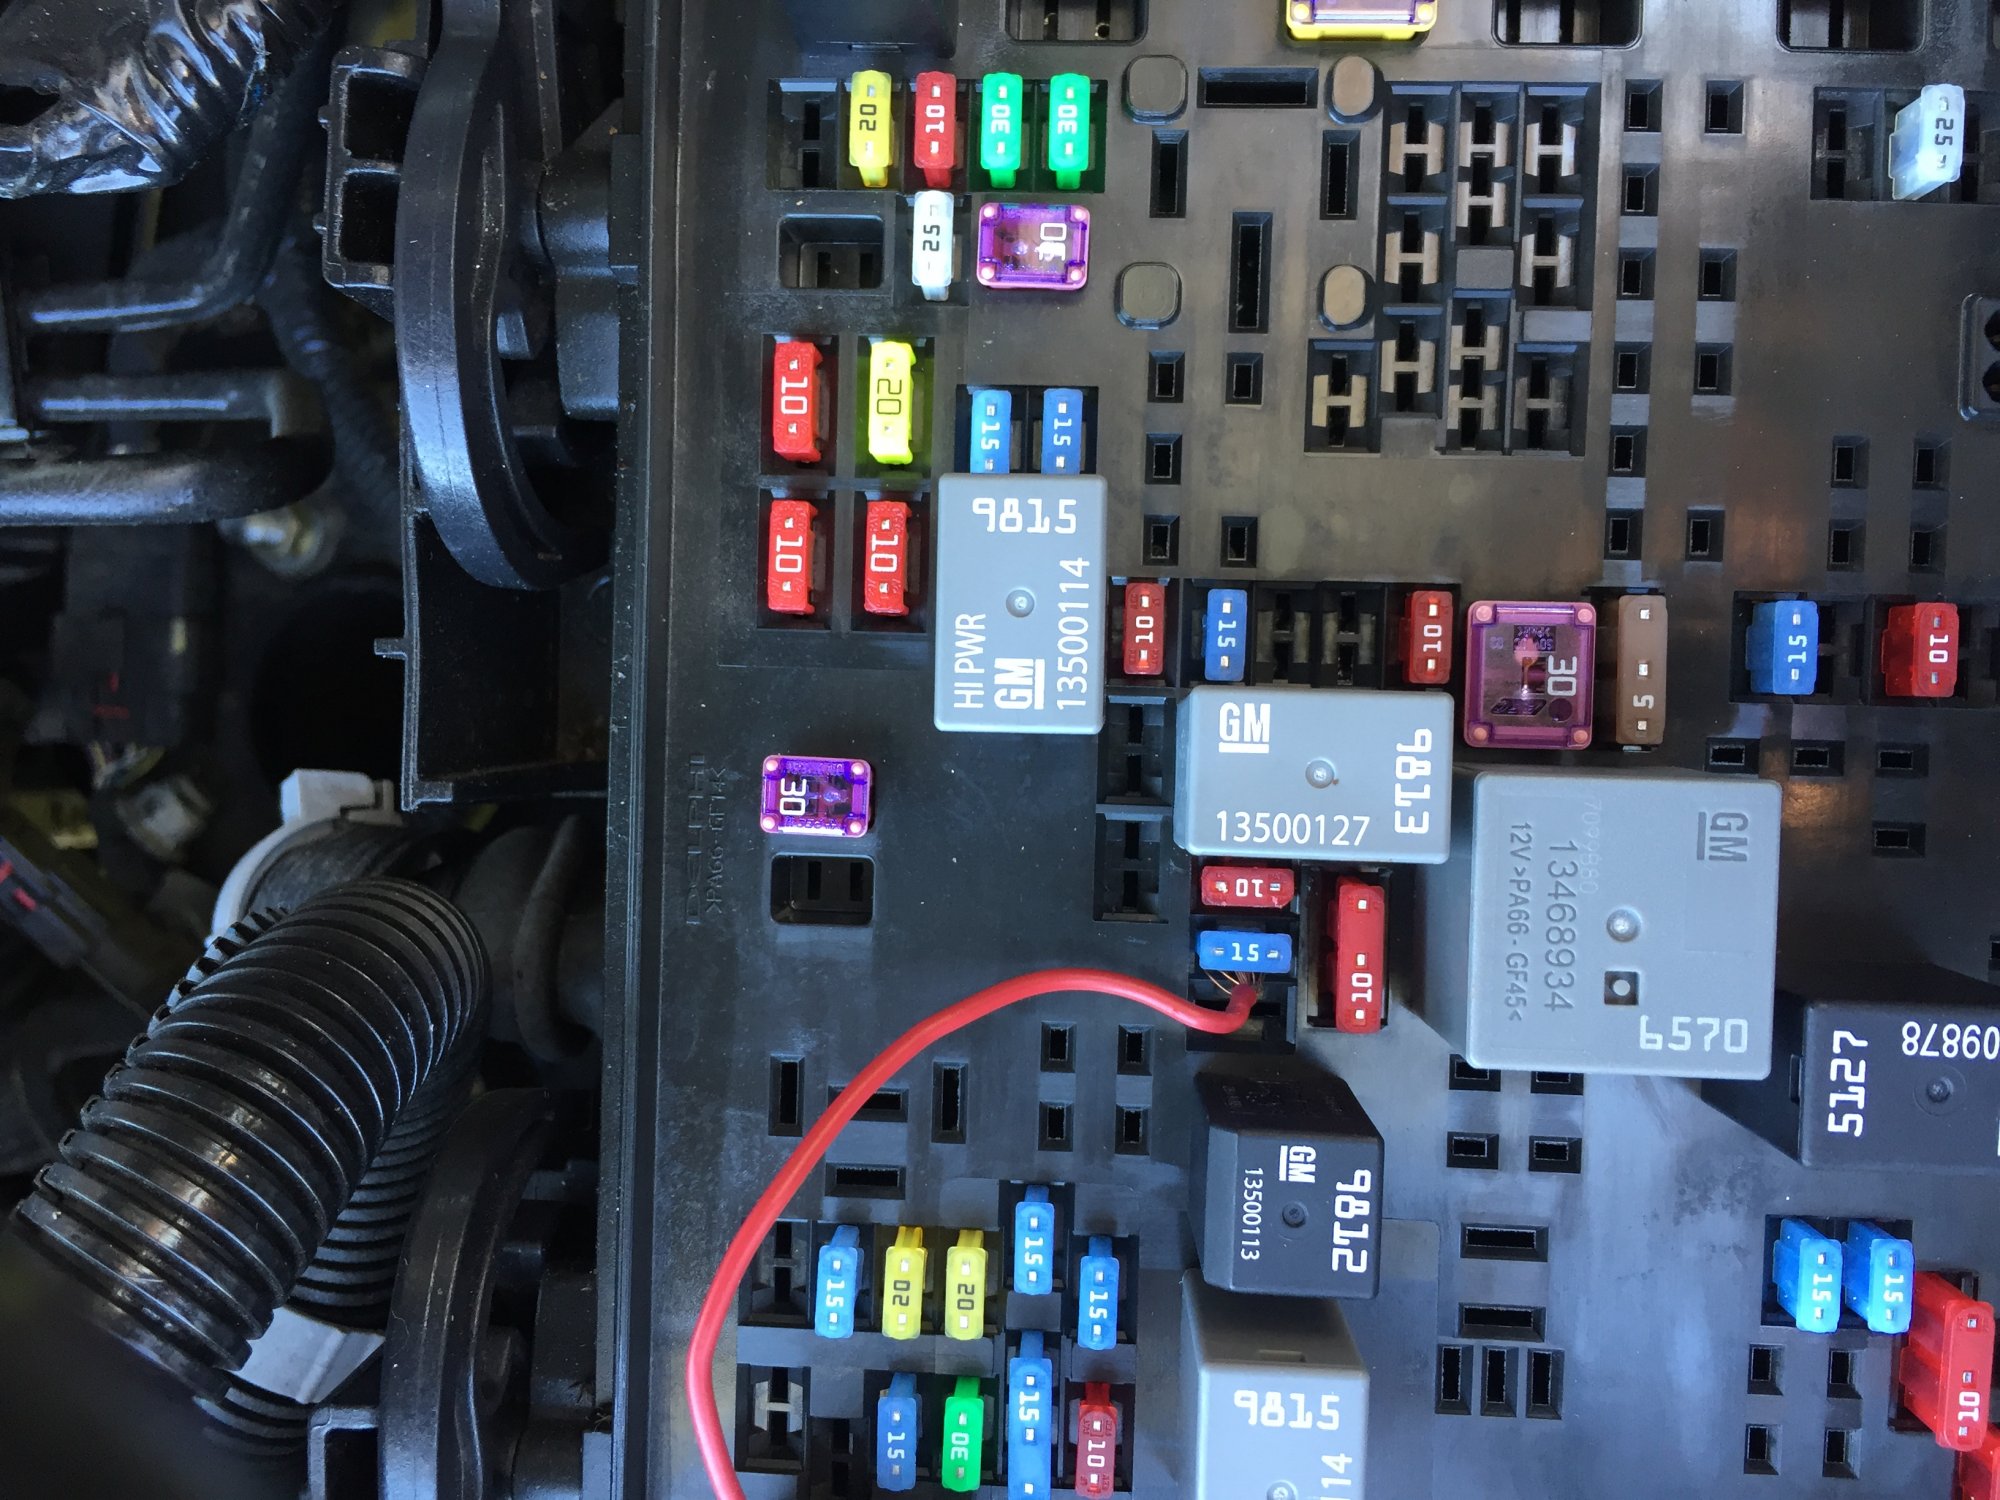
I got the led lights from superbrightled.com. They are the bolt ones. I think 10 or 12 mm. I fabricated the mounting brackets and jb welded them to the grill. I wired them up to the fuse box to come on with the daytime running lights -
Raptor-Style Amber Grill Lights
semonscj replied to Western96's topic in Modifications & Accessories
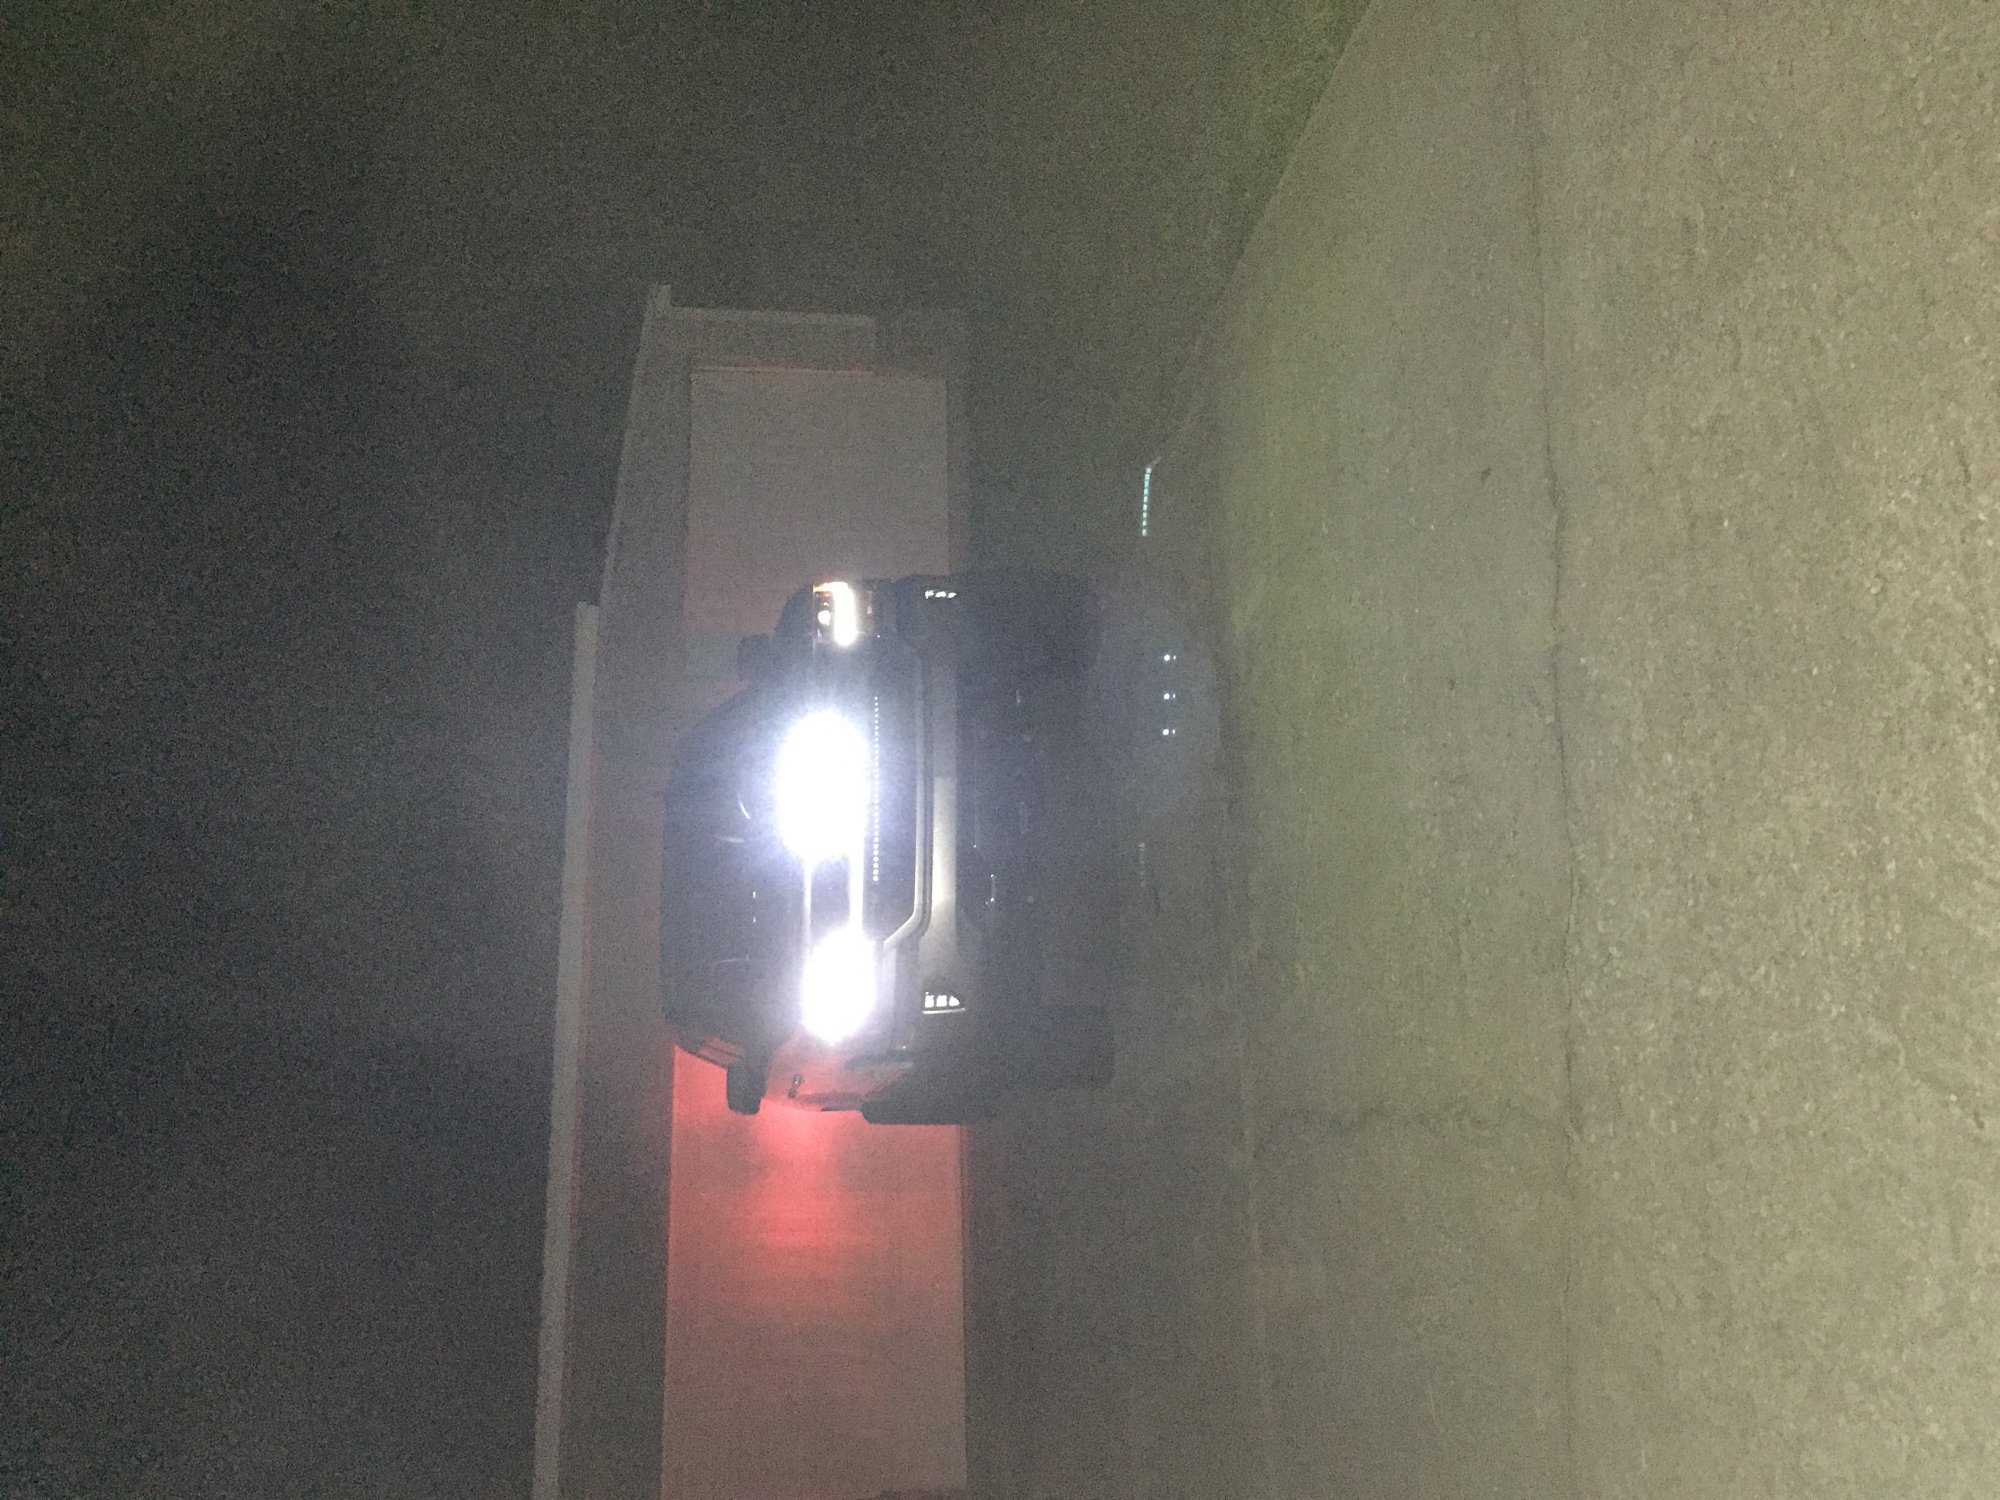
It’s the angle. They’re a lot bright than they look in that pic. They don’t give you any usable light. But they do look good. Not a very good pic of them. You’ll be happy with them. I recommend ordering a couple extras for spares. I’ve had 2 burn out in 2 years. Also when you tighten them down. Put some silicone on the nuts so they don’t come loose. I’ll get a better pic and post. Post some of yours when you get it done
-
Raptor-Style Amber Grill Lights
semonscj replied to Western96's topic in Modifications & Accessories
Tapped into fuse #40. Says it is trans ign (15a). The one you are holding are the ones I got. That looks like a good place to mount them. I’ll get a pic at night when it gets dark out and post
-
Raptor-Style Amber Grill Lights
semonscj replied to Western96's topic in Modifications & Accessories
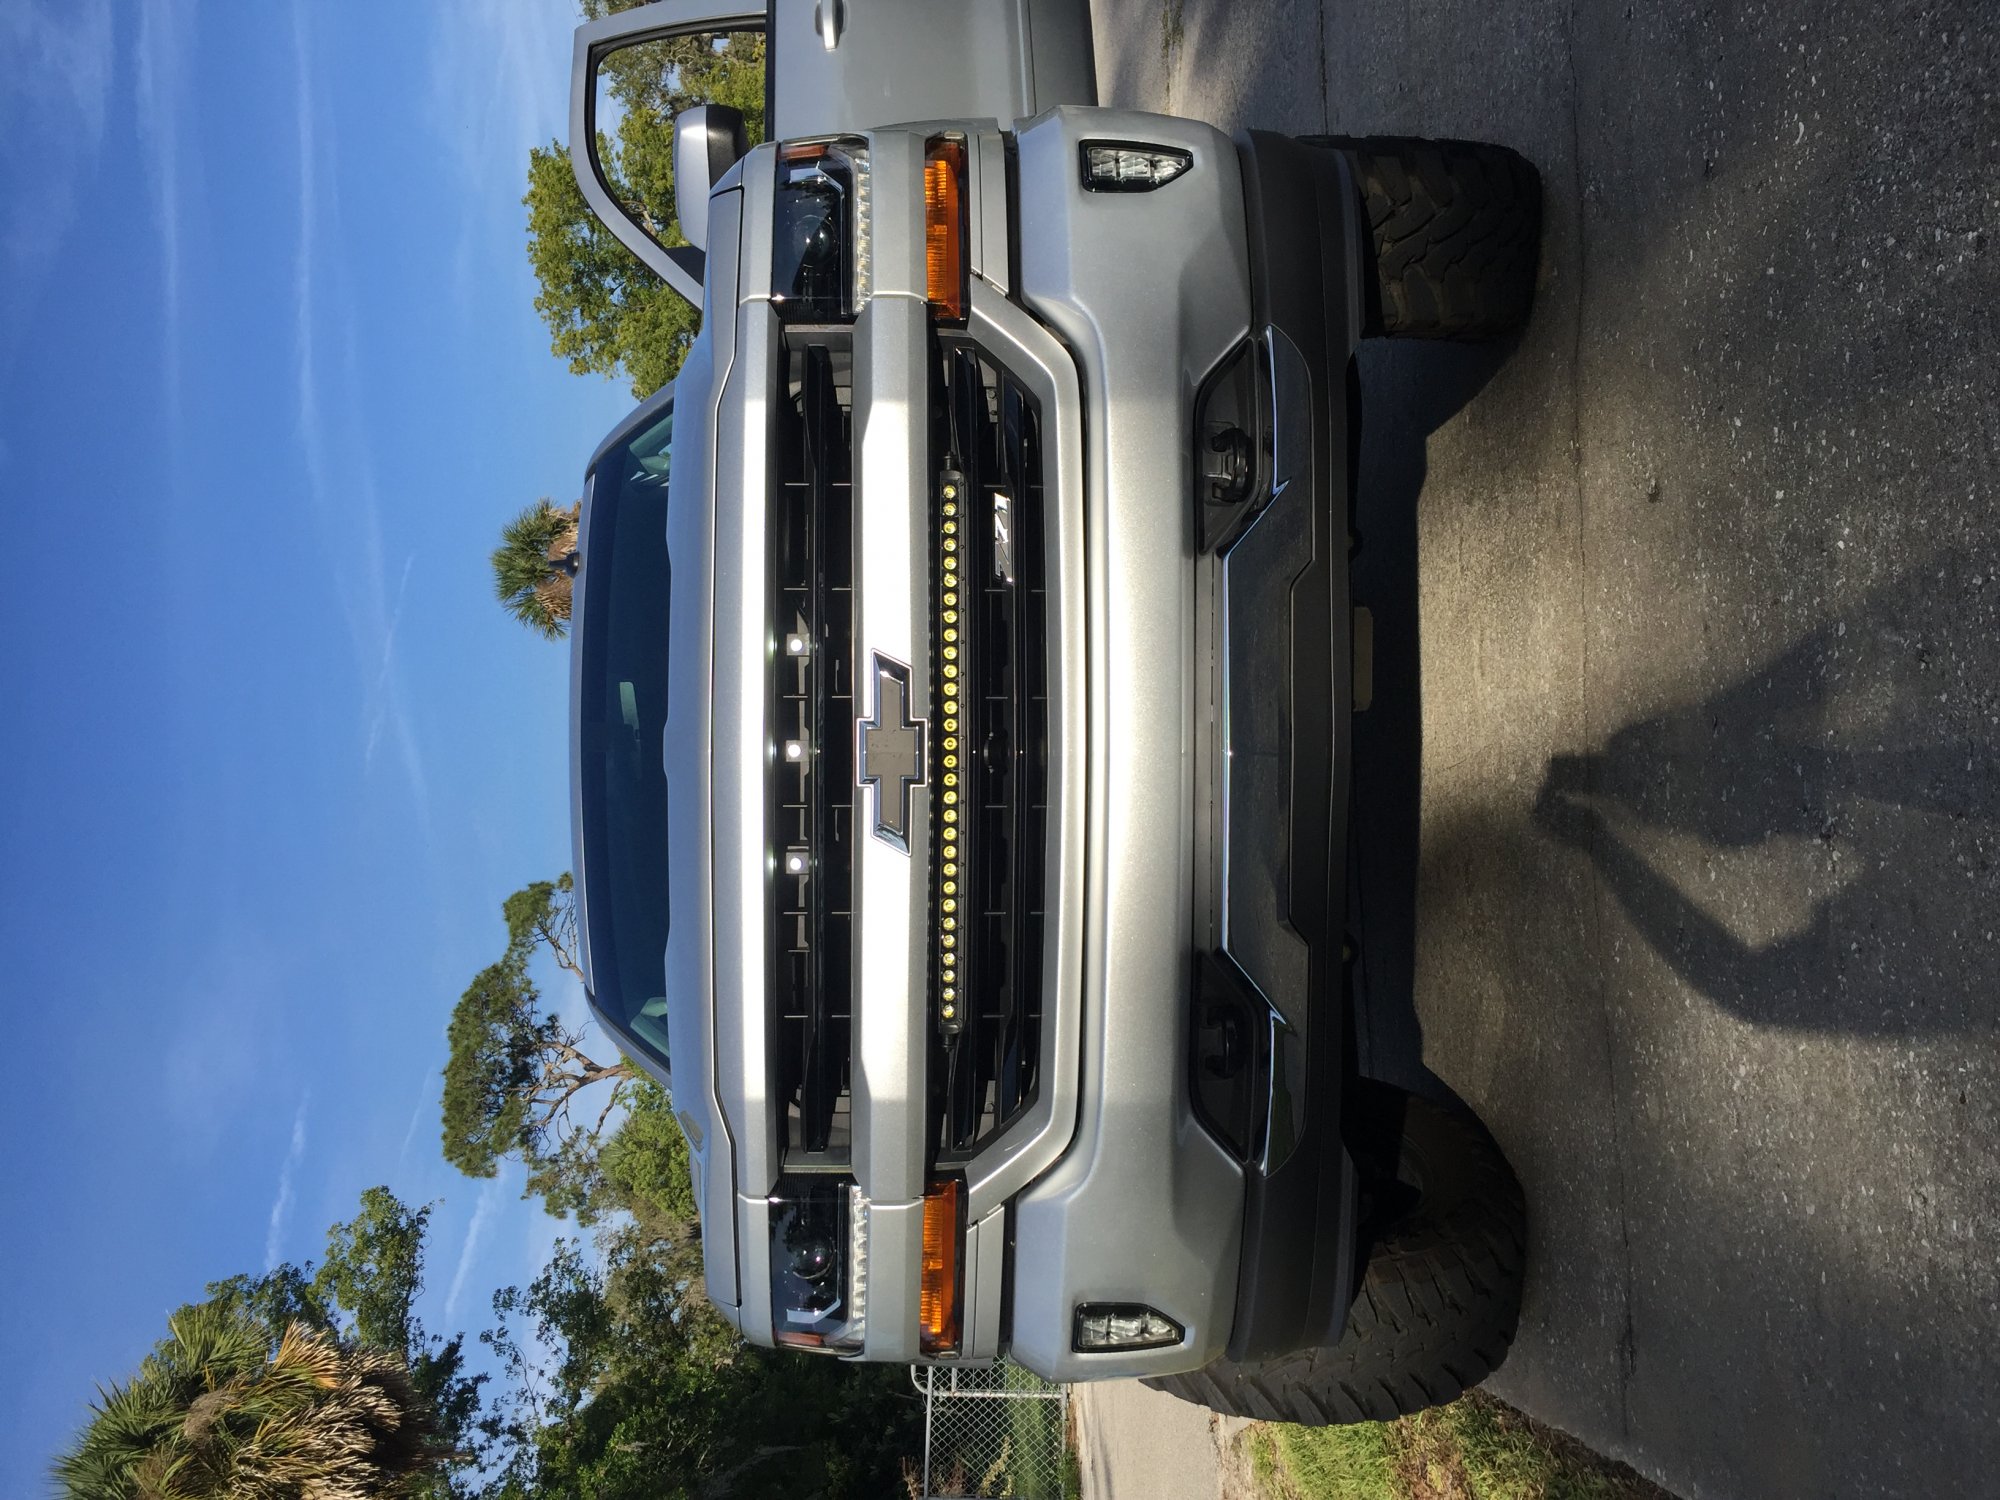
I did something similar to that. I went with 3 12mm bolt type from super bright led’s and cut black plastic and used job weild. I jumped them to the fuse box and they come on with the daytime running lights
-
Light bar and active shutters
semonscj replied to semonscj's topic in 2014-2018 Silverado 1500 & Sierra 1500
I don’t know what it takes to remove the individual shutters. Didn’t look into it that much. Let me know how yours turns out -
Light bar and active shutters
semonscj replied to semonscj's topic in 2014-2018 Silverado 1500 & Sierra 1500
I understand. Just trimmed a couple. Everything else is intact. Never touched the motor or sensor and no engine codes
-
Light bar and active shutters
semonscj replied to semonscj's topic in 2014-2018 Silverado 1500 & Sierra 1500
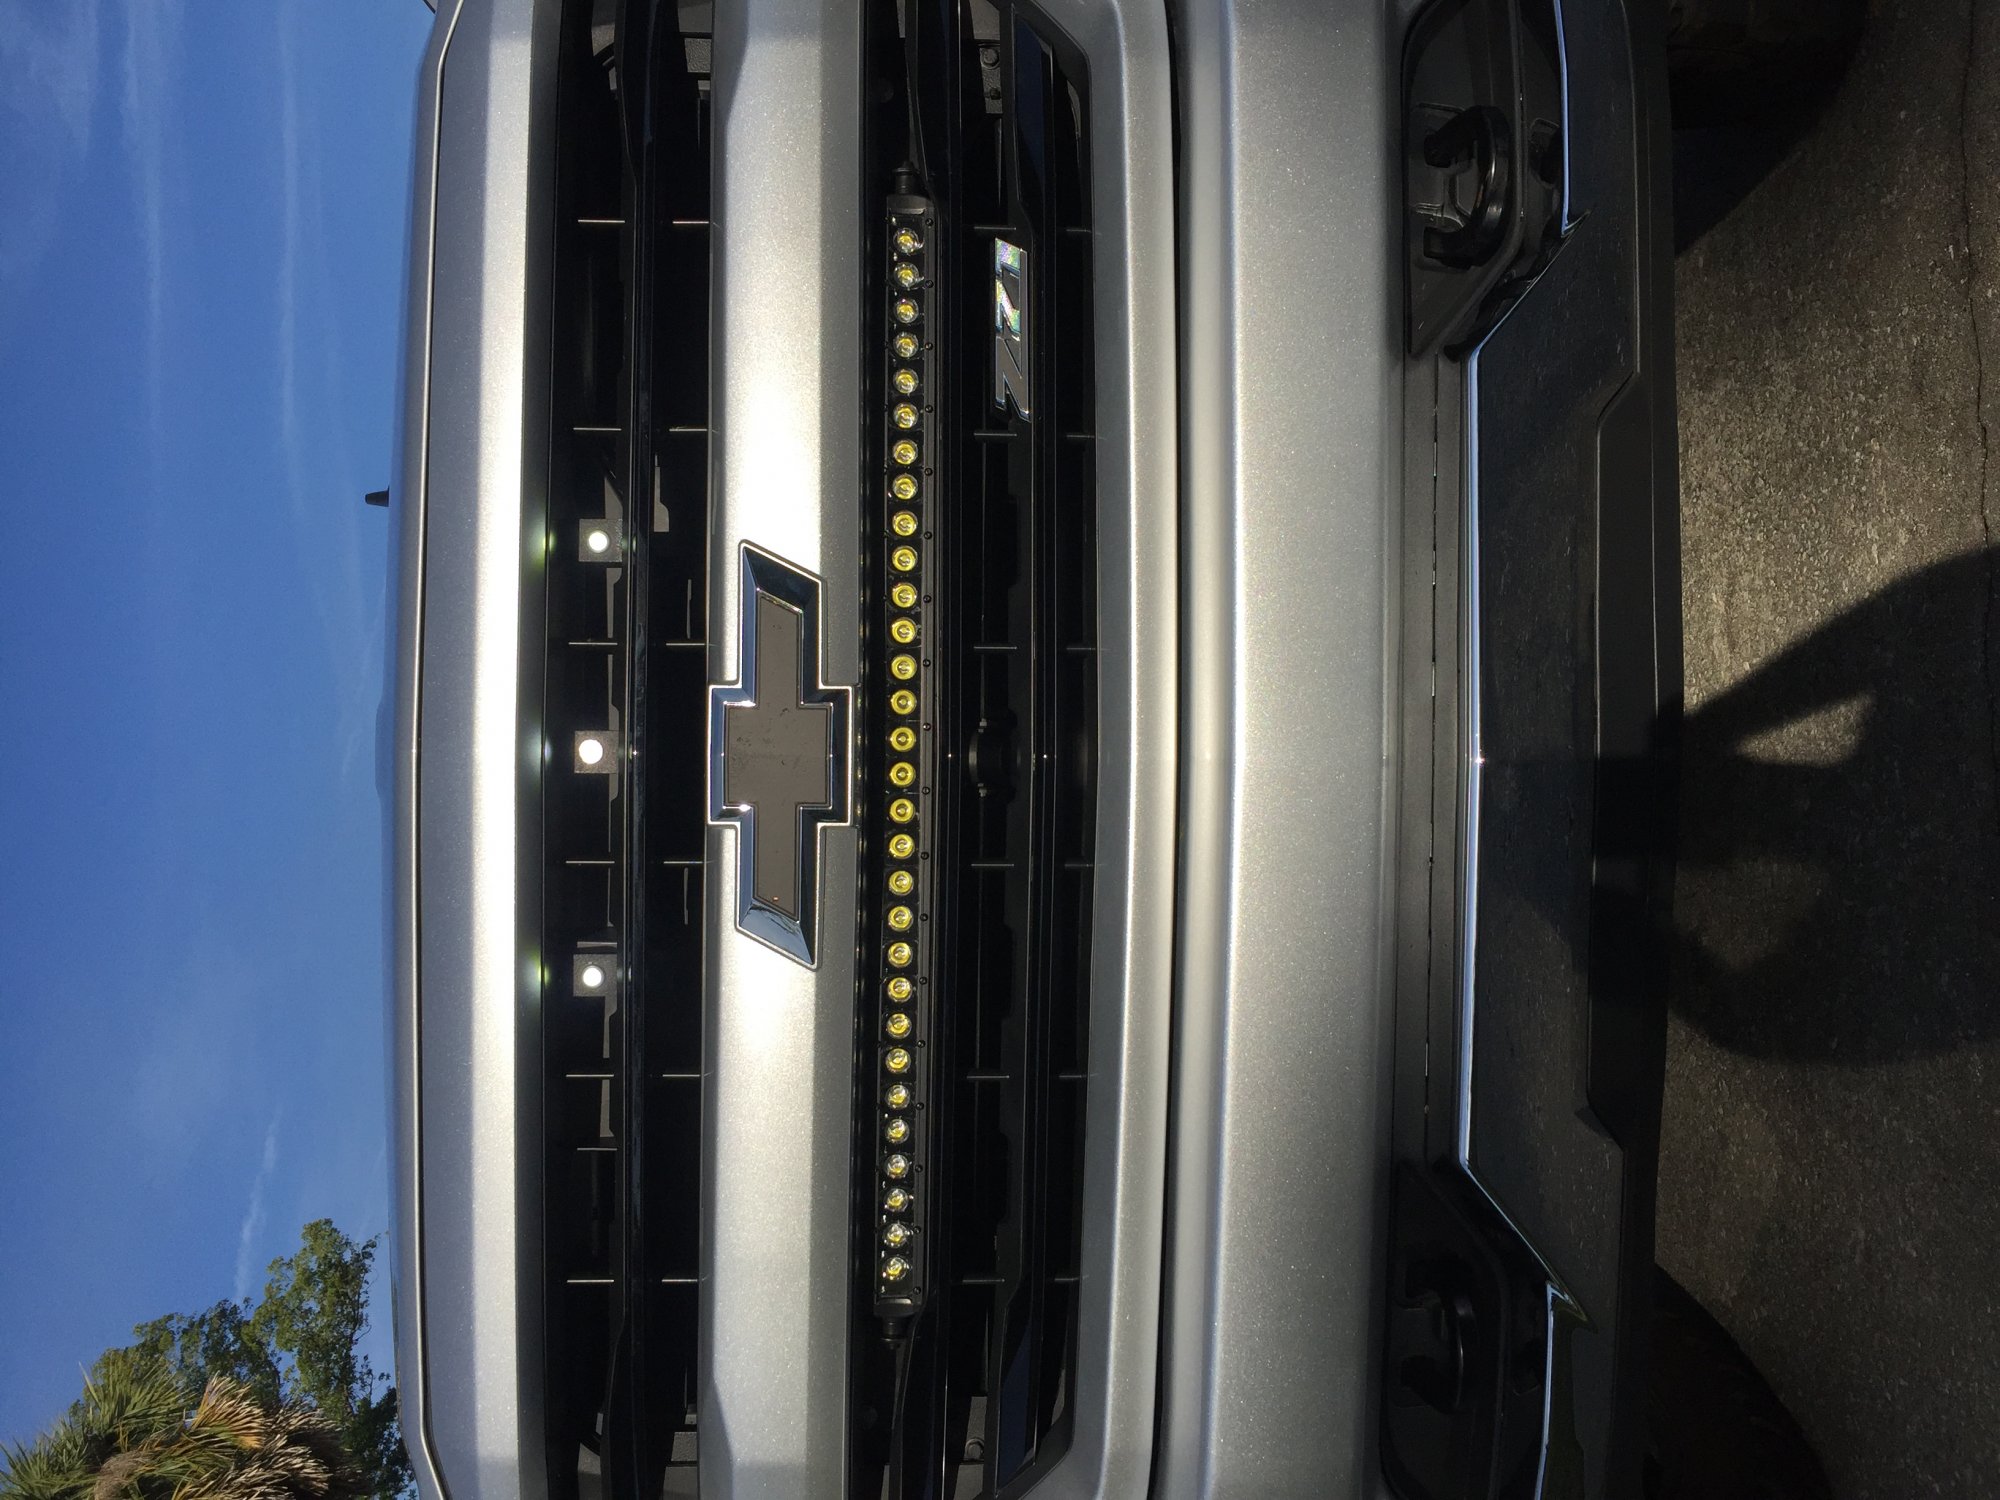
The RC light bar, because it’s curved, sits hard on the middle vertical shutter rail and dips back into the shutters on the ends. So I just trimmed them. I don’t see why you couldn’t cut the last 2 out for cubes in the pic above. Blue tape is where I trimmed. Just had to trim 1 shutter. Cutting grille was a little tricky. Cut the top of the vertical stems and followed the contour of the bottom edge with a drammel then sanded. Just kept fitting it on the truck and against the light and fine tuned where needed. On the light end caps they stick up a little higher than the rest of the light so I notched out the grille on the top side for the light to sit flush with the top. Sorry for the pics being sideways. I’ll post more pics later. Any other ? Just ask.
-
Light bar and active shutters
semonscj replied to semonscj's topic in 2014-2018 Silverado 1500 & Sierra 1500
Light bar installed. Pain in the a$$. But can be done. Will post more step by step pics and tips
-
Light bar and active shutters
semonscj replied to semonscj's topic in 2014-2018 Silverado 1500 & Sierra 1500
Update: After I installed the brackets the grille will not go back on. So I had to trim the brackets for it to fit. It’s a tight fit but it worked. See pic.This is where I trimmed. I actually trimmed just next to the bolt head through the washer. When I pull the grille back off tonight I will post a pic. of it cut
-
Light bar and active shutters
semonscj replied to semonscj's topic in 2014-2018 Silverado 1500 & Sierra 1500
Yes. That’s what i’m working on now. Got the brackets mounted with minor trimming to the fins on the active shutters. -
Light bar and active shutters
semonscj replied to semonscj's topic in 2014-2018 Silverado 1500 & Sierra 1500
Had to use 1/2 stand offs to clear the active grille. Depending on where you are mounting it, I had to trim two of the shutters and an adjacent plastic piece as shown in the picture to clear the nuts for the other brackets. I am mounting it in the row above the Z71. Will post more photos as I progress


-
Forum Statistics
250.5k
Total Topics2.7m
Total Posts -
Member Statistics
342,871
Total Members8,960
Most Online
-
Who's Online 9 Members, 0 Anonymous, 635 Guests (See full list)