

Gilaspit
-
Posts
11 -
Joined
-
Last visited
Content Type
Profiles
Forums
Gallery
Events
Articles
RPO
Store
Blogs
Everything posted by Gilaspit
-
Let's install the "upfitter switches"
Gilaspit replied to blamkin86's topic in Modifications & Accessories
Once everything is loose and pulled forward You will finally see the holy grail the final screw. All that to get to this one screw! Undo it and you can now remove the bottom dash. From here I would do all you wiring and switch assembly under the dash then put everything back together and plug in the upfitter switches and follow the rest of the guide to hook it up to the battery. Hopefully this helps someone. I looked everywhere and so nothing of how to actually remove the bottom of the dash completely.
-
Let's install the "upfitter switches"
Gilaspit replied to blamkin86's topic in Modifications & Accessories
-
Let's install the "upfitter switches"
Gilaspit replied to blamkin86's topic in Modifications & Accessories
9. At the bottom you will see two screws to remove 10. Pull forward from the bottom to move the whole unit including the radio forward a couple of incest 11. Snaps around the edge will allow the radio to fall forward with the vents
-
Let's install the "upfitter switches"
Gilaspit replied to blamkin86's topic in Modifications & Accessories
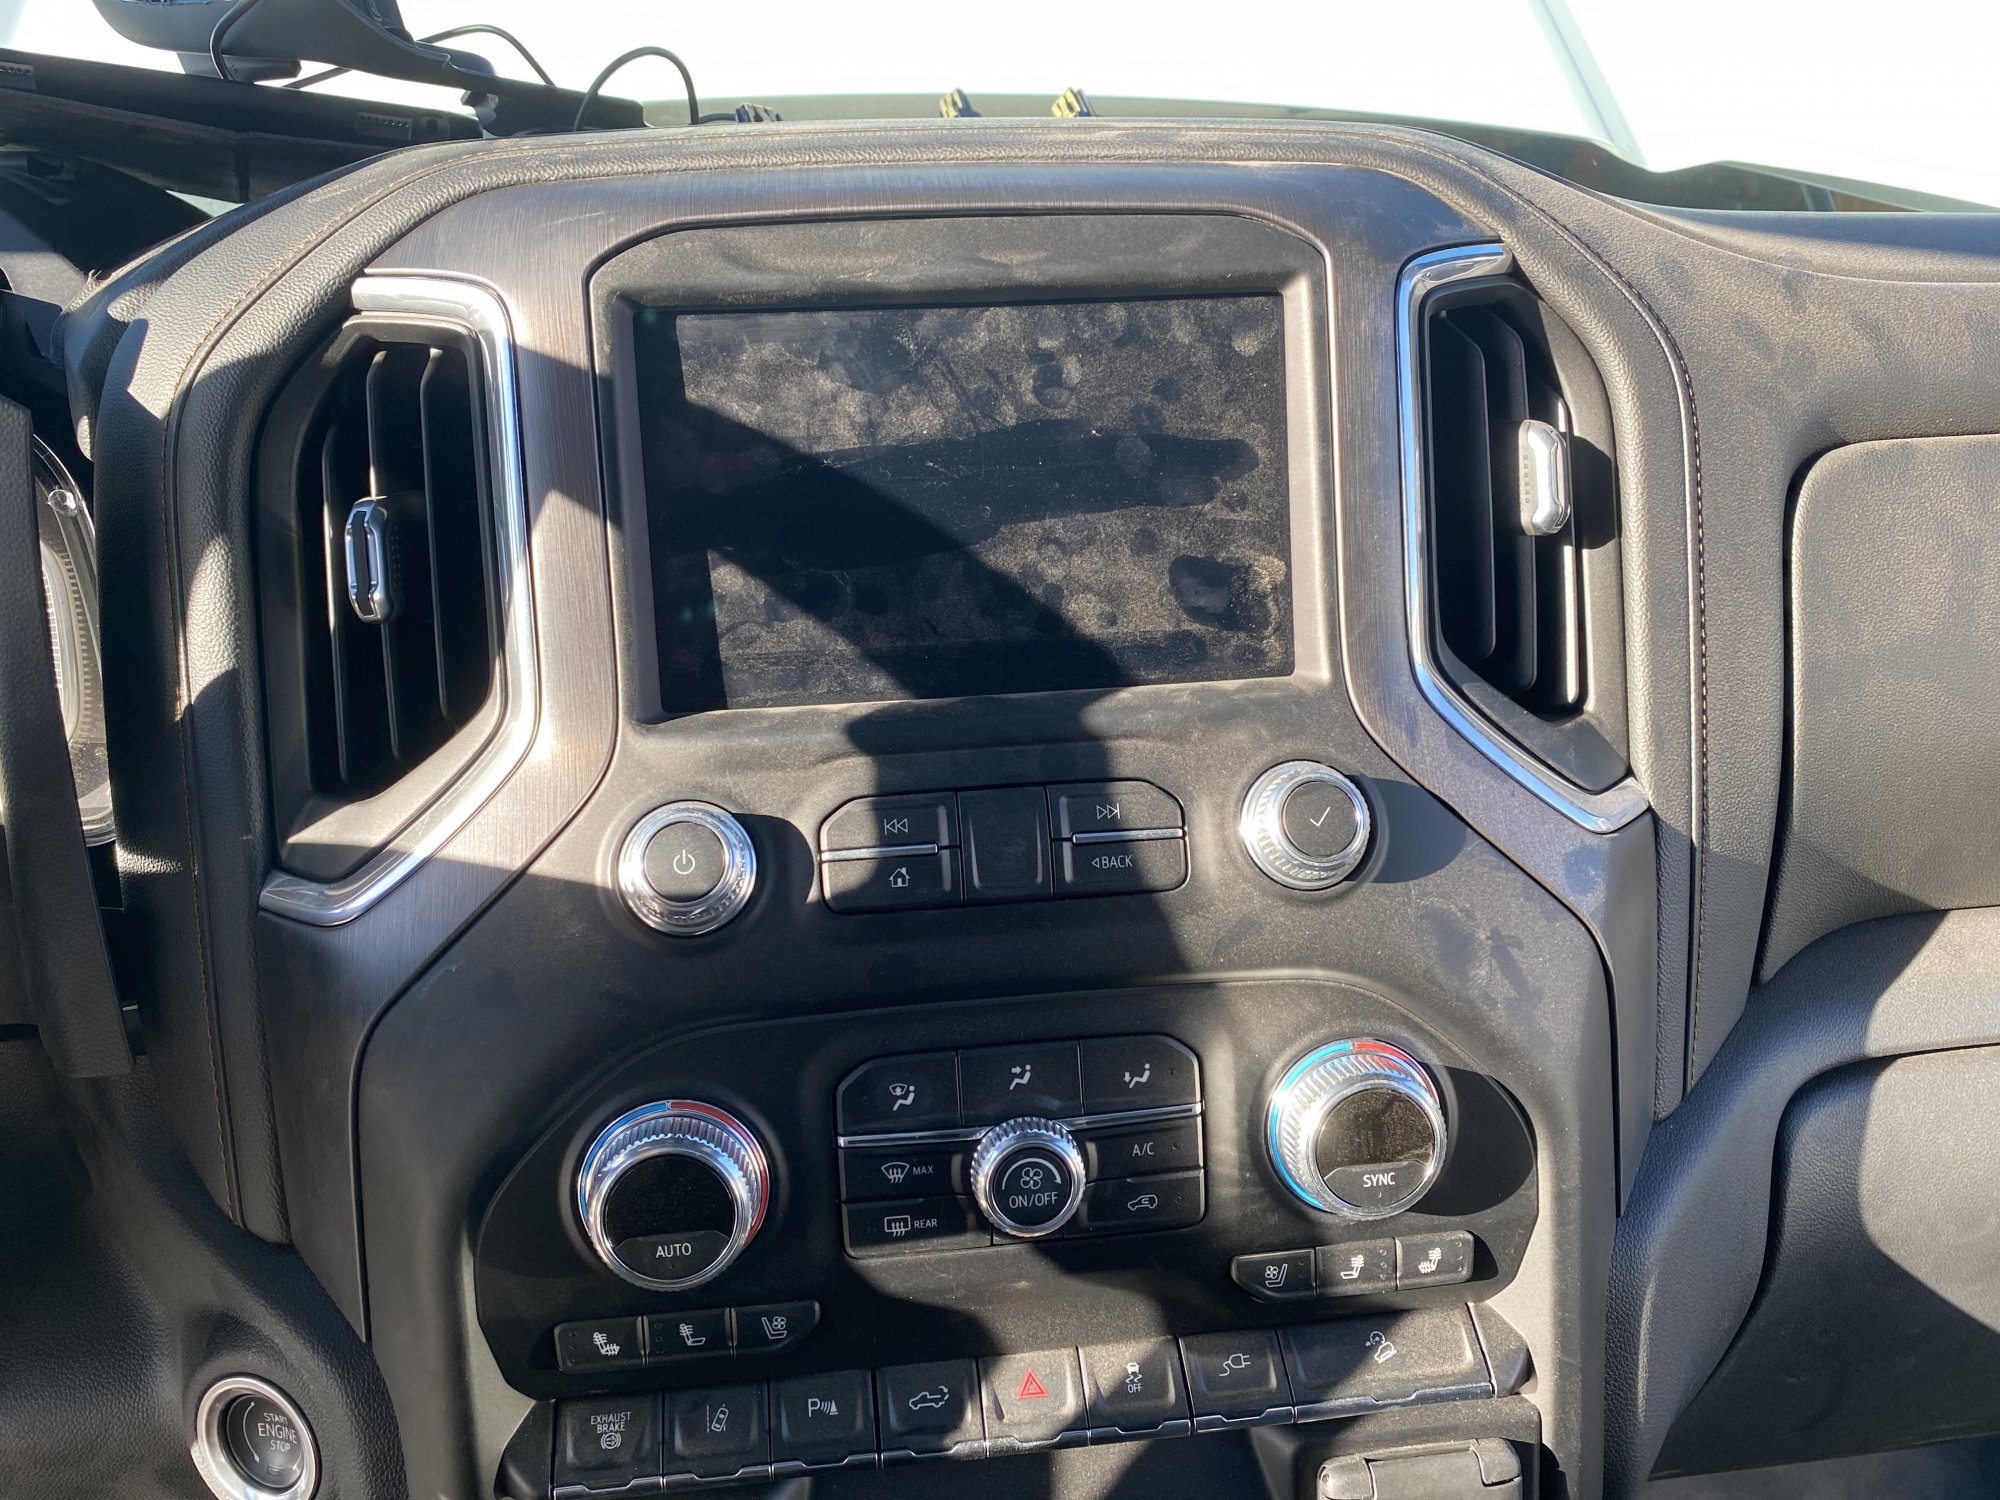
8. Now yo can pull the trim off around the radio. Its the silver/brushed aluminum part.
-
Let's install the "upfitter switches"
Gilaspit replied to blamkin86's topic in Modifications & Accessories
7. This is probably the worst piece of trim in the world to get off. Its the little piece just under the break controller. It has two wings that go down either side. There is a clip at the end of each wing one on the left side front and right side front and one in the center.
-
Let's install the "upfitter switches"
Gilaspit replied to blamkin86's topic in Modifications & Accessories
5. Pull both sides away from center council 6. There are two tabs under the arm rest that need to be popped up then you can slide out the cup holder. Use =cation as there are wires attached. I disconnected one of them to be able to move it out of the way.
-
Let's install the "upfitter switches"
Gilaspit replied to blamkin86's topic in Modifications & Accessories
4. Pull the cosmetic detailing off both driver and passenger side center councils (Silver/Carbon fiber looking piece) -
Let's install the "upfitter switches"
Gilaspit replied to blamkin86's topic in Modifications & Accessories
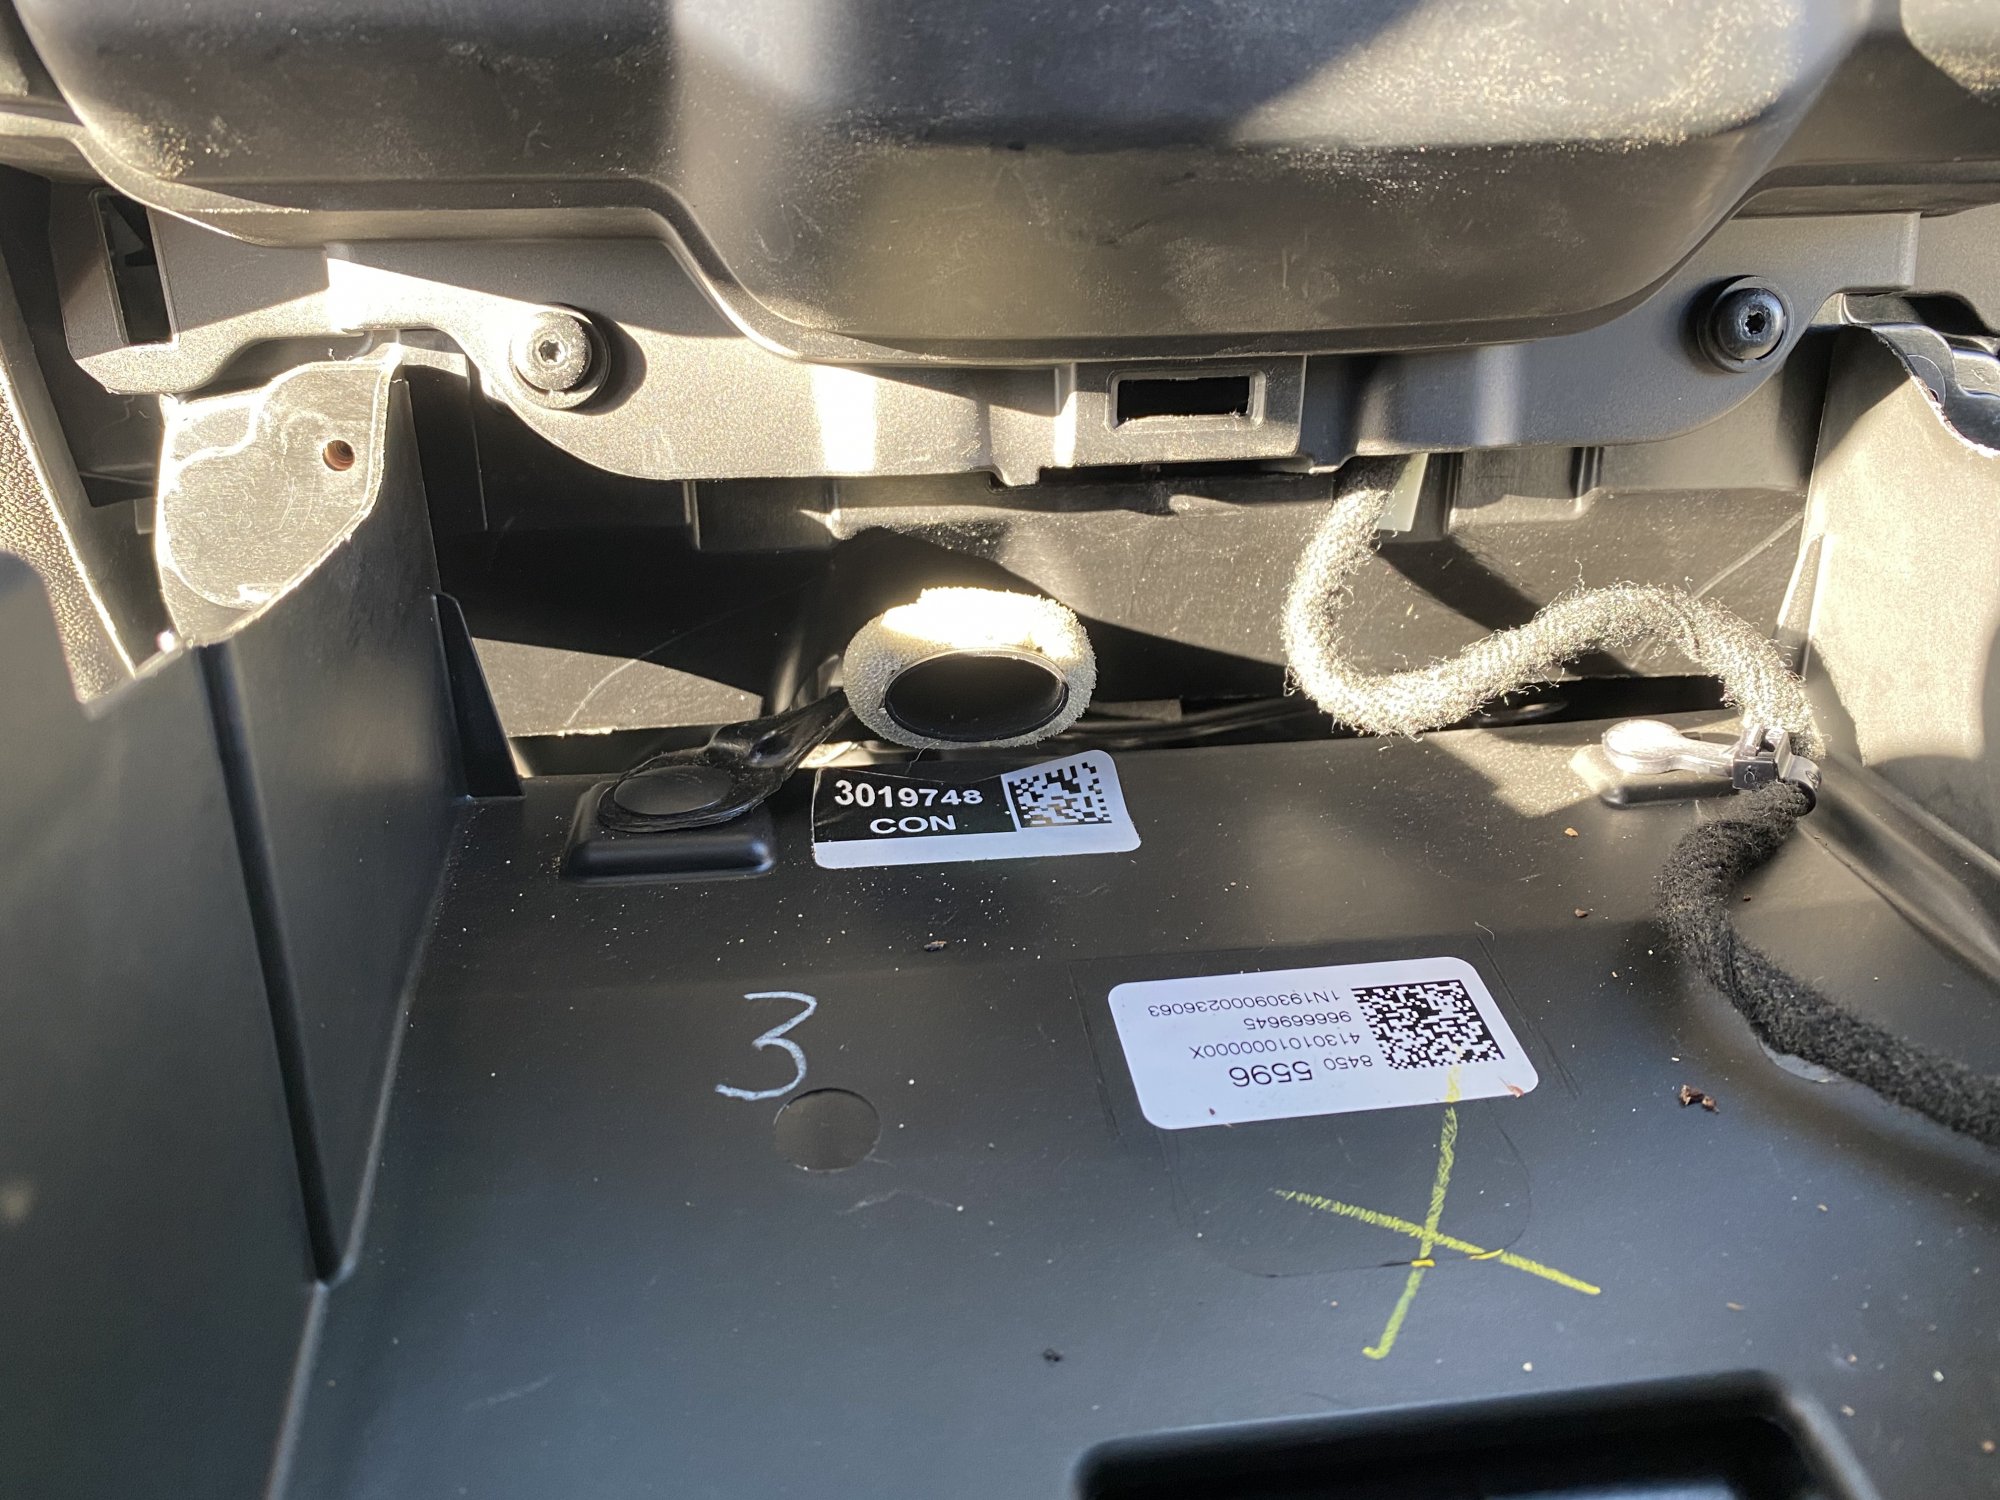
3 remove the screw behind the square cover on the drivers side
-
Let's install the "upfitter switches"
Gilaspit replied to blamkin86's topic in Modifications & Accessories
That will allow the gauge plastic protector to be move out of the way. Be careful as it is still attached by a rubber ring around the steering wheel -
Let's install the "upfitter switches"
Gilaspit replied to blamkin86's topic in Modifications & Accessories
2. remove the three Screws along the top
-
Let's install the "upfitter switches"
Gilaspit replied to blamkin86's topic in Modifications & Accessories
Thanks for the write up and the picks... For those of you not lucky enough to have GM at least change out the dash and gave you all the parts here are some photos to help with the process. FYI you have to disassemble a lot of things be prepared. I am also doing this on a 2020 AT4 3500. 1. Push up on the gauge cover. Just the leather part.


.jpg.83f7144c742728bfa3a2bb5bfd5cc6ed.jpg)


-
Forum Statistics
250.4k
Total Topics2.7m
Total Posts -
Member Statistics
342,824
Total Members8,960
Most Online