Search the Community
Showing results for tags 'switches'.
Found 4 results
-
Hi all, looking to get some input on auxiliary switch placement for a light bar and horn, thinking lower dash below steering wheel. I can’t make up my mind on placement and haven’t found much scouring the internet and these forums. Both switches will be placed adjacent to eachother in a dual switch housing. 2018 Silverado 1500 custom
-
 Have 4 - 300 watt light bars on my roof rack and 4 - 103 watt cree’s on the winch mount. Decided to run all the wiring to a central location vs mix and match I did over time. So purchased a 6 rocker switch panel with 3 12V outlets, double row. Went back-and-forth a week trying to think in my head where I wanted to mount it to make it easily accessible, as I live in the mountains and when oncoming traffic is coming I need to be able to shut them off immediately! I knew overhead was the best place but didn’t want to go through the trouble. However now that it’s done it really wasn’t that much of an issue at all. I cut the sunglass holder 3/4 of the way out and it only over fills the entire consul by about a 1/4 inch. If I hadn’t already bought this panel and knew today was the only day I could do the project for a few weeks, I would have waited and not used the 3 outlets and just went with a single row panel of 6 (8 best) rocker switches as that would’ve been very neat, clean and looked much more custom! For anyone looking to do it, the absolute best looking would be 8 rocker switches on a single row panel for an absolute perfect fit! But I was impatient and wasn’t going to toss $50 out the door for the panel I had so wound up force fitting into the console. This doesn’t look horrible and I think I’ll be able to live with it but if it gets the best of me and my OCD, I can always order a new console with the 8 switches as the wiring is already there and would be a simple project. Any questions feel free to ask! I’ll post pictures shortly.
 -
Hello, With all the support there is with the upfitter switches, I thought I would give others another write up on a full custom switch (and light install). If this is the right location for that I will add it tomorrow. Please advise.
-
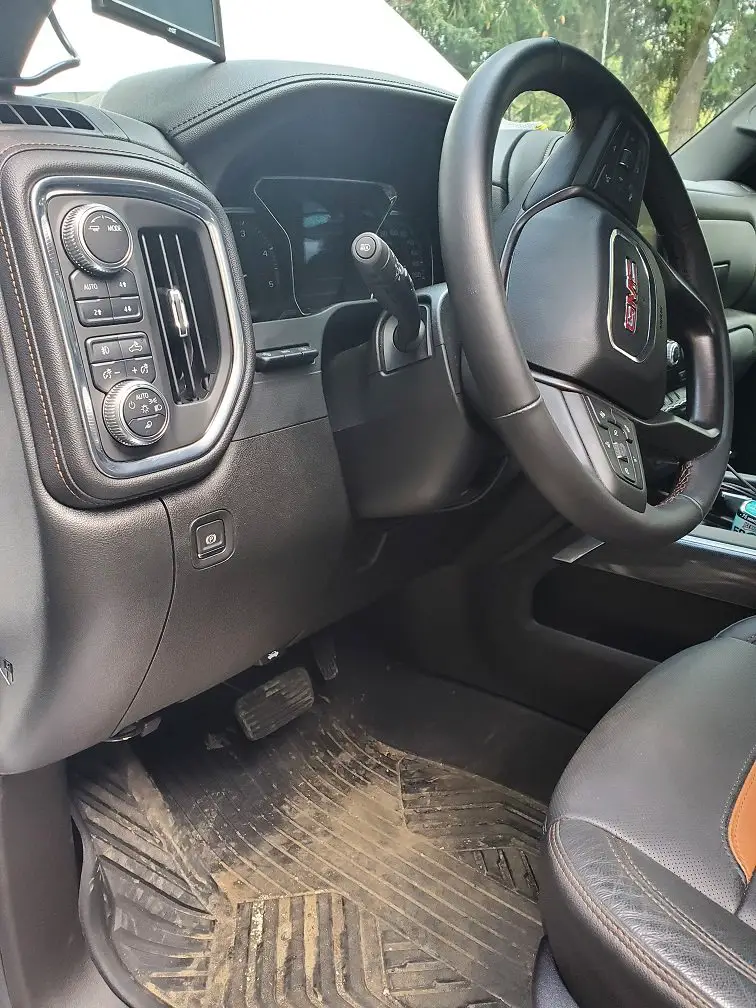
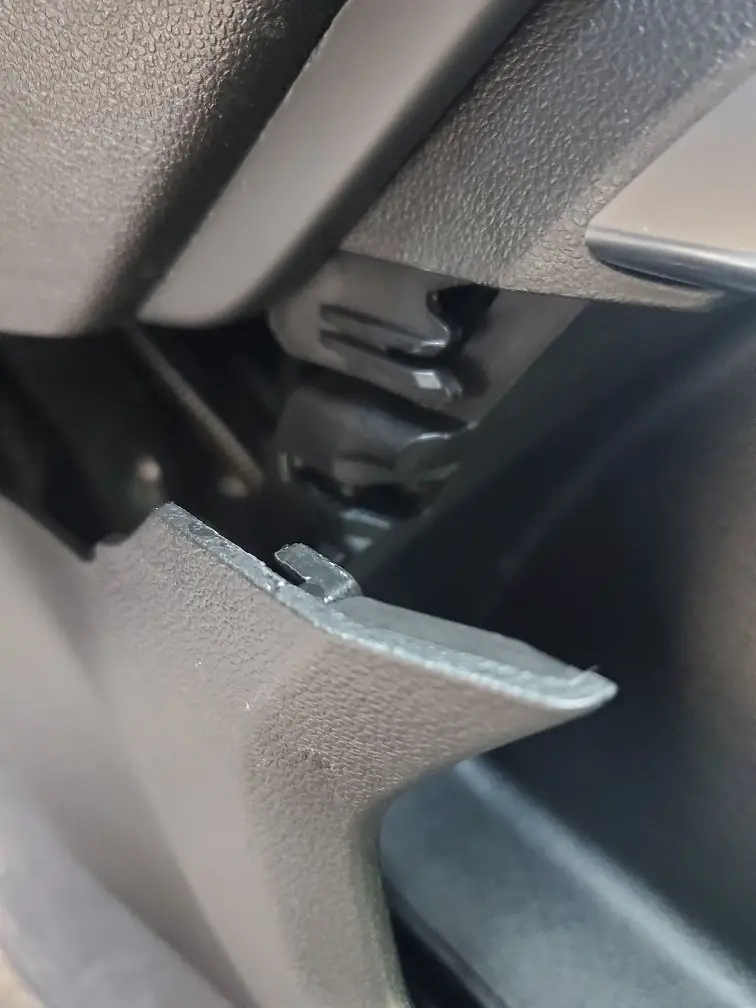
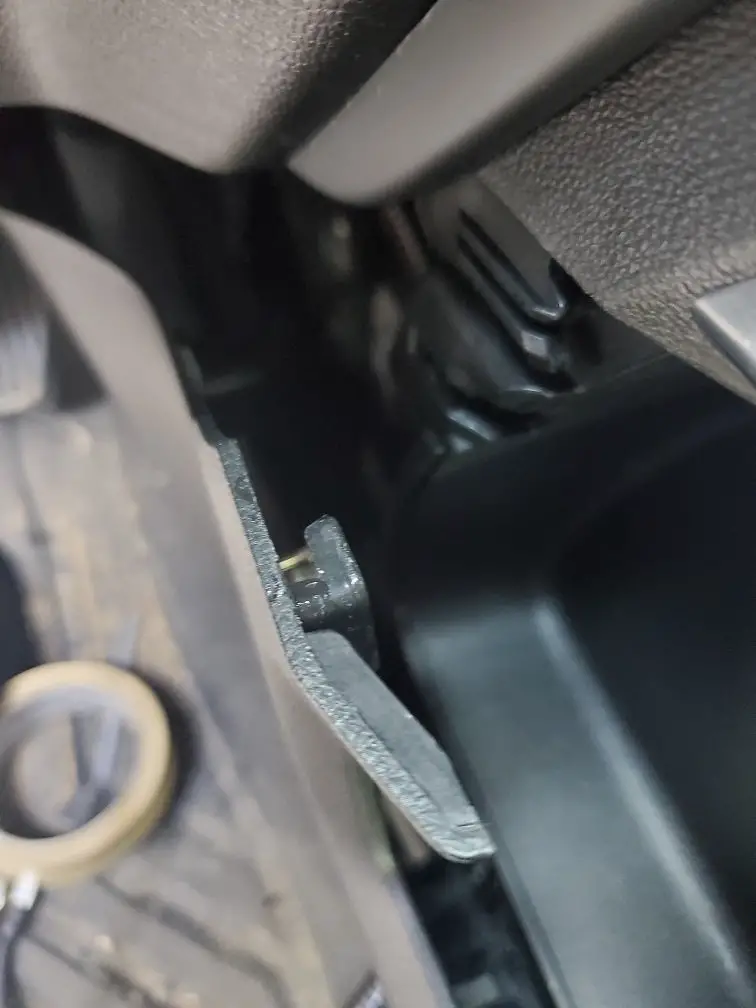
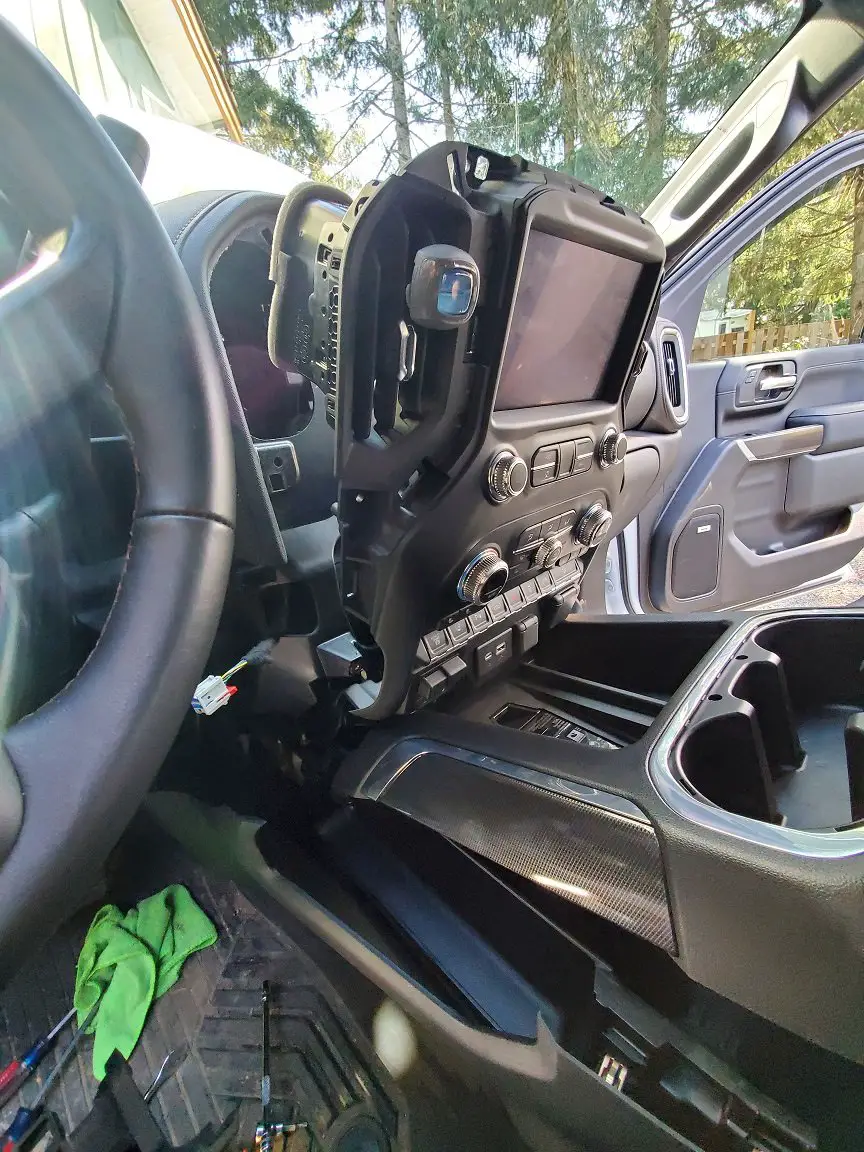
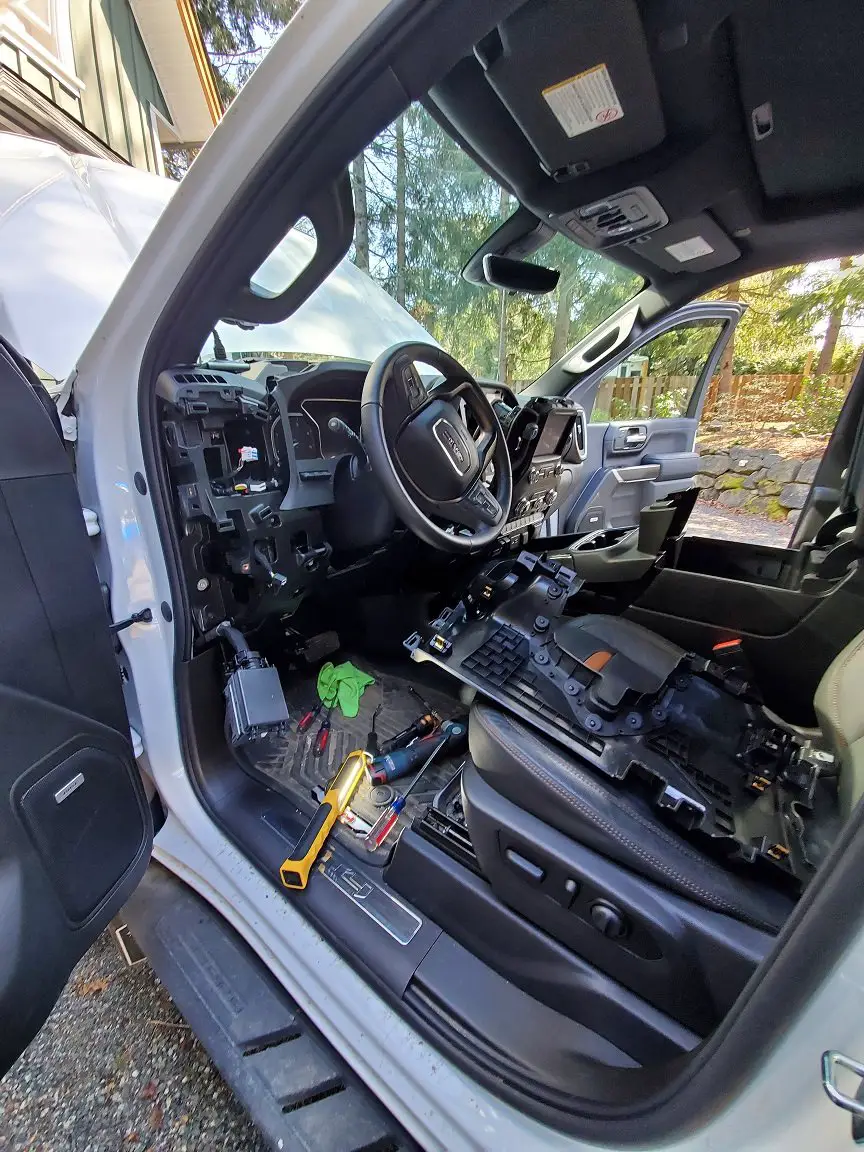
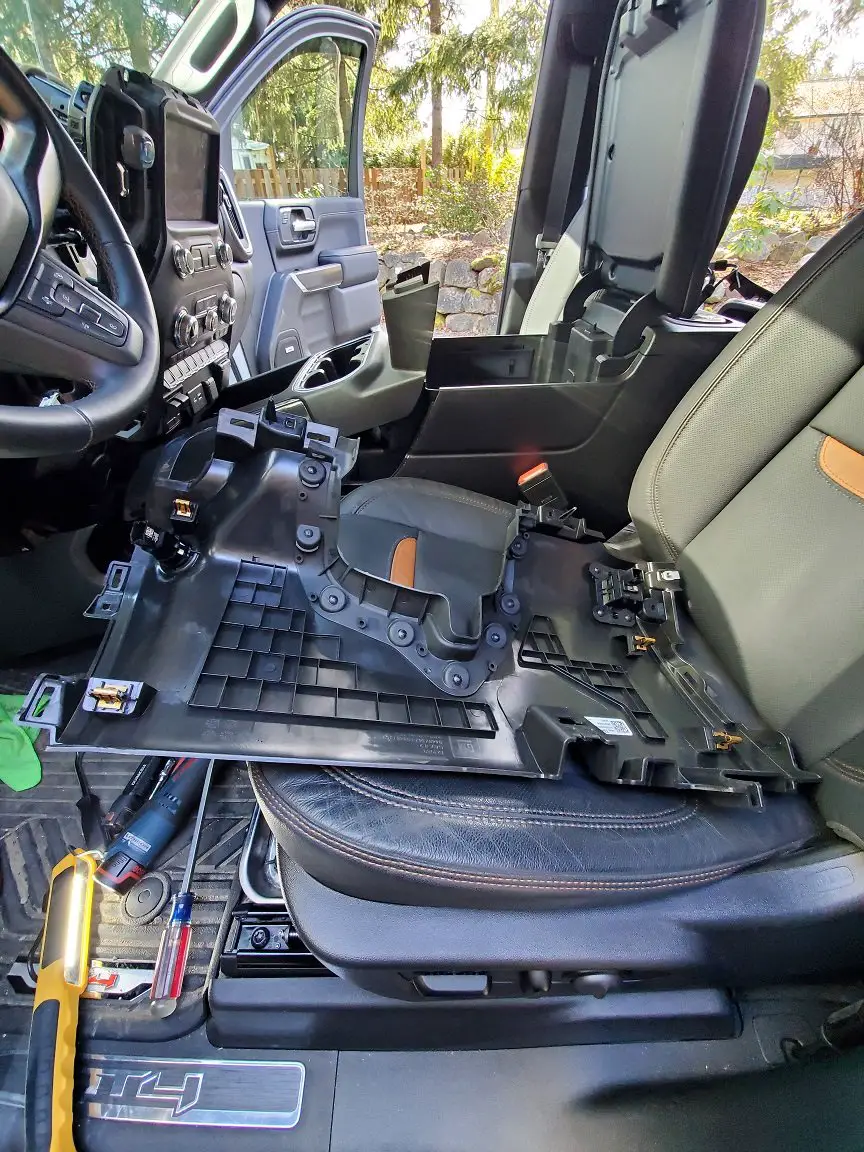
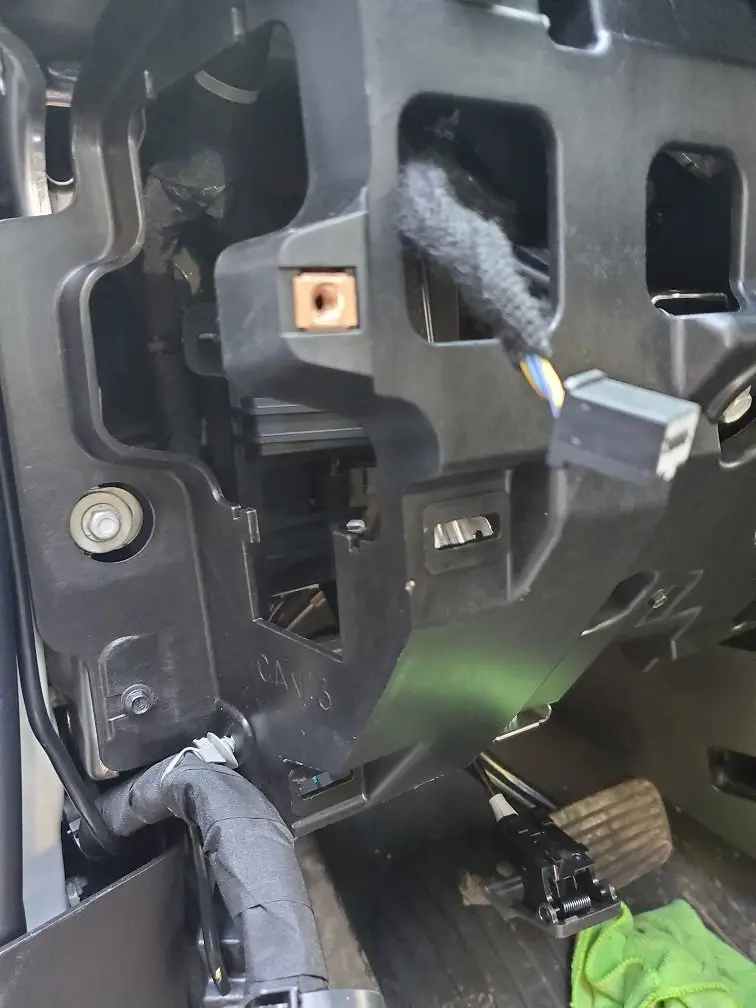
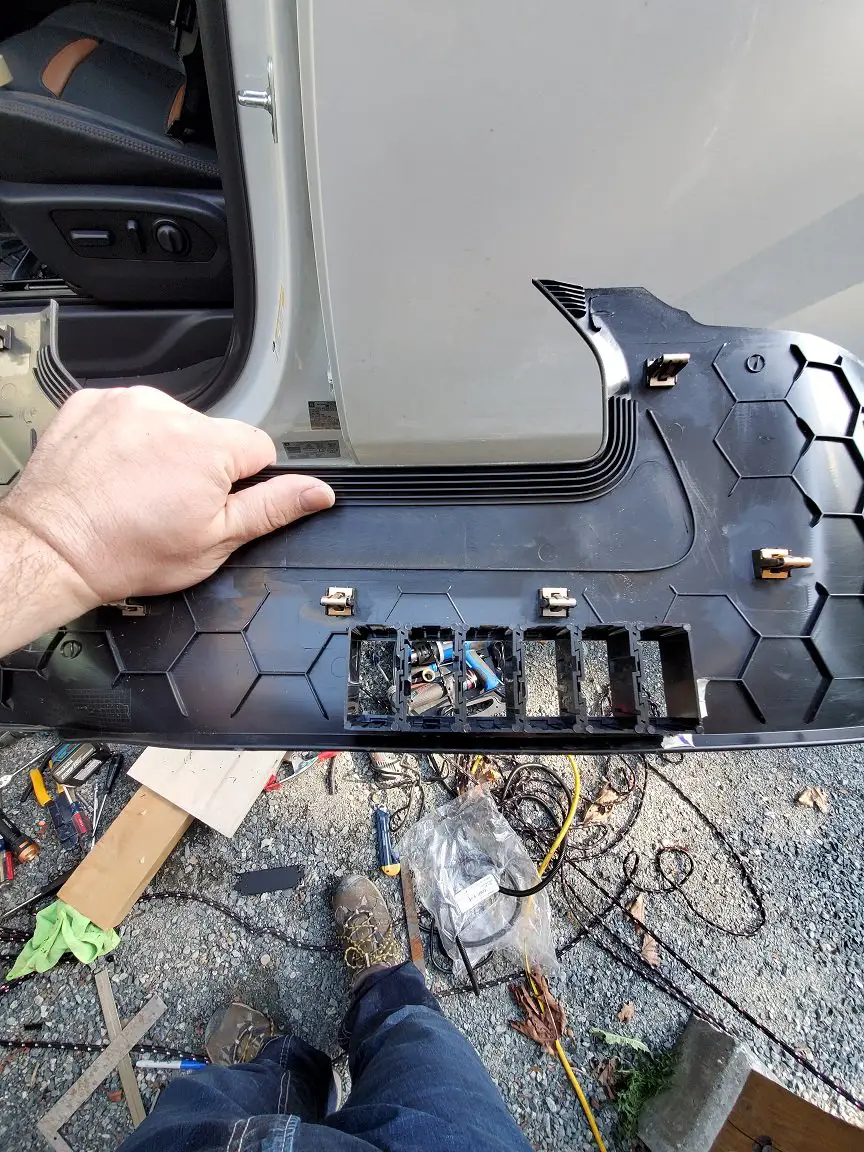
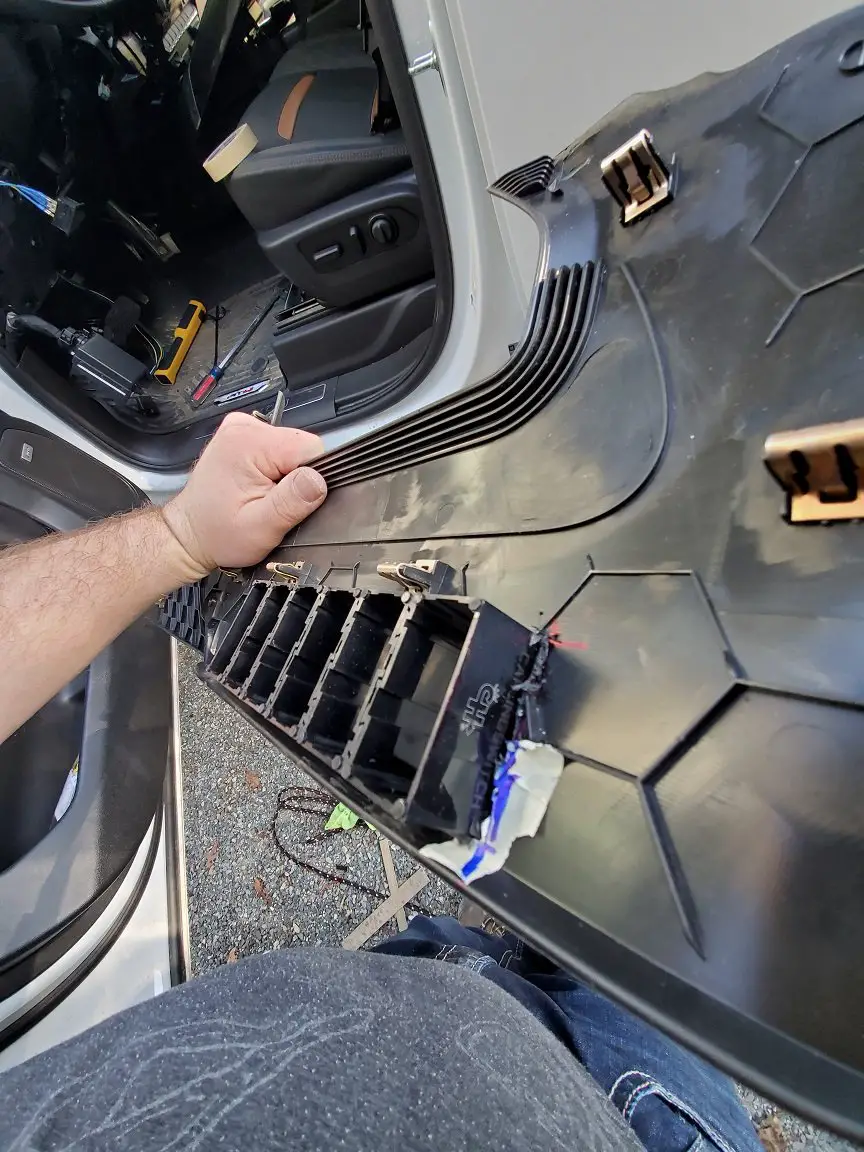
Morning, It was suggested that I place the write up on the custom gauge installation in this section so I will do just that. A bit of background: this truck is brand new with just under 8000 km on the clock. It has already seen -45C and some off road conditions. I am a business owner (Arrowsmith Project Management Limited) and this is one of my trucks. First: a special thanks to everyone who has discussed the upfitter switches using the GM parts. I was very excited about that and was going to go that way but with discussions at the local parts counter about being my responsibility and that it would void the warranty and such I decided to do my own thing as all of this 12V stuff just needs a source and a ground. No ECM or other modules to plug into etc. Second, because I bounce down roads everything has to be solid, secure and of industrial grade to not fall apart in the middle of nowhere. Here is the installation process. FYI get the right tools - in this case the trim removal tools or you could end up with scratches and nicks like this. (PIC 1) PIC 2 and 3 - OEM trim of the AT4 before PIC 4 and 5 - Pay close attention to how things come apart - watch all the videos and read all the existing write ups on removal of panels. This TAKES TIME. Go slow and be patient. There are 2 clips that will break if your removal of the console lower trim piece on either side is removed in haste. PIC 6, 7 and 8 - The removal process. PIC 9, 10, 11 and 12 - Switch locations and layout - plan this out carefully. measure as many times as you need to. Take lots of pictures. I opted to use the OEM location as best I could for 2 switches. These ones control my front light bar from Bright Source and Strands. It has a main ON/OFF and a secondary driving light in both amber and white. This resulted in first installing a SPST rocker and a SPST moment switch. The moment was later swapped out for a SPDT rocker. I had a little trimming to do under the knee bolster panel. PIC 13, 14 and 15 - Trimming the drivers side lower console panel - this was done to house the cluster of switches for all the other goodies I need. (Reverse Alarm (1), Buggy Whip (1), Overhead Rotating Beacon (2), winch (1) and rear facing service lights (1))


.thumb.jpg.1af0fedf68068d41639e1cf539e8df4d.jpg)