

1baddad
-
Posts
41 -
Joined
-
Last visited
-
Days Won
1
1baddad's Achievements
")
Enthusiast (2/11)
8
Reputation
-
http://www.silveradosierra.com/exterior/adding-tow-mirrors-on-k2xx-trucks-t283890.html Download the PDF's he posted
-
I have no clue on the 2014-15's about tow mirrors. Maybe someone will chime in or try YouTube
-
The link I posted above should help as he pointed out what to look for in the plug. Look at this or give it to the shop guys who understand it and this tells you where the connections are. http://www.bulldogsecurity.com/bdnew/vehiclewiringdiagrams.aspx Also, You can pin out the BACK of the door harness plug using a test light to find which wires operate the turn signal Even if the pin is not inside the plug the wires should be there but no pinned
-
What does the switch look like? That's cheap, I think. ??
-
Yes but people are already finding work arounds for mods. I'm sure someone has went through the whole thing but just hasn't shown up online yet. RPO codes changed and wiring diagrams will be different for sure.
-
How much did it all cost? Curious so that I can forewarn others who are thinking of doing the same thing.
-
Perfect Explanation http://www.silveradosierra.com/exterior/adding-tow-mirrors-on-k2xx-trucks-t283890.htmlSelf You will need to read the whole writeup and download the 5 .PDF files he posted to help. HOPE THIS HELPS as I have a headache after dealing with all this.
-
You can upgrade to tow mirrors but from what others have discussed on other forums is they are NOT plug and play for the power fold or turn signals but the heated and power adjust will work. Also, You can NOT purchase any wiring harnesses to make them work. That has been confirmed so don't let the dealer sell you that stuff because most are out to make money and don't care if it works. As you can see above that Ridculus is trying to sell his after attempting the same thing.
-
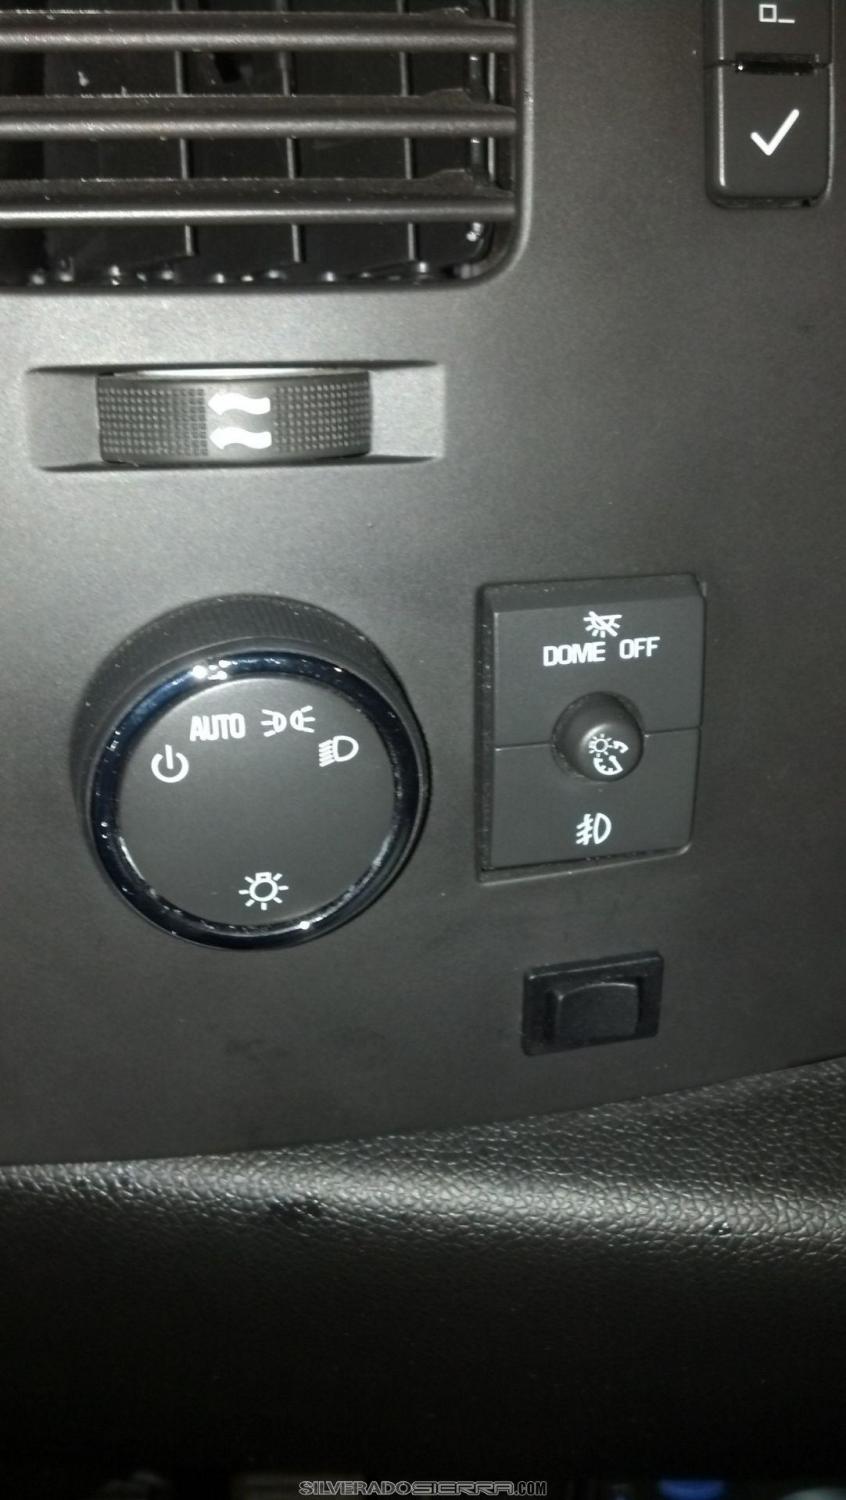
Parts List: Here is a list of parts that you will need. It is a minimum. You can add things like crimp connectors, blade/spade connectors, solder, ect. I left that stuff out. You can connect your wiring however you want. I used solder for wire-to-wire, and blade/spade connector at the junction box. 1. Black wire, 16-18 gauge, 15’ 2. Blue wire, 16-18 gauge, 15’ 3. Yellow wire, 16-18 gauge, 15’ 4. Red wire, 16-18 gauge, 15’ a. Wiring from Ace Hardware. Ace is the place. 5. Fuse holder, mini blade type 6. Fuse, mini blade, 10 amp a. Fuse holder and fuse from AutoZone 7. Momentary Rocker switch, mini, SPDTa. Purchased on Amazonhttp://www.amazon.com/gp/product/B001PNKF2E/ref=oh_details_o03_s00_i00?%20%20%20%20ie=UTF8&psc=1 8. Relay, SPDT, Two of them 9. Relay wire harness, SPDT, Two of them a. The relays and harnesses can be purchased on Amazon for about $8 for everything. The package deal comes with a blade fuse holder and fuse. I didn’t use the fuse holder because I didn’t like it. http://www.amazon.com/gp/product/B00C0SATHE/ref=oh_details_o02_s00_i00?ie=UTF8&psc=1 Wiring Diagram: I found this online. It is about the only thing I found that was useful for getting the power fold to work. There is a lot of info DL3 installation, but not much on making the power fold work. I used the relay harness from the parts list so that it will be easy to replace a relay if I need to. Connect your new wires as shown in the wiring diagram. I used liquid electrical tape on all soldered connections, and then I wrapped all the wires together with electrical tape to make it nice and clean and to protect the wiring. I grounded the relays to the metal tube that runs behind the steering wheel. The rocker switch is also grounded to this spot. The tube is accessible by removing the fuse panel cover. I just used a self tapping screw to secure the ground wires. While the cover is off, run the wires to the driver and passenger side of the truck. I also installed the relays by attaching them with a screw to the dash behind the fuse box cover. They are above the fuse panel so you can easily get to the fuses or replace a relay if needed. Mirror Install: There is already a great DIY with lots of pictures on how to remove the door panels and replace the mirrors. I am not going to rehash all that. Here is the link for easy access. DL3 mirror "How To". I suggest removing the plastic covers on the old mirrors before you take them off if you plan on using them for the new mirrors. It is a lot easier to do it while they are on the truck. After removing the covers as necessary, remove the mirrors as directed in the referenced how-to and put the new mirrors on. Remove and replace the mirror covers as needed. Use the wiring diagram above to connect the new wires to the new mirrors. You will hook up your new yellow and blue wires to the light blue and yellow wires from the mirrors. These wires can be found in the pig-tail attached to the mirror that has the white connector on the end. Switch install: Be sure to use a momentary switch! I put a piece of painters tape on the panel after removing it from the dash. (I didn’t want to us marker in the dash, but I later discovered that you can use a sharpie directly on the plastic and remove any left after cutting using rubbing alcohol.) Then I marked the location for the switch (about 1" below and centered from the fog light). I cut the whole small with a Dremel tool and then made it bigger a little at a time until the switch fit. If the hole is too small it will put too much pressure on the switch and it will not return to center. If it is too big the switch will fall out or you will see the edges of the hole. Mounting it higher would have hit the mount for the switches above the rocker, and lower would be too close to where the dash panel starts to turn back towards the dash. I centered the switch with the fog/dome switch the best I could. Be sure to connect your black wires to the switch before replacing the panel. Before you can replace the panel you will need to cut a hole in the dash to accommodate the depth of the switch with the wires connected. You will not see this hole after the panel is put back in. Be sure to connect your ground wire to the switch. Power ON: We need power to get these babies to fold. You should already have the turn signal, power adjusts, and heat functions working. That is plug-and-play when you connected the black connector for the mirror. The location of the connector to the wiring harness is attached to the door panel. You can get power for the power fold from many places. I get it from the junction box that is located by your feet when you drive. There are options for power in this box: ignition on, accessory on, or always on. I chose to wire mine as accessory. This way I can move the mirrors for the ten minutes after the key is turned off but the doors haven’t been opened. Conclusion: Your DL3 power folding mirrors are now completely functional. Push the switch one way to open and the other to close. I set mine up so that I push to the right to close and left to open. It is easy to switch this, just switch the wiring harness on the relays. Make sure both mirrors are open/closed before you operate them. One open and one closed will probably burn out the motor as one will move and the other will not. This project took about three – 2 hour sessions after work. I am slow, so someone that has a little more experience could probably do this in a couple hours max. Top

-
So, When you plugged the mirrors in using the STOCK wiring the turn signal part did not work? It is plug and play on my 2013. My 2013 had everything the LTZ has with the exception of the power fold mirrors. I guess if i buy a new truck next year I'll make sure that is added to the package. Installing the mirrors and using a momentary switch mounted in a clean place on the dash and such isn't as big a deal as it sounds. Just use the diagram provided on the 1st or 2nd page.
-
No. They also need to be wired in. Just my personal opinion but puddle lights to me are useless because once you open the door the light moves away from the area you want lit up. Just do this and run the wires for the puddle lights to the same place he shows here.
-
Short answer, NO. You can buy DL3 mirrors and the turn signal will work as will the heated and control to adjust. If you want them to power fold you have 2 options. Wire them in for about 75.00 and place a switch on the dash panel or spend about 3,000.00 on wiring, parts and dealer programming. Diagram half way down..... http://www.gm-trucks...t900-truetruck/
-
I think they supplied you the wrong harnesses and or those tow mirrors are NOT power fold. Power fold DL3 mirrors have two plugs. Also, If they used your vin number to order the harnesses then you won't have the right ones. You'll need a VIN off of a truck that has the DL3 RPO Code. Then you'll need it programmed using that VIN.
-
I'm betting you will need the passenger switch and BCM flashed to make it work.
-
Yes, Sir I've installed tow mirrors in the past and I'm glad I don't need them on my 1500.


-
Forum Statistics
250.4k
Total Topics2.7m
Total Posts -
Member Statistics
342,835
Total Members8,960
Most Online
-
Who's Online 7 Members, 0 Anonymous, 599 Guests (See full list)