

TomCarbonPro
-
Posts
3 -
Joined
-
Last visited
TomCarbonPro's Achievements
New Member (1/11)
3
Reputation
-
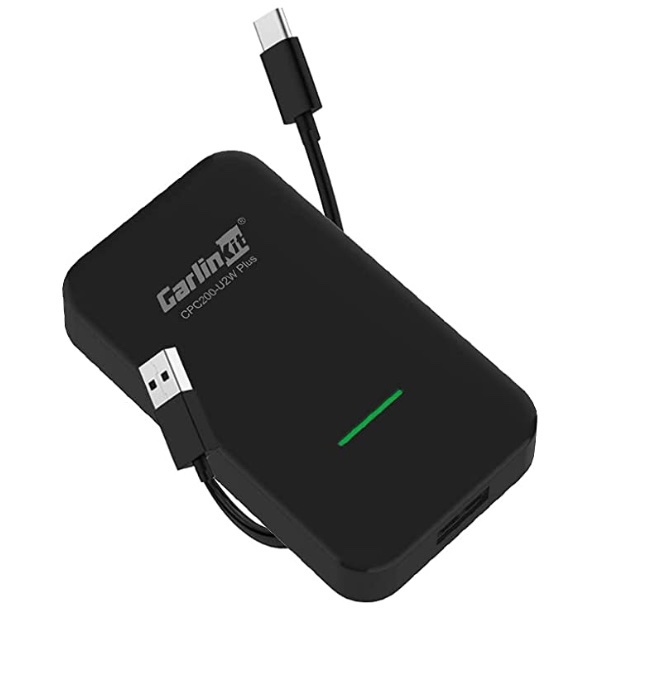
Purchased this CarlinKit dongle for about $100 on Amazon -- https://www.amazon.com/gp/product/B091YWGY2T/ref=ppx_yo_dt_b_asin_title_o08_s00?ie=UTF8&psc=1 Took only minutes to install, used some two-sided tape to mount it in the center console. Works very well on 2019 Sierra AT4. Theres a few seconds of delay as it starts connects to the head unit and launches CarPlay. Steering wheel, etc controls work. Long press on the voice control gets you Siri. Or use an iWatch. "Navigate to the One Warriors Way" and you are off to the game. If I could disable everything else and just have this by default it would be a huge win... Anyone know how to do that? <RANT>Don't understand why GMC would release a vehicle with a wireless charger but no wireless CarPlay. To add insult to injury they actually have al the components, its clear that they just actively chose not to make it available. The native headhunt software is crap from a usability perspective -- I'm a SW engineer and I gave up after 30 minutes of messing with configs, users, etc. Moreover the maps are all old (and crap). The truck actually can't find One Warriors Way on its own, nor could OnStar download the address to the truck. (So much for impressing the wife!) From a car electronics perspective they are over 20 years behind competitors such as Tesla. Love my truck, just wish they would give up on the OEM head units and default to CarPlay / Android Auto. </RANT>

-
Tonneau cover for CarbonPro??
TomCarbonPro replied to Joshua Pessin's topic in Modifications, Wheels & Tires
Excuse the dust, just got back from SandStorm! This was the end result per the instructions from my previous post in this thread. Took a few hours but was a great project for me and the boy!
-
TomCarbonPro joined the community
-
Tonneau cover for CarbonPro??
TomCarbonPro replied to Joshua Pessin's topic in Modifications, Wheels & Tires
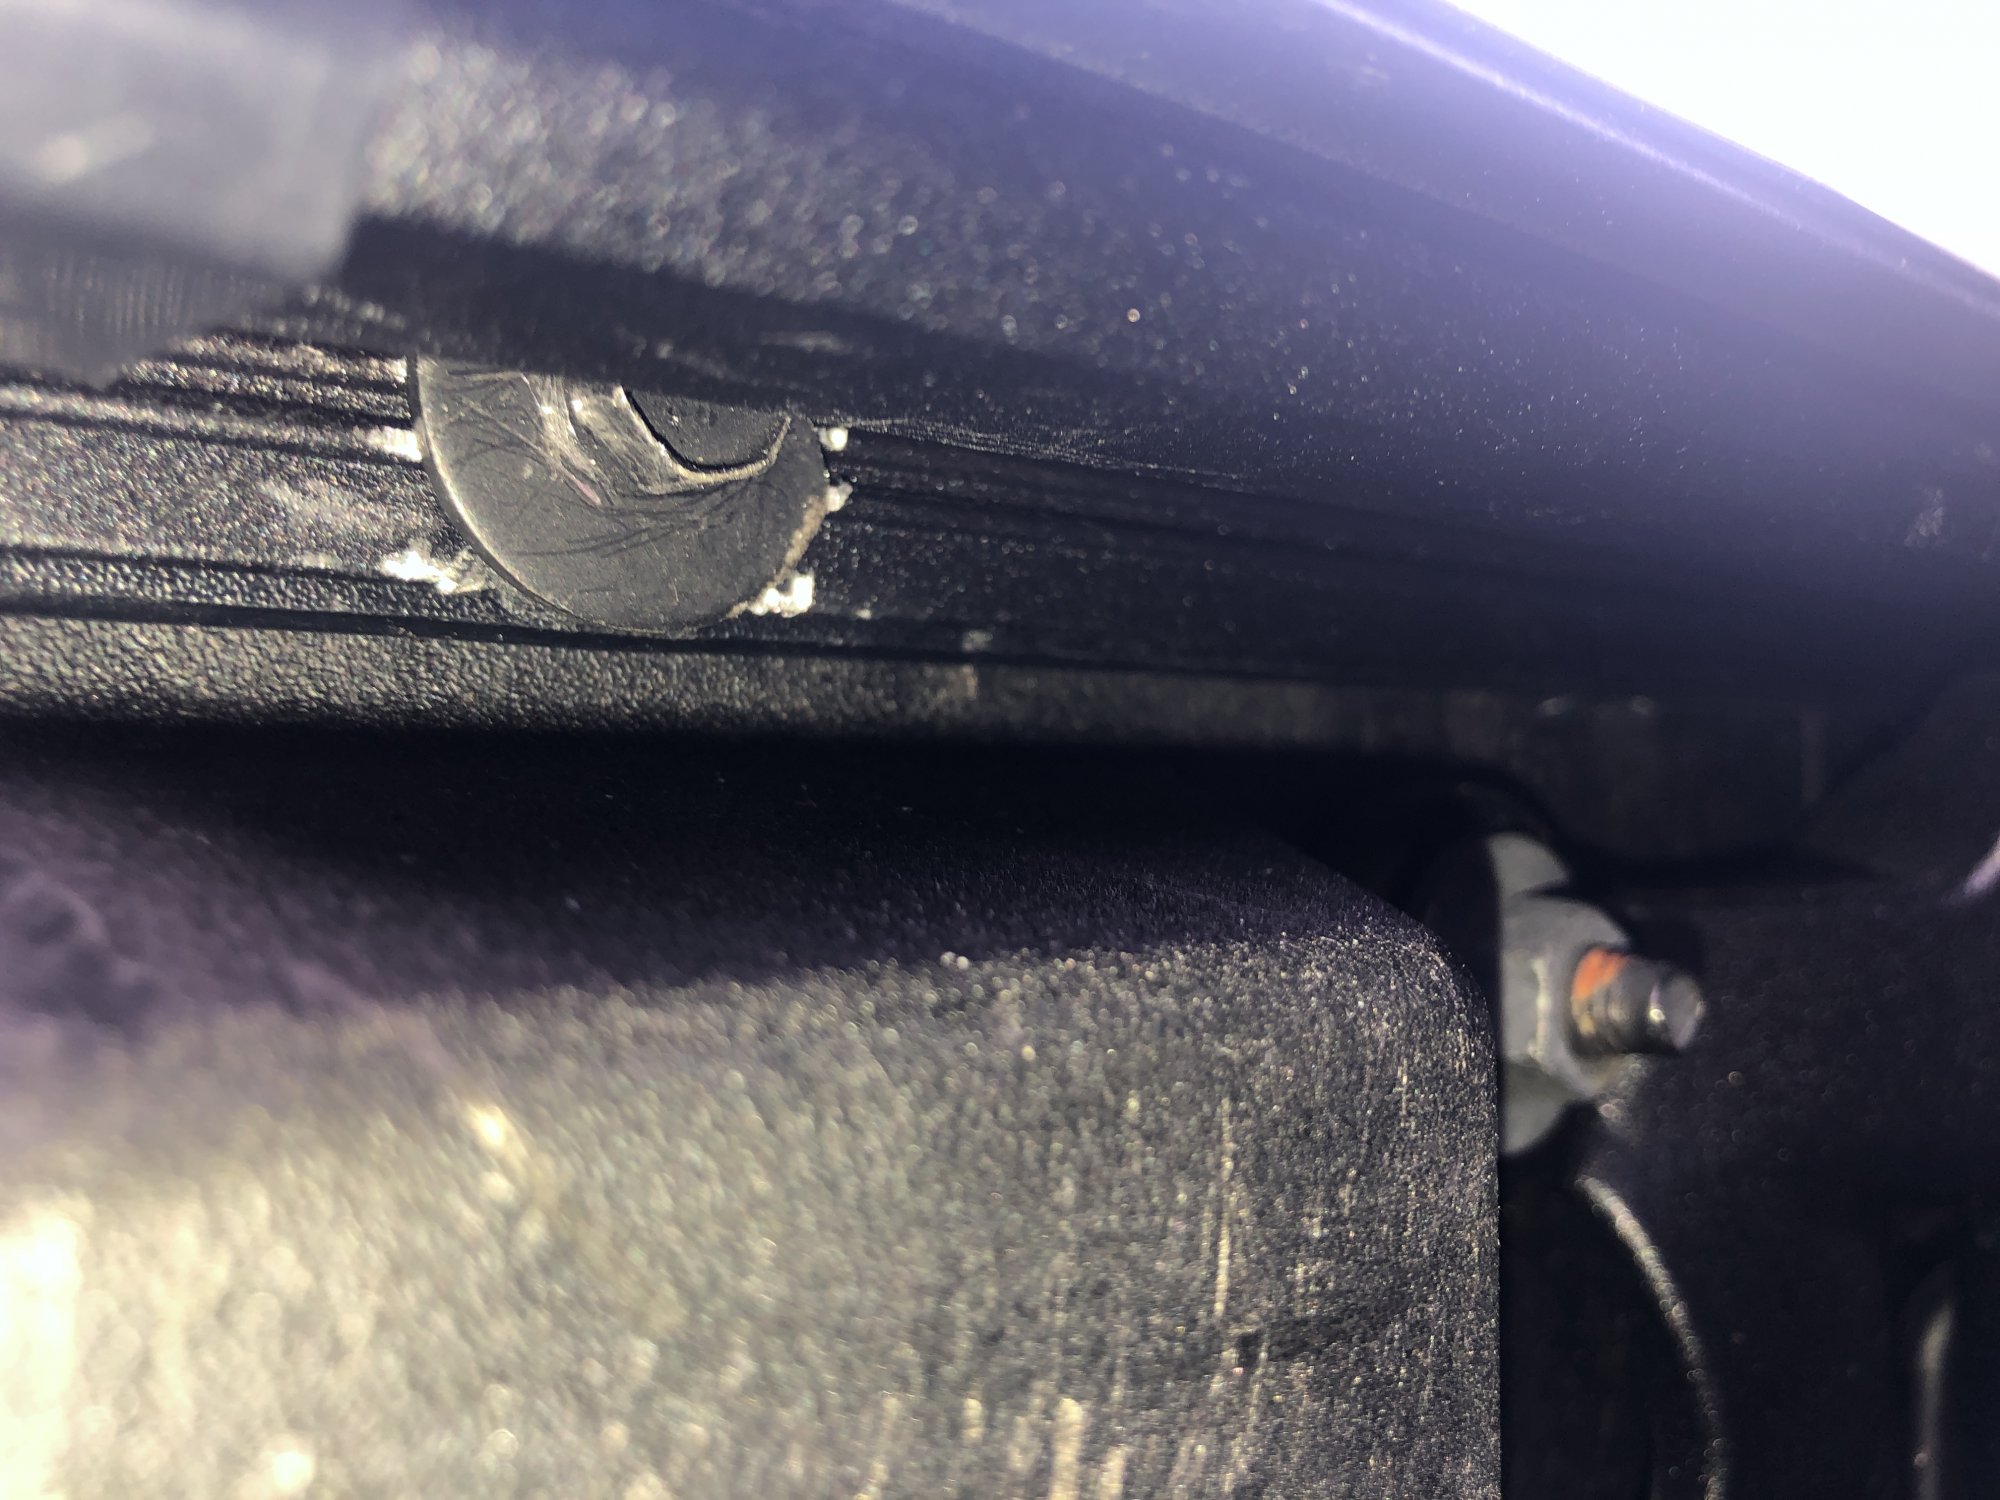
Have installed a BakFlip MX4 on my GMC CarbonPro AT4. Awesome vehicle. Wanted a folding hard tonneau cover that exposed most/all of the bed. This thread helped get me started. From what I can tell this is similar to how the people in theStoops Auto video on YouTube managed it. Here's the solve. (Warning this most likely invalidates any warranty on the cover.) 1. As has been noted in the thread there are a set of holes molded into the carbon pro bed, hidden behind the side panel covers. One of these on each side nearest the tailgate has a rivet nut in place. The others are designed for J-Nuts to be installed. The threads on the rivet nuts are M6-1. I built a tool similar to the one that comes with the GMC Tonneau cover to locate the holes and drill through the cover to expose them. Used a 3/8" drill bit. 2. Purchased a set of J-Nuts (Amazon). The J-nuts I used fit perfectly. These are: Steel Tapped-Hole U-Style Clip-On Nut, Plain Finish, Metric, M6-1 Thread Size, For 0.8 mm-4 mm Material Thickness, 12 mm Edge Distance (Pack of 25). Installed these through the square holes to line up with the round holes in the carbon pro bed. Easy to figure out when you look at it! 3. Purchased a matching set of Hex Head bolts. The ones I used had to have the washer ground down flat on one site to fit into the rail of the MX4. These are: 25 6-1.0 X 25mm Metric Hex Head Sems Bolts - Type CA Ground down one side of the washers flat to near the head and installed these into the J-Nuts and RivetNuts on the sides. 4. Then the tricky part -- the side rails of the MX4 are designed to be clamped to the walls. Instead what I did was to cut slots into the back wall of the rails so that the rails could slide over the hex heads and be bolted into place. To do this I did a lot of measuring to locate the placement of the bolts with respect to the AT4 rails (be nice if GMC documented some of this!). Also set the rails into place to eyeball the locations. Drilled 7/16" holes in the rails at the bolt locations. Be careful to place something behind the rail so you only drill though the back wall of the rail. Then cut using tin snips or similar slots to the holes. 5. Slid the rails down over the hex heads (flat washer side up) and bolted into place. Had my son push down on the rail at each location while I tightened the bolts to ensure a proper tight fit of the rail to the bed wall cover. See photo. 6. After that just followed the instructions for the normal install of the MX4 tonneau cover. Looks great, works like a charm.


-
Forum Statistics
250.3k
Total Topics2.7m
Total Posts -
Member Statistics
342,730
Total Members8,960
Most Online
-
Who's Online 5 Members, 0 Anonymous, 1,161 Guests (See full list)