

taze
-
Posts
69 -
Joined
-
Last visited
Content Type
Profiles
Forums
Gallery
Events
Articles
RPO
Store
Blogs
Everything posted by taze
-
I like the rake, too, but I'm old. That gold bowtie is a nice touch. I'm also team no stickers, but I'd probably be too lazy to take them off myself. Now, how big of a turbo can we put on that thing?
-
Alternate wiring for Kicker sub with Bose system. (DO THIS)
taze replied to Tjeli's topic in Modifications, Wheels & Tires
Use one set of positive and negative into the Kicker. This should work for the other amp plugs and has the pinouts for you. A little overkill to get the what you're looking for, but could be worse. https://soundsgoodstereo.com/products/pac-aph-gm02-speaker-connection-harness?srsltid=AfmBOoqQWjVsP3WLybAeokKKOHra_E-7RZI_mQSND2dzOqgFDo2xs6Q9 -
I know a lot of people say don't ever buy the first year of a new engine and they're probably correct. However, If I was in your position, there's no way I'd pay all that money for the 6.2 when the 6.6 is right there. Not to mention that new interior looks great, and hopefully the seats are truly improved. If I didn't have all the money (and sweet equity) dumped into my stereo and new shocks over the last year, I'd be trading up 100% for that 6.6. But if the 6.6 wasn't there, and a 6.2 with all its known problems was available, I'd 100% get the 6.2 (again). You have to determine your appetite for risk.
-
Those headrest speakers look fun! Standard panoramic roof on the AT4X might be a deal breaker for me unless I can delete it. Maybe I should just supercharge my truck and call it a day. We'll see what I think of all the new trucks when I see them in person.
-
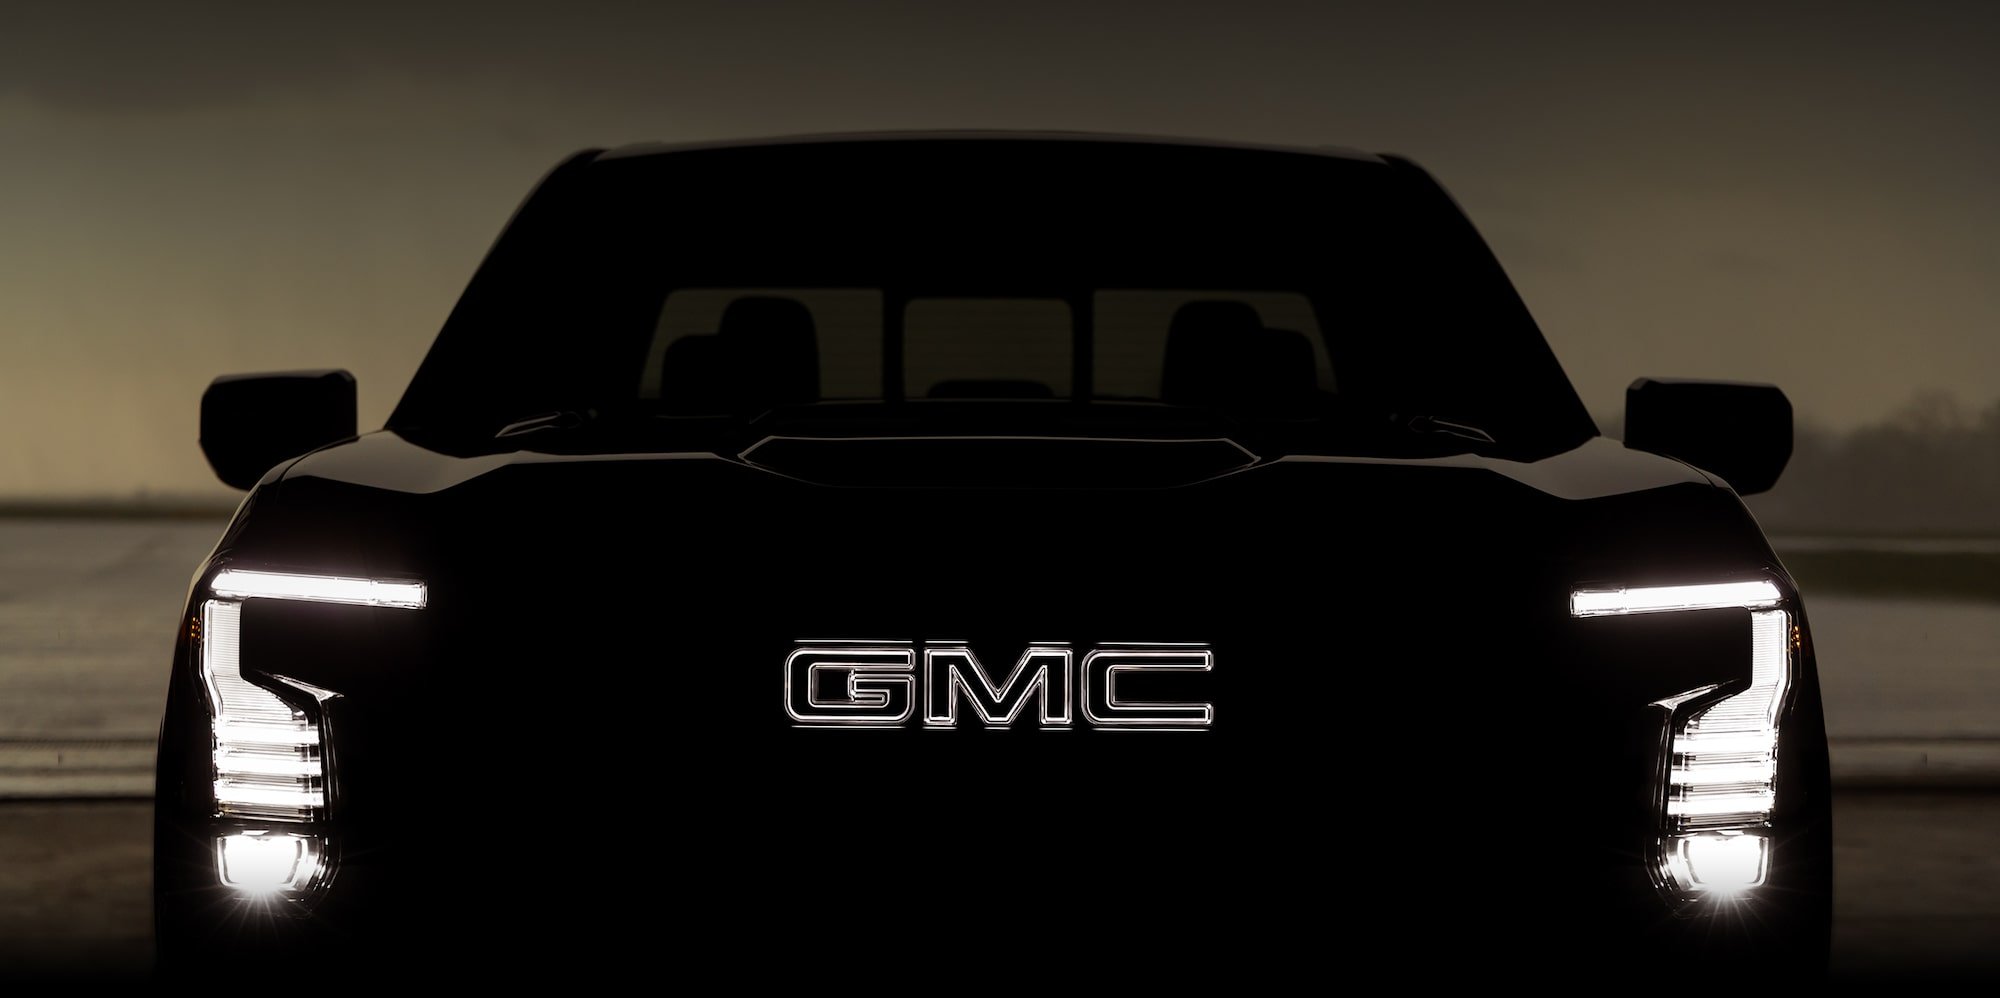
Not exactly what I was hoping for, but I do like it. I wonder if they'll bring back Smokey Quartz Metallic? https://gmauthority.com/blog/2026/06/here-is-the-all-new-2027-gmc-sierra-1500/
-
This AT4x with a 6.6L might fix me...

-
Opening the door, isn't that the fuel pump priming? (that's what I always assumed) Lot's of crazy clicks and things after I kill it. Relays? Underpants gnomes? (iykyk)
-
It also seems like to me it won't kick in over 80, is that true? Maybe because it needs too much throttle to stay up there?
-
You probably have this figured out by now, but just in case. I MAY or may not have done the same thing once.... I was able to open mine from the outside. I wonder if the rubber around the door lock plunger thing on the top of the door card (no idea what it's called) is impeding that from coming up? I'd think you'd be able to get in from the other side and pop the rubber around the door lock out and the open from the outside, maybe?
-
What about the switch? My old Tahoe I had the same type symptoms and that's what I replaced. Black Front Driver Side Door Window Control Switch - GM (84699726)
-
Bose Wire Harness
taze replied to Daniel Formichelli's topic in 2019-2026 Silverado 1500 & Sierra 1500
This is a combination of posts elsewhere in this forum that I used. Granted, I have 2021, but maybe the pre-refresh 22 is the same: BOSE Amplifier from the amplifier behind the rear seat on the wall: Harness #1 = 16 pin pin 4 = Left rear door speaker (+) green pin 5 = Right rear door speaker (+) white pin 6 = Left corner dash speaker (+) blue/violet pin 7 = Right corner dash speaker (+) brown/black pin 12 = Left rear door speaker (-) green/black pin 13 = Right rear door speaker (-) blue/black pin 14 = Left corner dash speaker (-) blue/brown) pin 15 = Right Corner dash speaker (-) white/yellow Harness #2 = 8 pin pin 1 = Constant 12v power = RED/Yellow pin 2 = Left Front door speaker (+) blue pin 3 = Right Front door speaker (+) yellow pin 4 = Center Console Subwoofer (+) Blue/GRAY pin 5 = Chassis GROUND pin 6 = Left front door speaker (-) pin 7 = Right Front door speaker (-) = Yellow/Black pin 8 = Center Console Subwoofer (-) = Green/Black Harness #3 = 16 pin all for data so do not mess with it. you can use this color code as a reference pin 7 = gray pin 8 = white/black pin 13 = blue/yellow pin 14 = blue/white
-
This may not be the issue, but worth checking before you get too deep in the weeds, I'd think:
-
Yeah, I don't know why I was looking at the 2500 when it said 1500 in the title. edit: But it looks like the hood on the 1500 is also the same from 2020-2025. 84610676
-
Hood is the same part number from 2020-2025. You'll need filler panels (under the headlight above the bumper) looking at the picture (86525588, 86525587) Edit: My bad, I was looking at 2500s for some reason (I can't read).
-
Waterfall sound in dash at startup
taze replied to tjonesdfw's topic in Troubleshooting, Warranty & Recalls
I can smell this post. Hope they get it fixed right! -
Wired to wireless Car play/Android upgrade.
taze replied to BlackJack997's topic in Modifications, Wheels & Tires
I'm looking forward to getting a nav upgrade from you once I finish the back end of my install! That plus PAC AP4 and an amp is the same as the Kenwood+RR+Install kit and actually adds a functionality that I'd like to have. -
New bulletin/Campaign 6.2 L87
taze replied to tbarn's topic in 2019-2026 Silverado 1500 & Sierra 1500
Mine passed the test yesterday. '21 with about 42K miles. -
Did you use the factory wiring or run new speaker wire? If you ran new wire, how'd you get around/through the (molex?) connector in the doors?
-
Looking at the GM instructions, I think this is the module you need to work with? Terminal type 2 seems to be all power so you'd be looking at type 1, 19370262. But that's a whole pig tail: https://www.amazon.com/GM-Genuine-Parts-19370262-Splice/dp/B0F2C11LSK from https://www.gmupfitter.com/wp-content/uploads/2023/11/24_Silverado1500_Electrical_Body_Builder_2023Nov29.pdf
-
Bilstein 5100's on stock LT Trail Boss?
taze replied to Atlas's topic in Modifications, Wheels & Tires
It looks like the 5100's can be set to give you up to 1" lift(level) on a Trail Boss. I can't comment on the control arms. I will say I went with 6112's/5160's on my RST and love 'em. Be sure you get the Trail Boss specific part numbers either way. You will need a spring compressor unless you buy pre-assembled from some place like shock surplus. I also can't help on difficulty of install. I watched a video and said no thanks. I dropped it off at a shop at open one morning and picked it up at noon the next day as it came back from alignment. -
One thing I'm not sure anyone's mentioned yet, Sterling Gray Metallic does an excellent job of looking clean, even when it's not. That may or may not make a difference to you. I almost got a Mosaic Black. I signed all the papers while they went all the way to the other side of town to bring it back from another dealer and it turned out to be black. I have a black Victory and I knew I couldn't handle washing my truck that often. They weren't happy with me that day...
-
I really hope he went L8P so he can tell me about the experience.
-
I had amps screwed into the carpet under my seats in my '97 Tahoe and cables under the carpet for ≈20 years without issue. The one under the rear seat did have a board under the carpet it was screwed into, IIRC. On this truck, I'm probably going the lazy way out and buying a pre-cut rack from Sounds Good Stereo to go behind the seat. All the connections I'm using are back there anyway with the Bose amp. Kind of expensive, but I think it'll save me time and effort, and I think that's worth something. https://soundsgoodstereo.com/products/2019-2021-gmc-sierra-chevrolet-silverado-custom-made-amplifier-rack-plate-board Either way will work fine, so it's really which one do you feel like doing.
-
No sir, if you go with the LC2i you don't need an epicenter. The LC2i has the capability to "restore" bass already.
-
That would work good. Wired in series for 2Ω and feed the sub 300W should be just right.


-
Forum Statistics
250.4k
Total Topics2.7m
Total Posts -
Member Statistics
342,854
Total Members8,960
Most Online
-
Who's Online 7 Members, 0 Anonymous, 629 Guests (See full list)