TigerTruck
-
Posts
43 -
Joined
-
Last visited


TigerTruck's Achievements

Enthusiast (2/11)
3
Reputation
-
Tailgate won't open due to tonneau cover?
TigerTruck replied to TigerTruck's topic in 2019-2026 Silverado 1500 & Sierra 1500
I came up with a solution if the tailgate fails to open. The cover is opened by squeezing two latches together to release the cover. These latches are 2" apart. I bought a pair of needle nose pliers 16" long. I heated up the ends and spread them out in a gentle S curve to they are a bit over 2" wide when fully opened. There is just enough clearance to slip the pliers under the cover and engage the latches. I now carry the pliers, a plastic pry tool ( to pry up the cover when the latches are disengaged), and a torx screwdriver to take apart the tailgate. The bins under the backseat provide a convenient storage area. I have since had two more times when the tailgate has not opened but it only lasted a minute before the tailgate started functioning again. The issue is so infrequent that taking it in for service would be a waste of time. -
Tailgate won't open due to tonneau cover?
TigerTruck replied to TigerTruck's topic in 2019-2026 Silverado 1500 & Sierra 1500
Cover was installed a few months ago and never had this problem. I think it was a combination of opening the tailgate a few inches then closing and the cover was a little low on the left side. I made adjustments and seems to work fine. I'm now concerned about the tailgate failing again from a mechanical reason with the cover closed. I'm trying to come up with a way to open the cover while its closed and tailgate up. -
Went to put something in the bed of my truck and after pushing the button, nothing happened. All the lights came on and the tones sounded but no movement. I let it sit overnight and the next morning the tailgate worked fine. Here's the what happened leading up to the tailgate not working. The truck is new, purchased on 12/6/25 and like usual, i put a bunch of accessories on it. First was a bed liner, next was a ACCESS tonneau cover. Tailgate worked fine until yesterday. I had rolled the cover back to put stuff in the bed. Yesterday, I rolled it back down, opened the tailgate a few inches and snapped the cover closed, and closed the tailgate. A short time later, I tried to open the tailgate and it would not open. The next day it worked and I noticed that one side of the cover was about 1/8" below the side rails. I re-adjusted and works fine. Research revealed only one youtube video that says when opening the tailgate, it must be fully opened before closing. Is this true? Owners manual make no mention of this.
-
My 2026 Silverado is great and all those cameras can be helpful. Has anyone heard anything about adding the Surround Vision Recorder option I have seen in other GM models? It really seems like a waste not being able to record from the cameras. I installed regular front and rear dash cams but the OEM cameras would be a better option
-
Not really that hard to fill the trans fluid. It can be a little messy but not at all hard. Plenty of videos on how to do it on Youtube. Hardest part is removing the pan. I was able to rotate the pan and it came right out. No jacking of exhaust needed. I did mine when the temp sensor went out. That was an easy, messy replacement, too.
-
NS300L Head Bolt Thread Repair 2015 Silverado L86
TigerTruck replied to TigerTruck's topic in Engines & Drivetrain
You can only drill and tap 9 holes. Save the hole #10 in a space that is easy to do. You will have to set the insert next to the last hole to finish the job. Each hole must be oil free. You will need multiple cans of BrakeKleen to clean the holes. Please note: MAKE SURE YOU HAVE GOOD VENTALATION, BRAKEKLEEN STINKS!!!!! I cleaned them this way: start at the upper holes and spray slowly into the hole until the junk coming out clears up. CAREFULLY AND SLOWLY, with a rag covering the hole, blow out the brakekleen. I repeated this at least two more times and the final time used lots of air to dry the hole out. I then spray the insert to make sure it was oil free. The rag will catch most of the brakekeen. Immediately toss the rag outside. The instructions say to screw in an insert to make sure the hole is deep enough. I tried to do this but I got worried that the insert would get stuck because it did not screw in cleanly. I found out that as long as the holes are drilled fully and the holes are tapped fully, the inserts will screw in all the way with the threadlock applied. The threadlock acts as a lubricant and I did not have any real problems screwing in the inserts. I allowed the threadlock to set up for 24 hours but I don’t think it really set up since its so cold in my garage. I do have a heater that I use while working but I turn it off overnight. I reinstalled the head and had no problems with the bolt holes. I did purchase a new digital angle torque wrench from Lowes that made torquing and the final two angle tightening sequences a lot easier. Even still, that one lower head bolt next to the firewall was tough. -
NS300L Head Bolt Thread Repair 2015 Silverado L86
TigerTruck replied to TigerTruck's topic in Engines & Drivetrain
Tapping the hole, long bit
-
NS300L Head Bolt Thread Repair 2015 Silverado L86
TigerTruck replied to TigerTruck's topic in Engines & Drivetrain
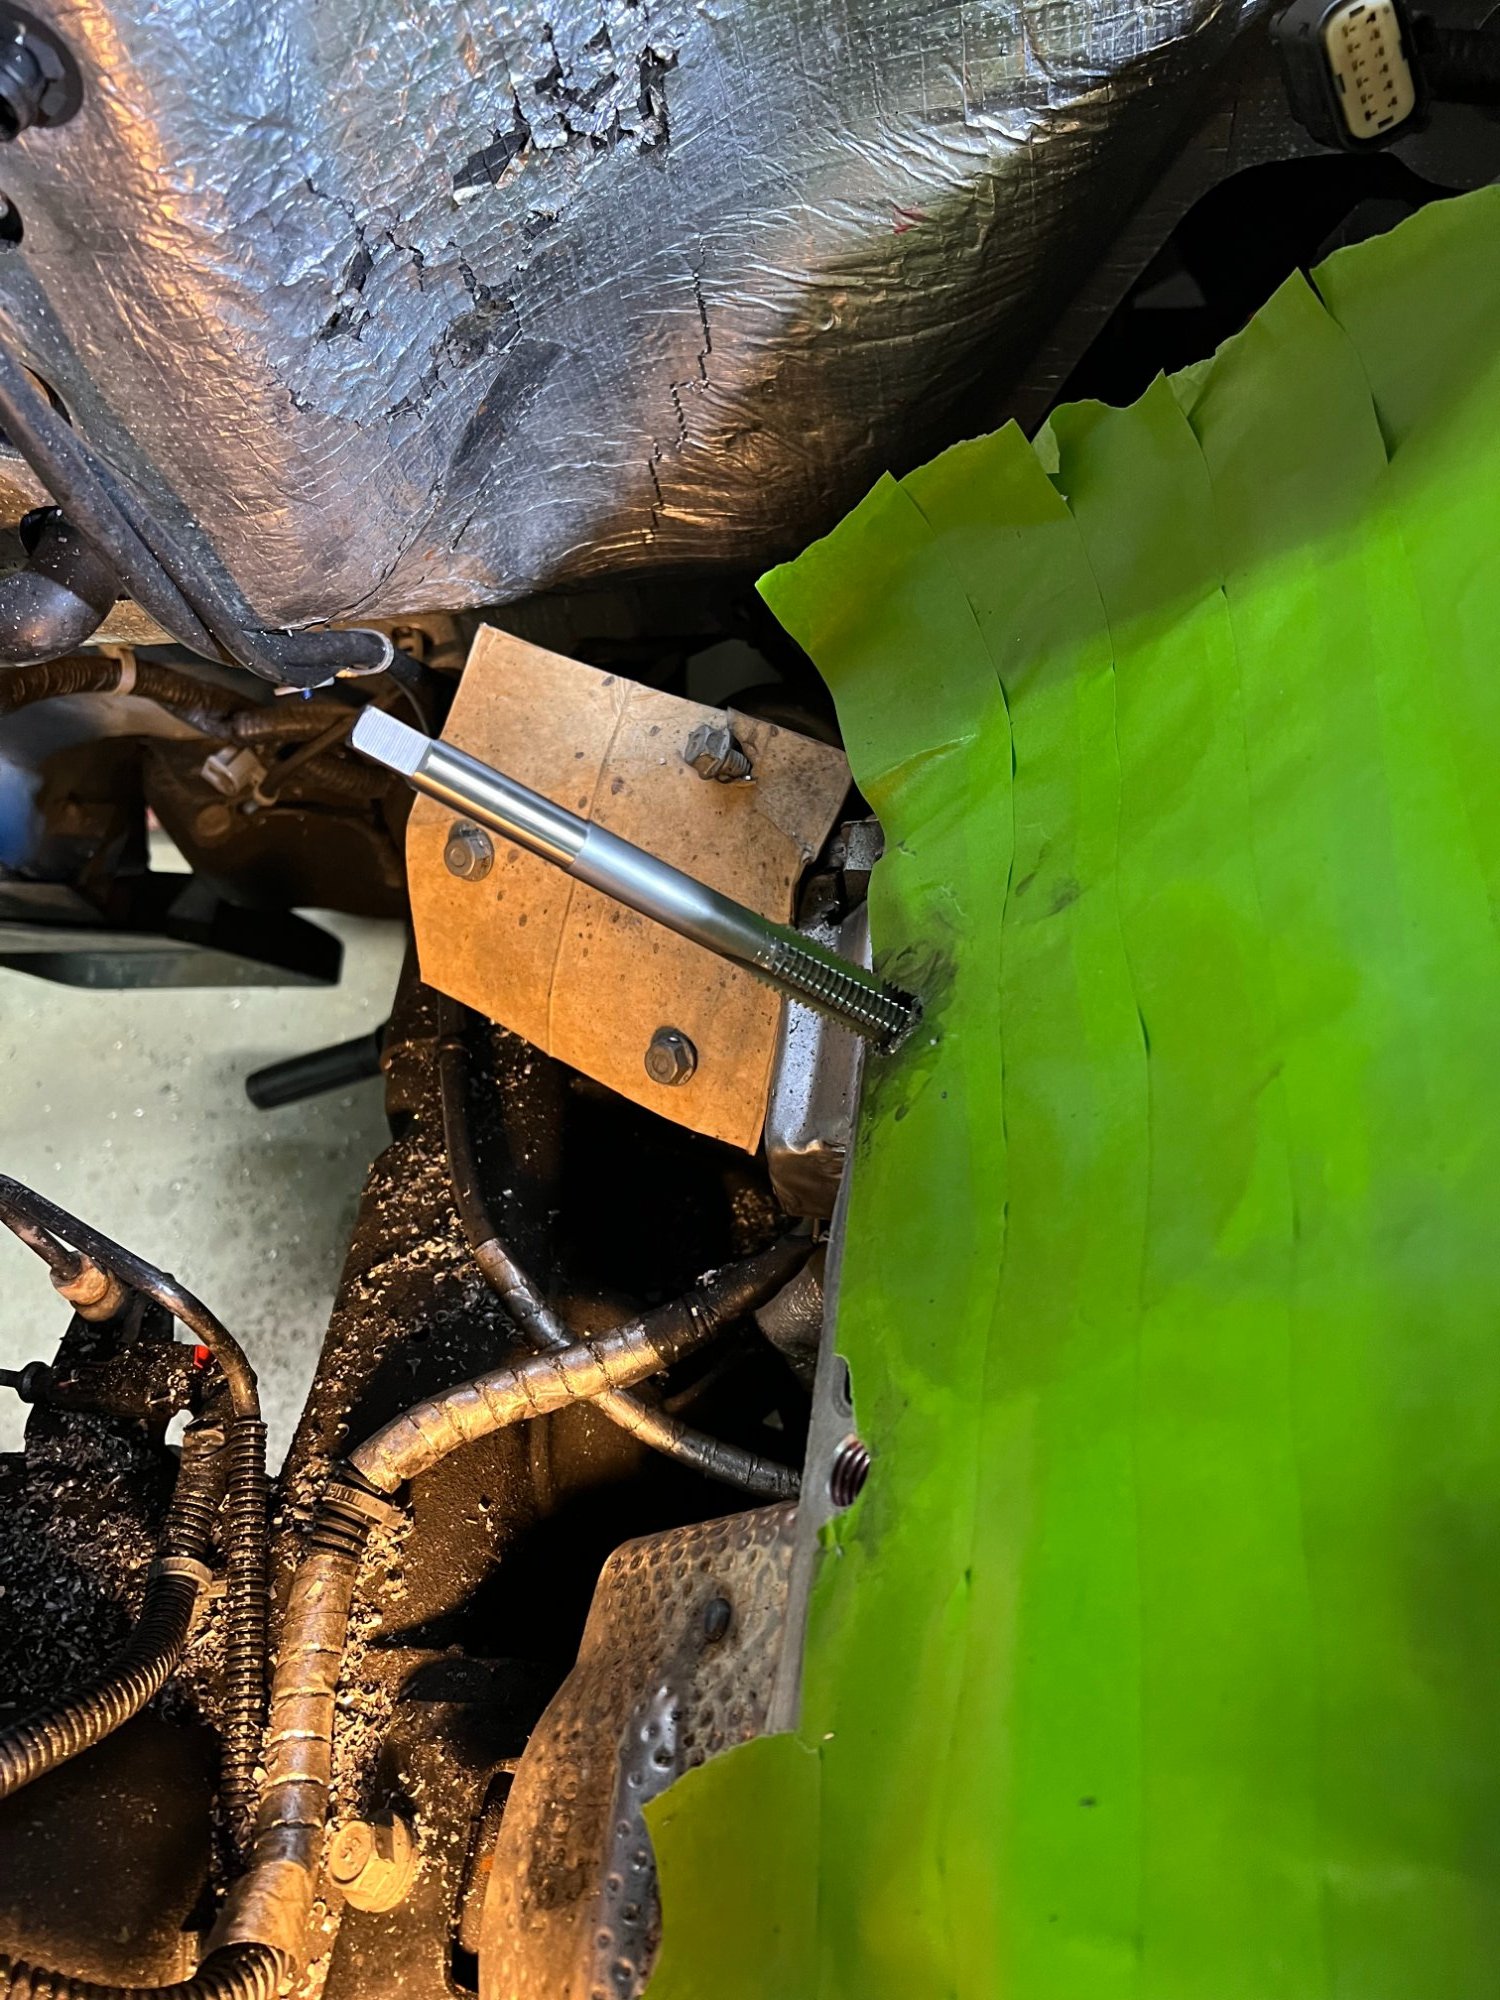
Tapping the hole, short tap
-
NS300L Head Bolt Thread Repair 2015 Silverado L86
TigerTruck replied to TigerTruck's topic in Engines & Drivetrain
Newly threaded hole. Appears to be off a little bit. This only happened withe one hole.
-
NS300L Head Bolt Thread Repair 2015 Silverado L86
TigerTruck replied to TigerTruck's topic in Engines & Drivetrain
Fully drilled hole. That mark in the center is where the ground tip of the drill bit hits.
-
NS300L Head Bolt Thread Repair 2015 Silverado L86
TigerTruck replied to TigerTruck's topic in Engines & Drivetrain
Stock undrilled head bolt hole
-
NS300L Head Bolt Thread Repair 2015 Silverado L86
TigerTruck replied to TigerTruck's topic in Engines & Drivetrain
Long bit that comes with the kit
-
NS300L Head Bolt Thread Repair 2015 Silverado L86
TigerTruck replied to TigerTruck's topic in Engines & Drivetrain
Medium Bit
-
NS300L Head Bolt Thread Repair 2015 Silverado L86
TigerTruck replied to TigerTruck's topic in Engines & Drivetrain
Short bit
-
NS300L Head Bolt Thread Repair 2015 Silverado L86
TigerTruck replied to TigerTruck's topic in Engines & Drivetrain
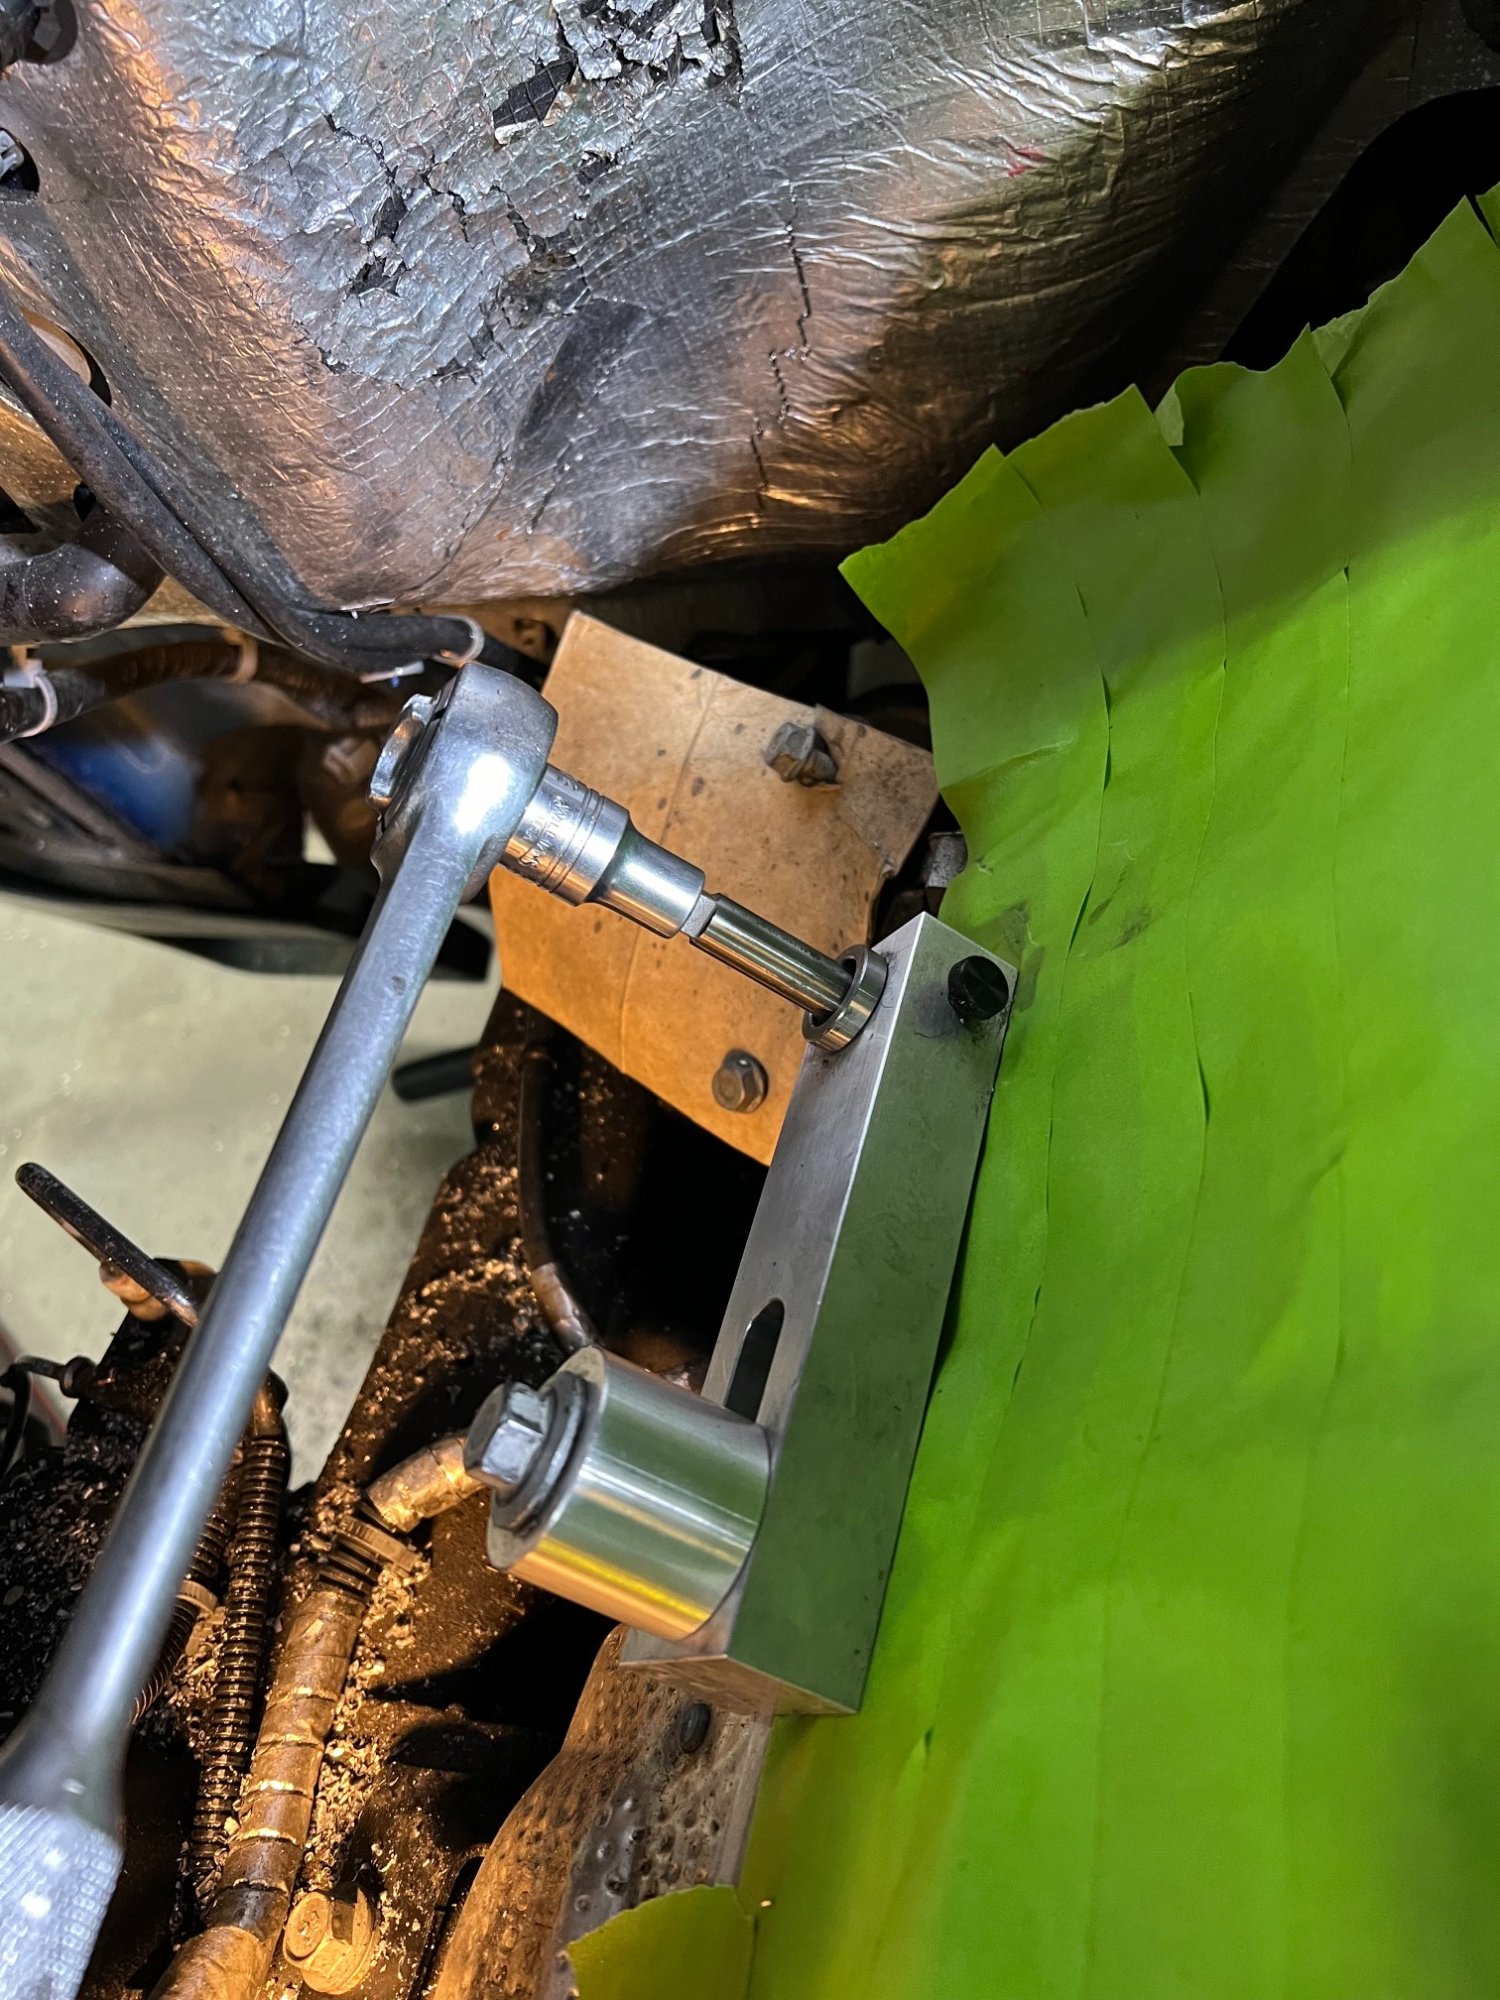
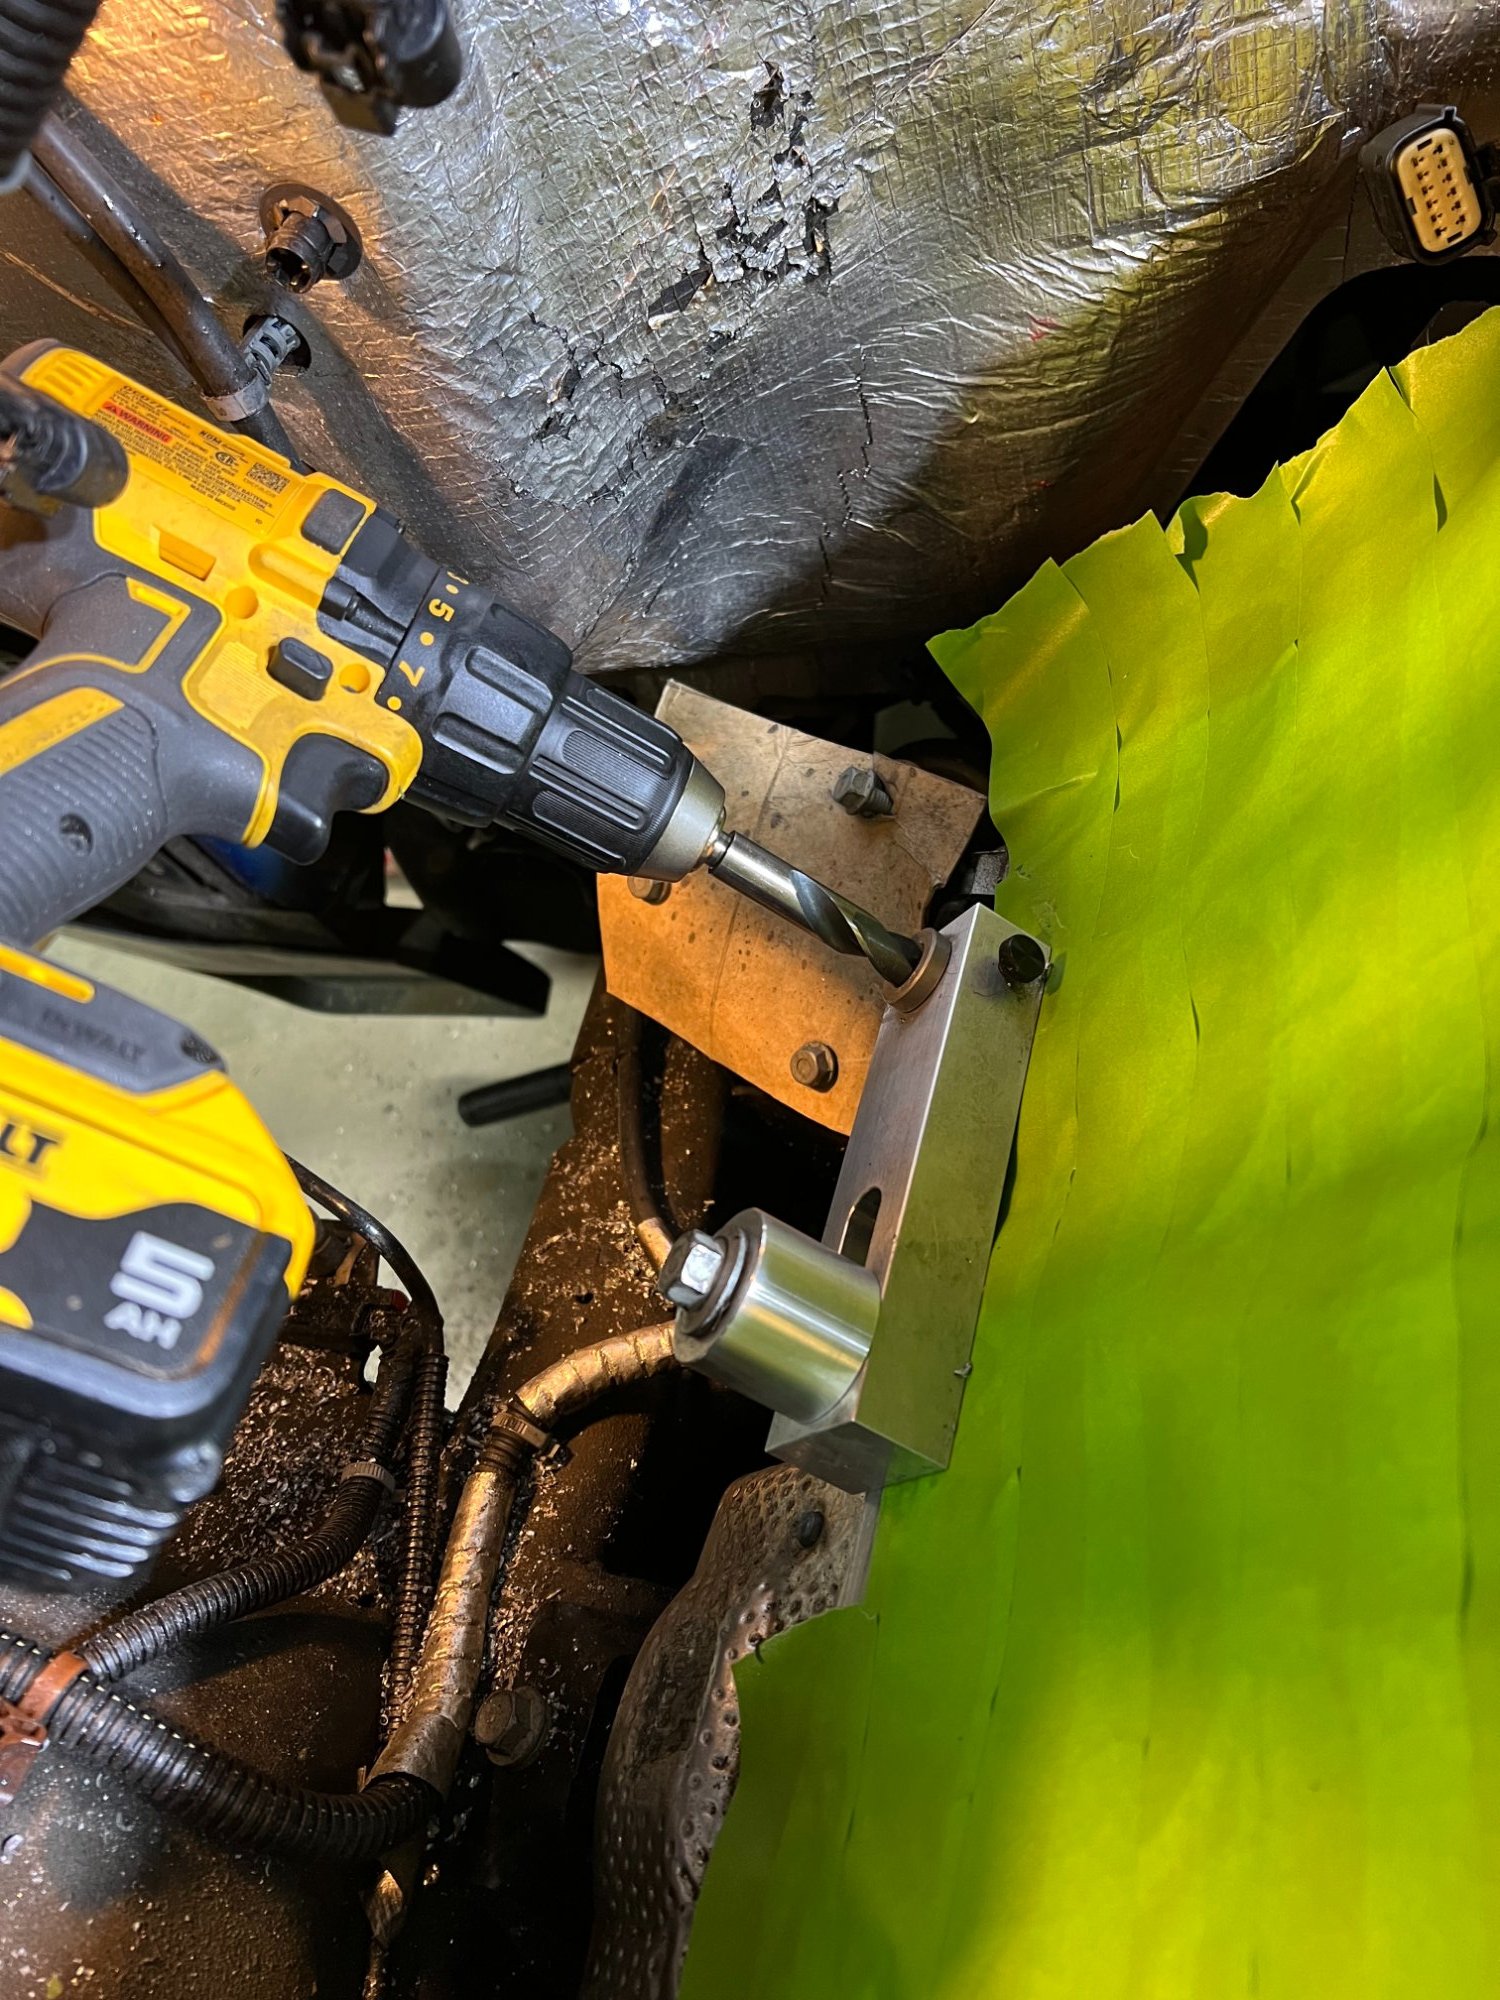
The holes in question are the two next to the firewall and the next lower one from there. I must have not taken a picture of the angle adapter being used. Basically, I set up the jig and used the short drill bit. Things may get tight so you may need to put the bit in the jig and attach the angle drill adapter to the bit. Then attach your drill to the adapter. Drill as far as you can. Back out and remove the adapter then remove the bit. Remove the jig and repeat with the short drill, being careful not to tilt the drill bit. Use air to blow out the chips. Be careful, the chips will fly everywhere. Wear eye protection. After drilling with the short bit, repeat the process with the next 3/8 shank bit without the jig. This bit will go to the bottom of the hole. Remove the adapter, then remove the bit. Use air to clear the hole. Wear eye protection. I used a Depstech endoscope for every hole. You need to make sure the hole is drilled to the bottom, then to make sure the hole is tapped to the bottom. Instructions say to not use any powered drills to tap the holes. I used a 7/16” ½” drive 12 point socket to do the tapping and a 3/8” drive speed wrench to remove and screw in the taps. Tap Magic was added each time to the drill and tap. The small tap can be screwed in as much as you can. Remove the tap, remove the jig, and clean the hole. Insert the longer tap and screw down with the speed wrench, then tap ¾ of the way down with the rachet. Remove tap, blow out hole, and screw the tap 7/8 down, repeat and finally screw the tap down until it stops. Do not force any futher. Remove, blow out, inspect with endoscope.