

HoosierZ
-
Posts
722 -
Joined
-
Last visited
-
Days Won
11
1 Follower
Recent Profile Visitors
7,350 profile views


HoosierZ's Achievements
")
Enthusiast (6/11)
626
Reputation
-
 Good to hear you got it figured out. Did you grease the upper ball joints before you put the caps on? I don’t believe mine were greased from the factory so I greased them when I installed them.
 -
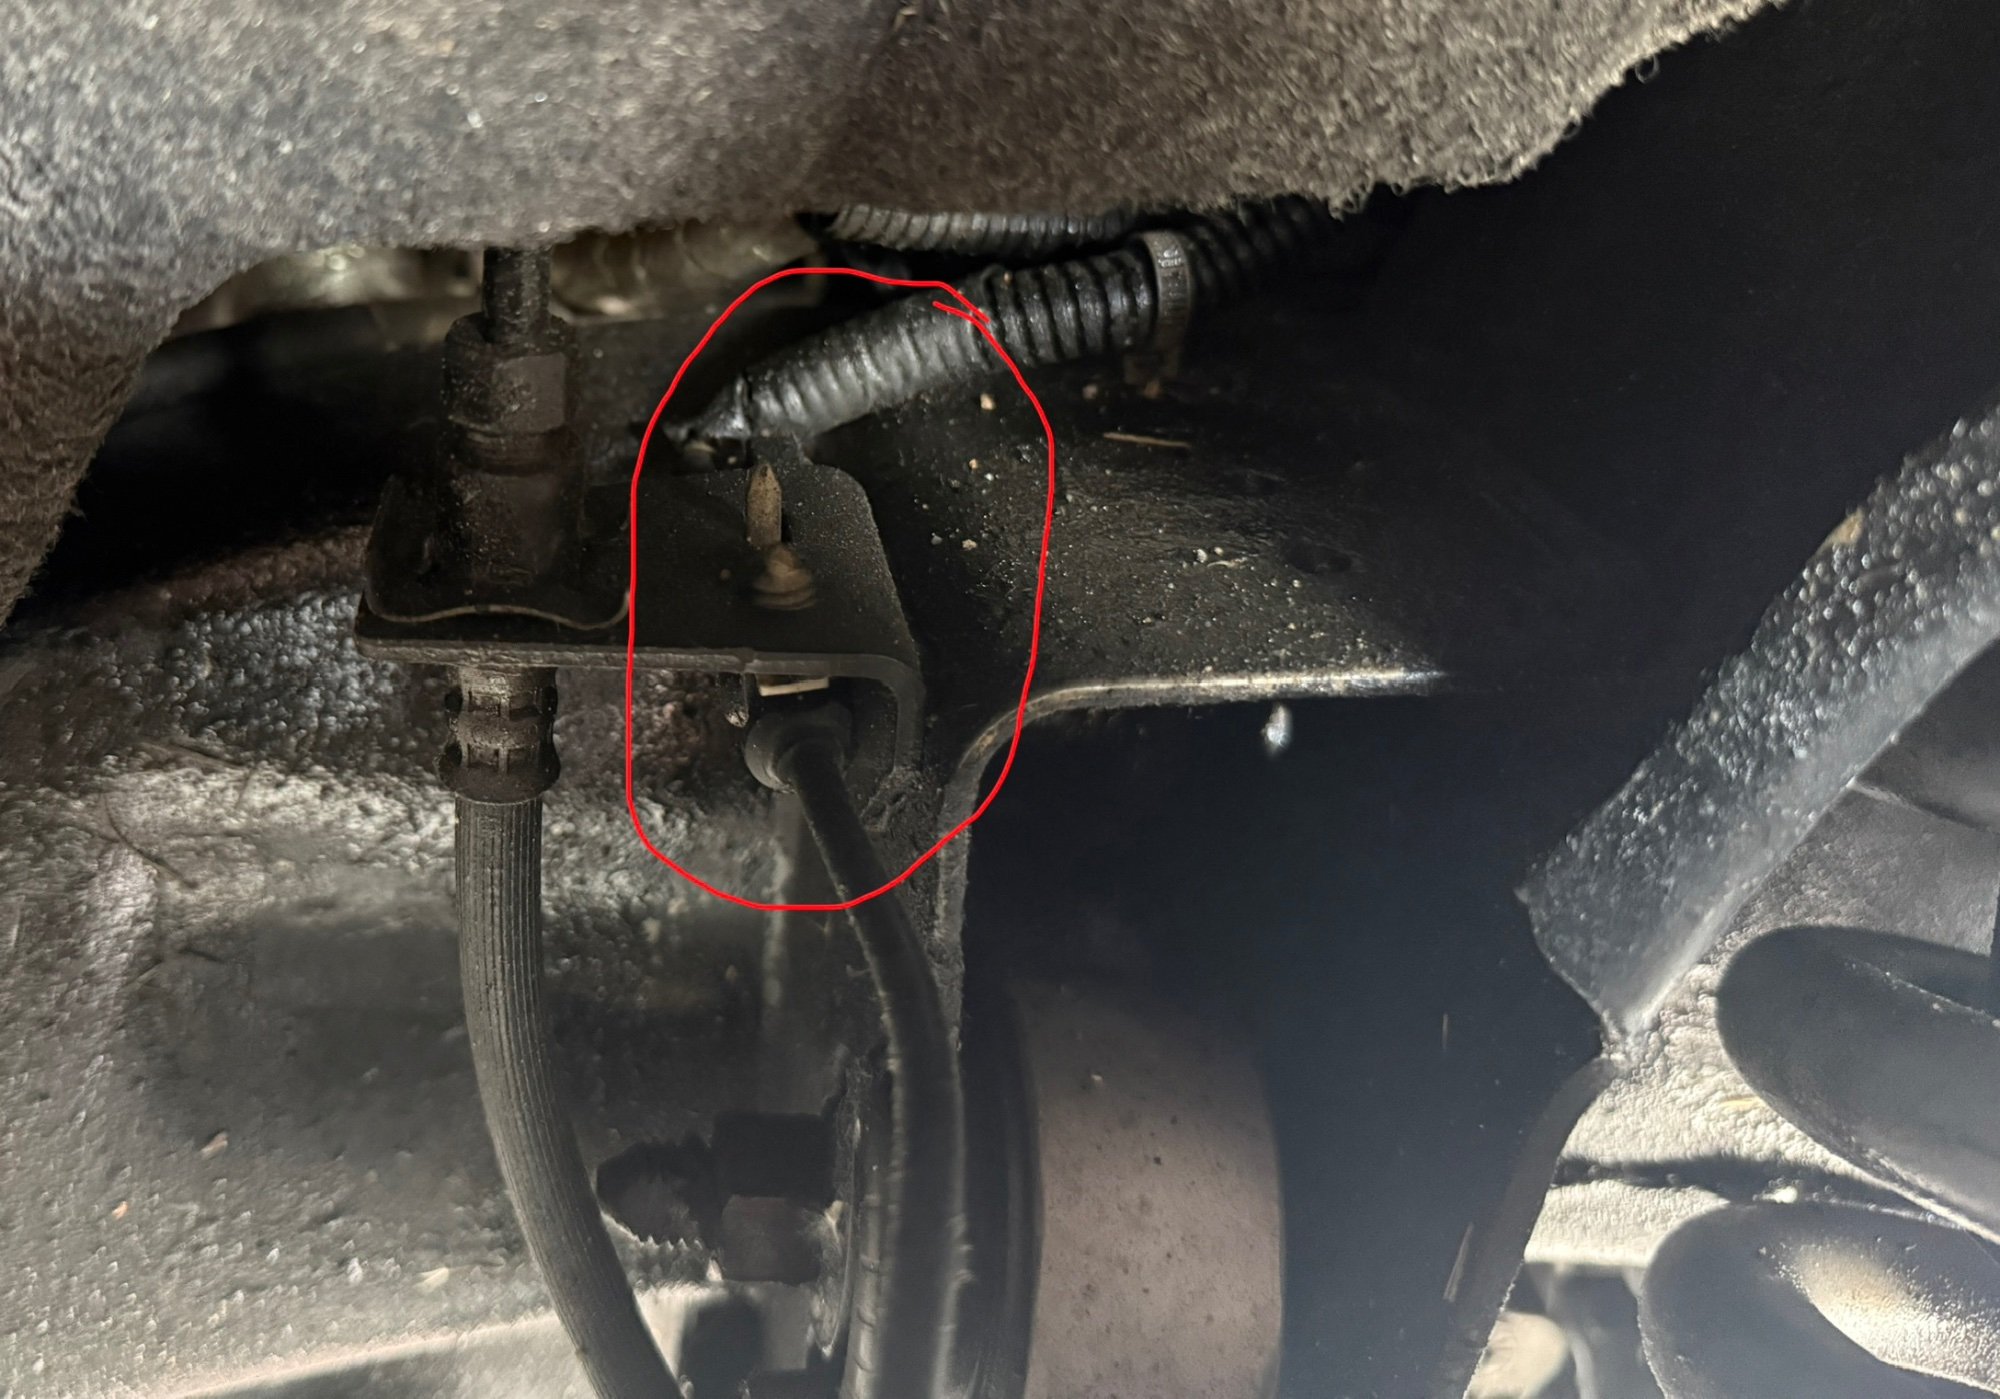
The spring tension has no effect on the lower mounting bar. Do you have a bench vise you could clamp the bar into and try rotating it by pulling on the top shock mount to spin the bar? A little heads-up on your ABS wires. When I put the new Superlift arms on mine, the ABS wires were pulled a little too tight for my liking. I popped out the connectors at the frame and flipped them to the bottom of their mounts and it gave the wires more slack.

-
Compress the springs and rotate the shock 180 degrees so that the angle of the bar matches the angle of the LCA.
-
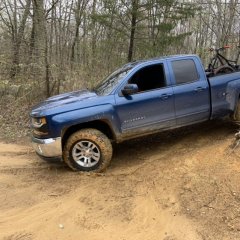
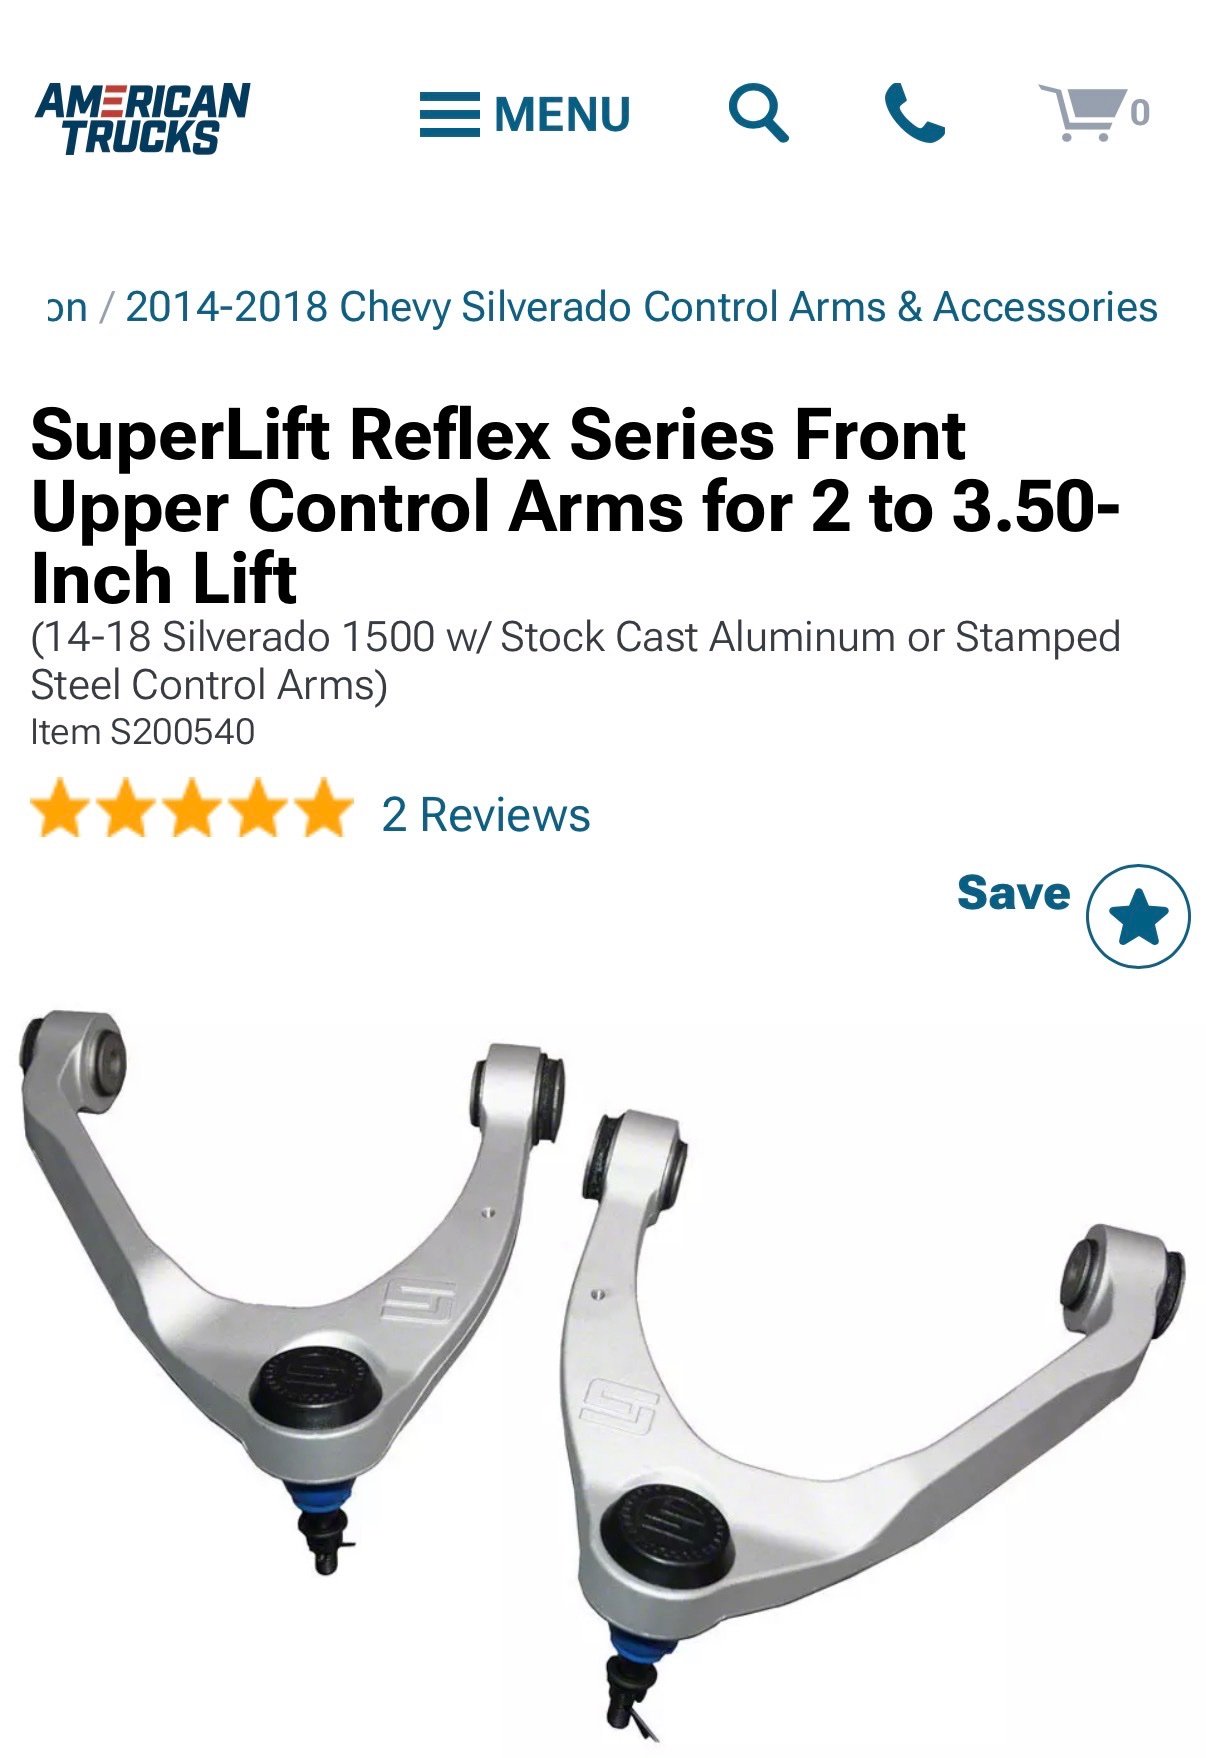
Those are the correct Eibach front shocks. You posted the same link to the front shocks as the rear. Your truck definitely has the stamped steel arms. These are the Superlift arms you need. They are the same ones I have on my truck that had factory aluminum arms.
-
The Bilsteins will give you a firmer ride. Maybe look into Eibach instead. They are a little softer valving than the Bilstein and not as harsh. I went with the Eibachs to get their 2-1/2” lift springs which are a little stiffer than factory. There is nothing to set on the rear shocks. Just bolt them on and go. For upper control arms, I have the Superlift 2-3 1/2” aluminum arms on mine along with 305/65/18 KO3s on 18x9 +12mm offset wheels and I have no rubbing issues with the control arms. Compared to a 265 on the factory +24mm offset 18s, the inner sidewall of my tires is about 8mm closer to the control arms.
-
2016 Sierra 1500 windshield washer pump
HoosierZ replied to Billyhsat's topic in Troubleshooting & Recalls
I replaced the pump in my 2016 last fall. It would have been nice if the engineer would have designed the tank to place the pump where it could be accessed without having to remove the tank which requires pulling back the fender liner to get to the mounting screws. -
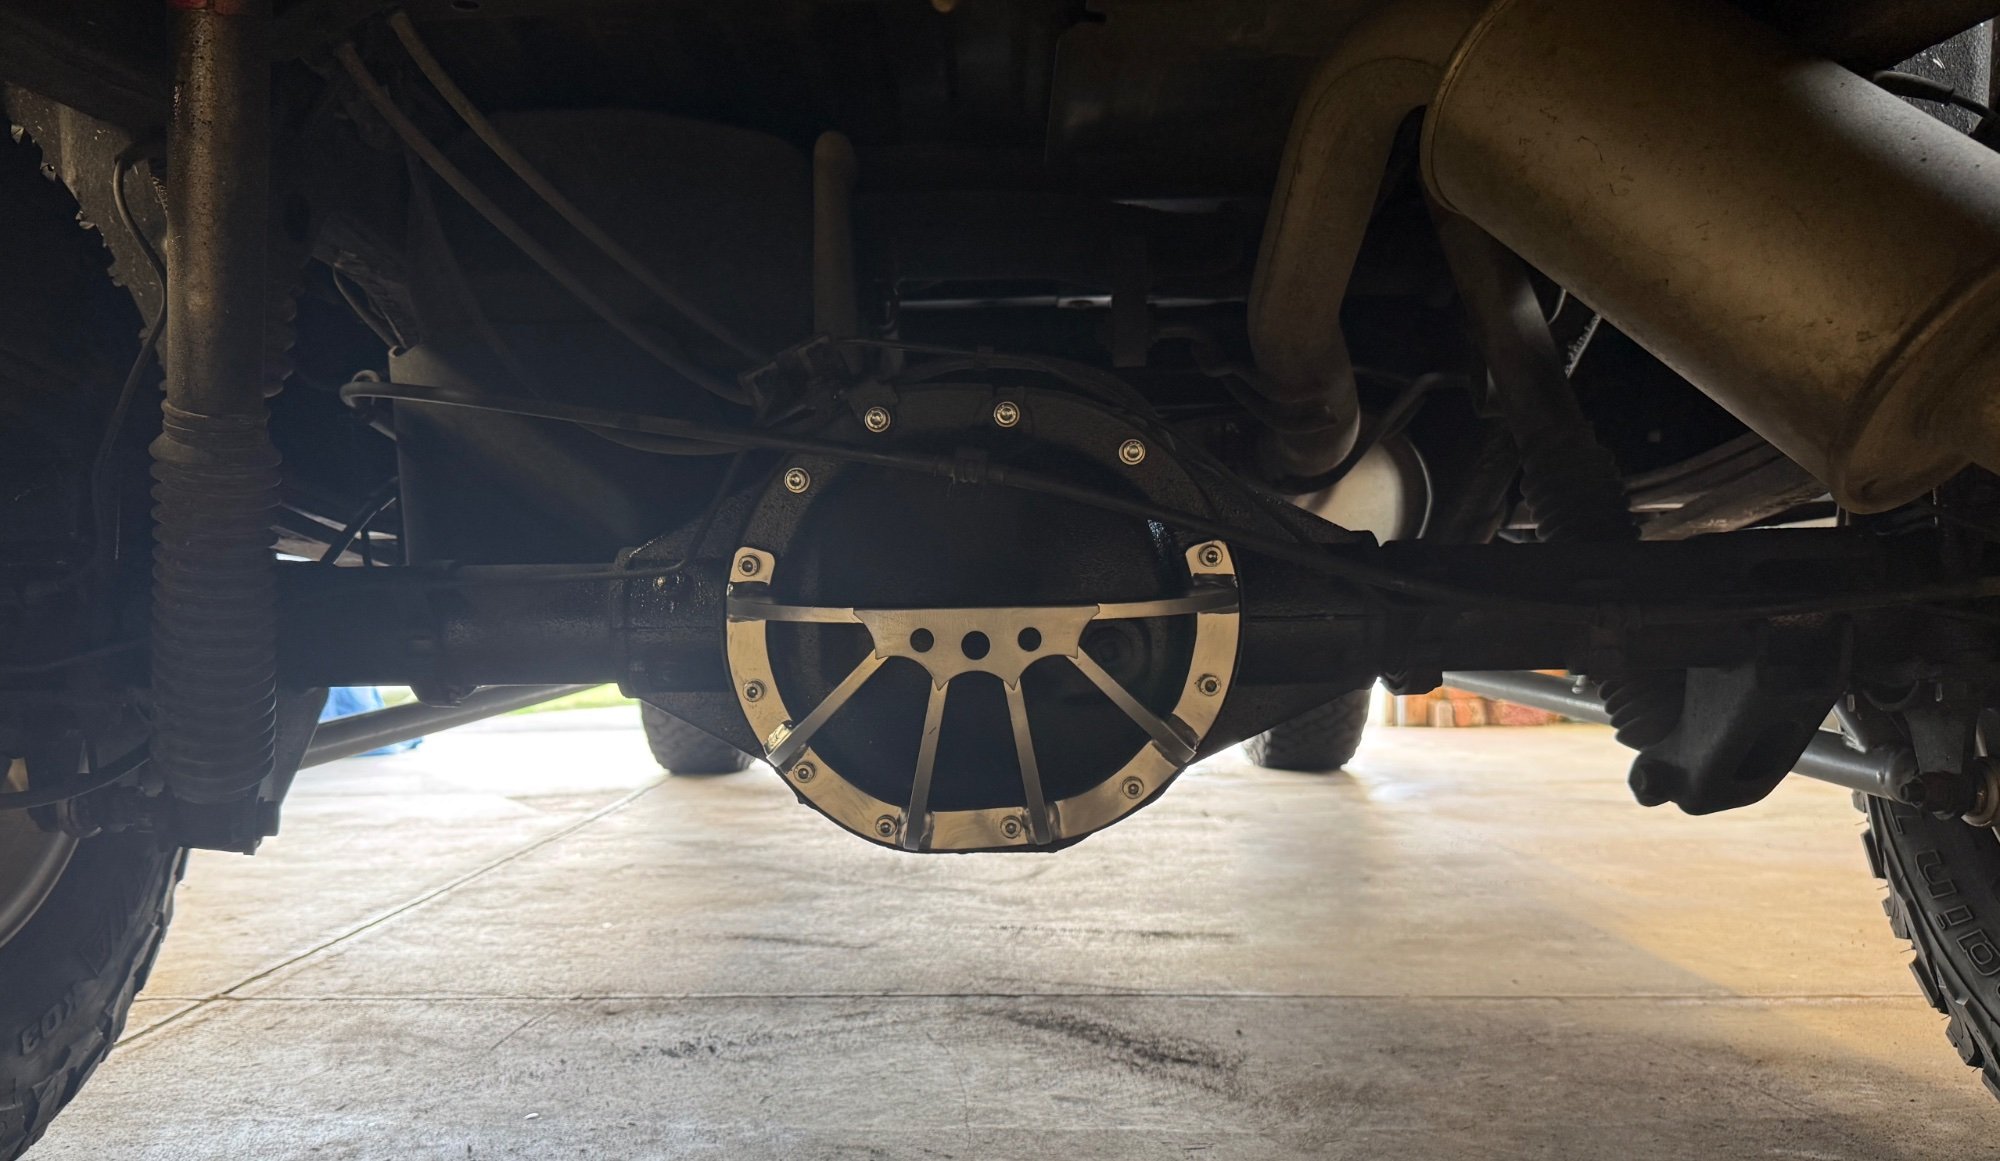
It would take one hell of a hit to damage the housing considering the 3/8” thick steel tying 8 of the bolts together and reinforcing the cover mounting flange. I don’t plan on putting it to the test. Again, the guard is mainly for looks.
-
Finished the guard today.
-
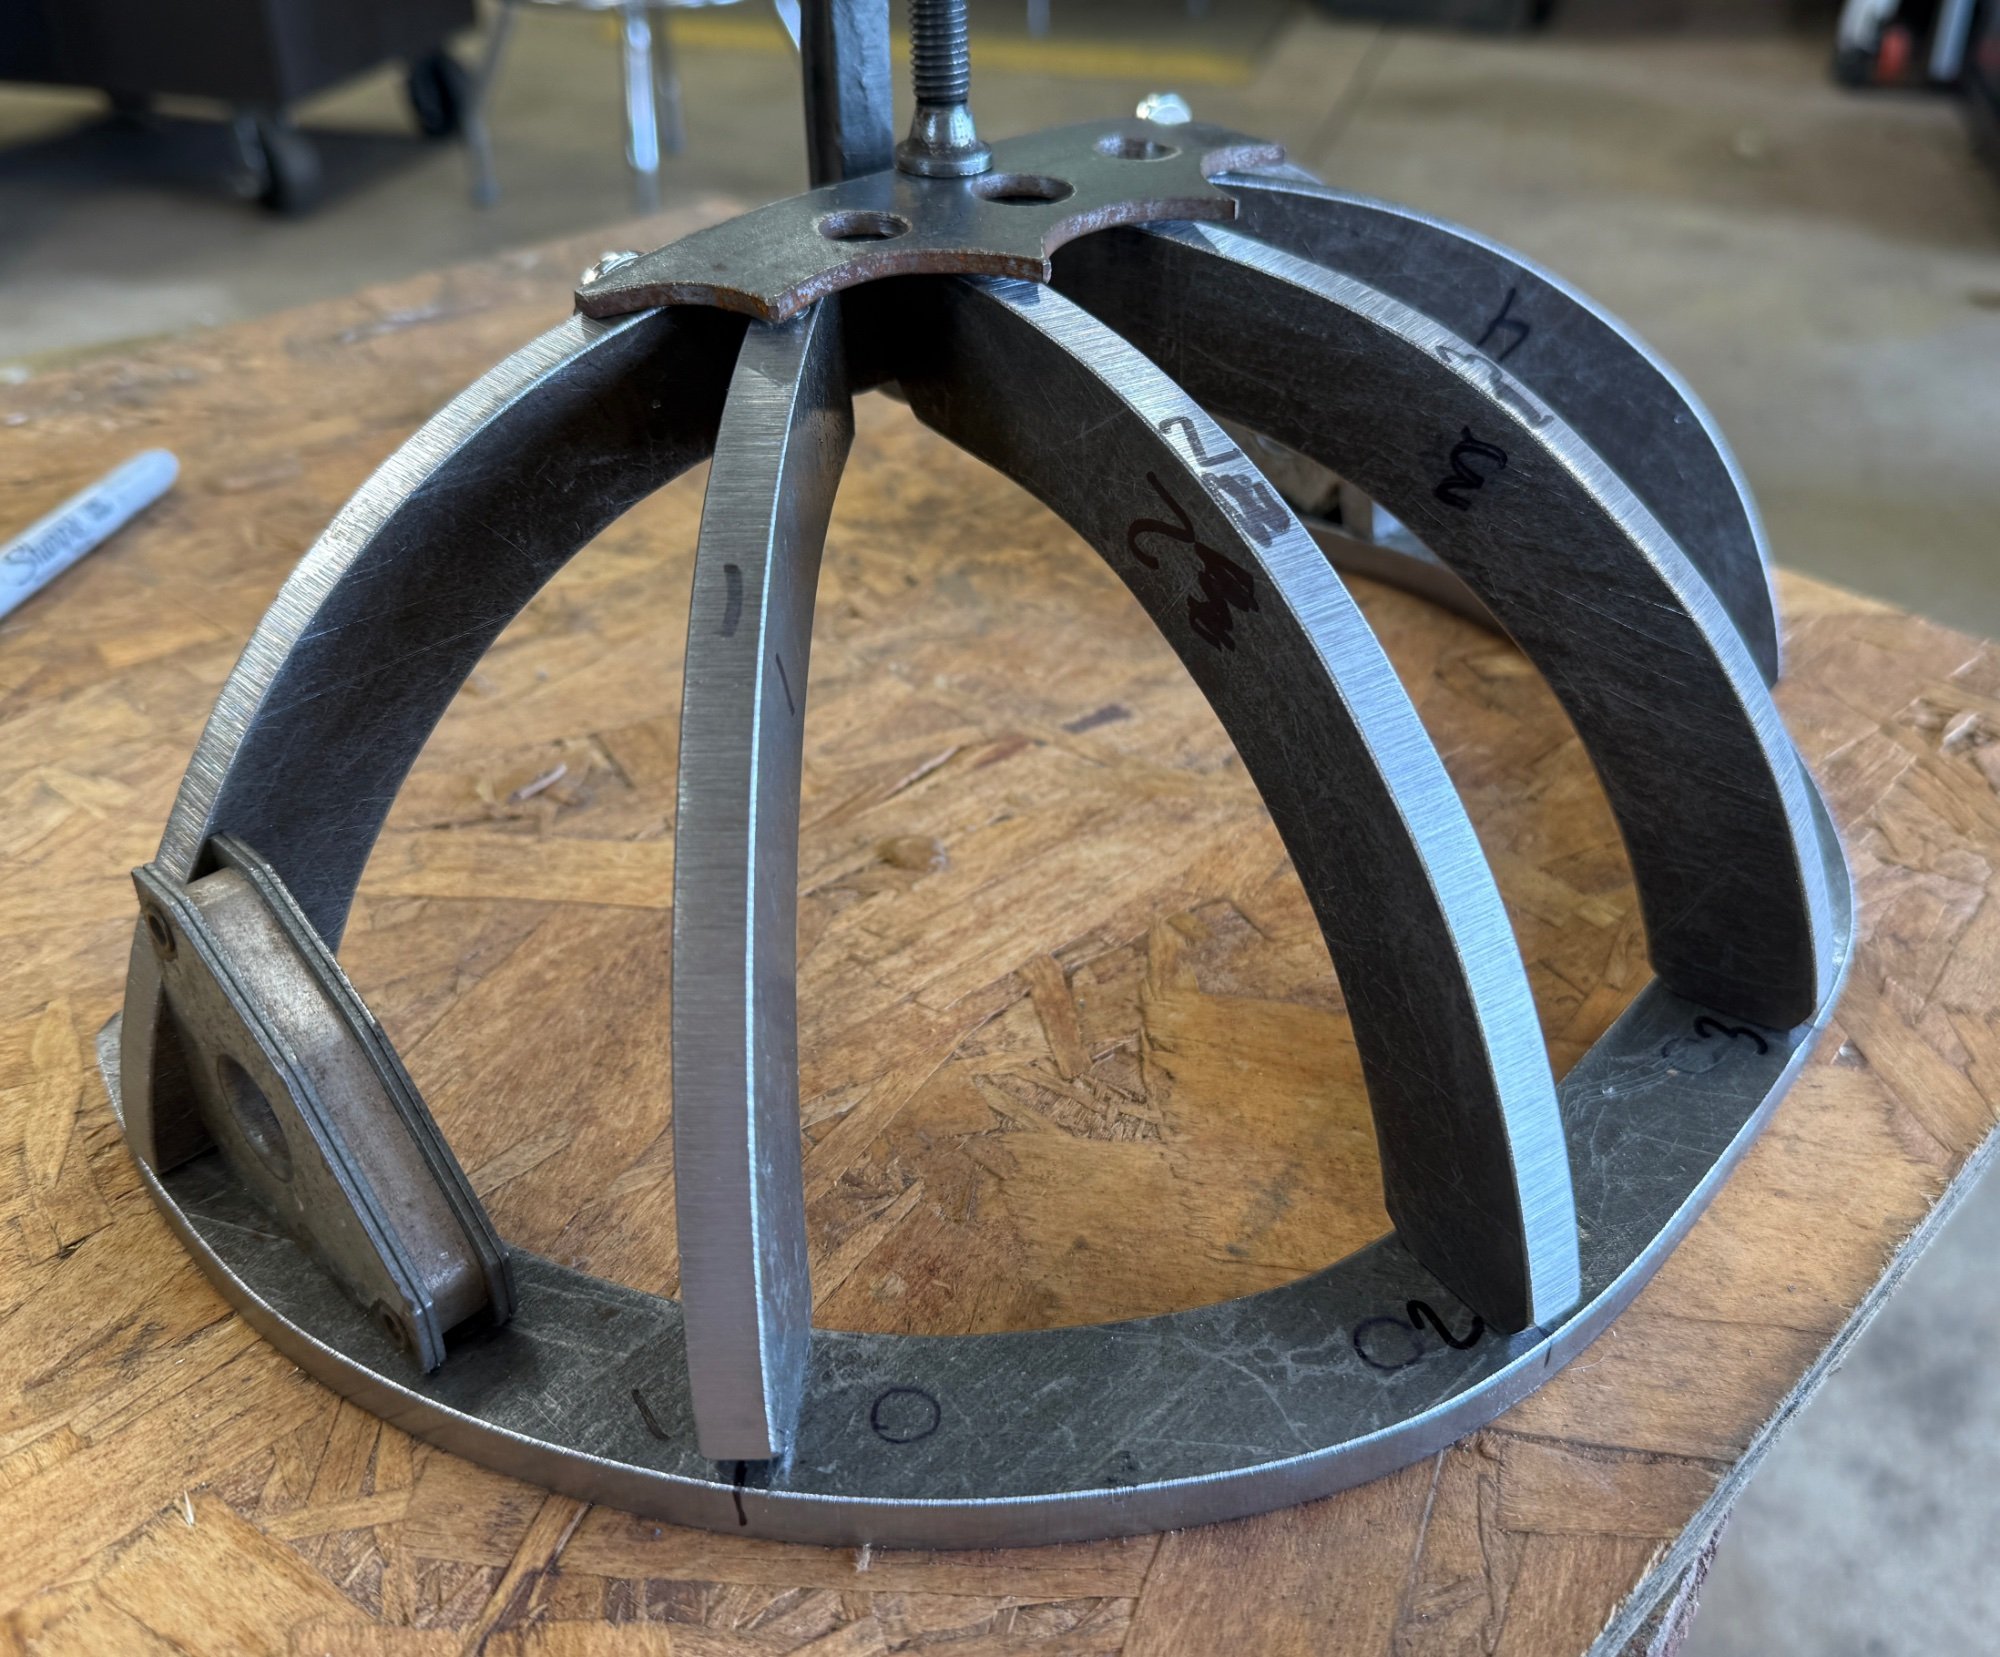
Pieces are all cut and ready to weld.
-
Help! GM SU8 9.5” Skid Plate Options
HoosierZ replied to s10dragracer888's topic in Modifications, Wheels & Tires
I like the skid plate, but I wouldn’t trust those straps to hold on if you actually hit the skid plate on anything. Did it come with any mounting brackets or hardware to attach it? -
Fast forward almost 6 yrs and I finally started cutting out pieces for this forgotten project. Luckily, I found the cardboard templates. It is going to be made of 3/8” thick steel instead of 1/4”.
-
The spacers will fit, but the stock style lug nuts won’t fit through the smaller holes in my aftermarket wheels. They make different lug nuts to use with aftermarket wheels.
-
Help with oil seep leak exhaust manifold
HoosierZ replied to Yotaman's topic in Troubleshooting & Recalls
After I replaced my leaking valve cover gaskets, it took a while for the residual oil to burn off of the exhaust manifolds. -
The spacers are the same for factory wheels and aftermarket. The lugs are different though. The factory style ET lugs have a larger shoulder diameter and larger hex size. They won’t work with my aftermarket wheels either.
-
You’re welcome. They are a snug fit into the bore of my factory wheels. I tapped them in with a soft dead blow hammer. I wouldn’t feel safe using the spacers without the ET lug nuts. MikeBMW posted a video, not me.
- 13 replies
-
- 1
-

-
- lift
- suspension
- (and 1 more)


-
Forum Statistics
250.3k
Total Topics2.7m
Total Posts -
Member Statistics
342,739
Total Members8,960
Most Online
-
Who's Online 9 Members, 0 Anonymous, 1,511 Guests (See full list)