

Grubbworm
-
Posts
127 -
Joined
-
Last visited
-
Days Won
1
Recent Profile Visitors


Grubbworm's Achievements
")
Enthusiast (4/11)
40
Reputation
-
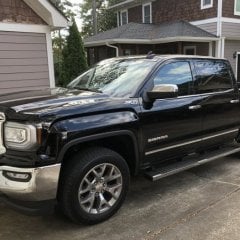
Last week / weekend I replaced the water pump in my GMC. Had a little leak, could not find it. Thought it was leaking from a pinhole in the Coolant overflow tank. Replaced it. Saw it leaking from a hose, new clamp solved that. Still had a leak. Finally found it and replaced the water pump. Did the Thermostat while I was in there. No leaks now and the truck runs great. Attachments 1000000827.jpg 1.6 MBViews: 10 1000000830.jpg 2.1 MBViews: 3
-

Some Maintenance I have done to my truck today.
Grubbworm replied to Grubbworm's topic in 2000-2014 Silverado HD & Sierra HD
Last week / weekend I replaced the water pump in my GMC. Had a little leak, could not find it. Thought it was leaking from a pinhole in the Coolant overflow tank. Replaced it. Saw it leaking from a hose, new clamp solved that. Still had a leak. Finally found it and replaced the water pump. Did the Thermostat while I was in there. No leaks now and the truck runs great. Attachments 1000000827.jpg 1.6 MBViews: 10 1000000830.jpg 2.1 MBViews: 3 -
So, I can remove the rad hose from the top of the radiator and let the used water flow out while filling the overflow tank with fresh water.
-
At the risk of sounding like a noob (which I am not), I am going to do a complete flush and change of the coolant system in my 2004 GMC 2500HD, 6.0 gasser. My question is: which way does the coolant flow in this engine, bottom to top? I have heard that the LS engines flow backwards.
-
body bushings rubber or red plastic
Grubbworm replied to Steve-Maine's topic in 2000-2014 Silverado HD & Sierra HD
It is not a case of color. It is a case of Polyurethane or Rubber. Rubber has more flexibility than Polyurethane, which means a smoother ride. You can get Polyurethane bushings in different colors. I believe rubber only comes in black. I have Poly in my truck, and while it is a stiffer ride and I do feel more of the road, I believe it handles better. -
Some Maintenance I have done to my truck today.
Grubbworm replied to Grubbworm's topic in 2000-2014 Silverado HD & Sierra HD
I replaced the light switch on my truck this last weekend. I was having some issues with the dash lights coming on and off. I could adjust the dimmer switch, and they would come on and go off. So, I just replaced the switch with a new one. Everything seems to be working fine now. -
Some Maintenance I have done to my truck today.
Grubbworm replied to Grubbworm's topic in 2000-2014 Silverado HD & Sierra HD
So, we took the truck out for a spell last week. We went camping with it, towed a camper. I will say the upgraded brakes worked awesome with no issues whatsoever. I will also say that the upgraded suspension worked flawlessly, no issues there either. I am happy with the results from both and would highly recommend both upgrades.h upgrades.
-
Some Maintenance I have done to my truck today.
Grubbworm replied to Grubbworm's topic in 2000-2014 Silverado HD & Sierra HD
I am going to take my truck camping soon. I will be towing my camper. This will be the first real towing test for the brakes and suspension upgrades. We will see how they do and post the results. -
Some Maintenance I have done to my truck today.
Grubbworm replied to Grubbworm's topic in 2000-2014 Silverado HD & Sierra HD
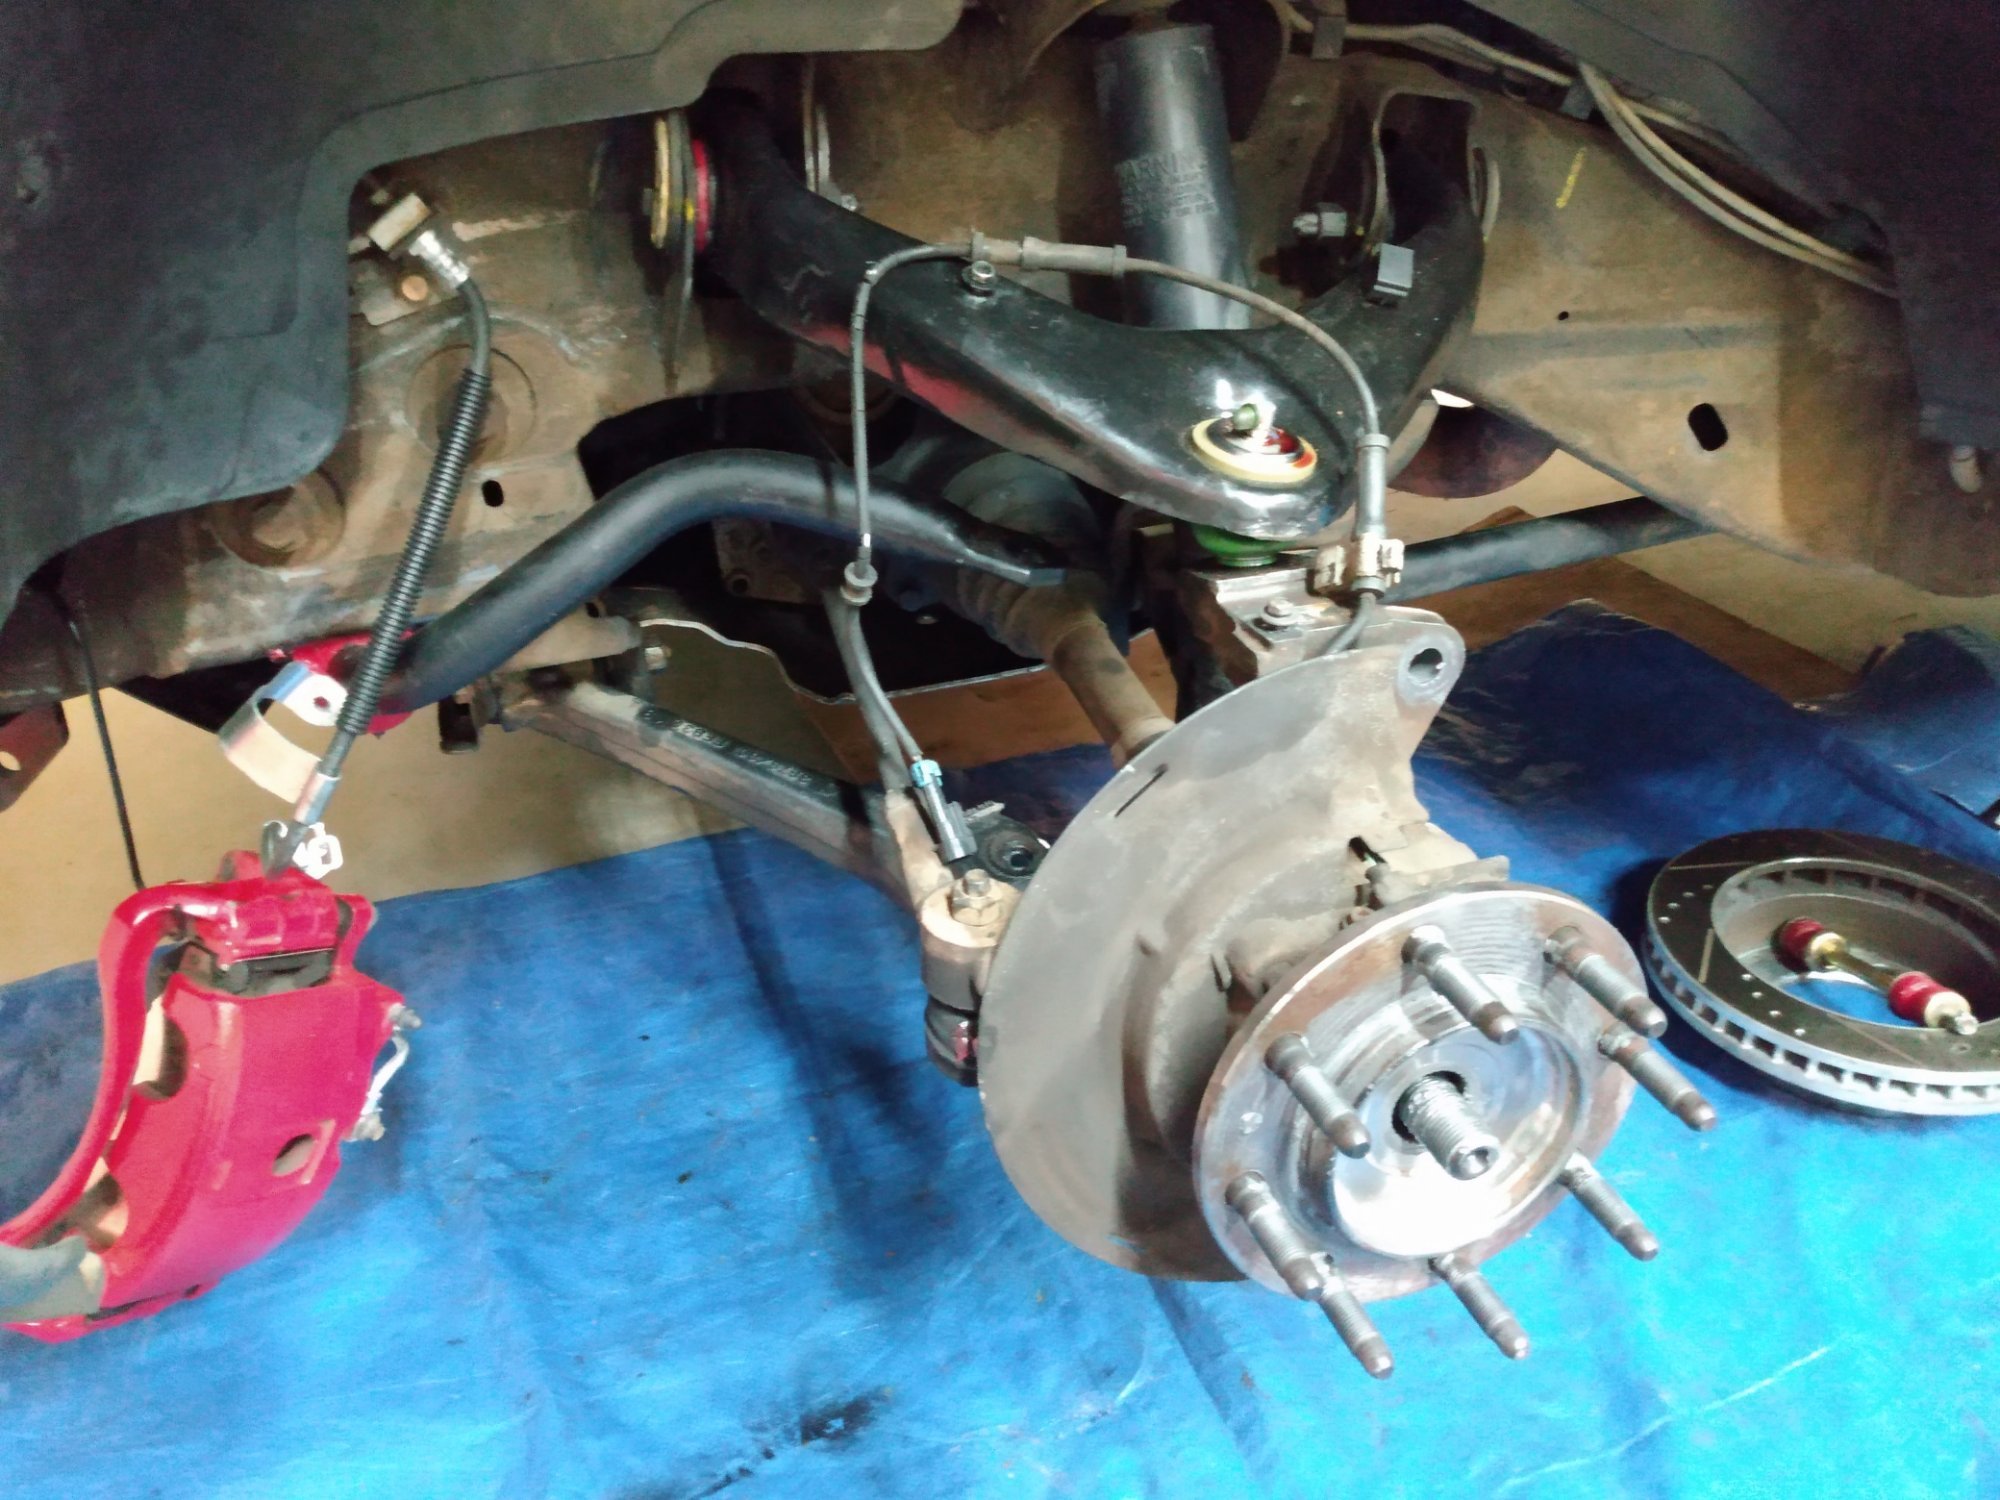
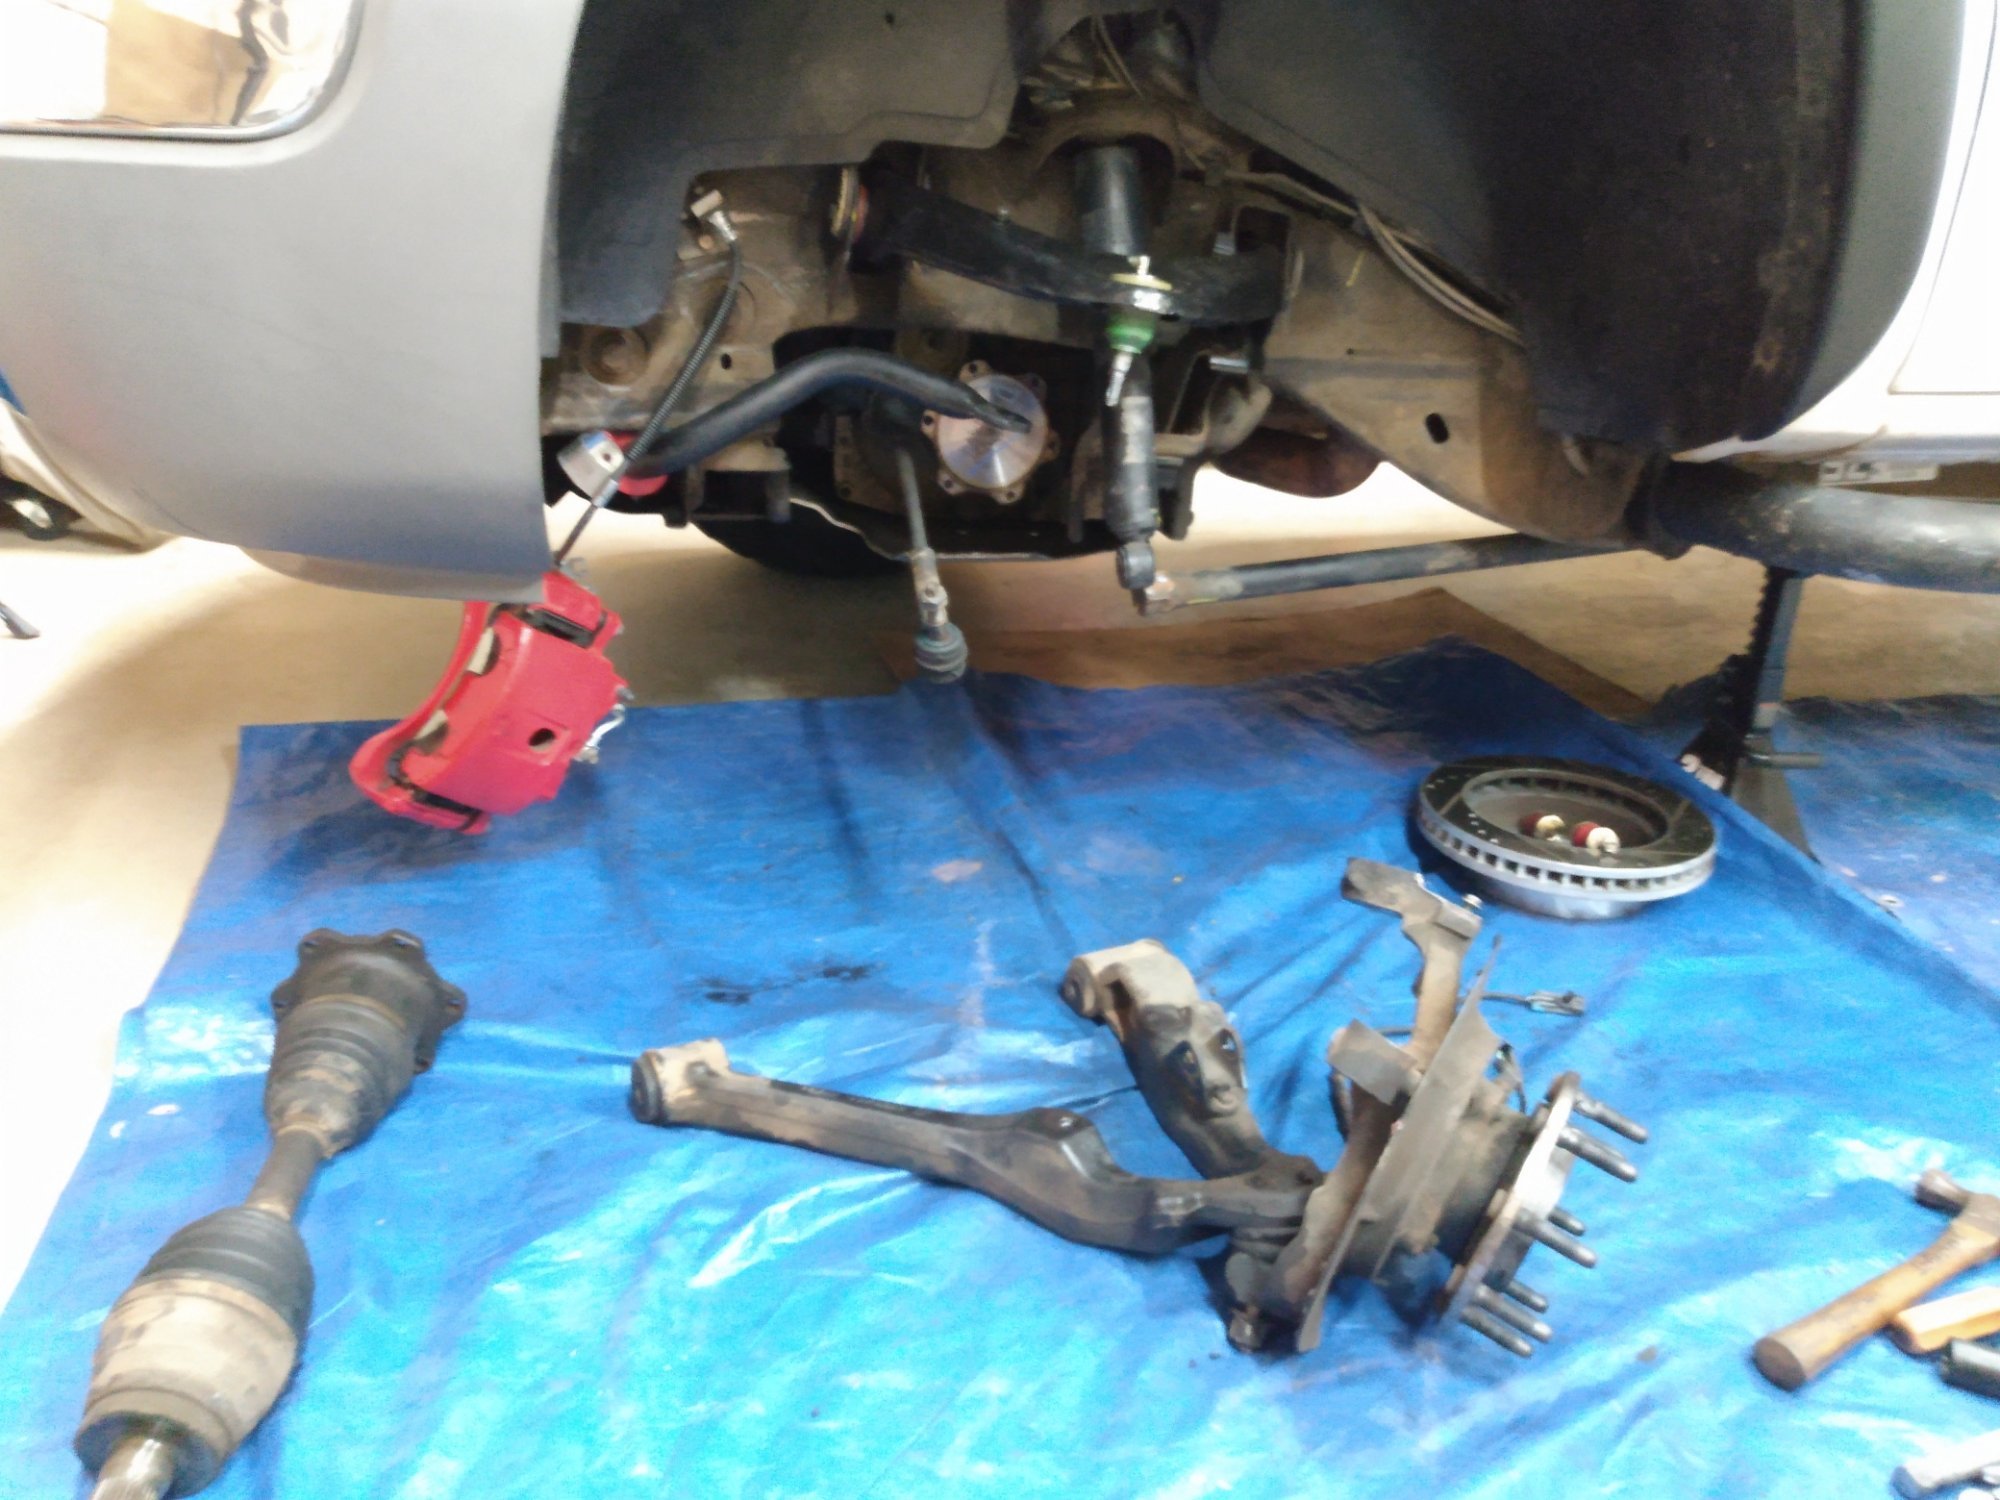
Saturday is the day that my son and I will finish this bushing and ball joint job once and for all (Hopefully). Sunday, I will take it out for a drive. Pictures will follow. Sorry, I did not take any pictures of the work that we did. Had a slight issue with the brake dust shield rubbing on the back side of the rotor. We remedied that accordingly. I did take some pictures of the box for good measure. The wife and I took it out for a drive on Sunday. We took the highway and back for a quarter tank of gas. Everything seems to be doing OK. I am still going to have my alignment checked soon.
-
Some Maintenance I have done to my truck today.
Grubbworm replied to Grubbworm's topic in 2000-2014 Silverado HD & Sierra HD
Well, I got everything tore apart this weekend. I cleaned it, prepped it, and everything is ready and waiting to go back together. My son says he will be back over this weekend to help put it all together.
-
Some Maintenance I have done to my truck today.
Grubbworm replied to Grubbworm's topic in 2000-2014 Silverado HD & Sierra HD
Well, it's back to work on the truck again. My son says he will be over on Sunday to help. I hope to have it tore down and ready for his help by then. I only have the Driver's side lower ball joint and the Driver's side lower control arm bushings left to do. Then off to the alignment shop. Pictures to follow. -
Some Maintenance I have done to my truck today.
Grubbworm replied to Grubbworm's topic in 2000-2014 Silverado HD & Sierra HD
So far so good. Now all I have left is the Driver's side lower ball joint and the lower control arm bushings. It sure does drive and handle so much better so far. -
Some Maintenance I have done to my truck today.
Grubbworm replied to Grubbworm's topic in 2000-2014 Silverado HD & Sierra HD
I took the brakes and rotor back off. I cleaned both the hub and the back of the rotor. I used an air tool with a scotchbrite disc to rough up the rotor. I sanded the brake pads. Then I cleaned both the rotor and the pads with some brake cleaner. I lubed and reassembled everything. I found no smoking gun. Today I am going to take it on a test drive to see how it is. -
Some Maintenance I have done to my truck today.
Grubbworm replied to Grubbworm's topic in 2000-2014 Silverado HD & Sierra HD
My son and I finished with the passenger side ball joints and bushings. Now I have a squeak/noise coming from the passenger side while driving. I thought it was the brakes because my son saw a line on the rotor. And it did make more of the noise while braking. The next day I took the brakes apart and cleaned them, sanded and cleaned the pads, sprayed Brake Quiet on the back of the pad. I put it all back together and took it for another test drive. I still have the noise, but more so while driving now. The only thing that I can think of is that while heating up the wheel hub nut, I may have overheated the wheel bearing and hub. I am thinking that I burned the grease up in the bearing.
-
Some Maintenance I have done to my truck today.
Grubbworm replied to Grubbworm's topic in 2000-2014 Silverado HD & Sierra HD
I have everything ready and am waiting on some help to get this all put back together. I tried putting it back together but it is more than I can do by myself. After the passenger side is complete, I will have the Driver's side left to do.


-
Forum Statistics
250.4k
Total Topics2.7m
Total Posts -
Member Statistics
342,860
Total Members8,960
Most Online
-
Who's Online 1 Member, 0 Anonymous, 520 Guests (See full list)