


2020SierraDenali
-
Posts
76 -
Joined
-
Last visited
Content Type
Profiles
Forums
Gallery
Events
Articles
RPO
Store
Blogs
Everything posted by 2020SierraDenali
-

2019/2020 Puddle Lights Install
2020SierraDenali replied to 2020SierraDenali's topic in Modifications, Wheels & Tires
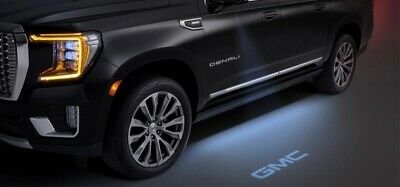
No. The "task lights" are the front of the mirror. The ones discussed here are the puddle lamps. They're located on the bottom of the door mirrors (see enclosed picture). A single LED light on each from the factory if your truck has them. Mine's maxed out with all the goodies so it has all those little items. To note, the packaging says they only work on trucks equipped with factory puddle lamps. But if you can swap the housing piece to one with puddle lamps, and wire it up, you could probably make it work on any truck that didn't come with them from the factory. I sold some parts from my old 2010 truck parts stash, so I figured, hey, why not get these nearly useless little trinkets for shining a "GMC" logo for under the mirrors on the ground with some of that money. They only really can be seen at night when you remotely unlock the doors. The factory lamps are virtually invisible and don't do much anyway. The logo projector puddle lamps are like the lighted GMC grille logo. Doesn't do much but a nice little upgrade to promote the brand.
-
Also, although it sucks, I'll leave the pdf file for "installation" instructions from GM. It may help SOMEONE. Once you do one side, you get the idea. And then find out how worthless the actual instruction sheet is. 2020 GMC Sierra Wheel Well Molding R&R GM instructions.pdf
-
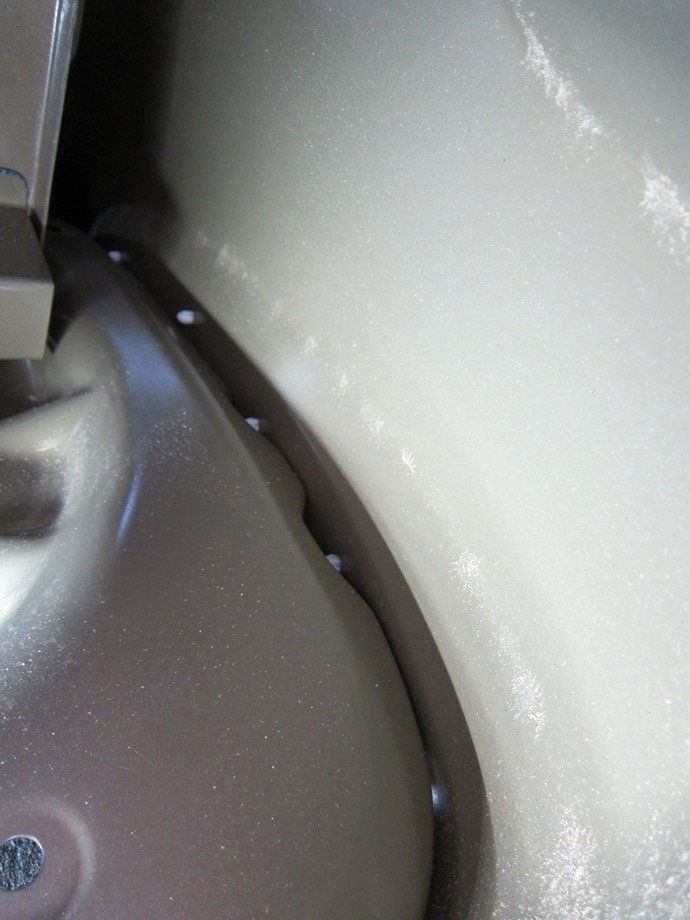
Everyone that's done this mod simply does it and shows off their puddle lamps when completed. But they never tell you how to do it. This won't be much, but after an extensive search on this subject, I haven't seen any real pictures of the original puddle lamps. Not much to it, but apparently the passenger side puddle lamp was installed a bit wonky and the clip was extended out too far where I couldn't even find it with the mini-screwdriver I used to try and get it out. I figured I did something to it so I went with a scribe tool thinking I needed something skinnier. Nah. It was on the assembly line. Anyway, if you follow the included instruction sheet for the puddle lamps, about the only good thing it tells you is the color code for which side you need to put your lamps on. In GMC case, it says blue decal goes on driver side, green decal goes on passenger side. It actually is pretty simple. But it's kind of a PITA to reach up under the mirror and fish for the indentation on the end of the clip. You would think it would be right there, but it's not. So holding a flashlight and fishing around with the scribe tool...not bad, but I'm getting too old for this sh*t. Only difference I found was the passenger side OEM lamp and the new lamp have the prongs backwards. One prong for the plug is vertical, the other is horizontal. No biggie, just rotate the plug 180 degrees and plug it in. Checked for proper operation first by covering the light sensor in the middle of the dash to make the truck think it was dark out, then clicked the unlock buttons. Nice little GMC logos lit up the palm of my hands. Then just snapped them in place. Done.
-
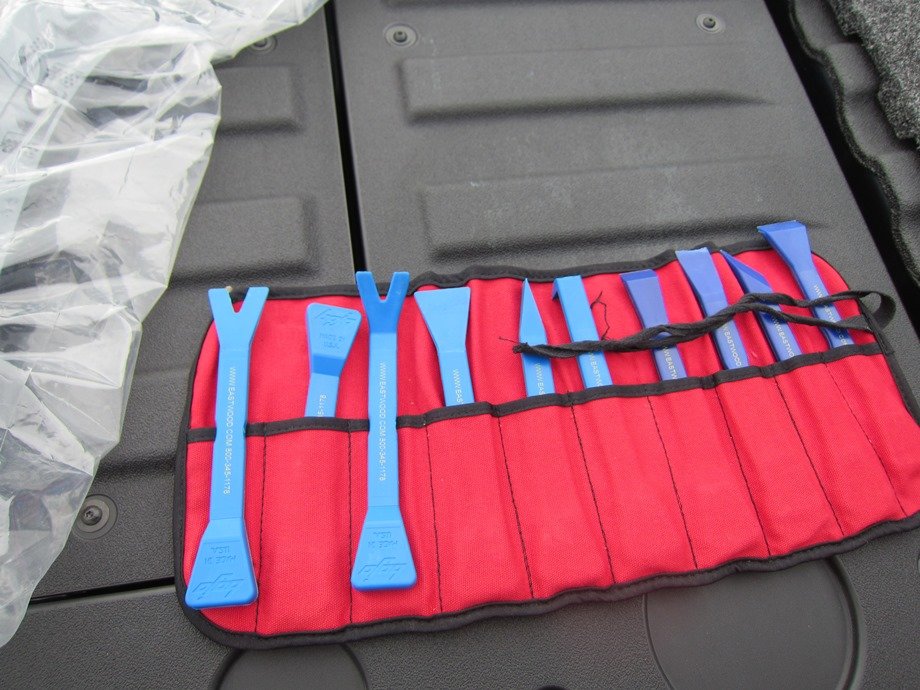
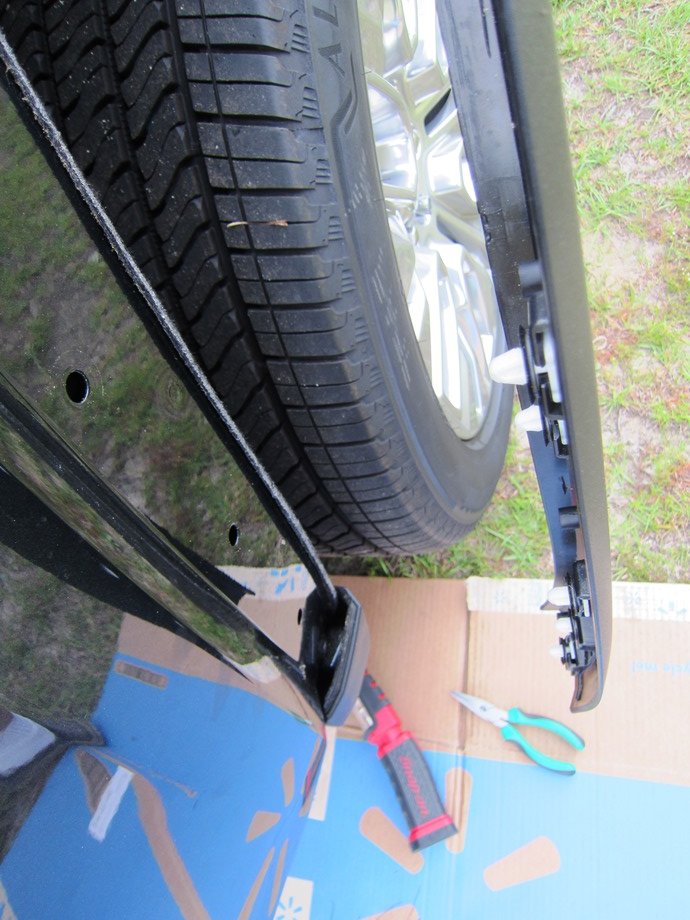
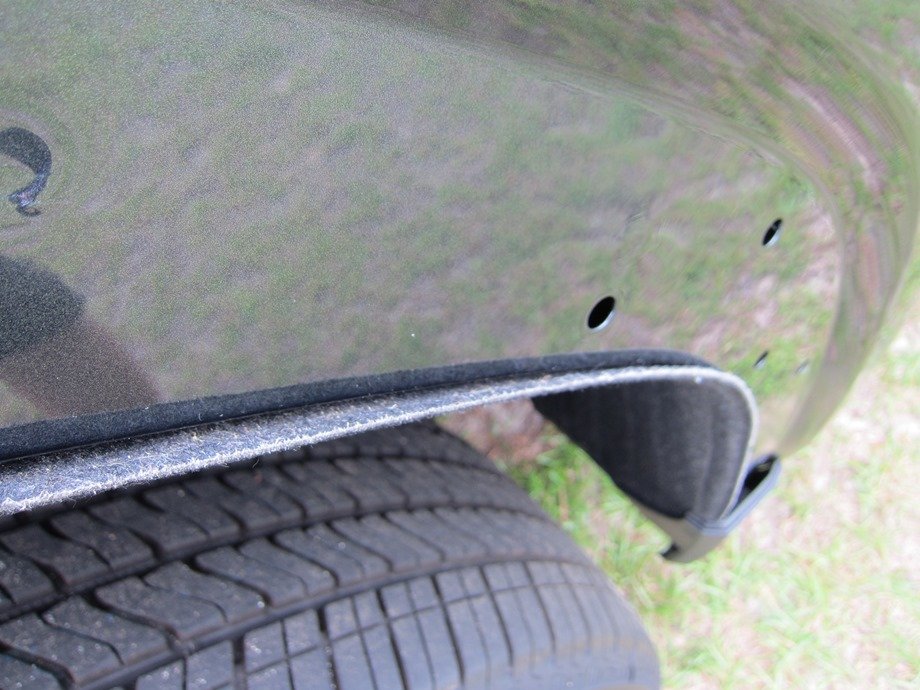
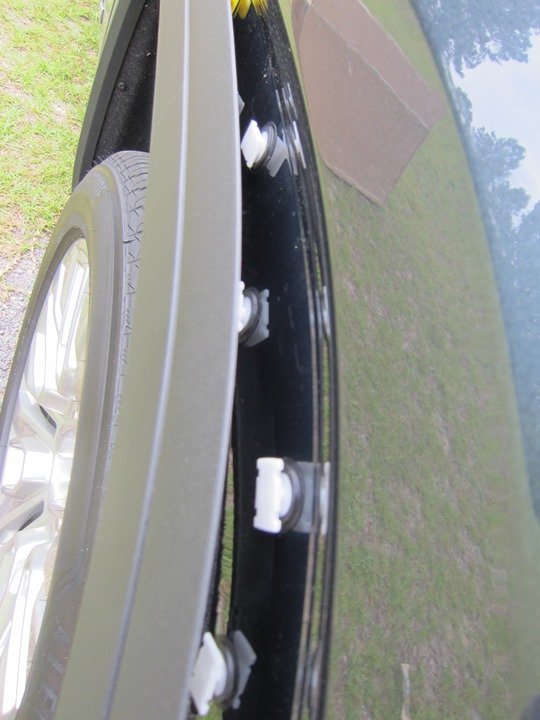
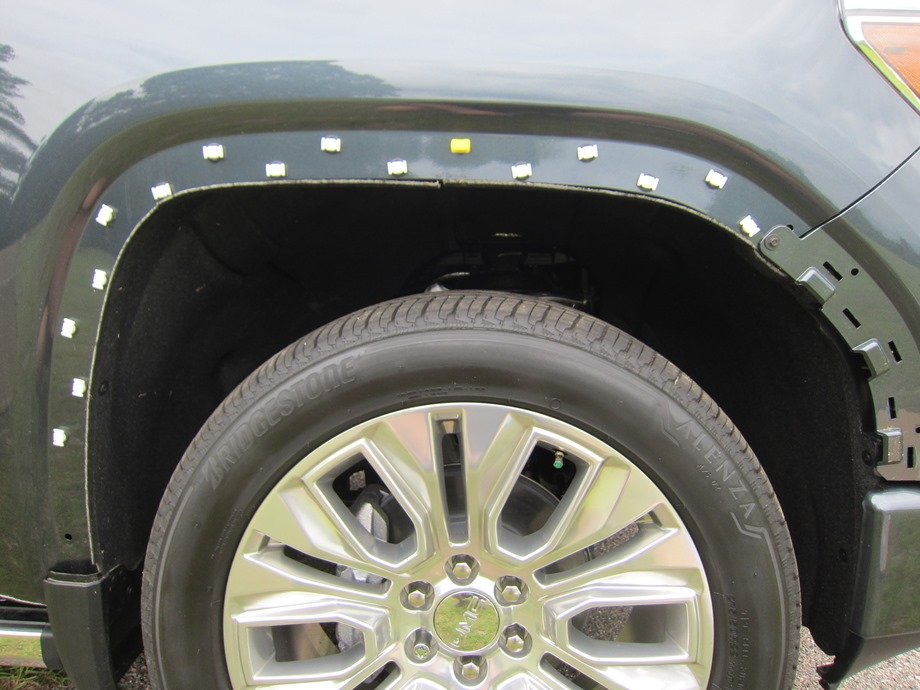
I completed my change-over to painted wheel well trim on my 2020 today. First, I got to say the paint match was superb. I was kind of scared at first, but the Dark Sky Metallic came out very nice. I did break ONE pin removing the original front wheel well trim. Oh well. Not bad since there's like 80 of them or something like that. I got a pdf from the dealership for instructions, since I couldn't find much of anything about removing/replacing these. Turns out, the instructions suck. As mentioned, it's key to ensure if you have a wheel well liner, you must make sure it gets covered by the wheel well molding when snapping in the new one. There's just enough sticking out under the fender to ensure it gets sandwiched in between the molding and the fender. I started at the rear. I started looking around to see where I could attack this, and the rear ones seemed like a good place as any to start. I looked up under the fender behind the rear wheel well and could see 4 reachable pins. I took my plastic "fork" trim tool and popped loose the first 4 pins from the bottom from behind the fender. Easy peasy. Then I did exactly as @cvklok mentioned and started pulling down on the rear of the original molding which released it from the clips holding them on at the top, then I pulled slightly to the rear on the molding to release the front clips from the molding. The very bottom of the front clip needed to be pulled though, it wasn't going to come free by pulling sideways on the molding. To remove the clips, I took needle nose pliers on the rectangle section of the clips that were now free from the molding. While maintaining slight pressure outward, I took my plastic trim tool and pressed in one side of the wing on the clip and it came partially out but cockeyed. I used the tool on the other side with slight outward pressure and it came free. No damage and no over pull. The front clips are a tad different in the very front where it attaches to the rubber bumper cover. It has about 4 or 5 steel wedge clips that going into rectangular holes on the front to hold it there, but uses the wing style plastic clips the rest of the way. On these, I carefully popped loose the metal clips on the rubber bumper cover, then pulled the front of the molding downward until all the top clips popped out of the molding, then I pulled the molding slightly to the front to release the rear wing clips from the molding. Again, there's one at the rear of the molding at the bottom that needs popping out by a secure yank. One of these came out clean, but the passenger side one broke. Oh well, not bad. Only one dead clip. Installation was easy. The new moldings have all new clips pre-installed. There's one yellow clip in the top center. That one goes in first in the middle top hole of the wheel well opening. Then everything simply snaps into place. Again, before snapping everything in, ensure any wheel well liners are situated to be sandwiched between the fender and the new molding lip.







-
Forum Statistics
250.4k
Total Topics2.7m
Total Posts -
Member Statistics
342,837
Total Members8,960
Most Online
-
Who's Online 7 Members, 0 Anonymous, 911 Guests (See full list)