

sclemmer
-
Posts
62 -
Joined
-
Last visited
Content Type
Profiles
Forums
Gallery
Events
Articles
RPO
Store
Blogs
Everything posted by sclemmer
-
HID Headlight Bulbs / HID Projector Retrofit
sclemmer replied to MotoMedic's topic in Modifications & Accessories
Those might work but I was referring to these: http://www.shapeways.com/product/FTQHHLVEP/one-thinner-extended-silverado-headlight-cap?li=more-from-shop&optionId=56102886 -
HID Headlight Bulbs / HID Projector Retrofit
sclemmer replied to MotoMedic's topic in Modifications & Accessories
Sciemmer, just a few questions on the retro. Did u have to split the headlights to do the projector swap? How did the bolt pattern line up with the FXR projectors to the lens? Did u use the bracket from fastheadlights or was it easy enough to do without the bracket? Thanks in advance! I did not open the lights if that's what you mean by split them. I was able to get the FXR's in through the factory opening. I also used the fastheadlights bracket. You need it for the two bottom bolts of the FXR's. It takes a little wiggling but they'll go in there. I'll make some suggestions below for other folks that may be installing these. FXR fitment: Getting the projectors in requires some effort but isn't impossible. What truly is a pain in the ass is getting the bolts to slide through the fastheadlights bracket and through the FXR. I ended up opening the holes a little with a slightly oversized drill bit on the bracket and also on the projector to make the bolts slide in to place easier. If you have a strong enough magnet you can wiggle the projector a bit and the magnet will make the bolts come up in to place. Since I didn't open the headlight, I used the 3 bolt method and didn't use the top bracket. If you're brave you could drill a small hole in the headlight housing above where the other top bolt goes and be able to get the other top mounting screw in. Installation: I ended up getting power from the fuse box and running the power wire along the hood latch release cable to the radiator support where the relays were mounted. I ground the capacitor link under the body support bar above the driver side headlight. Here is where I mounted the relays and driver side ballast. Ballasts are mounted with 3M outdoor mounting tape: https://drive.google.com/file/d/0BzjivpH9PESXcGxtQWItbE8wMHM/view?usp=sharing Ran the driver side connection over the radiator and mounted the ballast to the same spot as driver side. You can also see where I grounded the ballast, also grounded the driver side to the same bolt. (on driver side) https://drive.google.com/file/d/0BzjivpH9PESXZ2hHTE15UlY3X2c/view?usp=sharing Now, the best part of this whole install is extending the headlight cap. It is awesome and I enjoyed it very much. Do yourself a favor and buy the extended caps unless you want to get crafty like my buddy did. We ended up cutting the entire back out of the cap, test fitting the thing over the D2S plug, realizing the side needed to come off as well and then building out the cap using 1/8 inch ABS plastic. Not pretty but it works for now. Glued everything together with CA glue and then sealed with liquid electrical tape: https://drive.google.com/file/d/0BzjivpH9PESXajd3enp5ckdHYVU/view?usp=sharing We could have cut the caps in half and extended them with roofing tape like fastheadlights recommends but we decided to get creative. If you attempt this method make sure to follow the original cap profile as clearance gets close on the side of the cap when you put the headlights back in. Now for the results. I originally bought the fastheadlights kit back in February and sat on it until now because of the cap issue. I saw another person us AMP bulbs and igniters and originally tried that as it was easier to mod the cap for that. Well the output sucks because the bulbs do not go all the way into the FXR's and do not sit flush. If you buy the fastheadlights kit just use everything that comes with it. Here are some pics of the output, pics do not really do them justice though. https://drive.google.com/file/d/0BzjivpH9PESXdU4teThKRDRRUFk/view?usp=sharing https://drive.google.com/file/d/0BzjivpH9PESXWGJleS1VbmNqUUE/view?usp=sharing If anyone has questions let me know. -
HID Headlight Bulbs / HID Projector Retrofit
sclemmer replied to MotoMedic's topic in Modifications & Accessories
I ended up running an AMP bulb in the FXR instead of a D2S bulb so that I wouldn't have to extend the caps. Would that contribute to the problem? I know the D2S bulb is kind of "keyed" to the opening of the FXR's and does not have the rubber seal around the base of the bulb like the AMP bulbs do. -
Silver Ice Metallic paint fans
sclemmer replied to brentadams646's topic in 2014-2018 Silverado 1500 & Sierra 1500
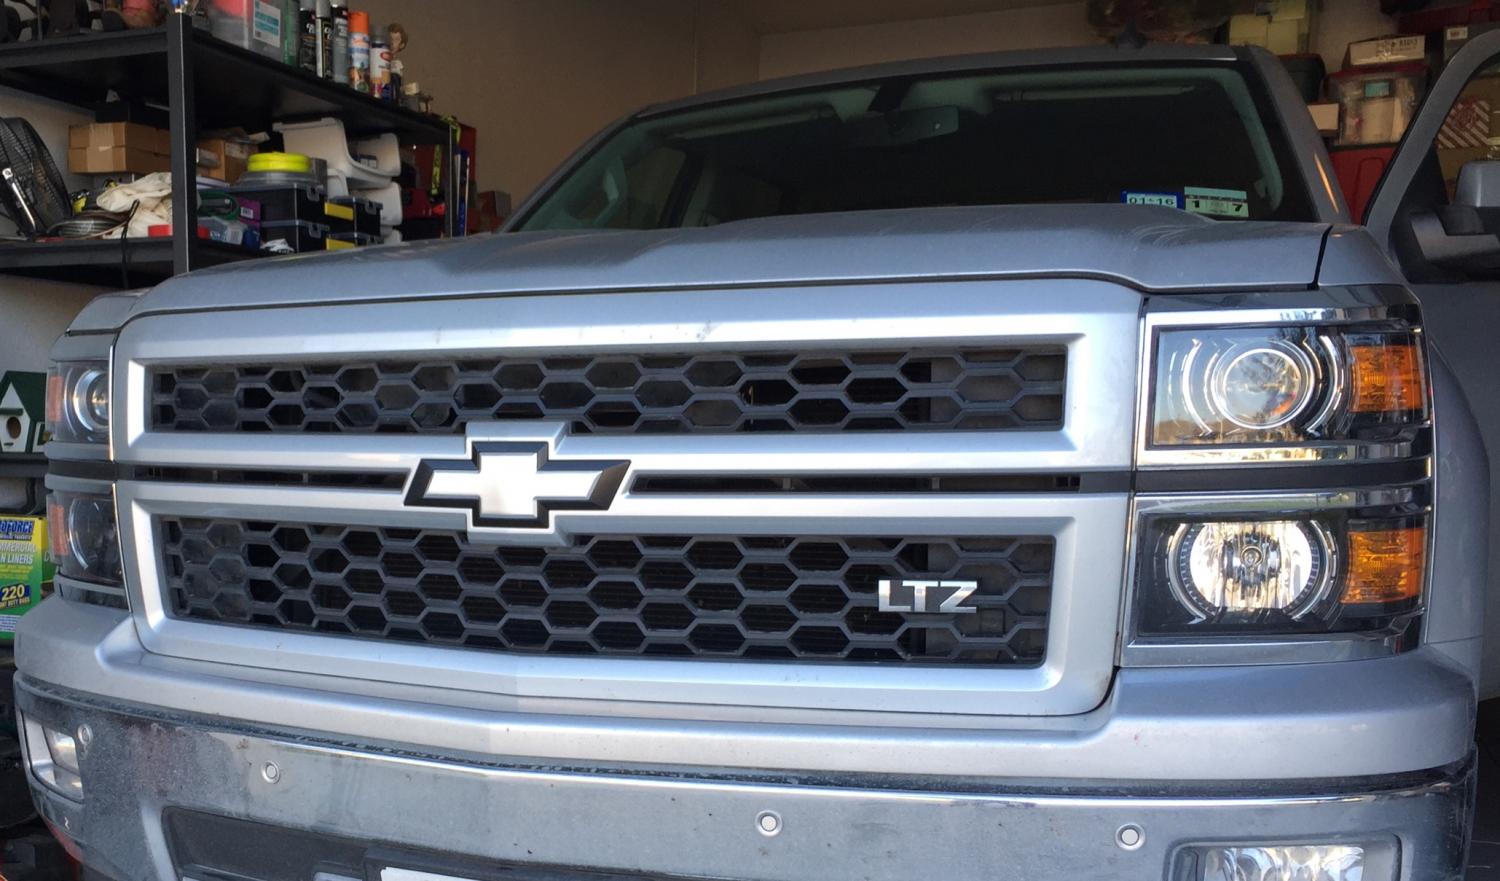
Plastidip'd my bow tie per tstodda's color suggestion.
-
HID Headlight Bulbs / HID Projector Retrofit
sclemmer replied to MotoMedic's topic in Modifications & Accessories
Can anyone tell me if my light output is normal? This is an FXR retro on a 2015 Silverado LTZ.
-
Silver Ice Metallic paint fans
sclemmer replied to brentadams646's topic in 2014-2018 Silverado 1500 & Sierra 1500
The code I've used is GAN. It is on the option sticker inside the glove box. Lower left hand corner of the sticker I believe. -
HID Headlight Bulbs / HID Projector Retrofit
sclemmer replied to MotoMedic's topic in Modifications & Accessories
Quick question, I purchased the FXR kit from fastheadlights for my Silverado, this kit came with D2S bulbs and connectors. For ease of installation and to not have to extended the headlight cap, I purchased AMP bulbs and connectors. I've noticed the AMP bulbs are not "keyed" like the D2S bulbs, is it not recommended to run AMP bulbs in the FXR projectors? -
Silver Ice Metallic paint fans
sclemmer replied to brentadams646's topic in 2014-2018 Silverado 1500 & Sierra 1500
Thanks for this. I've been looking for a decent match for this color. Will give this a shot on my headlight bezels/trim. -
HID Headlight Bulbs / HID Projector Retrofit
sclemmer replied to MotoMedic's topic in Modifications & Accessories
Thanks, I figured it out after looking at the FastHeadlight install guide, long day lol. Now, next question, what about the two red wires coming off the morimoto projector? I'm assuming those aren't used for the silverado? -
HID Headlight Bulbs / HID Projector Retrofit
sclemmer replied to MotoMedic's topic in Modifications & Accessories
Stupid question but, what I am supposed to do with the stock headlight connector when installing the Silverado spec kit? https://drive.google.com/file/d/0BzjivpH9PESXX1FIUGRyWmxiRHM/view?usp=sharing -
Would you sell the tailgate bezel only?


-
Forum Statistics
250.4k
Total Topics2.7m
Total Posts -
Member Statistics
342,765
Total Members8,960
Most Online