


Brenden Burnham
-
Posts
163 -
Joined
-
Last visited
Content Type
Profiles
Forums
Gallery
Events
Articles
RPO
Store
Blogs
Everything posted by Brenden Burnham
-

2004 Silverado armrest help...
Brenden Burnham replied to kwkshift1's topic in 1999-2013 Silverado 1500 & Sierra 1500
Go to your local junkyard they should have the entire assembly or can at least compare to what you need. -
And no doubt it is on them. Do not accept otherwise. Take it up the "chain" if you need to.
-
Am not sure why these dealerships do not check their own work, test drive it more than say around the block and say all is good. Go a few miles to ensure your work did not cause other issues and throw a CEL for crying out loud.
-
Check Engine Light and P0446 Code
Brenden Burnham replied to 2009_Suburban's topic in 1999-2013 Silverado 1500 & Sierra 1500
Usually if it is the Evap canister typically it will have a loose or cracked hose or the box itself is done. They tend to get moisture in them and during winter they freeze thus causing possible cracks. Simple enough to check under car and examine the evap box/hose. Also could be something as simple as your gas cap. Check and ensure it is not cracked or could possible be leaking. I one time forgot to put back on my gas cap after starting up the truck and it threw a P0446 code. It cleared after just 10 miles of putting back on the cap and starting correctly. And lastly if you are still getting the code it is best to take it in and do a smoke leak test. This will tell EXACTLY where it is leaking. -
Check Engine Light and P0446 Code
Brenden Burnham replied to 2009_Suburban's topic in 1999-2013 Silverado 1500 & Sierra 1500
If you know someone with a code reader that can look at live data you should test in real time fuel tank pressure sensor, and EVAP Solenoid. Best way is to look at Live Data. Your fuel tank pressure sensor should be at 1.5v atmospheric pressure. If it is not close to that then that is the issue. Check video for what I am talking about. It most definitely could be the Purge Valve but instead of firing off the parts cannon if possible check to see if it is getting correct volts. -
As stated by Richard you will be fine as long as you torque to spec, still though I would put blue on the caliper bolts(not caliper pins). Can get the blue loctite at hardware store(like home depot) As far as the caliper pins it is recommended to check and ensure they have movement. Those caliper pins are what allow the brake pads to slide on the rotors from the caliper pistons. If there is very little or no movement it will end up damaging the caliper pistons causing quick and uneven brake pad wear and having to replace the calipers down the road. You will have to compress the caliper pistons at least a little to get it to fit back over the rotor. So just make sure the pins have movement. Especially being in a rust prone area something to check. Sometimes those caliper pin rubber boots swell and can collect containments and the pins end up getting stuck. Better be safe than sorry. No need to use seize or anti seize for the torx rotor bolt. Once the wheel is torqued back on the rotor will not be moving anyway. Really was added on later years as my 2000 gmc sierra does not have a rotor torx bolt. So that bolt does not need to be super tight.
-
One more thing. Make sure that the axle nut, the 3 bolts and your caliper bolts are torqued down to spec. Axle nut 177 Lb. ft. The back bearing hub bolts 133 Lb ft. Caliper mount bolts 129 Lb. ft. Caliper slide pins 80 Lb. Ft. These should be in your manual.
-
That would be a certain kind of loctite(yellow). Seems to be a light to medium locking. Typically the blue is used for Caliper bolts to ensure that rattling does not loosen them. Blue is always what I use. You do not want to use anti seize on the caliper bolts as you want to be sure they are on there good(anti seize and loctite different things), anti seize is used on things like spark plugs. Good deal on getting off the hub assembly. For the Caliper pins make sure and use a Silicone paste. Reason being is that is rubber on metal and need to ensure those do not seize up, using regular brake lubricant on the caliper pins can cause issues and locking up. Before putting brake system back on ensure the Caliper pins can slide freely. Also do not forget to grease the axle spindle before installing new hub. And yes it is ok to use loctite on the axle nut and the 3 axle bolts. Do not use higher than blue. NEVER use red as you will never ever get off if you do.
-
If your brakes are in need of service now would be the time since it will all be off anyway. Also not too expensive to swap the rotors. I usually just get the autozone brand ones and are not that expensive(never had an issue with the autozone rotors). Figure since you are doing all that swap wouldn't hurt. You may not need go that extreme with getting the hub off but just going worst case scenario and the rotor trick from what I have seen is easiest way to get even the most stubborn ones off. You may be able to get the hub off by just banging the back of the hub with a hammer as was shown in one of the videos I posted. If it is not budging though other measures are needed.
-
If it were me, if you are getting bad up and down movement as well as side to side I would replace both control arms instead of trying the ball joints. At a minimum you have to rent a ball joint press to do that part if doing the ball joints. Replacing the control arm is the route to go. I would do both side control arm and also Wheel hub bearing. As the other may be on the way out as well. Some good videos.
-
So just an update to all that would like to know. I ended up getting the hose that came with the fixed orifice valve which replaced my hose that connected to a ball type pvc valve(GM Genuine Parts 12574660). Prior to replacing it I was going through a good 1qt of oil every 1500 miles. Since then I have put on about 1800 miles and the oil level is the same. So for those out there with high oil consumption and you have the ball type pcv valve(rattles when you shake it) change it over to fixed and it may solve your high oil consumption issue. '
-
Yeah your probably right you only ever hear about the rare instance of an issue compared to the TONS that are out there on the road with no issue.
-
Part# 84856653 Wheel bearing and hub assembly. https://parts-catalog.acdelco.com/acesCat.php?# Put in your info and you can find the OE part number. MY FAVORITE METHOD USING OLD ROTOR AND PIPE WRENCH
-
Especially the fact you have no room to work those back three 15mm bolts. Cannot even get any socket on them(2000 gmc sierra 1500) only a wrench. I purchased a 15mm long wrench just for the job. Those bolts are on there no doubt. DO NOT strip them, then like you said you are in trouble. Had more trouble with those bolts than the axle nut or even getting the hub off.
-
Yeah I have heard of recent issues with Moog to be exact. They use to be good but seems have gone down hill for certain parts this is one of them.
-
If it is your wheel bearing do not cheap out on it. That is one of those parts you want to go OEM. So many times I hear of other brands going bad after just 6 months or less(brand new). Just spend the extra $$ and be good for years. For removal it can either be easy or a huge PITA. If you are in an environment of corrosion then that hub can be stuck on there pretty good. There is a few methods to get off but what I have seen and by far the one to get off even the most stubborn hub is if you have an old rotor( or just do the rotor/brakes at same time), put it on backwards. Then use a good size pipe wrench and attach to the top of rotor snug. Then grab a sledge hammer. Usually within 4 wacks no matter how stuck it is on there, it comes off. Best method that works for me to get even the most stubborn ones off.
-
Most likely wheel bearing. Most of the time(not 100%) you can test by jacking it up and firmly grabbing wheel and trying to move up and down. If you have some play then most definitely your wheel bearing. Also spin the wheel and if you hear a grinding noise then again wheel bearing. If no issue there then is possibly your CV axle. Check the CV axle boot for a tear if there is a tear and grease has leaked out then that is a problem.
-
Picture says a thousand words.

-
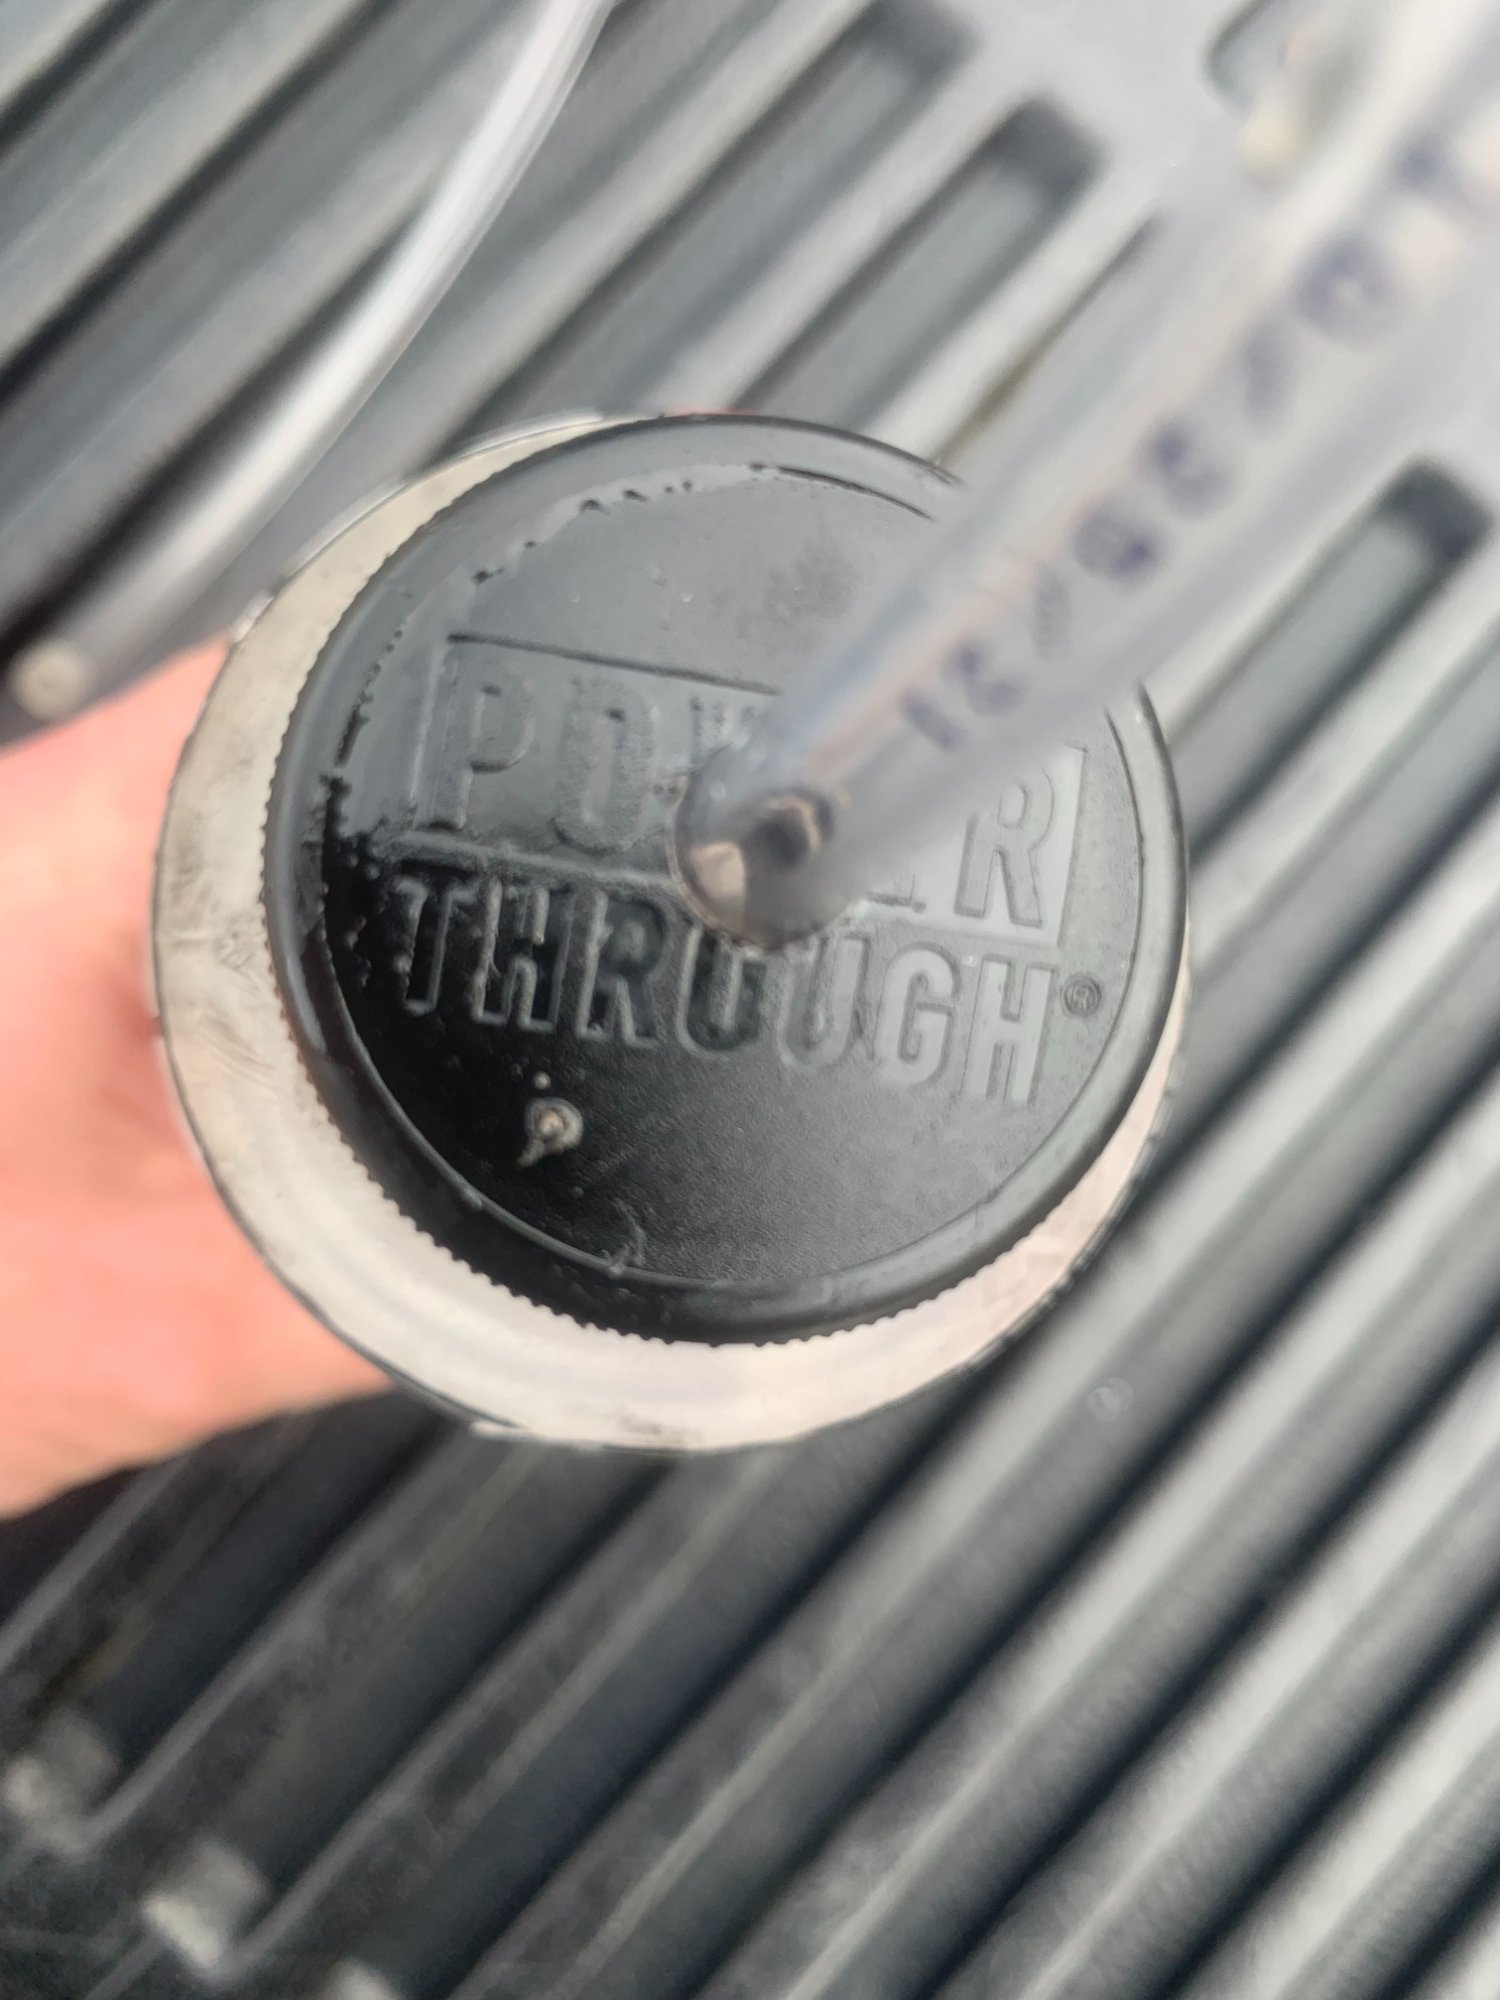
Bled all 4 of my brakes using a home made kit. Got a poweraide bottle and used 3/16" ID airline host. Fits nice and snug over the nipple. Just fill the bottle up 1/4 way with new fluid. Make sure the end of hose is all way below the fluid. Just keep pumping. Can easily tell when there is no air in the system when there is absolutely no air bubbles in the hose. Can also tell when you don't see air bubbles going in the bottle anymore when pumping. Once you are 100% certain seeing no bubbles then the system is free of air. Super simple cheap way to make sure is done right and with no air left in system. This way helped me flush all old fluid out in less than an hour all 4 brakes.
-
Some BS right there
-
I have done before yes. Like I said you can even start a return from the app. So yes.
-
Now though if you have a walmart account and app. Have that card you use linked in your account it automatically saves all of your purchases when you use that card, you can even start a return from the app in that purchase. Just don't pay cash as there would be no record.
-
Transmission cooler line
Brenden Burnham replied to JRRIVERA34's topic in 1999-2013 Silverado 1500 & Sierra 1500
Think the point is it is personal preference. Can be done either way. Pick your poison. -
P0332 Knock sensor.
Brenden Burnham replied to IH784's topic in 1999-2013 Silverado 1500 & Sierra 1500
Make sure and seal them or you will just have the issue down the road again. That is the issue was the poor design would let moisture inside. Also very important to correctly torque down the knock sensors or you may get a sensor failure. I have seen where over torquing has damaged them causing failure on a brand new set. -
Yeah you know what's interesting is I was thinking of just replacing the old dried up hose with one that I just cut to fit but then I feel that the certain diameter inside does have something to do with the vacuum pressure and could for sure effect the overall system. So am just going to stick with the factory size.


-
Forum Statistics
250.6k
Total Topics2.7m
Total Posts -
Member Statistics
342,995
Total Members8,960
Most Online
-
Who's Online 9 Members, 0 Anonymous, 388 Guests (See full list)