Leaderboard


.thumb.JPG.96e5ac8c60641f8011665a2c92c083f2.JPG)

Popular Content
Showing content with the highest reputation on 12/30/2013 in all areas
-
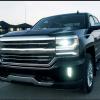
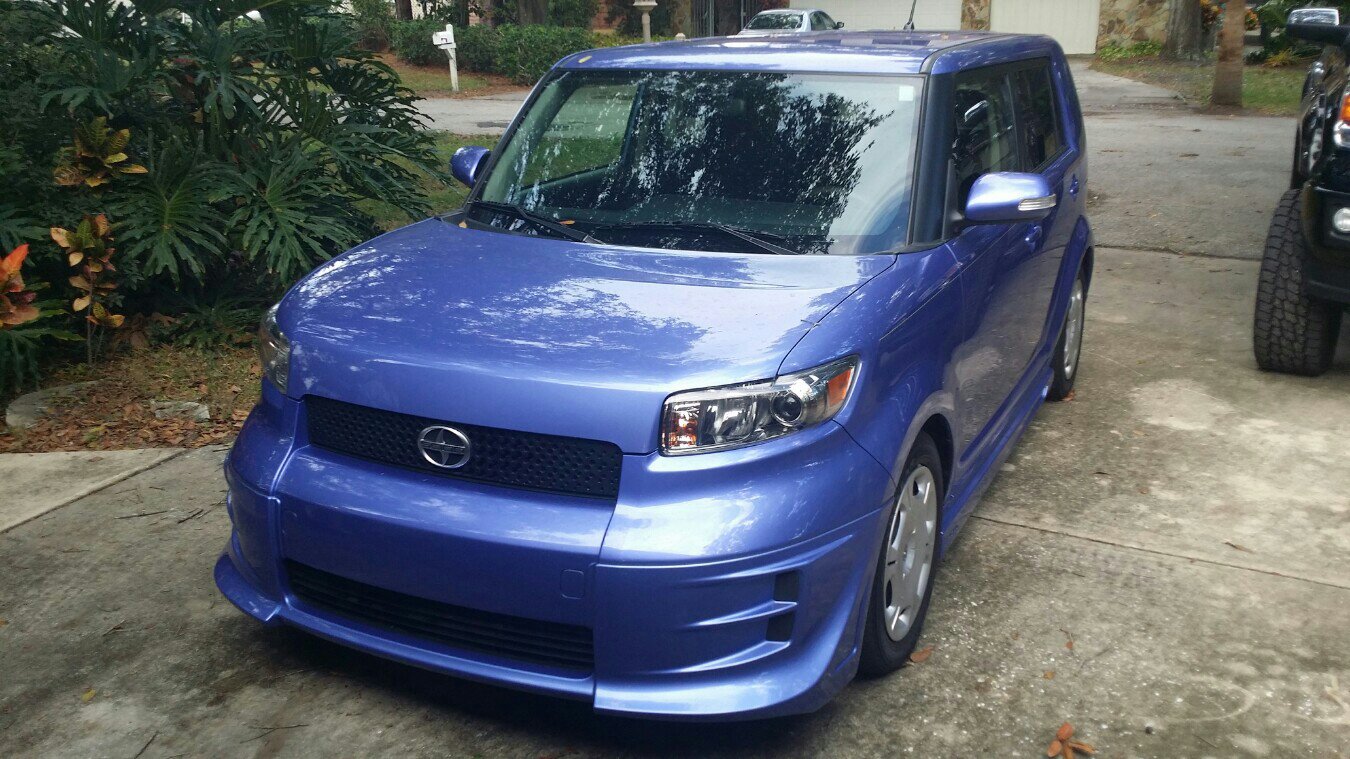
Finally warmed up enough to wash this thing and take a few pics after the level , tires, and tint2 points
-
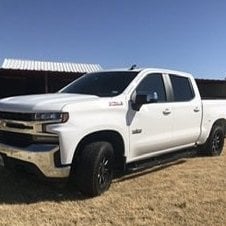
My 2014 All Terrain Crew Cab. Has 3" lift and leveling kit. Bushwacker Deep pocket flares and 285/55/20 on stock rims.1 point
-
Two more pics.1 point
-
Sent from the toilet1 point
-
I would like to report an encouraging development. I took my 2014 Z71 double cab into the dealership about two months ago to get the vibration problem looked at. They told me I had one tire out of balance which they said they rebalanced. Afterwards, I took it out on the highway but still had a slight vibration at 70-75. After reading all the post on this forum, I decided just to wait and see what happens. Well, over the last month or so, the vibration has completely stopped. 75 is smooth. Took it up to 85 yesterday. Still smooth as glass. I just turned over 3200 miles. I have no idea why the vibration has stopped. Tire wear, suspension breaking in, what??? Whatever has happened, I hope it is permanent. As a side note, I have not experienced any other problems some folks have been reporting. No noise in rear end, dash is not warping, no rattles. This is the third Silverado in a row I have owned. I had a 2004, 08, now a 14. This truck is the best by far. It's tight, quiet, the 5.3 is kick ass and all electronics to include mylink works perfectly. I love this truck...as long as the vibration issue remains a non-issue.1 point
-
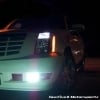
My HID headlight bulbs install on a 2014 Silverado: Parts used: (1) 35W H11 HID Kit 6000K (1) Relay Harness (2) Error Cancelers / Capacitors Tools used: Utility knife 3M/Double Sided Tape for mounting ballasts Side cutters/pliers to snip end of zip ties Zip Ties Retainer Clip Remover/Flat Head Screwdriver 10mm/7mm socket 3/4 Spade Bit/Hole Saw Impact/Drill [/url] [/url] 1. Remove Air Box: Air box is clipped in so just give it a good pull and it will pop out [/url] 2. Wire Relay Harness: power to (+) to battery connection, ground to (-) battery connection 3. Remove two clips holding in cover behind headlight and remove dust cover from headlight, unplug bulb and remove. 4. Using 3/4 Spade bit, drill a whole in center of dust cover. 5. Insert bulb, pull wires through and install grommet that comes with bulbs. 6. OPTIONAL - I used Rubber Butyl Tape to seal grommet from moisture (you can use silicone, putty or just roll the dice) [/u 7.Install HID bulb into headlight. Connect other wire to Factory Plug (picture shows it's reversed polarity, since this is a DUAL relay harness, you'll plug it in red to red and black to black) then re-install dust cover. 8. Error Cancelers Install male plug (coming from dust cover) to female end of Error Canceler Install male plug from Error Canceler to female plug of relay harness Install male plug from relay harness into ballast [/url] 9. Mount Ballast - apply double-sided tape to back of ballast. I installed ballasts next to headlight on rad support/frame 10. Run remaining two wires from relay harness to driver side. Repeat Steps 3-9. 11. Zip Tie all wires and tidy up the install to your liking. TROUBLESHOOTING 1. Headlights don't come on at all: Check power and/or ground wire. 2. One headlight turns on but not other side: Check connections and ensure ballast is plugged in. 3. Headlights work but when I start the truck, they turn off: You probably don't have the Error Cancelers installed/wired correctly. 4. Headlights work but the relay makes a loud buzzing noise: See #3 For the courtesy of others and to avoid confusion and clutter, please PM me or feel free to email me directly at [email protected] for any questions or troubleshooting issues.1 point
-
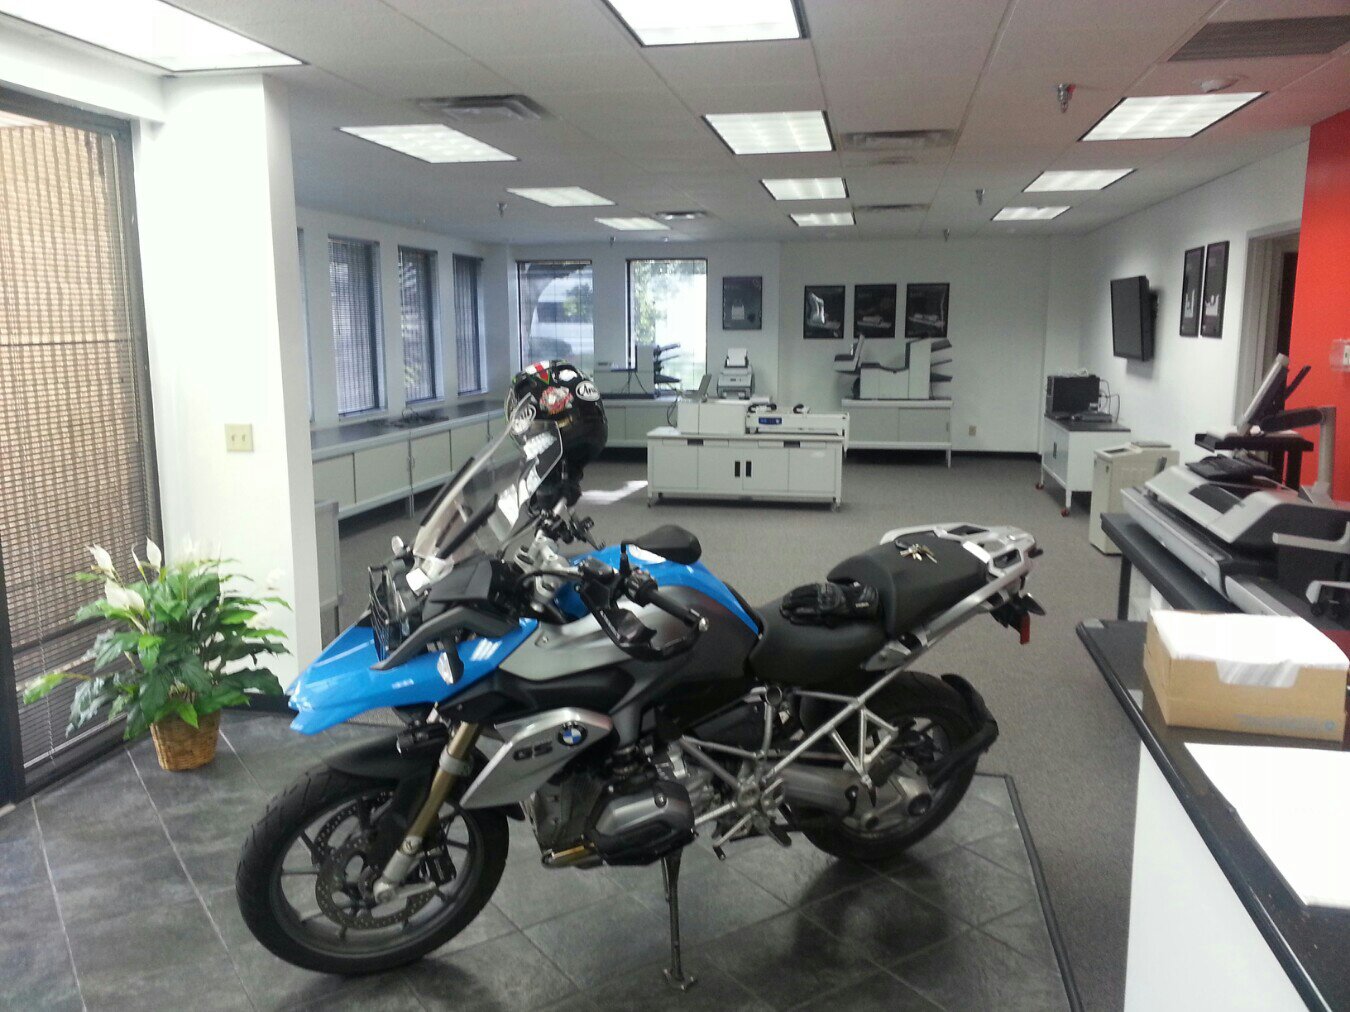
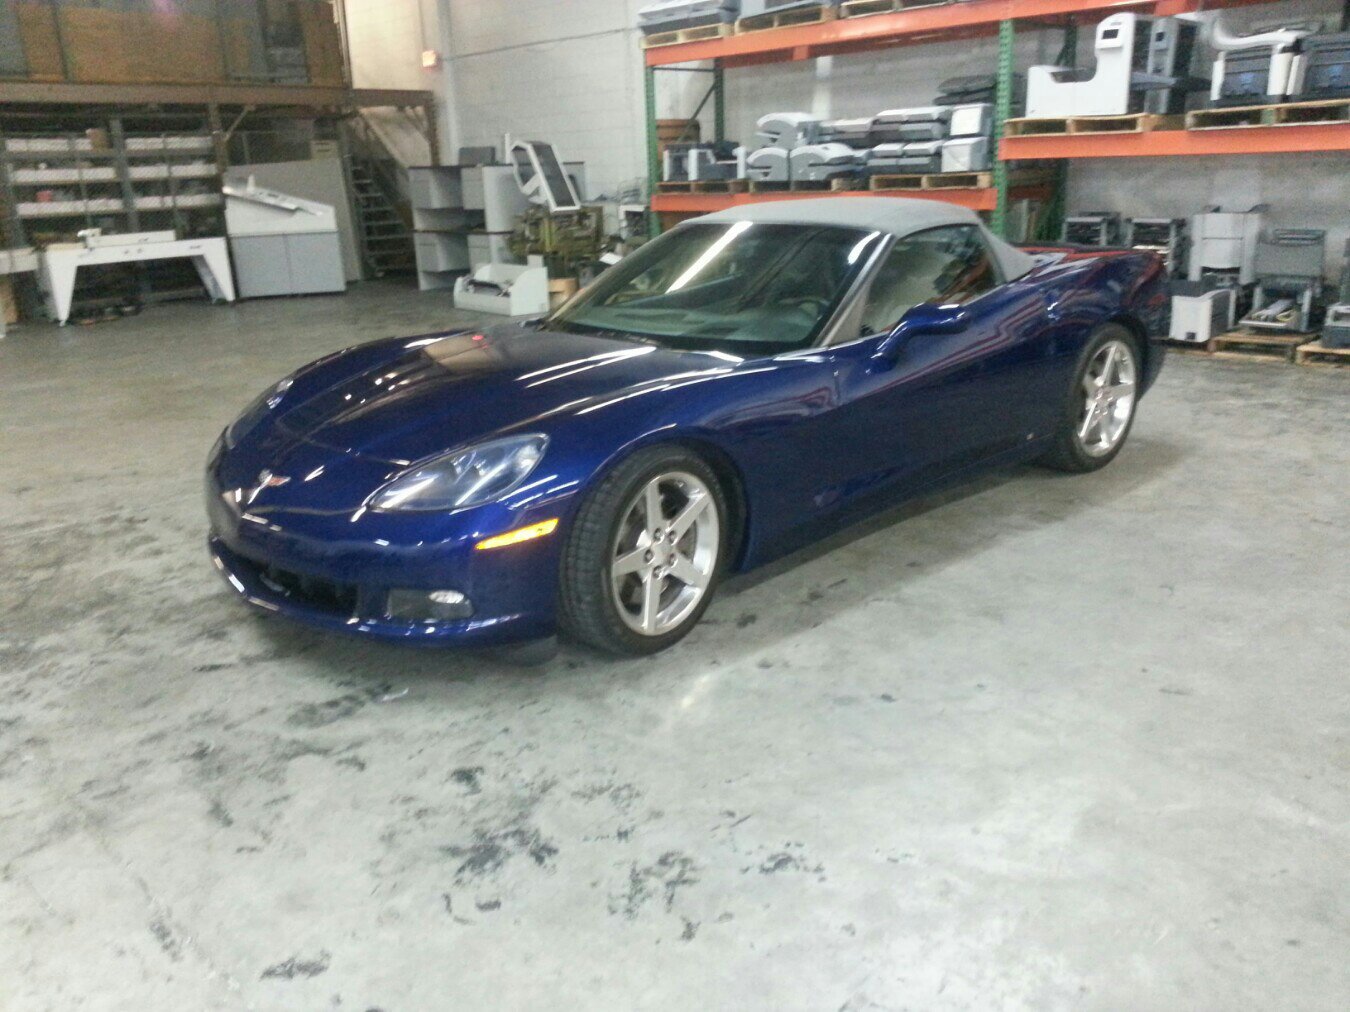
My other rides
 1 point
 -
You can always go out there and start it by hand and it will run until the fuel tank is dry if you want. Imagine how warm the seats will be, too! Don't complain about "only 10 minutes", it wasn't too long ago that they didn't even have remote start unless you got one aftermarket. Hell, I'm thankful for the starter in general. Those hand cranks were dangerous!1 point
-
I have a 2001 and just finished replacing all the brake lines. I think they are the same, sure sounds like it. According to my thinking GM really did a poor job of engineering this whole mess. I am a little jaded as I have been dealing with the rear discs since the truck hit 21,000 miles. Rears eat pads, passenger side has to have new pads every 6 months. Pads and rotors once a year. Dealer suggested I shouldn't drive it on gravel roads, lol. A Gucci city boy truck? Stupid designers as far as I'm concerned. The only other complaint I have is no locking rear differential. Should be standard, this truck gets stuck in a flat parking lot in the snow. Anyway I digress. The rear lines are conventional 3/16" after the splitter on the rear axle. The line running to the splitter is 1/4" line and a 1/4" fitting going into the splitter. Where this line goes into the ABS it is a 5/16" fitting taking a 1/4" line. The 2 lines coming from the master cylinder to the abs are 1/4" line with 5/16" fittings drilled out for 1/4" line. The 2 lines to the front cylinders are 1/4 " line with 1/4" fittings at the calipers and 5/16" fittings with 1/4" line at the ABS. You can't buy these lines. All the mechanics I talked to after making the assumption that the 1/4" line would have 1/4" fittings could buy the 5/16" fitting with the 1/4" bore and they made their own lines. I ended up getting 1/4" to 5/16" adapters for the connections to the ABS and ran 1/4" lines. The adapters are a problem, they have to have the small end on the 5/16" side. The big ended ones can be used on the master cylinder. The 5 on the ABS required me to phone and visit every automotive part store in 200 miles. Special orders resulted in the large wrench ends. You just can't fit 5 of them on the ABS and get your wrench on them to tighten them. I have the part number in my truck of the company that still makes the small ones. If you need it let me know. To replace the main line from the ABS to the rear splitter will require you to either drop the gas tank or remove the box. GM hides this line between the gas tank and the top of the frame rail. To remove the gas tank it is also recommended you remove the box first as well. Only 8 bolts and 2 torx screws holding the filler hose to the box. Basically it was a horror show. If your engine light is on it is also the time to replace the solenoid valve vent for the charcoal canister and the ring which holds your fuel pump in the tank should also be replaced. In hindsight I would buy the 1/4 x 5/16 fittings and buy 1/4" Easybend line and make my own flares. The steel lines are junk, even with the "corrosion" coating on them. By the time you get finished bending and routing it there are scratches all over it. The lines at the ABS are a mess. It is jammed between the charcoal filter and the fuel filter. 5 lines have that have 4 to 5 bends in 6" and fit into a 1/2" by 4" space going over the frame and then come together to run up the outside of the frame. You can buy a pre-bent set of lines for about $280 but after doing the job I would think you would have to remove the box, cab and most of the front end to get them in. The Easybend is real cool line. Copper nickel, truely corrosion resistant and bendable by hand. You can almost knot it and not kink it. Unfortunately I found out about it about half way through my job and it was too late to switch. You could run 3/16" steel line from the rear splitter to the rear calipers, plain Jane runs which can be redone easily to have to avoid buying a 25' coil of the easybend. The Easybend seemed to be about $50 for 25'. Cheap believe me. I have abs of steel crawling out from under my truck about 500 times fine tuning the bends on the steel lines. I ended up buying straight steel line with the fittings on them. You pretty much need fittings and joints on the steel lines. Pretty much impossible to run a full line the way GM routes them. And every joint is a potential leak point. The easybend will allow you to run the lines with no joints and just bend as you go by hand. I will NEVER run another steel line, ever! If you want to really know if I'm bullshiting just crawl under the drivers door and have a look at the mess around the ABS on the inside of the frame. Also look at the line that heads to the rear, you can see about 18" and it is gone. The lines are run in the factory with the frame fully exposed and no body parts on. Every mechanic I talked to cursed this truck and most would want $1,000+ to do the job. I expect with a dealer you would be well on your way to $2k. Our dealer shop rate up here in Canada is $115/hr. The only one who was reasonable was the one who showed me the Easybend, he was still $75/hr but had the secret. Too bad I didn't visit him earlier. It would have saved me a week of cursing. I have pics start to finish if you need them. My brakes are great, well as great as GM made them, they have always required more effort than any other vehicle I ever owned. Bruce1 point


This leaderboard is set to New York/GMT-04:00