
andrewb24
-
Posts
200 -
Joined
-
Last visited
Content Type
Profiles
Forums
Gallery
Events
Articles
RPO
Store
Blogs
Everything posted by andrewb24
-
I want to add a camera to my front grill that works on radio screen like factory. I have a backup camera and the trailering guidance camera now. I have a price of about $800 for a kit that will do this and thats with me installing it. Is there any less expensive option? is it hard to install? has anyone done this and what did you use?
-
paid someone $250 to wrap my front bumper with vinyl
-
 I still have not found a fix for my radio to quit asking for me to reset my password or forget password over and over. I have went through chevy app and made sure password was correct and I have asked onstar and the dealer but nothing has fixed it yet. Any solutions out there?
 -
2020 LT Silverado LT Rear Seat Arm Rest
andrewb24 replied to andrewb24's topic in Troubleshooting, Warranty & Recalls
???? -
So I installed my leather seats awhile back and I'm just now getting around to digging in a little more on why the rear seat folding armrest isn't tucking in tight and flush with the seat. I know the leather is thicker than the cloth was but I feel it should sit in a little better than it does. I have the plastic cover installed after finally getting some new plastic rivets/retainers to replace the other ones I messed up trying to hard to get them back in. I'ms thinking about taking the rear seat back out again and just seeing if something isn't right but it folds up and down with no issues. Anyone have any ideas what to do to get it more flush with the seat back?
-
Rear window leak making me rethink a new truck.
andrewb24 replied to GN2018's topic in 2019-2026 Silverado 1500 & Sierra 1500
There are lots of people not having any problems with the rear window. If you like the truck buy it. Thats my opinion. -
2020 Silverado Jump seat issue
andrewb24 replied to andrewb24's topic in 2019-2026 Silverado 1500 & Sierra 1500
I am trying a Velcro strap wrapped around the seat belt and buckle and through the hole to hold it flat to the seat belt in case I forget to check it when lowering the seat back. If someone needs seat belt they can just undo the velcro. -
Need help identifying leveling kit
andrewb24 replied to Nicccccckk's topic in Modifications, Wheels & Tires
Is there a block in the back? These trucks dont come with a block in the back like the older models. I installed a 2.5" front level and 1" block on mine. The 2" usually isnt enough to get the truck level from what I have seen. I had a 2" level like that one with no block originally and i was still a 1/2" or so lower in the front. -
Bilstein 5100 front shock installation questions
andrewb24 replied to Interleukin6's topic in Modifications, Wheels & Tires
For the top strut nuts I used an 18mm ratchet style wrench to take off the nuts and tightened up as much as I could by hand and then checked them again after a trip or two. You can get an impact wrench with an extension in from the top if you move some things around like the air filter box on the driver side. The plastic pieces attached to the top strut bolts will pull off the bolt and you can lift up enough to get ratchet wrench in there and/or you can move them to the side if coming from the top with impact wrench. I am pretty sure you will have to remove the sway bar to make enough room to get the strut out so just make sure the hub or lower control arm has a jack under it when you take the sway bar nut off so you can slowly lower knuckle slowly until you have enough room to get strut out. You will have to jack the knuckle back up to get the sway bar bolt back on lower control arm and get the nut back on. You'll want to take the axle nut off with a 36 mm socket and push axle where it will move freely through the hub (i had to tap mine with hammer a couple of times to make sure it was loose when moving the knuckles around to avoid over extending the axle. jam a pry bar between the wheel studs while using a cheater bar to break the axle nut loose if you dont have an air impact wrench. not sure about the other questions. Might as well raise the front if the billstiens are adjustable to level the truck and you will need alignment for sure if you raise it. -
I noticed some grease on my tie rod boot and around it in some places yesterday but there is none on the cv axle boot so I think that's a good thing. Are the boots on the tie rods packed with grease? I am going to get oil changed in next week or so and Ill probably have dealer do it and let them look at whats going on. Anyone else had trouble with this?
-
Lift/level, dealer install or take it to "your" mechanic?
andrewb24 replied to ero2's topic in Modifications, Wheels & Tires
I installed a 2.5" upper strut motofab lift myself and 1" in the back. Its pretty easy just make sure you take the axle nut off and make sure axle moves freely through the hub. Also I have seen a few people say they couldn't get their kits on but if you unhook the sway bar its easy to get it on. Make sure you have a jack to jack the lower arm to get sway bar reattached. Oh and take your time. -
2020 Silverado Jump seat issue
andrewb24 replied to andrewb24's topic in 2019-2026 Silverado 1500 & Sierra 1500
yea the buckle gets caught sometimes facing straight down but I am forgetful and was trying to think of a way to secure it where it does face down but I guess its a minor problem just making sure it isn't each time its folded up and down. -
2020 Silverado Jump seat issue
andrewb24 replied to andrewb24's topic in 2019-2026 Silverado 1500 & Sierra 1500
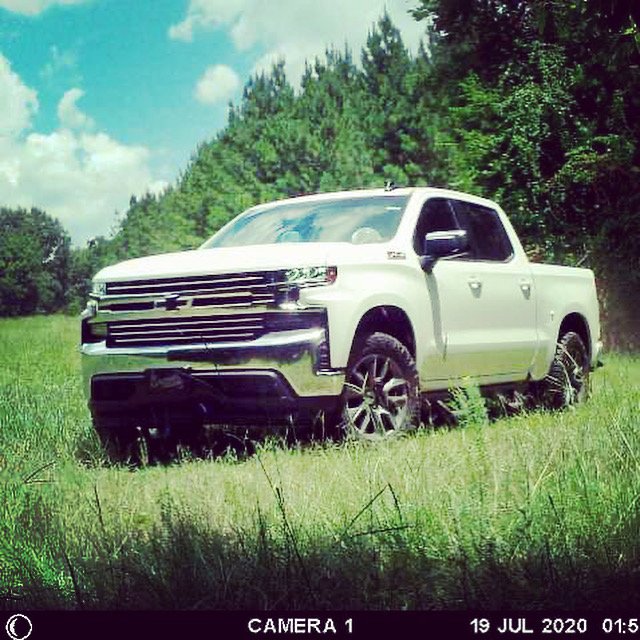
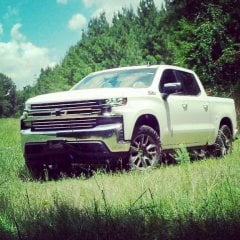
Pic
-
On my folding jump/middle seat that folds down into an armrest/console my seat belt buckle is digging into the seat bottom when folded in down position. Am I the only one that's having this happen? I mean I can check every time I fold it down I guess to make sure the buckle is positioned where it doesn't dig in but I am forgetful and I shouldn't have to on a brand new truck. I am afraid it is going to mess up the new leather I recently installed if it hasn't already. And this issue started before the leather so it did it with the cloth seats as well. Wondering a way to secure the buckle or something to keep it from digging into the seat when I fold arm rest down.
-
hard to find a high end shop around here. I got to thinking about it this morning and to do it right the whole spindle/knuckle might need to come off because its on the backside of it and not sure you could see what you were doing but possibly if someone had it on a lift they could do it.
-
I don't have much experience extracting bolts. I asked because I was hoping may be someone had done something similar which I figured would be a long shot. I dont know a shop that specializes in bolt extracting so should I take it to a regular shop that does tires and brakes?
-
posting again to turn on notifications
-
So I have put this off for a little while and ready to fix it but when I was working on my leveling kit and putting everything back together I used an impact wrench like a dummy to fasten the 10mm bolts down that hold the brackets for mounting the brake line and speed sensor line and broke off one on the back of the knuckle. wondering if anyone else has had this happened and were you able to get it out? Can i drill it out with a small drill bit or an extractor Possibly? Hoping all I have to do is take the wheel off and leave everything else hooked up and run the bit or whatever in there to get it out.
-
The axles are assembled if you buy the whole axle and ready to install. I'm not sure if you can take it apart where they boot will slide off but I would think so. I think replacing the axle would be a lot easier and cleaner even though it cost a little more but may be worth it.
-
These aren’t trailboss axles though
-
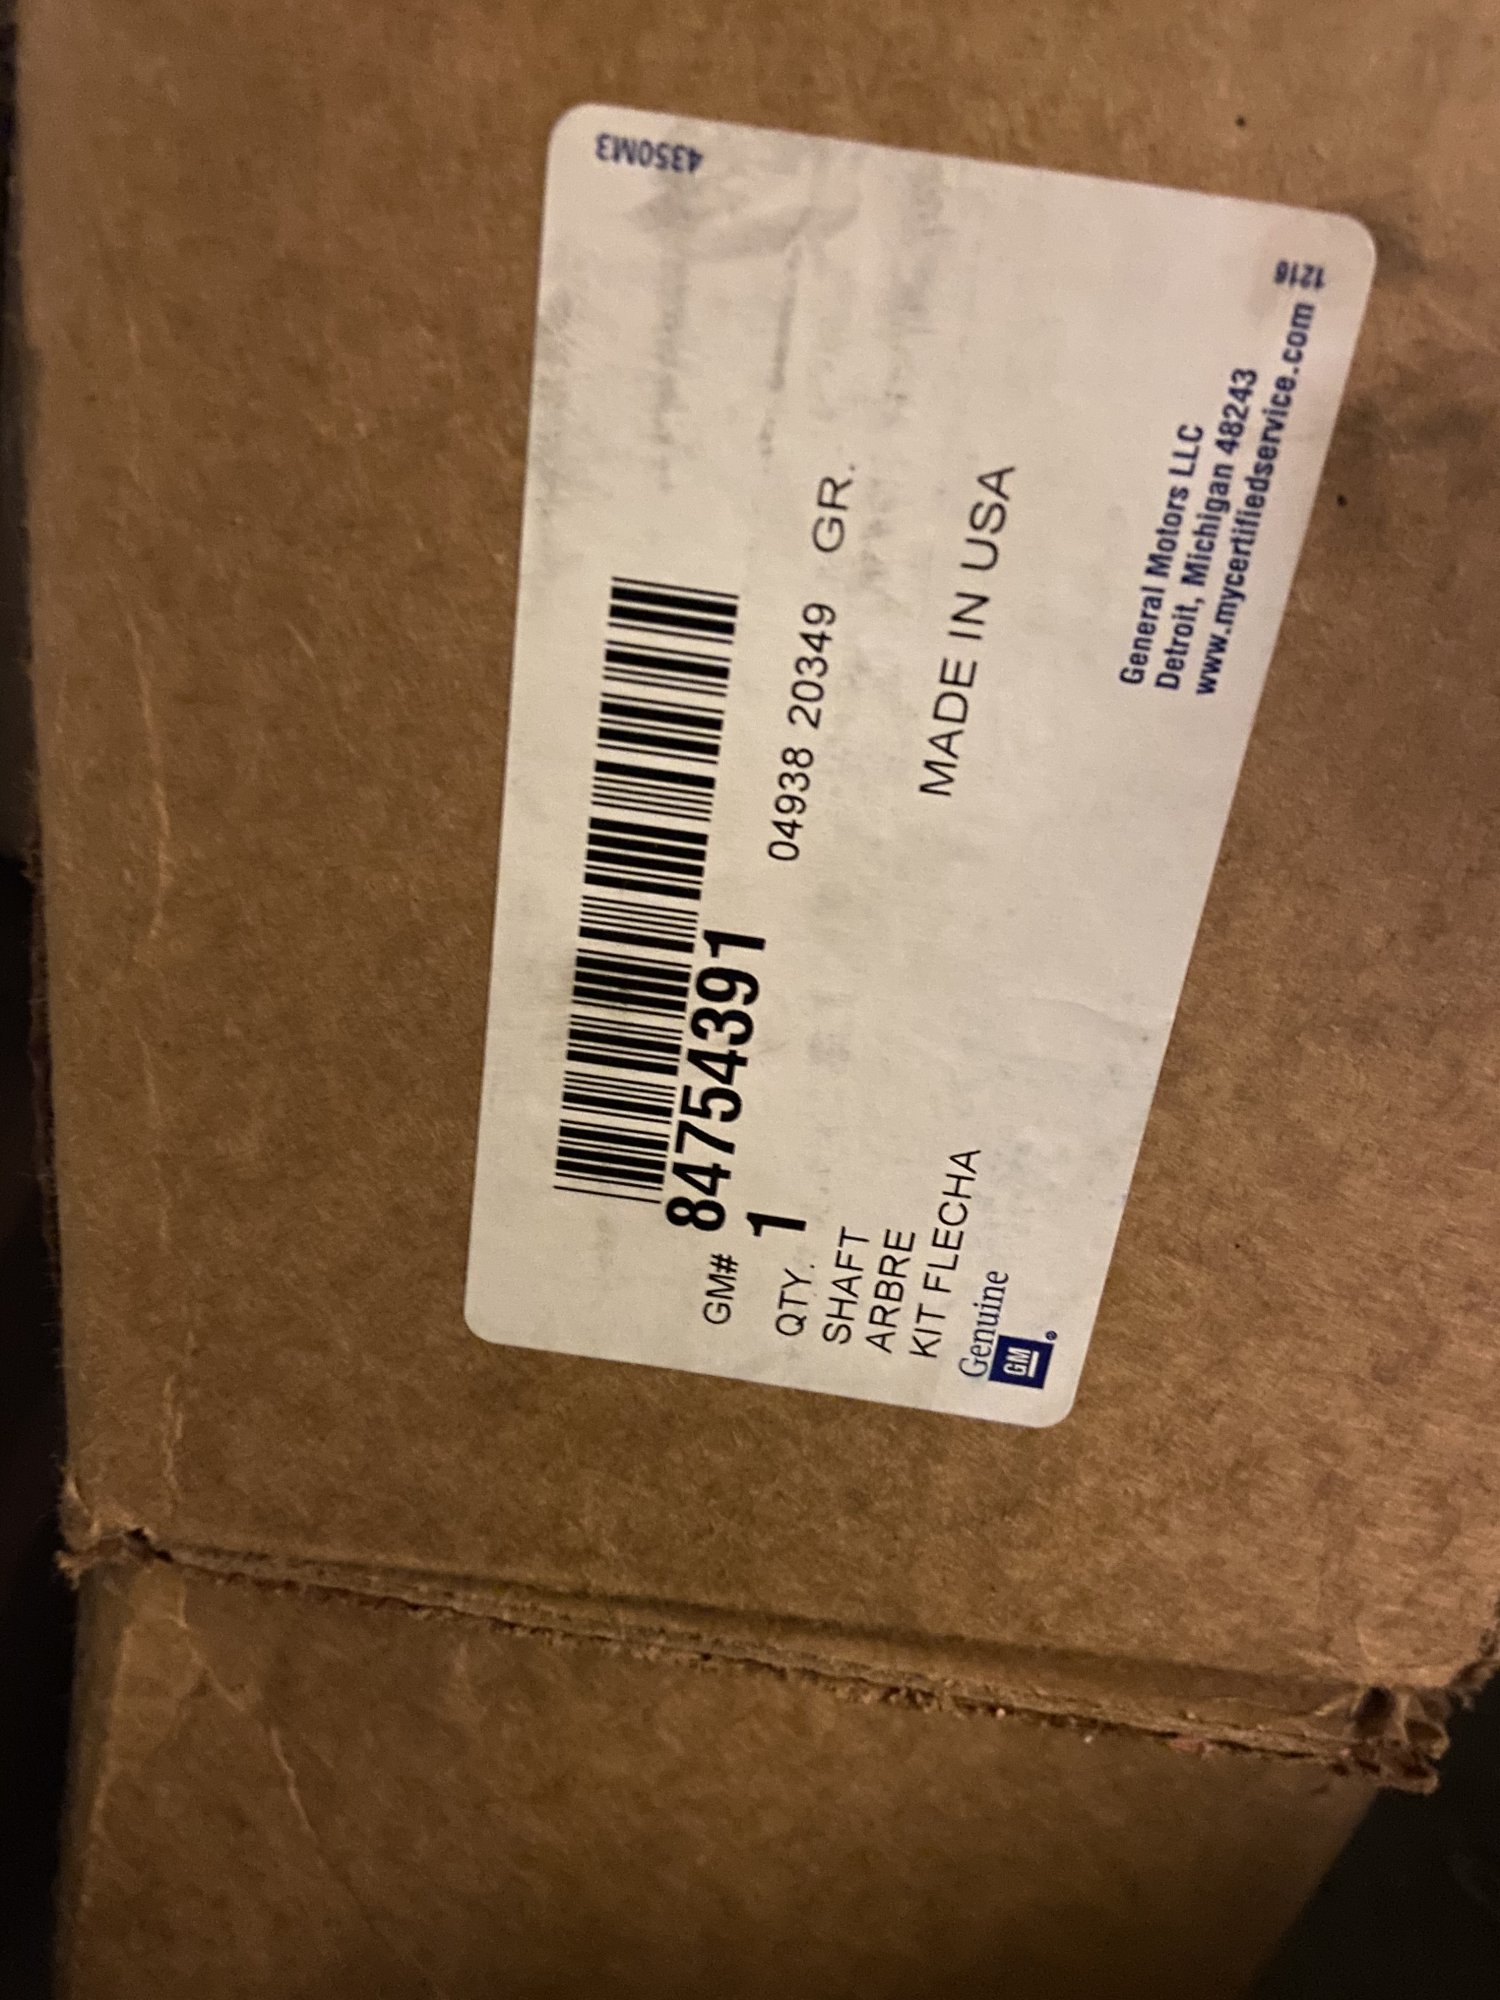
Need to Replace a CV Axle? Here is how.
andrewb24 replied to andrewb24's topic in Troubleshooting, Warranty & Recalls
I had a local truck accessories shop install a lower rough country 2" kit and I didn't like how close the axle was. I also wanted a little more lift and decided to get a 2.5" motofab leveling kit for upper strut and decided to install myself. While installing I noticed a boot already had a clamp missing and I know the shop messed it up because that put a zip tie on it. After installing the opposite side of the damaged one i guess i somehow knocked off a clamp I guess not knowing what I was doing at the time and also an inner boot must have had a small hole because i could see a little bit of grease on it. So basically the install is what caused them to tear. Which I didnt think was that big of deal until i went to try and just put new clamps on but couldnt get them where i was satisfied and decided to replace the whole axle while they were available. -
I had busted boots on my axles on both sides of my truck. At the end of last year the dealer was going to replace them under warranty so they ordered the parts which were back ordered and took a month to get them so when I went back for them to replace them, they decided they would not be able to replace under warranty. It was like $1400 it was going to cost me so I figured I would try and do myself so I ended up going ahead and buying the axles from the dealer before another dealer tried to get these since it would be no telling when two more would be available. The dealer price was like $250-$260/each but I got them down to $200/each. For the install the dealer said it would take like 8 hours for installation. I completed it in my garage in about 3 hours. Before doing this I searched the web high and low on how to change the axles out and did not find much so I wanted to walk through the steps from what I recall and may be it will help someone else out one day. There was one YouTube video of a guy installing a lift kit that helped some but still didn't show everything I needed to see but enough to make me feel comfortable going ahead and trying it. The only part I was worried about was how to get axle out of the differential case but that ended up being the easiest part of the job. Note: I am not a mechanic just a Diy'er 1. Obviously park on level ground and put parking brake on. Put stops behind back wheels (I did not do) 2. Set Jack under truck and go ahead jack enough to apply some pressure then break lug nuts on wheels loose and after that finish jacking truck up high enough up to get the wheel off. 3. Lower truck on appropriate jack stands and I would leave the jack in place as well for extra safety unless you need it which I don't think you will on this install. 4. Remove axle nut with a 36mm socket which will require a strong impact wrench or a regular socket wrench and probably need a cheater bar or a piece of pipe laying around to break it loose. If you have to muscle it with a regular socket wrench you will need a pry bar to place between lugs while breaking the nut loose to keep rotor from spinning. 5.This can be done before step 4 but doesn't matter. Remove all 10mm nuts from knuckle that are holding a sensor and brake lines on. 6. Remove Brake Caliper (before removing this find a s hook, wire , rope or something to place on the truck frame somewhere to hang the caliper on or if have something you can put under the truck that will hold it to keep pressure off the brake lines) which has 2 bolts holding it on I can't remember the size but I think they were 18mm or 22mm maybe. 7. After that you will need a star bit to remove the brake disk/rotor and sorry but not sure on the size bit but I want to say a t25, t30 or maybe t35 8. Now would be a good time to push the axle through the hub (I don't want to recommend this but I think it'll be fine but I got a block of wood and placed on the axle stem where nut threads on and hit with a sledge hammer a few times and this didn't mess anything up, you could probably even tap it without the wood but may risk damaging threading but if your replacing that doesn't really matter unless you want to do like I plan to do and fix up the old axles for spares) I think the video I saw the guy used some kind of air punch to push it through the hub. 9. Remove the 18mm nut that holds the upper control arm and knuckle together. 10. Remove the 21mm nut that holds the steering control arm to the knuckle. 11. When you have the axle where it is freely moving in the hub then remove the lower control arm nut. Cant recall size but I believe its an 18mm as well. set the knuckle to the side. (i set mine to the side and after i finished I had a squealing noise from where I laid the knuckle down and it bent the dust cover and made it rub on the rotor) 12. You have to remove the axle from the differential which is just prying it out. I used a crowbar or big flat head screw driver and put right between axle and differential and pried it out with a little force which I only had 7k miles on the truck at the time so it came out pretty easy. 13. All you have to do now is get the new axle and push the one end in to differential case and then put everything back together in reverse order. 14. After you have it all back together except the wheel. Spin the rotor with your hand and make sure it doesn't rub against dust shield. If it does its probably on bottom of rotor or something and you can pry it away with a screw driver and test again. If no sound is made put the wheel back on. I don't think I had to on this project but you may have to take the sway bar nut off with an 18mm and probably going to need impact wrench for that. I am pretty sure you don't have to remove it to do the axles. Also if you do have to you will need the jack for this so you can jack the lower control arm up to get the sway bar bolt back through the hole in the lower control arm and get the nut on. other tips 1. have paper towels near by 2. I got a mechanic type stool with wheels that has adjustable height and it will save your back and has a pan for tools on the bottom. 3. use brake cleaner for cleaning grease off garage floor or tools. 4. use fast orange to clean hands 5. take your time and don't panic lol 6. be prepared for wife to complain about you being outside so long because she doesn't understand how aggravated you are while your wondering why you even did this project yourself because its a PIA. 7. I could've got axles off gm parts online stores for a little cheaper but they were out of stock at the time. 8. Use an impact wrench whenever you can but know its limits. Don't use it to install the brake line mounts on the knuckle but do use to take off. 9. Play Morgan Wallen while doing the install. 10. Dont finish your 12 pack to quick while in the middle of the install. 11. Dont complain to me if you messed something up this is just what I went through because again I am not a mechanic by no means. 12. Keep the nuts and bolts organized in a way that will make it easy to know where it goes.
-
Tore mine down last night and removed my passenger side strut. Probably took an hour maybe a little more and I had most of the tools ready from doing the driver side a couple days ago. Its still a pain doing alone no matter how many times you do it but not that bad if you have a patience which I usually lack lol but I made myself be patient. Also get a little stool with wheels to sit on because it will help save your back or actually your whole body from being sore. With all that said if you are required to take the strut apart to install the Bilstein shocks you have then it may be better to pay someone to do it for sure. That part would seem dangerous but I have never tried that. I had to take my strut out because I installed a 2.5" top strut leveling kit and needed to see why the top bolts were not threaded all the way through the top nuts. What I do not know is if I need a realignment because I had the truck aligned when the kit was originally installed months ago but after taking it apart does it need alignment again? even though I didnt really change anything but still feel like it might need a little bit of adjusting.
-
You have to unhook the sway bar to get the strut out but before that you have to remove the brake line bolts that are fastened to the knuckle with 10mm bolts, steering linkage which is 21mm or 22mm cant remember, need to take axle nut (36mm) off if 4wd and push axle through the hub (not all the way through but enough that it moves freely so you do not hyper extend the axle) , Id place a jack under the hub assembly before this step which is to pry down upper control arm with pry bar and remove 18 mm nut to unhook upper control arm then slowly take prybar out, next take off the 18mm nut on the sway bar and slowly lower hub down with the jack until you get strut out. I just took one of my struts out the other day and plan to do the other one this afternoon so i remember the steps well. This job is a pain in the rear in a garage with minimal tools.


-
Forum Statistics
250.4k
Total Topics2.7m
Total Posts -
Member Statistics
342,754
Total Members8,960
Most Online
-
Who's Online 0 Members, 0 Anonymous, 575 Guests (See full list)
- There are no registered users currently online