

Sonders
-
Posts
284 -
Joined
-
Last visited
-
Days Won
1
Recent Profile Visitors
2,575 profile views


Sonders's Achievements
")
Enthusiast (5/11)
66
Reputation
-
No rear air 2019 Traverse
Sonders replied to Sonders's topic in Traverse, Acadia, Blazer & Enclave (Pre 2024)
Just tried controlling the rear air from dash controls and that doesn’t work either. Also I failed to mention in my first post but the rear controls only change the air flow from ceiling to floor, but fan speed didn’t change when I had the jumper wires on the blower motor; it blows full speed regardless of changing the fan speed on the rear controls. I’ll have to check the voltage at plug like you mentioned Newdude. I’ve only tried the jumper wires so far. -
I posted this over on Traverseforum, but thought I'd try here as well. The rear air isn't blowing on our 2019 Traverse. The fan speed and mode can be changed on the rear hvac controls in 2nd row, but the rear blower fan never kicks on to blow air through the vents. I removed and tested the blower fan and it does work. I then tried jumper wires from the blower motor resistor wiring, directly to the blower motor and again, the blower kicks on and blows cold air through the vents. I thought this meant the resistor was bad so I replaced it with a new one, which still didn't work. I also tried swapping out the 30 amp fuse for the rear blower which didn't make any difference either. Any ideas on what else to check? I saw mention of replacing the HVAC control panel on another thread on Traverseforum, but not sure if they meant the main control panel in dash up front, or the panel in 2nd row for rear controls. Thanks in advance for any assistance.
-
That is a very cool set up Peter; I've never seen bike racks that mount to the side. That would be way easier loading bikes than having to lift them up over the bedsides. Did I read that right that the same Daimondback cover fit a Tundra and 2500HD Chevy? Surprised the Tundra has same size bed.
-
Good deal. Enjoy the trip. You'll probably want to cut those uprights down shorter after your first trip; as they are they put the bikes pretty high in the air. Also, don't know which bike carriers you ended up getting, but if you went with Yakima front loaders like I have, you'll have to notch the mounts of them out a little bit so they get a better bite on the Adarac square cross rails. Hope that helps.
-
No problem. Enjoy. I love how versatile of a setup it is. All kinds of accessories you can buy as well.
-
The uprights are basic flat aluminum plates with a 90* angle at top that the crossbars bolt to. I just measured and cut the bottom half off and drilled new holes. Pretty easy adjustment.
-
I have Yakima front loader bike carriers on mine. Note that I took the 12” upright racks and cut them down to 6” so the rack sits lower.
-
I finally got mine installed recently after talking to TS423. I was overlooking the correct plug like a big dumbie. I’ve only driven the truck once since installing it and the throttle response is noticeably better in setting 3. When going through all the different programmable options I noticed the rear gear ratio defaulted to 3:23 so I changed it to 3:73, along with my tire size from 34 to 35’s.
-
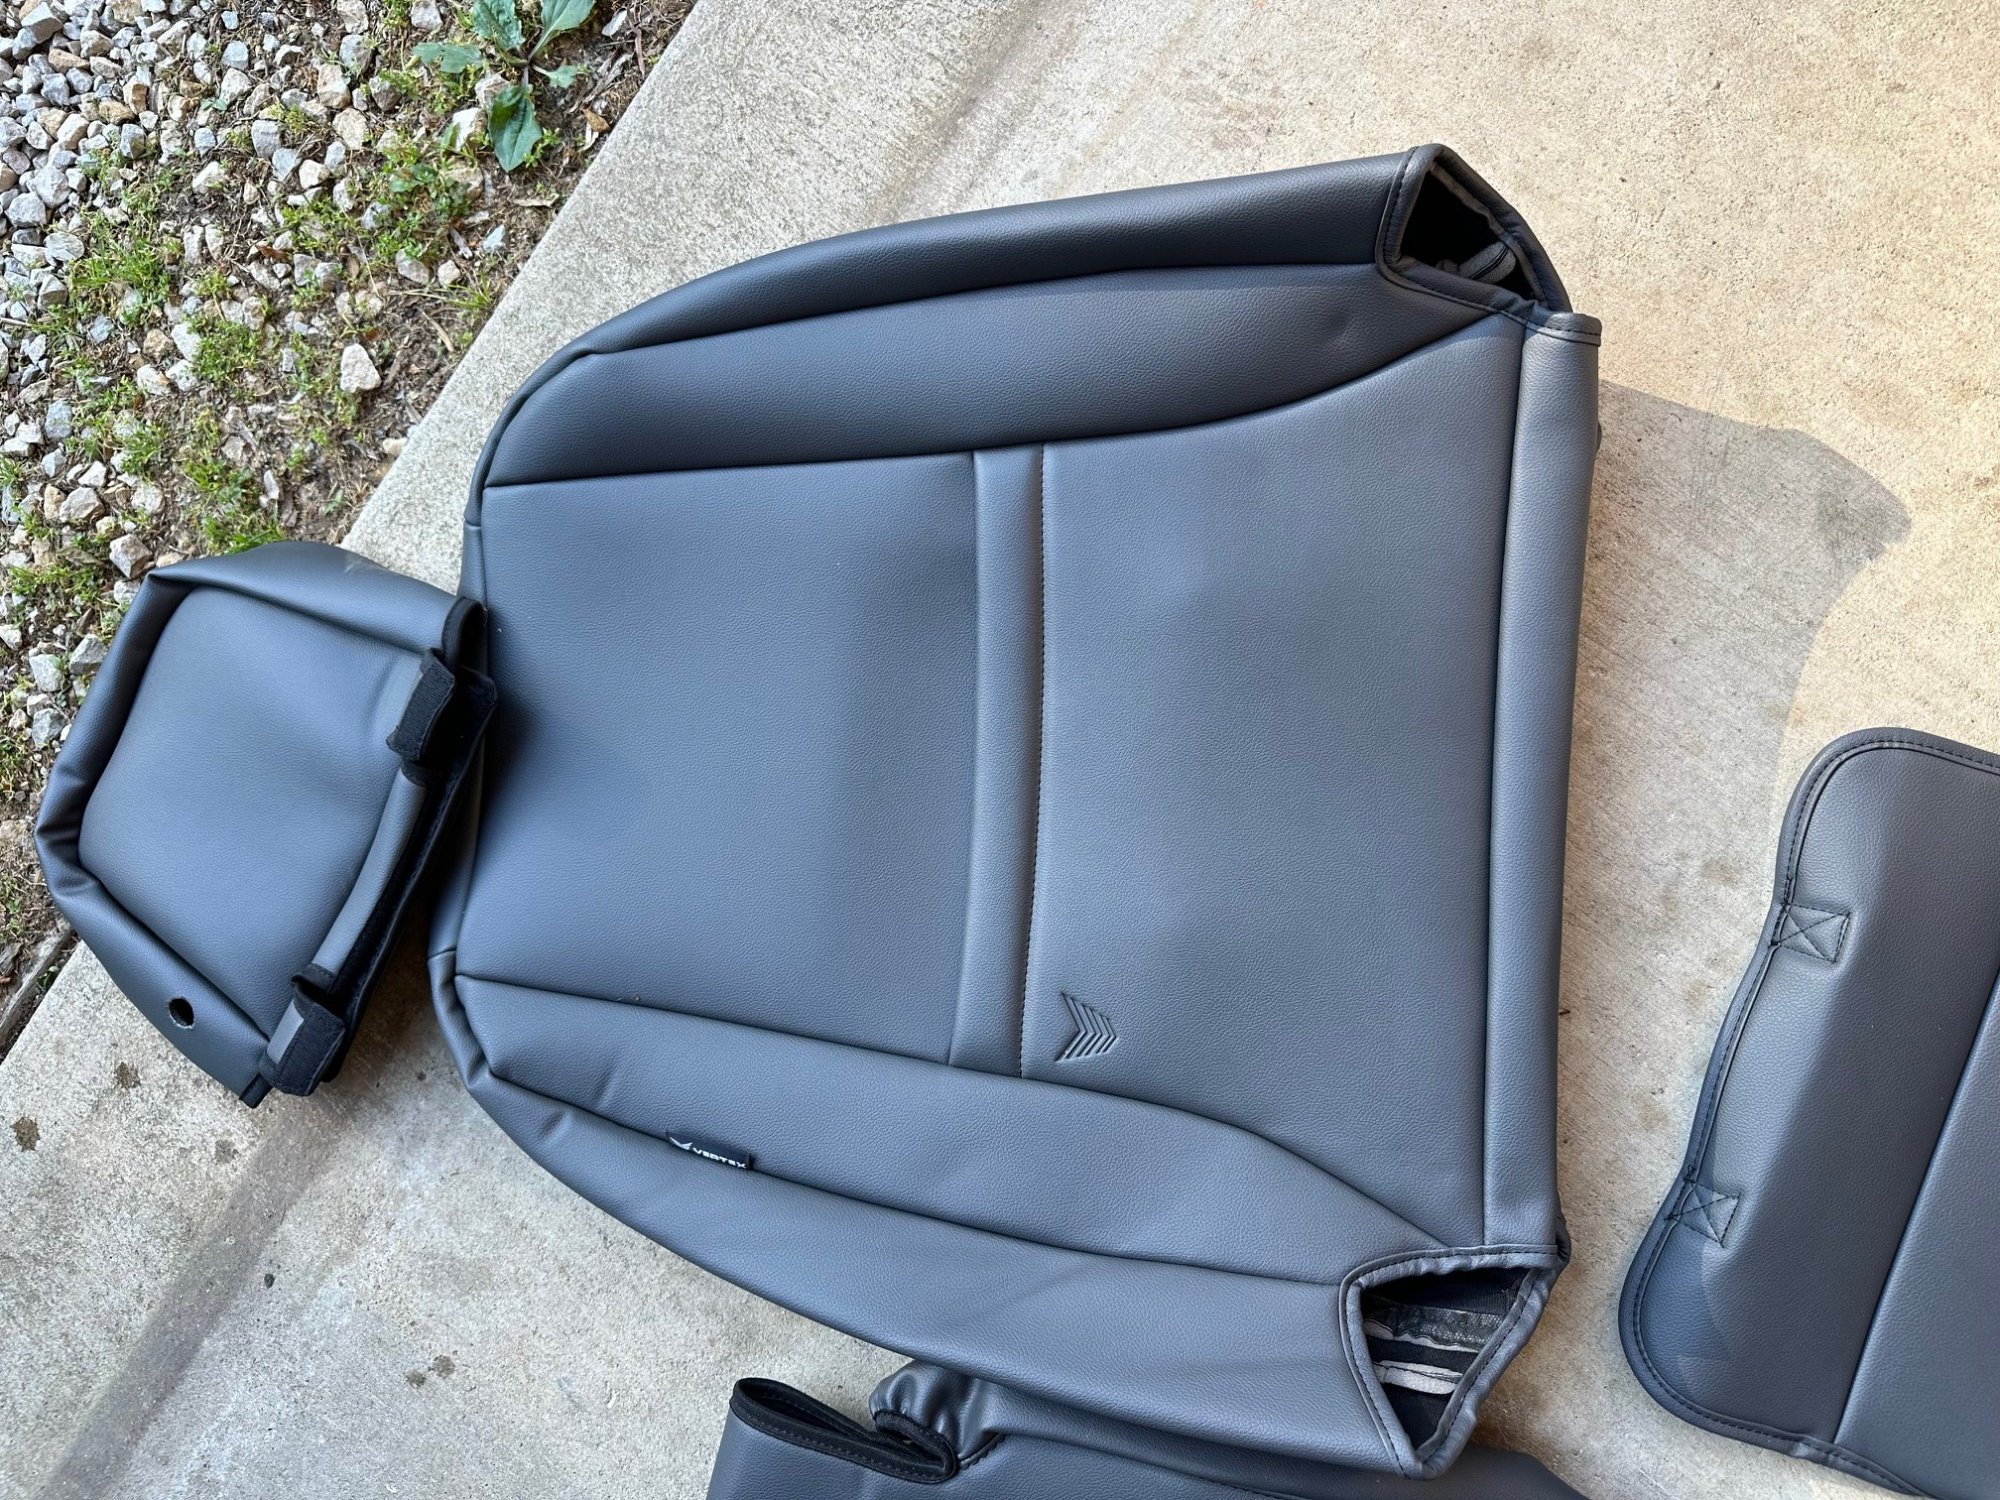
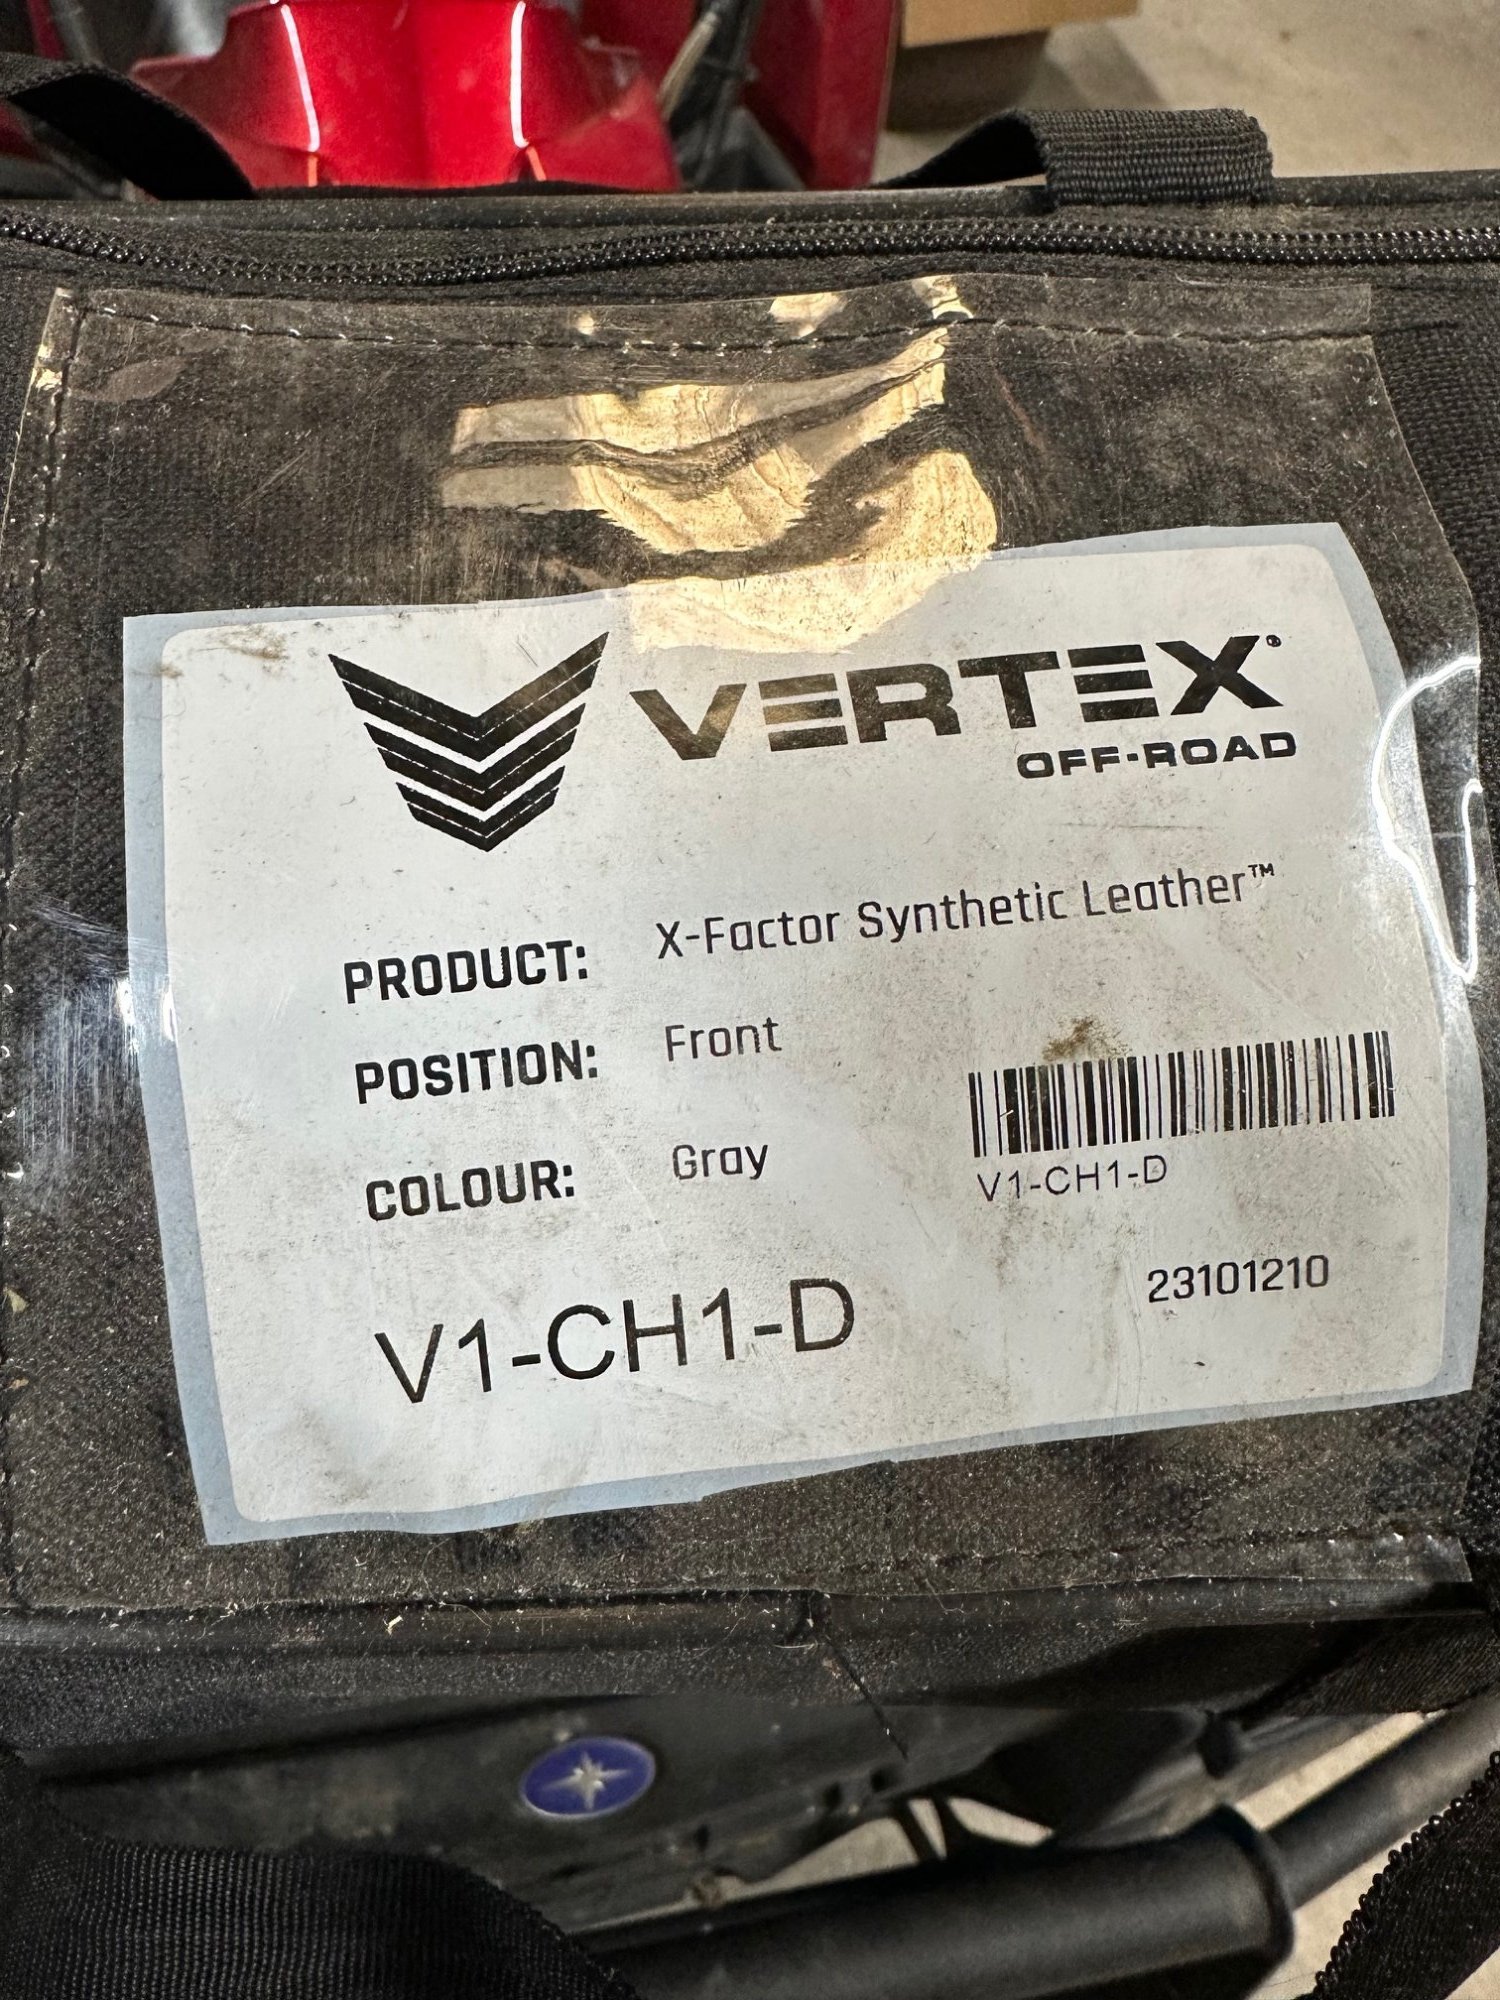
pair of grey leather Vertex seat covers for front bucket seats and center jumpseat for 19-25' trucks. FRONT SEATS ONLY. Bought them, but ended up finding a deal on complete seat replacements so never installed these. $275 shipped.

-
Manual driver seat swap to power seat
Sonders replied to Sonders's topic in Modifications & Accessories
correct, just need power. Yes, I guess I need year range correction again. 19-22.5 1500 and 20-23 HD's. There we go. -
Manual driver seat swap to power seat
Sonders replied to Sonders's topic in Modifications & Accessories
my old seat was completely manual also. below are the 2 different seat switch types to identify. First one is what you want.
-
Manual driver seat swap to power seat
Sonders replied to Sonders's topic in Modifications & Accessories
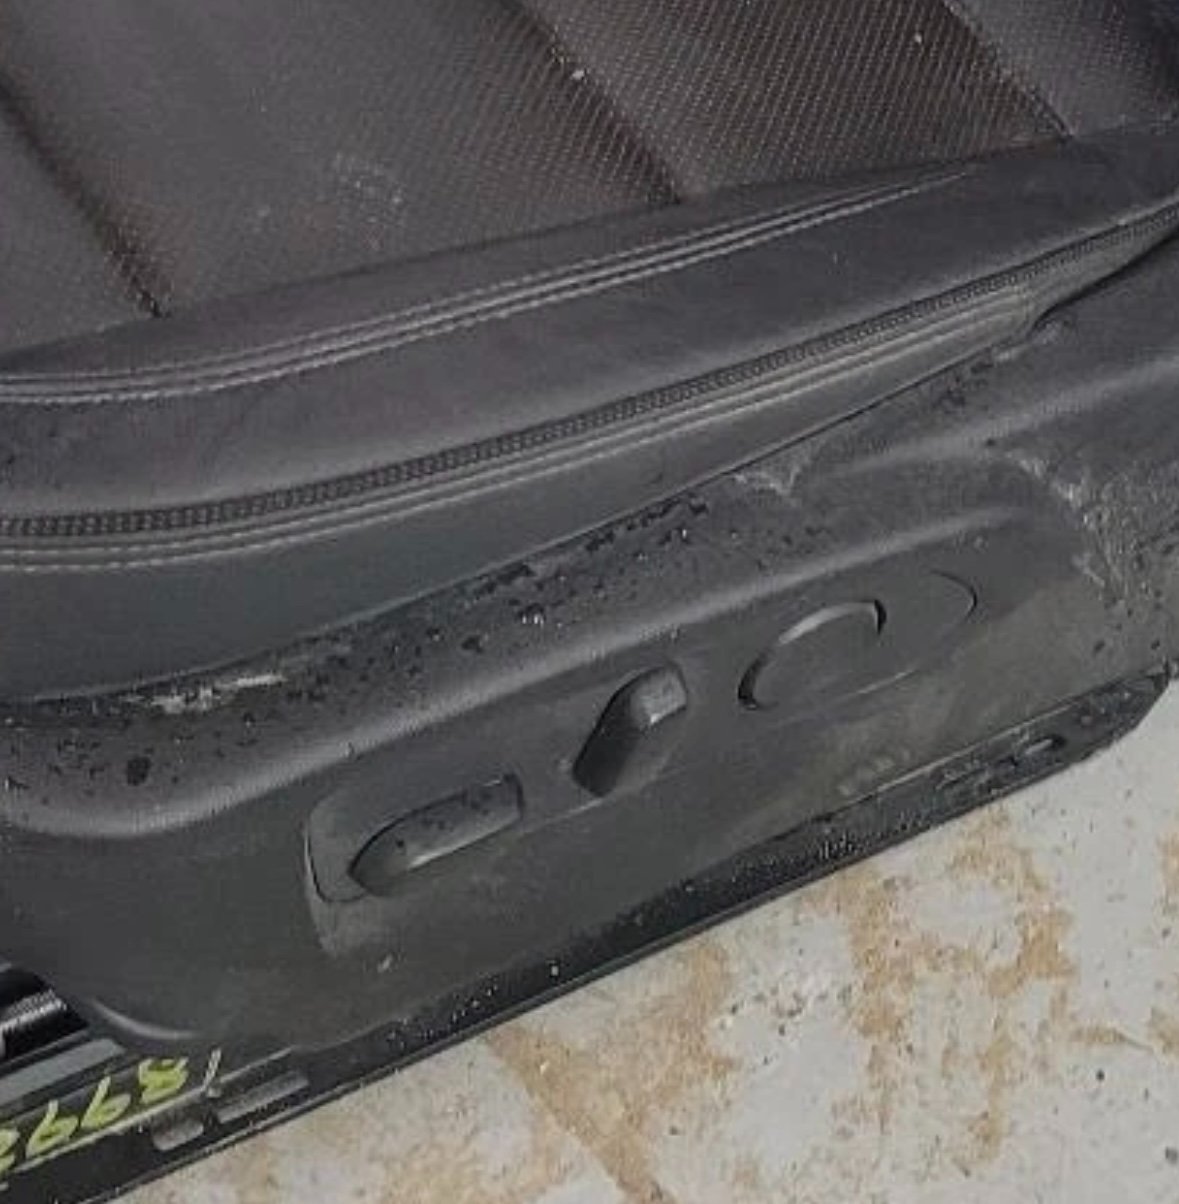
Negative, you would have to check your plug to make sure it has the pin for power from factory. if not, it can still be done, but it's a little more work as you have to add power wire. If you unplug your seat plug and look at the face of the plug on the floor, see if you have pin in upper right corner; that's the power wire, and upper left corner is ground wire. If you have those, you're good to go. If you don't have them you'll need to add both; easiest way is to order power wire harness from harnessdr. They have easy plug and play adapter harness to add power. Also, on the year range, it's actually 19-22.5. I was thinking the refresh was 23, but it was actually 22.5. So you can check 19-22.5 year range half ton and 2500-3500HD trucks. Easiest way to check is to look at the lumbar button; the 19-22.5 yrs lumbar button sticks out and has a raised lip in the middle. The newer style is more recessed and doesn't have raised section in middle. Hope that helps. -
I posted this on one of the truck Facebook groups, but thought I'd post this here as well. I discovered my 22' Custom had the pin on seat harness for power, so went on the hunt for a power driver seat to swap out my manual seat. Found a black cloth seat to swap in. I previously swapped all my stock cloth seat covers to grey leather, so had to start out by fully breaking down the drivers seat again to swap over the leather. I've driven some other 19-23 trucks that had power seat w/ lumbar and didn't think much of the lumbar on any of them. While I had this new to me power seat apart I checked out how the lumbar functions. There is a big plastic spacer that stops the 2 sides of the lumbar assembly from going any further, limiting how far the lumbar assembly extends out to provide more support. I removed the spacer, circled in picture below, and gained a few more inches of travel for the lumbar support. This makes a huge difference on how much actual support it provides, to me it is so much more comfortable. With the seat together and back in the truck it is way better than the old oem manual seat. It's amazing what a difference the seat is when able to adjust the bottom seat to angle it, and with good lumbar support. The seat isn't too terribly bad to completely disassemble if anyone else wants to make this small upgrade to their seat. Again, this is for 19-23 trucks; not the refresh interior. Good on 1500 trucks also. I can't confirm it works the same on newer trucks as the seat is slightly different and unsure of the wiring harnesses also.
-
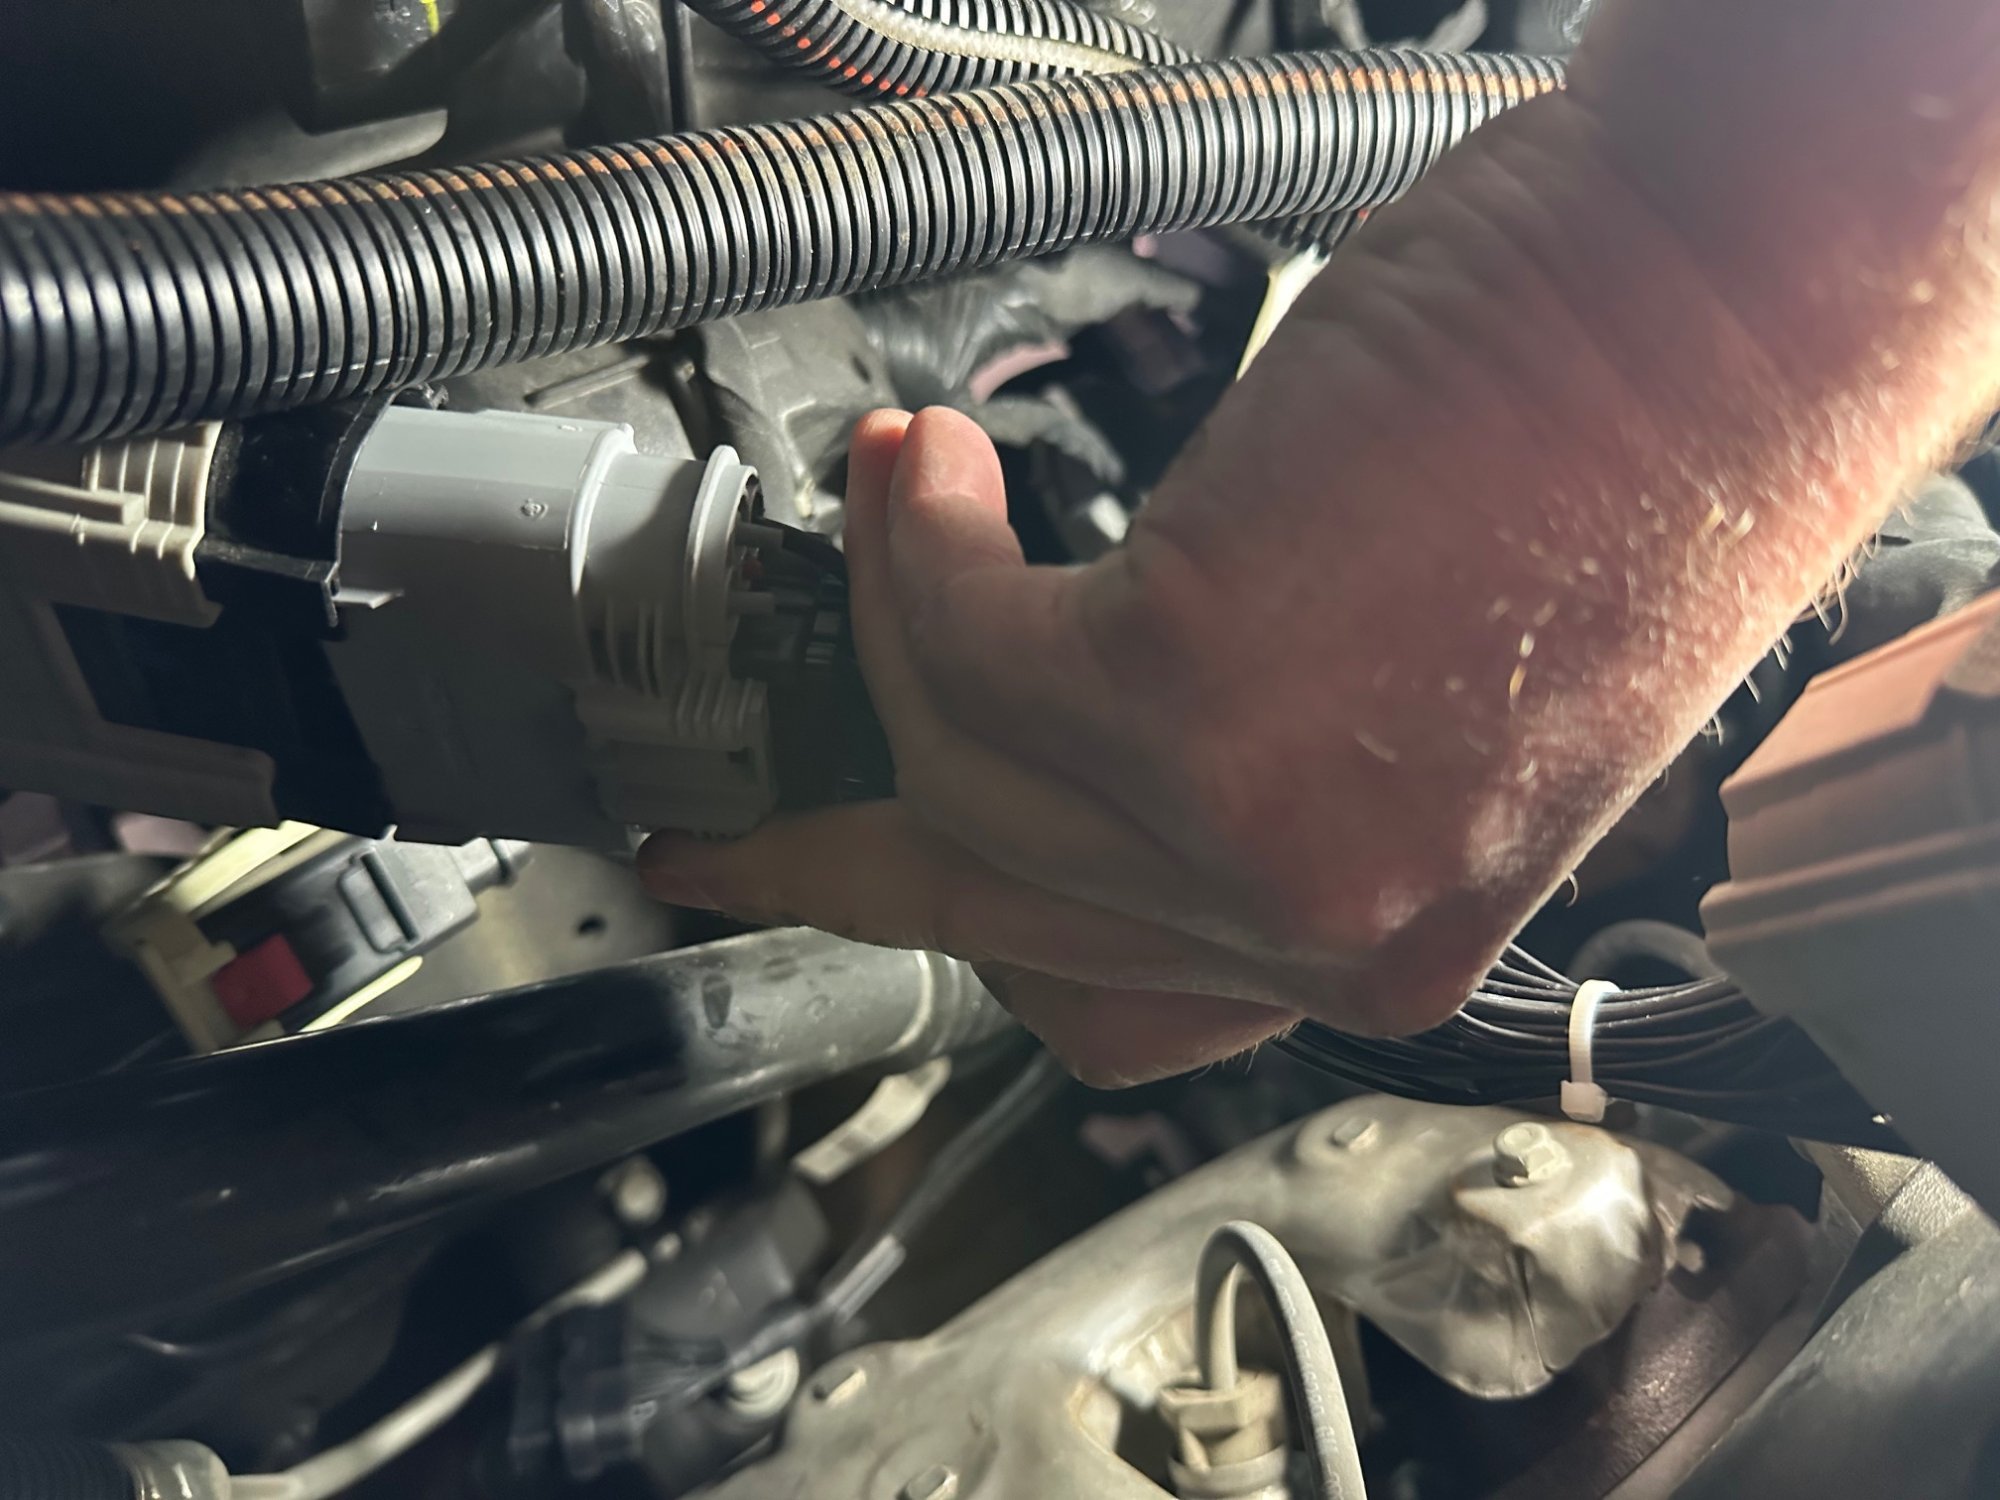
I gave up for the night. I didn’t see another connector like that in that area anywhere. If you don’t mind sending a picture my way that would be great. The one I tried is right below the coolant tank and brake fluid reservoir. It has a big plastic bracket coming off the frame rail up, and the comnector has a christmas tree clip holding it to the bracket. Wire harness runs from firewall, along inner fender up to the ecm.
-
finally got around to installing this. Went to plug in the harness and it doesn't fit the oem plugs of my truck. The 2 guide rails on the connectors of the Pulsar plugs are further apart than the ones on my oem plugs. I reached out to Pulsar and they are telling me it should fit; well it doesn't. Ugh, hoping they will take it back, but no further response from them yet. the raised part of the grey connector, as seen in picture; top one is lined up in groove, but bottom one doesn't line up as it's spaced further out. oem plugs spacing is 2-5/8" between the 2 guides and the Pulsar plugs are 2-7/8" apart. Guess they use slightly different Delphi plugs.


-
Forum Statistics
250.4k
Total Topics2.7m
Total Posts -
Member Statistics
342,843
Total Members8,960
Most Online
-
Who's Online 1 Member, 0 Anonymous, 513 Guests (See full list)