Search the Community
Showing results for tags 'emblem'.
Found 7 results
-
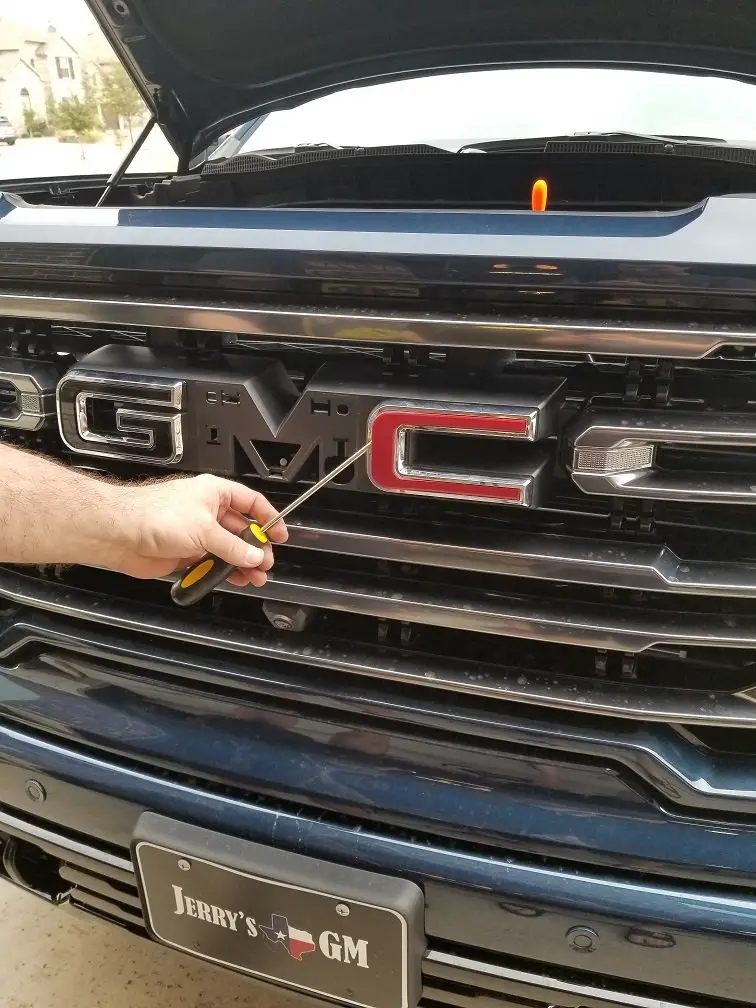
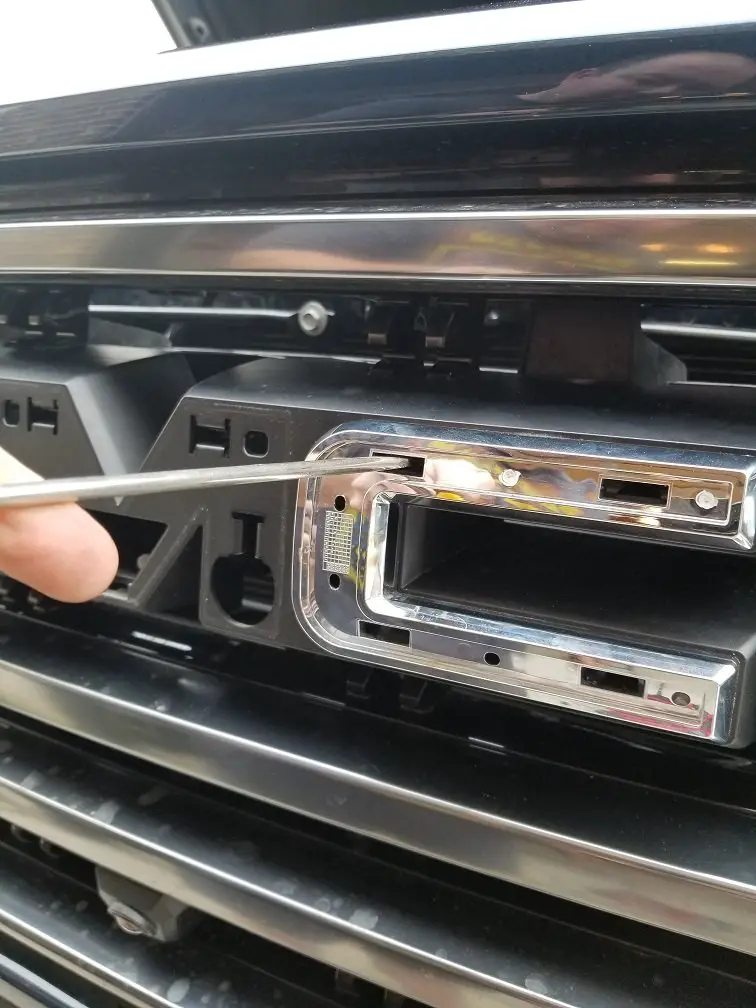
Hey all, I installed the OEM black GMC letters on my AT4 this weekend and thought I would pass this shortcut along. If you don't mind being a bit destructive and want to take the easy route - just pry the red insert off of the factory emblems and it exposes the retaining clips. Insert a screw driver and they pop right off. No grill removal required. I had one or two tangs that didn't immediately snap back in on the new emblems. apply a bit of pressure to the grill tab with either your finger or a flat blade screw driver from behind until it clicks. You are good to go.

-
Recently replaced the emblem on the grill, with an illuminated one. Selling both (as a set) my original front emblem and the NEW tailgate emblem (that came with my illuminated one). For these two BRAND NEW $160. Being told that the tailgate emblem should work on 2014-18, and the one for the grill should work on 2016-18. $100-shipped.
-
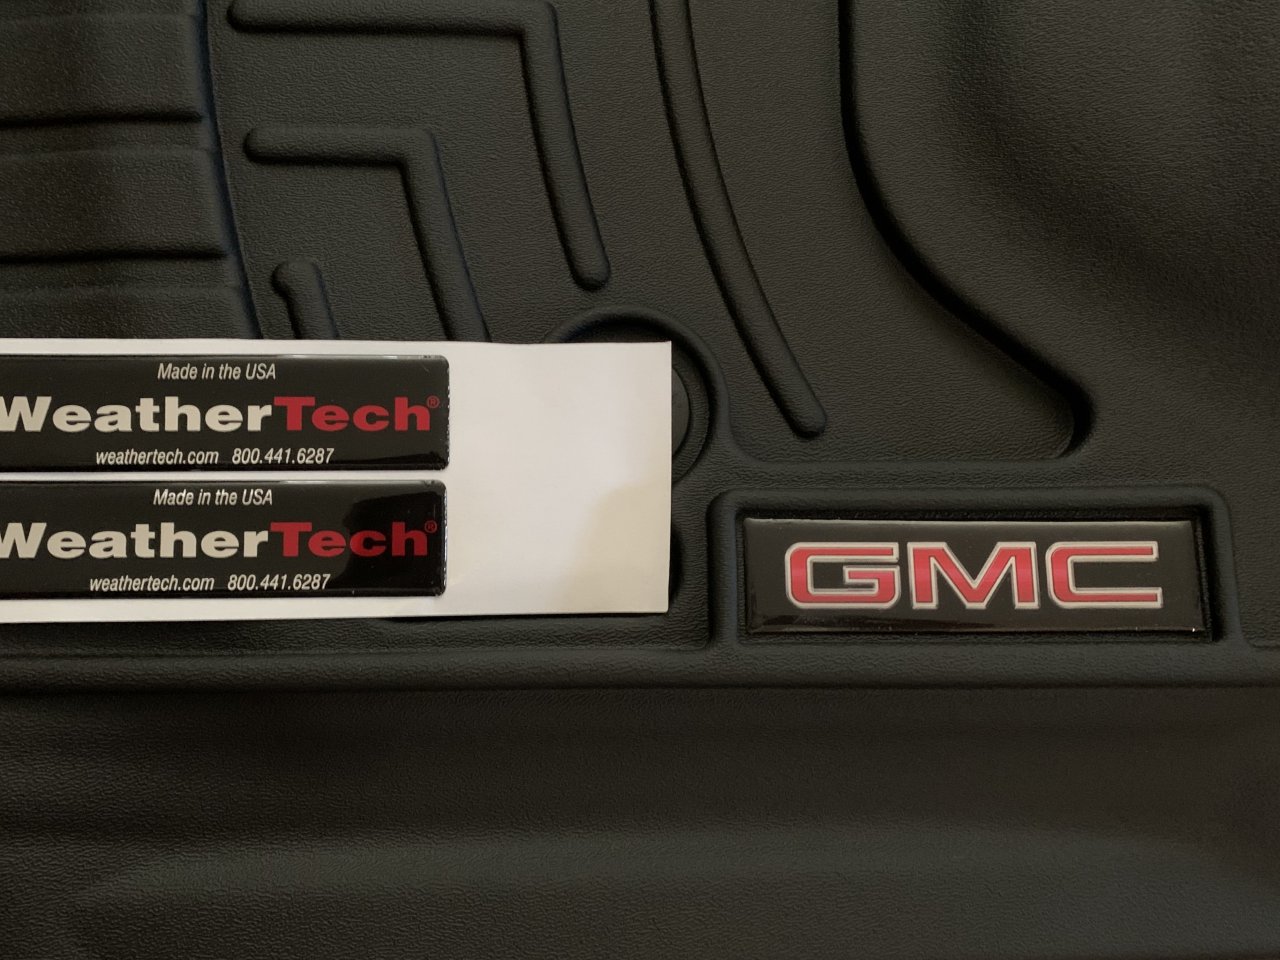 Just got these custom decal emblems for my WeatherTech liners, and they are LiT! If anyone is interested here is the link to the eBay seller I got them from. https://www.ebay.com/itm/114202843168
 -
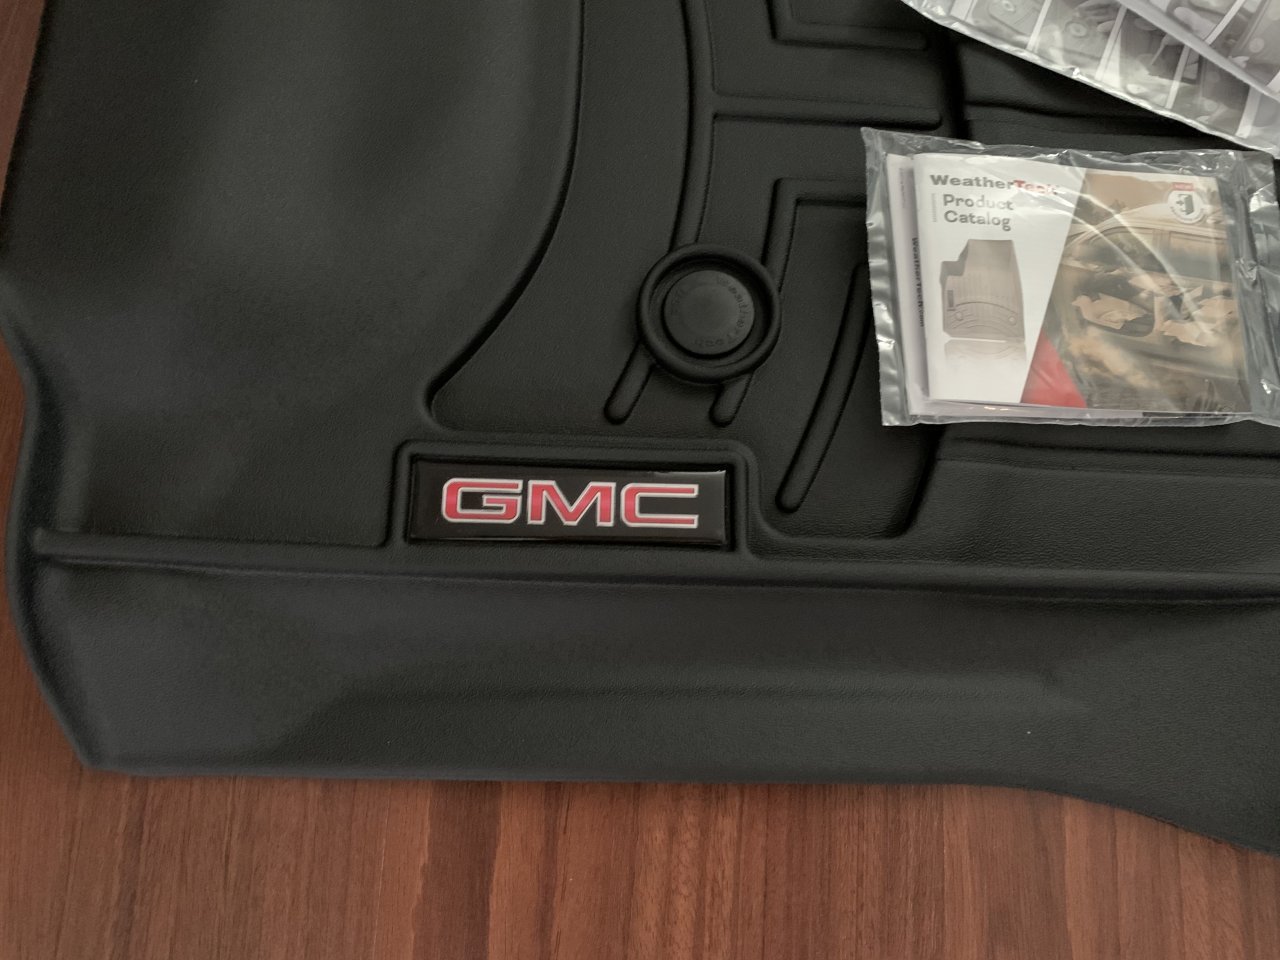 Just got these custom decal emblems for my WeatherTech liners, and they are LiT! If anyone is interested here is the link to the eBay seller I got them from. https://www.ebay.com/itm/114202843168
 -
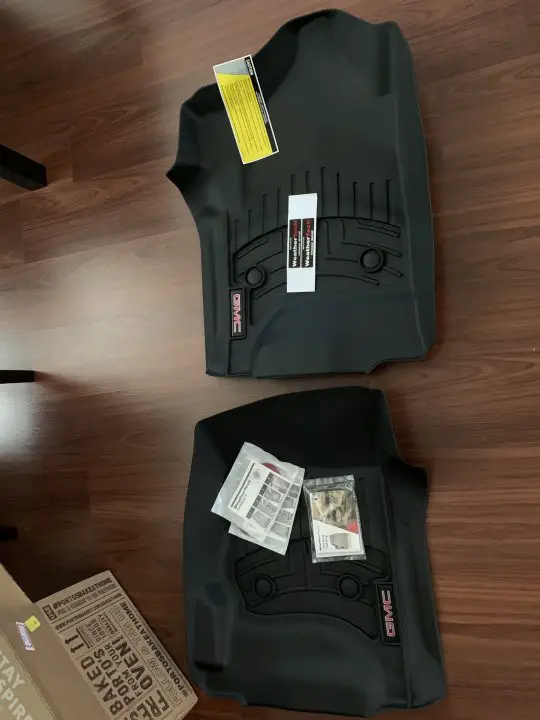 Just got these custom decal emblems for my WeatherTech liners, and they are LiT! If anyone is interested here is the link to the eBay seller I got them from. https://www.ebay.com/itm/114202843168
 -
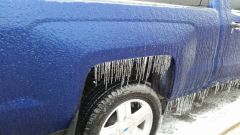
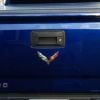
From the album: My 2014 Silverado
-
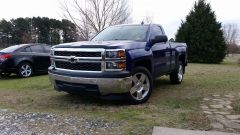
From the album: My 2014 Silverado
Vinyl overlay ended up having problems. Swapped the front bowtie when I added the flags to the rear.