
SilentSierra
-
Posts
28 -
Joined
-
Last visited
Content Type
Profiles
Forums
Gallery
Events
Articles
RPO
Store
Blogs
Everything posted by SilentSierra
-

Are people leveling the Trail Boss?
SilentSierra replied to SquireSCA's topic in Modifications, Wheels & Tires
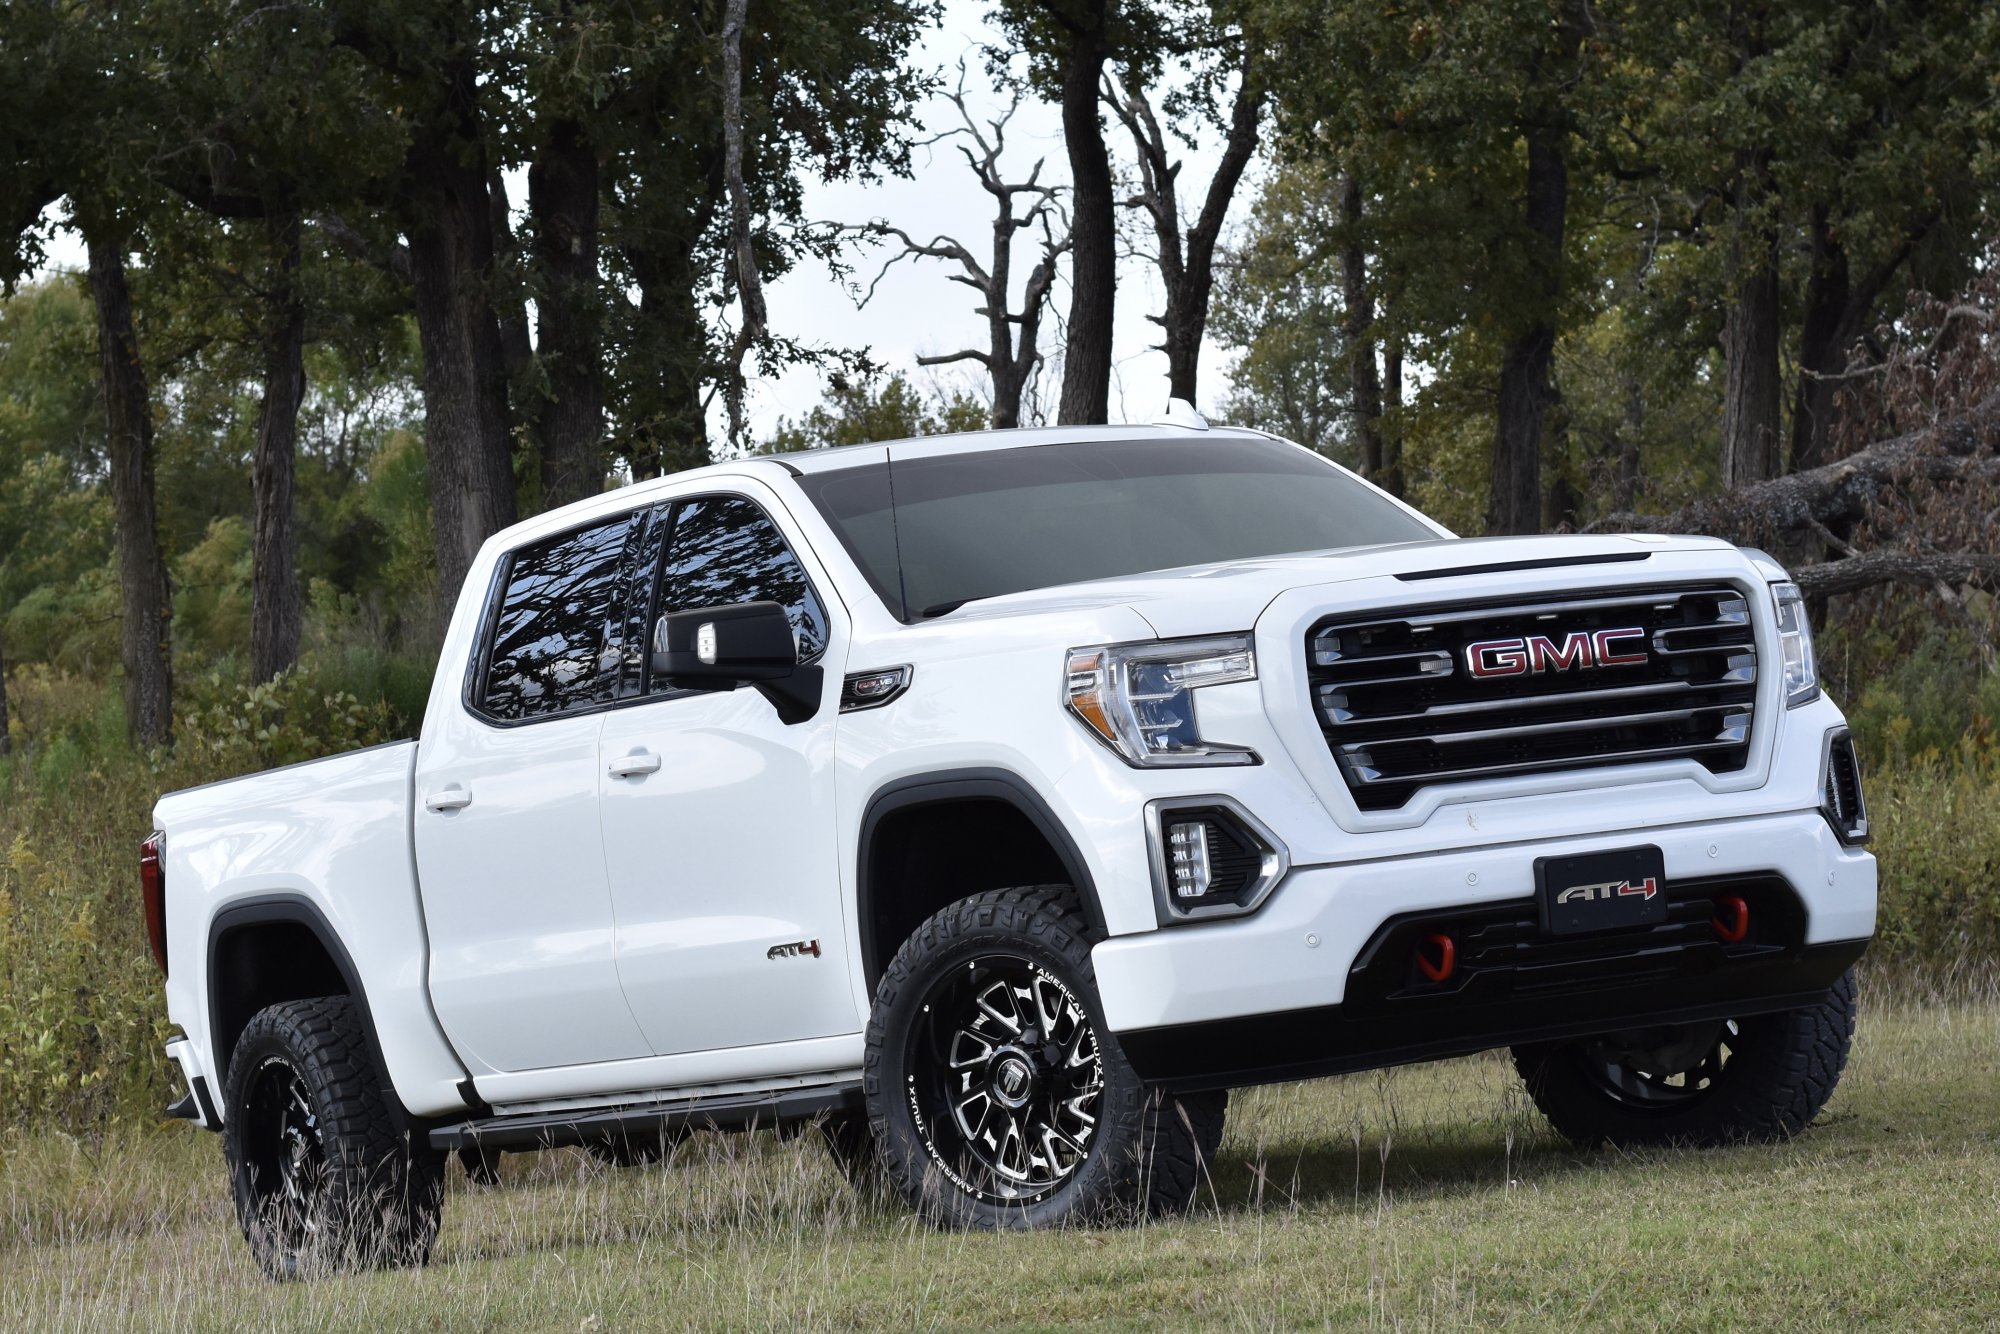
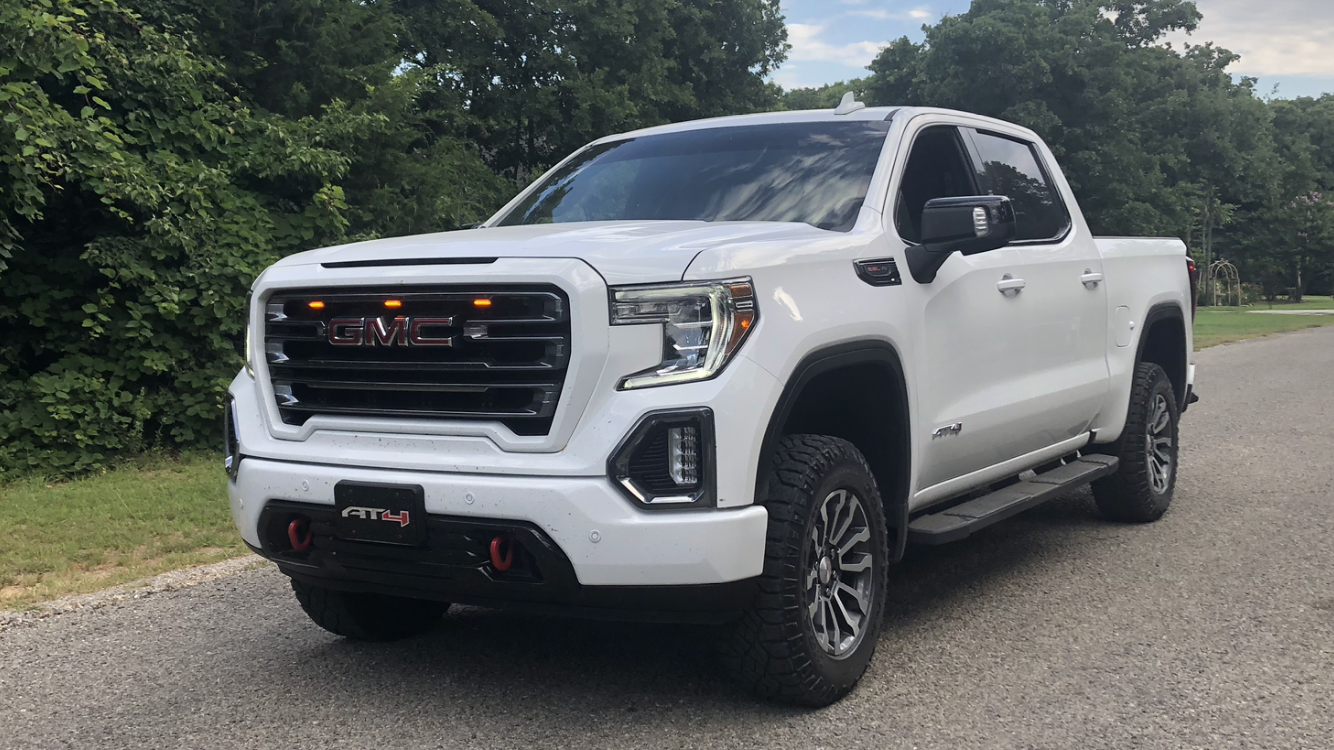
Here are my angles on an AT4 with a 2” RC level.
-
2019 Sierra AT4 level/wheel/tires mod
SilentSierra replied to Razorrick's topic in 2019-2026 Silverado 1500 & Sierra 1500
-
2019 Sierra AT4 level/wheel/tires mod
SilentSierra replied to Razorrick's topic in 2019-2026 Silverado 1500 & Sierra 1500
-
2019 Sierra AT4 level/wheel/tires mod
SilentSierra replied to Razorrick's topic in 2019-2026 Silverado 1500 & Sierra 1500
2019 AT4 with 20x10 -24 wheels. Nitto RG 33x12.5x20. 2” Rough Country level. Stick out a little further than I wanted but I do really like the aggressive look. Required a bit of trimming on the plastic but no more rubbing now!
-
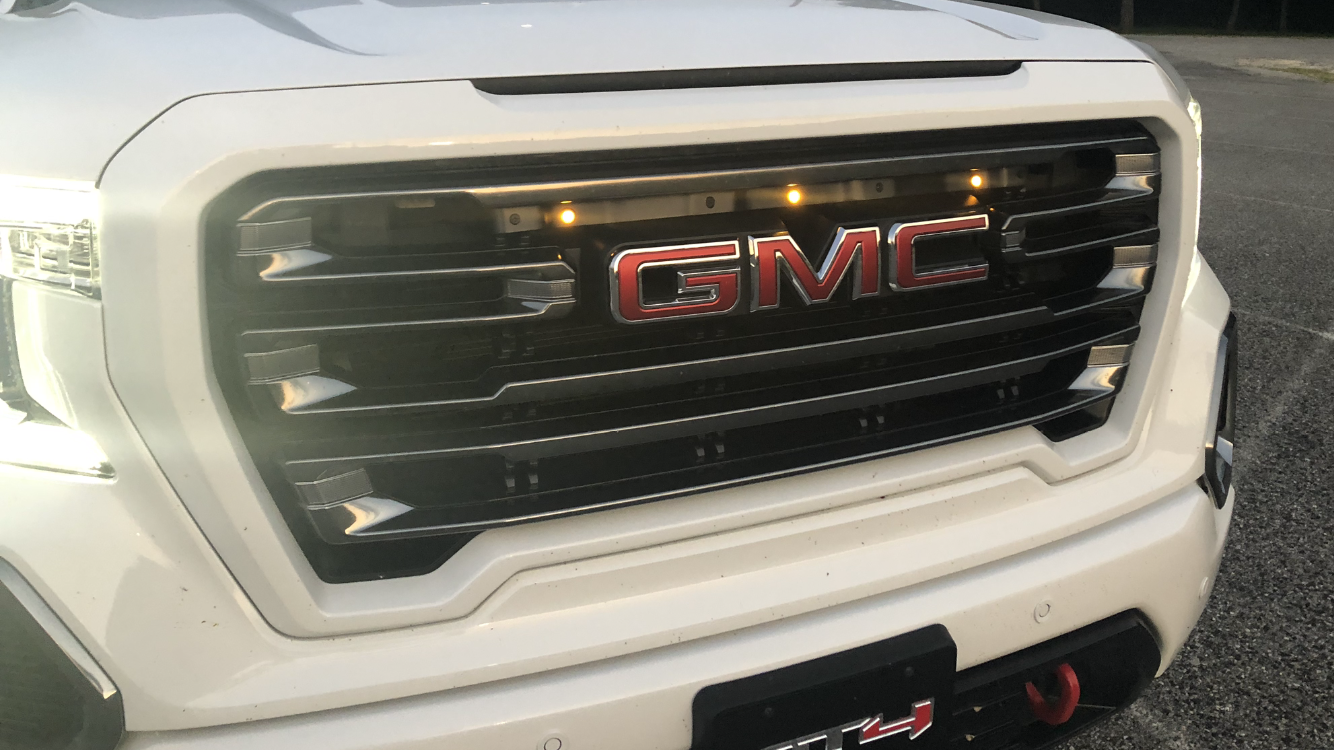
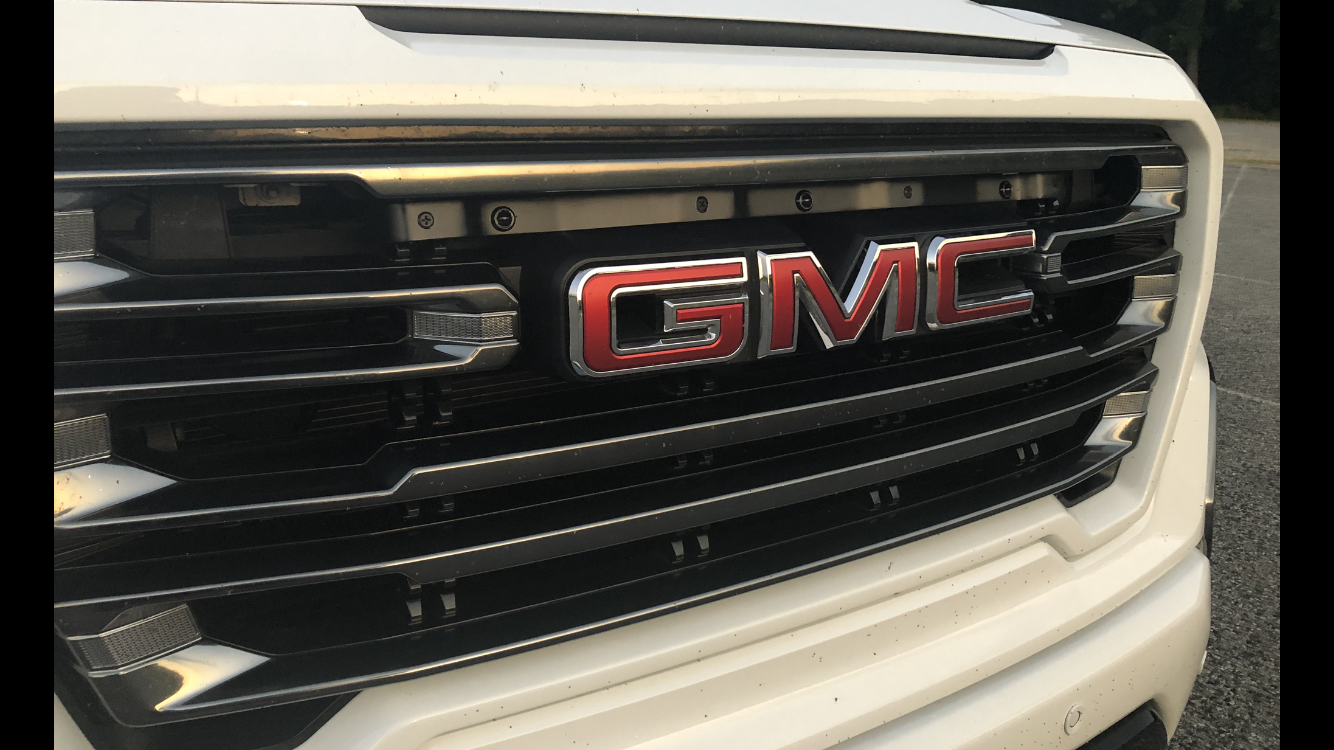
The lights are about 1.5 inches wide and about 3/4 inch deep. They are attached by 3m tape. Don’t let that scare you. These things are STUCK!
-
Totally understand that. I debated and looked at this post a dozen times before I decided to do it...and still have issues trying to copy a raptor look. Lol. I spent around $50 the first go with the bar (lights, bar, paint , primer, fuse tap...) then changed my mind. Im probably a dumbass for spending a total of $130 but oh well, I waste a lot on money too. lol
-
Didn’t mean to confuse you or hurt your feelings. I did two different methods and trying to save someone else some time by seeing a few options. Wish I had seen these lights prior to going through all the work with the bar. When your lights break (I know the quality since that’s what I used first) give this method a shot. There is no comparison in the quality of the light and wiring harness.
-
I thought about doing that also but I went with the bar route and then removed it within a week (and I spent a lot of time on it for a custom wrapped fit). Here is the difference between my bar attempt and the F150LED lights
- 82 replies
-
- 1
-

-
- Gill lights
- AT4
- (and 1 more)
-
The F150LED lights are soldering 2 wires vs 8 on the small lights...and they are orange, not yellow
-
The little round lights I originally used had thinner wires than the F150LED lights. Both lights had pretty small wires...that’s why I chose to solder them. The small round lights had bad reviews of not working after being wet. I’m pretty pleased with the F150LED lights as they seem to be a much better quality than the small round lights!
- 82 replies
-
- 1
-

-
- Gill lights
- AT4
- (and 1 more)
-
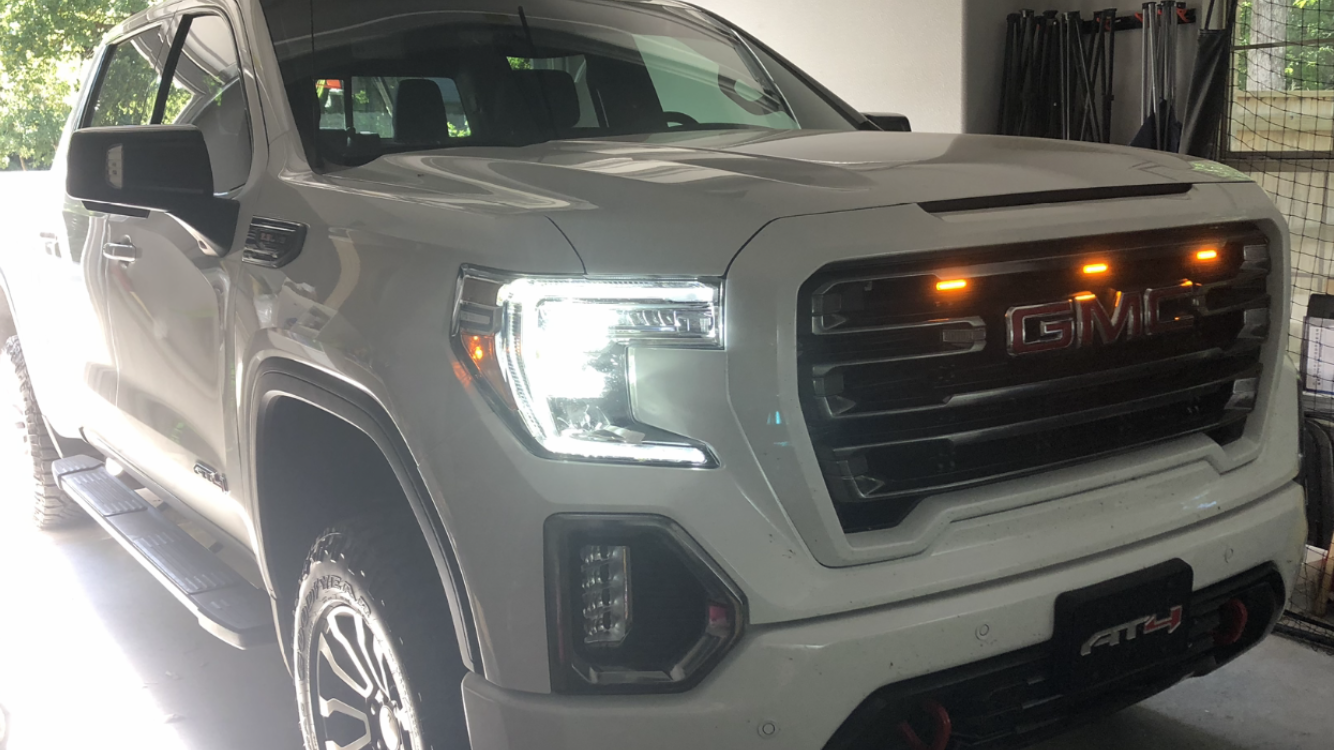
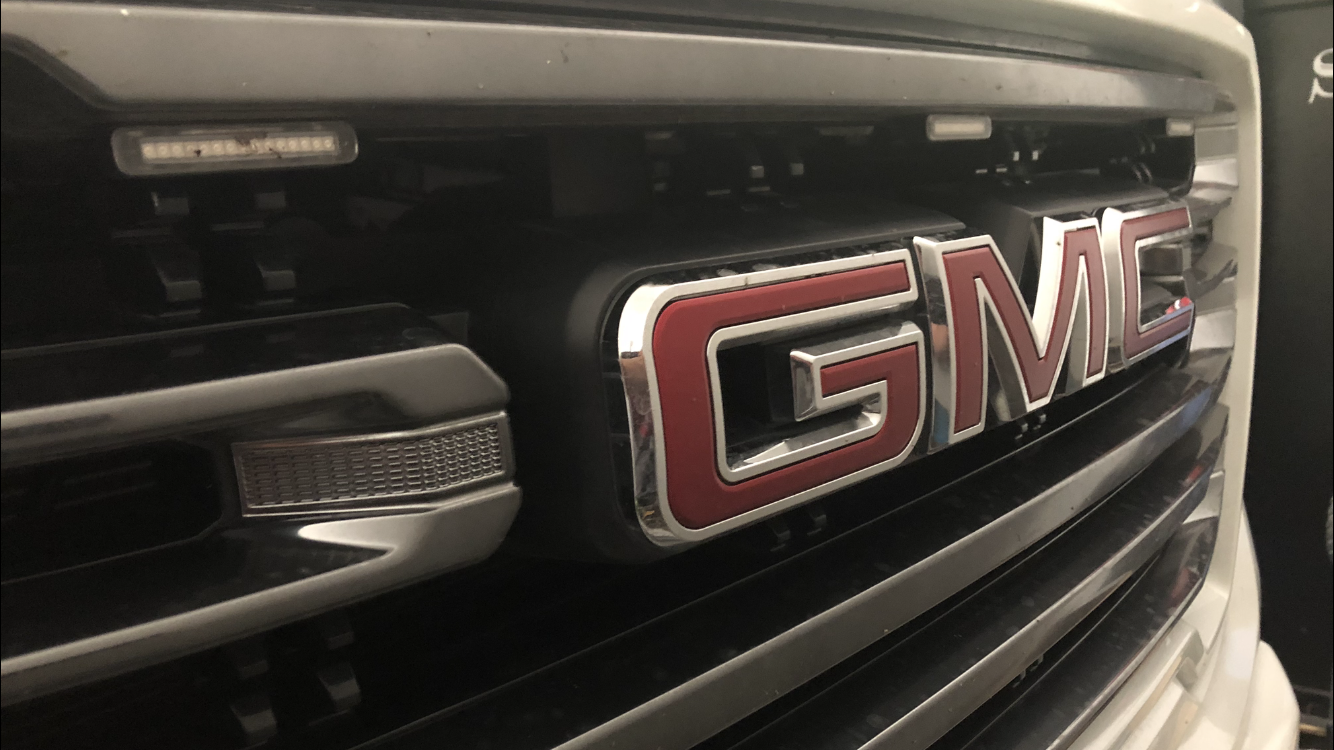
It was very easy. I bought a micro fuse tap and connected the positive wire from the lighting harness to the right parking light fuse...the ground wire I simply pulled out a bolt (between the radiator and fuse box) and secured the ground wire with the reinserted screw. The three lights are attached to the grill with 3m tape and are very secure. I love the look they give to this big grill! The lights are easily installed in 5 minutes and used the enclosed zip ties to help hide the wires...I soldered the positive wire to the micro wire tap and soldered the negative wire to the wire loop (not sure what you call the flat round washer with a wire crimp for mounting wires).
-
-
After I installed mine I was not happy with the color of the lights recommended in this thread (yellow vs orange). I wanted them to match my parking lights. I researched a little more and came across F-150LED’s. https://www.f150leds.com/products/15-18_raptor_grill_led?_pos=1&_sid=0de280cf8&_ss=r these are extremely easy to install and look great.
- 82 replies
-
- 2
-
-
- Gill lights
- AT4
- (and 1 more)
-
Mini
-
Thanks!
-
- 82 replies
-
- 2
-
-
- Gill lights
- AT4
- (and 1 more)
-
-
Thanks for the instructions. Finished mine today!!
-
I bought the same fuse tap. Does it matter which side the wire comes out of the tap? I saw a video where these taps have to go in a certain way so that it will work properly (the prong opposite of the wire must be plugged into the constant female in the fuse box). I don’t have the tool to check that. How did you plug yours in...with the fuse tap inserted, is the wire exiting the fuse tap pointing toward the drivers side?
-
Squeaky belt or pulley on 6.2 HC
SilentSierra replied to BeardBros's topic in Troubleshooting, Warranty & Recalls
Let us know what you find out? I’d take mine to the local dealer but I have no confidence in them! -
Squeaky belt or pulley on 6.2 HC
SilentSierra replied to BeardBros's topic in Troubleshooting, Warranty & Recalls
I’m having the same squeaking sound (really bad at start up and disappears after 20 seconds)...doesn’t totally disappear and can be heard at light throttle or sitting in a drive through next to a brick building. Surely there is a fix for this! 2019 6.2 AT4 -
2014+ Exhaust Systems & Mufflers
SilentSierra replied to Escalade1979's topic in Engines & Drivetrain
you have a video? I'd like to hear the 22" with no res -
2014+ Exhaust Systems & Mufflers
SilentSierra replied to Escalade1979's topic in Engines & Drivetrain
Thanks for the info...this shouldn't be that hard of a decision. lol. maybe I'll have them remove the resonator first before going with an 18". I little drone won't bother me...its the chopper effect that I read about that I'm worried about. My set up now with the res...I had my wife drive off as I stood in the driveway 10 feet away. I could not tell there was any difference. Although I told her to "stand on it"...she took off like she was holding a cup of hot coffee with no lid... -
2014+ Exhaust Systems & Mufflers
SilentSierra replied to Escalade1979's topic in Engines & Drivetrain
I just put a 22" Magnaflow on my 2015 Sierra and had the flapper removed but left the resonator. Actually very disappointed! I've read on one of these threads where someone had the same setup and then removed the resonator "and it woke up the exhaust". If I remember correctly, that person eventually went to a shorter Magnaflow for more sound. I'm on the fence of just cutting the resonator off with my 22" setup or installing an 18" today and removing the resonator. Question: are you getting any of the "chopper effect" from removing the res with the 22"?


-
Forum Statistics
250.4k
Total Topics2.7m
Total Posts -
Member Statistics
342,809
Total Members8,960
Most Online
-
Who's Online 6 Members, 0 Anonymous, 1,052 Guests (See full list)