

TinkeringFox
-
Posts
105 -
Joined
-
Last visited
-
Days Won
3
Content Type
Profiles
Forums
Gallery
Events
Articles
RPO
Store
Blogs
Everything posted by TinkeringFox
-
Unfortunately you likely don’t have the wiring you need. There is a pass through nipple on your firewall boot specifically for passing upfitter wiring through. Stealing power from an unused accessory source like power seats, inverter power, ect. might be a viable option. Try to find an option that you don’t have and have no plans to upgrade to. You may be able to source power this way from a fused source.
-
Here is a link to a fully populated plug. The accessory pins are the perfect place to grab power for a CB, outlets, ect. https://harnessdr.com/product/2014-2019-silverado-sierra-x7-auxiliary-upfitter-harness/ The 30 amp pins are coming from the X50A upfitter relay outputs (terminal 87). Without those relays, and without those relays wired back to the X61A they will not have power.
-
Problems w Gamboa mod for off road light switch
TinkeringFox replied to Crankycolnago's topic in Modifications & Accessories
Yes, it seems that the yellow wire is the issue. You should double check the connection at the BCM to be sure that everything is correct. Correct cavity, proper depth, good (tight) connection. -
Problems w Gamboa mod for off road light switch
TinkeringFox replied to Crankycolnago's topic in Modifications & Accessories
Hi there. I actually just installed a new version of this mod yesterday that activated the light bar when two conditions are met. #1, the ORL function is triggered #2, the high beams are triggered The problem you are having is certainly going to be downstream from the yellow output wire. You stated that the icon on the ORL switch illuminated when the ORL function is active. The button icon is fed by positive power coming back up to it from the BCM. The other branch of that positive power goes out under the hood to the aftermarket light bar harness. What is then required is for you to intercept the positive trigger wire going into your aftermarket relay. This is assuming that your aftermarket harness uses a positive signal to trigger the relay. Here’s how it should look.... Terminal 30=fused battery Positive + power Terminal 87=Output positive + power to light bar Terminal 86=Negative Trigger - Ground to relay & possibly bridged/spliced out to light bar. Terminal 85=Positive Trigger input to relay from Yellow ORL harness wire. #85 & #86 are both triggers for the relay and can be interchanged. The relay is an electromagnet switch requiring a positive and a negative input to flip the switch connecting terminal 30 (Battery) to 87 (Light Bar). It really matters not which way you hook up these two terminals as long as you have both a positive and a negative. The bottom line is that you need to check power and ground at terminals 85 & 86. Power being from the yellow ORL harness. You should feel and hear the relay click when triggered. Next check positive input and output power to 30 and out from 87. Next check to see if the light bar is properly grounded. I hope this helps. New video and high beam upgrade coming soon. Edit...I mis-read and thought the button icon was illuminated. If your dash light is illuminating that’s great! Your truck has the programming! Verify that the yellow wire is receiving a positive signal when active. If not you may have a poor connection between the BCM and the Yellow wire. This could be due to a loose terminal, a terminal not fully inserted, a terminal inserted into a neighboring cavity (I’ve done that) or a few other things. Does the button icon illuminate? -
You likely don’t have the wiring between the switch (S48A) and the junction block (X61A) and are probably also missing the wiring between the X61A and the Underhood fuse box (X50A). You can easily bypass the X61A altogether and run 4 wires from the output pins on the S48A straight to the X50A passing through the firewall boot. If you have the provisions for Upfitter relays (pins in the X50A) than you should be good to go after you connect the switch to the X50A.
-
Adding GM factory trailer brake controller
TinkeringFox replied to McClain210's topic in Modifications & Accessories
Free time? Nope, that’s time you’re essentially paying for! Can’t wait to hear the good news....I mean confirmation that I’ll be spending more money on another upgrade! -

-
I have a 2019 International CV which is the same thing as a new Silverado 4500-6500HD. The 2WD versions have rear airbag suspension which can be raised and lowered. I’ll see if there’s a part number I can grab next time I’m at the wrecker builder’s shop. (Mainly for the button). Yes, the pedal adjustment has two different outputs. Since the pedals cannot be adjusted while in gear it would be a great switch to use for something, even momentarily like an air horn.
-
Very cool! Check out Waytek for the wire. They have a great selection of automotive crosslink wire.
-
Nice! What switch did you find? 20 or 22 Ga works well for the small wires, 14 Ga will work well for most accessories and 30A relays.
-
Yes, have WAMS correct it. I had the opposite with TPMS on my 3500, they don’t have TPMS so I was getting the warning for that too. Chris definitely stands behind what he sells. He’ll get it right. Thinking about this on my new International CV.....
-
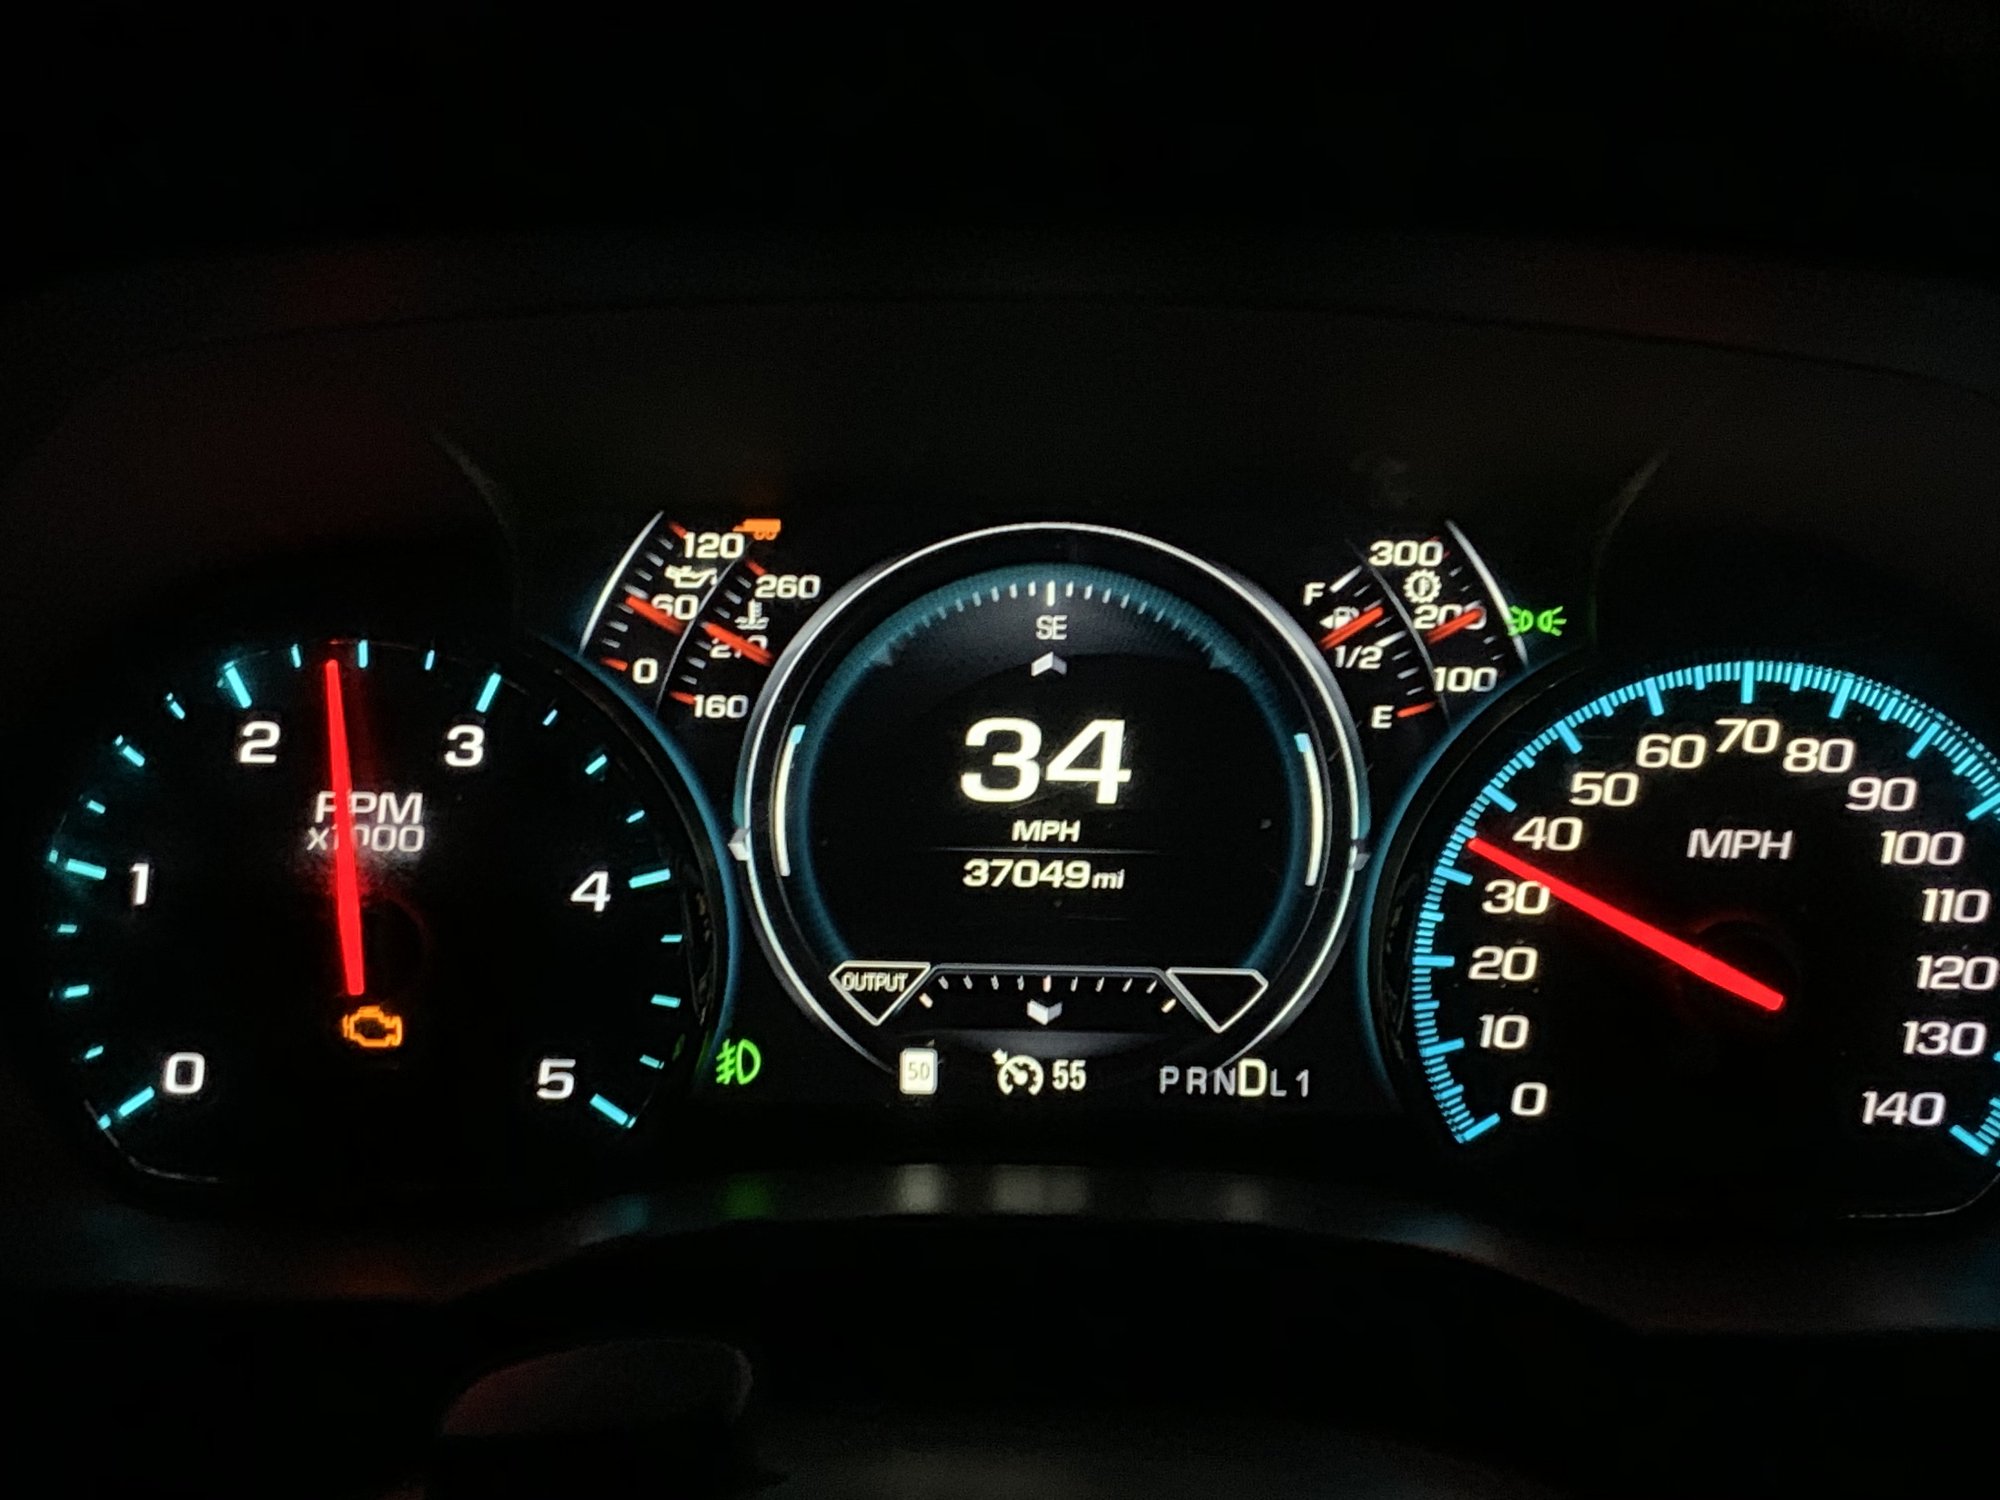
I had the “service power steering” come on on mine too. I think the cluster thinks it’s still in a Yukon with electric power steering. Correct for being in an HD without the electric steering and away goes the light.
-
OEM Off-Road Light Switch Install
TinkeringFox replied to TinkeringFox's topic in Modifications & Accessories
I was trying to link to page 19... -
OEM Off-Road Light Switch Install
TinkeringFox replied to TinkeringFox's topic in Modifications & Accessories
eBay, gmparts.com....- 473 replies
-
- 1
-

-
- headlight switch
- led
- (and 2 more)
-
OEM Off-Road Light Switch Install
TinkeringFox replied to TinkeringFox's topic in Modifications & Accessories
Looking good. Check out this behind the grille lightbar mount..... http://www.socalsupertrucks.com/2014-2015-silverado-sierra-led-light-behind-grille-mount.aspx#.XKQEQhpMGfB I installed one in my ‘17 2500 with a Rough Country 30” curved bar..... https://www.roughcountry.com/30-inch-led-light-bar-70930blkdrl.html?rrec=true I wired it in so the high beams activate it when I have the ORL switch “on”.
- 473 replies
-
- 2
-

-
-
- headlight switch
- led
- (and 2 more)
-
OEM Off-Road Light Switch Install
TinkeringFox replied to TinkeringFox's topic in Modifications & Accessories
Nice find! Let us know... -
OEM Off-Road Light Switch Install
TinkeringFox replied to TinkeringFox's topic in Modifications & Accessories
Nice find! Let us know...- 473 replies
-
- 1
-
-
- headlight switch
- led
- (and 2 more)
-
OEM Off-Road Light Switch Install
TinkeringFox replied to TinkeringFox's topic in Modifications & Accessories
That crimp tool will work, you might need to finesse the edges of the crimp to make them conform to the cavity but they’ll get it done. Bummer about the color but I’m sure you’ll find a buyer. Also I’m pretty sure @pgamboa can send you a harness cheaper and faster than buying the tool, wire, tape and terminals...etc Also I haven’t seen a Silverado or Sierra with anything but JST connectors, the written instructions are for a Canyon/Colorado.- 473 replies
-
- 1
-
-
- headlight switch
- led
- (and 2 more)
-
this is a link, the video is still not publicly available...
-
There are a few more videos I’m working on but pretty busy all the time with work...
-
This truck is my job....if it doesn’t work neither do I......This morning the dealer told me it would be next week before they could get to it! No thanks, I’ll regen it myself! They said that there’s another identical truck doing the same thing and they’ve already thrown 3 DPFs in it. The customer picks up the truck, tows a 10,000 lb load up I-70 through the Eisenhower Tunnel and the truck goes into limp mode! Customer drops the truck back off and picks it up a week later. &repeat &repeat&......Apparently an engineer from GM is trying to figure it out? What a colossal waste of my time and money.
-
Got my truck back from the dealer last Thursday with a new EGR cooler. It’s now the following Tuesday 3/5/19 and my truck just went into “Reduced Power Mode” 130 miles into a 400 mile trip!!!! I’m now in BFE towing a 6,000 lb trailer going 45 miles an hour on the downhill sections. It’s -10 and not survivable if I need to walk. I’m going to rip this damn DPF out and use it for target practice! I’ll be dropping it off again as soon as I get back to civilization and hopefully I’ll get it back within a week this time....although making payments on a truck that spends more time at the dealer than their “for sale” trucks do is really awesome ???
-
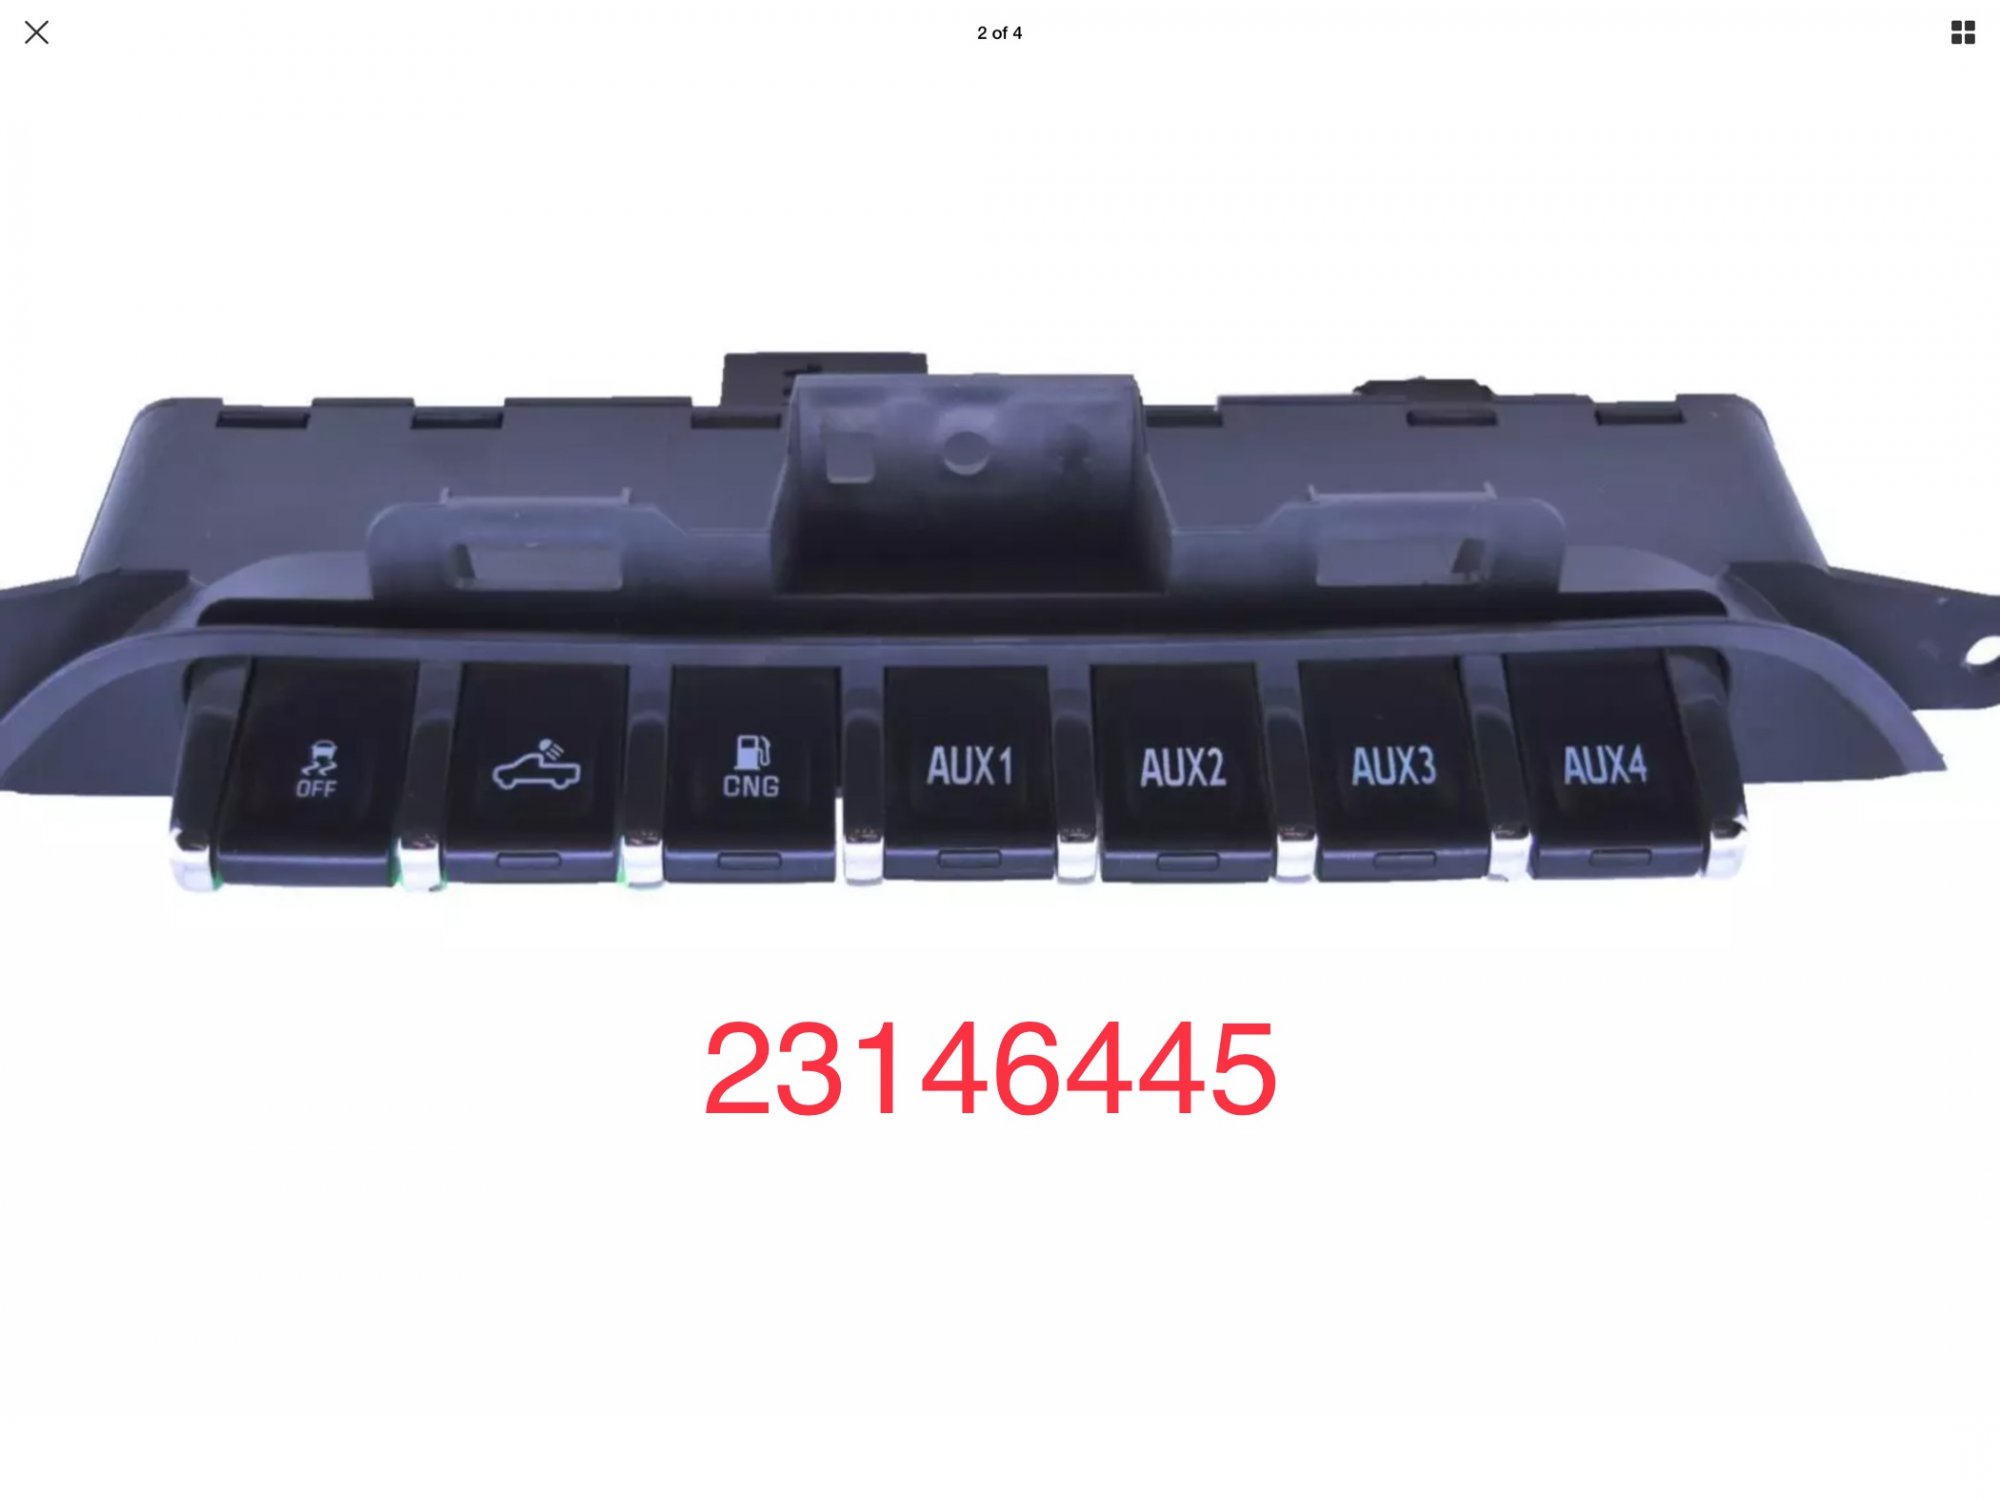
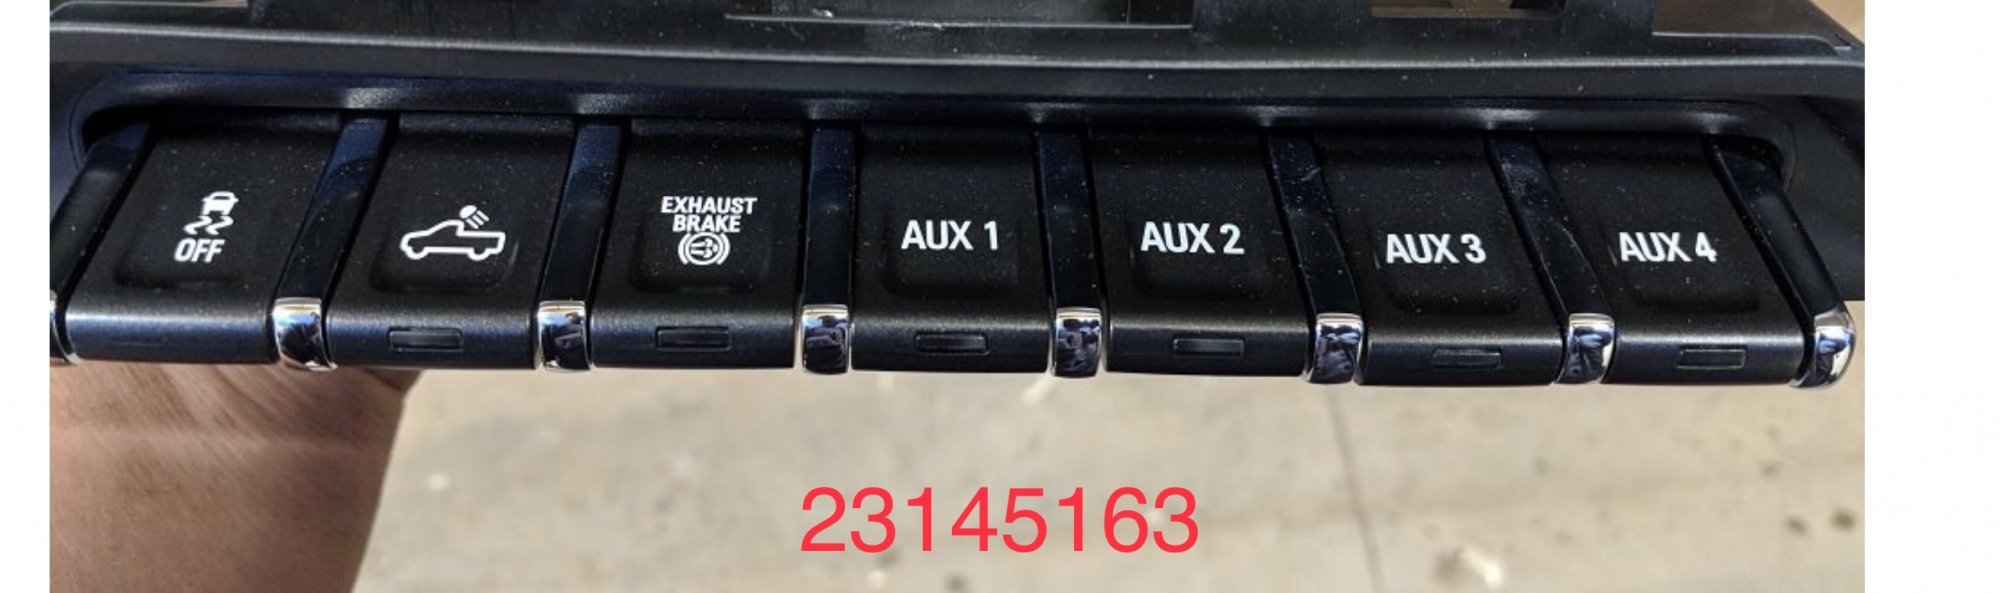
Yes, you’re on the right page with switch#23145163. Next are the relays. You’ll need to reconfigure your harness to accommodate the negative signal coming from your new Aux switch. The toggle switch that came with your harness likely has 3 wires, power, ground and output/trigger back to the relay. The other two wires in the harness attach directly to the battery. One is power (+) and the other is ground(-). The power or positive will have a fuse attached after a few inches (likely 30A) and then continue to terminal 30 of your relay. Ground will just run directly to terminal 86 of your relay. if you peel open the protective covering on your harness at the relay you’ll see the routing of wires. The negative that comes from the battery to terminal 86 will branch off from there. One wire will lead out to your light bar (providing a ground to the light) and the other will head up to your switch (providing ground for the indicator light inside the switch). The positive coming in from the fuse and going to terminal 30 is the supply power for your light bar. It travels from the battery through the fuse and into terminal 30 of the relay. When the relay is “triggered” or “energized” power going into terminal 30 gets connected internally (inside the relay) to terminal 87 and travels out of 87 to your light bar providing positive power to your light. So as far as the switch goes, power that comes into terminal 30 also branches off there. You’ll see a smaller wire coming back off of terminal 30 heading up to your switch. This is power for your switch which serves two functions. One, it provides power for the indicator light inside the switch that lights up when the switch is “on” or “closed” and two it provides positive (+) power for the relay’s positive trigger (terminal 85). So with power coming into the switch from terminal 30, if you toggle the switch “on” you connect power (+) to the third switch wire which travels back to terminal 85 of the relay. when terminal 85 has power (+) and 86 has ground (-) the relay will energize sending power to your light bar. What you need to do is cut a few wires..... First would be the ground wire coming into terminal 86. You want terminal 86 to be a negative trigger and not just have ground all the time. The signal coming from your Aux switch will be negative so it will go directly to terminal 86. The larger ground wire left over (now disconnected from terminal 86) should be direct ground from the battery to the light bar. Next would be the positive “trigger” to terminal 85. Connect the fused power coming into terminal 30 over to terminal 85. This can be done by connecting both positive wires that go into and out of the switch to each other, eliminating the switch altogether. Now there is full time fused positive power going into terminal 30 (for the light) and also into terminal 85 (for the positive side trigger). terminal 86 now has only one wire going to it (a negative trigger wire from your new Aux switch).
-
One more switch courtesy of @CSjumper2003....
-
That’s great! Do you have indicator light back-feeding?


-
Forum Statistics
250.4k
Total Topics2.7m
Total Posts -
Member Statistics
342,857
Total Members8,960
Most Online