

Eggs2bacon
-
Posts
162 -
Joined
-
Last visited
-
Days Won
4
Content Type
Profiles
Forums
Gallery
Events
Articles
RPO
Store
Blogs
Everything posted by Eggs2bacon
-
Eggs2bacon 1st Chevy build!
Eggs2bacon replied to Eggs2bacon's topic in 1999-2013 Silverado 1500 & Sierra 1500
I started polishing the wheels since they had been sitting outside for a while. Below is a picture of the wheels before polish, the right is after polish.
-
Eggs2bacon 1st Chevy build!
Eggs2bacon replied to Eggs2bacon's topic in 1999-2013 Silverado 1500 & Sierra 1500
I stumbled across a deal on some rims…free! The tires are shot on them so I removed them and started polishing the wheels……here a before
-
Eggs2bacon 1st Chevy build!
Eggs2bacon replied to Eggs2bacon's topic in 1999-2013 Silverado 1500 & Sierra 1500
-
Eggs2bacon 1st Chevy build!
Eggs2bacon replied to Eggs2bacon's topic in 1999-2013 Silverado 1500 & Sierra 1500
And here’s the end result! The top is still bright but the detail guy that matched it said it will blend in after some oils get on it.
-
Eggs2bacon 1st Chevy build!
Eggs2bacon replied to Eggs2bacon's topic in 1999-2013 Silverado 1500 & Sierra 1500
Don’t worry! I know what your thinking! It doesn’t match! Well I already spoke to the detail guy at our dealership and he said he has plenty of dye to match it to the pewter interior
-
Eggs2bacon 1st Chevy build!
Eggs2bacon replied to Eggs2bacon's topic in 1999-2013 Silverado 1500 & Sierra 1500
-
Eggs2bacon 1st Chevy build!
Eggs2bacon replied to Eggs2bacon's topic in 1999-2013 Silverado 1500 & Sierra 1500
-
Eggs2bacon 1st Chevy build!
Eggs2bacon replied to Eggs2bacon's topic in 1999-2013 Silverado 1500 & Sierra 1500
-
Eggs2bacon 1st Chevy build!
Eggs2bacon replied to Eggs2bacon's topic in 1999-2013 Silverado 1500 & Sierra 1500
-
Eggs2bacon 1st Chevy build!
Eggs2bacon replied to Eggs2bacon's topic in 1999-2013 Silverado 1500 & Sierra 1500
-
Eggs2bacon 1st Chevy build!
Eggs2bacon replied to Eggs2bacon's topic in 1999-2013 Silverado 1500 & Sierra 1500
-
Eggs2bacon 1st Chevy build!
Eggs2bacon replied to Eggs2bacon's topic in 1999-2013 Silverado 1500 & Sierra 1500
-
Eggs2bacon 1st Chevy build!
Eggs2bacon replied to Eggs2bacon's topic in 1999-2013 Silverado 1500 & Sierra 1500
-
Eggs2bacon 1st Chevy build!
Eggs2bacon replied to Eggs2bacon's topic in 1999-2013 Silverado 1500 & Sierra 1500
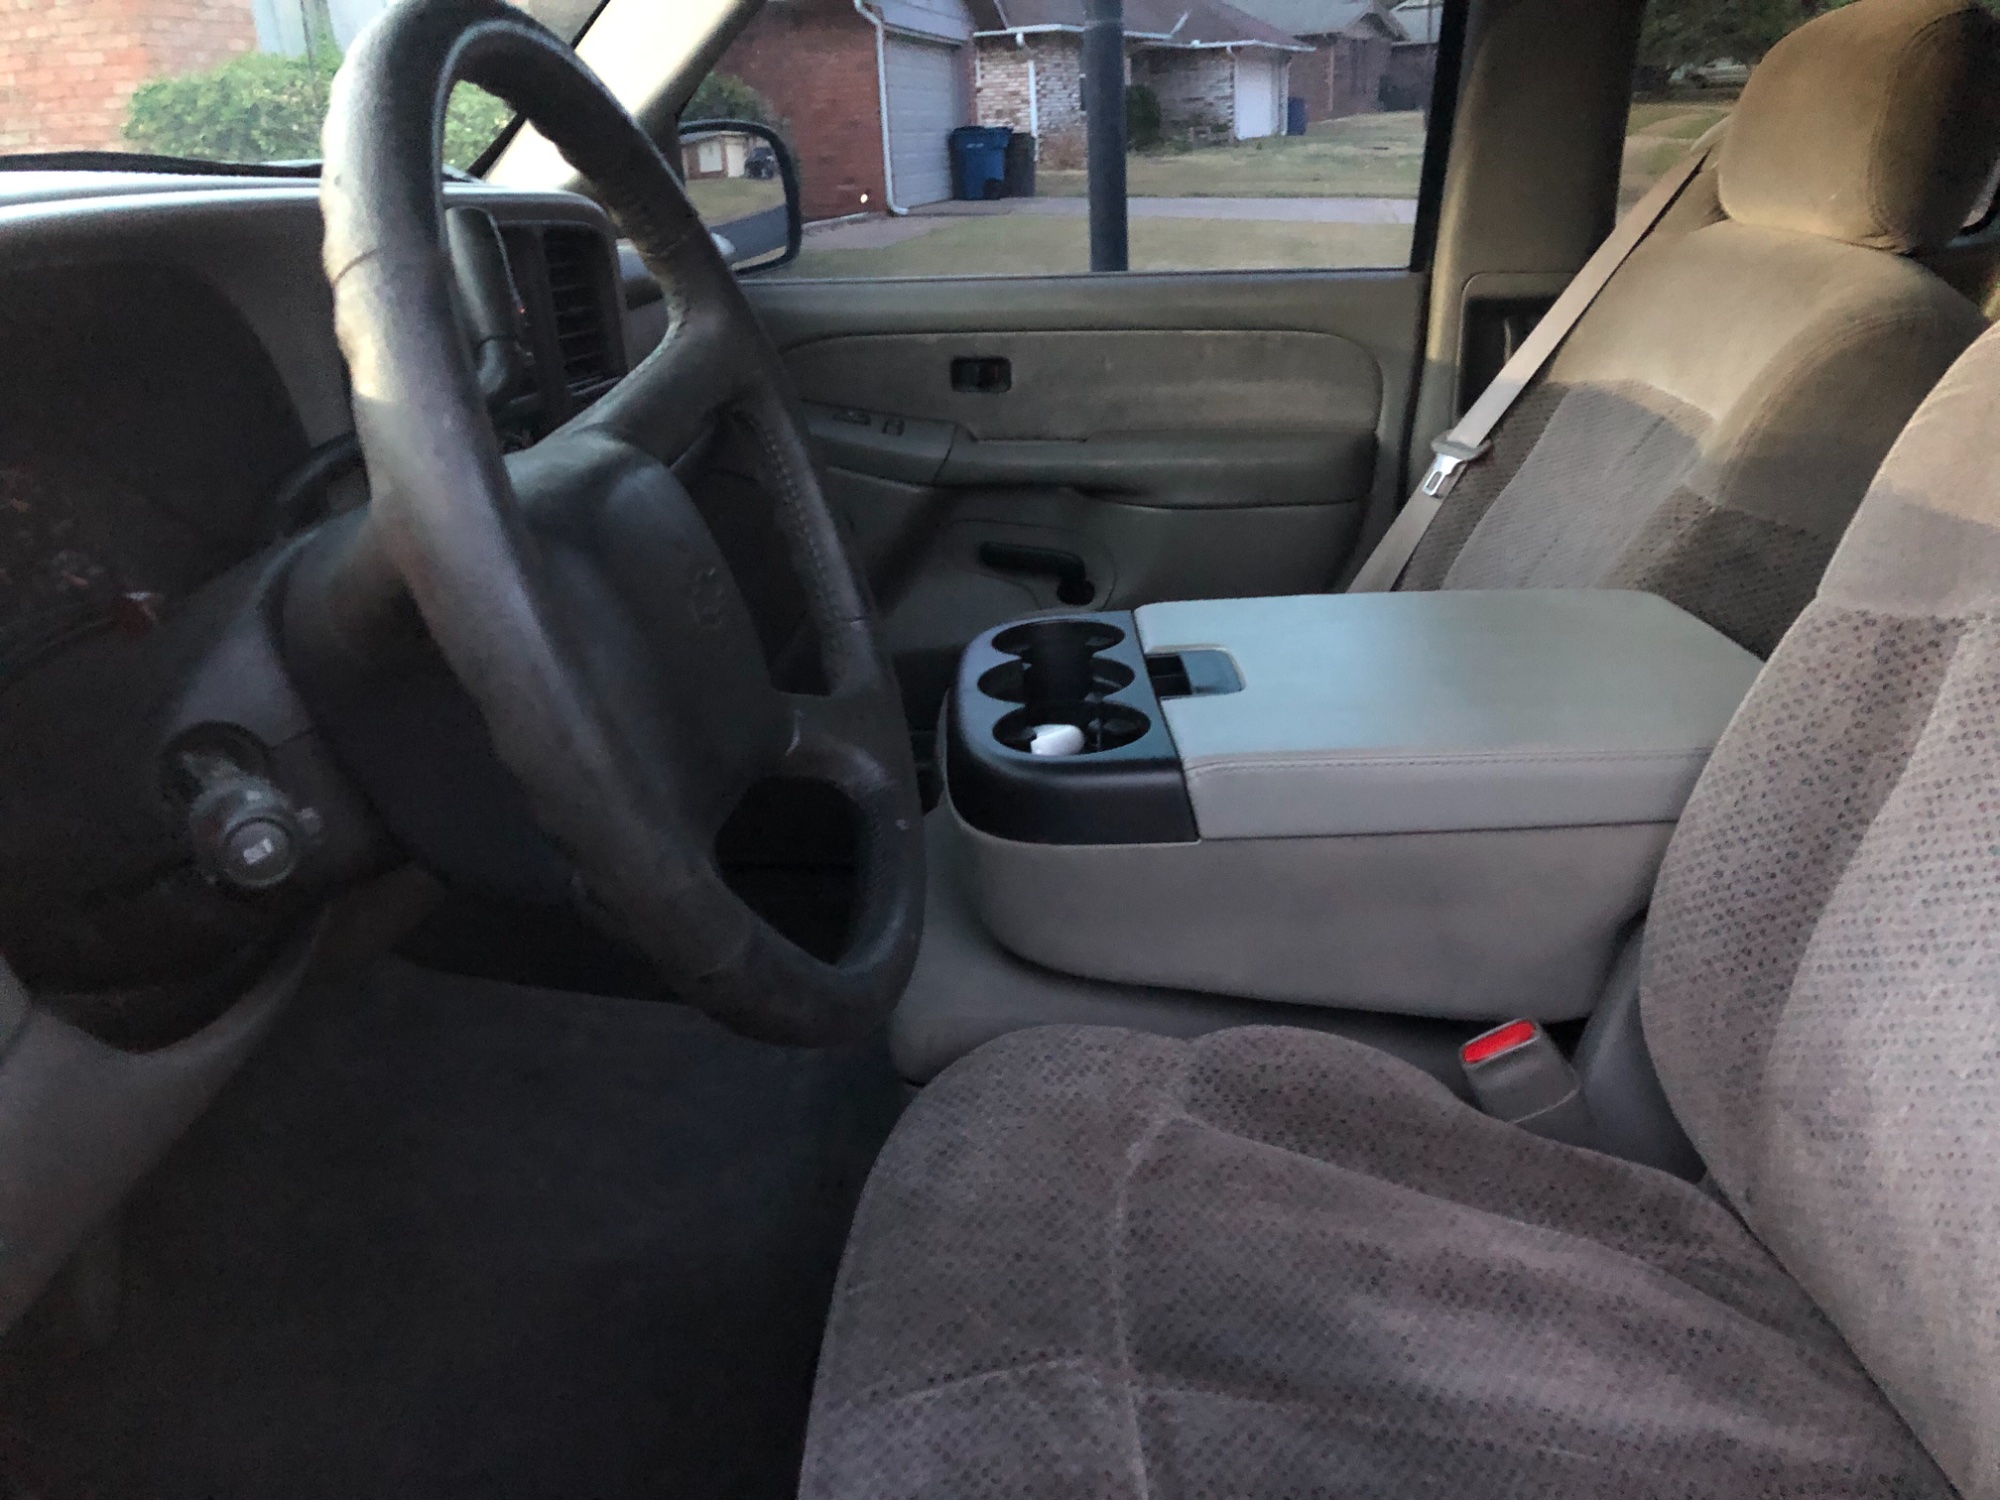
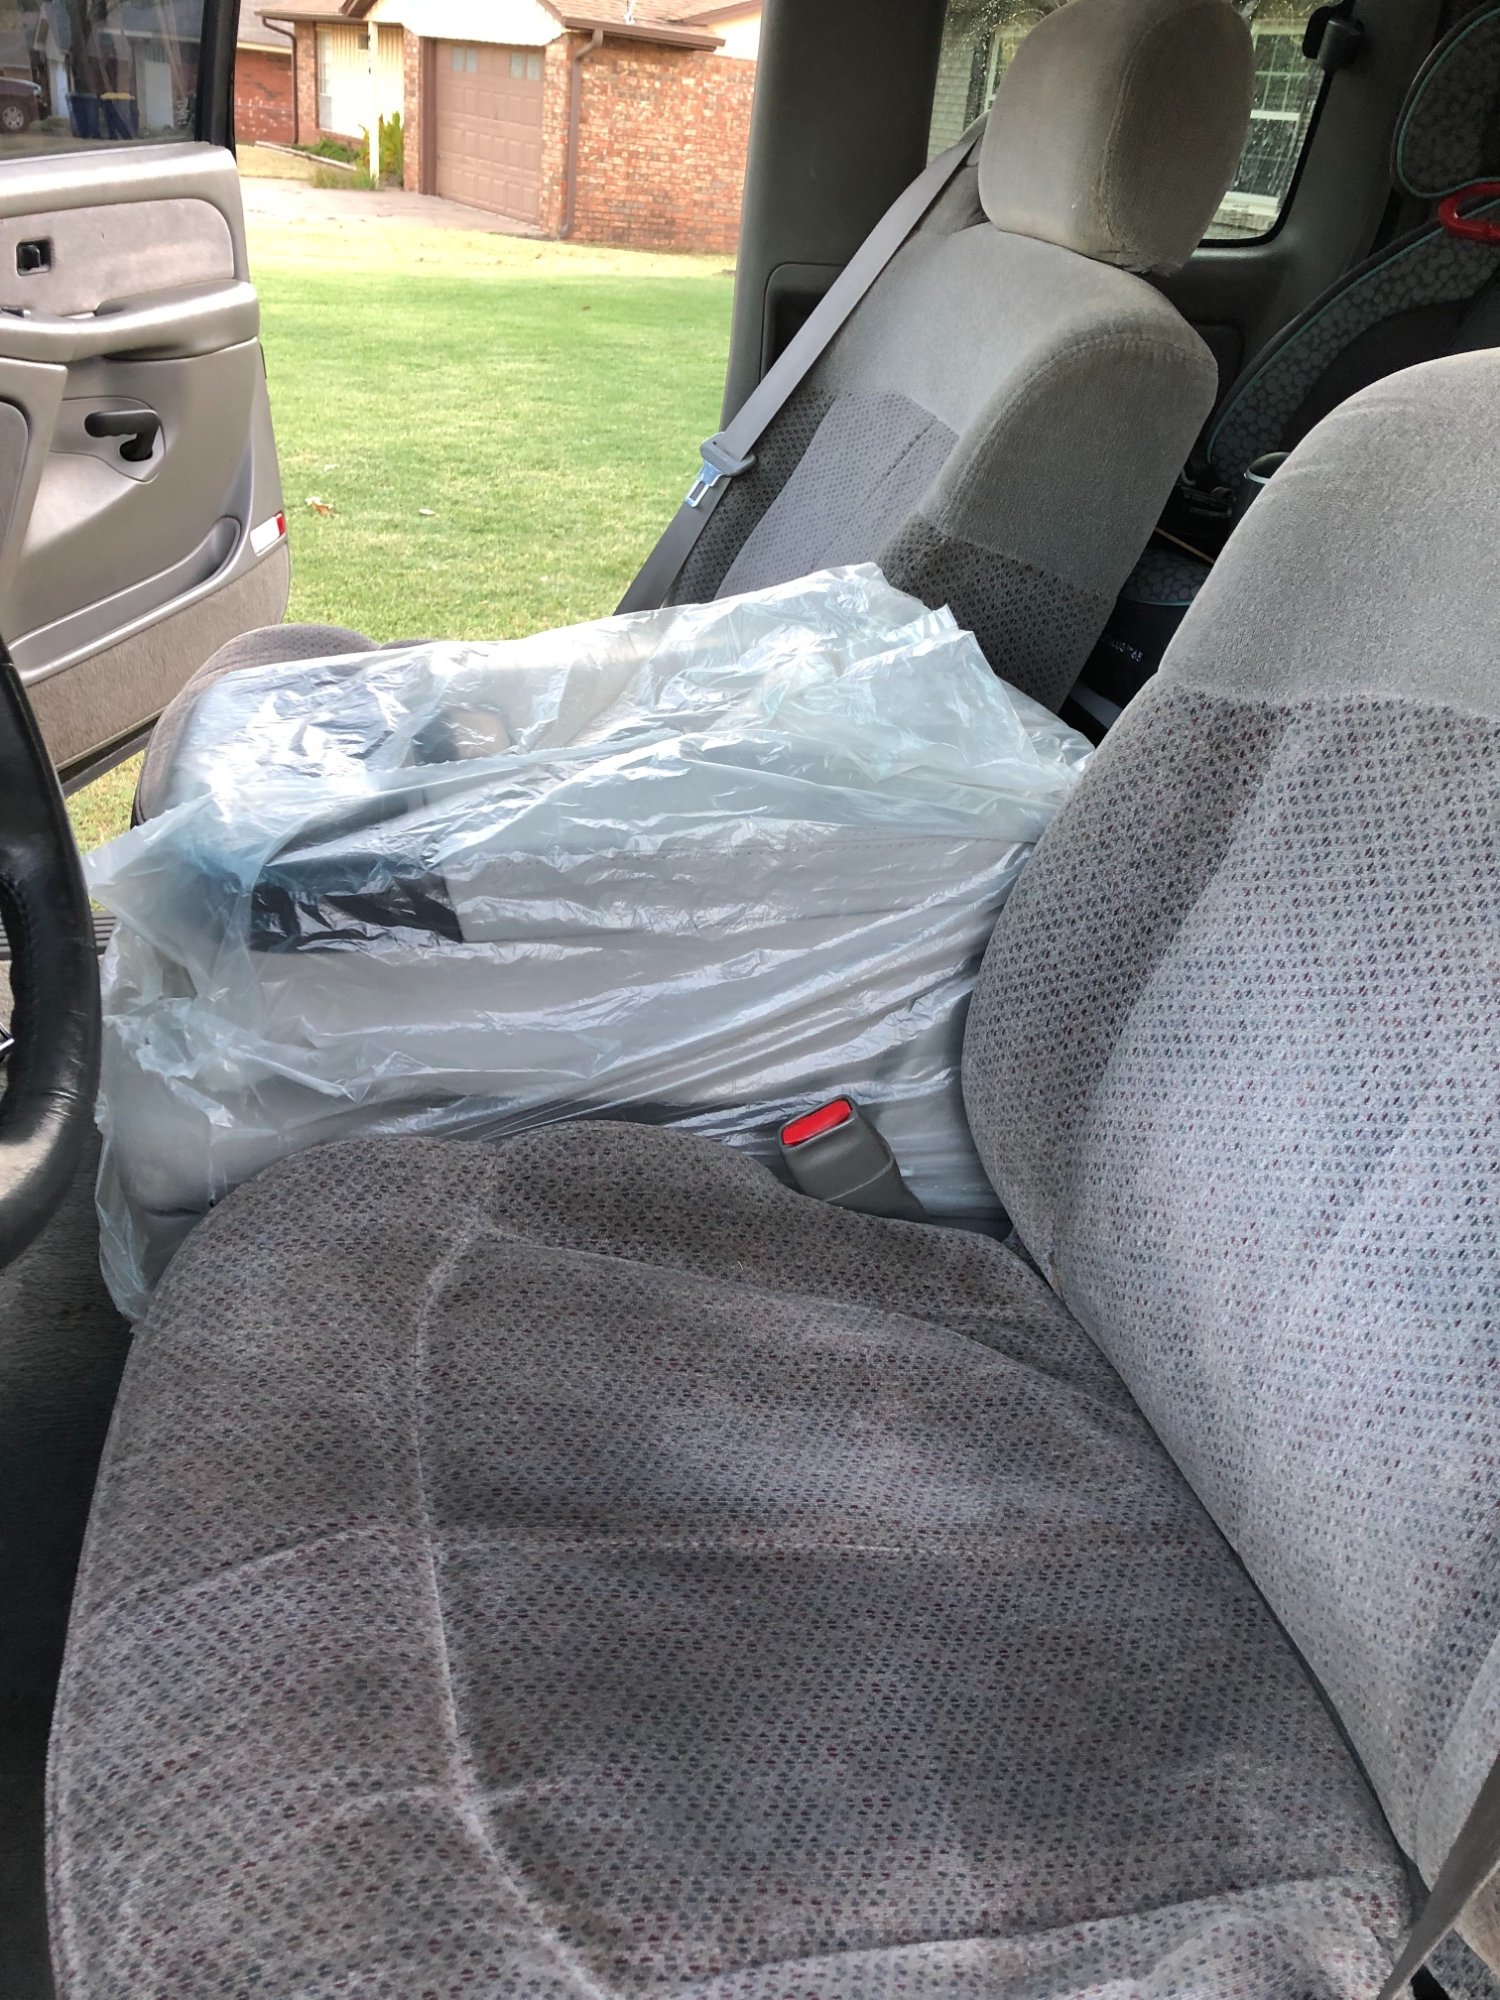
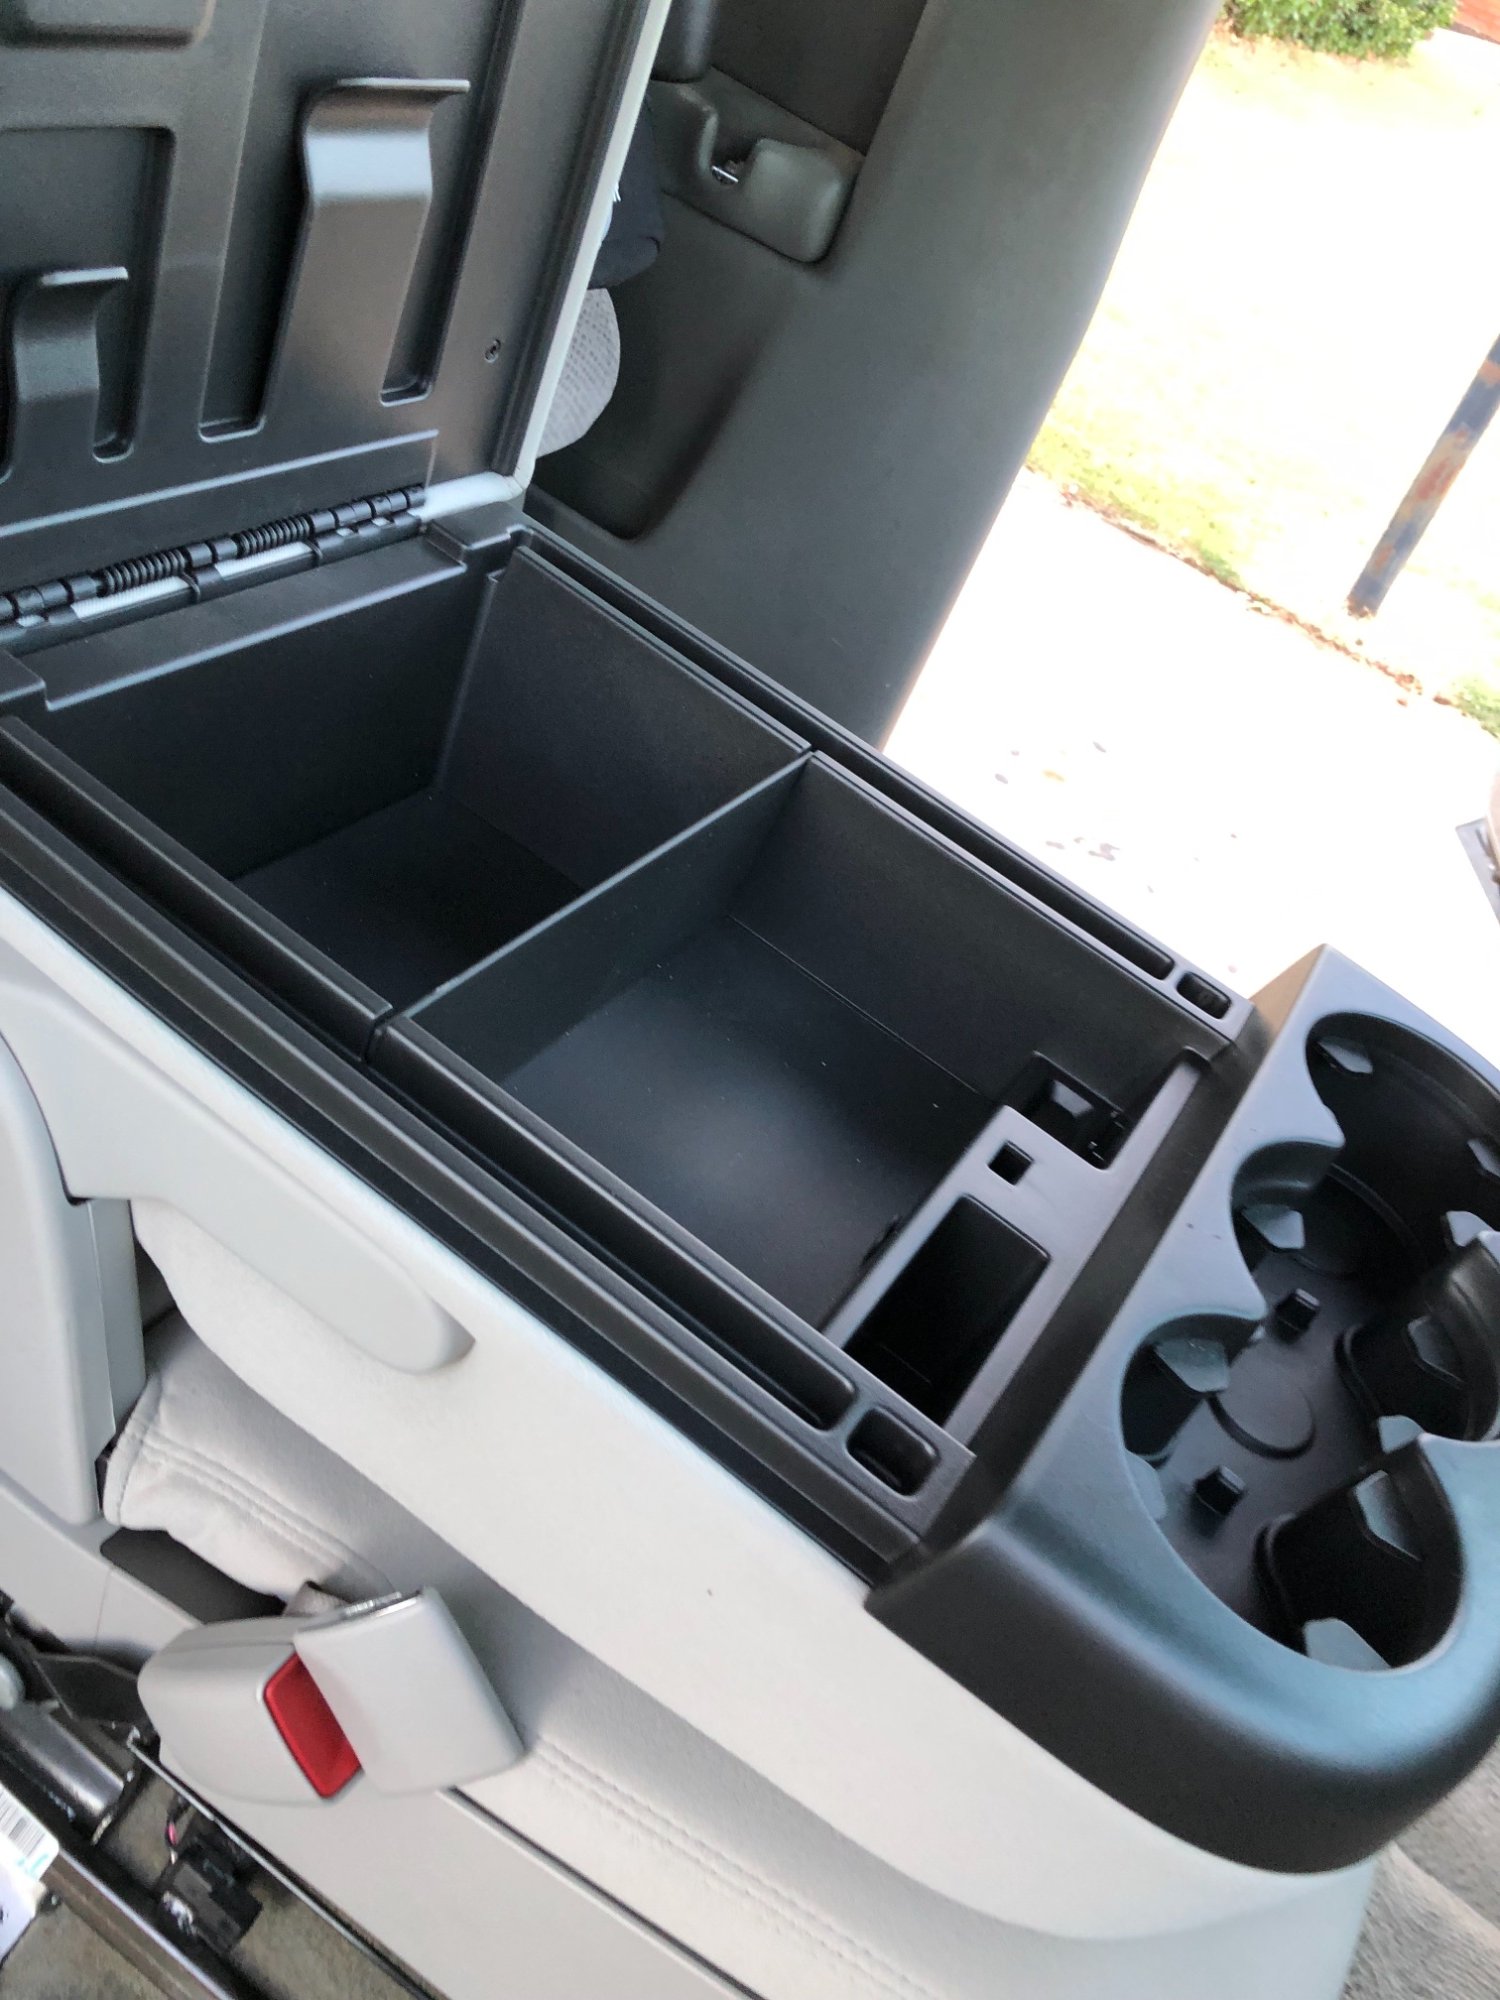
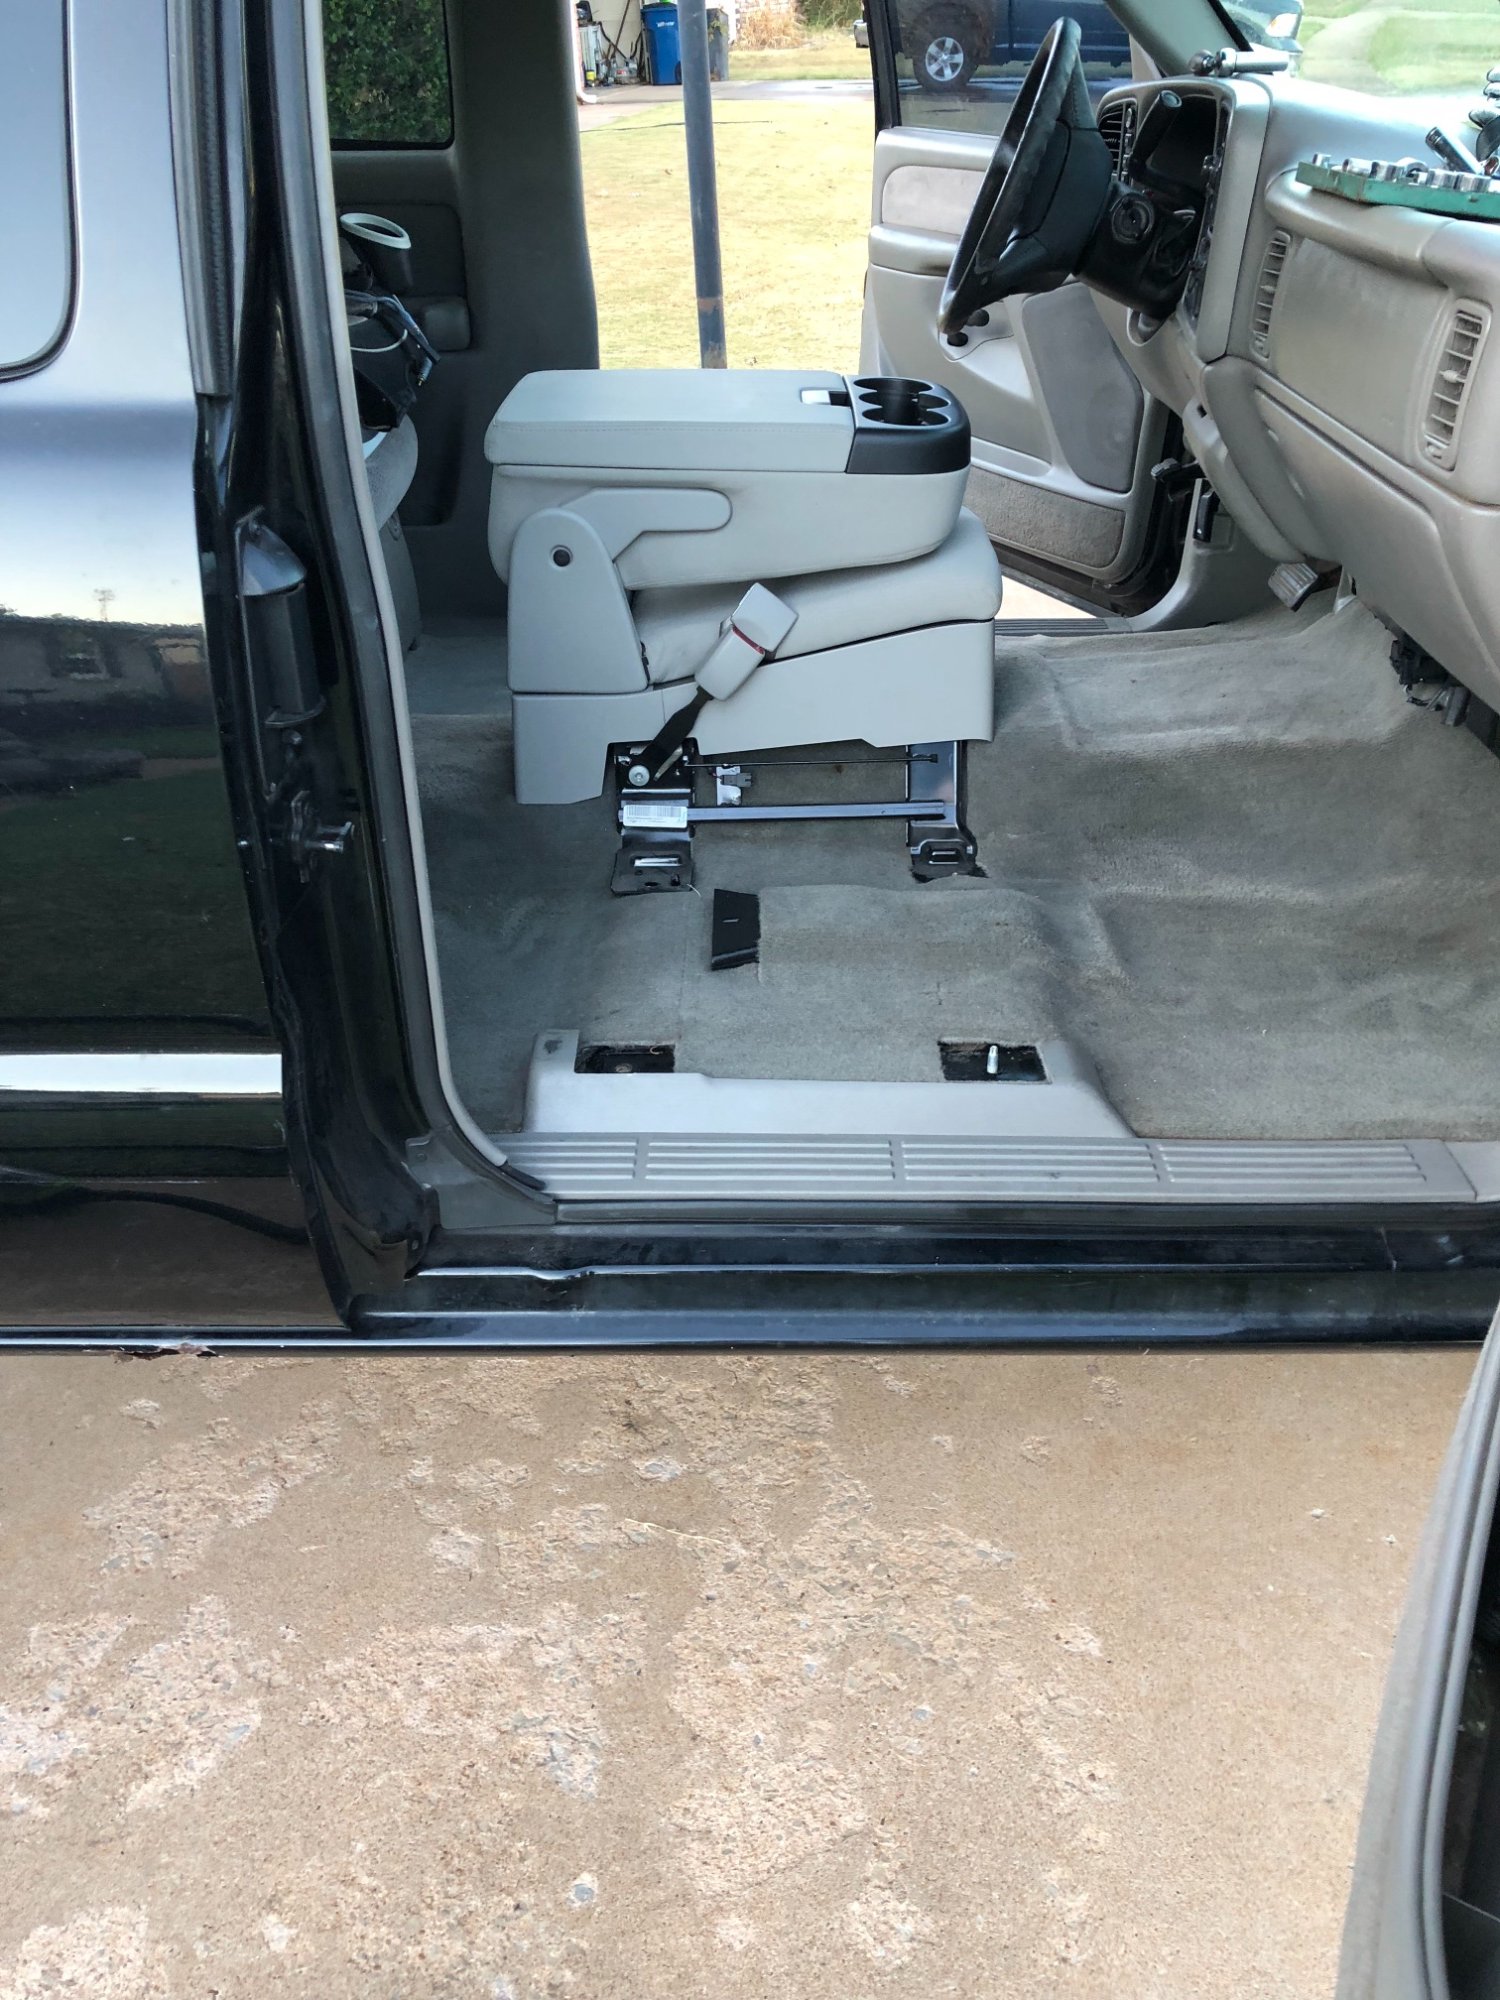
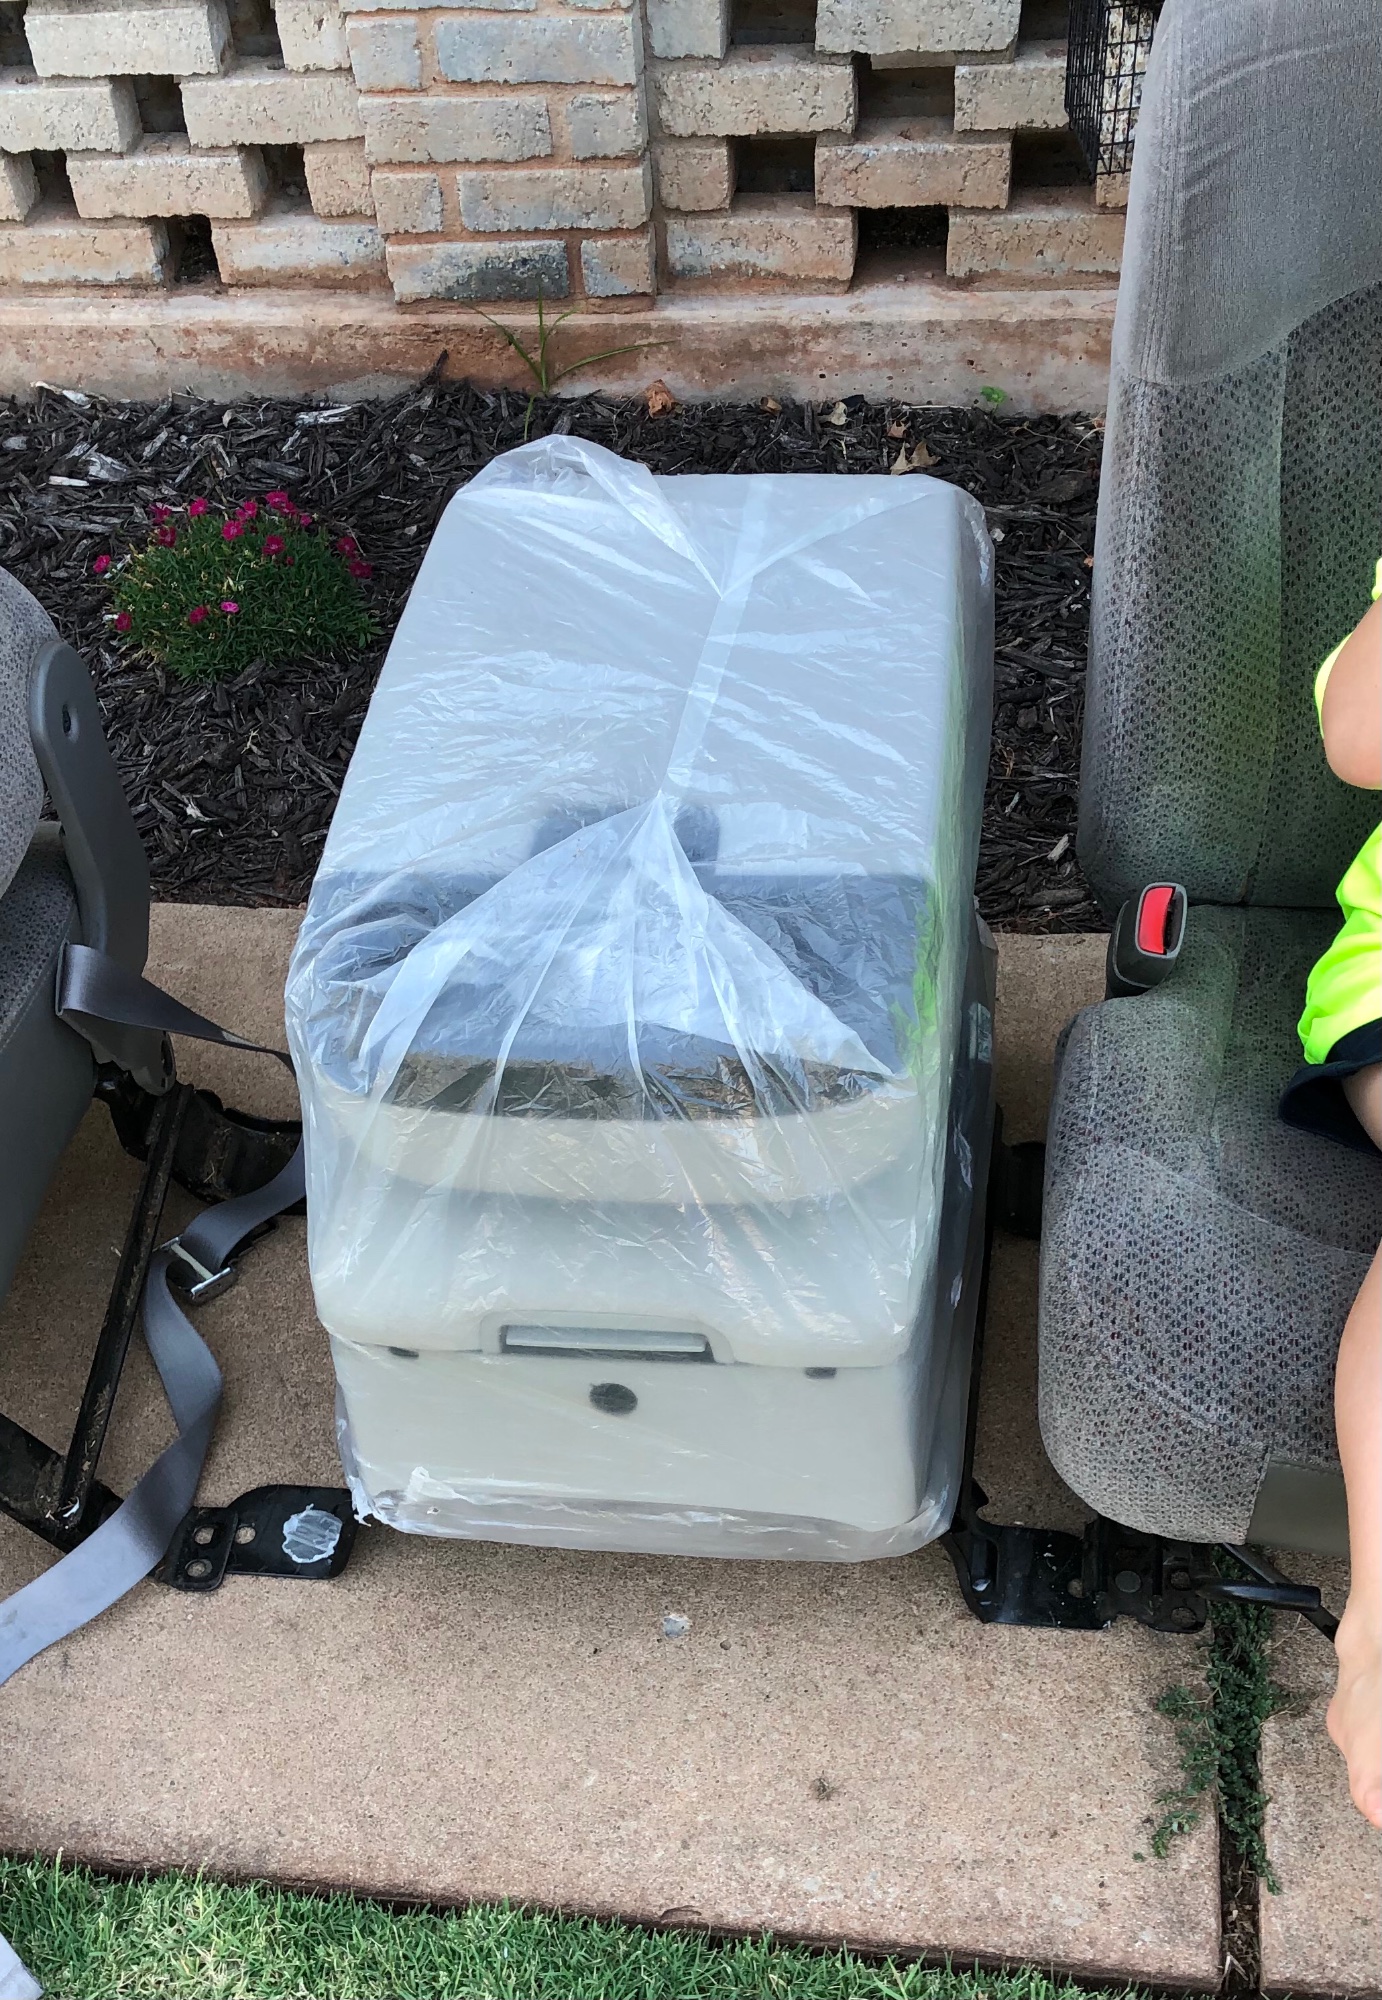
Much awaited mods! So I lucked out this time! My son decided to crawl from the back seat and he broke my jump seat lid. But I remembered at work that upstairs we have a couple jump seats that had been ordered but the customer never came back for them. And sure enough I found one that fit…..but for the 08-13 body style. But I knew they fit. I asked my owner of the dealership how much for the one upstairs. And he said free! So here’s the pics!
-
Eggs2bacon 1st Chevy build!
Eggs2bacon replied to Eggs2bacon's topic in 1999-2013 Silverado 1500 & Sierra 1500
Came out so good!!
-
Eggs2bacon 1st Chevy build!
Eggs2bacon replied to Eggs2bacon's topic in 1999-2013 Silverado 1500 & Sierra 1500
After!
-
Eggs2bacon 1st Chevy build!
Eggs2bacon replied to Eggs2bacon's topic in 1999-2013 Silverado 1500 & Sierra 1500
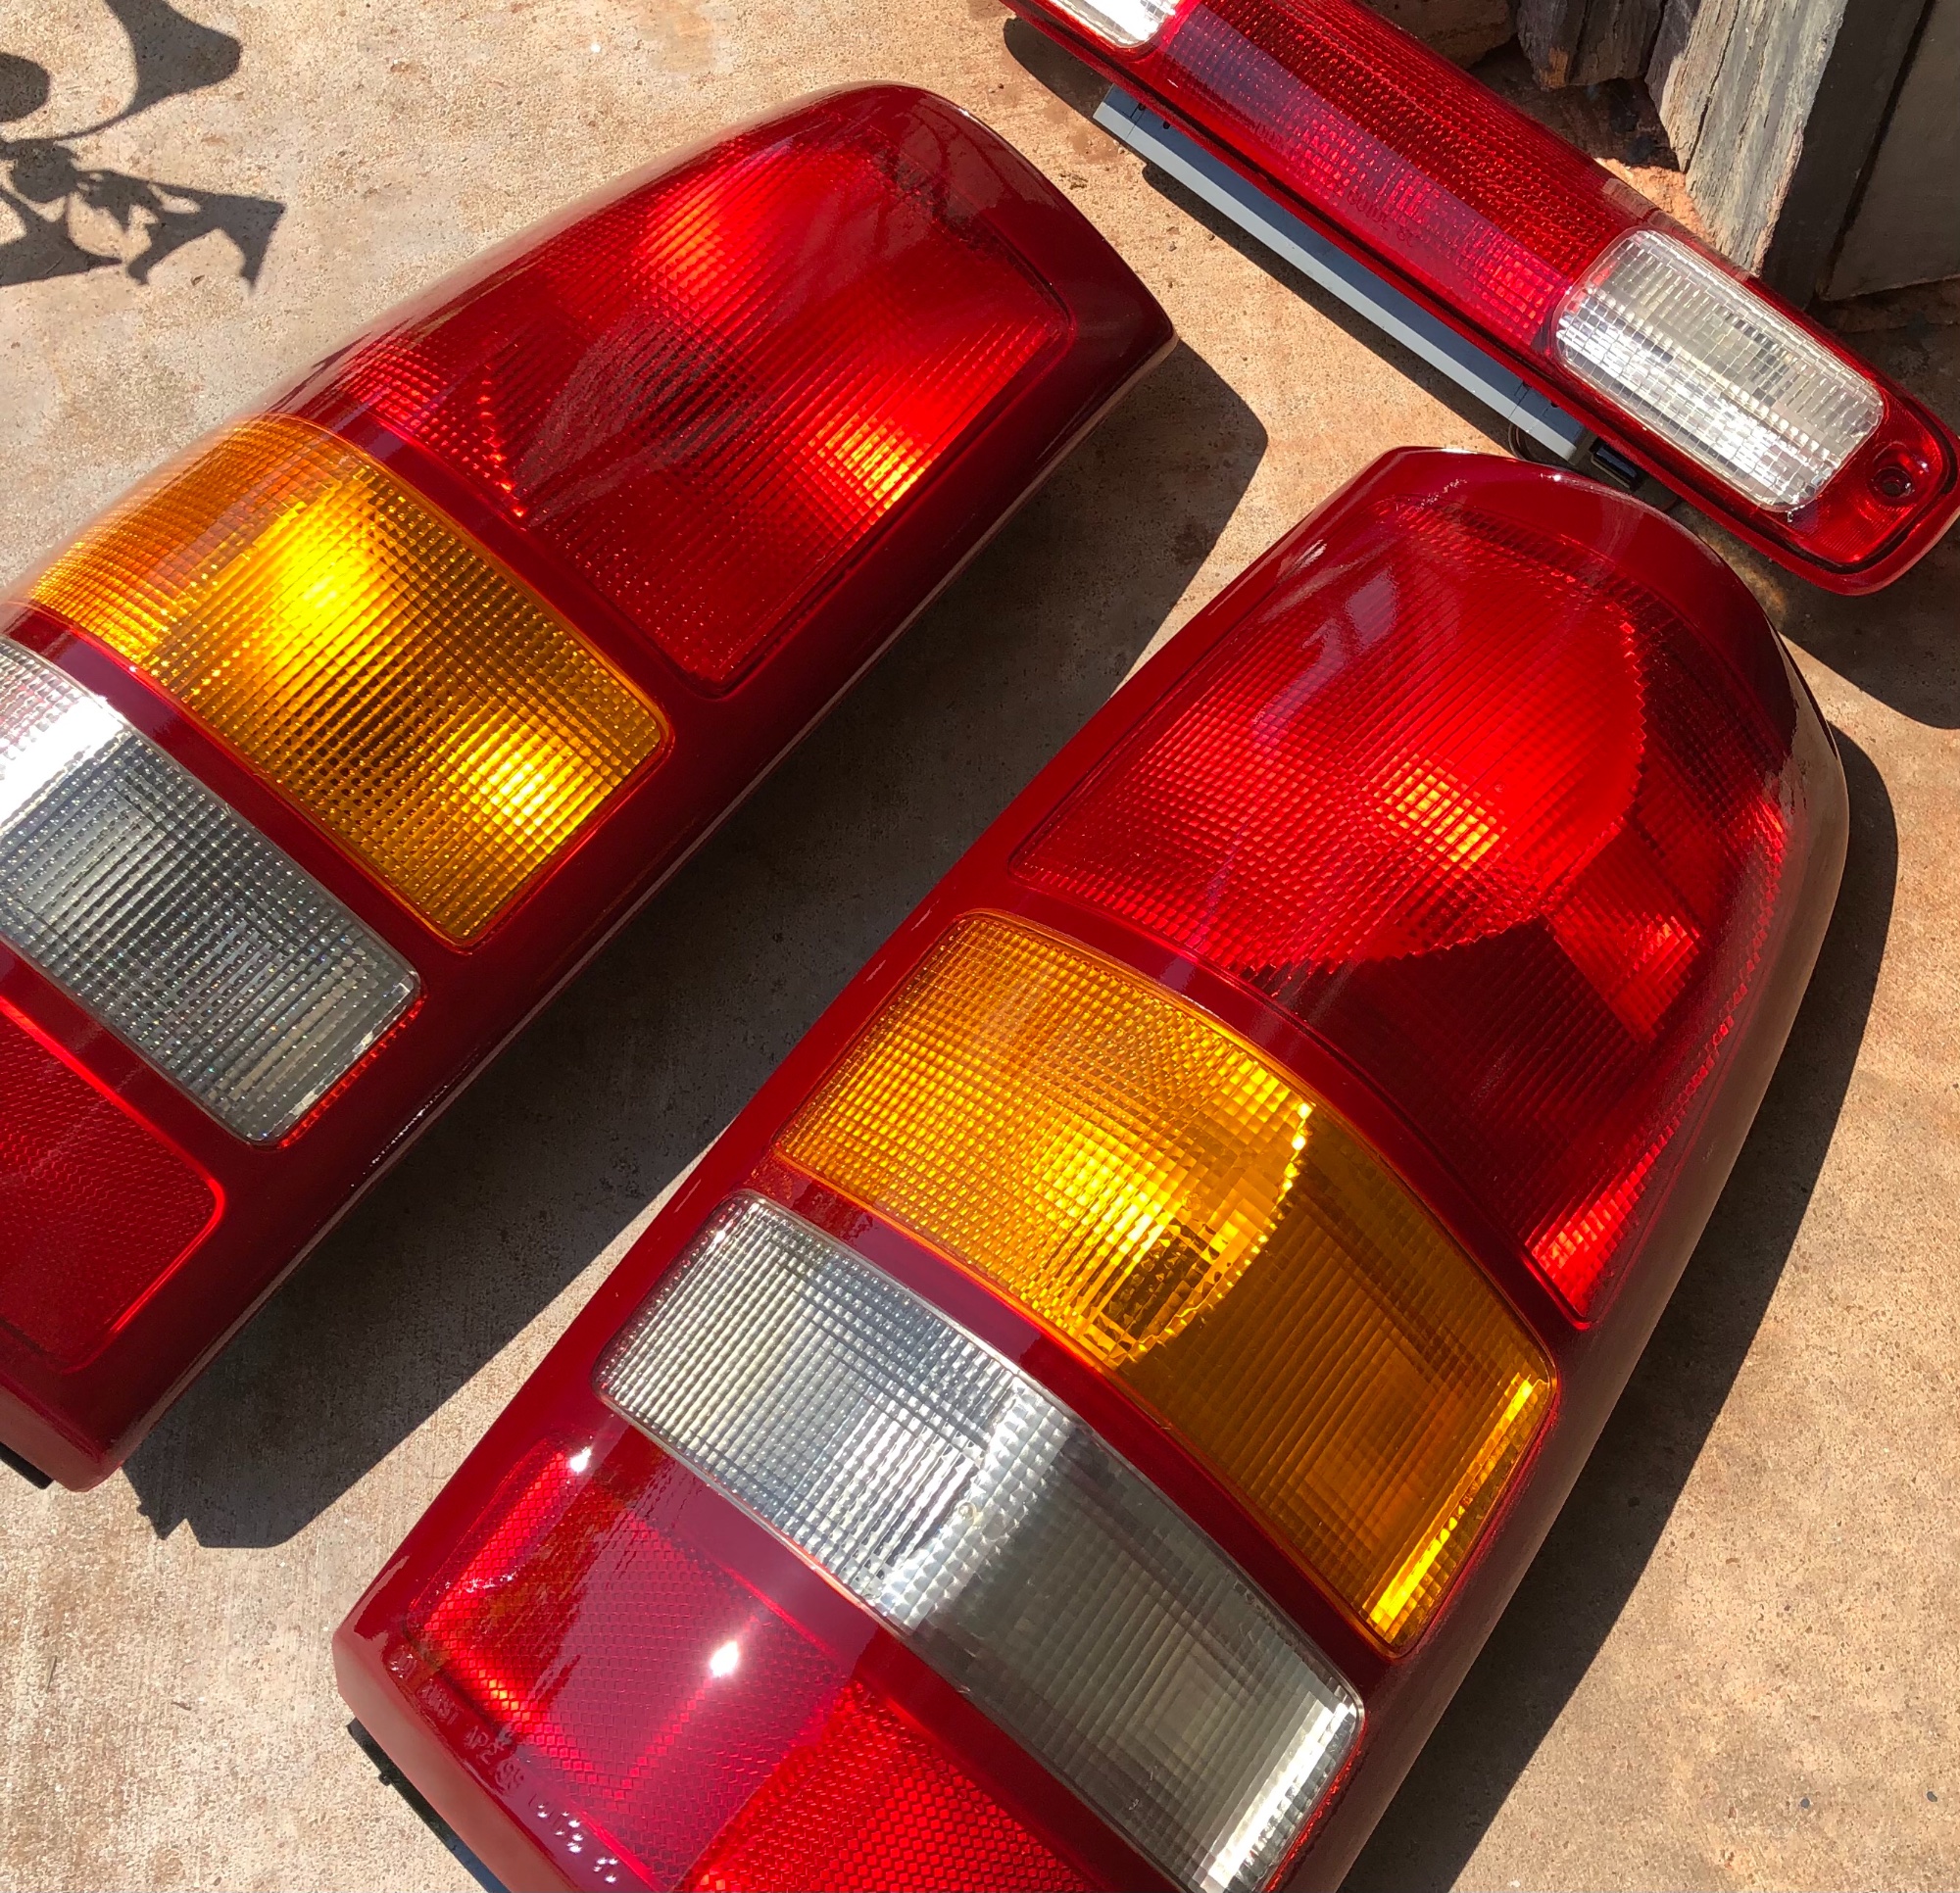
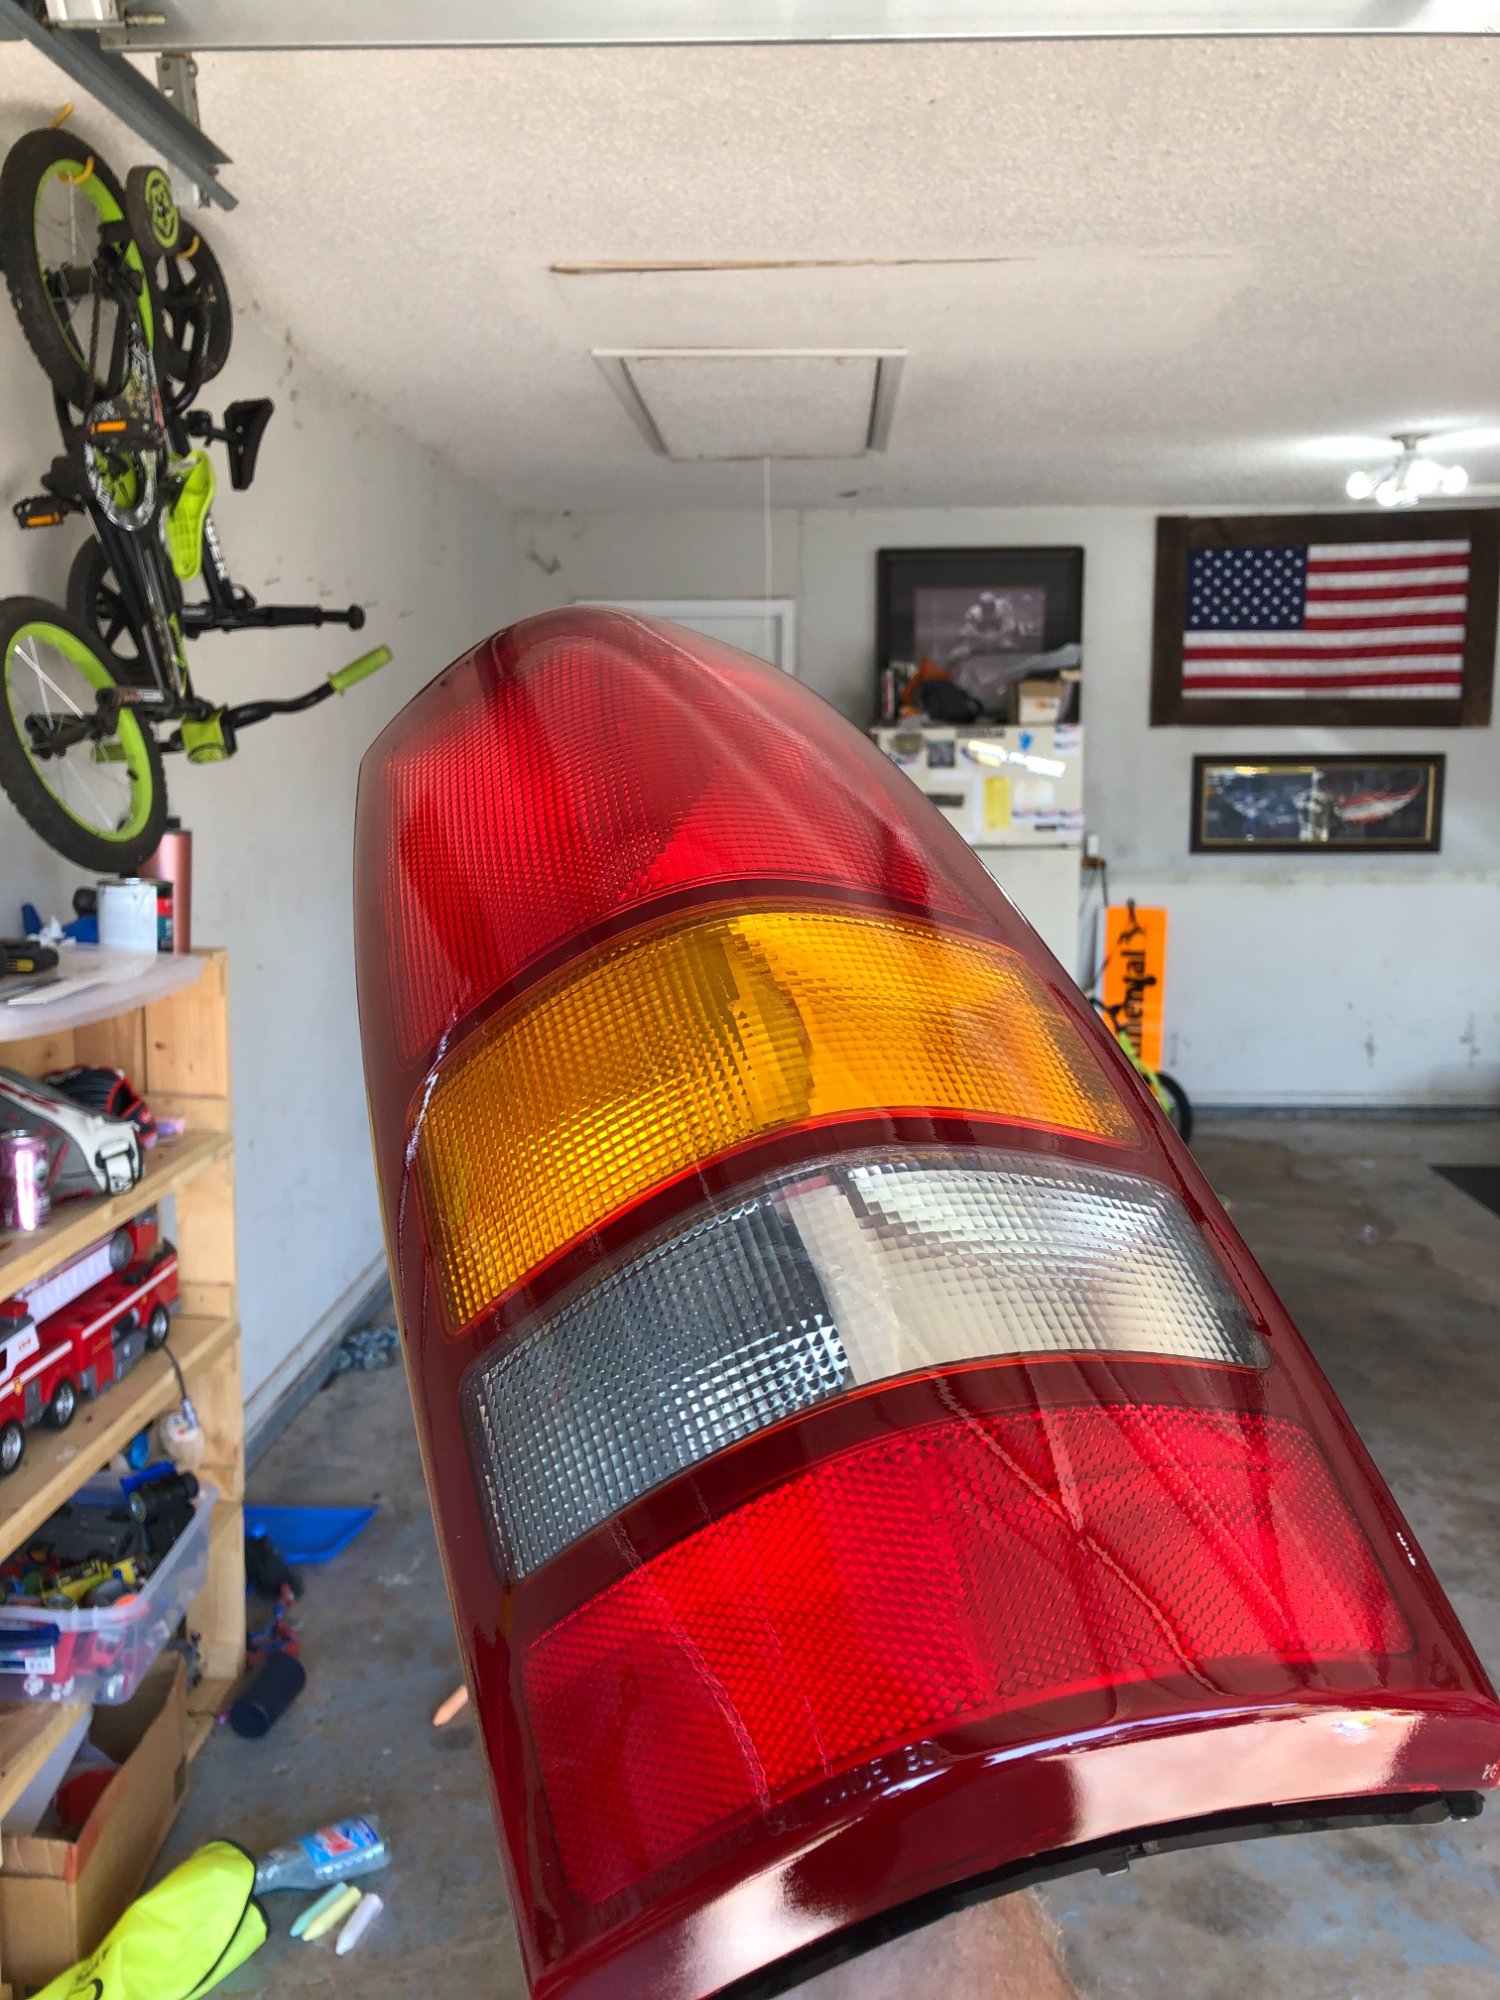
And a little surprise project, while I was in between stages I decided to sand the tail lights and brake lights with 600 grit, 2000 grit, then clear coat then with the 2k epoxy. Super pumped with how shiny they came out before…
-
Eggs2bacon 1st Chevy build!
Eggs2bacon replied to Eggs2bacon's topic in 1999-2013 Silverado 1500 & Sierra 1500
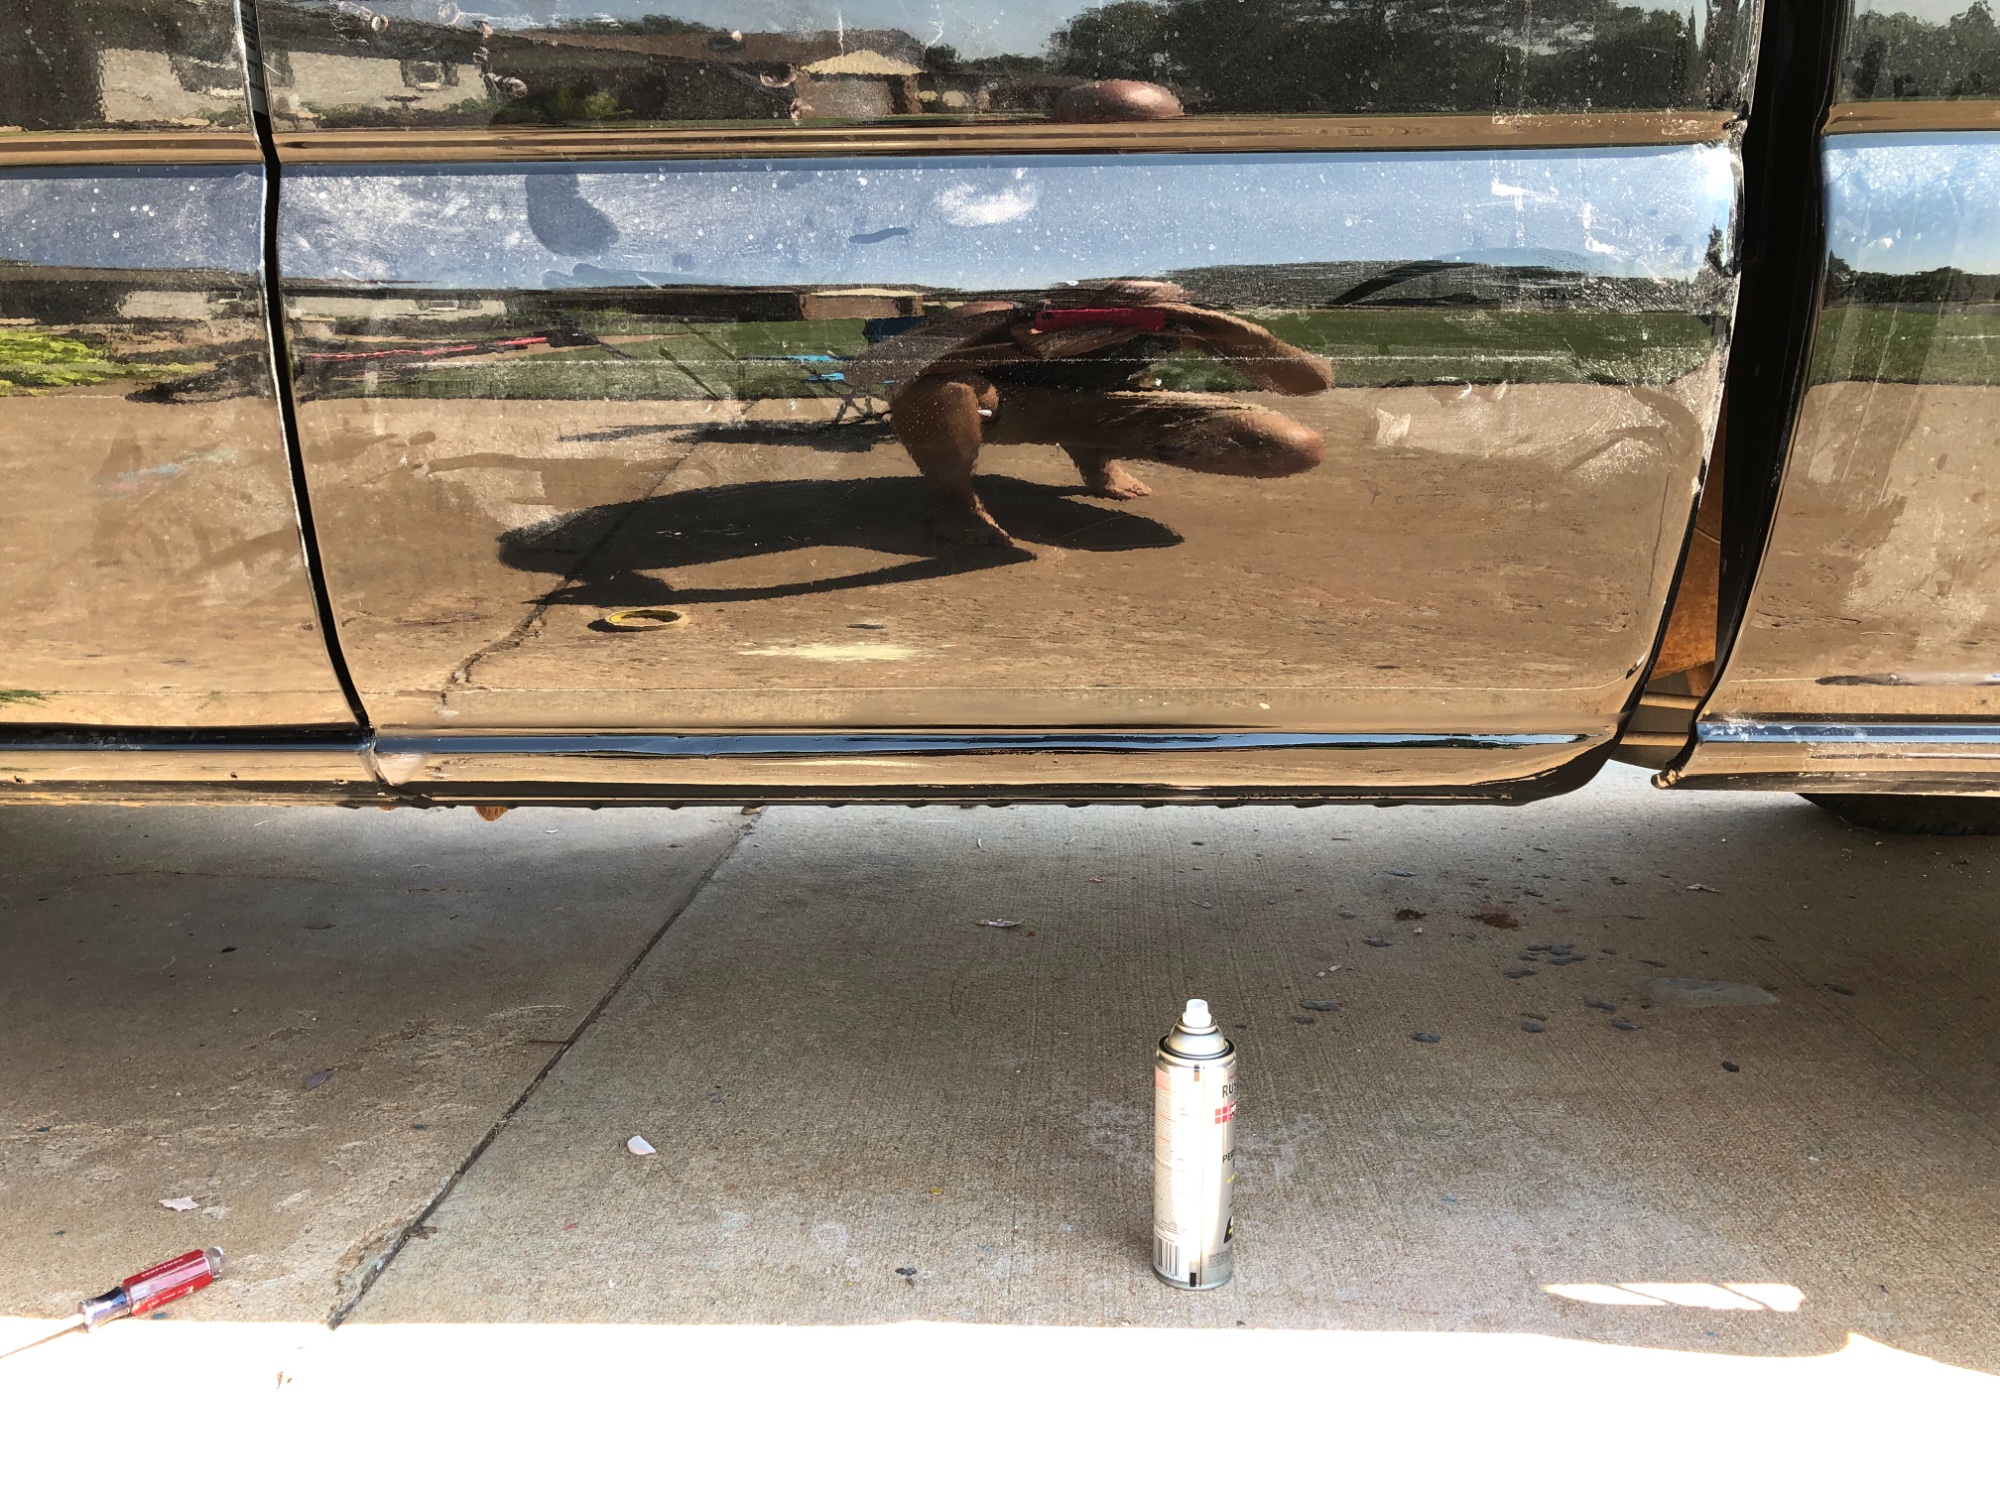
Then the black….and clearcoat. The truck is still dirty and needs washed but I’m stunned with the results!
-
Eggs2bacon 1st Chevy build!
Eggs2bacon replied to Eggs2bacon's topic in 1999-2013 Silverado 1500 & Sierra 1500
Picked up some black paint from wal-mart. I plan on applying a rocker guard over the top of the paint when I’m completely done. BUT…I painted it with primer, then black paint, then 2k epoxy clear coat and I was surprised with the finish. Surprisingly it matches, and I haven’t even wet sanded to blend it. I might not be applying any rocker guard if this turns out good!
-
Eggs2bacon 1st Chevy build!
Eggs2bacon replied to Eggs2bacon's topic in 1999-2013 Silverado 1500 & Sierra 1500
At this point I decided two things; this is a pain in the butt. So on the other panels I’ve got a different approach. but I continued on by applying body filler next. Then started to sand it. It’s got ALOT of sanding to go. This is probably one of the biggest steps to get smooth or it’s gonna show through.
-
Eggs2bacon 1st Chevy build!
Eggs2bacon replied to Eggs2bacon's topic in 1999-2013 Silverado 1500 & Sierra 1500
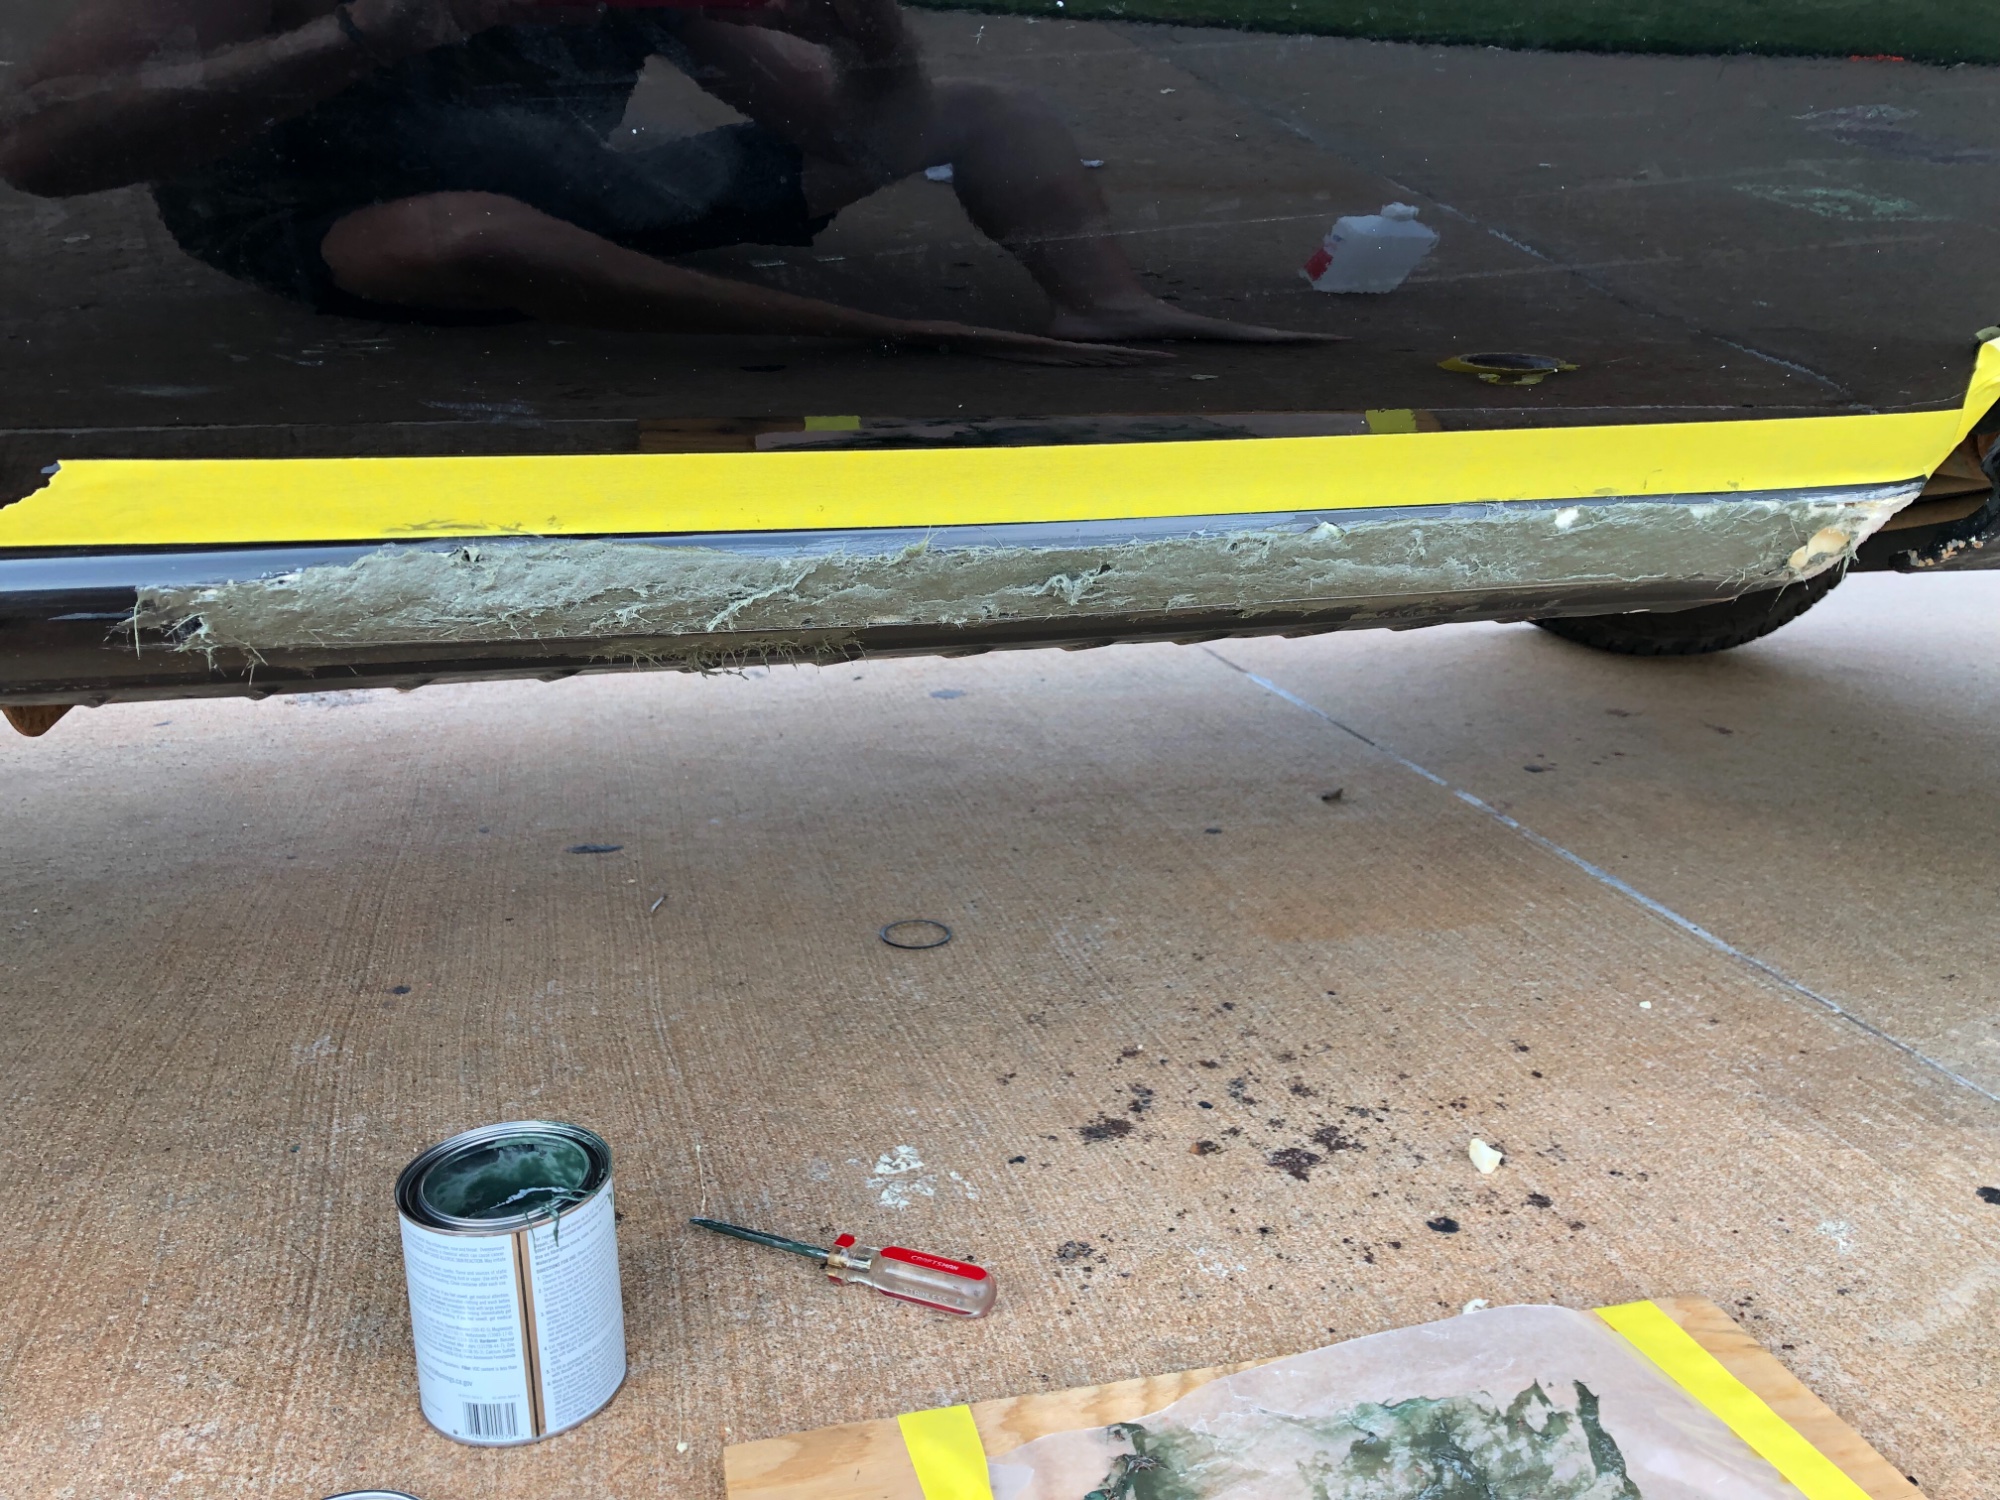
I did sand the foam back some before applying the fiberglass. You can see below the fiber glass set up easily and I gave it a good sanding but forgot a picture
-
Eggs2bacon 1st Chevy build!
Eggs2bacon replied to Eggs2bacon's topic in 1999-2013 Silverado 1500 & Sierra 1500
-
Eggs2bacon 1st Chevy build!
Eggs2bacon replied to Eggs2bacon's topic in 1999-2013 Silverado 1500 & Sierra 1500
I started the body work and just FYI some of you may not like this. I started with filling the gap with foam sealer to help build the panel back. Then once it’s dry I cut away the excess with a razor. I was pretty happy with the results so far.
-
Eggs2bacon 1st Chevy build!
Eggs2bacon replied to Eggs2bacon's topic in 1999-2013 Silverado 1500 & Sierra 1500
Here’s where I’m stopping for now. Since water gets in here no matter what, this can’t hurt it too much more. As long as I stay out of the rain till I finish the repair.
-
Eggs2bacon 1st Chevy build!
Eggs2bacon replied to Eggs2bacon's topic in 1999-2013 Silverado 1500 & Sierra 1500
You can see it did a good job coating everything.


-
Forum Statistics
250.4k
Total Topics2.7m
Total Posts -
Member Statistics
342,753
Total Members8,960
Most Online
-
Who's Online 14 Members, 1 Anonymous, 1,487 Guests (See full list)