
Leaderboard


Popular Content
Showing content with the highest reputation on 02/10/2018 in all areas
-
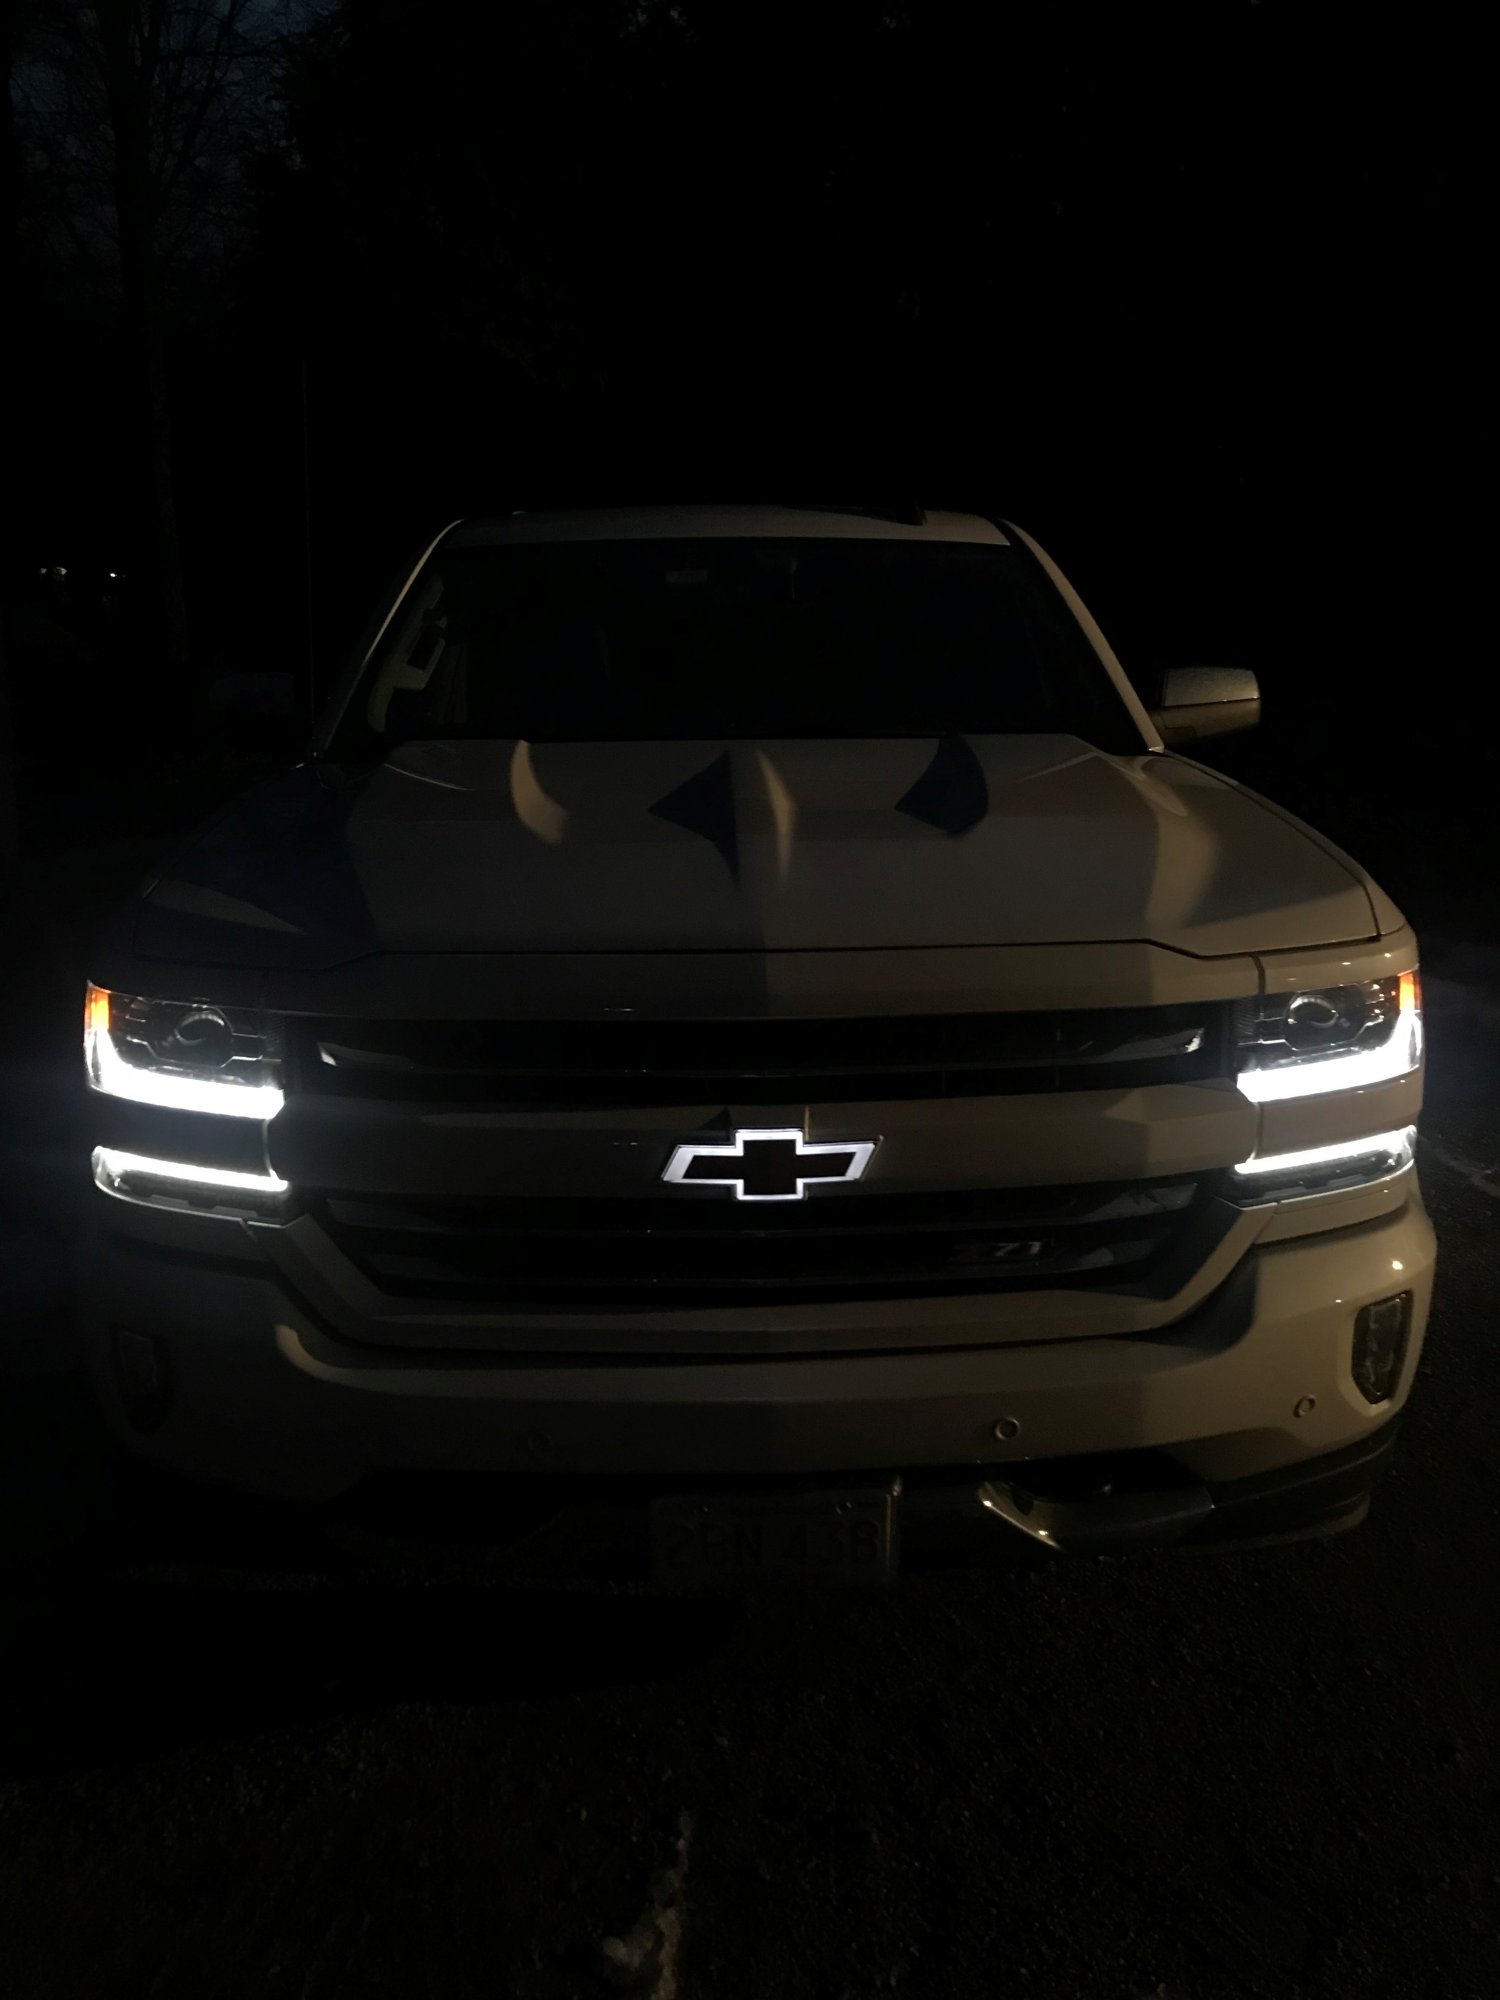
Tough to get a good pic in the dark. Led brake light in the middle of each horseshoe. Sent from my iPhone using Tapatalk1 point
-
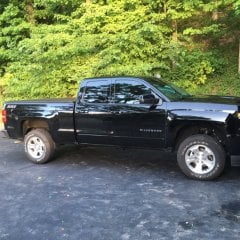
Nice truck! Ok - if you already have DPN mirrors, you would be the rare case in which you WON’T need a harness swap providing the following is true. - All 3 lighting functions of your current DPN Mirror work (Turn Signal, Cargo Light, Running Light) - You Get GM - Power Fold DQS Mirrors. The switch part # you’ll need, is 23154702. Since you confirmed you have 23154700. If you decide to go with 1A Auto Mirrors, specifically 1AMRP01790, the same is true, except this mirror set has a bonus Puddle Lamp. Your harness will not have the circuit to drive this puddle Lamp. Also, there will be some light rewire needed to drive the same 3 lighting circuits. Out of the box, they are not pinned like factory. See pic. The orang wire in the this pic is the their puddle lamp. The light shines downward and shines white. The blue wire is the Amber running light. So... to answer your question, if you go with 1A, you’ll need a custom harness build (which I can make for ya), a couple extra pigtails to land the blue wire (which I also supply). If you go with GM - DQS, no harness swap needed. If you need a source for either mirror set, let me know. I will have a set of the exact 1A mirror you’re looking at next week (customer buy back). Also, I have a direct contact to a GM Supplier that has special referral pricing for the GM DQS Mirrors. Lastly, the mirrors are built differently (as far as how they mount). PM me for any more info. Sent from my iPhone using Tapatalk1 point
-
G'day everyone. I'm a new member and owner of a 2017 Silverado LT 2500HD. I love the truck but, as so many others here have said, the mirror selection sucks from the factory. I need to replace the stock tow mirrors (DPN) with the power folding mirrors (DQS). I basically know what parts to get, but need help to complete the list so that I have everything available and not have to go threw the "DOH" phase and order while in the midst of replacing the mirrors. I've watched the videos and I have no problems with the process. Would I be able to swap the chevron turn signal from the old mirror to the after-market mirror? The chevron is a cool factory item. Here is what I have so far (don't laugh, it's a really short list): 1AMRP01790 - 2017 Chevy Silverado 2500 HD with RPO Code K40 from 1A Auto What harness (if any) would I need? What Power Fold Switch - Part # 23154702 or Part # 2348841 would I need. I currently have the 23154700 Anything else I should know? Thanks!
 1 point
 -
I would be ok with that but the second it squeeks rubs rattles or makes some weird ass sound Id burn the truck down lol. I hate interior noises like that Sent from my Pixel 2 XL using Tapatalk1 point
-
Well i could maybe make it1 point
-
One thing the cavity wax will do that paint and bedliner paint can’t do is penetrate into the pinch welds and harden to seal out water and salt.1 point
-
Spraying the back side can’t hurt as long as you’re careful not to plug any of the drain holes. The problem with the rockers is they are a blind cavity that water and salt get into and if they aren’t protected internally and flushed out after salt exposure, they end up rusting thru like yours. If your rockers have plugs in them similar to my ‘16, it’s a good idea to remove them a couple times a year and flush out the rockers to clean out the salt and dirt. I neglected to do that until it was too late on my ‘08. I was shocked when I did and I saw dirty, rusty water pouring out of the drain holes for several minutes.1 point
-
I did both the trans cooler lines on my 2010, and it was a pain and I wouldnt DIY it again, I'd just pay someone with a lift. I bought the oil cooler lines too but never got around to doing them before I sold the truck. You have to pull the axle to do the oil cooler lines (at least on the NNBS), which is why I never did it. I still have the lines sitting in my garage taking up space. These lines are prone to leaking, and my oil cooler lines started weeping at about 50k on my 2010 and I sold it with 90k with no worse leaking, so I wouldn't worry about it totally failing on you anytime soon.1 point
-
lol this one made the rounds in our office last week. We have two "new" daddy's and a soon to be mom sitting there. so long j-ten-ner1 point
-
Not without chains at least. Thats some pretty deep and looks mostly fluffy. Are trucks even legally allowed on snow mobile trails in NH? I saw those online and they looked nice but on the truck, damn. They look fantastic!1 point
-
After the new rockers are on, be sure to coat the insides with some kind of rust prevention or cavity wax to help them survive. When you weld on the replacements, some of the primer inside burns off exposing bare metal and they’ll rust out quicker than the originals did. I used Noxudol 700 on my ‘16 after finding the rockers were rusted thru on my ‘08. Time will tell if it helps but it definitely can’t hurt. Your truck will look great with painted bumpers. I never could stand that GM didn’t paint the bottom edge of the tailgate on the two-tone trucks.1 point
-
Got stuck. Ended up needing a front loader to come get me out. Learned the hard way trucks don’t belong on snow machine trails Sent from my iPhone using Tapatalk1 point
-
I had my doubts when I purchased this the other day but once I threw it on, I loved it! Also didn't realize GM made the illuminated bowtie in gold.
1 point
-
Put some new spyder tail lights on. Yeah it’s snowing pretty good too. Love the lights though. Sent from my iPhone using Tapatalk1 point
-
I thought this medicine would "hit home" with many/most of our forum members! Take a break.mov1 point
-
I was able to complete the installation of the Cadillac Escalade engine cover back in October. I refinished it in black metallic. The GMC emblem is for a Terrain 12620296. My '17 did not have the mounting studs. They were 11611691. The Escalade engine cover is GM 12643295. The Chevrolet emblem is 92068693. .
1 point
-
Made a huge mistake buying my '17 Sierra Double Cab. Needed the 6.5 bed and figured I'd compromise on cab size to save a few bucks. After close to a year of remorse my dealer gave me a great opportunity to go back in time and buy what I should have from the start!
1 point
-
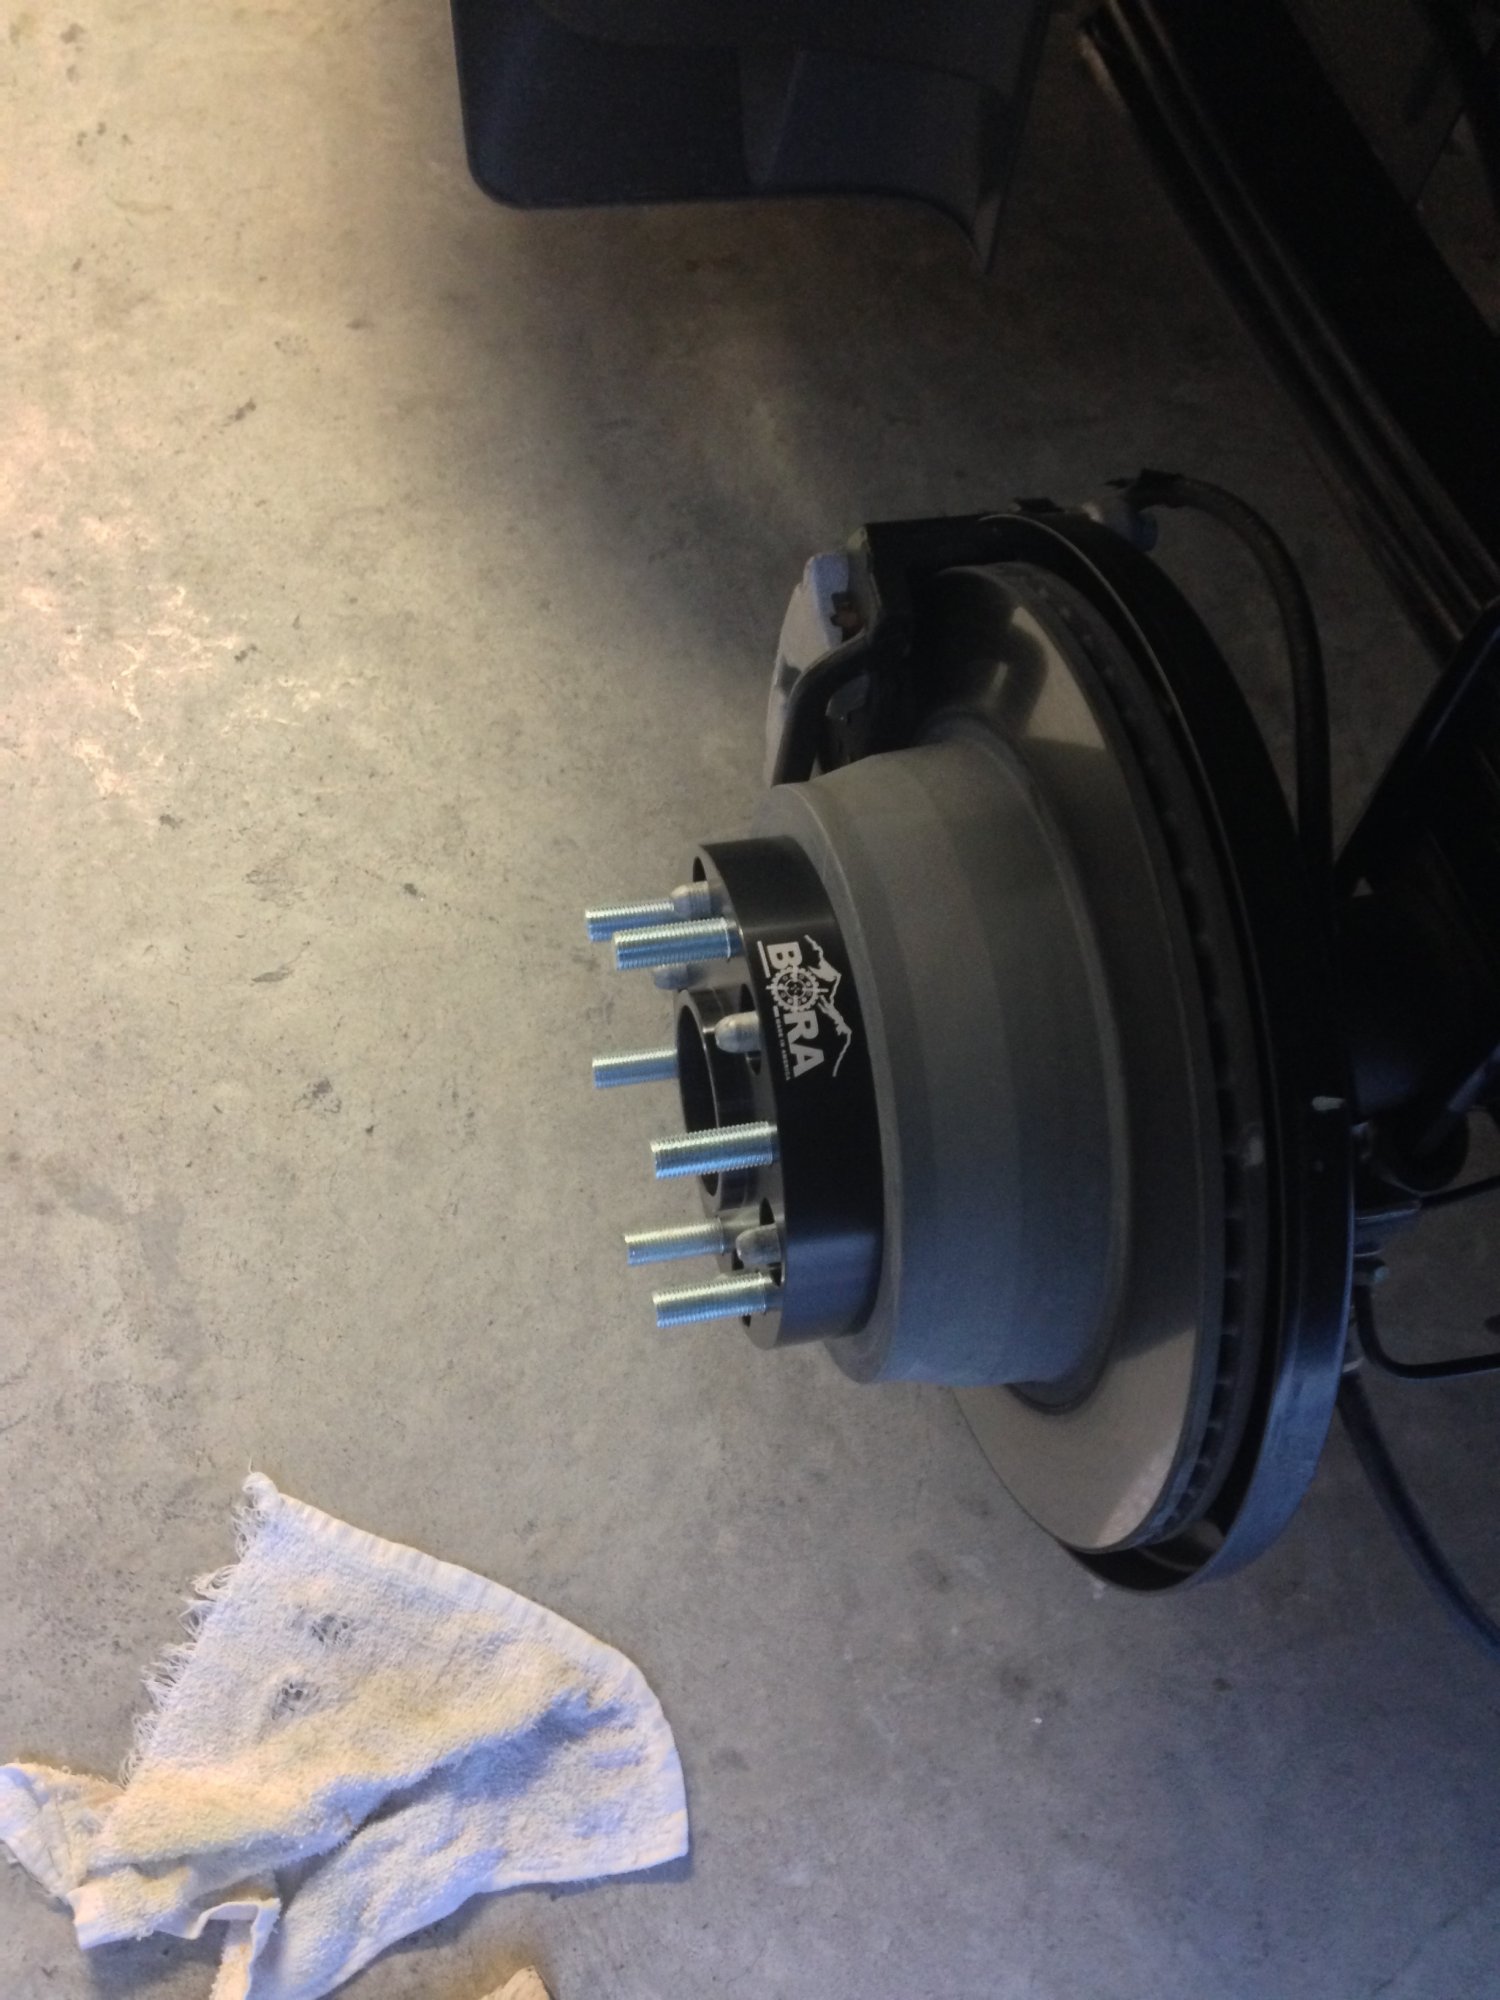
Hi, guys. New member here, but just wanted to give some info on leveling and tire size that will rub, or not rub if you have the stamped steel control arms. Sorry if this has been covered in the thread previously, but up until a few weeks ago, I couldn't find a definitive answer on the net concerning this. It seemed that some people said their setup would rub and others said it wouldn't, but it was unclear if they meant it wouldn't rub after they modified the inner fender, etc. So, I'm here to let you know definitively my story, my setup and confirm that if the same parts that I used are purchased, there will be no rubbing on a 1500 Sierra 4x4 with stamped steel control arms. So, here goes my story: About a month ago, I bought a new 2018 All Terrain, with the intention of leveling and adding the largest M/T tire that would fit without issues. I poured a lot of time into researching the subject on forum after forum, prior to my purchase and decided that the Rough Country 2.5 in lift (with the rear blocks) would work for me. This kit appealed to me because of the ease of installation (I thought) and the fact that I'd be doing it alone in my garage. Next I decided that the 285/55r20 maximum tire size (according to RC) was not enough larger than the OEM size for my taste, so I began to research that topic. This is where the water got muddy with what will work and what won't work without the tire rubbing the stamped UCA's. I ended up ordering a set of 295/55r20 Toyo Open Country M/T's for a smoking price of 1360 bucks, a set of 1/4 inch spacers and the lift on the same day. The tires arrived first and my initial thought was how wide they looked. I put them aside and waited for my lift. The lift came in a few days later and the first thing I noted was that there was no top spacer blocks, just a couple of donut rings. I quickly found out that RC fails to tell you, if you have the stamped control arms, you must remove the struts, compress the strut spring, disassemble the strut and install the donut spacer under the spring, then reassemble. So, it was off to Auto Zone for their loaner spring compressor. I'll just say that it worked, but the stress that the strut spring put that tool under was unbelievable and I wouldn't do that job at home again. The threaded rods looked like bananas once the spring was compressed enough to reassemble with the spacer. The rear blocks went in pretty easily except that the head of the spring bolt had some difficulty going into the RC rear blocks. Not sure if it was the paint on the blocks, but I eventually had to lower the truck's weight onto the blocks so that the head of the bolt would pop into the block. Next I installed the 1/4" spacers on all four corners and checked clearance. I found the stock tires almost touching the UCA's at full lock after the lift and spacers were installed. So I did some measuring and figured 1-1/4" spacers would do the job and the excess length on the factory studs sticking out past the spacer would fit inside the OEM wheel pockets. No need to shave the studs. I decided after more research that Bora had the best reviews and it's only money, so I dumped another 250 bucks into the project. What else can you do at this point? While I was waiting for my spacers to be built and shipped, I had my tires installed. Not by Walmart I might add, because they won't install tires more than 2% larger than OEM specs for your vehicle. What a bunch of pricks. Last Saturday afternoon, my spacers arrived and I went to work right away, installing the spacers. They fit perfectly and are both hubcebtric and wheelcentric. The result was that the tires are nowhere close to touching the UCA's - at least and inch away at full lock, but only about 1/16" from touching the felt liner at the rear of the tire on the right side while turning right and the left side when turning left. I ended up drilling a 3/16 hole in the bottom lip of each liner and using zip ties to secure them back to the body mount. Now there is enough room to clear easily, no rubbing, no cutting, no stud shaving or NorCal mod needed and it's totally undetectable. So to recap, if you have stamped steel control arms, you can run without a doubt, a RC 2.5" level/lift (plan on removing and disassembling the struts), 295/55r20 Toyo Open Country M/T's on OEM 20" wheels with no rubbing, but you have to install spacers (no less than 1-1/4" unless you want to cut the factory studs) and tie back the rear inner fender felt. Sorry for such a long story, but this whole process has taken a month to finish up and there's a lot to tell. I'm picking my truck up today from the alignment shop, who said that the front end was completely out of whack after the level kit, so an alignment is definitely needed ASAP after you level. A few pics of the final result taken after the spacers were installed. Sorry for the crappy pictures, but it was dark outside and just took these to send to my son. I can take a few more in daylight hours if anyone is interested in how the end result looks.
1 point
-
Does the cover studs screw into the cover or the intake? Or do need brackets to screw into? Johnny01. Please respond. Sent from my SM-G935V using Tapatalk0 points
-
I am out of stock of harnesses. Mouser has a 3-4 week lead time for more material.0 points







.thumb.jpg.50263fee9a3a4f57750cef15c1b94035.jpg)
.jpg.5e4f891e00379e58e945d8af914fc5a3.jpg)



This leaderboard is set to New York/GMT-04:00