

KTDanforth
-
Posts
197 -
Joined
-
Last visited
Content Type
Profiles
Forums
Gallery
Events
Articles
RPO
Store
Blogs
Everything posted by KTDanforth
-
2021 gmc 3500 3.5 lift
KTDanforth replied to buttemines's topic in 2020-2026 Silverado HD & Sierra HD
I have a 2500 with a 3 inch in the front and a 2 inch in the rear on stock RIMs. My Tires are 35 11.5 20. I went with the 11.5 to be safe(was not sure about rubbing), but there is more than enough room for 12.5. When I change the tires out I will go with the 12.5 -
What have u done to your 2020 hd
KTDanforth replied to mkeddie's topic in Modifications & Accessories
Nice effect -
What have u done to your 2020 hd
KTDanforth replied to mkeddie's topic in Modifications & Accessories
Nice! What is the brand? Also do you have lights behind the "CHEVEOLET" or just reflective? looks good.
-
Illuminating the "Chevrolet" Front Logo
KTDanforth replied to KTDanforth's topic in Modifications & Accessories
Illuminated front logos have been around for years, you are not blasting a light bar at eye level, with the defusuer it is just illuminating the logo. -
What have u done to your 2020 hd
KTDanforth replied to mkeddie's topic in Modifications & Accessories
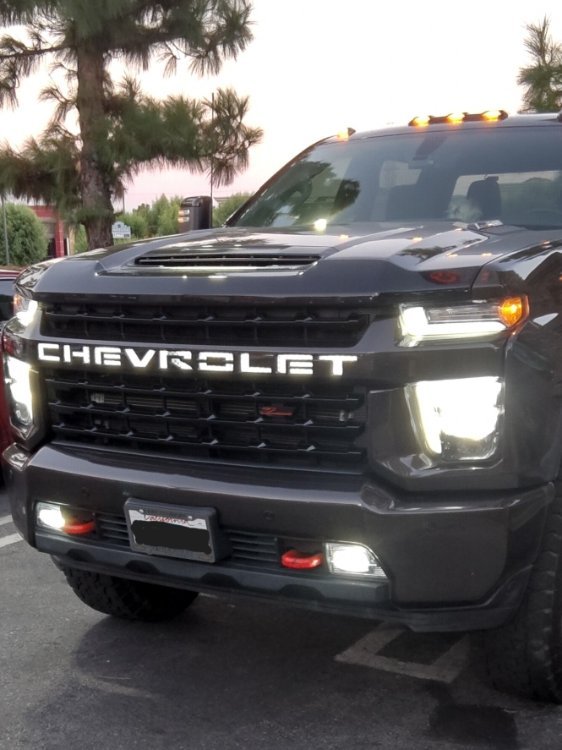
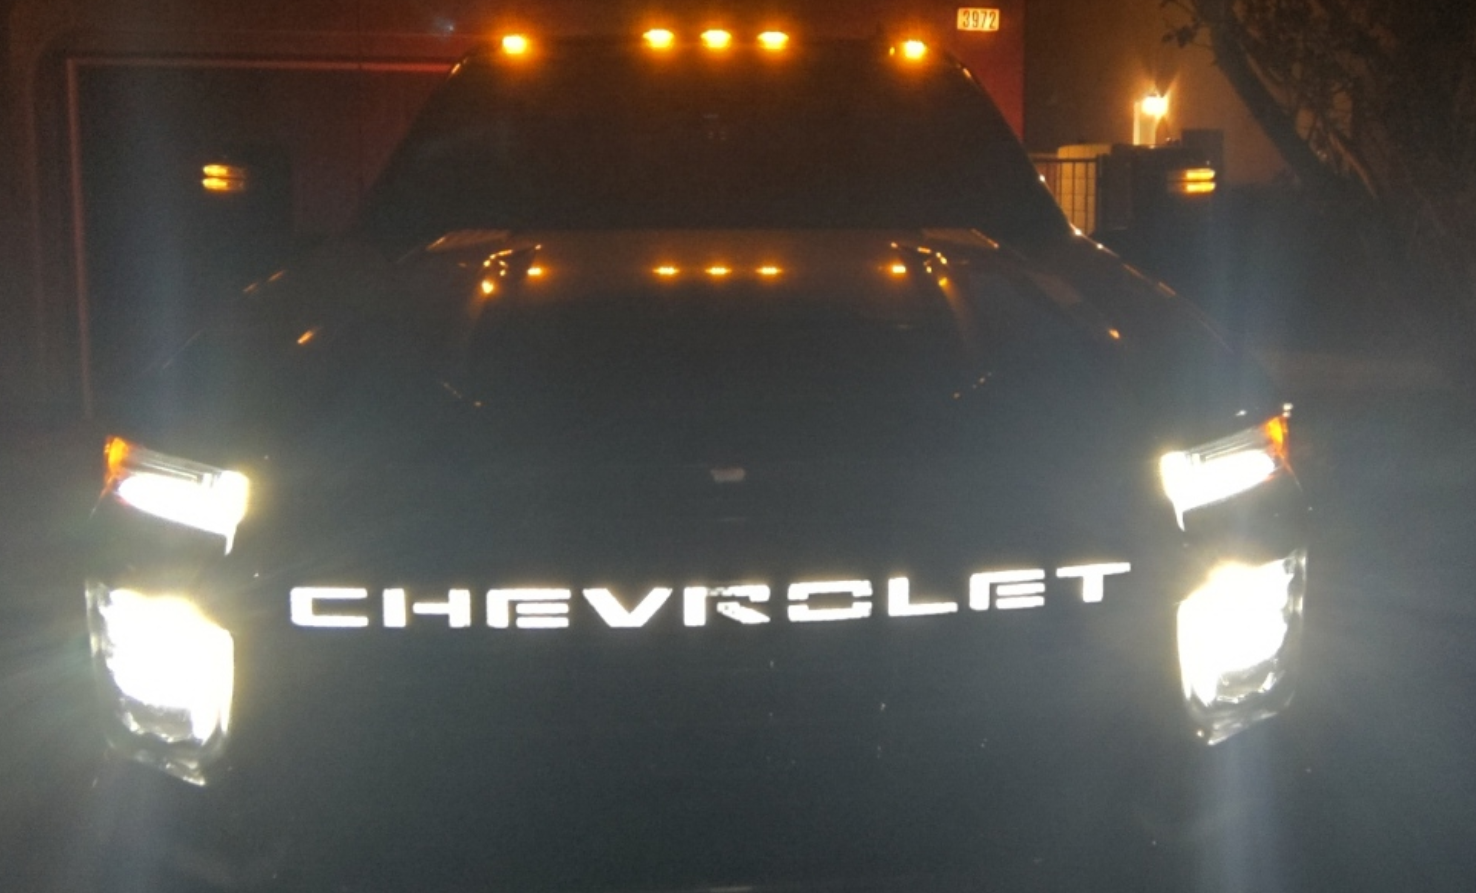
Illuminating My Front "Chevrolet" Front Logo Day Time: Night Time: The night Time shot does do it justice, it is so hard to get a good night shot with all the bright and darkness. I think it turned out quite well.
-
Illuminating the "Chevrolet" Front Logo
KTDanforth replied to KTDanforth's topic in Modifications & Accessories
Continue: Front Day Time 45-degree: Night Front: Night Front Angle: I will say the actual pictures do not do it justice. It is hard to capture the total effect. Chevrolet really missed the bus not providing a kit or add-on like the "Lite Up-Bow Ties" to do this. Any way it is done, hope you all enjoyed.
-
Illuminating the "Chevrolet" Front Logo
KTDanforth replied to KTDanforth's topic in Modifications & Accessories
Continued: Day Time on front: Next Page
-
Illuminating the "Chevrolet" Front Logo
KTDanforth replied to KTDanforth's topic in Modifications & Accessories
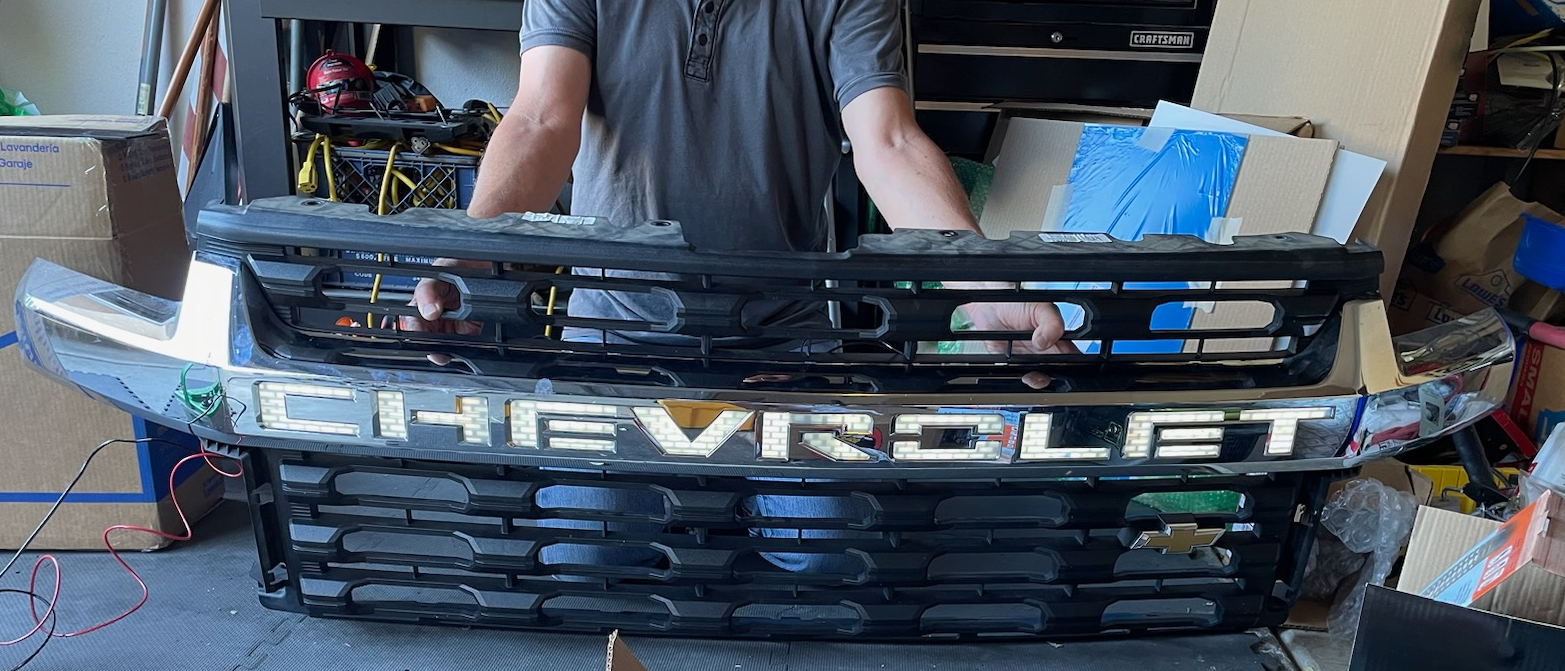
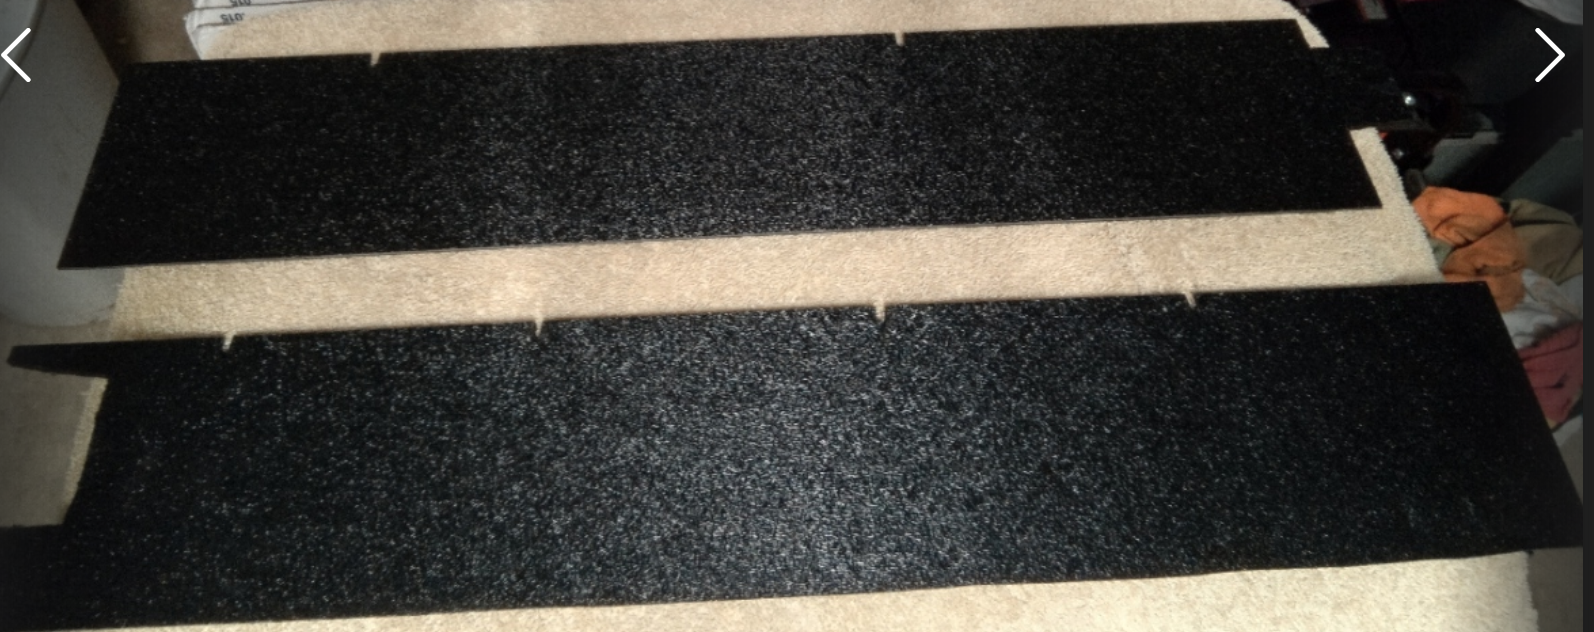
Finished installation Today, I realized I did not show much information or installation of the opaque diffuser, so I added to the below. Diffuser hot Melted into place: I wish I had been able to make it one piece, but I needed a 48inch sheet, only had a 24inch but due to the letter break down, I had to cut it in two 3 pieces not two so If I was going to do this again I would a go with a 48inch sheet. Since it is going to be pressed between the front bar and the grill, and hot melted with a "Pressure Fit" I think it will be fine. Back of the Grille: Before you lock the bar in to the grill you will need to shave about 1/6 to 1/8 of an inch off the tips (Bottom side only) of the locks to account for the diffuser between the grill and cross bar. When you lock the front bar into the grill you want to lock the top in first and the bottom second and press the locks into place. After the above, you just need to glue the plates into place and route the wiring. Here is the finished product: Day Time off: Next Page
-
Illuminating the "Chevrolet" Front Logo
KTDanforth replied to KTDanforth's topic in Modifications & Accessories
With the opaque diffuser, the goal is to light up the lettering but not over-power the front-end look of the truck. I do have the upscale head lights installed so I was looking to completement DRLs. Each letter has 2 light pods of 5 LEDs each. I should have the install completed this coming weekend.
-
Illuminating the "Chevrolet" Front Logo
KTDanforth replied to KTDanforth's topic in Modifications & Accessories
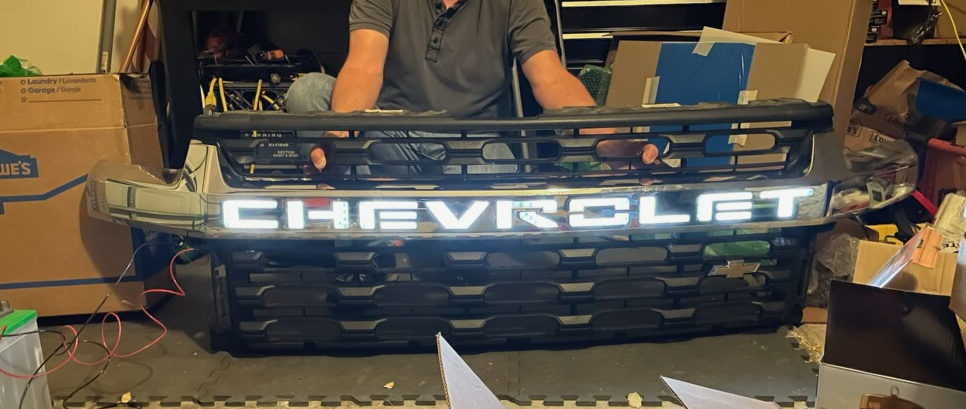
Continue, water proofing the wires and the back side of the light. also added quick connects. Day Time Test Light: Night Time Test Light: Your Thoughts?
-
I have seen this done on you tube but the only one who seems to do it in any professional manner was Wicked Warnings, but I have never liked the way the glare was coming thru the front letter of the grille. So the goal was to take the Wicked Warning concept but slide an opaque diffuser between the cross bar and the grille itself. I have been slow/y building this out and should finish the installation next week. Just thought I would share the progress. I went with a two-piece concept so not to affect the center support in the grill: two pieces inserted into the back of the grille, notice the interlocking with the center support post. Light installation 18 total lights, 9 each side, 5 LEDs per light) Notice the left and right side, center light is vertical in order to Light up the "R" and get around the interior center support:
-
Disconnecting bumper plugs
KTDanforth replied to Hoginedgewood's topic in Modifications & Accessories
This is the video, I referenced when I removed mine, have fun.- 1 reply
-
- 1
-

-
When you install it, please post pictures of the install process and end result.
-
How to add cab lights to a 2020+ Silverado
KTDanforth replied to hotairgypsy's topic in Modifications & Accessories
As a note you don't have to remove the whole head liner, just the front and middle support so you can get your hands and wrench under it. Having the upper control module out open a lot of space. Good luck and have fun. -
What have u done to your 2020 hd
KTDanforth replied to mkeddie's topic in Modifications & Accessories
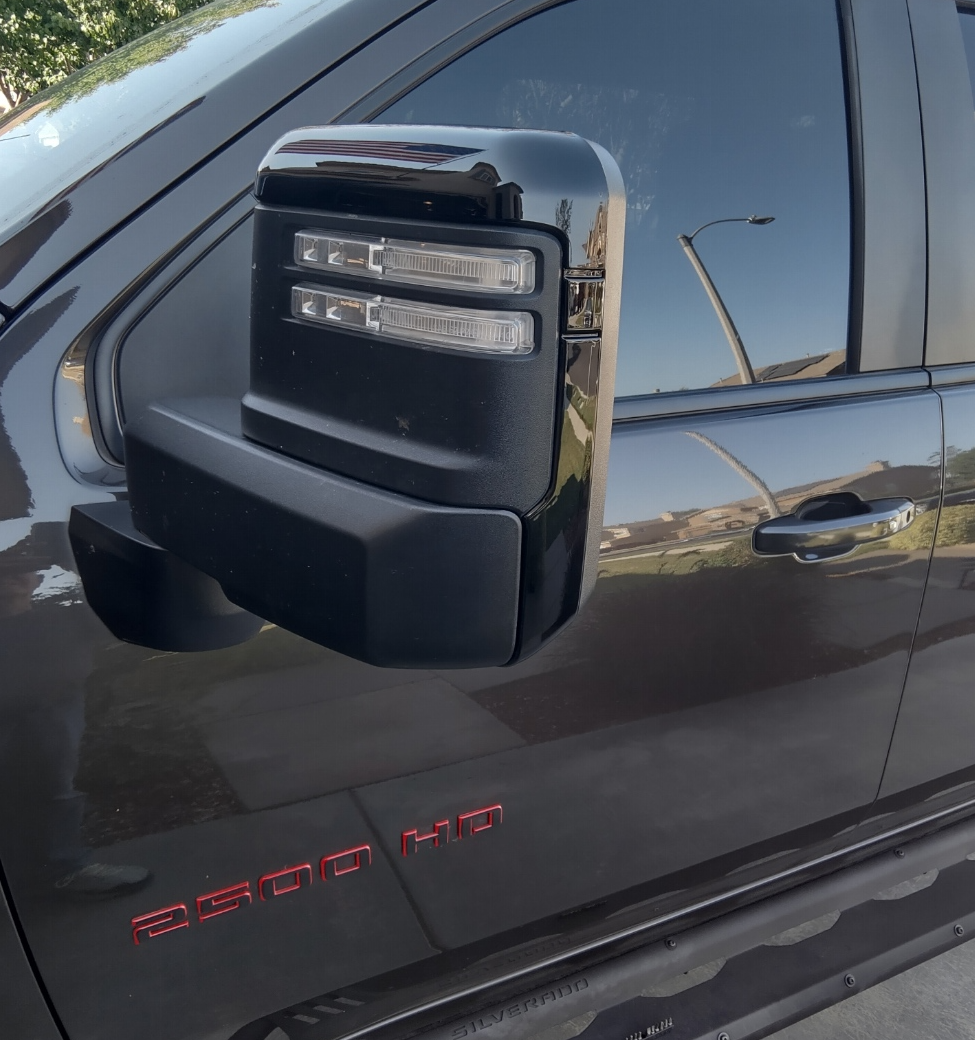
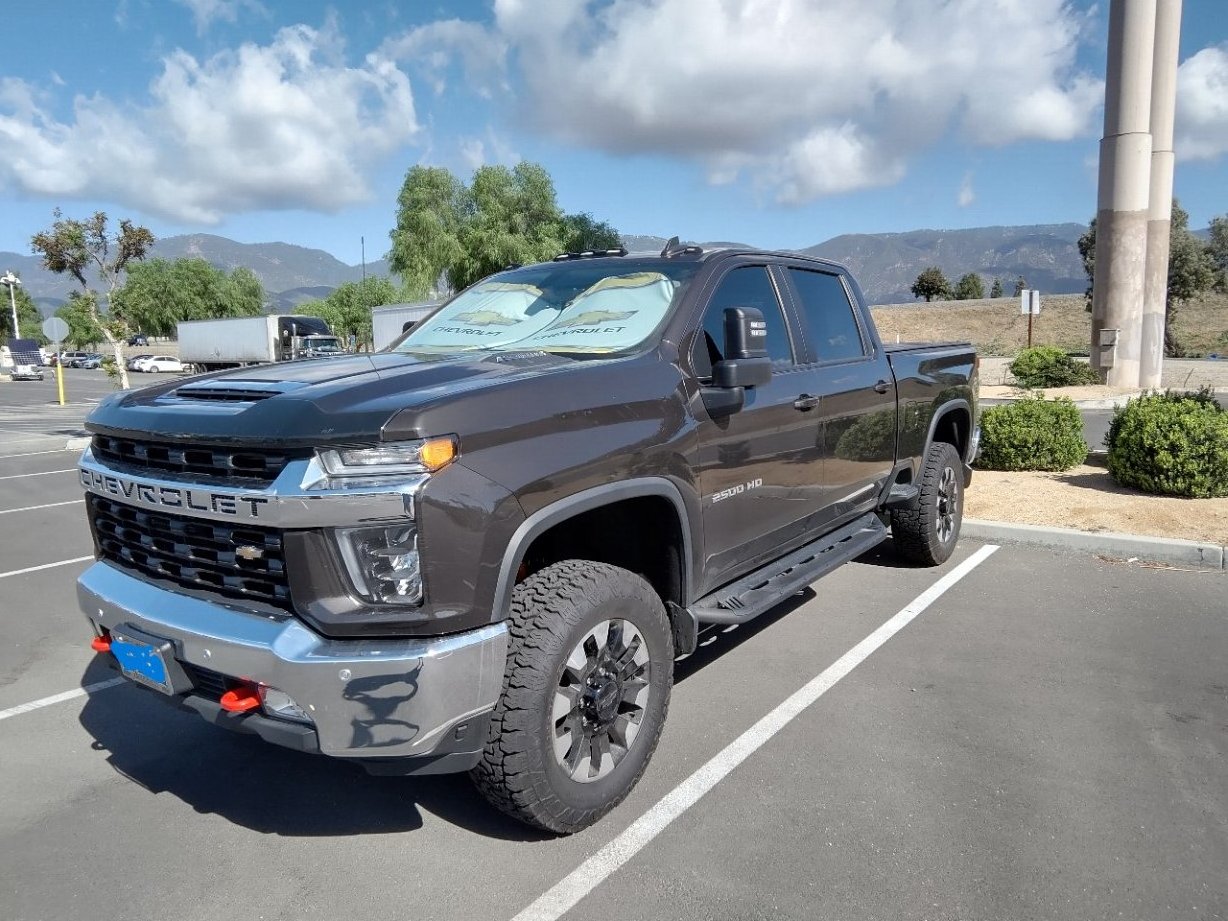
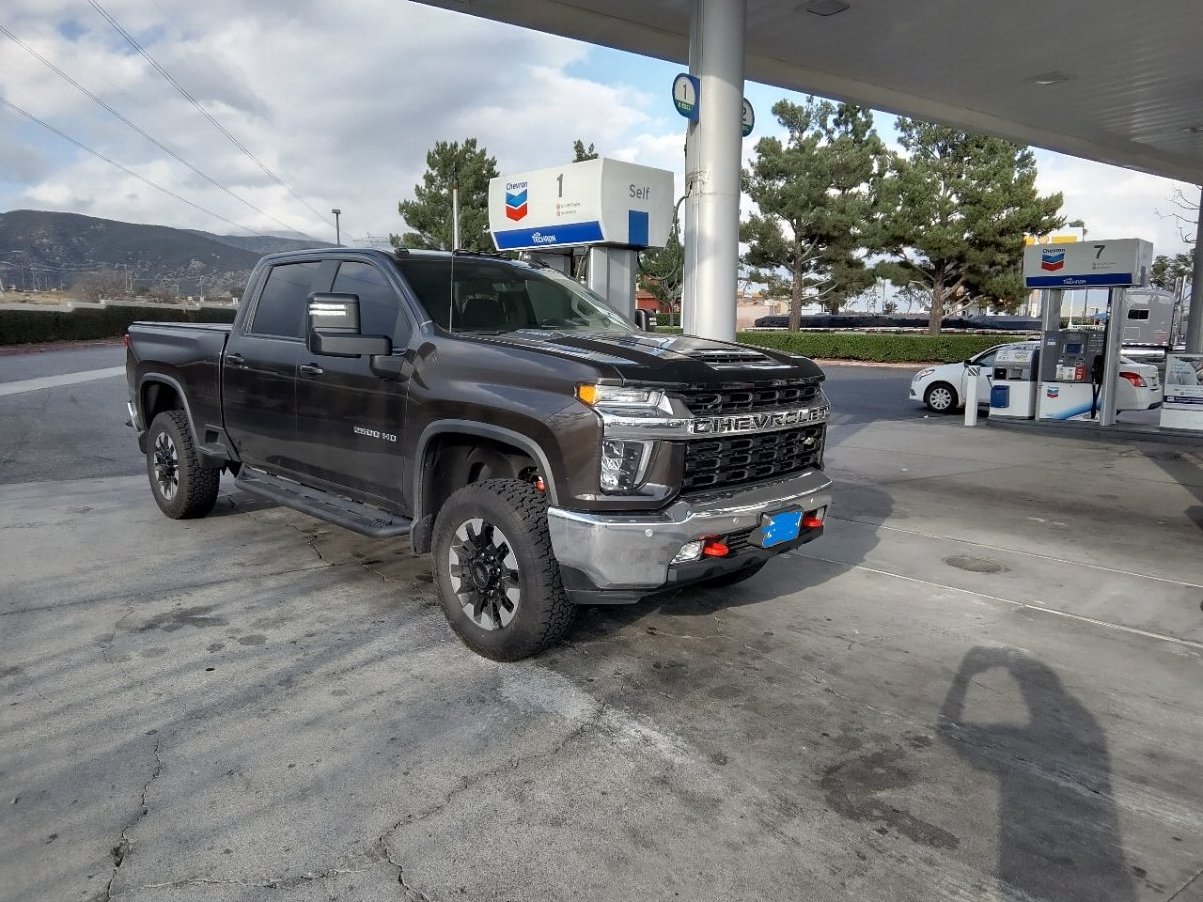
Added the Gloss Black Mirror Caps and replaced the front Chrome Scoop with a black painted one. I think I might pull the scoop back off and add a few more coats to it but I need to paint to harden first but all in all I like the overall effect. Old Cap: New Cap: Scoop: Combined:
-
What have u done to your 2020 hd
KTDanforth replied to mkeddie's topic in Modifications & Accessories
Upgraded to the LTZ Grille, Color Matched both bumpers and grille. Updated Side plates from chrome to Red and Black on the side and rear. Only Chrome left is the Scoop. Thinking of lighting up the "Chevrolet" in the front like Wicked Warning but with a defuser.
-
Cab Light Install - ISO Greenlee 3/4 KO/Punch Tool
KTDanforth replied to TJP249's topic in Modifications & Accessories
I was able to find a Greenlee #731 3/4" (Old school type) punch on Ebay for about $60, that is where i bought mine, i still have mine but here is one on ebay for around $50 Greenlee 731 Square Radio Chassis Punch 3/4" w Original Box Top READ | eBay I am not associated to them in anyway. worst case I could sell you mine but I but try them first. Good luck -
Anyone buy the GMC "Prepaid Mainenance" plan?
KTDanforth replied to blamkin86's topic in 6.6L Duramax Diesel (L5P)
what does the plan cost? looks like it covers 60K miles? -
Converting Rear Camera Mirror to Bed View
KTDanforth replied to Elite130's topic in Modifications & Accessories
There are quite few threads on this, basically you are removing the rear center tail assemble and replacing it with either a rear-view camera or a bed-view camera. this is discussed at length in the 1500 form, all the part are cheap with the exception of the mirrir it self To add the surround camera system is a whole different story 2022-2023 GM Intellihaul 2.0 Trailering Camera System 19421451 | GMPartsDirect.com -
2021 Sierra HD 110v power outlet
KTDanforth replied to Mike LaRocque's topic in Modifications & Accessories
did you try this? did it work? -
Retrofit power fold mirrors on a 2022 Silverado 2500HD
KTDanforth replied to Timu8's topic in Modifications & Accessories
Just curious, when did they say the will make the correction? When or if? -
I was looking for the thread, I believe it is in the chevy 1500 mod section, but I attached the infortaintment video that has the walk thru. The whole thing is plug in play, no programming. (2) 2019-2021 Chevrolet Silverado / GMC Sierra Rear Camera LCD OEM Mirror - Easy Plug & Play Install! - Bing video Buy the parts yourself and save the money. All are pretty cheap, except the mirror, I was able to find a take off mirror for about $300. the rest of the parts were less than $150, so all in was $450. good luck
-
What have u done to your 2020 hd
KTDanforth replied to mkeddie's topic in Modifications & Accessories
Just shock spacer, arms, keys and blocks, I did change my stock shocks to Rancho Z71 take off. That about it -
What have u done to your 2020 hd
KTDanforth replied to mkeddie's topic in Modifications & Accessories
Just finished a 3 inch lift, 3 in the front 2 in the back with Cognito upper control arms and keys. I might turn the keys back down just a little to give me back some more rake. I am going to let it settle for a few days first.
-
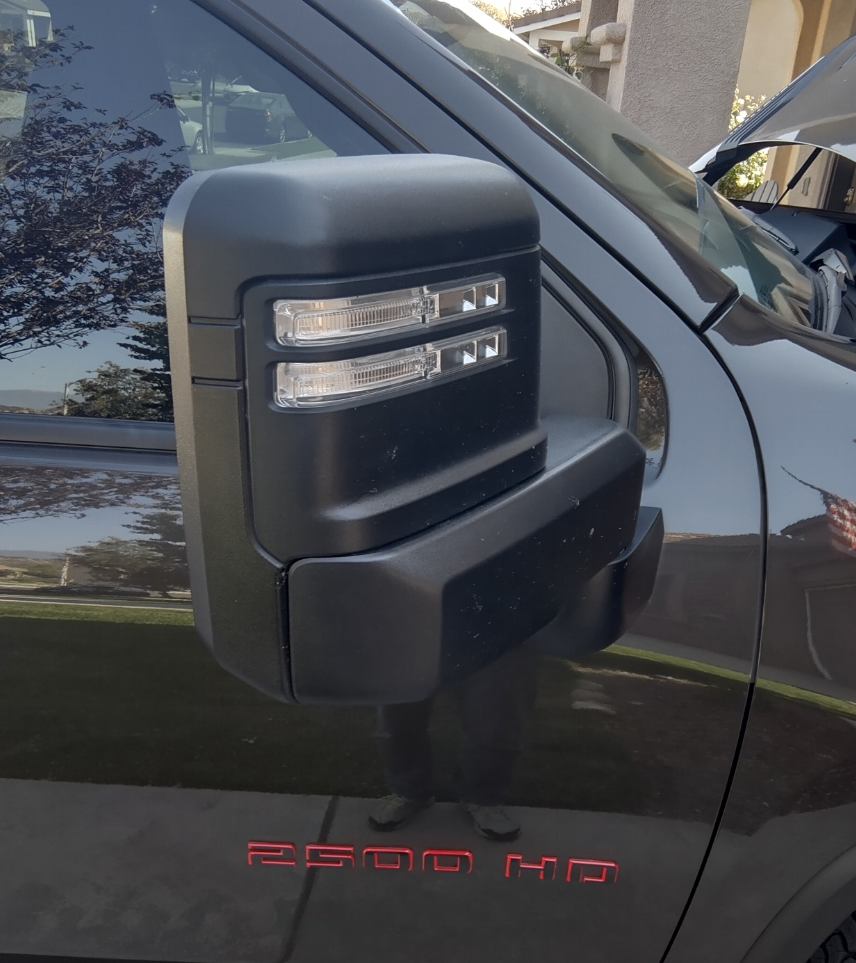
Silverado 2500 HD LT Emblems in Black Installation Has any purchase these and installed them your self, looking ease of install information, since they are single letter, I am worried about alignment issue etc. Silverado 2500 HD LT Emblems in Black | Chevrolet Accessories thank you in advance.










-
Forum Statistics
250.5k
Total Topics2.7m
Total Posts -
Member Statistics
342,971
Total Members8,960
Most Online
-
Who's Online 9 Members, 0 Anonymous, 1,221 Guests (See full list)