


TXguy
-
Posts
87 -
Joined
-
Last visited
Content Type
Profiles
Forums
Gallery
Events
Articles
RPO
Store
Blogs
Everything posted by TXguy
-
I’m interested in purchasing
-
What Have You Done With Your T1 Today ?????
TXguy replied to Sierra Dan's topic in Modifications, Wheels & Tires
I used Plasi dip to coat them. It’s a very easy process. I painted them on the truck by masking off everything around them. Some others that have done the same thing have reported theirs have bubbled after driving them for a bit. I have had zero issues with mine. Since painting them I have been on a couple of long trips where I was driving for several hours and have several thousand miles on the truck since painting them. I did clean mine well with alcohol really well before painting them. The Plasi dip is cheap and can be peeled off if there is an issue. It’s worked really well for me. -
What Have You Done With Your T1 Today ?????
TXguy replied to Sierra Dan's topic in Modifications, Wheels & Tires
Thanks. I’m happy with the fit and look. -
What Have You Done With Your T1 Today ?????
TXguy replied to Sierra Dan's topic in Modifications, Wheels & Tires
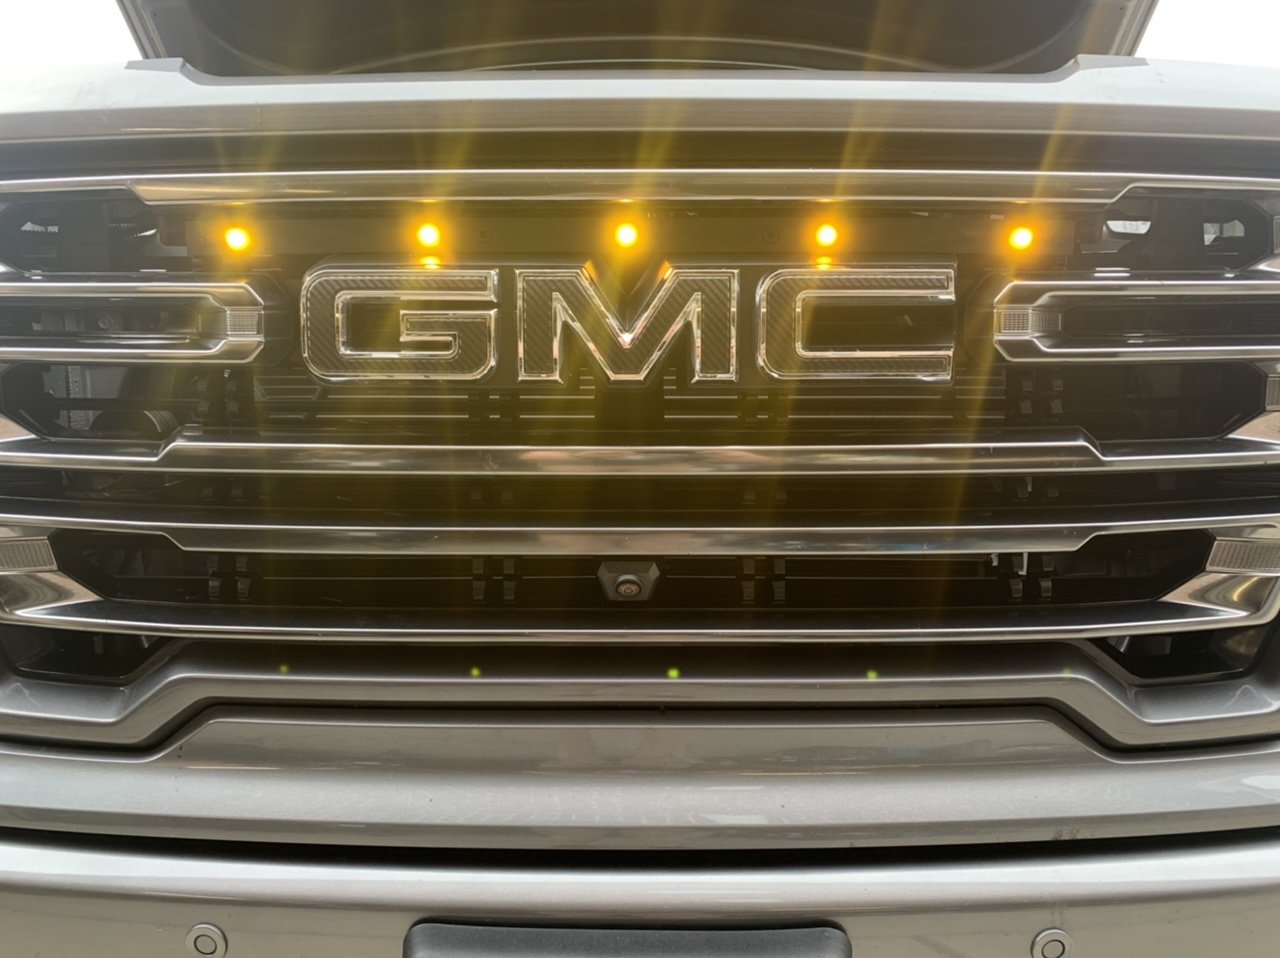
They are individual LEDs. Here is the post on this forum I started about the installation. -
What Have You Done With Your T1 Today ?????
TXguy replied to Sierra Dan's topic in Modifications, Wheels & Tires
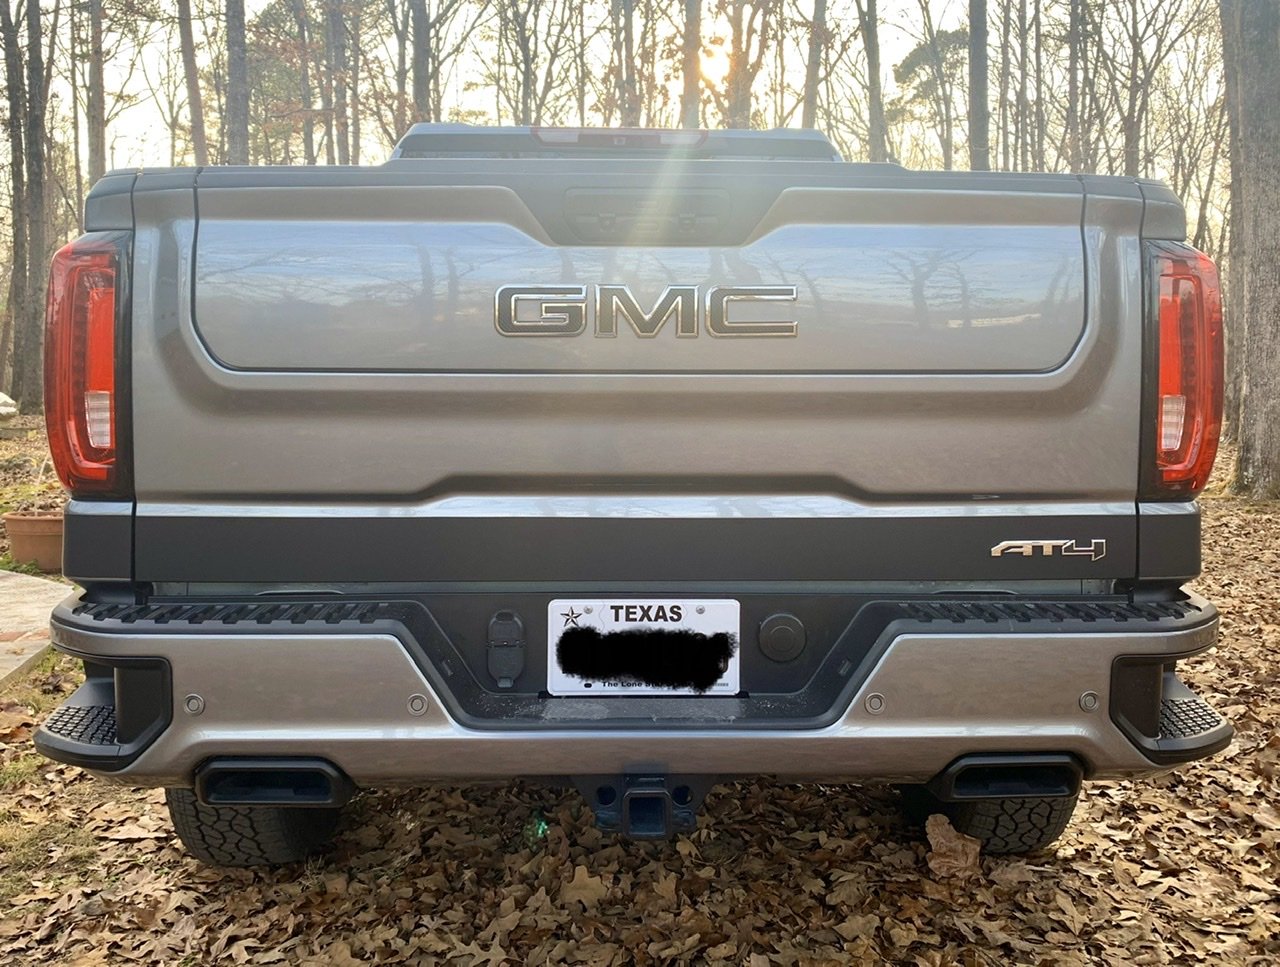
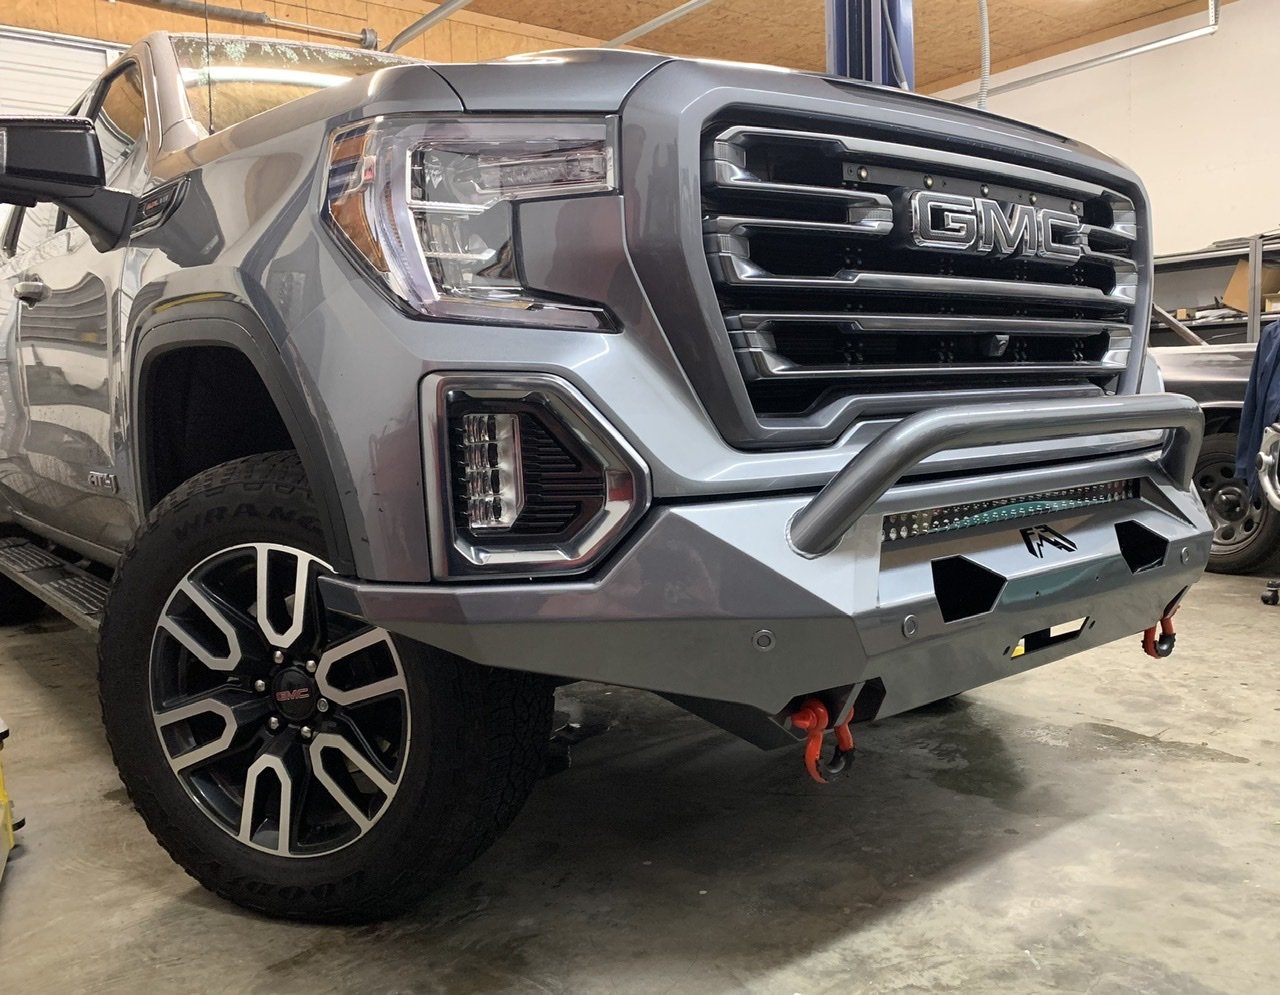
Definitely a work in progress. So far: 2” Readylift level Flowmaster FX exhaust Blacked out the logos Fabfour front bumper Graphics Rough Country light bar Front marker lights Blacked out exhaust tips
-
Satin Steel Metallic Silverados. Let’s see em ;)
TXguy replied to maka1500's topic in Modifications, Wheels & Tires
Still a work in progress. So far: 2” Readylift level (4” total) Black out logos Graphs Fiowmaster FX exhaust Rough Country Light bar Fabfour front bumper next New tires and wheels
-
I have an AT4 and put on a Readylift 2” leveling kit which included a 3” rear block to replace the 2” AT4 block. Interesting with the 2” AT4 block my truck did not have any shims. The RL 3” block does have a taper to it. I have not had any issues with with noise or vibration.
-
I put a Readylift 2” level and swapped out the 2” rear block for a 3” block on my AT4. So I have a total of 4” in the front and 3” in the rear. I have not had any issues with noise or vibrations. Very pleased with it so far.
-
Owners Pictures of 35" Tires on Stock AT4 or Trail Boss
TXguy replied to rikhek's topic in Modifications, Wheels & Tires
Anyone running 35 x12.5 on 20x10 rims with a -18 offset? Any rubbing with these? -
Any time. Glad I could help
-
QUESTION: AT4 with Readylift and bigger tires
TXguy replied to mattsvtcobra's topic in Modifications, Wheels & Tires
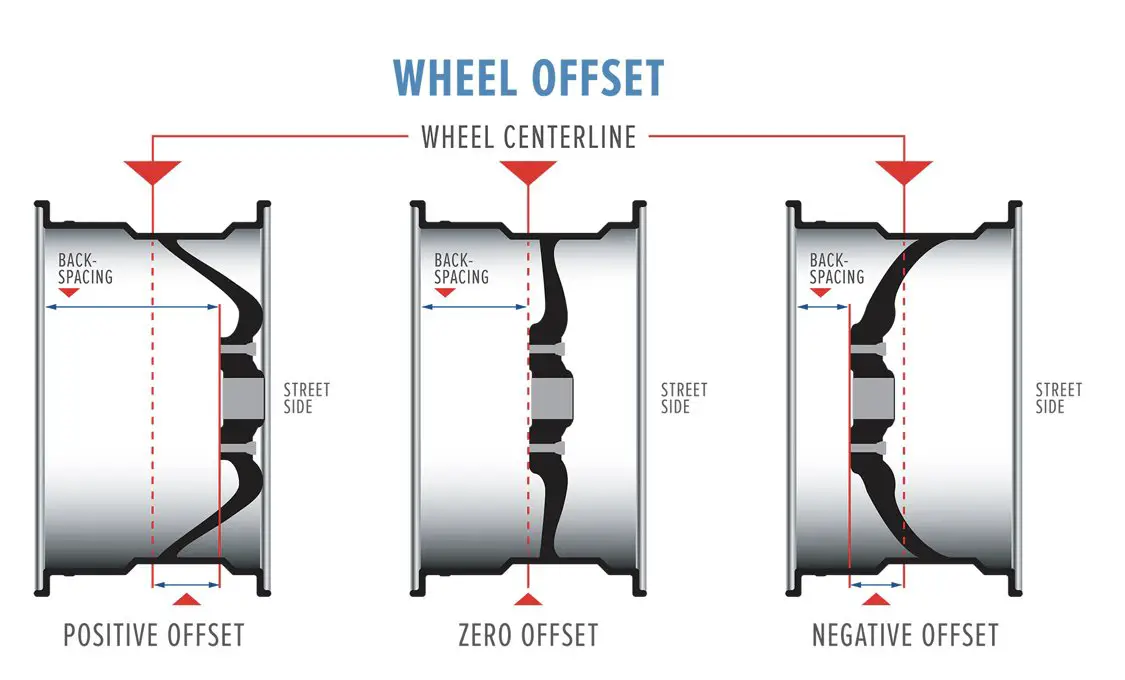
So that you are aware a positive offset will move the tire closer to the control arm. See the attached diagram. With a +1 offset the tire will be 1mm closer to the control arm.
-
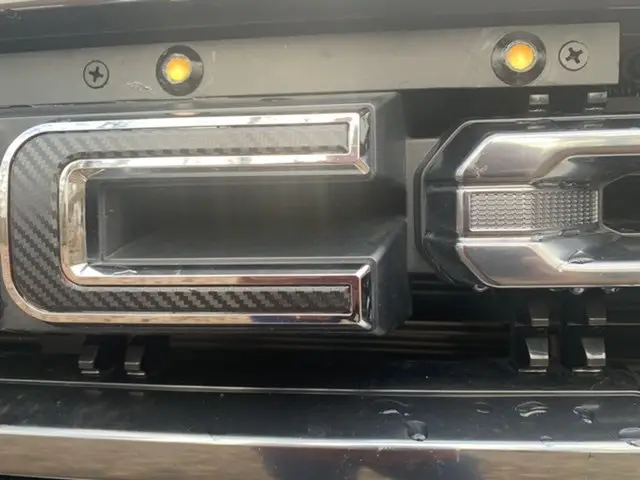
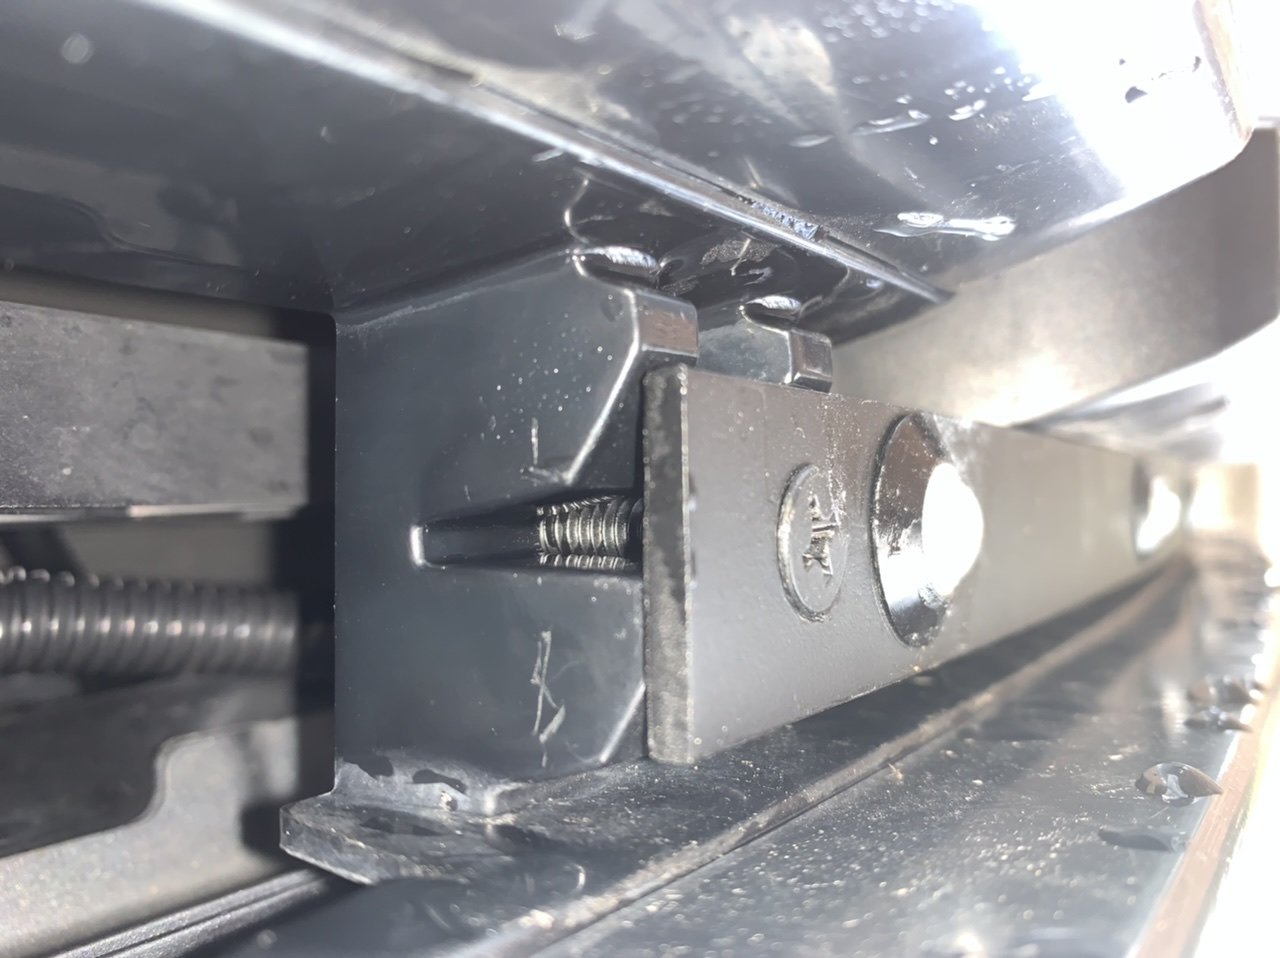
Here is a couple of photos. I bolted between the horizontal supports in the grill. The 1/4” bolts fit perfect with fender washers.
- 82 replies
-
- 4
-

-
- Gill lights
- AT4
- (and 1 more)
-
I used a 1” aluminum bar from Homedepot drilled it to fit the lights. To mount I used some 1/4” x 1 3/4” flat head screws and some fender washers, they fit perfect in the plastic grill pieces.
- 82 replies
-
- 1
-
-
- Gill lights
- AT4
- (and 1 more)
-
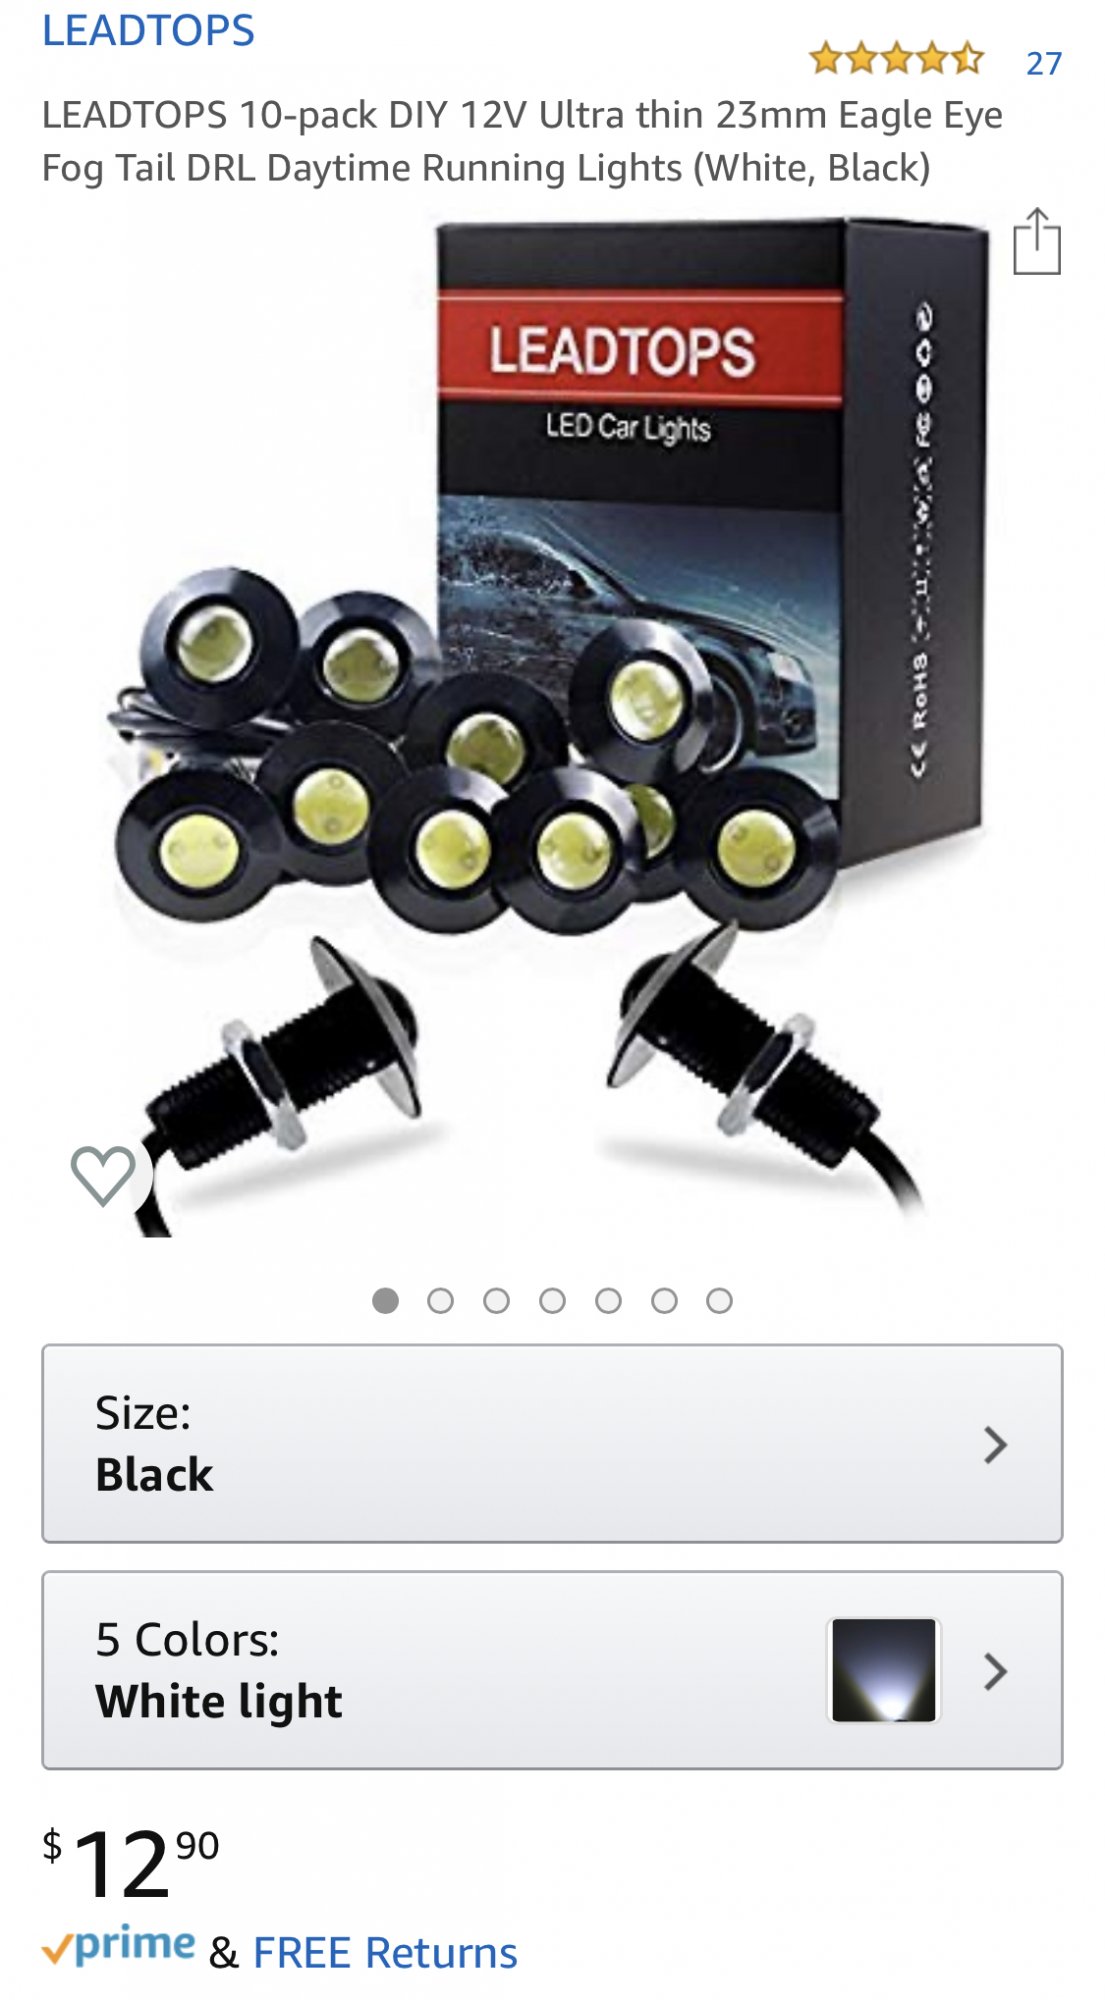
I ended up using fuse 42 to tap off of, right parking lights vs left, because the fuse tap I used had clearance there. I included a pic of the fuse tap I used and the lights I installed.
- 82 replies
-
- 1
-
-
- Gill lights
- AT4
- (and 1 more)
-
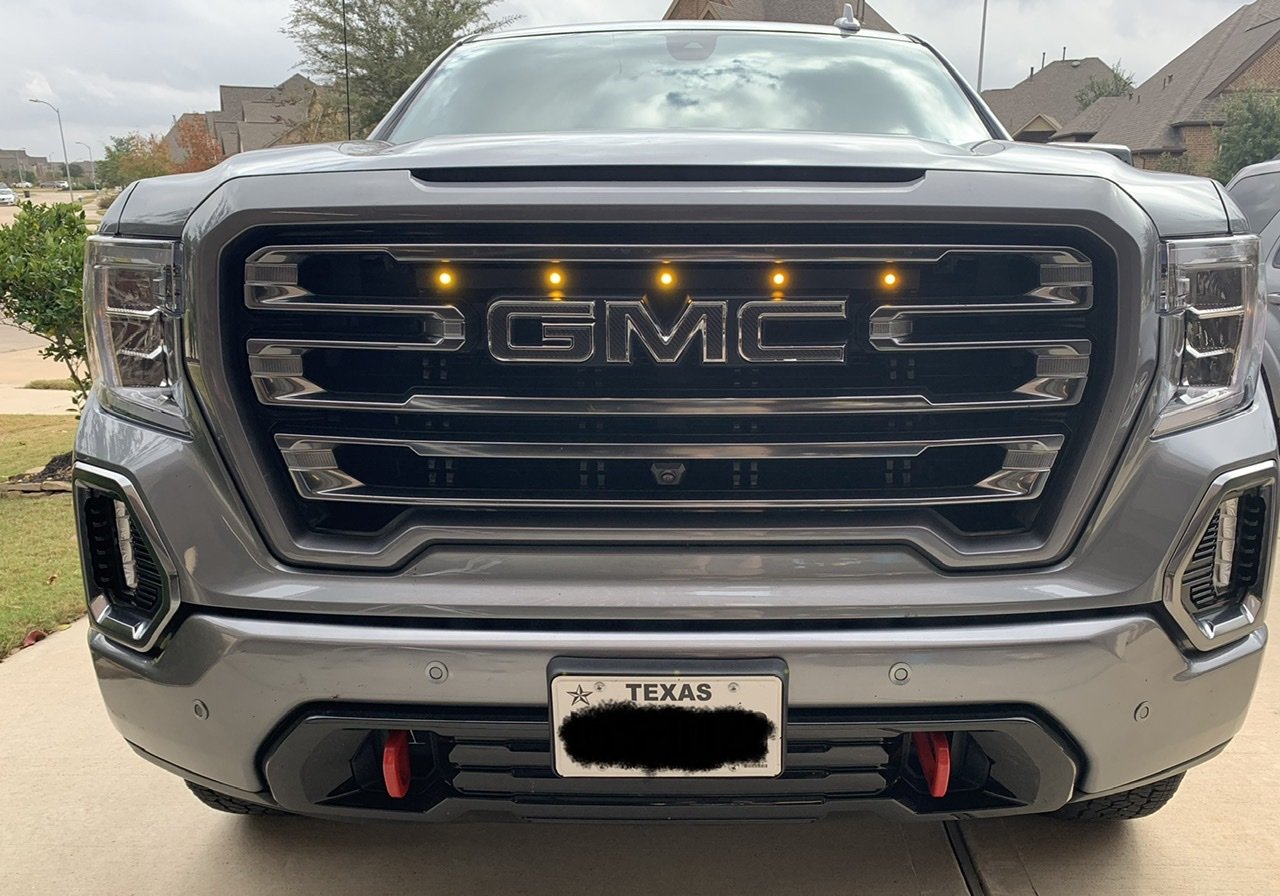
Completed installation.
- 82 replies
-
- 5
-
-
- Gill lights
- AT4
- (and 1 more)
-
I’m installing some lights in the grill of my AT4 and would like them to come on with the parking lights. I do not want to cut into the wiring. Does anyone know a good place to pick up a connection to not have to splice wires?
-
-
Will this switch fit a 2019 without modifications?










-
Forum Statistics
250.4k
Total Topics2.7m
Total Posts -
Member Statistics
342,810
Total Members8,960
Most Online
-
Who's Online 7 Members, 0 Anonymous, 556 Guests (See full list)