
Ravenkeeper
-
Posts
1,792 -
Joined
-
Last visited
-
Days Won
1
3 Followers

Recent Profile Visitors
69,296 profile views


Ravenkeeper's Achievements
")
Senior Enthusiast (9/11)
542
Reputation
-
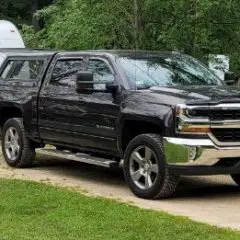
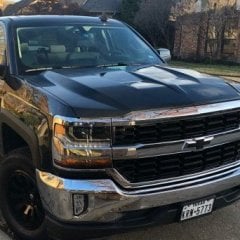
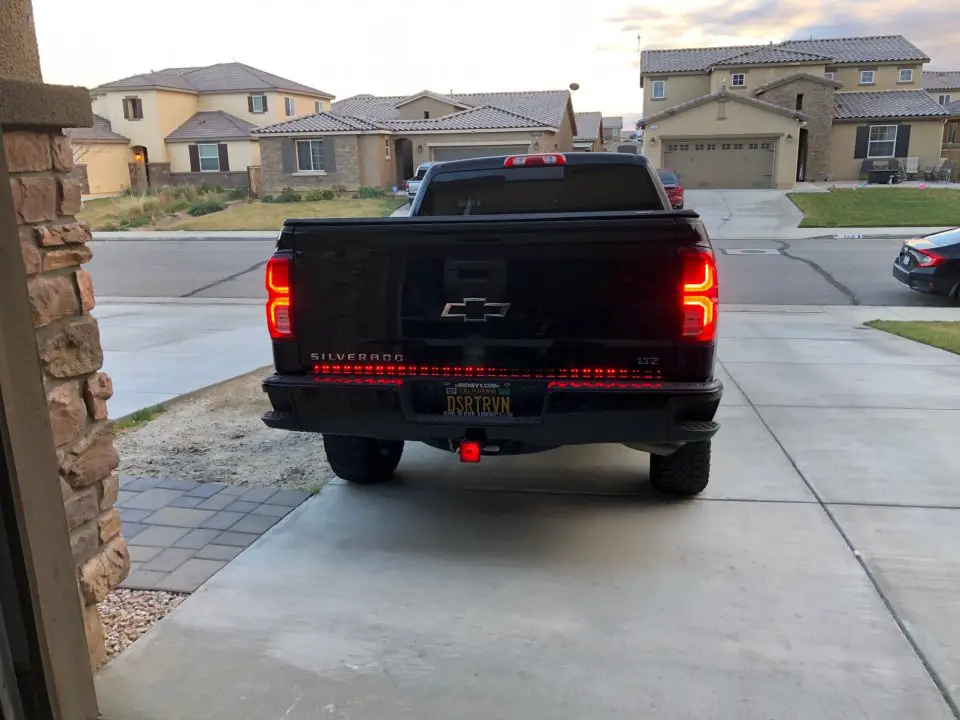
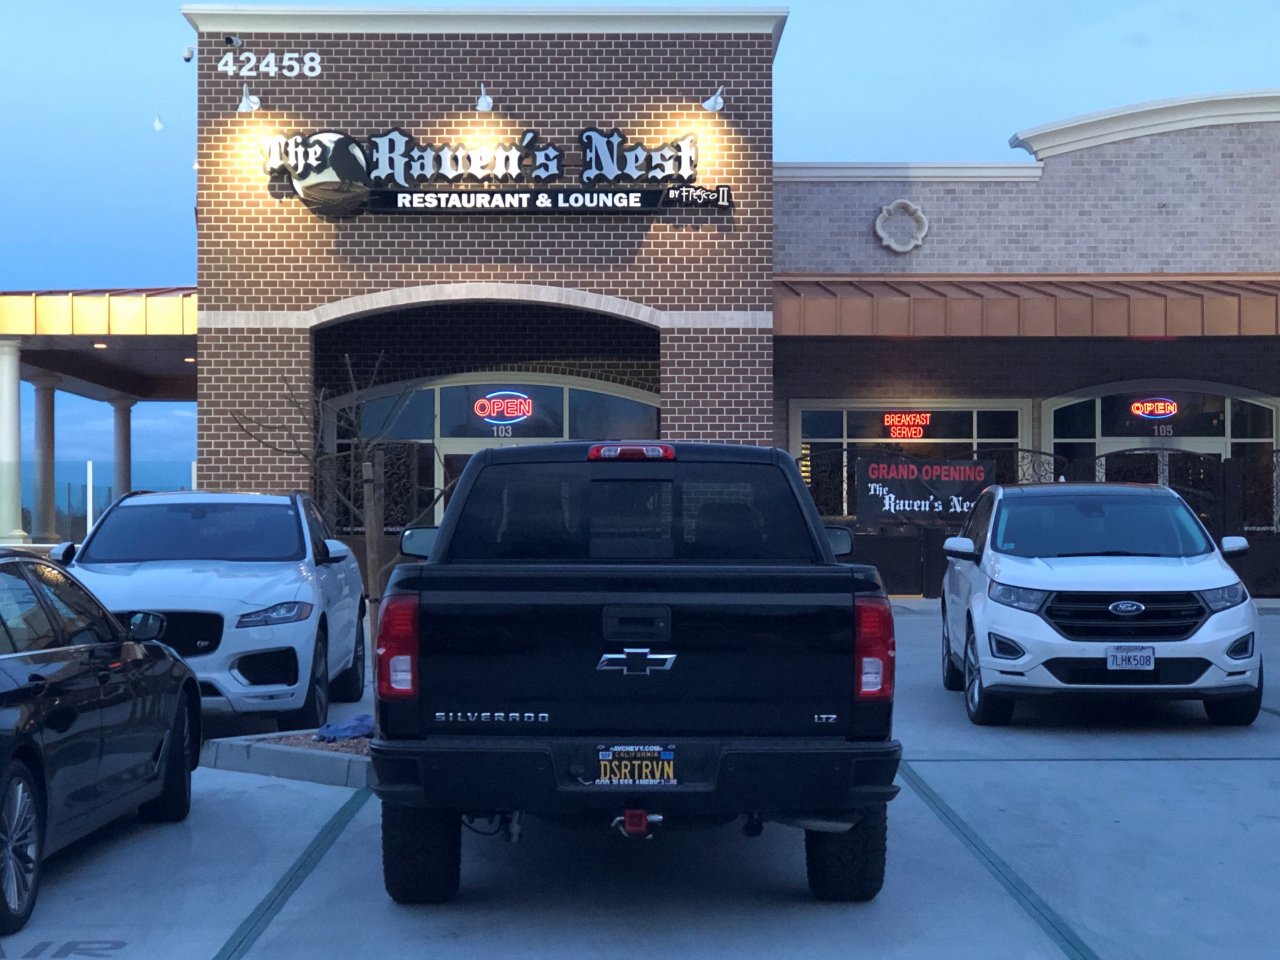
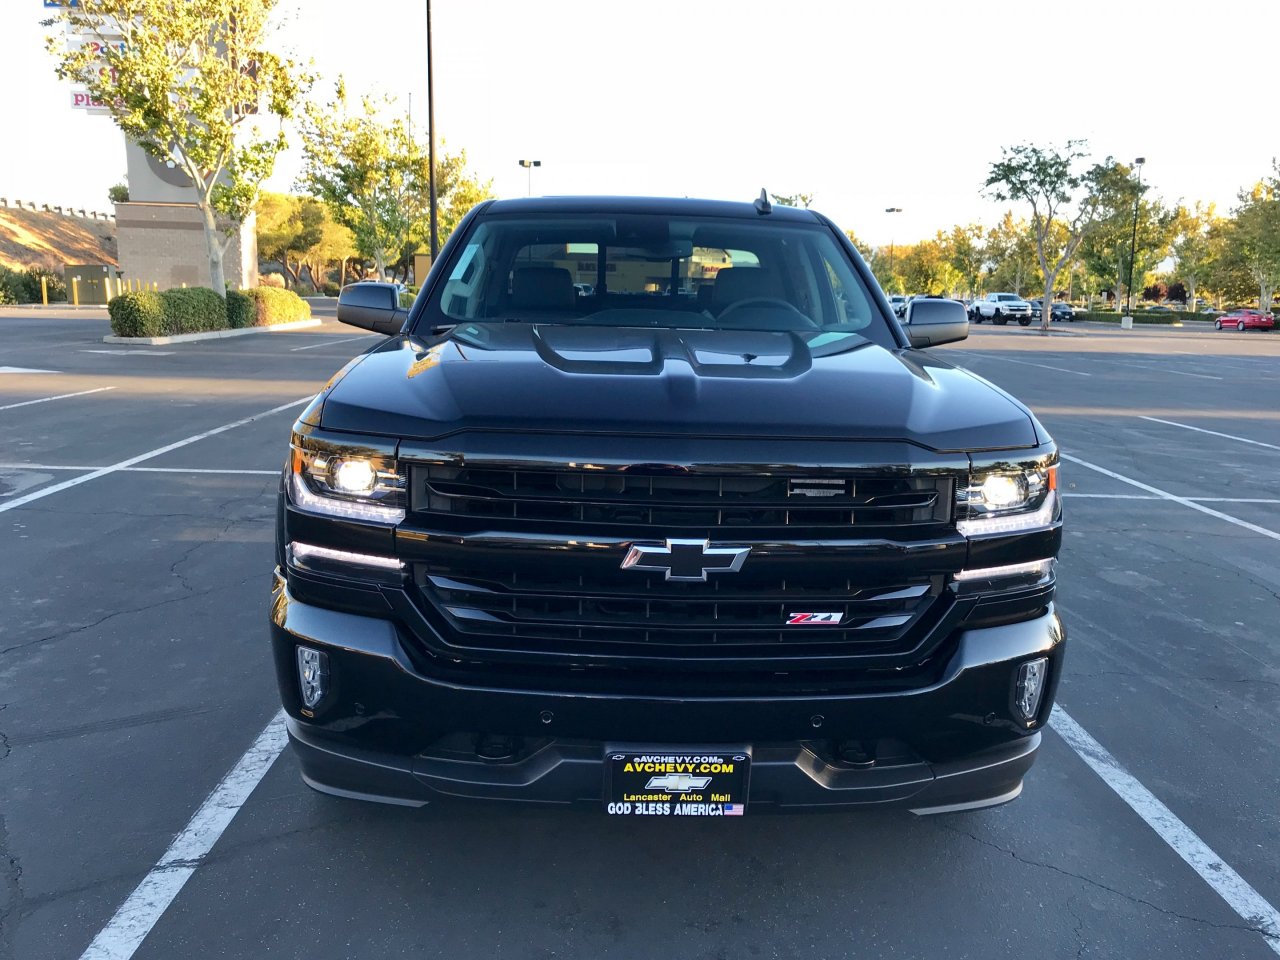
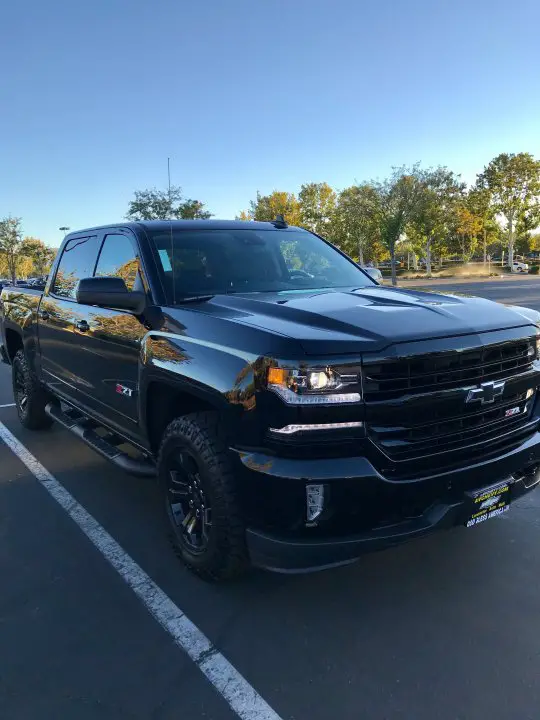
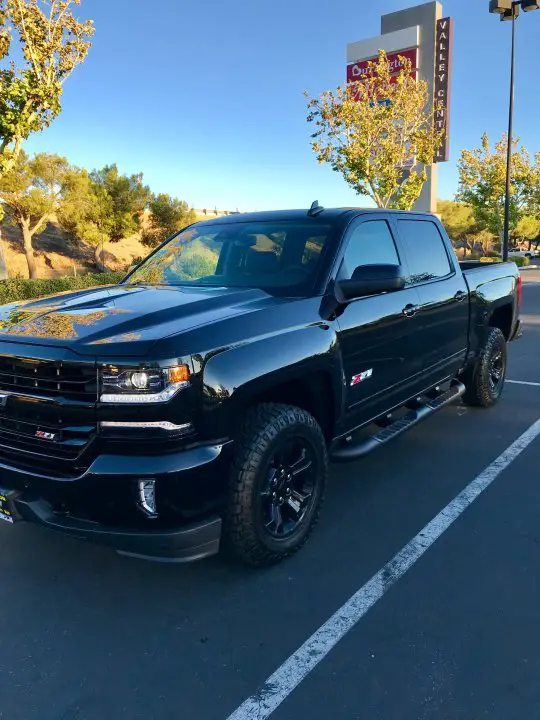
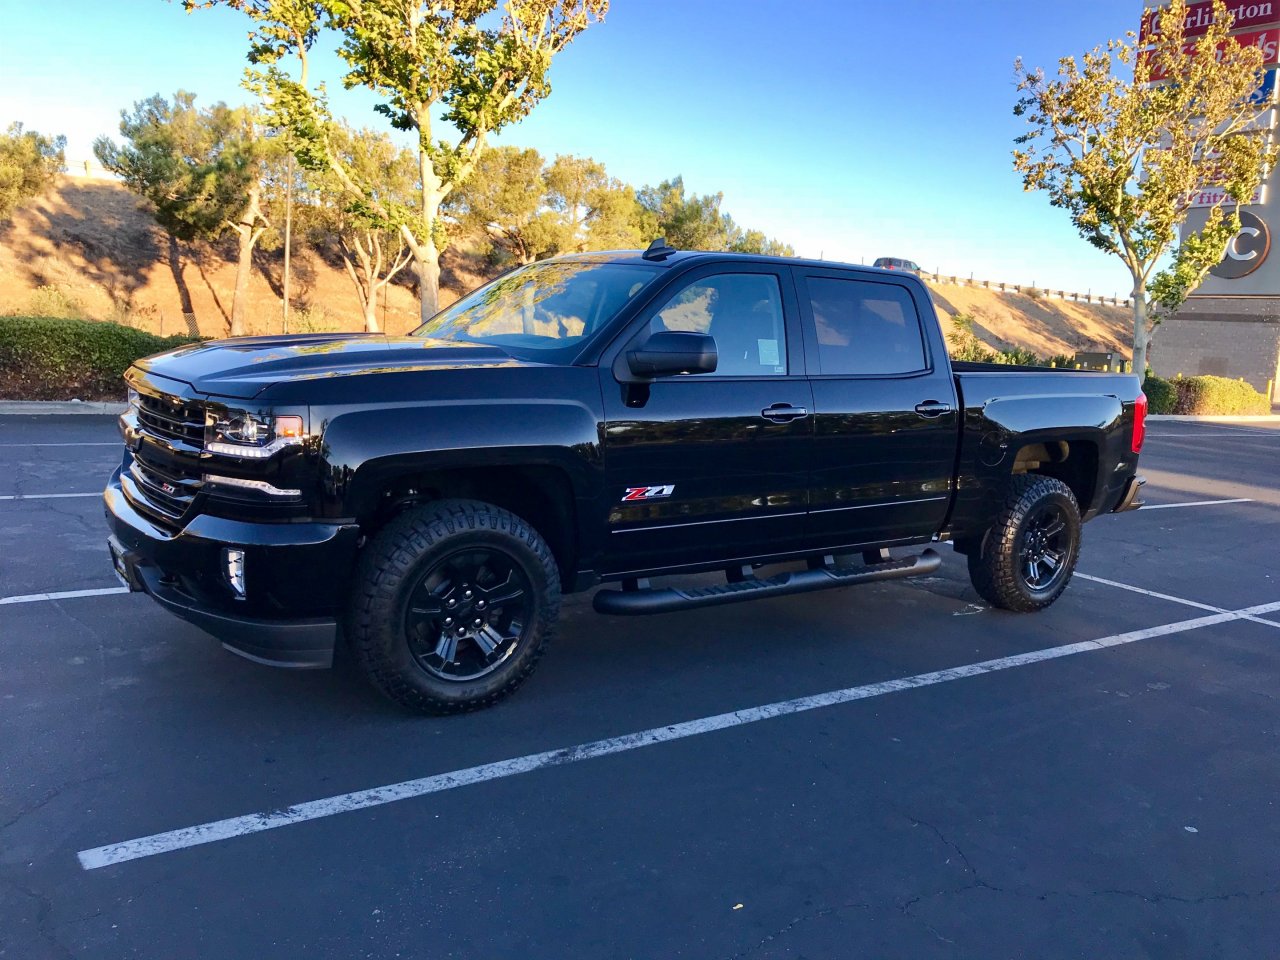
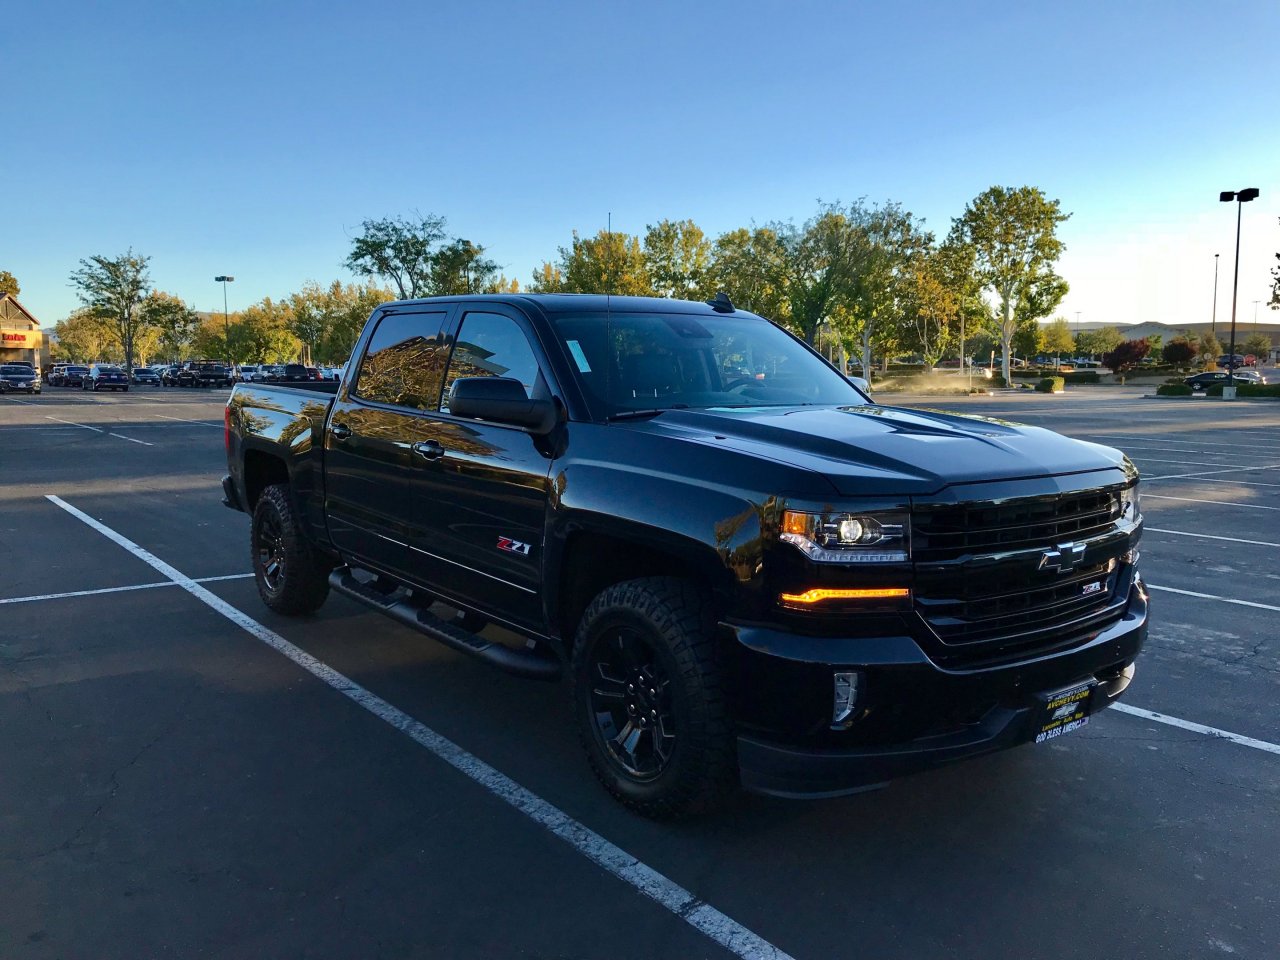
Ravenkeeper's 2018 Chevy Silverado LTZ Z71 (4WD) Midnight Edition
On 15 September 2018, we finally replaced my TOTALED 2015 Silverado LTZ Z71, RIP: 01July2018. This album will be to show its original state, and any changes or mods that I have done and plan on doing to it over the course of its “lifetime.”
Planned changes/mods ( COMPLETED ITEMS / ”On-Hand Items” to be Installed) :
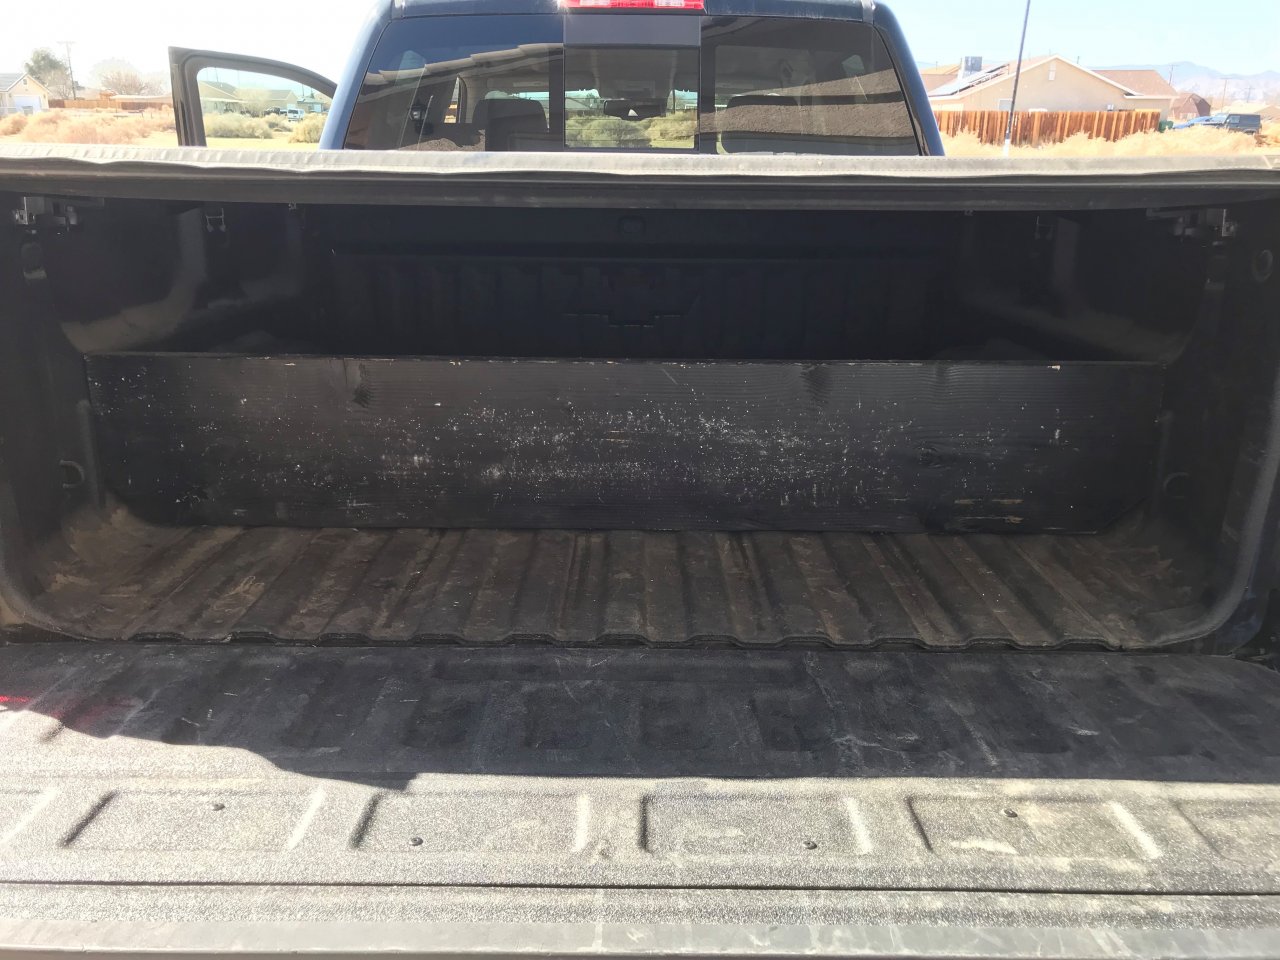
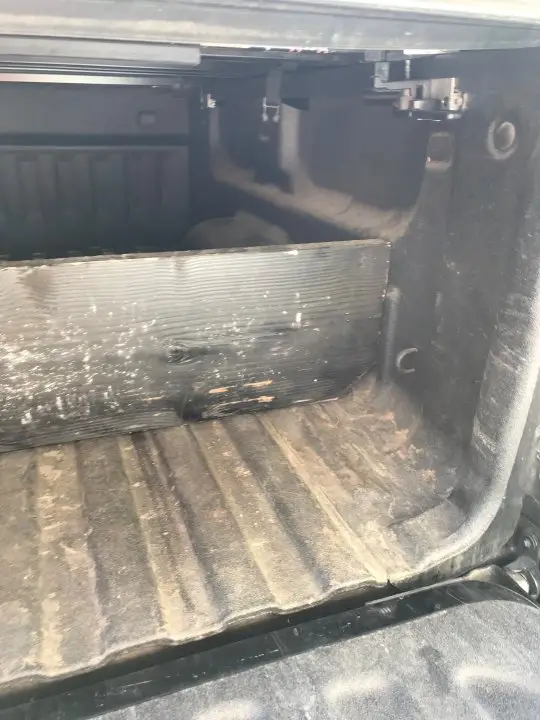
1. 2x12 BED CARGO DIVIDER (MAR17, from previous truck)
2. PUDDLE LIGHTS ON with DOORS OPEN (GRY1-GRY8 – truck does this already) (SEP18)
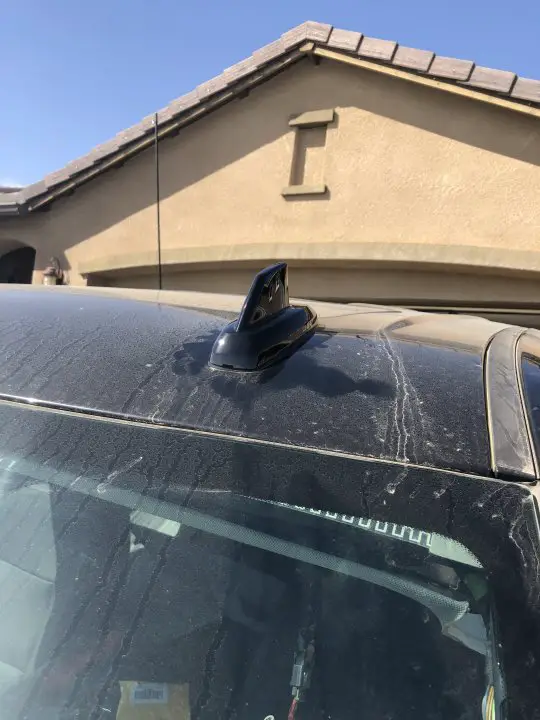
3. AM/FM ANTENNA DELETE (SEP18 )
4. TOW HITCH BRAKE LIGHT (Bully CR-007A, Tail Light feature REMOVED) (OCT18)
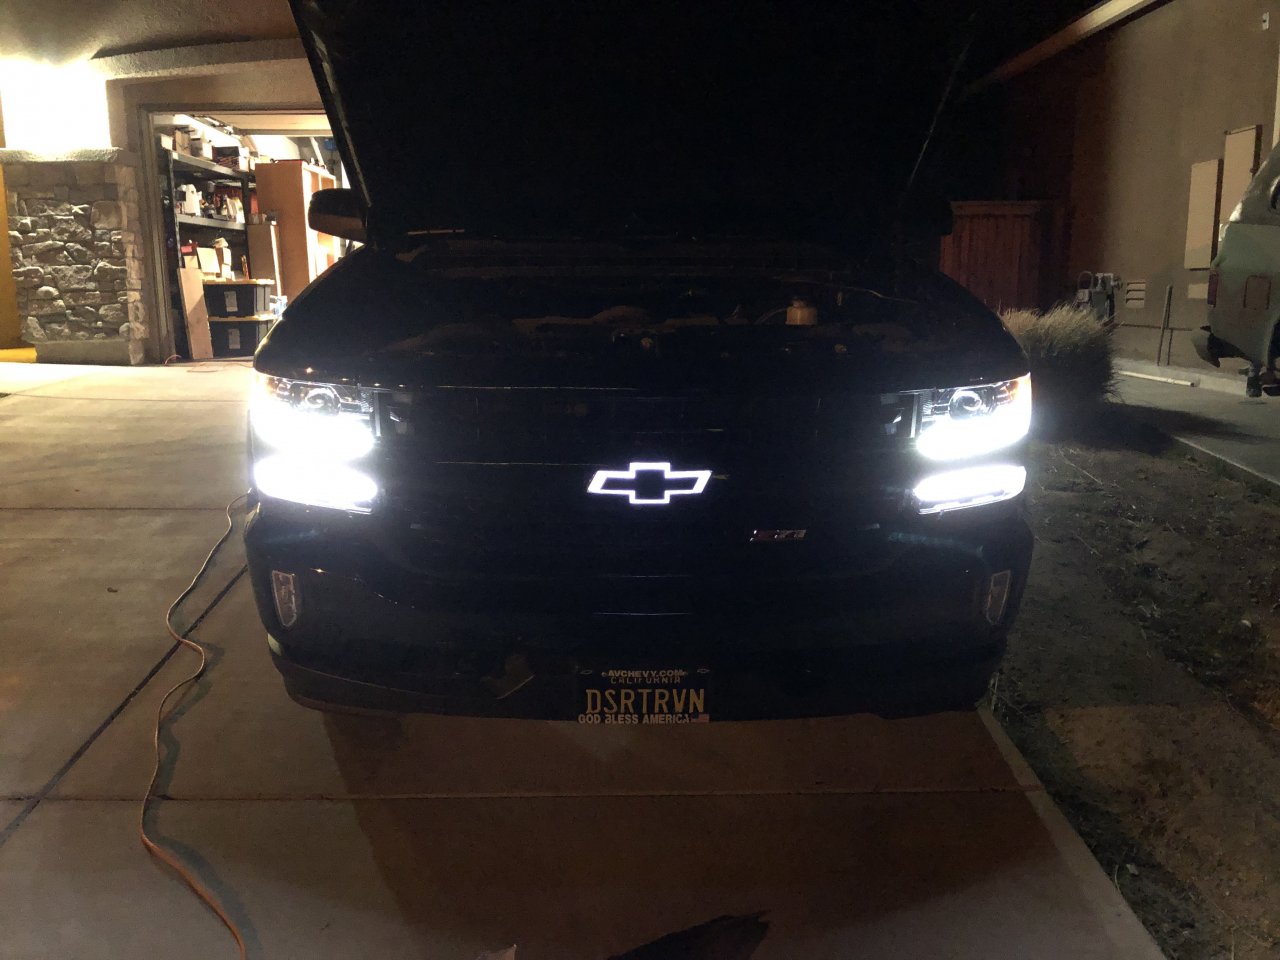
5. FOG LIGHTS ON with HIGH BEAMS (BRN18-BRN10) (NOV18)
6. CARGO LIGHTS ON with REVERSE (PNK26-BRN26) (NOV18)
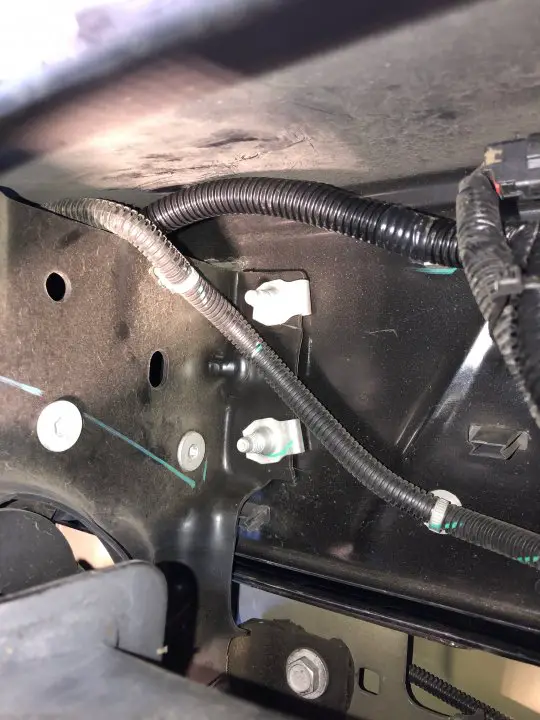
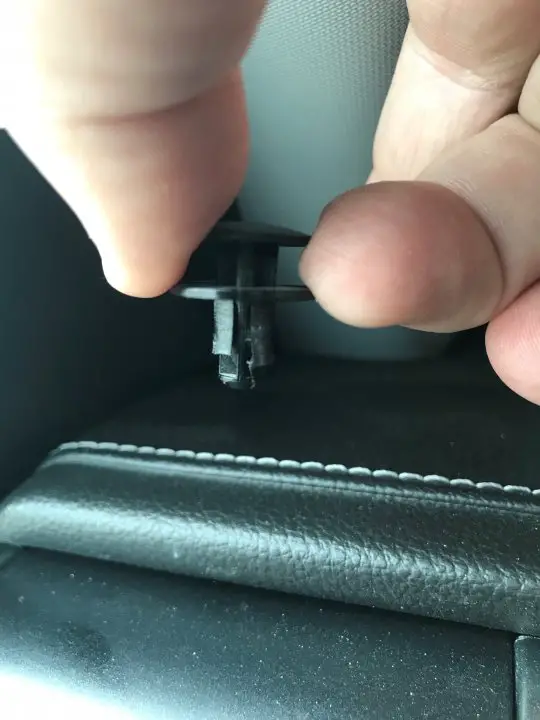
7. FRAME PLUGS (NOV18)
8. DRIVER’S ASSIST HANDLE (JAN19)
9. CLASSIC BLACK CA LICENSE PLATES ( DSRTRVN ) (JAN19)
10. BED RAIL CAP STAKE HOLE PLUGS (Hand Grabs) (APR19)
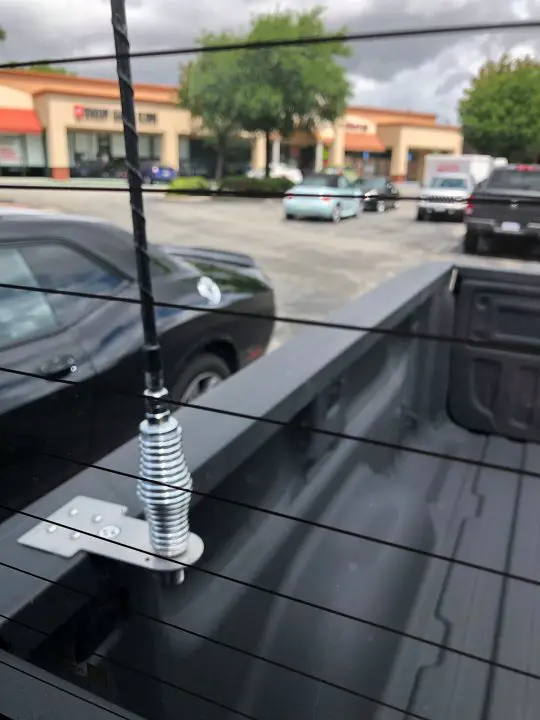
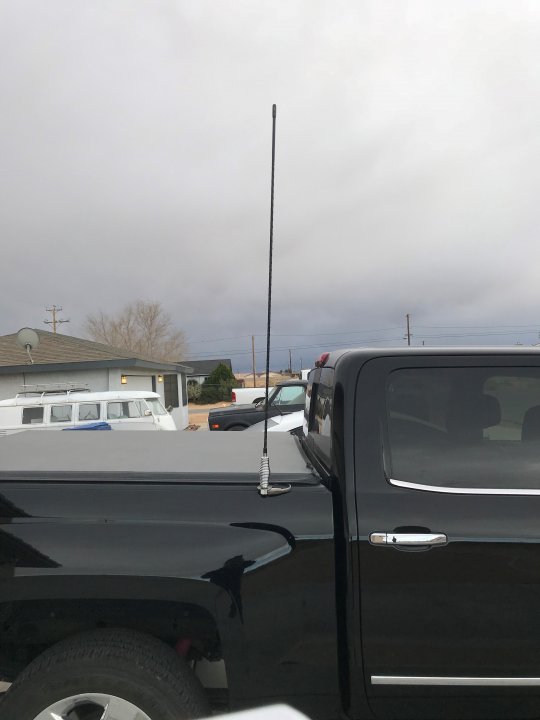
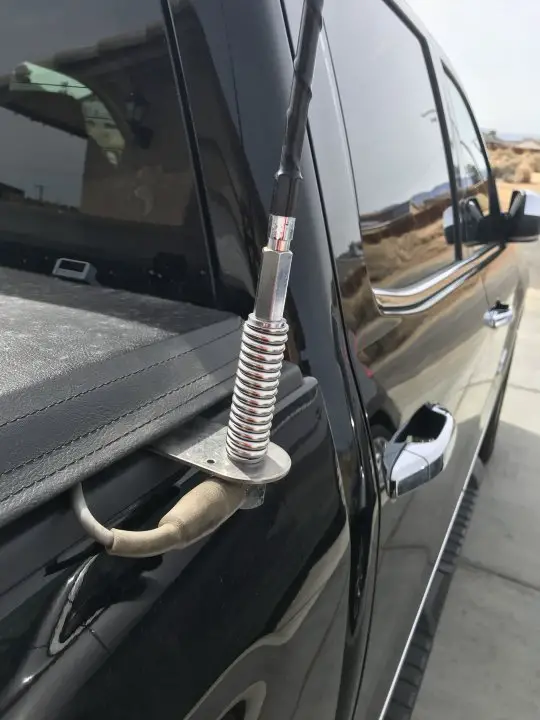
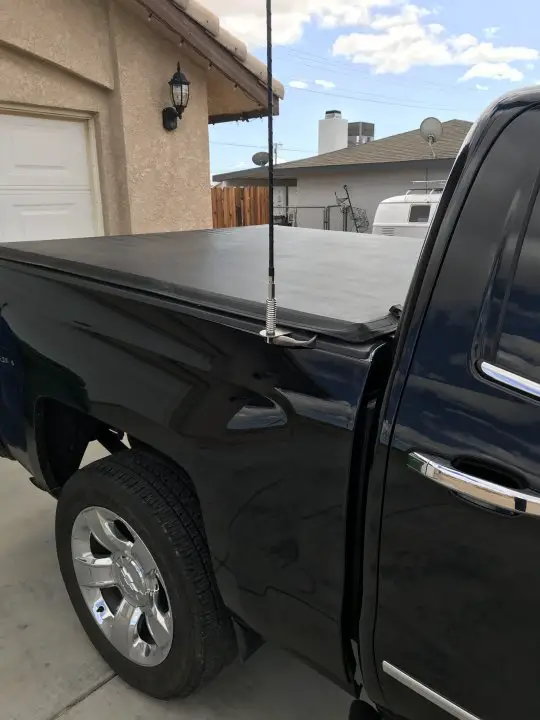
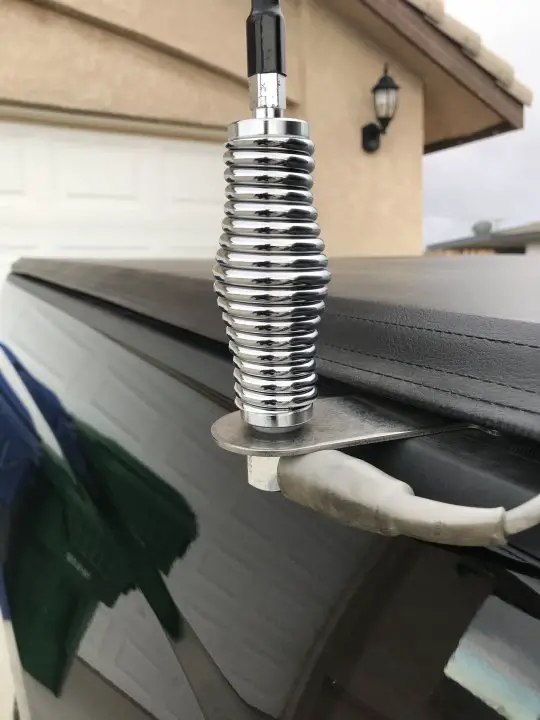
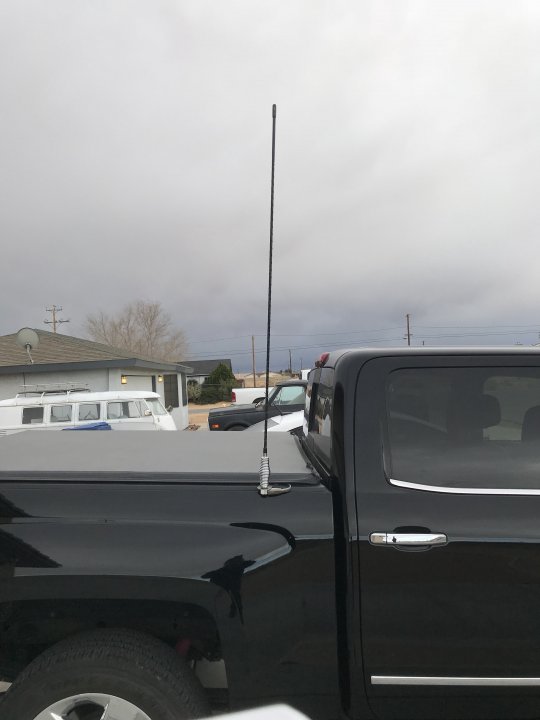
11. CB ANTENNA INSTALLED (APR19, reinstalled MAR22)
12. REPLACED CARGO/REVERSE LIGHTS WITH BRIGHT WHITE (JAN19)
13. REPLACED HIGH-MOUNT BRAKE LIGHT WITH BRIGHT RED LED (JAN19)
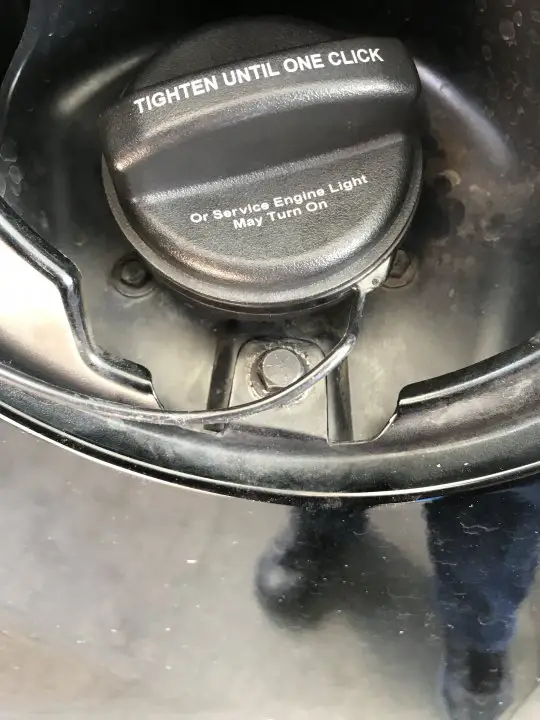
14. CAP FOR FUEL FILL PORT (OCT19)
15. ILLUMINATED BOW TIE (JAN20)
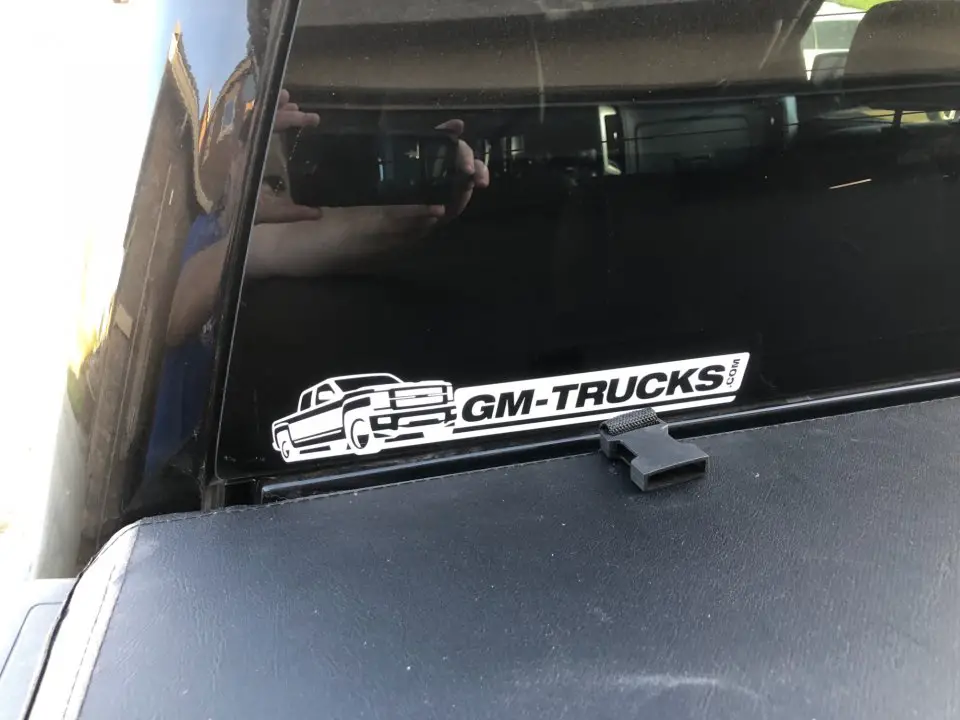
16. GM-TRUCKS FORUM STICKER (MAY21)
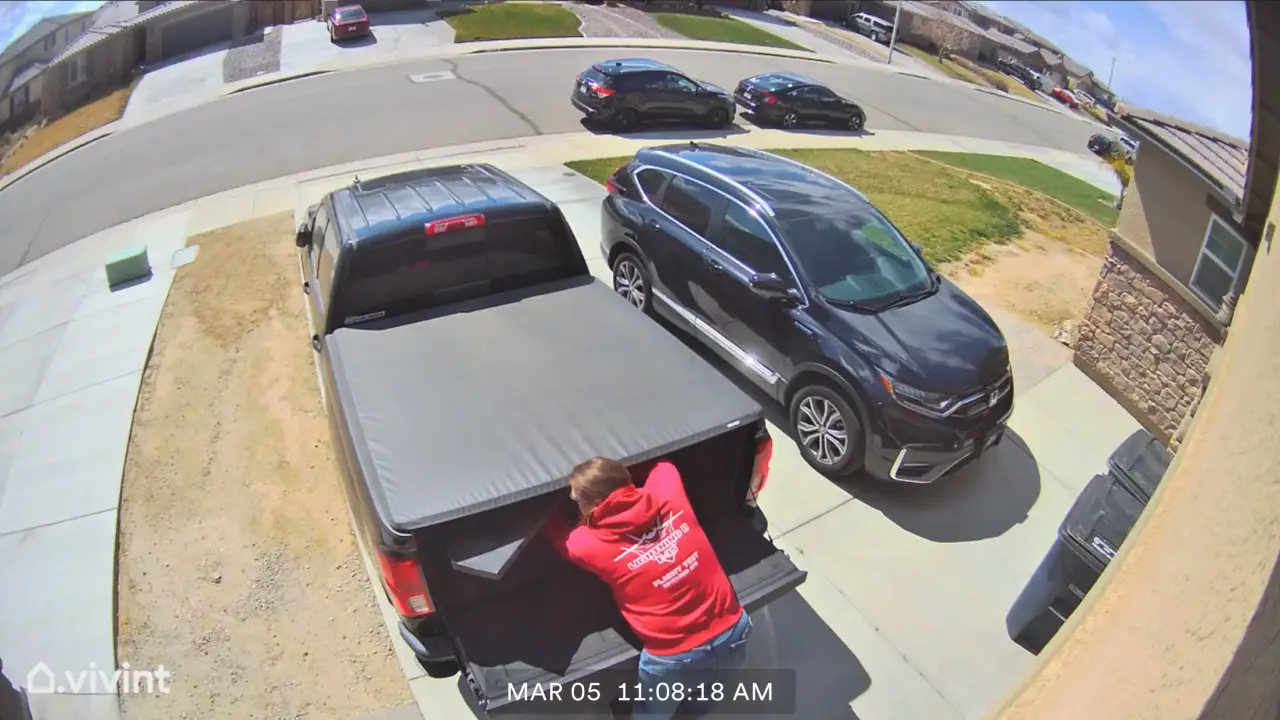
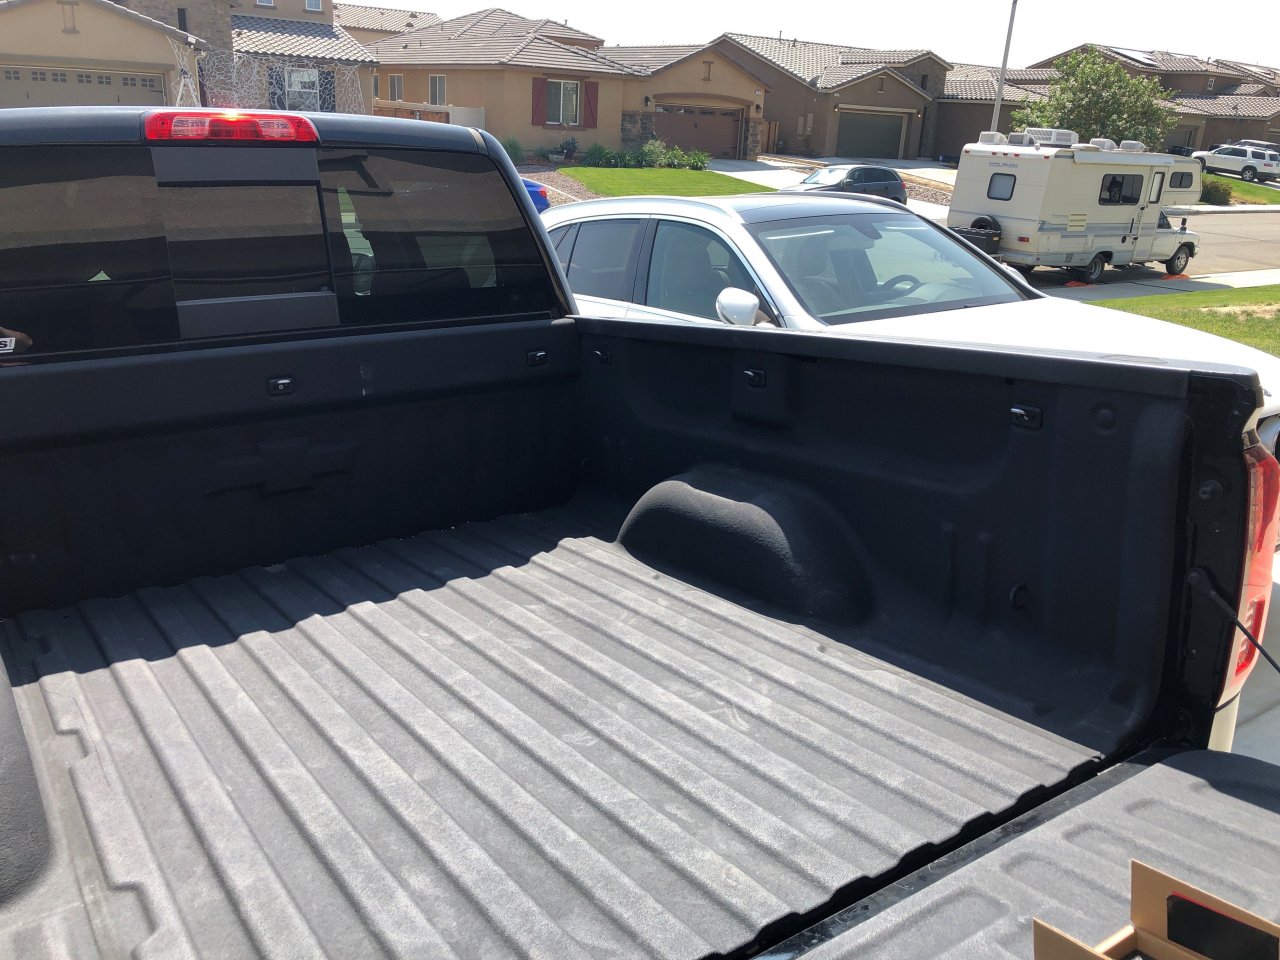
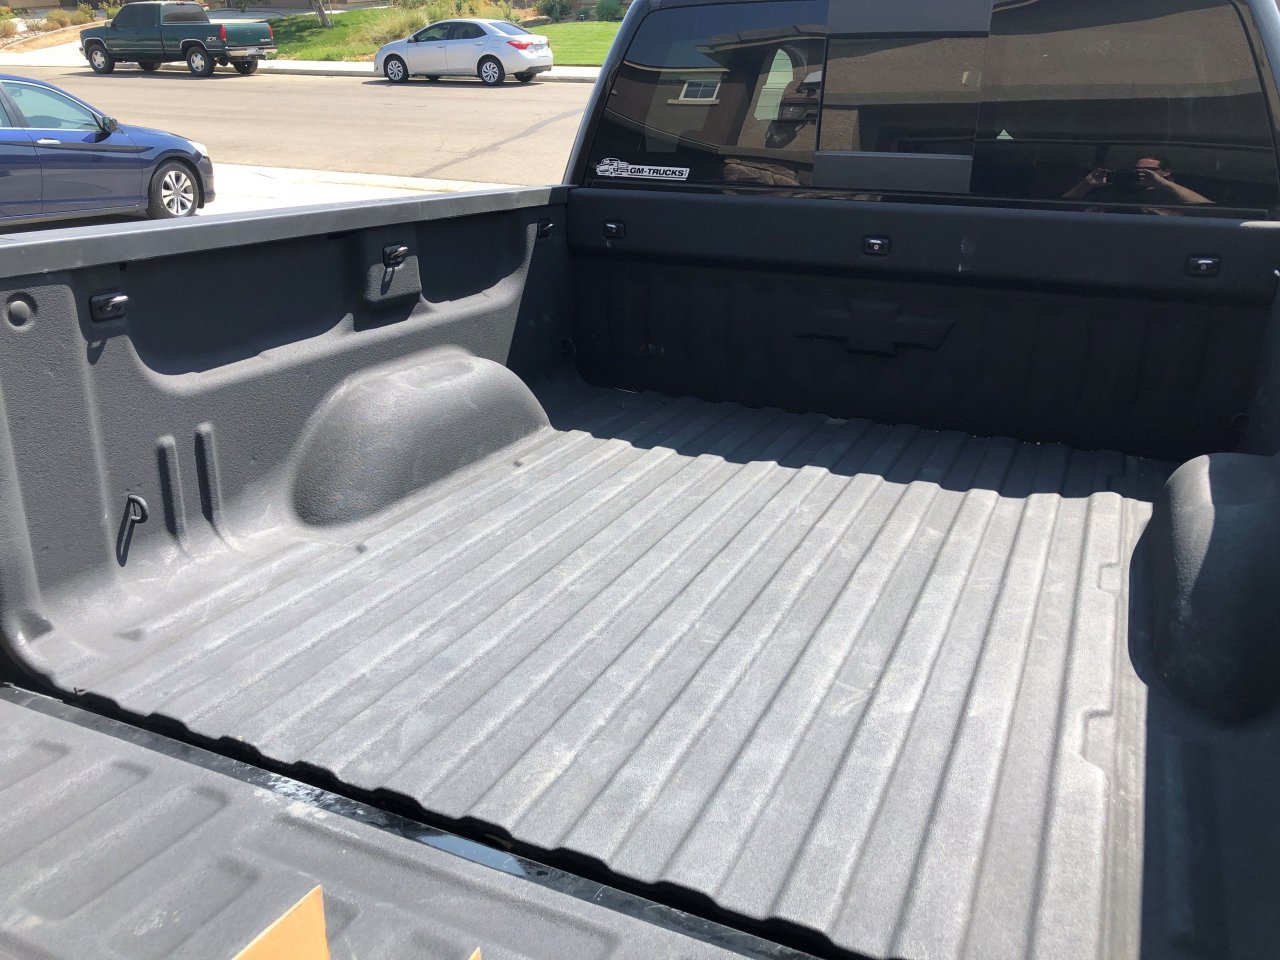
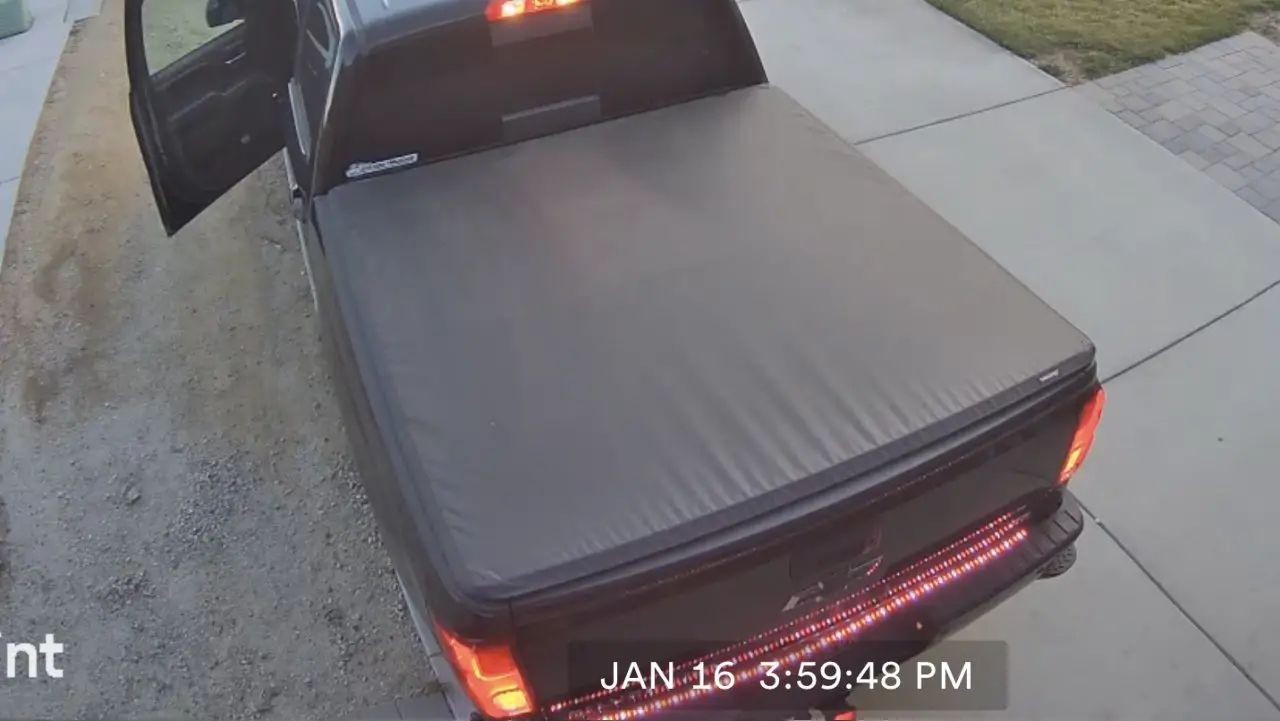
17. TONNEAU COVER (MAY21)
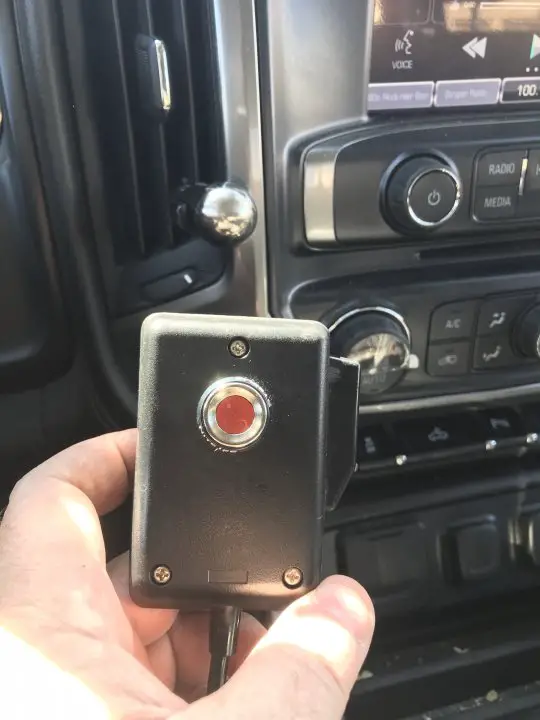
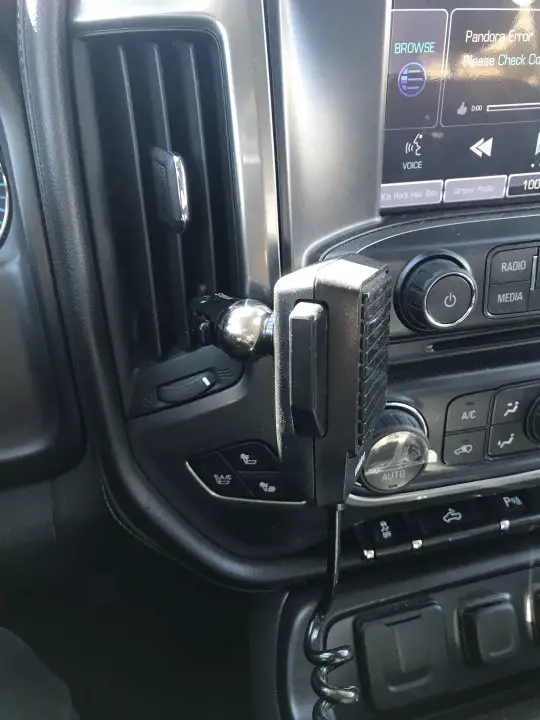
18. PHONE HOLDER (MAY21)
19. BULL RING TIE DOWNS (SEP21)
20. 7-PIN TO TAILGATE LIGHT BAR AND TOW HITCH BRAKE LIGHT ADAPTER (OCT21)
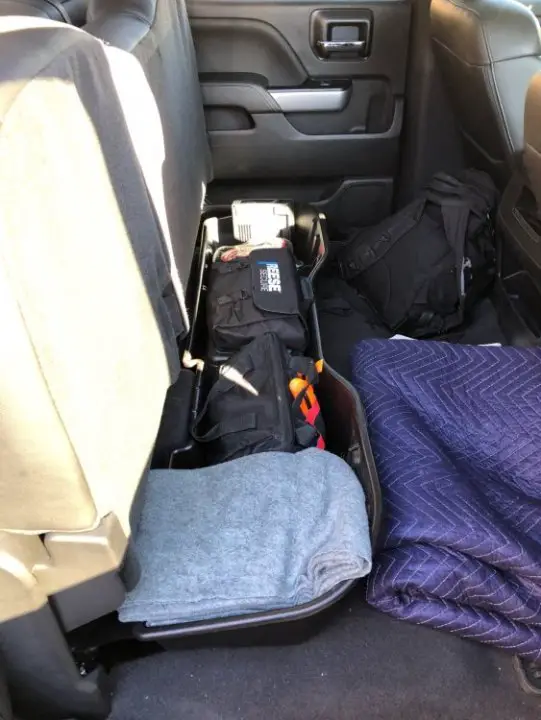
21. UNDER SEAT STORAGE (NOV21)
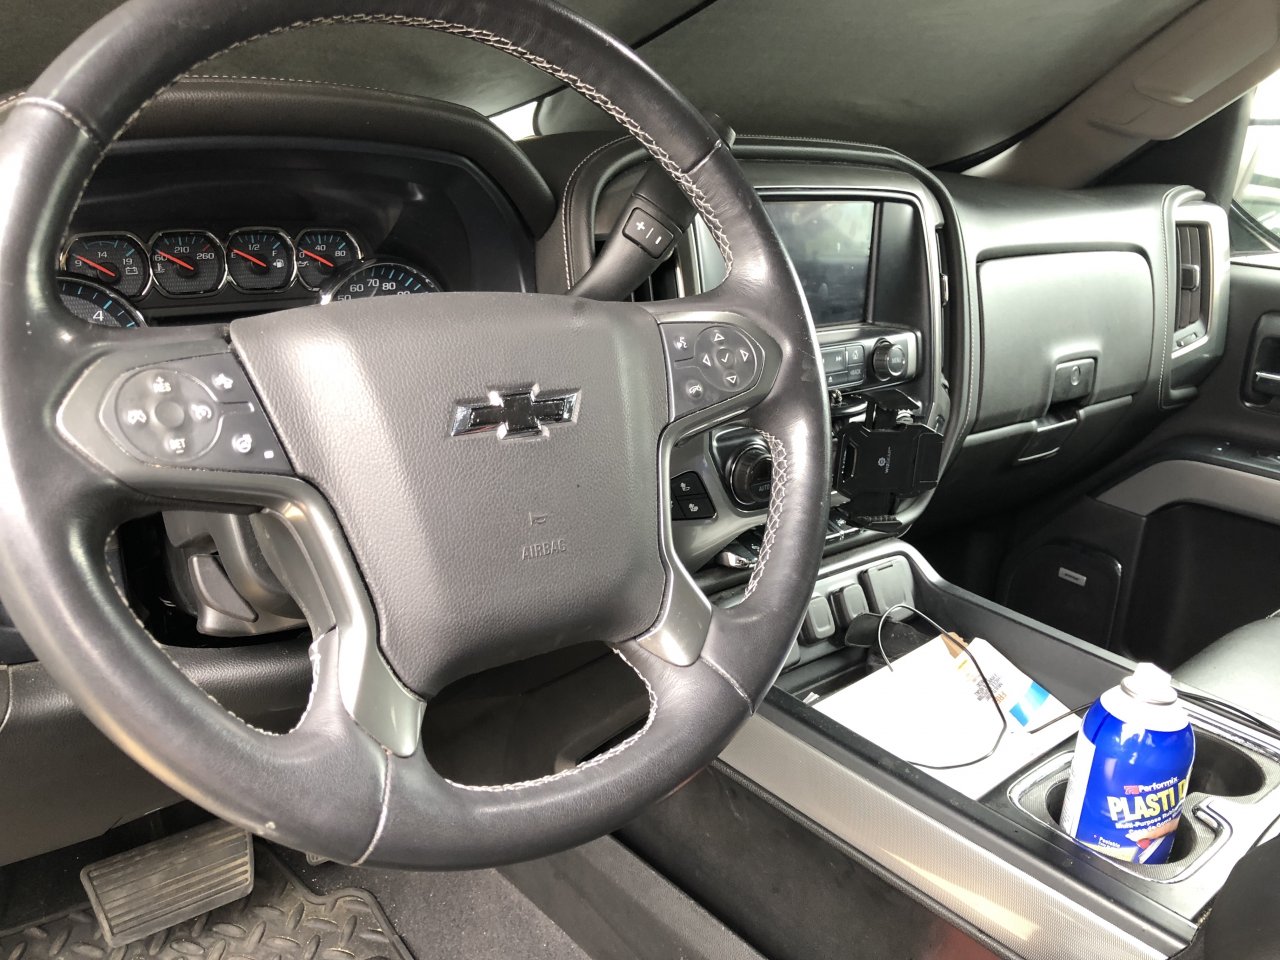
22. BLACKOUT STEERING WHEEL BOWTIE (JAN22)
23. TAILGATE LIGHT BAR (JAN22)
24. PAINTED XM ANTENNA (MAR22)
25. INSTALL HIDDEN AM/FM ANTENNA (APR22)
26. DASH CAMERA (FRONT/CABIN/BACK) (APR22)
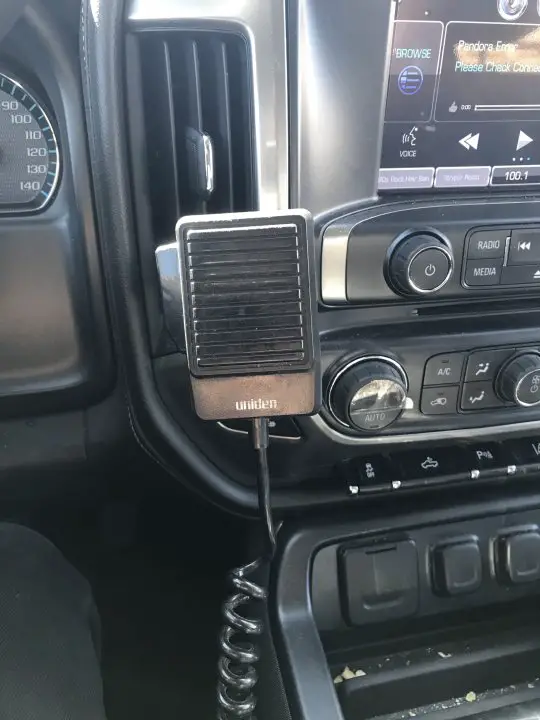
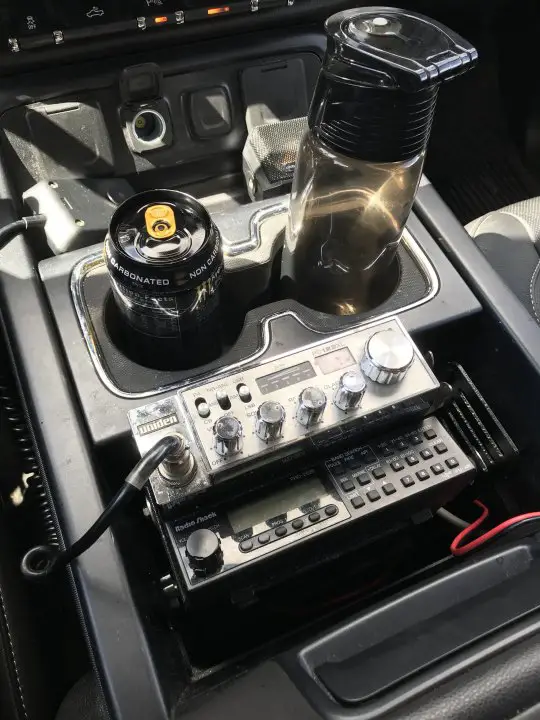
27. *Install CB & Scanner (APR22)
28. * 4 USB Ports on Back of Center Console (ARP22)
29. * Front Tow Hitch w/ License Plate Holder (DEC22)
30. Black USA Flags on both Rear Door Windows
31. Sport Bar Package
32. Replace Center Console with One That the Cup Holder Moves?
33. Black Lug/Lock Kit
34. Grayout Chrome On Back Bow Tie (Dark Gray Plasti-Dip)
35. Blackout Keyholes
36. Blackout Door Badges
1. Gray Trim
2. Black “71”
3. Red “Z”
37. Blackout Z71 Grill Badge
1. Gray Trim
2. Black “71”
3. Red “Z”
38. Momentary Switches
1. Brakes
2. Trailer Lights
39. Forward Facing Camera/Mirror System
40. Amber Strobes
41. Floor Liners
42. Swing Out Toolboxes?
43. Mud Flaps
©2022 Ravenkeeper
- Updated
- 29 images
- 29 images
-
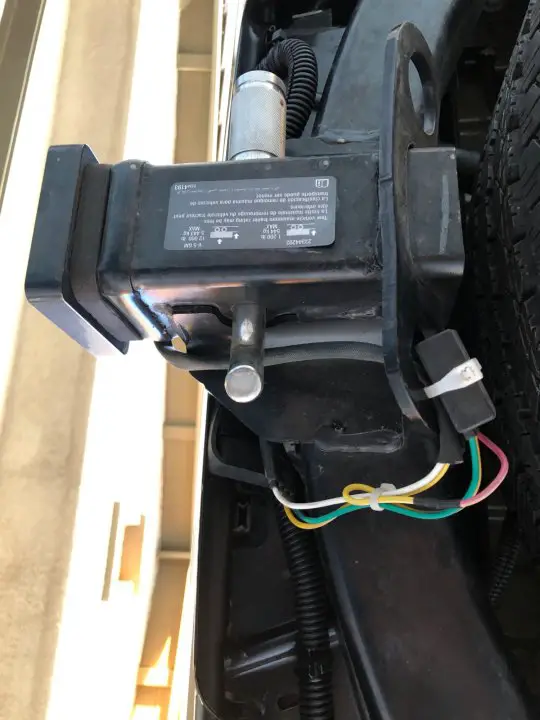
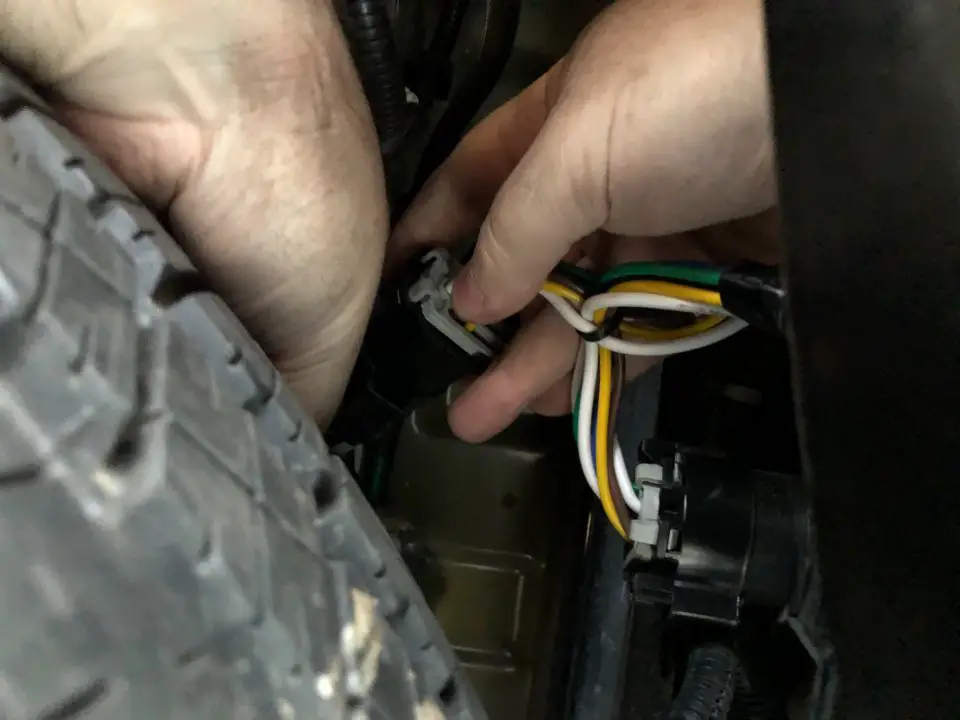
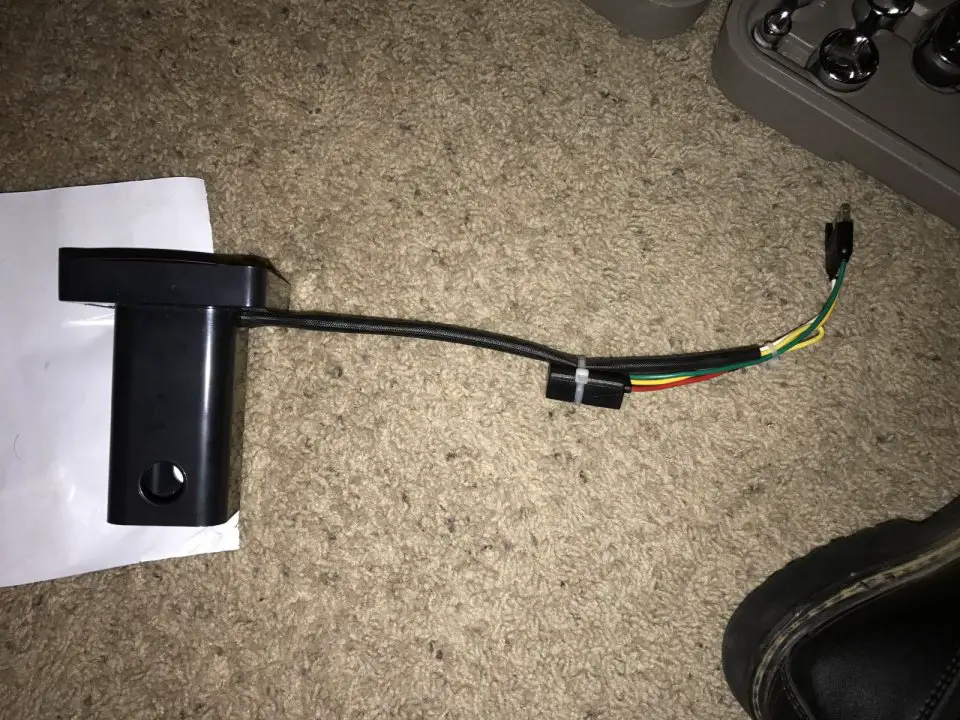
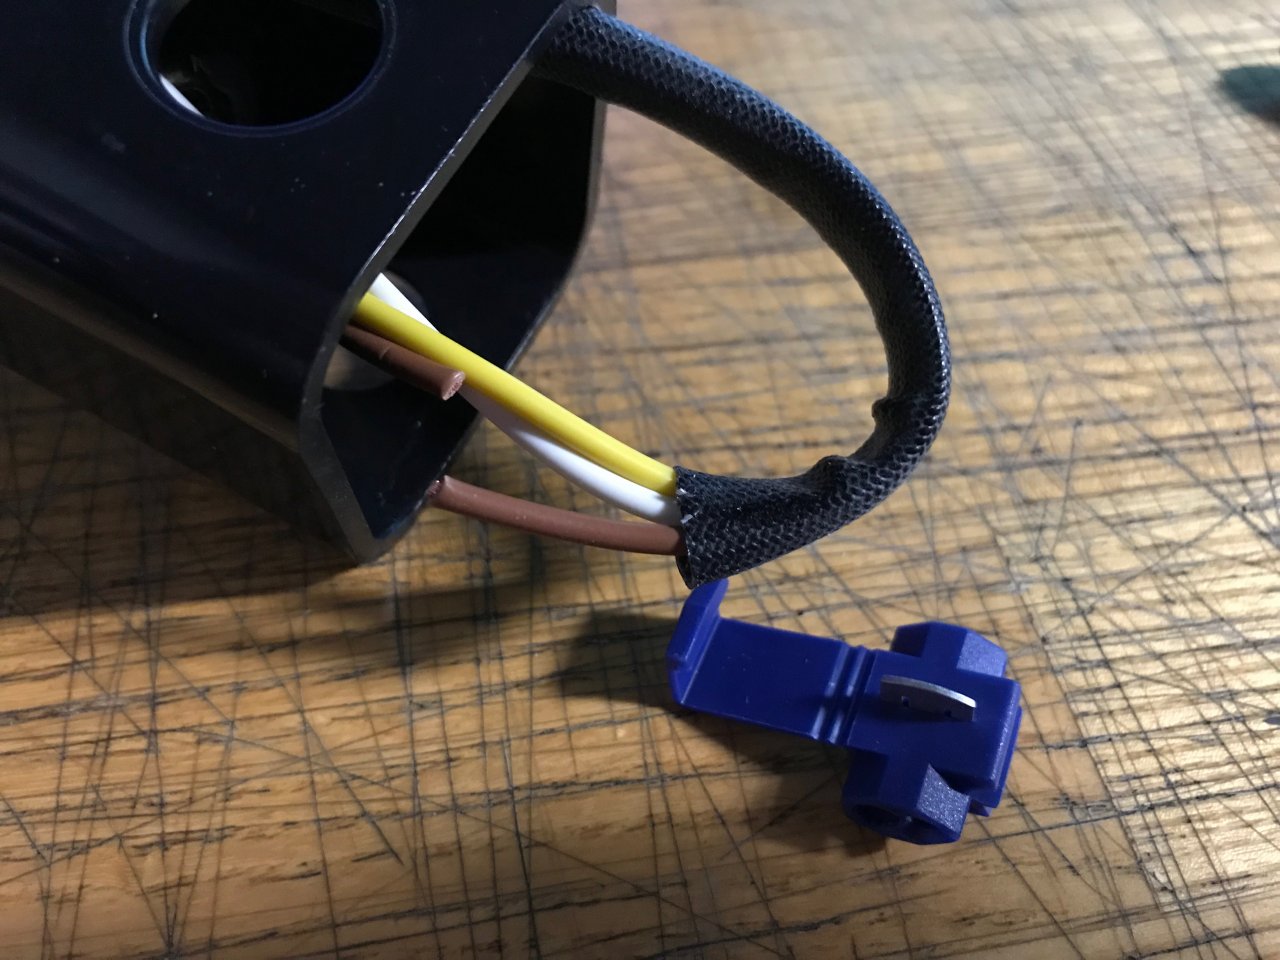
Tailgate Light Bar
I cut the original 4-Pin connector and the reverse wire down to same length and threw away the connector, then spliced on a 5-Pin connector. Wrapped the harness with a plastic electrical conduit. Then installed it on my truck.
I had previously turned a 7 to 5 harness to a 7 to 5 & 4 harness, different write-up. I did that in preparation of my Tailgate Light Bar, and to free up my 7 & 4 connectors on the bumper. My Tow Hitch Tail /Brake Light (Bully CR-007A) is connected to the 4-Pin on that harness, and my Tailgate Light Bar is on the 5-Pin. My Tow Hitch Tail /Brake Light use to have a tail light function, but I removed it. I already have a write-up for my Tow Hitch Tail /Brake Light mod.
- Updated
- 6 images
- 6 images
-
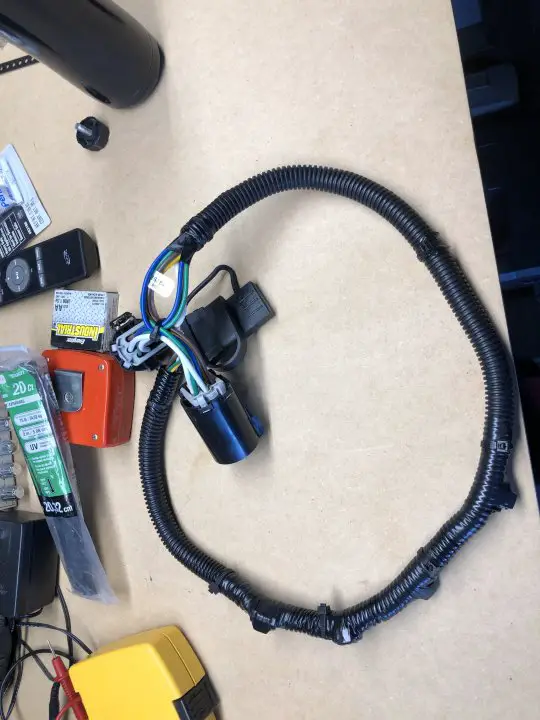
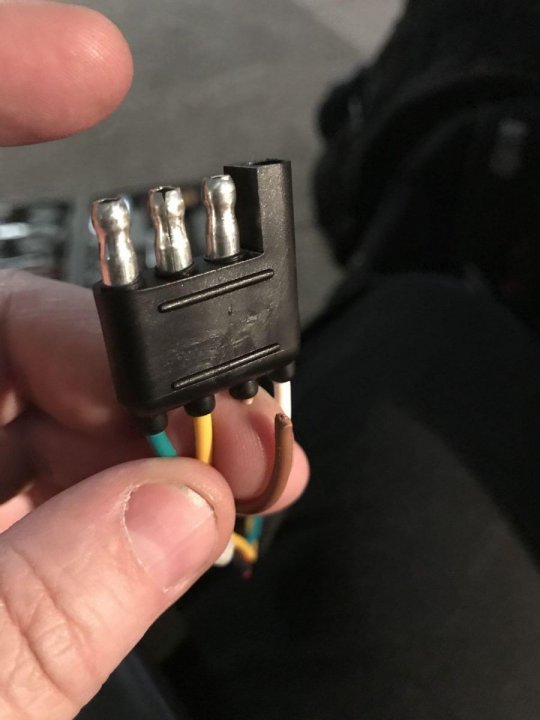
7-Pin to 5-Pin AND 4-Pin Harness
I did this harness in preparation of the installation of my Tailgate Light Bar, and to free up my 4-Pin on my trailer connection cluster. I wanted to clean it up, I didn't like using the trailer 4-pin for my Tow Hitch Tail /Brake Light.
- Updated
- 1 image
- 1 image
-
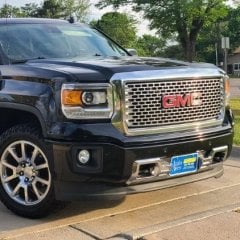
Desert Raven
On September 15, 2018, I purchased this 2018 Silverado Midnight Edition. The attached link is my folder of any/all mods that I have done to it, with a list of mods that I'm thinking about doing or have in work.
- Updated
- 9 images
- 9 images
-
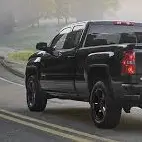
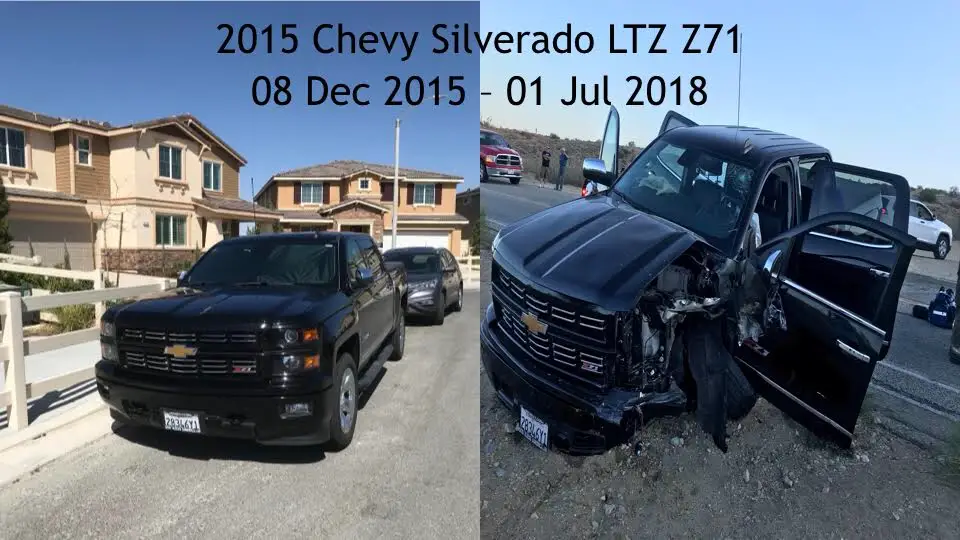
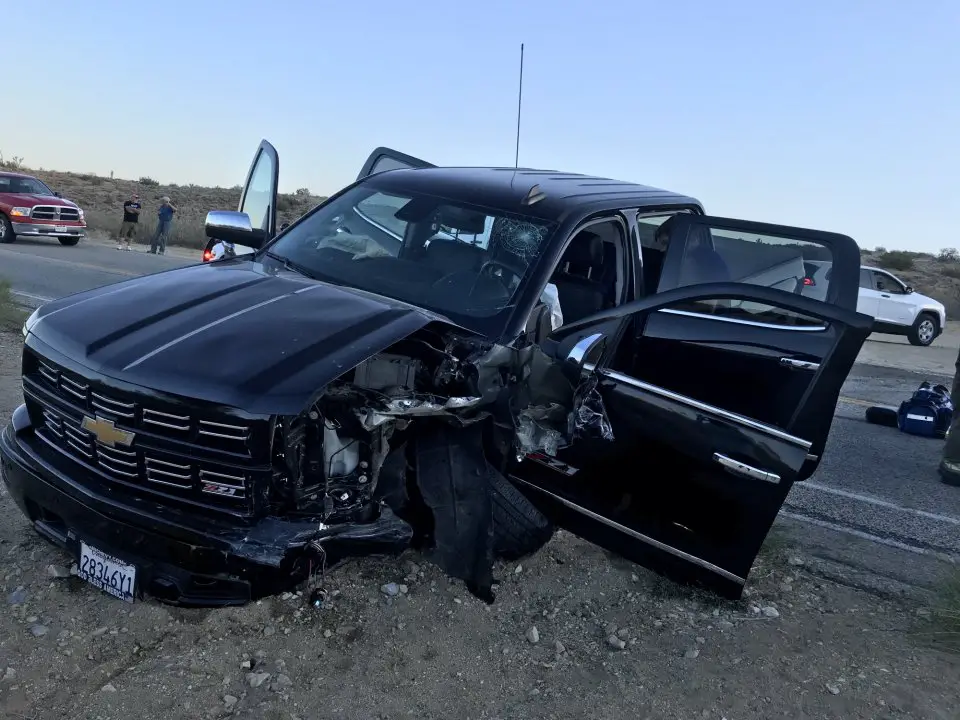
Ravenkeeper's 2015 Silverado LTZ Z71 (Black) w/ Off-Road Package
Bought it on 8 December 2015, and was totaled on 1 July 2018. All pictures are from the day after I bought it, mods/projects/washes, and the head-on collision that totaled it.
Purchase add-ons:
- Tunneau Cover, soft tri-fold
- Step Rails
MODs:
- AM/FM Antenna Relocation
- ALL forward-facing white lights ON with HIGHs
- ALL rear-facing white lights ON with Reverse
- Puddle Lights ON with interior lights
- Phone Holder - on dash, left of steering wheel
- Installed CB Radio & Scanner
- 2”x12” Cargo Management Divider in bed
- Rear Frame Plugs
- Tow Hitch Tail /Brake Light
- Updated
- 47 images
- 1 album comment
- 35 image comments
- 47 images
- 1 album comment
- 35 image comments
-
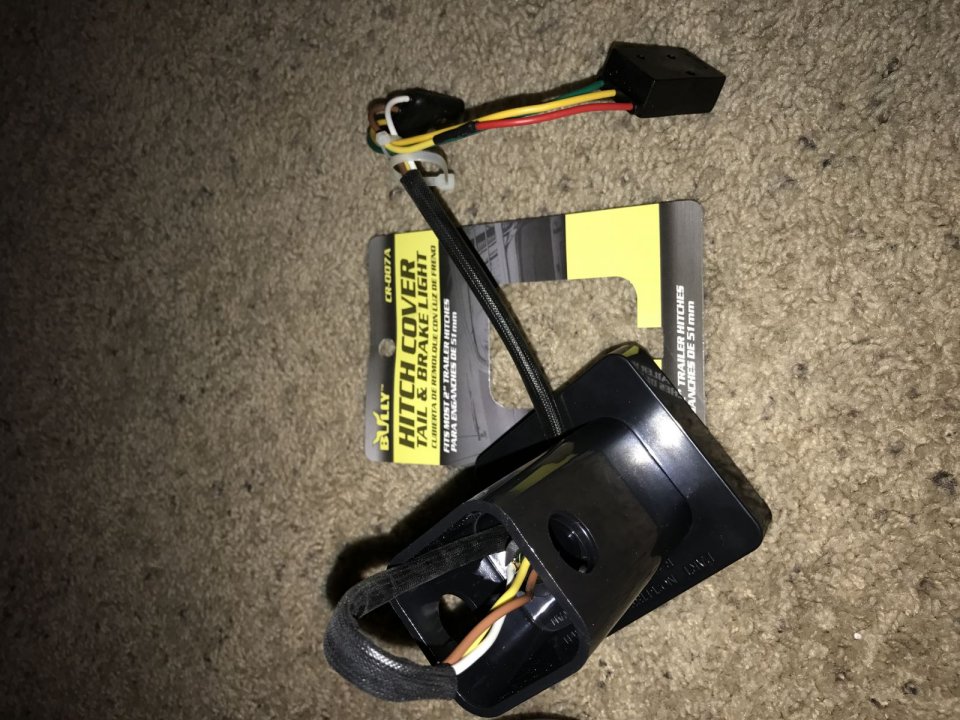
Tow Hitch Tail/Brake Light Mod
*****THIS MOD ONLY WORKS FOR BULLY CR-007A, OR THE LIKE. THE TAIL/BRAKE LIGHT HAS TO BE A 4-WIRE WITH SMART-BOX.*****
*****Sort the images by "Caption" to put them in order.*****
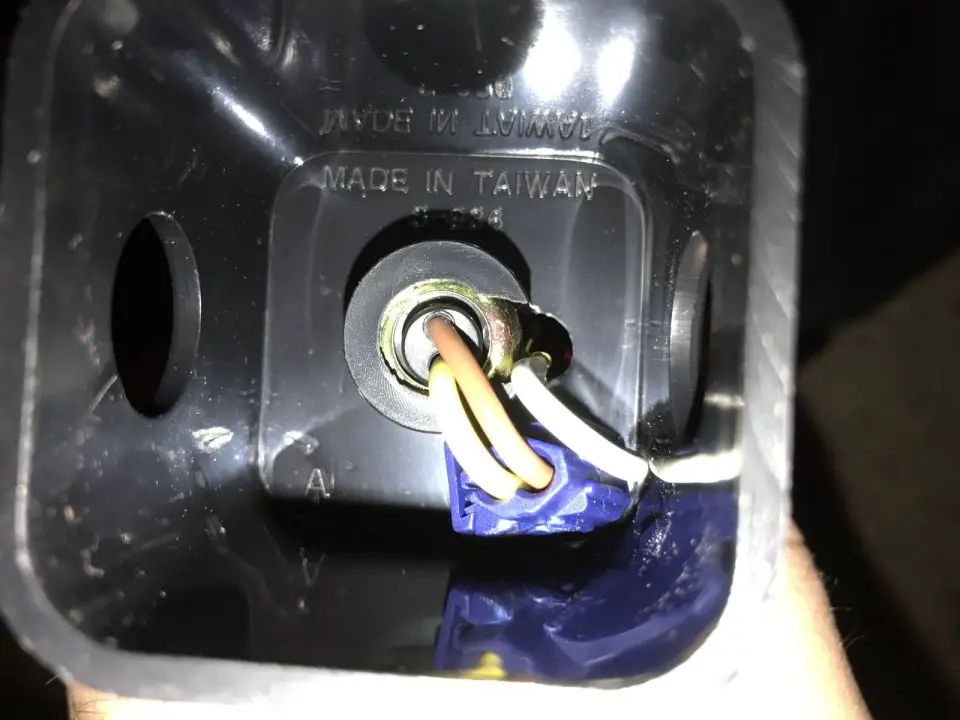
1. Get a NEW Bully Truck Hitch Tail/Brake Light (HAS TO BE A CR-007A ), a BLUE wire splicer/crimp, and RED LED 1157 Bulb (one for each assembly).
My new Bully Hitch Cover Tail & Brake Light, unaltered. Unpack the light, and gently stretch out the harness.
a. Get the Zip-Ties out of the way from the black box and the harness
You can work the two zip-ties loose and out of the way. Take the smaller one toward the plug, but DO NOT PINCH THE YELLOW WIRE LOOP!!! Take the larger one off of the circuit block and toward the light assembly. If you want, you can cut the zip-ties away, and replace them with new ones, when you’re done.
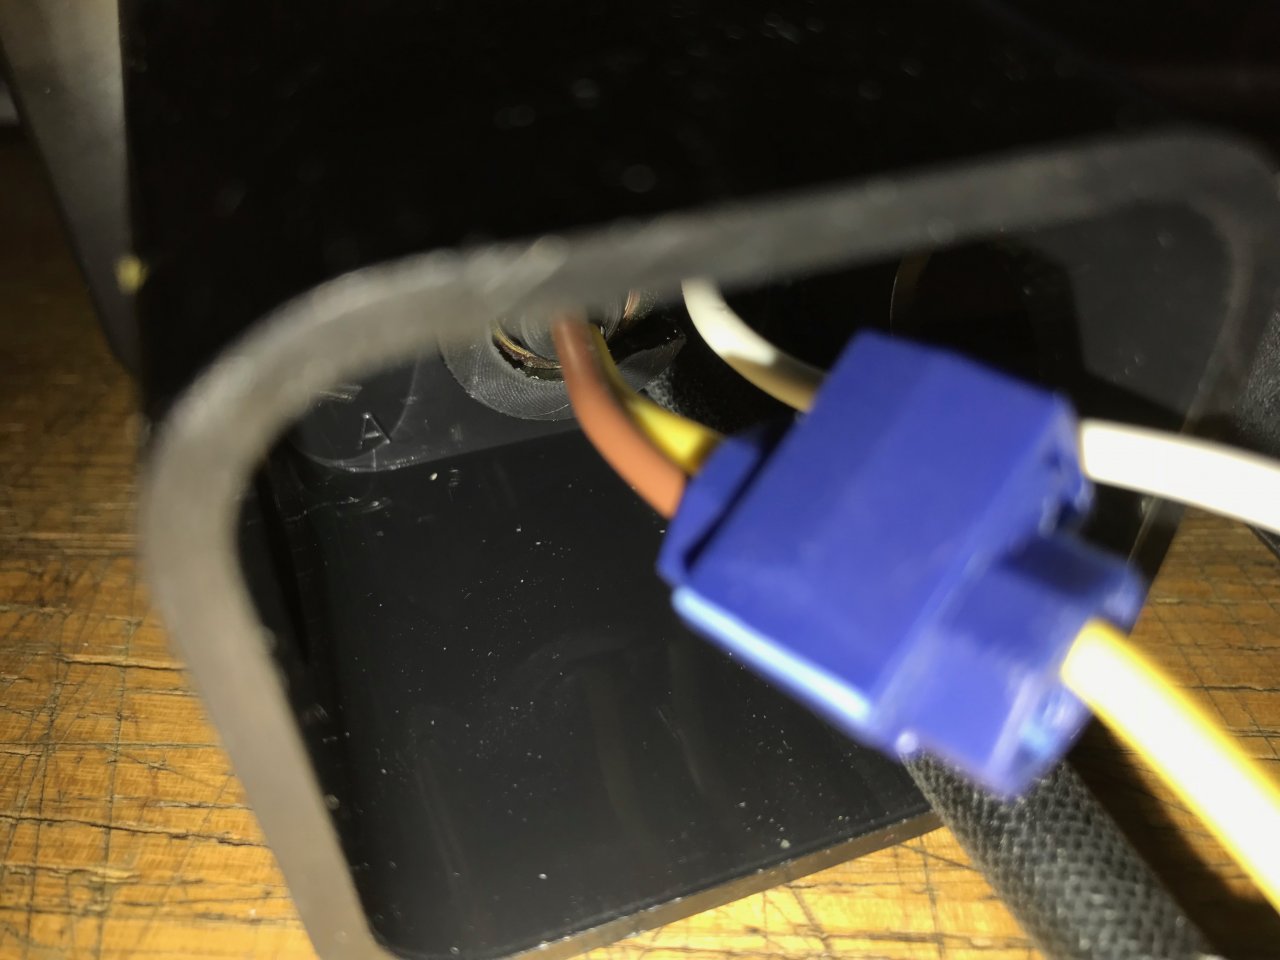
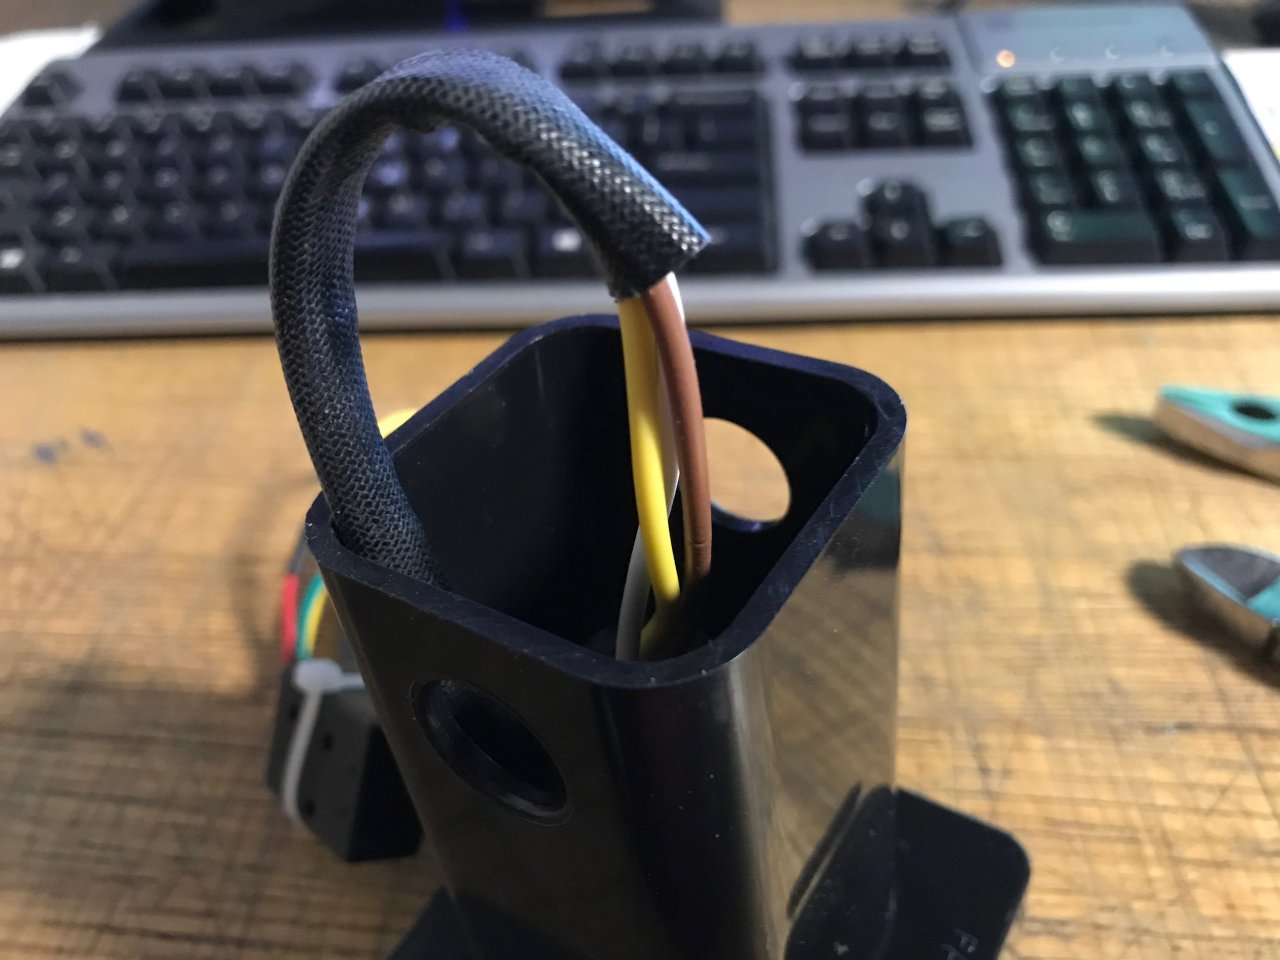
b. Pull wire harness up through the block, with a couple inches of harness exposed
Take the black sheath and slide it as close to the plug as you can, exposing the wires inside of the assembly. This one was all the way in against the lamp housing. I pinched a little bit of the sheath and push the wires through towards the assembly, until I could pull them through from inside the assembly.
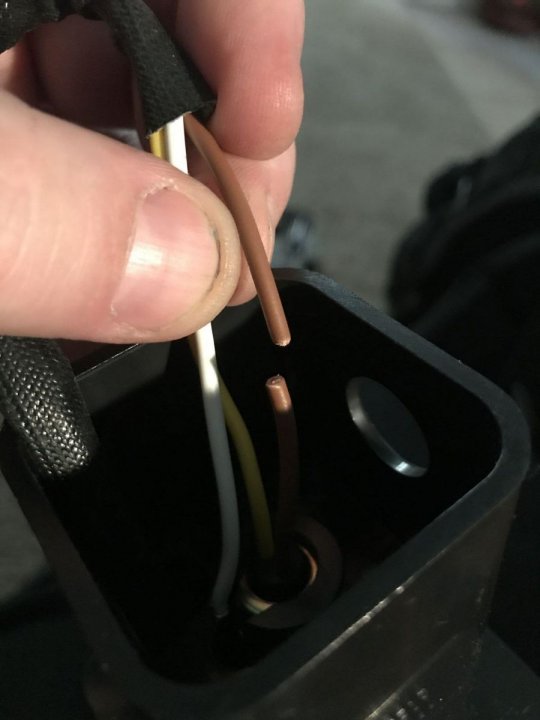
c. Cut the BROWN wire in two places,
i. Even with the opening of the mount ( NOT DOWN INSIDE ), and/or
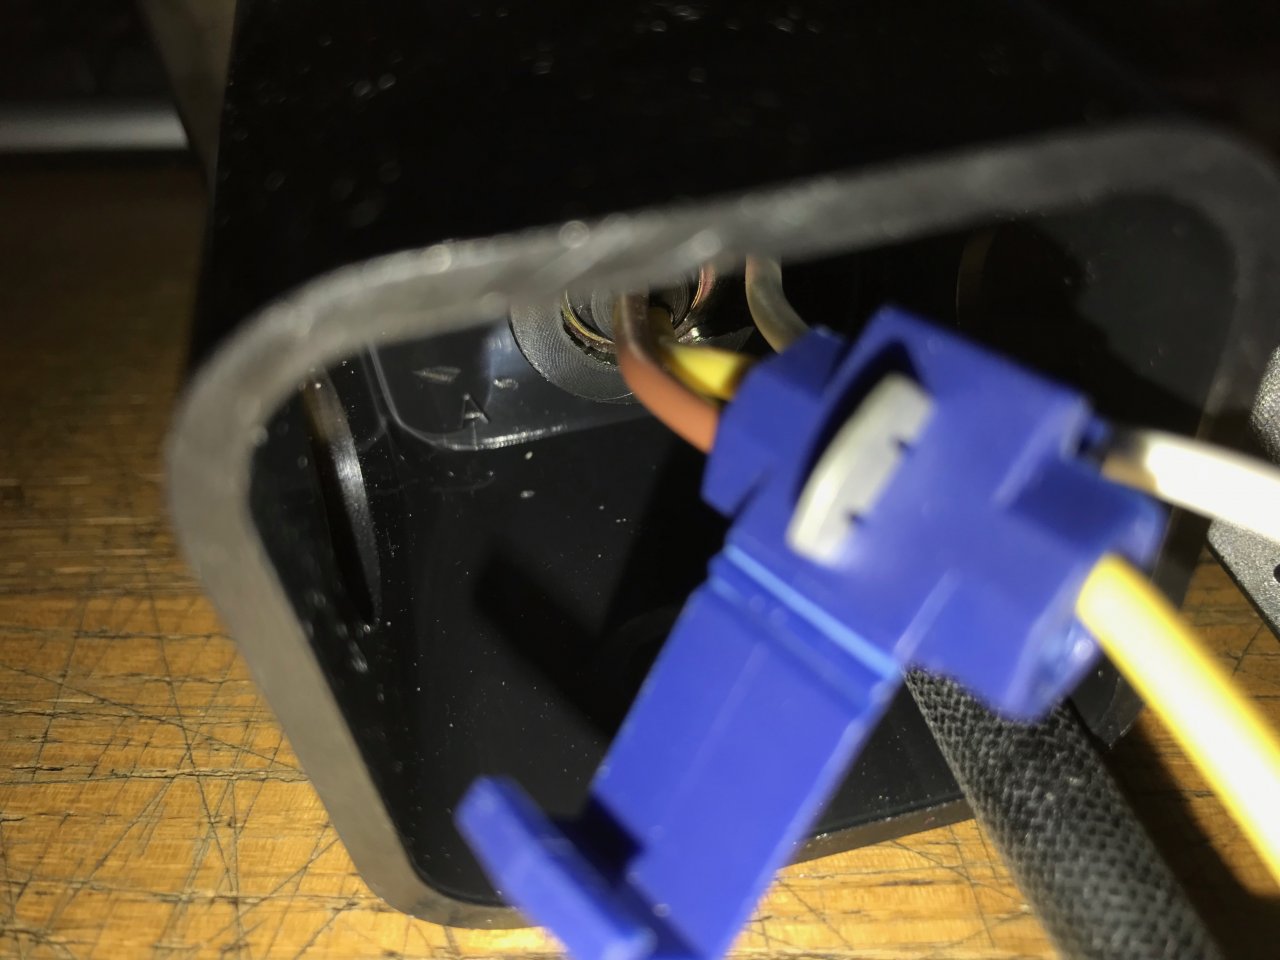
Cut the BROWN wire about even with the end of the block. If you can cut it too short (down inside the block) or a little long, you will have chaffing issues later because you will not be able to pull the harness back in out of the way.
Just a closer view of the BROWN wire cut. NOTICE that the cut is about even with the opening.
ii. At the plug
IF YOU WANT , cut the other end of the BROWN wire at the plug, or leave it alone, you already cut the source for the light assembly to shine with the tail lights. I removed mine with each one that I have done. Pull it out, and you can either throw it away or keep it for another project. I'm debating on using it re-modify my original light, so it works just like this one.
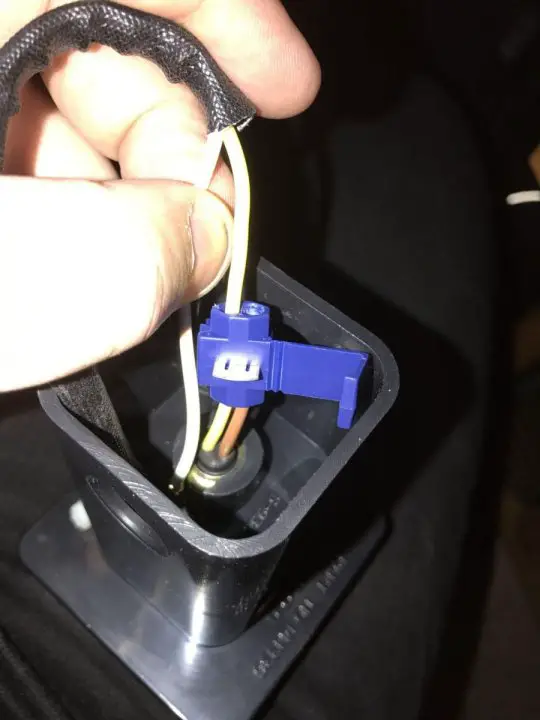
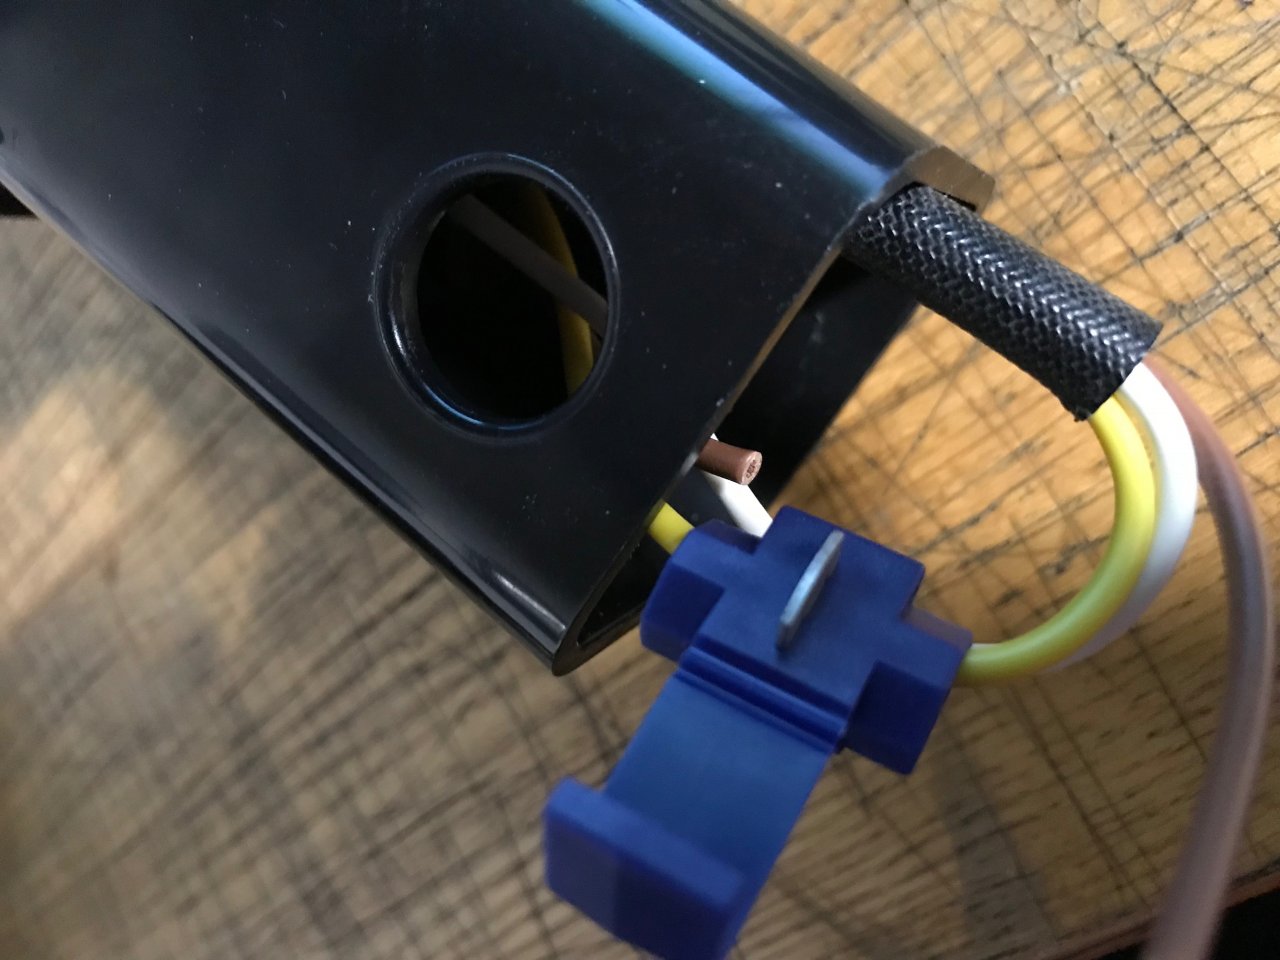
d. Connect blue splice:
i. Slide YELLOW wire into the pass-through (open side) of the splice
ii. Slide BROWN wire into the splice (“hinge side”) until it stops
iii. Pull YELLOW wire thru splice until it’s even with BROWN (same length from splice to bulb)
iv. Crimp the splice
v. Fold the lock over & lock it
Slide the YELLOW wire through the opening in the splice, MAKING SURE THAT THE CLOSED OFF END IS AWAY FROM THE LAMP, toward you. Insert the BROWN wire into the other opening, and slide the splice down along the YELLOW wire until the BROWN wire is completely inside the splice, both YELLOW and BROWN are even between the splice and the bulb housing. Take a pair of pliers, smash the splice blade down into the splice, and fold over the lock.
e. Pull wire harness back into the block
In the same manner that you slid the sheath away from the light housing, run the sheath back down to the splice. Pull the harness back down into the assembly until the sheath almost disappears through the inside hole. DO NOT pull the harness too tightly down into the assembly.
f. Install RED LED 1157 Bulb (OPTIONAL)
I chose to replace the conventional 1157 bulb with an 1157 RED LED Bulb, make the light shine more RED .
g. Re-zip-tie harness and little black box
Take the zip-ties and put them back where they were when you started. I slid the small one down near the sheath, put the larger one back on the circuit box, and tightened both of them up a little, since I removed the BROWN wire. I then trimmed off the extra zip-tie that I had pushed through, to clean it up.
With this mod, the light functions/illuminates as follows:
1) Locking/Unlocking the vehicle
2) Remote Starting - will only flash when the lock button is pressed during the sequence
3) Applying the brakes, and
4) EMERGENCY FLASHERS
The circuit box keeps it from flashing with the turn signals, but allow it to flash with the emergency flashers.
You may need to purchase a 12” 4-wire extension for it to receive power, about $4 @ Walmart. On my ’06 & ’10 Ridgelines, the harness was long enough to reach. BUT on my ’15 & ’18 Silverados, I had to buy an extension.
2. Performed operational check. Light illuminates as follows:
I will shoot a video of the operational check out of this modified light sometime in the near future, with some family assistance.
a. Lock/Unlock visual indication,
b. Remote Start visual indication (with BROWN wire removed, it will only flash with tails, like Lock/Unlock),
c. Press brake pedal, and
d. Emergency Flashers.
- Updated
- 12 images
- 12 images


-
Forum Statistics
250.3k
Total Topics2.7m
Total Posts -
Member Statistics
342,700
Total Members8,960
Most Online
-
Who's Online 2 Members, 0 Anonymous, 425 Guests (See full list)