Leaderboard


Popular Content
Showing content with the highest reputation on 10/02/2015 in all areas
-
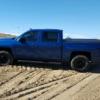
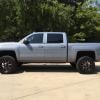
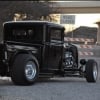
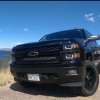
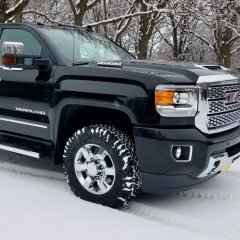
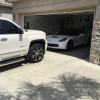
Just got my wheels and tires on Sent from my SM-G900W8 using Tapatalk2 points
-
Set up camp and staged an EPA protest.2 points
-
No wife no problem! Sent from my SM-G900W8 using Tapatalk2 points
-
Nice!!! Sent from my SG Note 4 on Tapatalk1 point
-
Said goodbye to the chrome honeycomb! Big thanks to member VTbulldog for his multiple photoshop version help and dla's photo posts in another thread. Sent from my iPhone using Tapatalk1 point
-
Added 2" Spacers, pretty happy with the results, just need wider tires now. Before After1 point
-
Pls reaim. There's a lot of guys with trucks where I'm from and half of them don't reaim. Aggravates me everytime. And I'm lifted with a tinted windshield [emoji16]1 point
-
Looks awesome dude1 point
-
18x9, +0, is that right? Sent from Tapatalk App - Samsung S61 point
-
Looks great! Your new tires are going to eat all the rocks off your driveway! Oh, and you need to clean that blue off the sidewall so we can see those pretty white letters.1 point
-
Sent from my SM-G900W8 using Tapatalk1 point
-
No it is just double sided tape.1 point
-
Check out this video on you tube, https://www.youtube.com/watch?v=IEH-xRUaAos I wonder how bad his vibes were before it twisted apart?1 point
-
Oh man, When I looked at the first picture I was like, dam, look at Rawyzf taking his truck off road and getting it dirty..... Then I scrolled down and saw you had just driven to an undeveloped part in your neighborhood.1 point
-
Looks good man, I like those wheels allot. Shoulda done the black lettering though.1 point
-
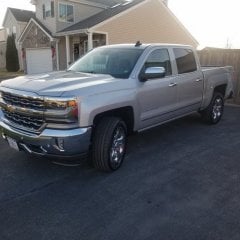
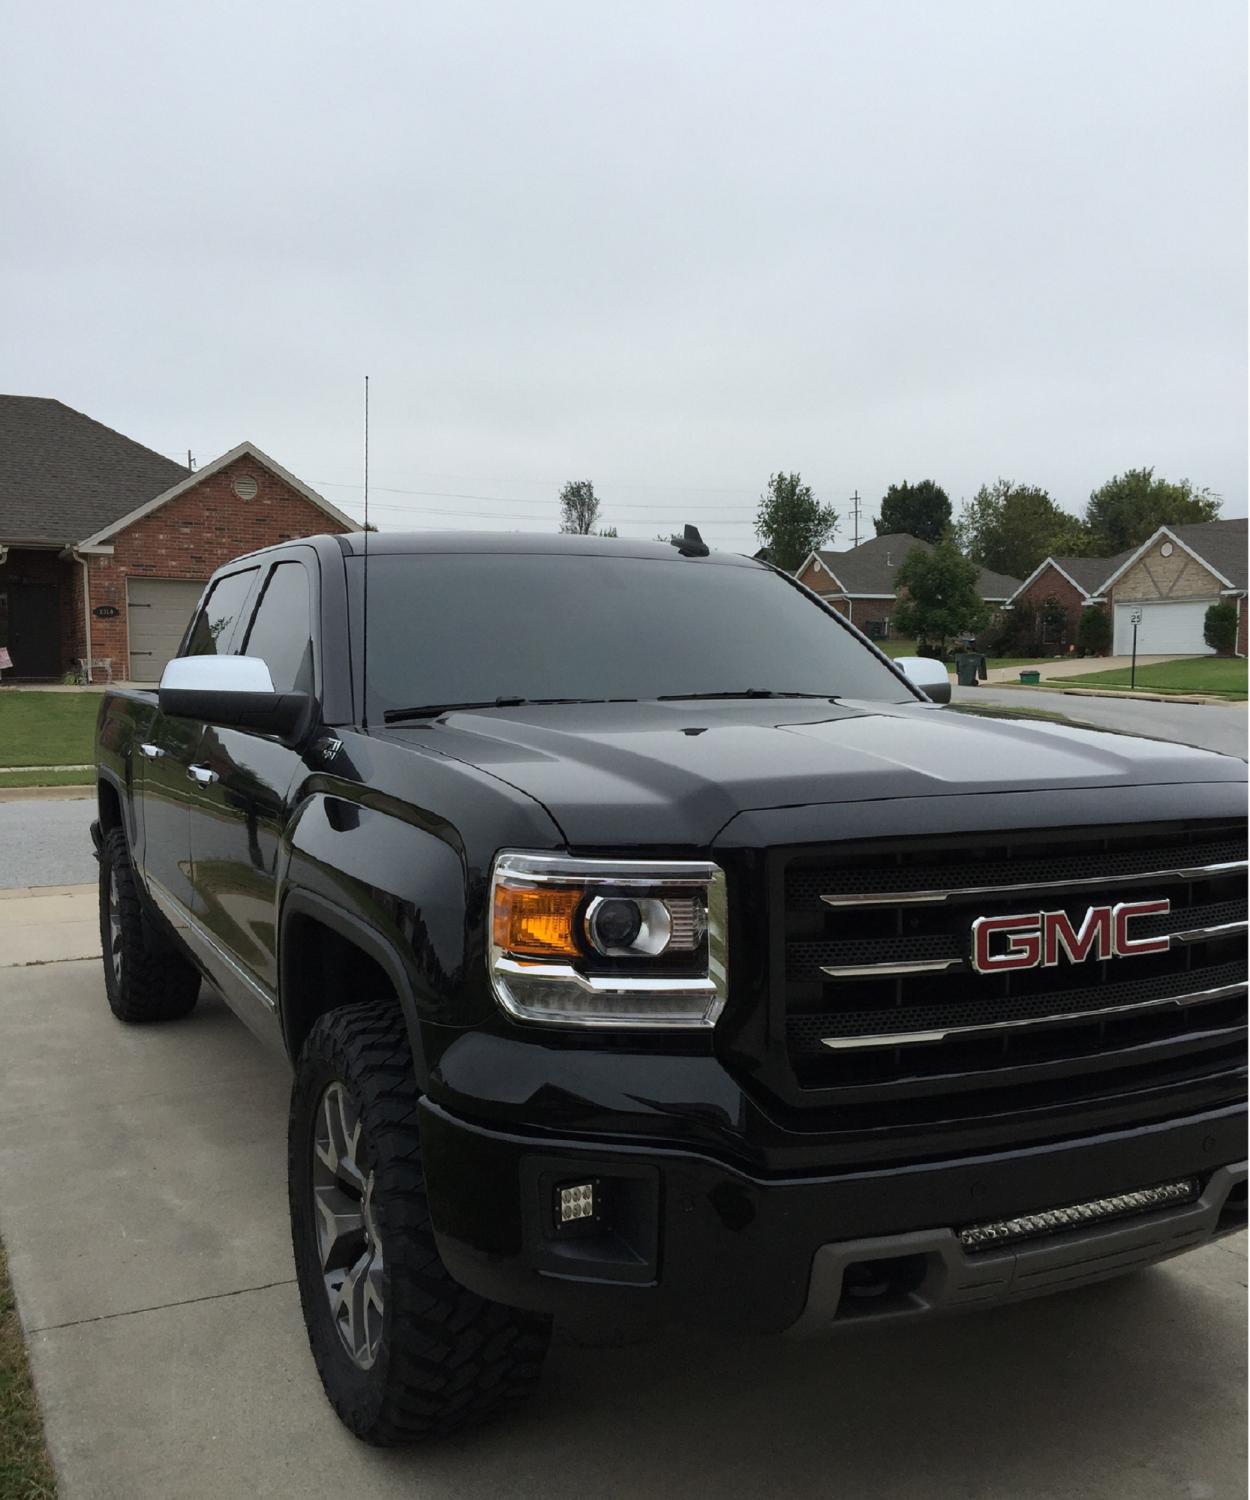
It is silver I was in my garage when I took that pic here is a better one.1 point
-
It was more of a joke, and there is more into the ones I make. I just gave you the parts of what we used for the temporary units while I built the ones that are on the truck now. The temp units will work just as good, but they look like crap and I can't have my parts looking like crap. The finished rods are RH and LH threaded so you can simply loosen the jam nuts and adjust the link by turning the center tube. The finished rods look like a miniature version of this:1 point
-
Installed some chrome1 point
-
I just installed the suspensionmaxx kit on my 2015 Denali. I originally ordered the 1.5" kit and then decided I wanted to go 2" after measuring, so I had them send me the rest of the parts for the 2.5" adjustable leveling kit. The bracket included in their kit is pretty simple, but the bracket has a series of holes on both sides and depending on how much you lift the front dictates which holes you mount the bracket to the truck and which hold you mount the mag ride arm in. Kit went on pretty easily and I've noticed no significant change in the ride. I'm at the alignment shop now getting the truck aligned. As best I can measure, I had just under 3" of rake and now I have less than 1" of rake. I didn't want to go completely level as I have a trailer I pull every once in a while. As I was doing this post, the alignment guy had a question about the alignment specs provided in the kit. I called Larry at SuspensionMaxx and is on the phone with them now telling them what they needed to know to get the truck aligned. Great customer service from these guys based on my experience.1 point
-
I'm interested in seeing some daylight pics of this setup. How does that extra weight effect performance?1 point
-
Im happy, found a set of Westin Sure grip boards in black for $75.00 with mounting hardware not the sexiest looking set but functional for my 5'1 wife and 5 year old, and very functional for our non existent budget! One side was new in plastic apparently it was warrantied due to finish issues and the other has a tiny scuff. Will try and get pics after I get it on later today. Ill put a link of the set below. http://www.autoanything.com/nerf-bars/westin-sure-grip-aluminum-running-boards-with-mount-kit1 point
-
Yikes! That was close Sent from my iPhone 6+1 point
-
If you're looking for your man card, I found it in your wife's purse! On a side note, I think your wheel setup looks good on the iridium metallic!!1 point
-
Little day trip down to the military cemetery to visit Dad, then lunch at the Amish-like restaurant down that way.1 point
-
If you have a brief minute please go vote for my truck at www.realtruck.com/truck-madness/ before the voting closes! I appreciate the support!1 point
-
I'll need to get more pictures tomorrow got these put on in the dark Sent from my SM-G900W8 using Tapatalk1 point
-
I used stainless 1/4x28 rod ends, stainless threaded rod, stainless jam nuts, and stainless M6x10MM Hex head bolts.1 point
-
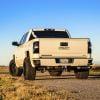
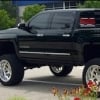
Just got my wheels on my truck tonight it got dark so pictures are kind of bad but. I'll get more tomorrow looks mean as hell imo over the stock wheels So iv got pro comp 34 series wheels 18x9 with a 0 offset 2.5 inch level from the dealer with the little block in the back to level it completely idk the rear size. Tires are bfg ko2 285/65/18 minor rubbing full lock in reverse because of my mud flaps.. Other then that perfect fitment with tiny poke Will get better pictures tomorrow Sent from my SM-G900W8 using Tapatalk1 point
-
Uh ohhhh....lol1 point
-
1 point
-
at the deer lease in front of my "stand"1 point
-
The problem is that statistics don't back up you claims. A) it's normal for the first year or two of a new vehicle to have more problems than later years. Your 2012 was the 6th year for those truck. B) statically all OEMs improve quality and reliability year over year. Sure, there will be some anomalies, but the trend is steadily upward. Integrating large amounts of electronics has been the biggest problem with newer vehicles. So it sucks that you particular truck wasn't perfect, but one bad Apple doesn't mean that there's a systemic problem with them all.1 point
-
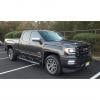
Couple pics of the new wheels. Sent from Tapatalk App - Samsung S61 point
-
Welcome!1 point
-
What did I do today? I added my fender flares, installed them myself. What's next light bar setup? New headlights? Hmmm.. Sent from my XT1080 using Tapatalk1 point
-
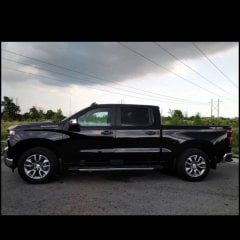
Got my brownstone paint matched flares put on today. Put them on myself. Absolutely love it, looks like a brand new truck! Really sets it off Sent from my XT1080 using Tapatalk1 point
-
In the Black Hills yesterday. Sent from my XT1080 using Tapatalk1 point
-
A few weeks back camping in the White Mountains in Arizona. This picture is actually a part of contest I'm currently in as a Chevy finalist. Feel free to check it out and vote http://www.realtruck.com/truck-madness/ Not sure if I have put up any pictures with the Napier tent.1 point
-
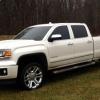
My son's 2014! Sent from my SM-G920V using Tapatalk1 point
-
Here is my beater1 point
-
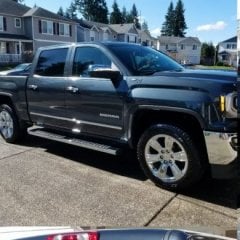
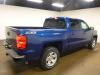
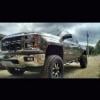
My new 6.2 max tow I picked up Wednesday night:
 1 point
 -
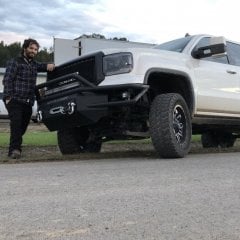
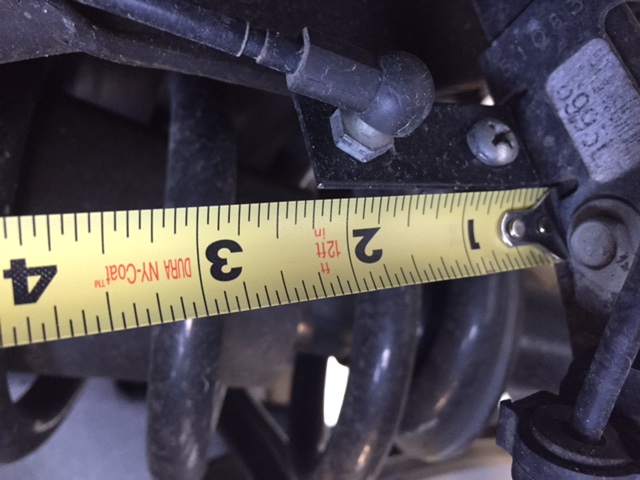
Ok everyone, I have fixed the problem on my truck and still have the RC 2.5" front leveling kit on. here are a couple pictures. Basically, when you level your truck, you are pulling the arm of the MagnaRide sensors down. This is making the suspension think you are about to bottom out so it stiffens up. To fix this, the arm of the sensor needs to moved back into what I call the "home" or level position. I fixed this with the small bracket shown and a couple nuts and bolts. I also powder coated it black to look factory. Sorry for the crappy pics but you should at least have a good idea now. Hope this helps.
1 point
-
It seems as though he wants only a level not a full lift. In being smart, he asked this community to help him with advice before he just jumped in feet first....plenty of us have just levels....even has a pined thread. Don't be so hard on someone asking for help.1 point
-
Where did you get the parts necessary for this? I suspect 1" isn't going to throw anything out of tolerance as far as the Mag Ride is concerned, that's prob why it rides the same. Hard to believe 1" will make it almost level though.1 point
-
I used Black and Golds suggestion of tapping into the pink BCM connector and was able to make my tap in without cutting insulation. I created "male spade tips" by tinning the stripped leads and inserted them on the back side of the connector, zip tied it so it would not come loose. This is an easy location to also test with a multimeter.1 point
-
Just finished installation. Took me a little longer due to being very meticulous about routing the wiring harness. I used a different method of connecting the wires though. I routed my wires all the way to the engine compartment and went in through the large grommet under the brake booster. Then I connected the blue and green wire to the grey/green and brown/yellow coming from the x6 bcm connector(pink) just to the right of e-brake pedal. Pins 2 and 4 as per http://www.gmupfitter.com/files/media/photo/474/2014%20BBM%20Electrical%20section_10_18_2013_WIP.pdf page 155 and 156. What I did was skim a very small amount of wire insulation off and soldered the wires together. To me it seemed a lot easier then taking apart the door sill. edit: Oh yeah, 1 click of the remote unlocks the drivers door only, and 2 clicks unlocks the rest including the tailgate1 point
-
Thanks. Here is one more from yesterday. Considering we're getting 8-10 inches of rain the next two days, I won't be taking any better pics soon.1 point
-
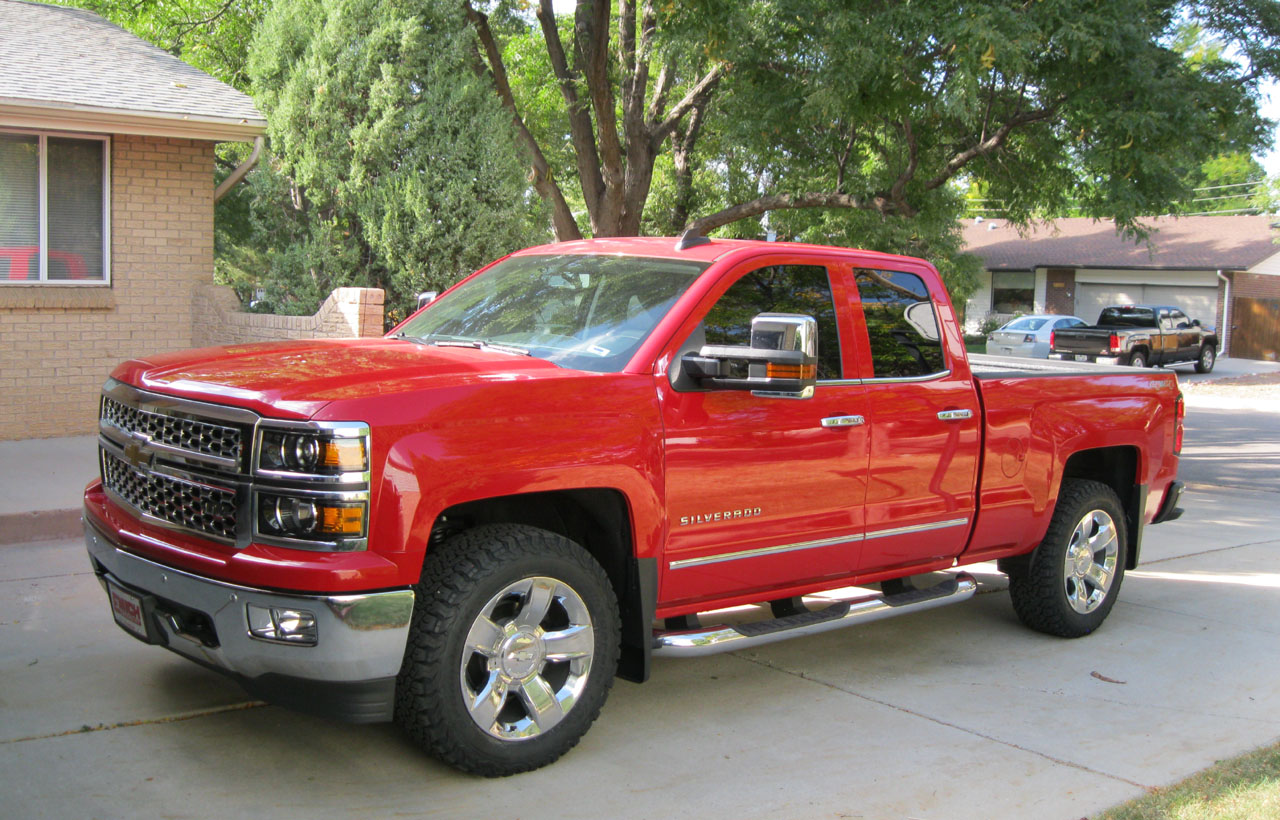
So i put my RC 2" level kit and Toyo 295/55/20's on this weekend. Install was simple, just like on my 2011. It definitely helps to have an extra set of hands when wedging that spacer in there. 295/55/20 are right at 33" and approx 12.3" wide. I have ZERO clearance issues. As a matter of fact you can EASILY run 305/55/20's all day long with no rubbing issues...and this was on my 2wd SLT. Kinda wish I got the 305's instead but oh well. Truck looks awesome and all it needs is an alignment. So far it drives better than my leveled 2011. I did have Nitto Trail Graps on that one and went with Toyo Open County MT this time.1 point


This leaderboard is set to New York/GMT-04:00