

wingsaa
-
Posts
131 -
Joined
-
Last visited
Content Type
Profiles
Forums
Gallery
Events
Articles
RPO
Store
Blogs
Everything posted by wingsaa
-
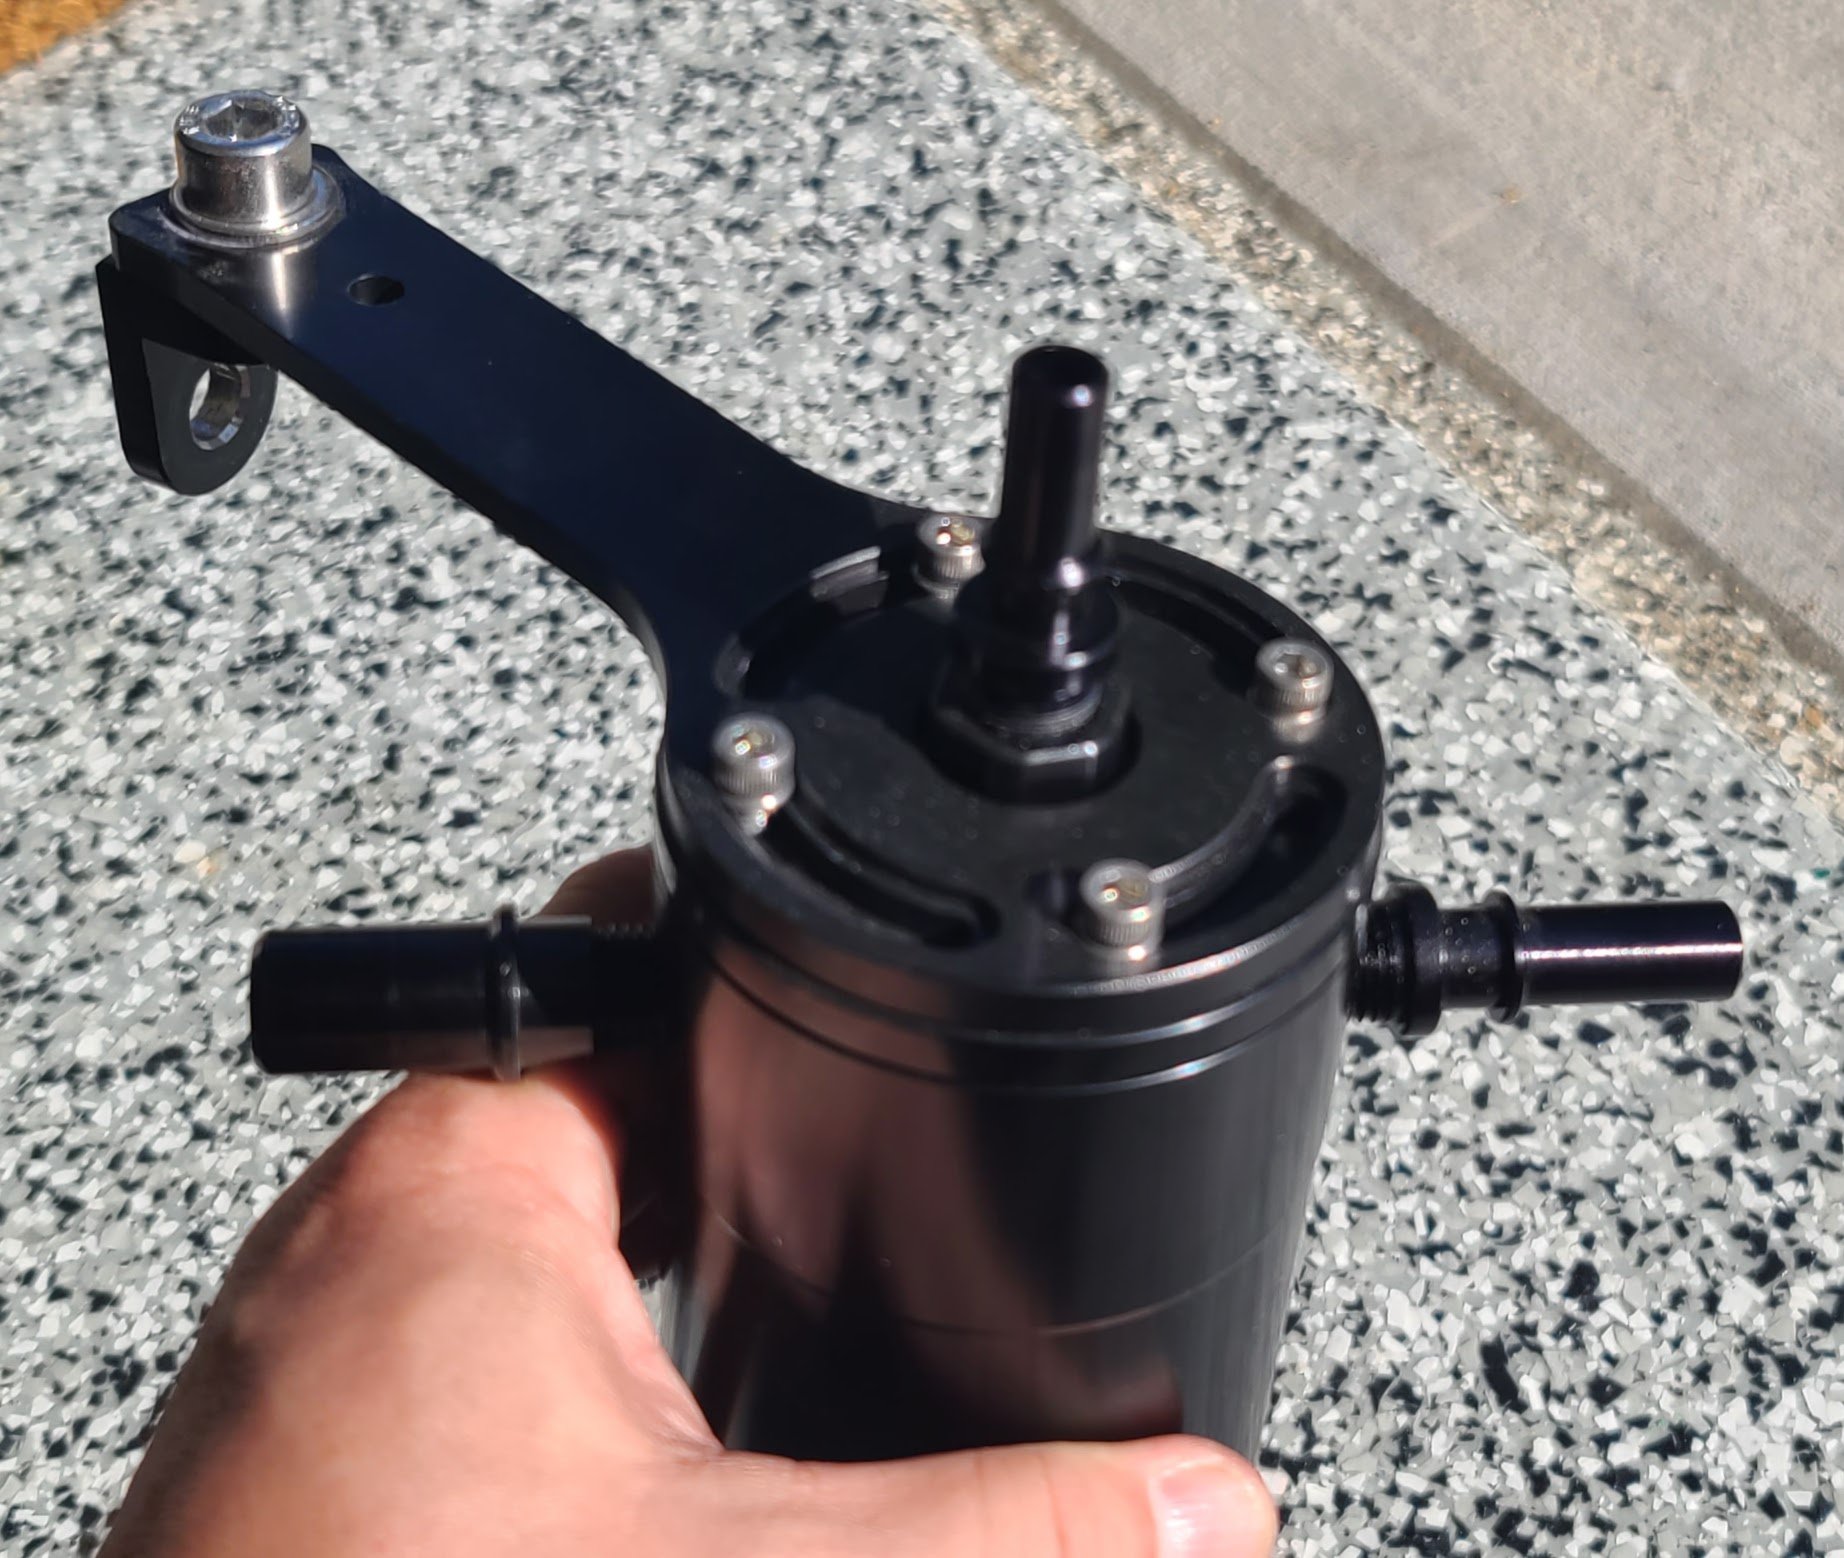
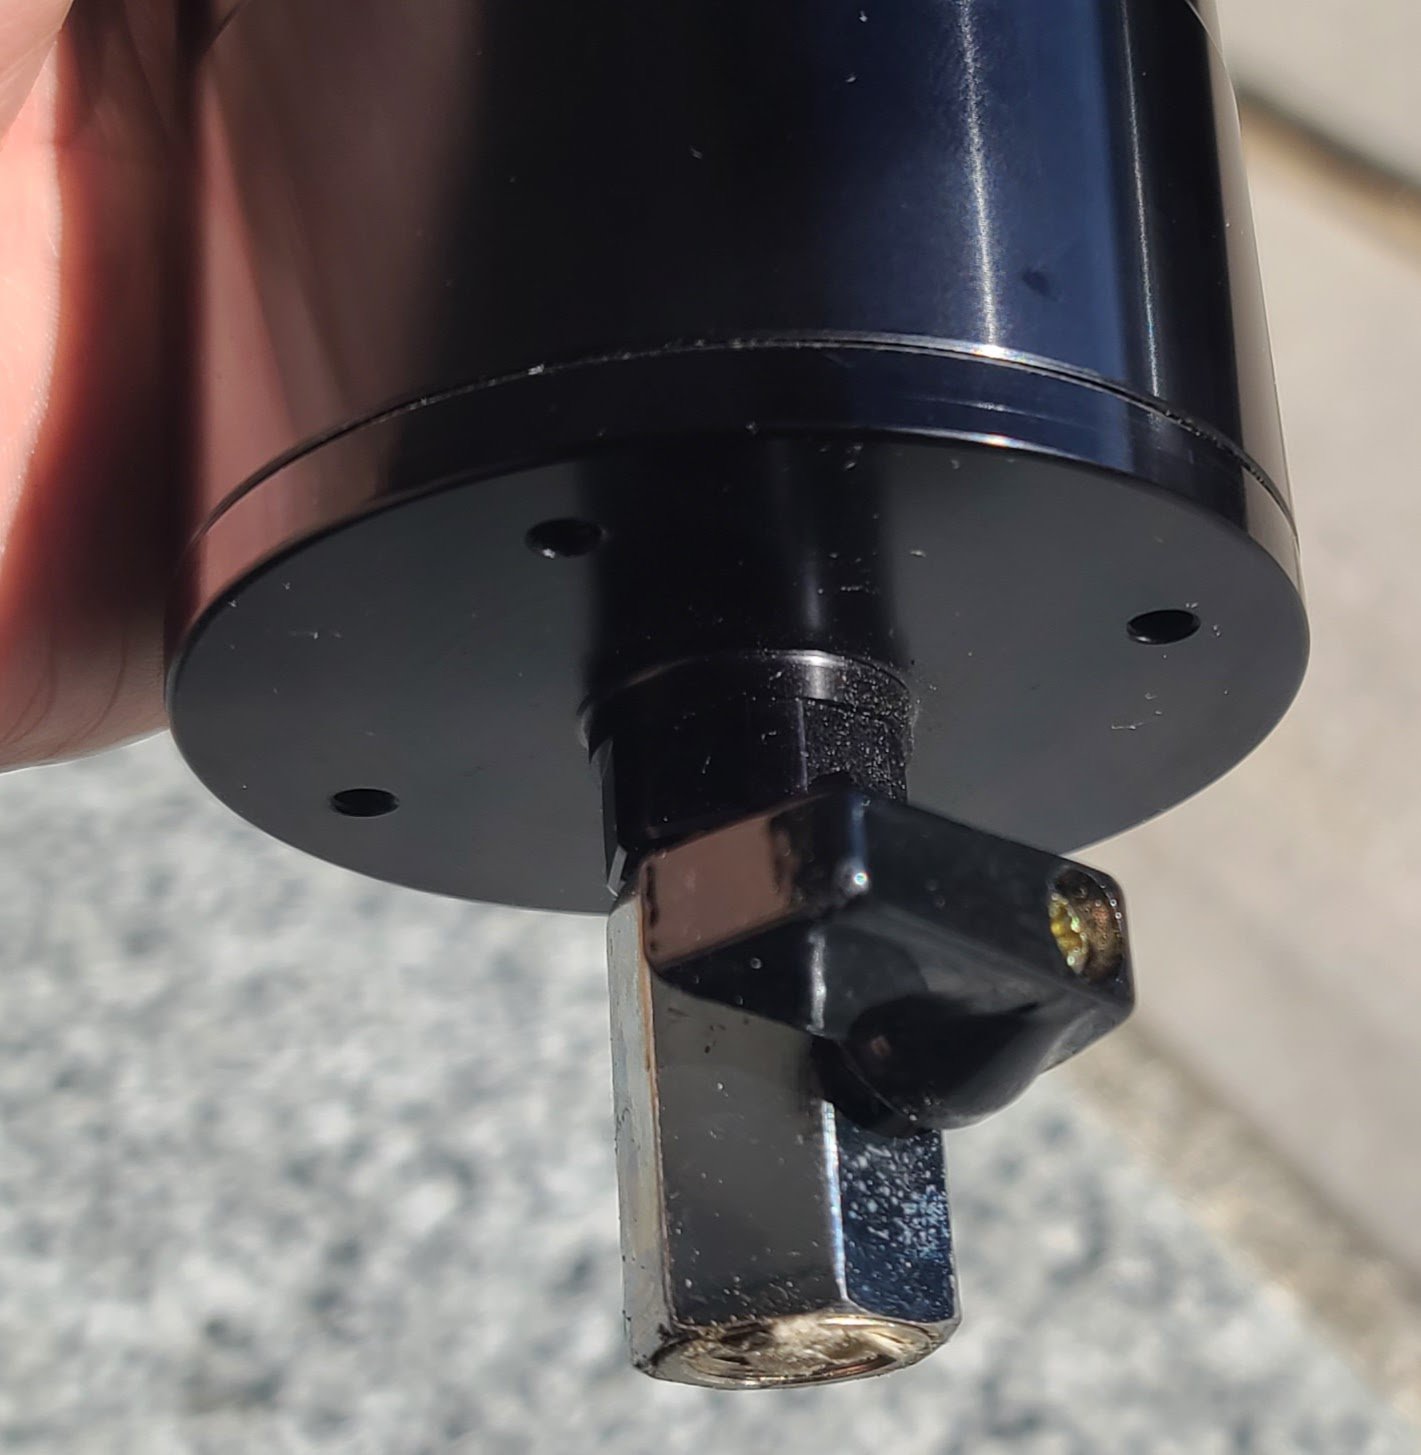
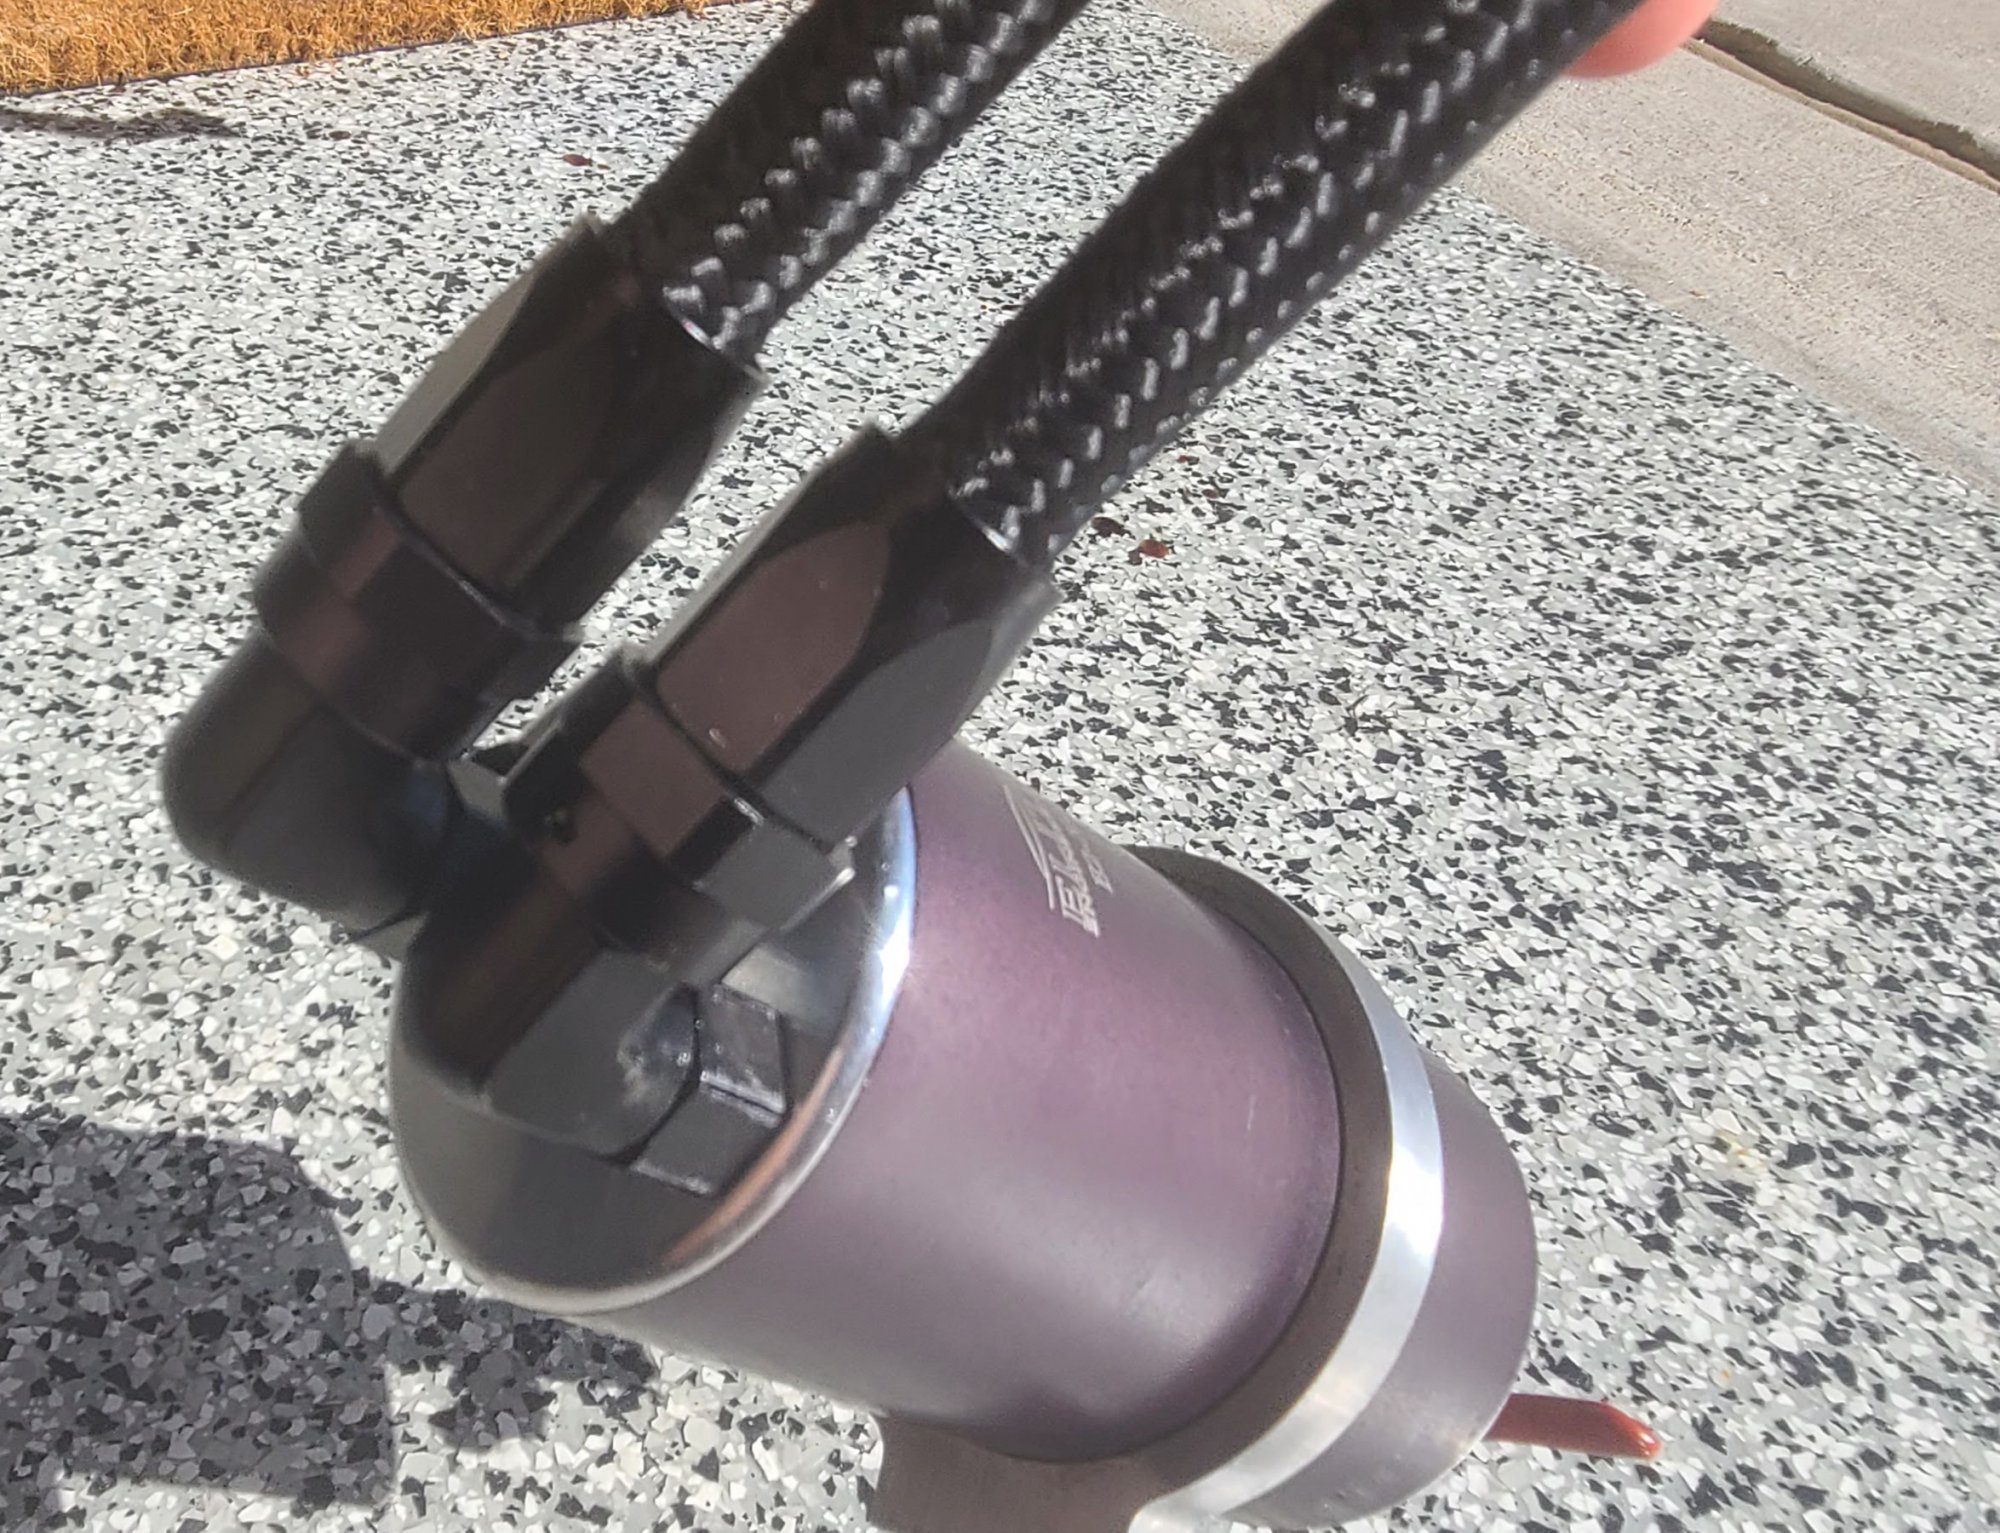
 I'm selling my E2-X catch can. I had this mounted in the spare battery location of my Yukon. The AN braided hoses are the correct length for that based on the 6.2L port locations not 5.3L It has AN fittings on the can and the OE gm quick connect fittings so it's literally plug-n-play. All seals/o-rings have been replaced. I'm including the clean-side separator however I don't have any of those hoses. The can has the third additional port if you need however, it's just capped now. It also comes with the mount for the vehicle... just didn't get a picture of it. Guess I got distracted when I dumped all the oil out of on my garage floor when taking pictures. Sweet! I also updated the ball valve to a full brass as the original started to leak. This valve is more solid anyhow and should hold up better to the heat. As an added leak preventative measure, I screwed in a small hex screw into the drain port. Probably overkill but guess I got paranoid from the old valve leaking. Finally, the can isn't that purple... was just the blazing sun at my back.
-
Here's my result at just over 54k miles on my 2016 Yukon XL Denali with a can on from 200 miles new...
-
-
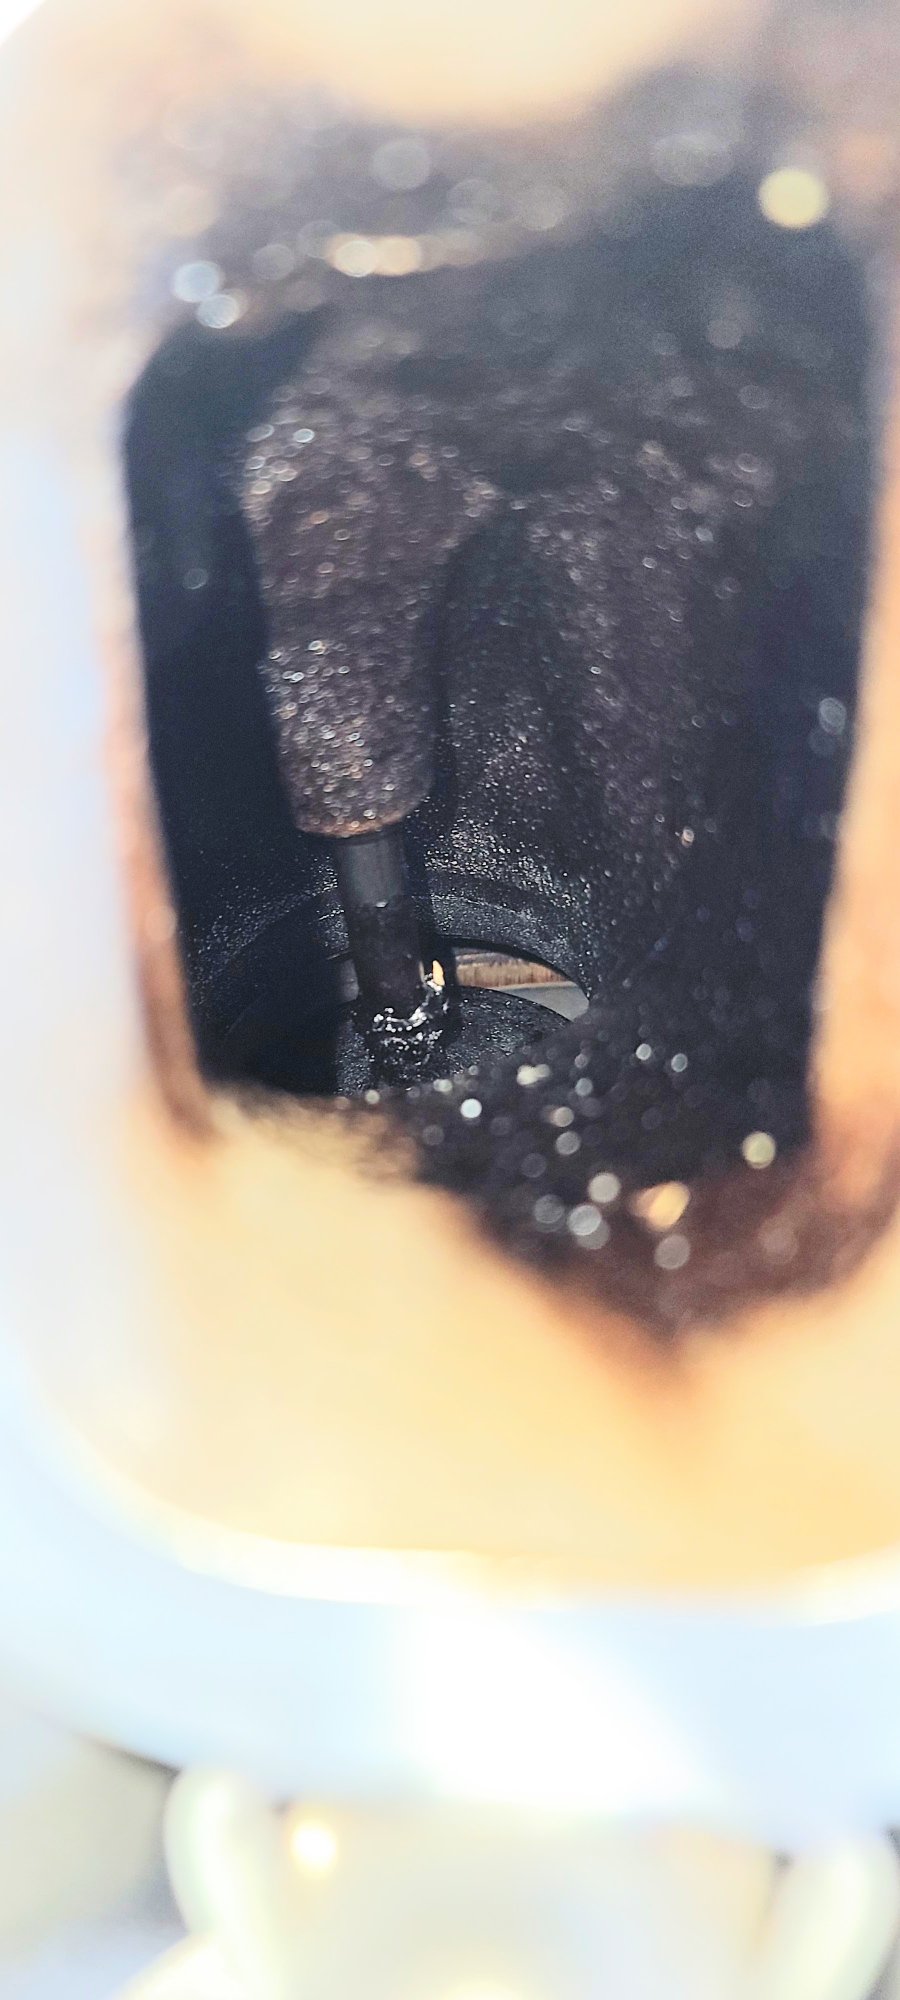
Hey guys. Bumping an old thread here as I wanted to share some information on the topic... nothing scientific just a real-world sample. So I put an Elite Engineering E2-X catch can on my 2016 L86 Yukon XL Denali when I bought it new... can went on around 300 miles in. I did not install the clean side separator. I used Mobil1 0w20 Annual Performance and M1-113A filter... changed the oil and filter every 4k miles (don't flame me for wasting money). I've recently switched over to Amsoil Signature full synthetic 0w20 and Amsoil filter as well. Should also note, I've been running a tune and have had DOD disabled from day 1. Okay, details out of the way, I took my intake manifold off this past weekend as the curiosity got the best of me and I wanted to see what the valves looked like. Behold the results. Note, the valves got cleaner as you worked you way to the rear of the engine. I should confirm, I'm right at 54,500 miles. Curious what you all think. Just wanted to share this use case from a vehicle that has basically had a can on it from the start as the only owner. I was pretty tired from the gymnastics session in and out of the engine bay so apologies the pictures aren't professional. was having trouble holding a light, my phone and not end up falling out on to the garage floor
-
Okay I had to check... it was annoying me. Per pgamboa it does stop on the release of the unlock button of the fob and then you can hold the unlock button again to drop it the rest of the way. It doesn't "vent" on the close however. It is full close on the press and hold of the lock button on the fob.
-
Good question... I dont recall. I'll test it out tomorrow and let you know. Sent from my SM-G955U using Tapatalk
-
Basically when you're doing the all down function you release the button and it stops the window at a "Vent" setting. Here's the demo of it.
-
Duplicate post... delete
-
Little late to the reply and have been promising Chris a post for the work. I had the HMI unlocked and BCM spec programming done on my 2016 Yukon XL Denali. I can't say enough about the support through this process. Chris answered all my questions (and I had a fair amount) without hesitation and no delay. They performed the work and had a quick tun around on both modules. Everything worked as expected and couldn't have been easier. I now have the unlocked HMI... mainly for the video in motion function for watching the fire tv, etc. The BCM spec programming is pretty cool as well. mainly for me was having a legit capability to have the fogs on with highs as well as the intellibeam still being functional. It's nice to be able to vent the windows as well with the key fob. Overall... I couldn't be happier. Top notch service and communication from start to finish. Now I just need to figure out getting the wire powered so I can turn on the backup camera while in motion. If it's something you're on the fence about... do it! I know Pgamboa did an in depth review however, feel free to ping me with any questions.
- 61 replies
-
- 1
-

-
- bcm programming
- bcm
- (and 7 more)
-
Y'all need to check the welds in the area I posted. I had one spot weld that didnt exist. I spread it... put a fiber gasket between and then stuck some jb weld in the seam and clamped it for a day then painted and put the rubber seal back. Tick is 100% gone for a year now. The other place you can apply some fiber tape for good measure is where the door harness connector rests in that pillar. You'll notice it rattles. Basically, unplug the harness and then remove the female socket connector from the pillar and apply some fiber tape or whatever so the plastic doesnt move in the slot. But the ticking is most definitely the welds. Guarantee you have at least one that's not welded. It's obvious when you see it... there's a dimple but no weld. When the temp changes the metal expands or contracts. Go check it out and let me know if you have questions. Glad to help where I can. Btw... check the rear pillars if you have the suv... I had to fix that as well. The rear is a different location but you basically follow the procedure I posted and you'll be fine. Here's some crappy photos but may help... -First two pics are of the location of the missing weld on the sandwiched outer and inner sheet metal -third pic is where I tapped in a plastic wedge to open the gap a bit and insert a fiber gasket piece -last pic is with the gasket inserted and wedge removed Sent from my SM-G955U using Tapatalk
-
Okay... I found the repair procedure. It's a PIT (Preliminary Information Bulletin) not a TSB. Regardless, the pdf is attached with pics. Hope this is helpful... PIT5579.pdf
-
So I had this issue and was able to resolve it. There IS a tsb for it but I cant find it for the life of me and don't have access to the tsb database anymore. If I find it I'll post it... I'll do some searching. I'll do my best to explain so bear with me. Mine was on my 2016 Yukon XL Denali. Literally drove me to the point of insanity. Okay, so basically in the b-pillar there are two pieces of sheet metal sandwiched together. If you remove the inner panel trim pieces then take a look where the grab handles bolt on... it might be behind the door seal but you'll see the sandwiched sheet metal. Basically they did a shit job welding them and when it gets really hot (I'm in Dallas) the metal expands and you guessed it... plays that beautiful snare drum ticking melody in your ear. The tsb actually called for welding something in that area but essentially what the tech did was put a long bolt into the rear grab handle mount point and put a pry bar on the bolt and slightly pry that away and give a very slight gap. I'm talking barely pry... just enough to gap but it keeps those pieces from "ticking". Its not even noticeable. It would happen to me on a hot day after my truck was parked in the sun for about 6 to 8 hrs. I would hear that shit my entire drive home. Needless to say,its been 2yrs now and no more tick. Hope that makes sense. I'm pissed I didnt save the tsb as it has photos, etc. Like I said, I'll keep looking to see if I can find it. Hope I can give y'all back some sanity. The closest TSB I can find at the moment is for the 2019 Chevy Blazer but is basically the same issue. Awesome to see it's still an issue lol. TSB:19-NA-111 Attached I'll keep searching for the tsb relevant to the K2XX MC-10161899-9999.pdf
-
1st and 2nd row jump seat between captains chairs
wingsaa replied to dust10314's topic in Modifications & Accessories
So is there a way to secure this or is it just sitting there? Sent from my SM-G955U using Tapatalk -
I think I'm just going to wait for now. I just flipped my current mat around and it works fine.
-
Okay this is too funny to not post... Not only is the part ridiculously priced but I looked on gmpartsdirect and they want 50 bucks to ship to Dallas. Pfff...ha!
-
Here's a photo of the new mat... no official gm part numbers. Interesting it says "powermat version gm".
-
I run Top Tier 93 in my XL Denali 6.2L.
-
What have you done to your K2 today?
wingsaa replied to block8head's topic in Modifications & Accessories
That white looks good... especially with that wheel combo! -
What have you done to your K2 today?
wingsaa replied to block8head's topic in Modifications & Accessories
Those are sharp. One of my favorite! Nice touch. -
Looks good! Nice work.
-
This!
-
I've found that if you place the device on top of the rear ledge it charges every time no issues. Now again, if it moves you're still SOL.
-
It happens on mine as well as every other GM vehicle I've driven that's been built recently. Unfortunately, I've stopped caring and deemed it "normal".
-
Here are the TSBs I referenced earlier. I'm not sure it's the solution but regardless, information on the topic for your vehicle that was similar to how you explained. harshshift.pdf transadaptivefunctions.pdf harshshift.pdf transadaptivefunctions.pdf harshshift.pdf transadaptivefunctions.pdf harshshift.pdf transadaptivefunctions.pdf


.jpg.23c7dbca22feb7c3447f3e907305a66d.jpg)
.jpg.3091d71ab0e836d7d5d89a203579d7e3.jpg)


-
Forum Statistics
250.4k
Total Topics2.7m
Total Posts -
Member Statistics
342,755
Total Members8,960
Most Online