Search the Community
Showing results for tags '2011'.
Found 5 results
-
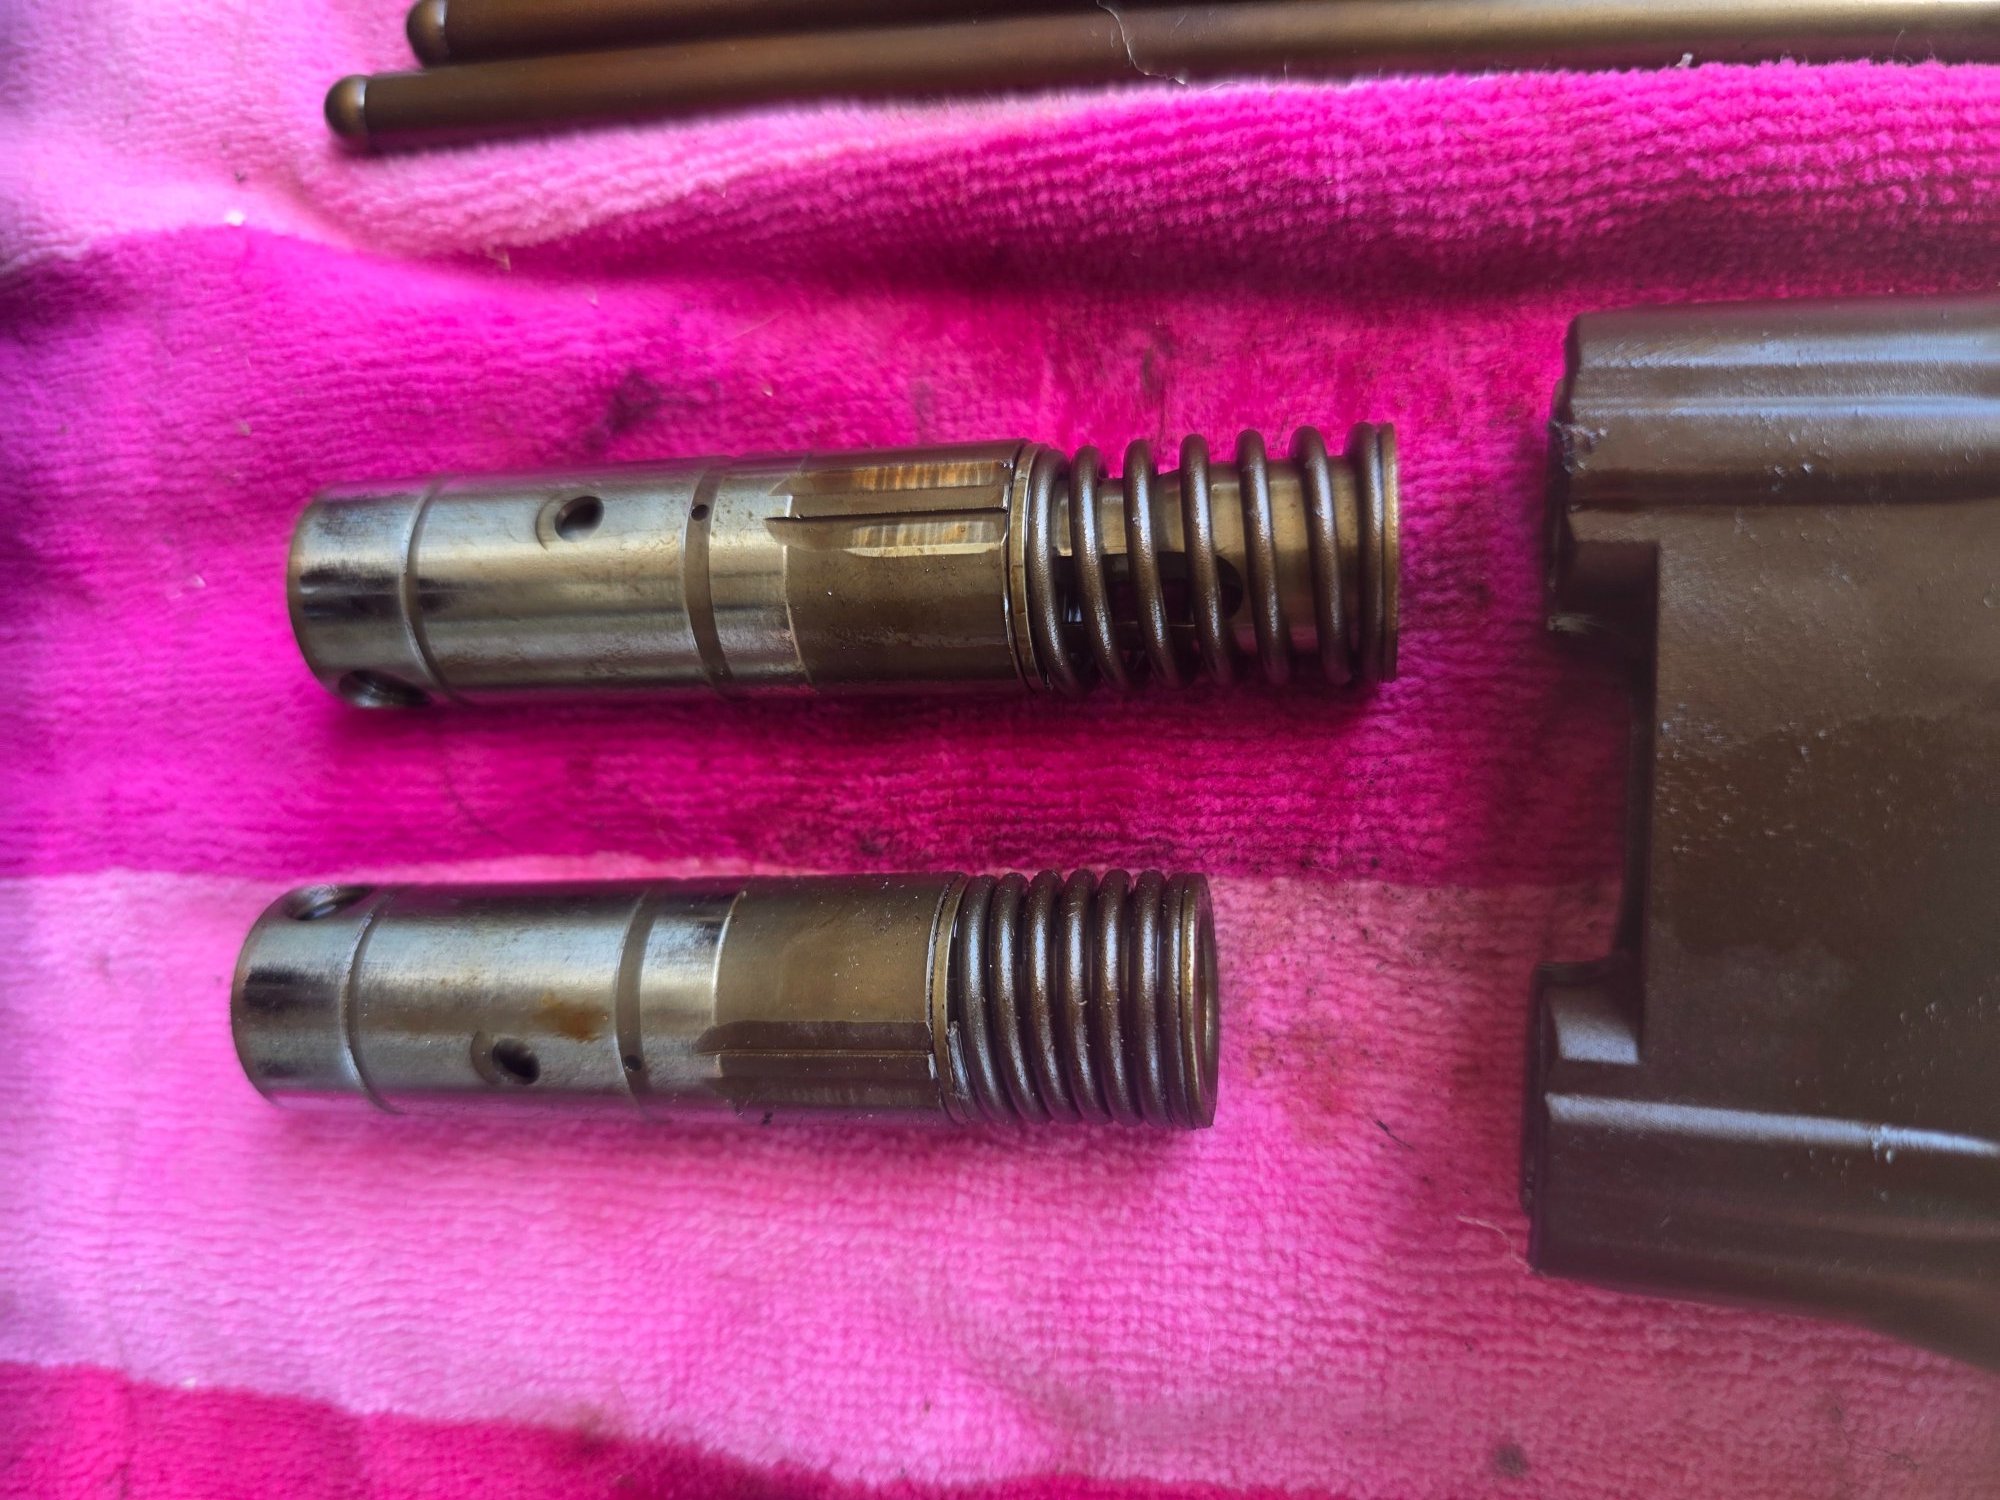
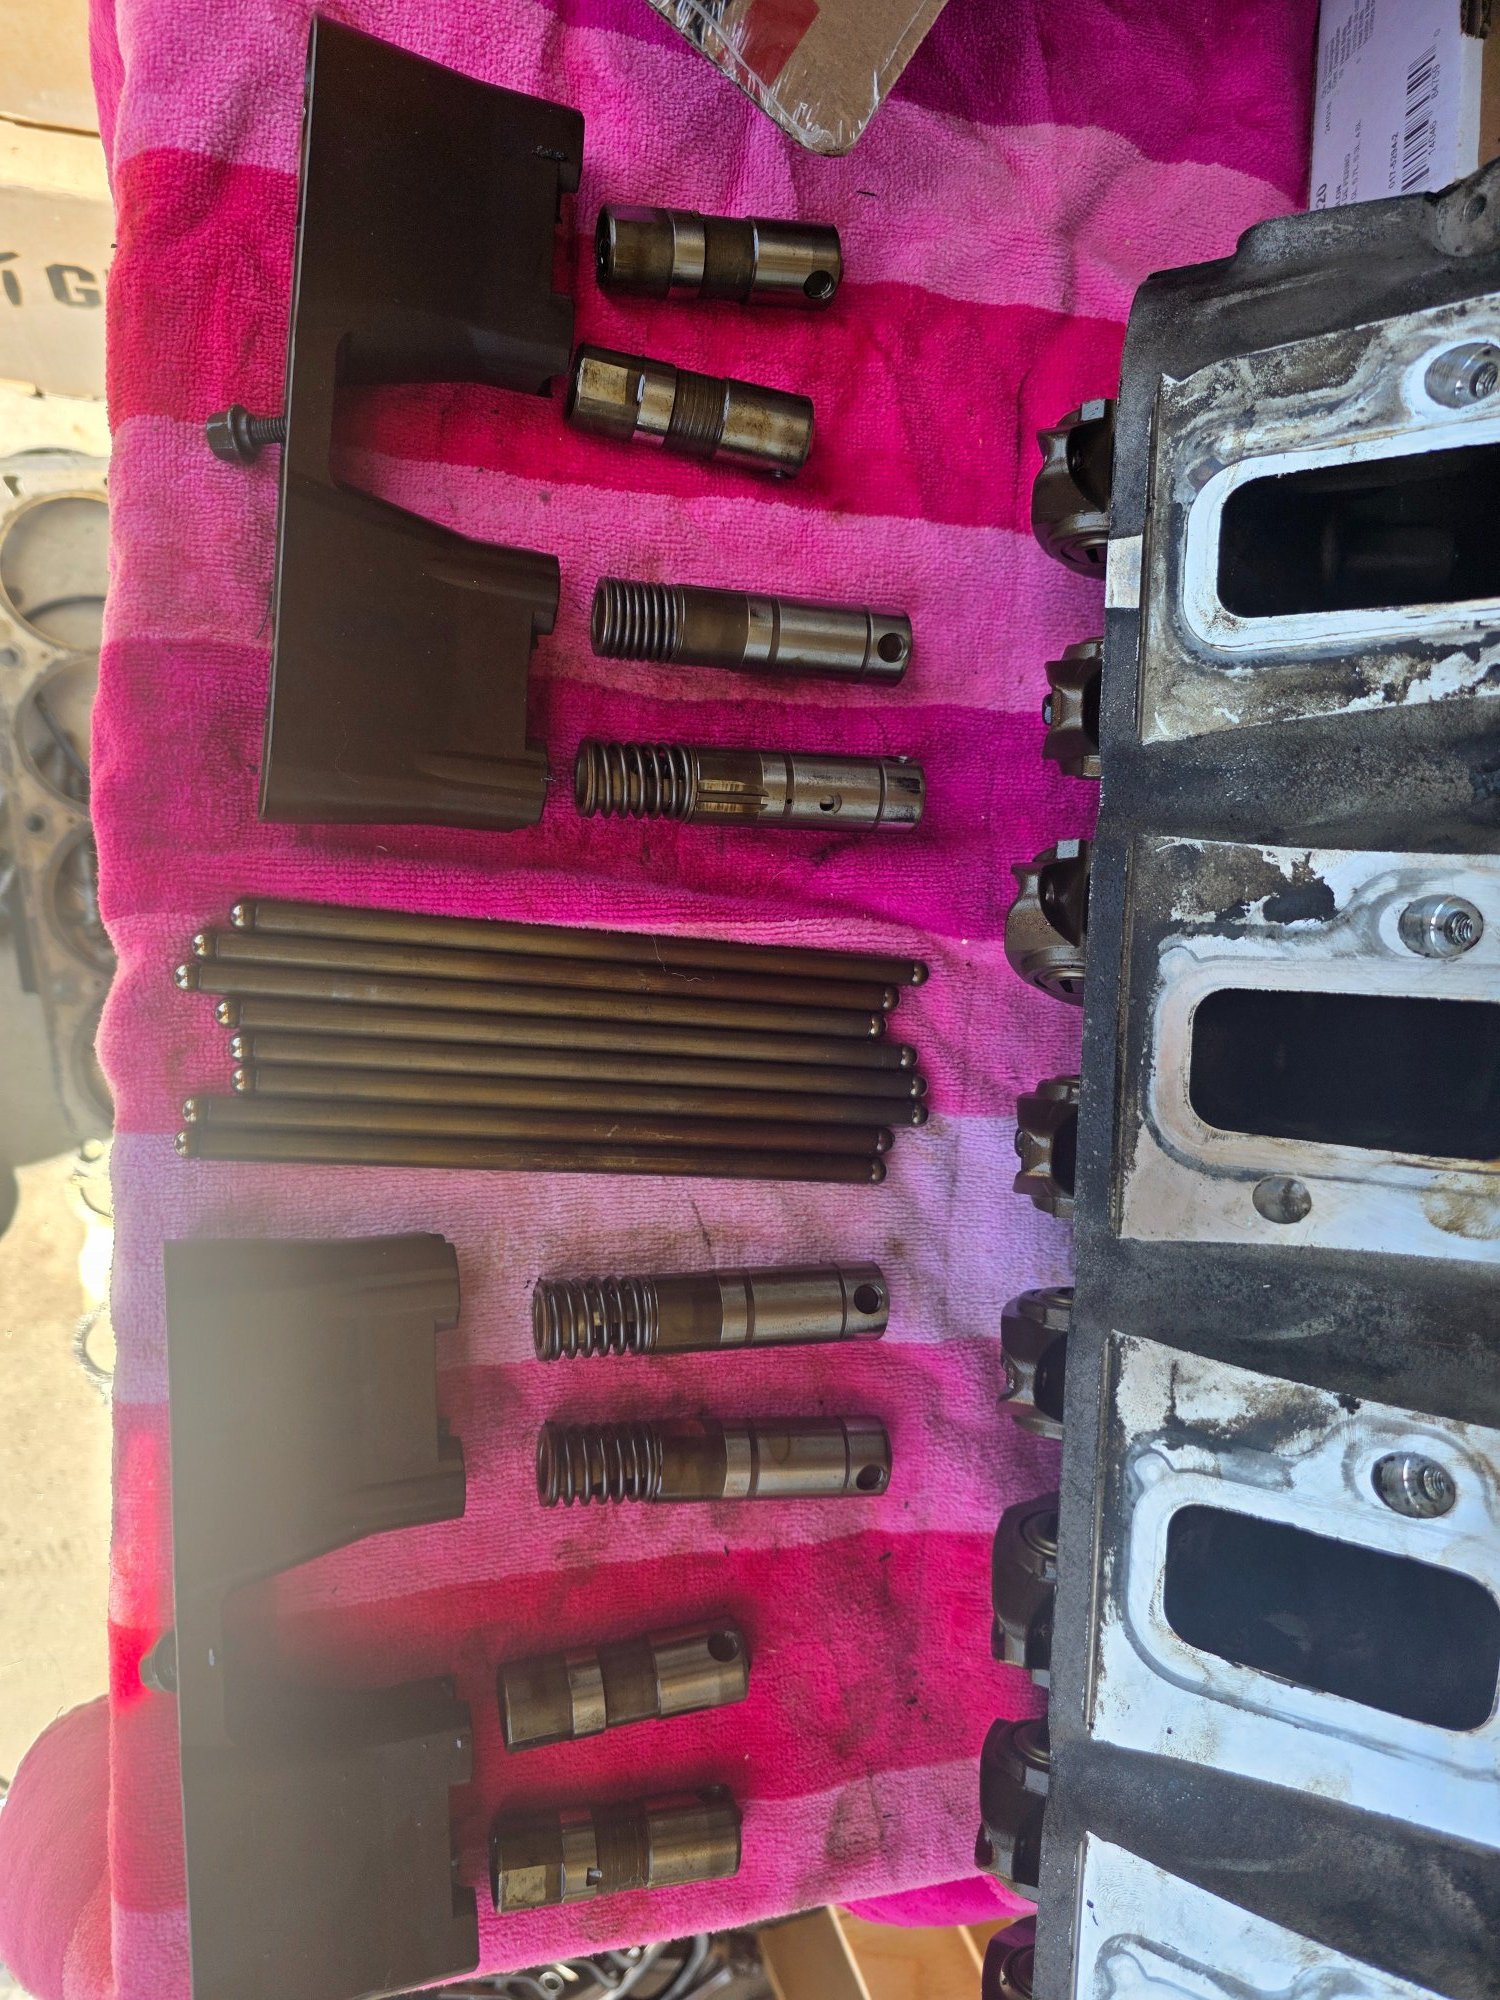
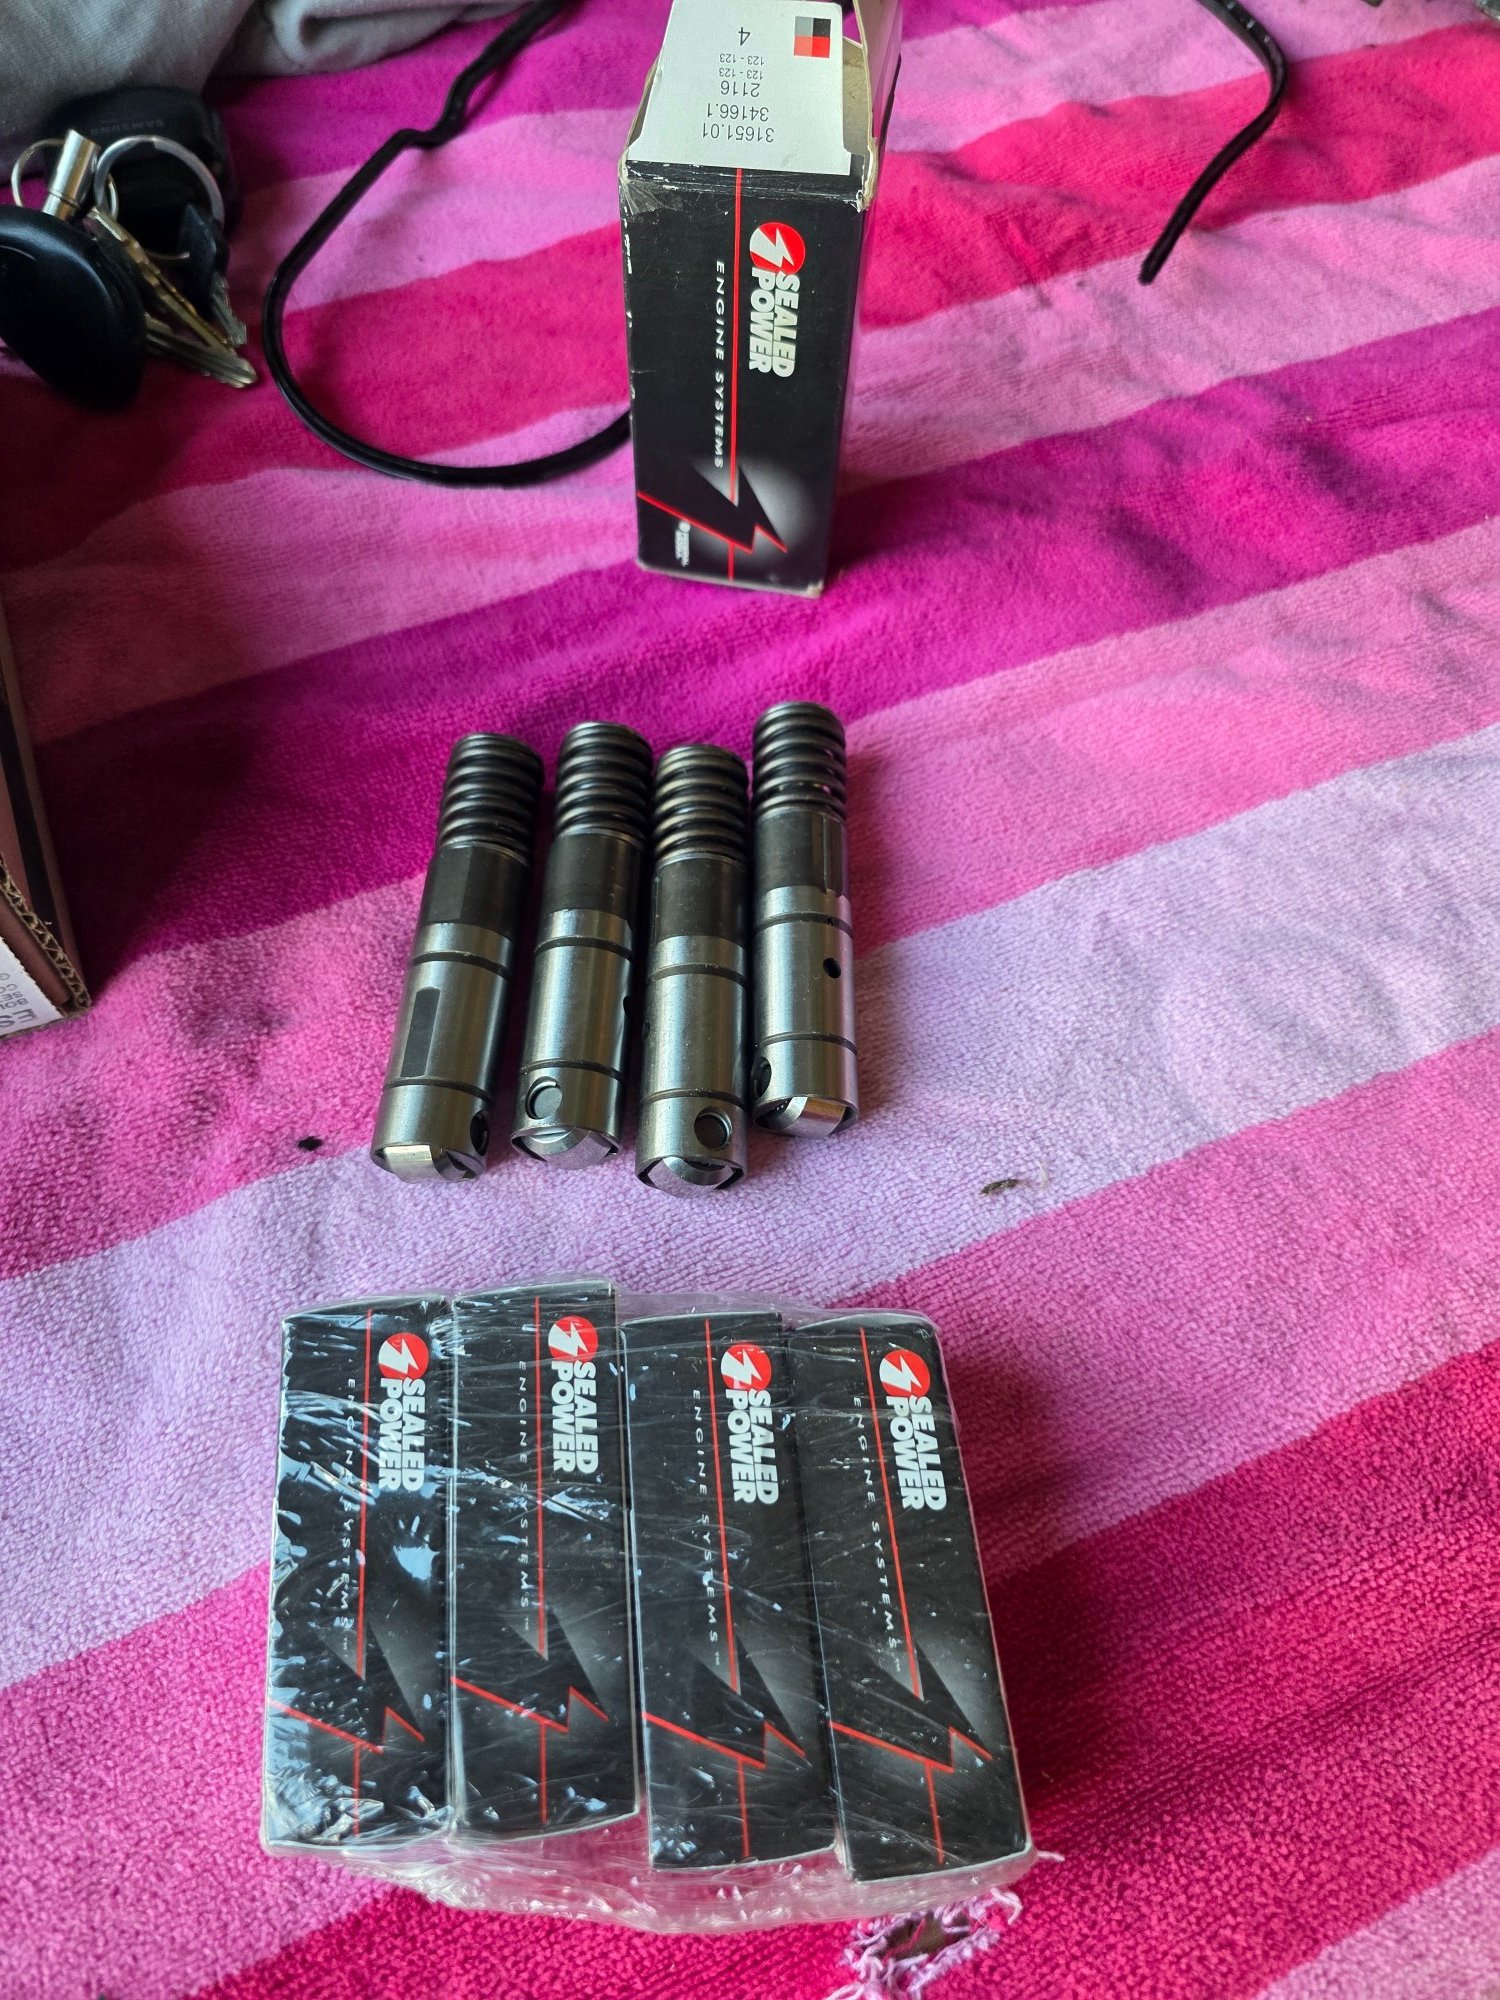
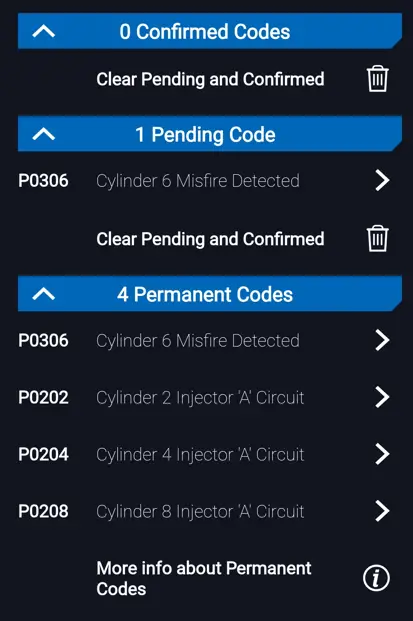
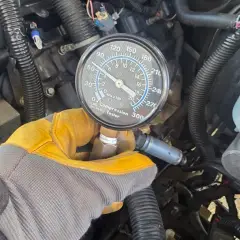 A few weeks ago, while driving my 2011 GMC Yukon Denali (with 185,000 miles), the vehicle suddenly began making an obnoxious noise. There were no check engine lights, but the engine sounded rough. I later discovered that it was an AFM (Active Fuel Management) lifter failure on Cylinder 6. I was able to drive the vehicle home, and based on recommendations to avoid further damage, I parked it and began researching the issue. With the help of a friend, I started diagnosing the problem. The first step was to confirm lifter failure by removing the valve cover. We identified the issue on the exhaust valve of Cylinder 6 its rocker arm was barely moving, indicating a lifter problem. I tried the Marvel Mystery Oil method, following instructions to let the engine idle and drive it briefly, but after several attempts, it didn’t help. I realized that continuing to run the engine in this condition could cause more serious damage, so I decided to move forward with a proper repair. That meant rebuilding the head and replacing the lifters with new ones. I proceeded with head removal steps by taking out the exhaust, intake, and finally the head where the problem was present. After removing the head and removing the lifter trays i laid out the lifters and confirmed one of them was soo stuck that it prevented the roller from moving: I decided to proceed with using the AFM (Active Fuel Management) version of the lifters to repair the issue. I wasn’t entirely sure what kind of emissions or smog-related problems I might run into with California regulations during the next registration cycle, so I chose the path of least resistance and stuck with the original AFM setup. The repair involved the following: 4 brand-new OEM AFM lifters 4 new standard lifters New head gasket New exhaust gasket and bolts New head bolts New valve cover gasket New valve stem seals Cylinder head machined (0.004” taken off) and deep cleaned New dowel pins for head alignment New lifter guide trays New valley cover (valve lifter oil manifold) with new solenoids New oil pressure sensor Fuel injectors cleaned, flow-tested for spray pattern and resistance, with new O-rings installed New intake manifold gasket New ignition coils, coil wires, and spark plugs All components were properly torqued according to specifications, including the head bolts which were torqued in three stages. Now after all that I am getting the consistent Misfire on Cylinder 6, this is the Cylinder that had the original Lifter failure: I tested the ignition coils and fuel injectors which are working as expected. I did compression test of the newly installed head getting the following readings (around ~180 for all 4 cylinders on rebuilt head): I was told that if the cylinder head wasn’t installed correctly, I wouldn’t get proper compression. At this point, I’m not sure what the root issue could be. The only thing that comes to mind is a possible problem with the wiring harness for the ignition coils or fuel injectors but that seems unlikely and a bit strange. Has anyone experienced something similar or have any ideas on what the issue might be, given everything I’ve done so far? If I can’t get this resolved, my next step will likely be a full rebuild and an AFM delete I'm ready to get rid of that system entirely and make this engine truly reliable again. Thanks in advance for any help or input!
-
 Maybe this will help anyone who has a truck that turns over, but won't start. P1682 is the code on the computer... Here are the technical details on this code: P1682 Chevrolet Description There are 2 ignition 1 voltage circuits supplied to the Engine Control Module (ECM). The first ignition circuit is provided by the powertrain relay, through a fuse. This ignition 1 voltage circuit supplies power to all the internal ECM circuits associated with the throttle actuator control (TAC) operation. The second ignition 1 voltage circuit is supplied by the run/crank relay through a fuse, and is used to power the remaining internal ECM circuits. If the ECM detects a voltage difference between the 2 ignition 1 voltage circuits, DTC P1682 will set. P1682 Chevrolet - Ignition 1 Switch Circuit 2 Possible causes - Faulty ignition switch - Ignition Switch harness is open or shorted - Ignition Switch circuit poor electrical connection - Faulty Engine Control Module (ECM) When is the code detected? The ECM has detected a voltage diference between two circuits Possible symptoms - Engine Light ON (or Service Engine Soon Warning Light) - Possible no crank or start I decided to replace the ignition switch because that's what other people had done and it was cheaper than a dealership diagnostic. Besides this one code, my instrument console also threw up warnings about servicing the traction control, anti-lock brake system and some other alarming messages. Including that the engine power was reduced! The ignition switch on my 2011 Silverado is part # 40 in this diagram: To get at it you probably need to drop the interior trim panel below the steering column. Once that's done you need to pull out the steering wheel tilt lever part #20. It should unplug strait out with a screwdriver. Then you unclip the plastic shroud part #22 and #1 Then you unclip the connector going to the Key Chip Sensor #2. And unclip the wiring harness that plugs into the ignition switch. CAUTION: You might have a red plastic locking clip in the harness that needs to be disengaged before the connector will come out. The next step is to remove the lock cylinder. You'll need a pick. Here is a video of someone doing it on a similar vehicle: You can then unclip the Key Chip Sensor #2 and set it aside. You will then have to unhook the white key sensor that that's mounted on the ignition switch case #3 you just removed the key cylinder from. You'll need a small screw driver to push on a plastic tab to unlock it. Once that's done it should rotate easily for removal. If you break it off, it's not a big deal since it's part of the ignition switch you're replacing... even so, I'd practice on this one so you'll be better at removing it if need be in a later step: You can now remove the ignition switch. You'll need two small screw drivers or nails to push into the two square holes to the left and right of the "black hole" shown in the picture below: This video is also good to watch before starting this project: Now the ignition switch I pulled out of my 2011 Silverado was GM Part #25733005 ; D1485F (DO NOT USE) The dealership I contacted said that part had been replaced with GM Part# 22887691 which makes sense since the previous one died. Hopefully the new part lasts longer! Installing the switch is pretty much a reverse of the original process. The only issue is that you need to get your ignition cylinder and the switch gears aligned properly. I had to remove and replace the ignition switch and lock cylinder (and the key security chip reader) a few times before I was able to get the gears on the switch to be correct. (The guy in the second video explains how to align it, but I either didn't pay close enough attention or couldn't do it quite right) You'll also need to clear the code once your vehicle is working again. Hope this helps someone else!
 -

GM-Trucks.com 2011 Project Sierra All-Terrain SLT
Zane posted a gallery image in Black Truck Club's Black Truck Gallery

-
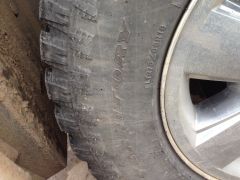
From the album: The Replacement
Not much clearance, but never had an issue with rubbing or grabbing until I put aftermarket mud flap because of the rocks the tires throw. But even then it was only when turning the wheel all the way in -
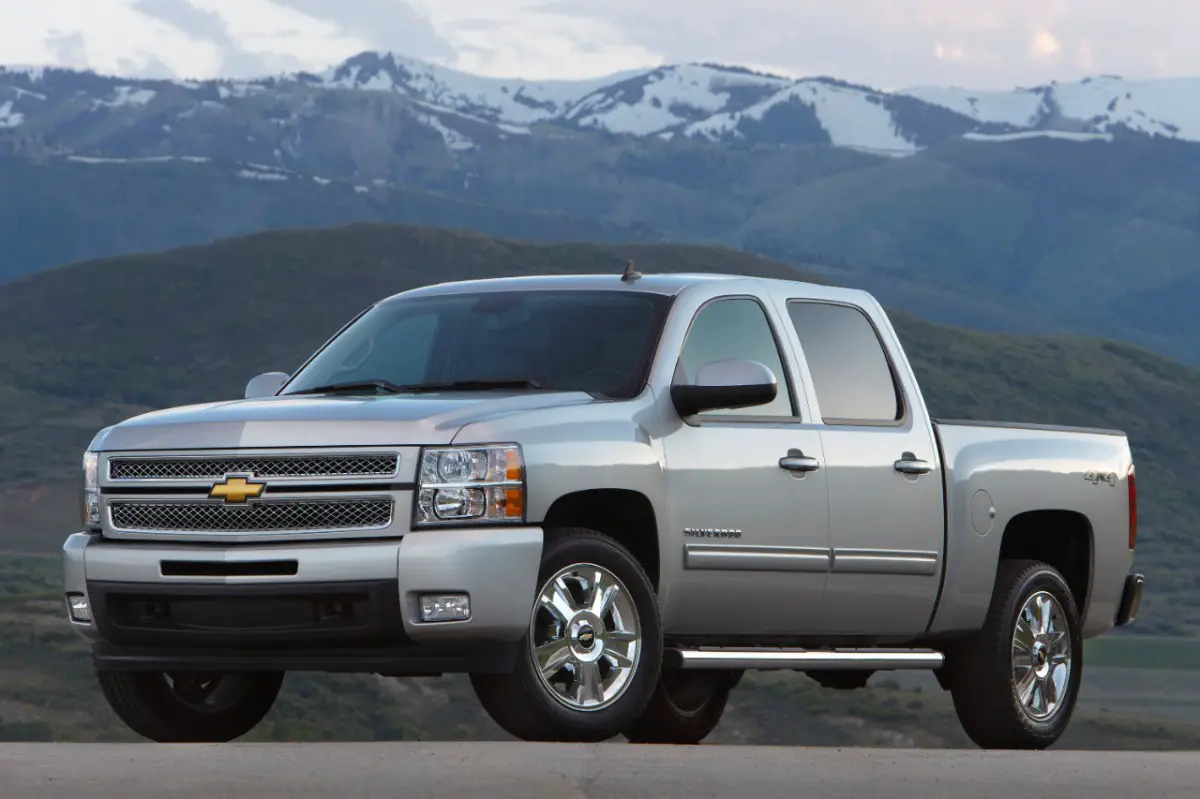 Takata is a global airbag manufacturer who supplies parts to many automakers, including Honda, Toyota, Ford, Nissan, and General Motors. 7.8-million vehicles have been recalled so far for airbags that partially disintegrate, sending shrapnel flying when triggered. For comparison, General Motor produced over 6.5-million of the last generation pickups and SUVs from 2006 until 2013. It is unknown if the redesigned 2014+ models share similar versions of the potentially faulty airbag. GM-Trucks.com has contacted General Motors for clarification. General Motors said plans include forcing Takata to share the design of the airbag with its direct competitors to allow more production capacity. Stay with GM-Trucks.com for updates. As drivers of a 2011 GMC Sierra, we will be following this news closely. Source: Yahoo Finance