Leaderboard

Popular Content
Showing content with the highest reputation on 11/06/2022 in Posts
-
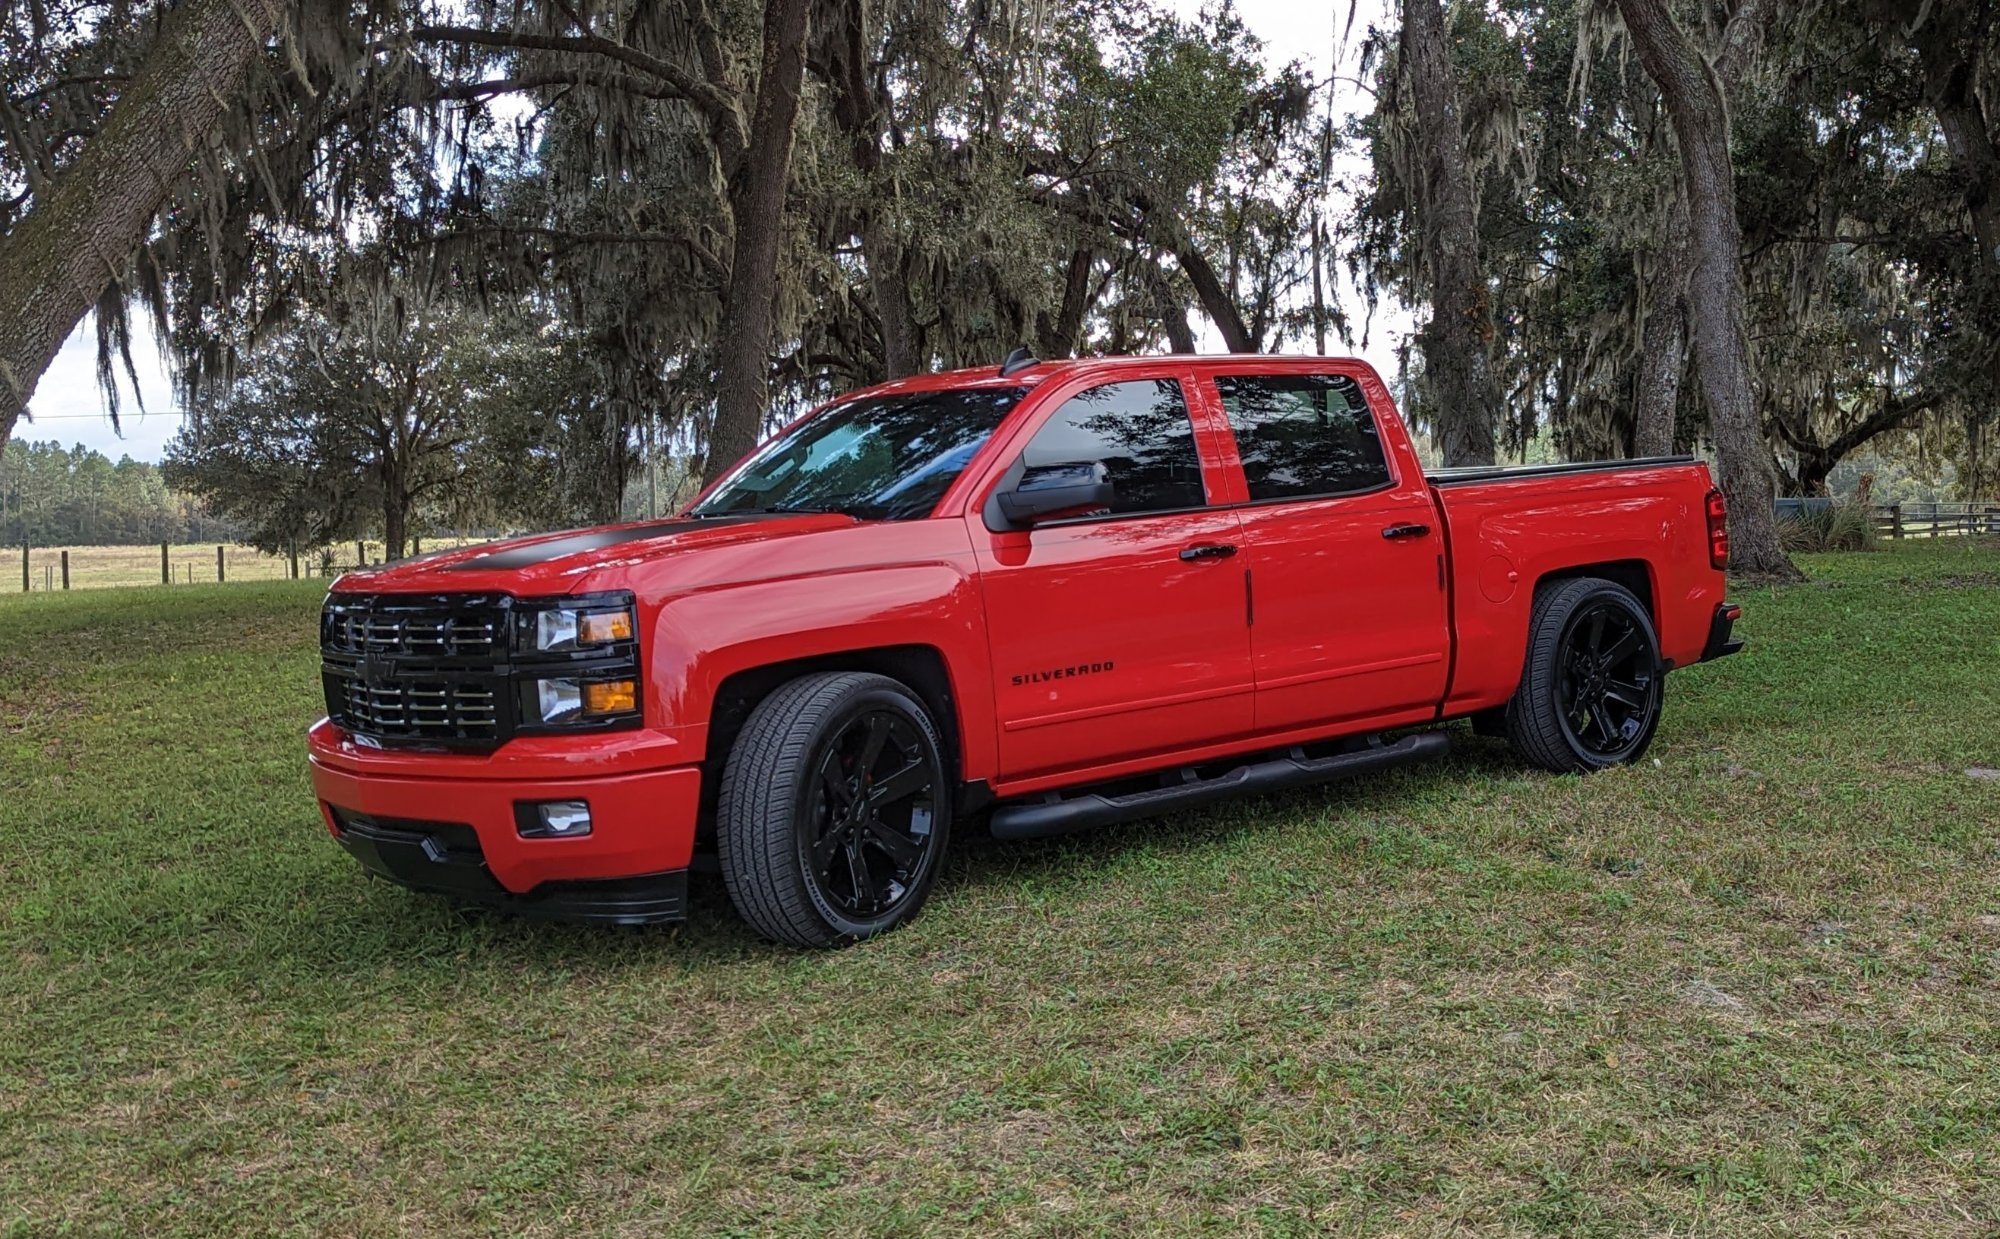
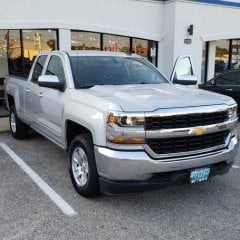
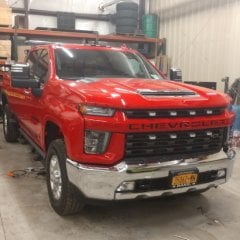
Got all my chrome wrapped to paint match, pinstripe delete and black badges. Looks so much better.
 3 points
 -
Black and red is definitely a great combo. Definitely don't need chrome in the mix to look great.
2 points
-
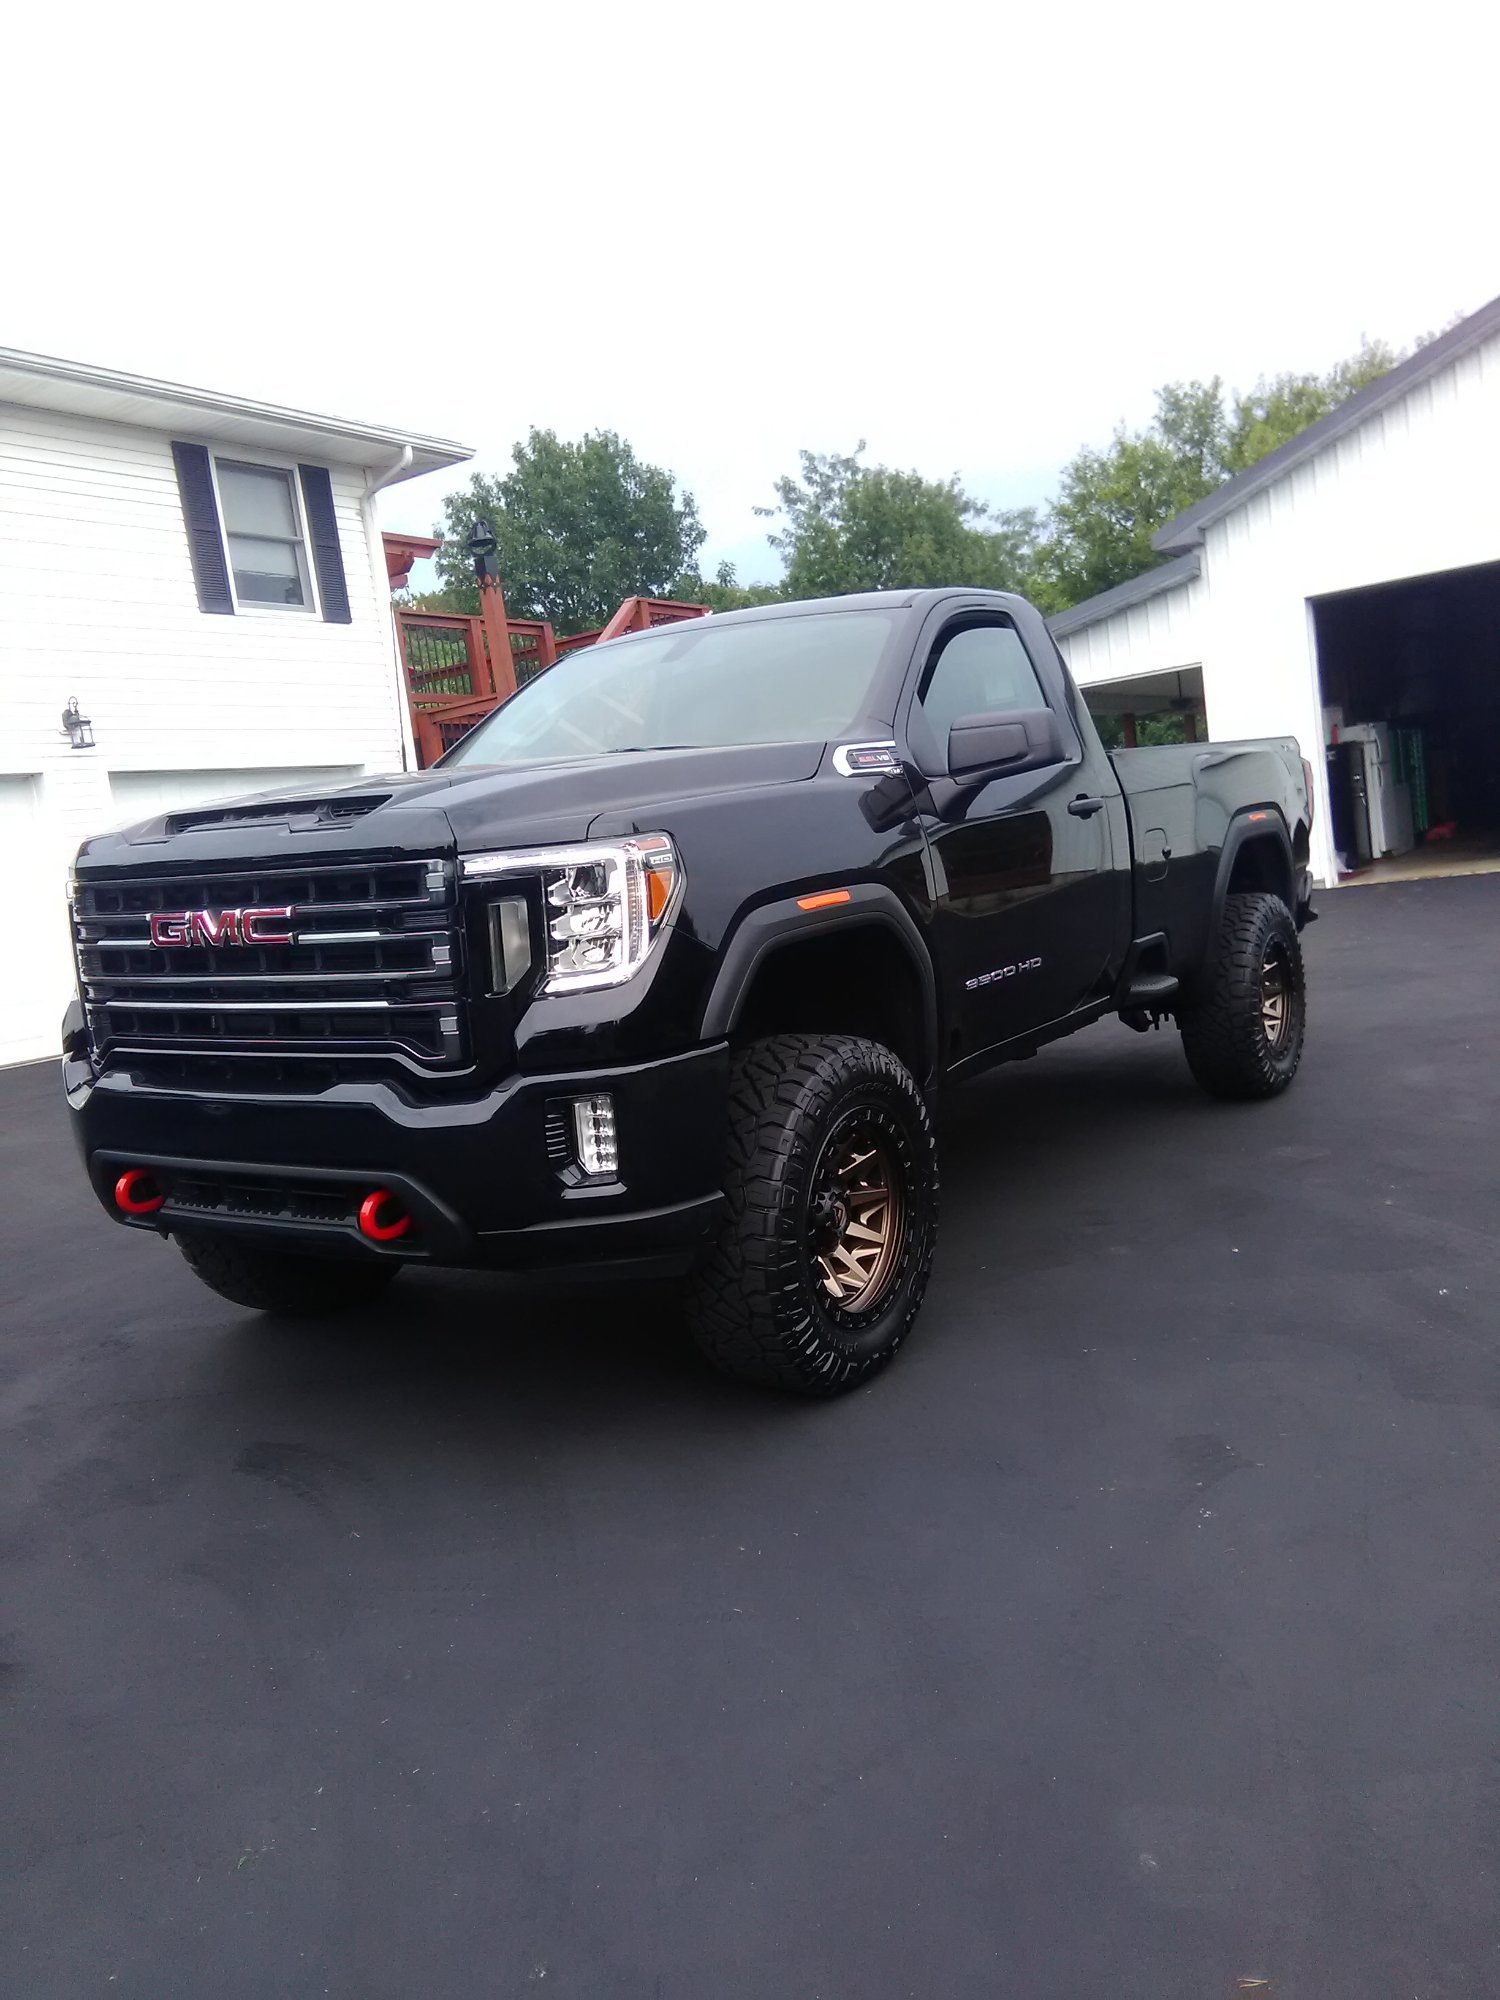
That AT4 looks great. I basically made a reg cab at4 clone.
2 points
-
i think im finally done for now. only things on my wish list are power retractable bed cover and bed rug 22 AT4 4inch CST lift stage 10 PISK kit 37x12.5 ridge grapplers 20inch ICON rebound +12 Bling King Grill insert Bac flip MX4
2 points
-
See video - just saw this pop up compliments of Eric O. of South Main Auto. I would IMAGINE that the grounding setup on the 2021+ SUV lineup is similar to the 2019+ truck lineup. https://www.youtube.com/watch?v=8CFZcO4NDhI1 point
-
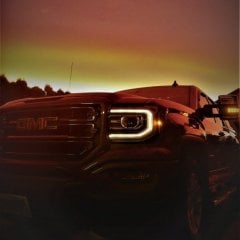
Badass American machine.1 point
-
I’m updating this old thread with my experiences from modifying the 2020 Silverado Trail Boss stereo system and now more recently my new HD Duramax stereo system. On the first truck I ordered a harness from LLJ customs. Took a month and it did not work correctly. I got no response from him. I found John from Audio Integrated Solutions (AIS) on this site. Sent the harness to him and he corrected everything. It worked perfectly and the turn around time was days. This latest truck I contacted John and he built me a harness in a matter of days as well. His work is flawless. His knowledge is vast, and he knows these GM wiring schematics inside out. Send him a picture of the RPC tag on the door, tell him what you are installing and he will get it to you. For 200 or less… in my case [email protected] (Is his email)1 point
-
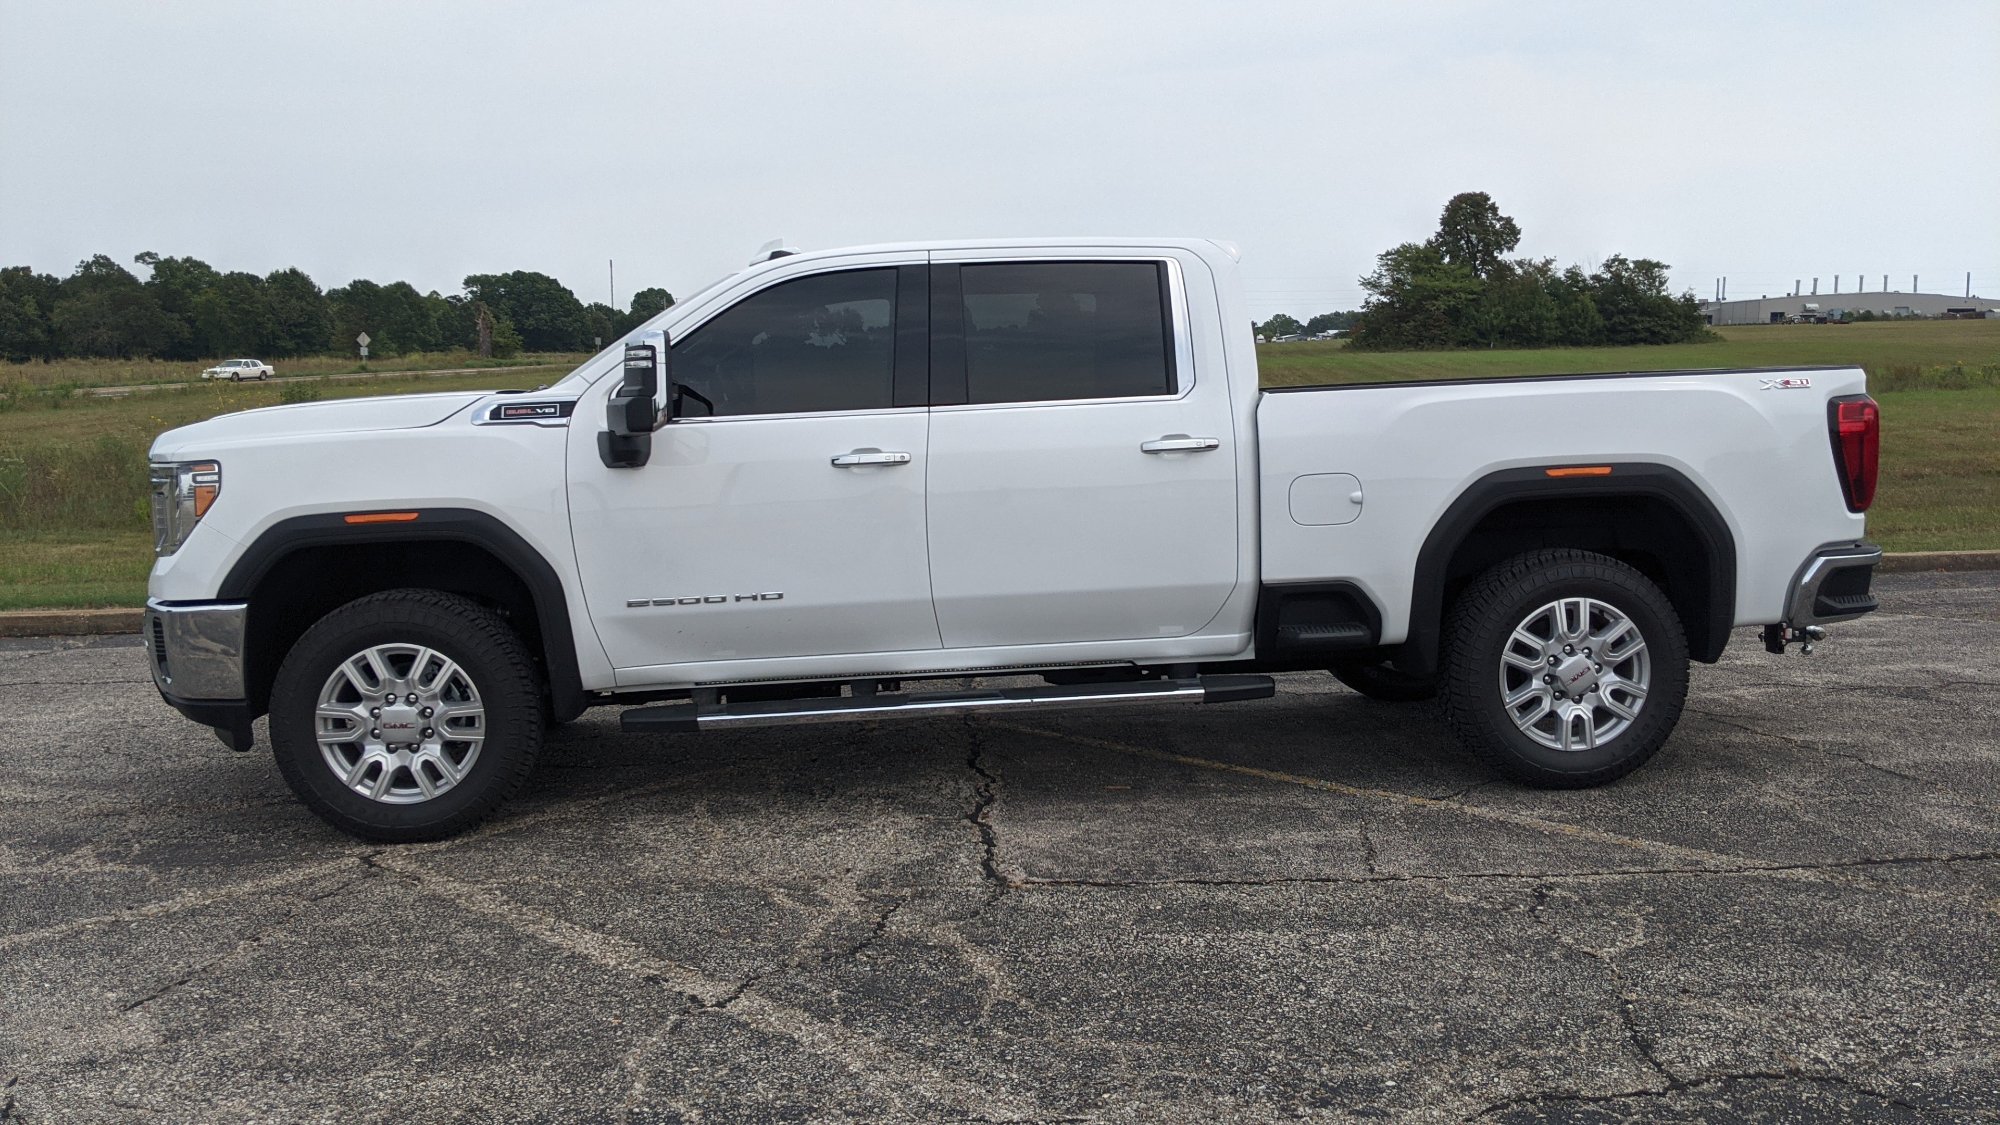
Finally got the new wheels and tires on my truck today. On a side note, does anyone know of a good speedometer calibrator I could purchase?
1 point
-
That video was amazing, thanks for the info, my truck is going into the shop next week and I am going to have them check all of the ground cables and replace as necessary. My truck started with the crazy info of stabilitrak, trailer brake and power steering failure. Once restarted it went away but I'm going to have them check all of the grounds asap.....1 point
-
Its hard to get a torque wrench in tight areas for spark plug tightening, so I generally go by feel. When you are loosening them, keep a mental note of the pressure you applied to loosen them then try to snug up the new ones as close as possible. Its not very scientific I know, but I've changed A LOT of spark plugs over the years and I have never had an issue with over tightening them or having any get loose.1 point
-
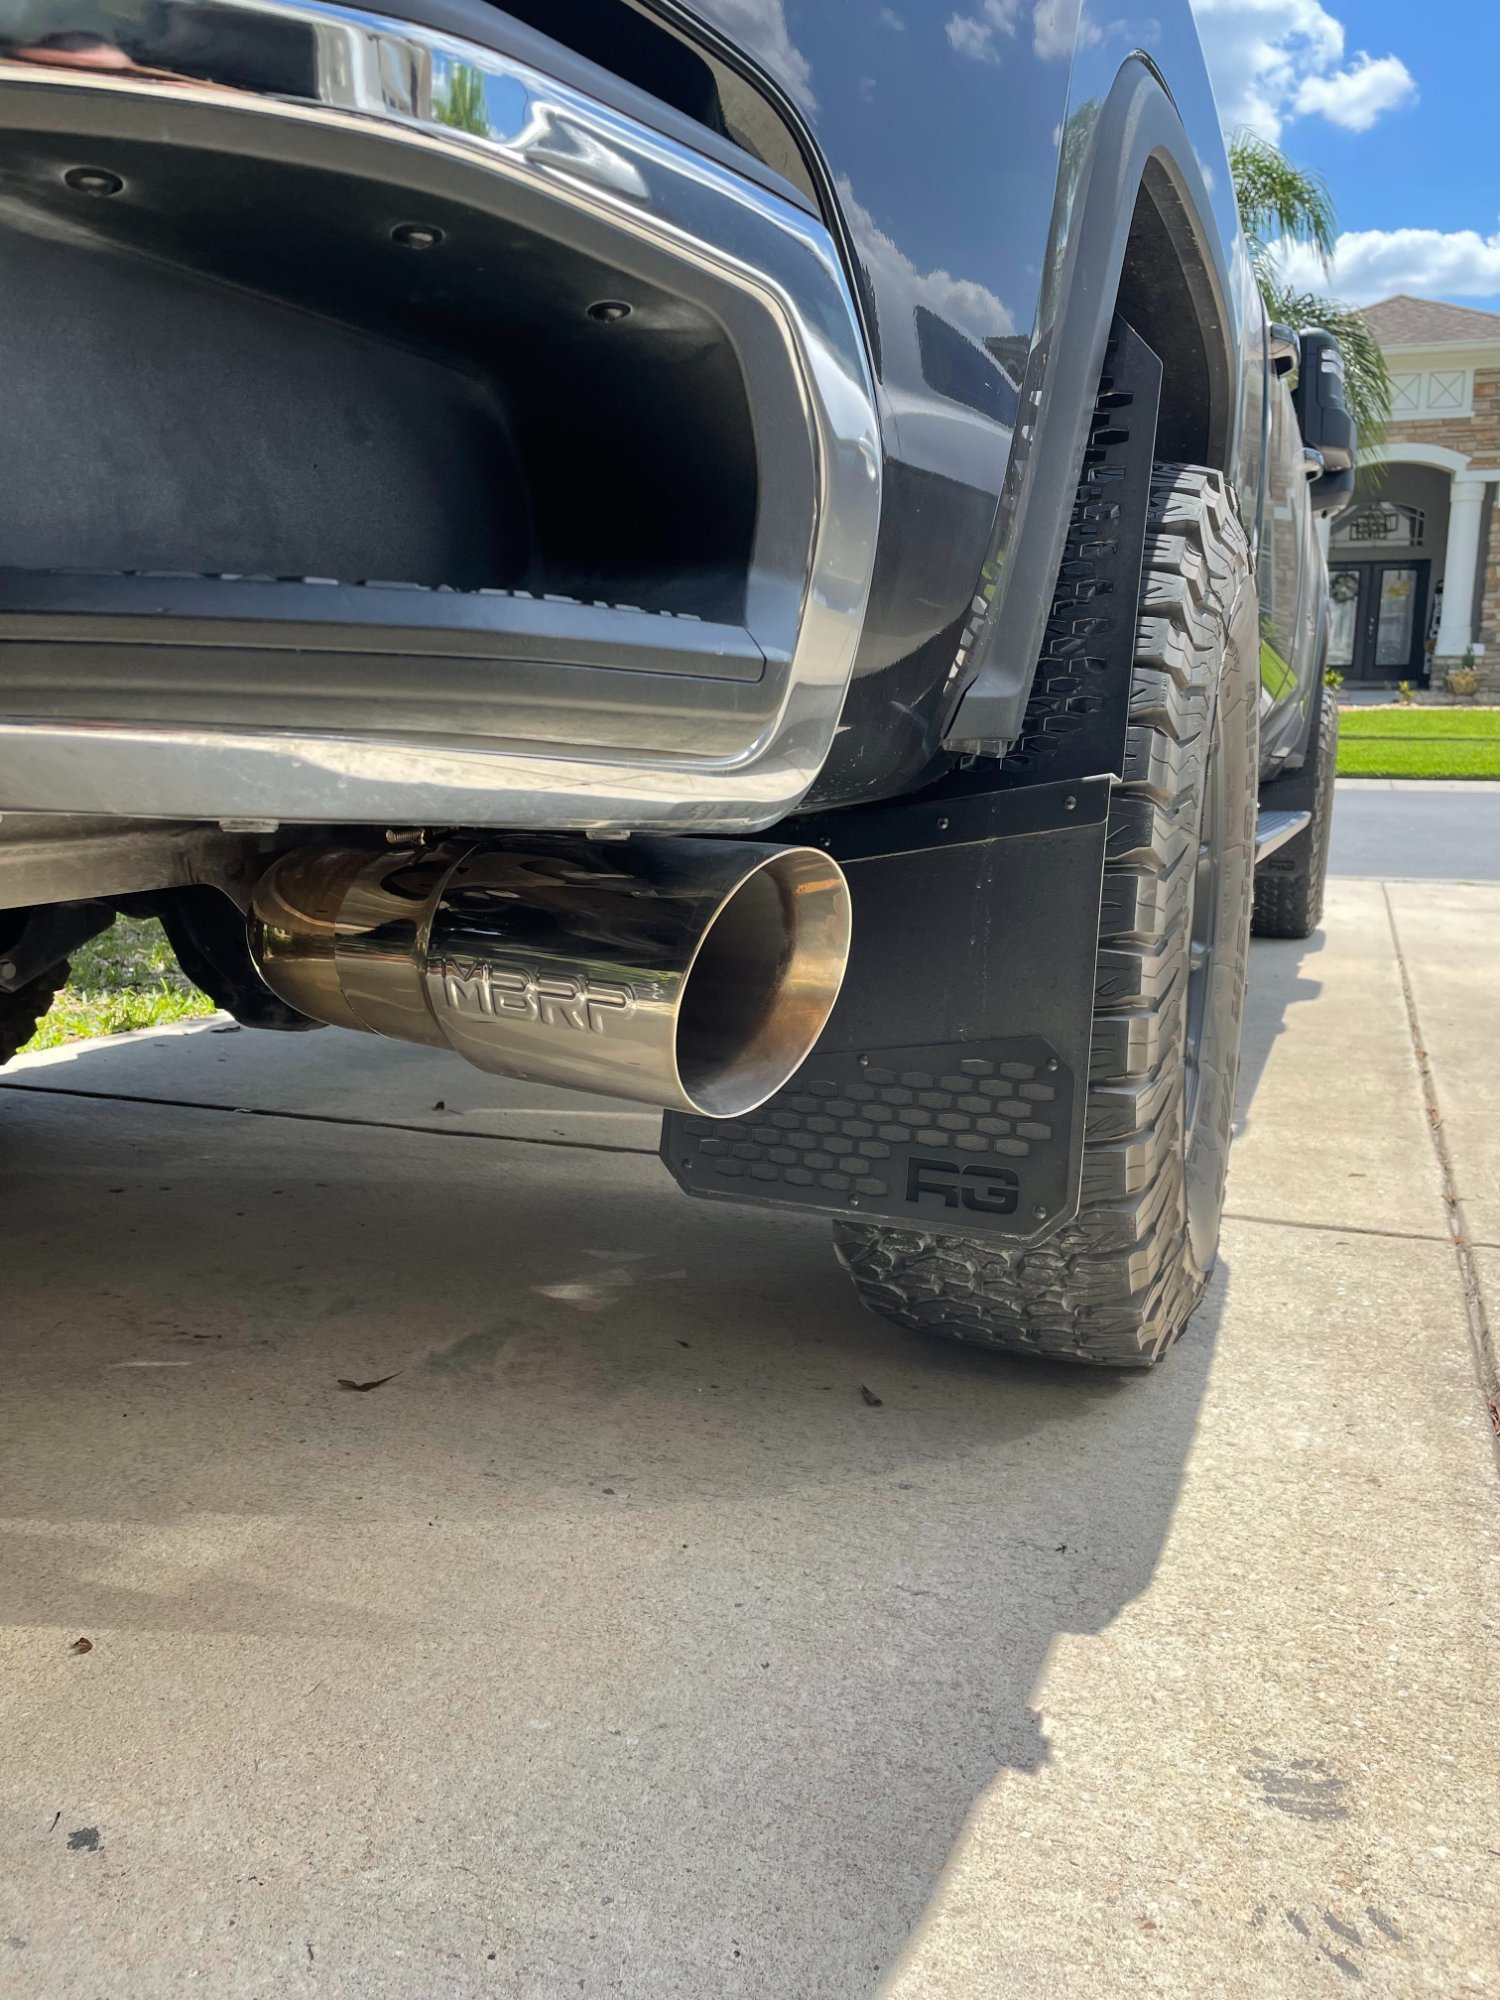
RekGen mud flaps installed
1 point
-
I just posted a question on a very similar set-up.. Are you running 35's on this? If so, how much trimming did you have to do and does it still rub? I have 35's on 22" Fuel Blitz with a -18 and it rubbed really bad.. Looks great by the way!1 point
-
1 point
-
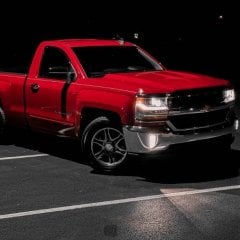
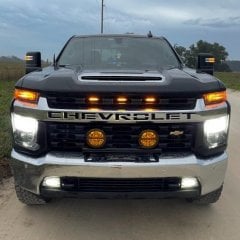
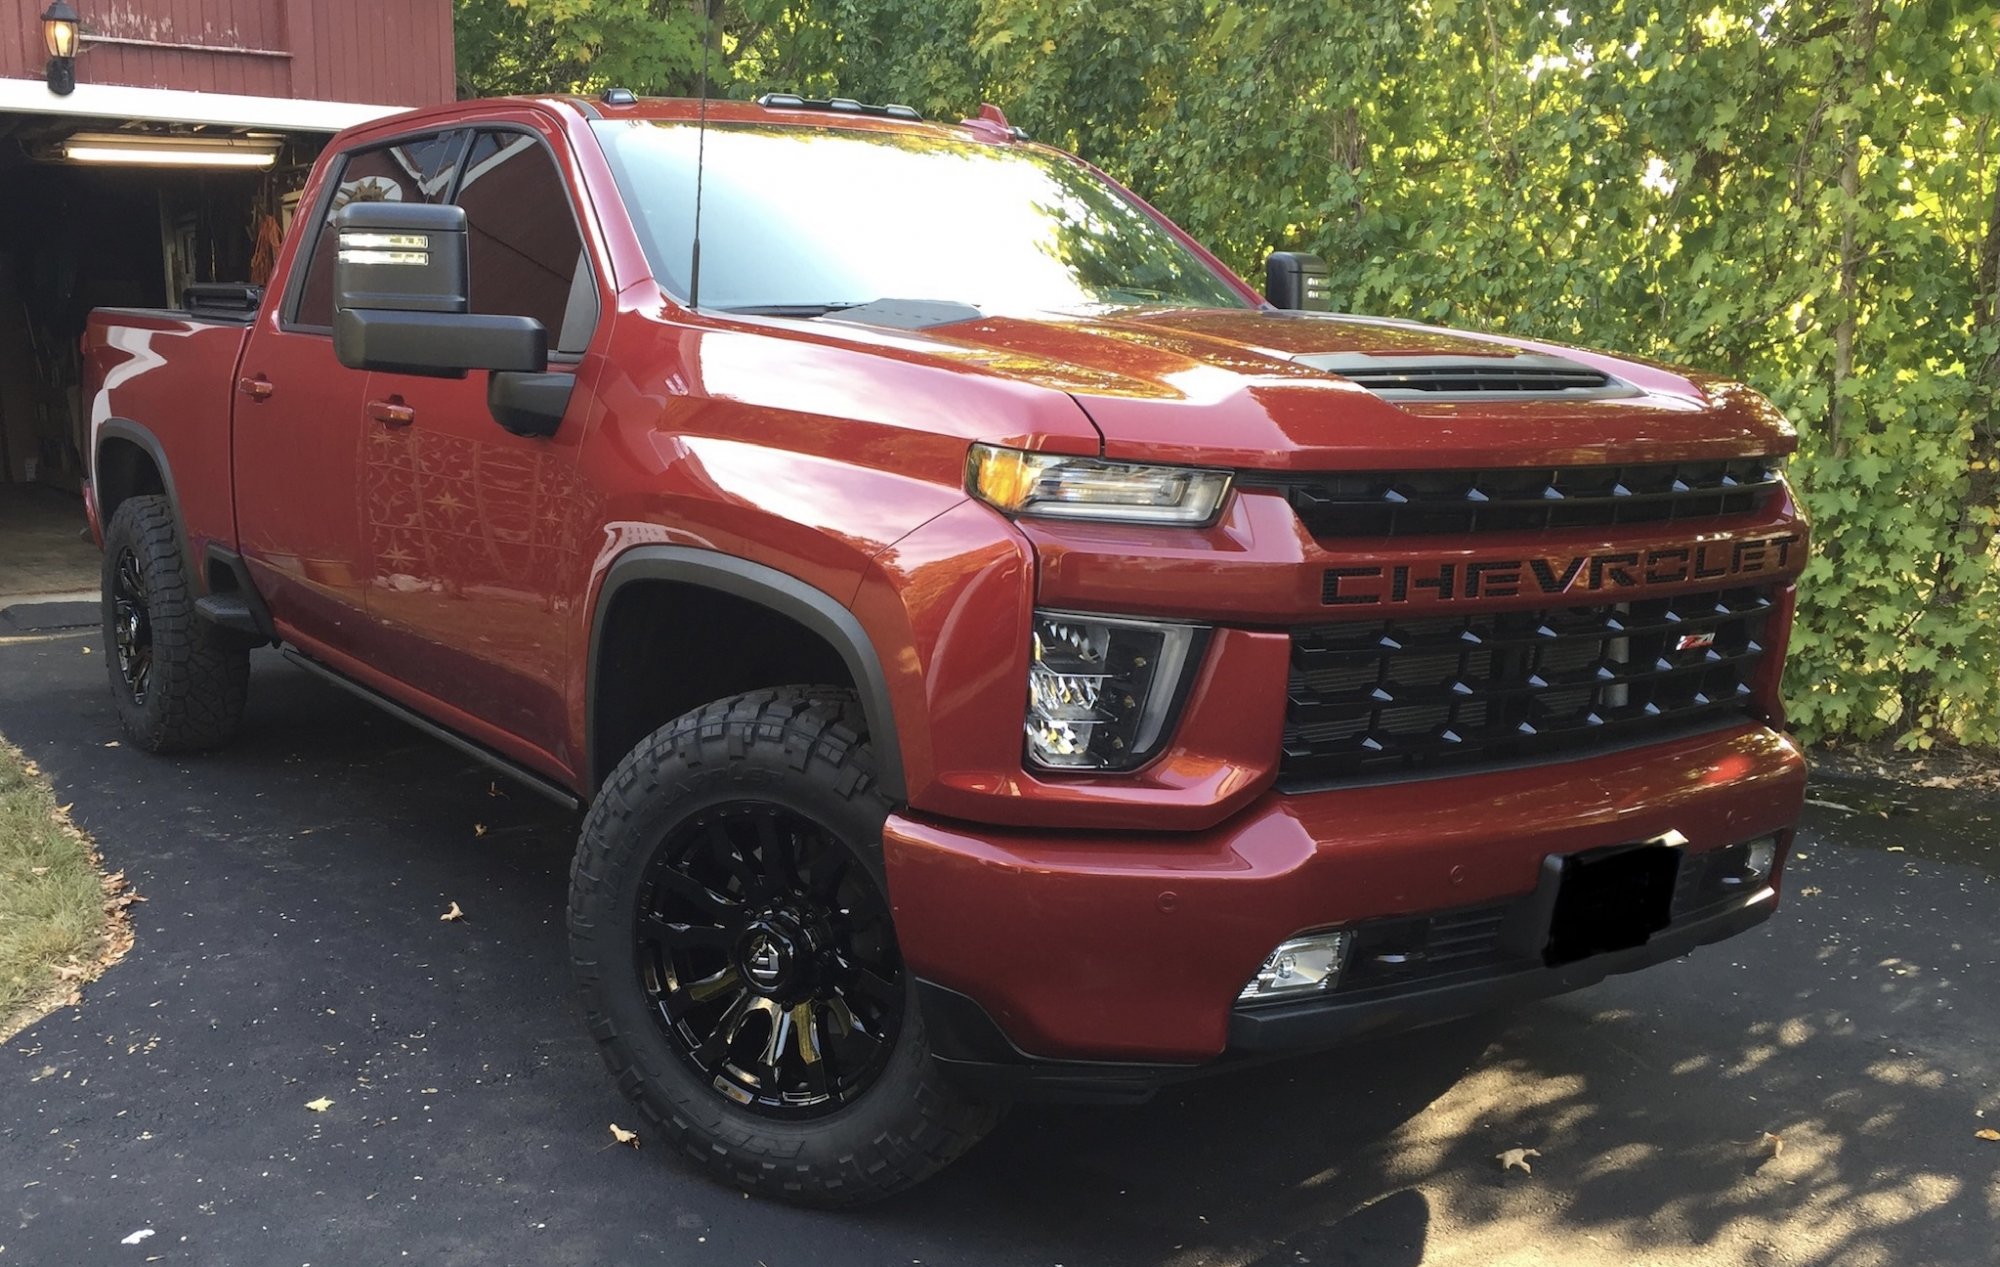
2021 custom, put some 0 offset wheels from black Mamba, tinted er up, cut the factory fog light blanks to fit some baja design pods but just switched em out for some nightrider jet black series pods, and put cougar motor leds in the headlights
1 point
-
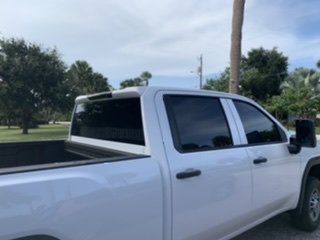
Tinted the windows on the green house.
1 point
-
Old thread, I know, but I used the grommet by the drivers door. Very easy to get to both inside and out.
1 point
-
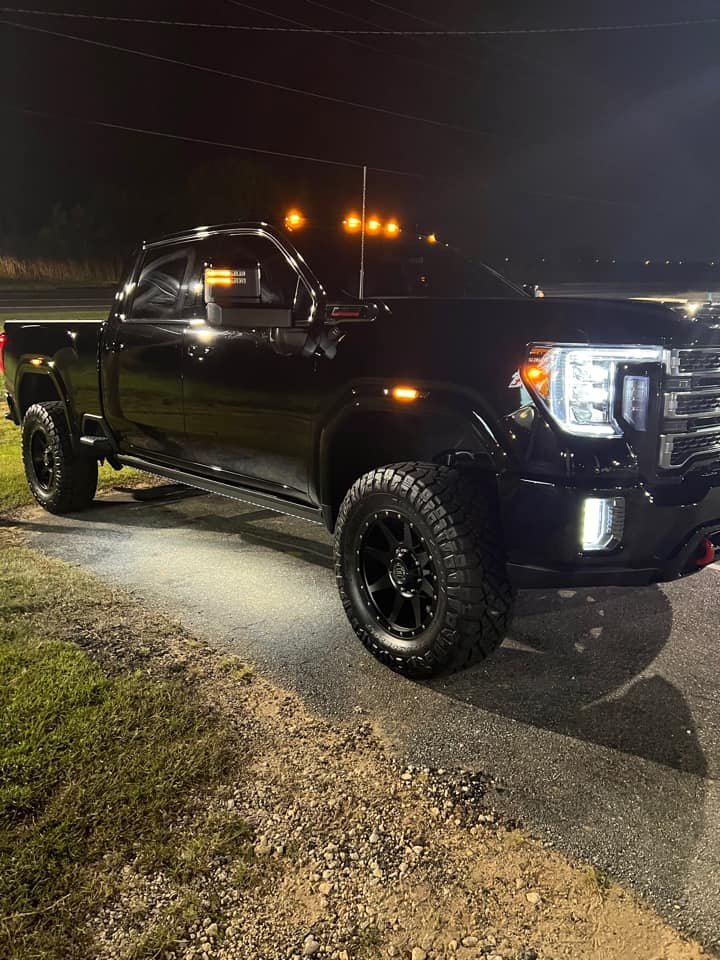
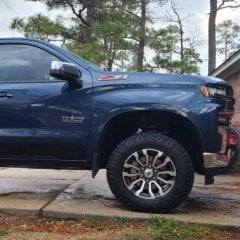
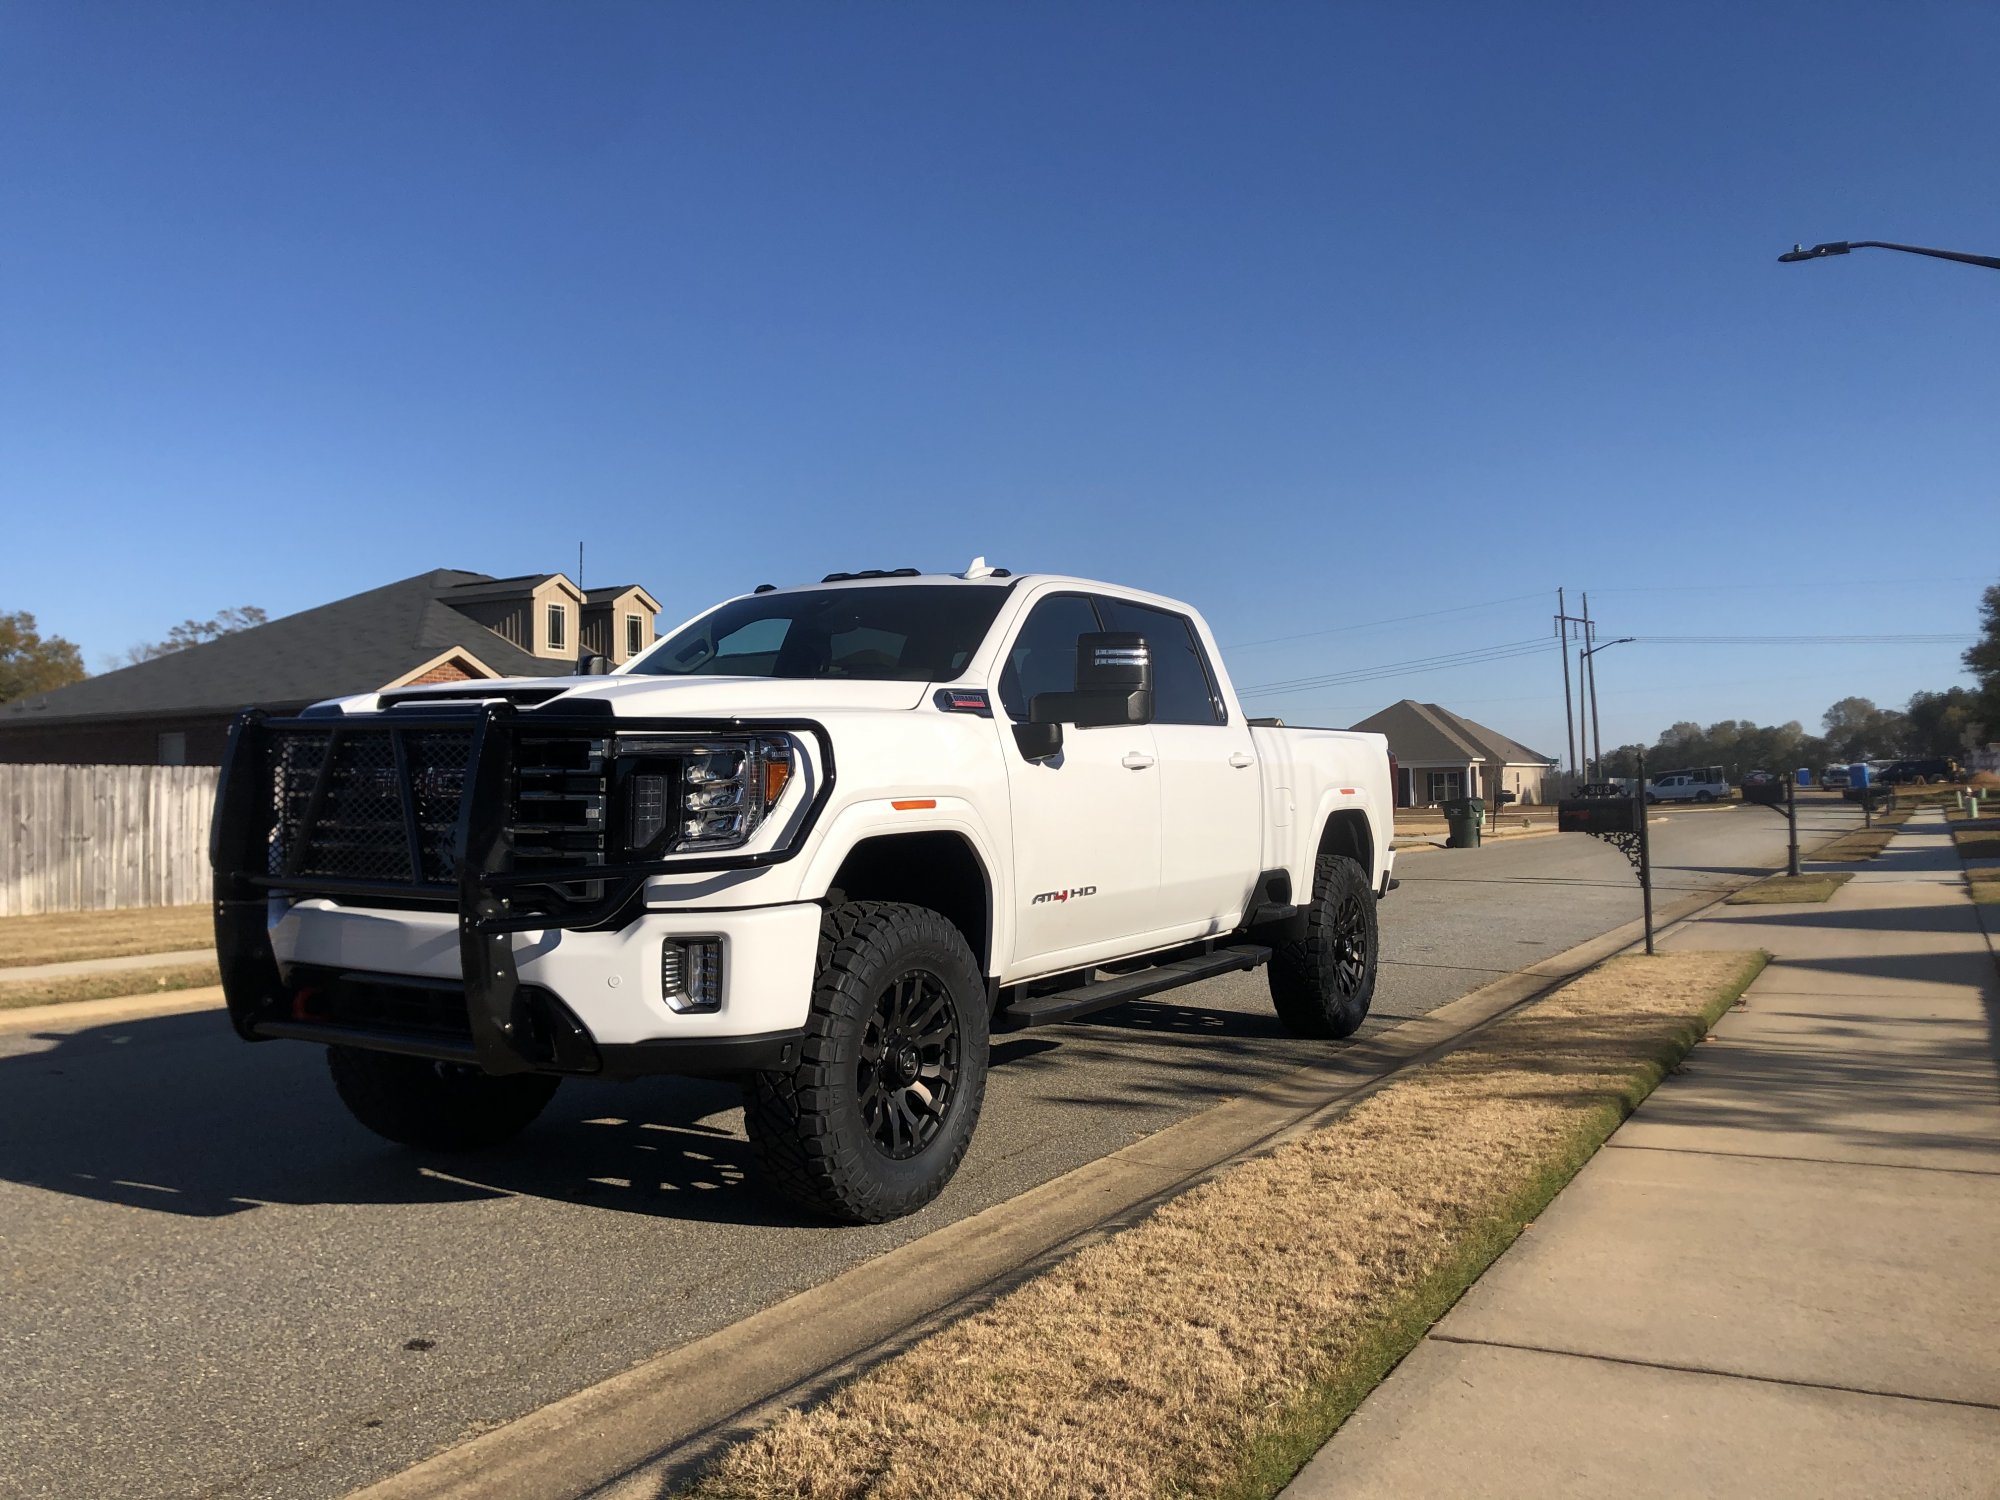
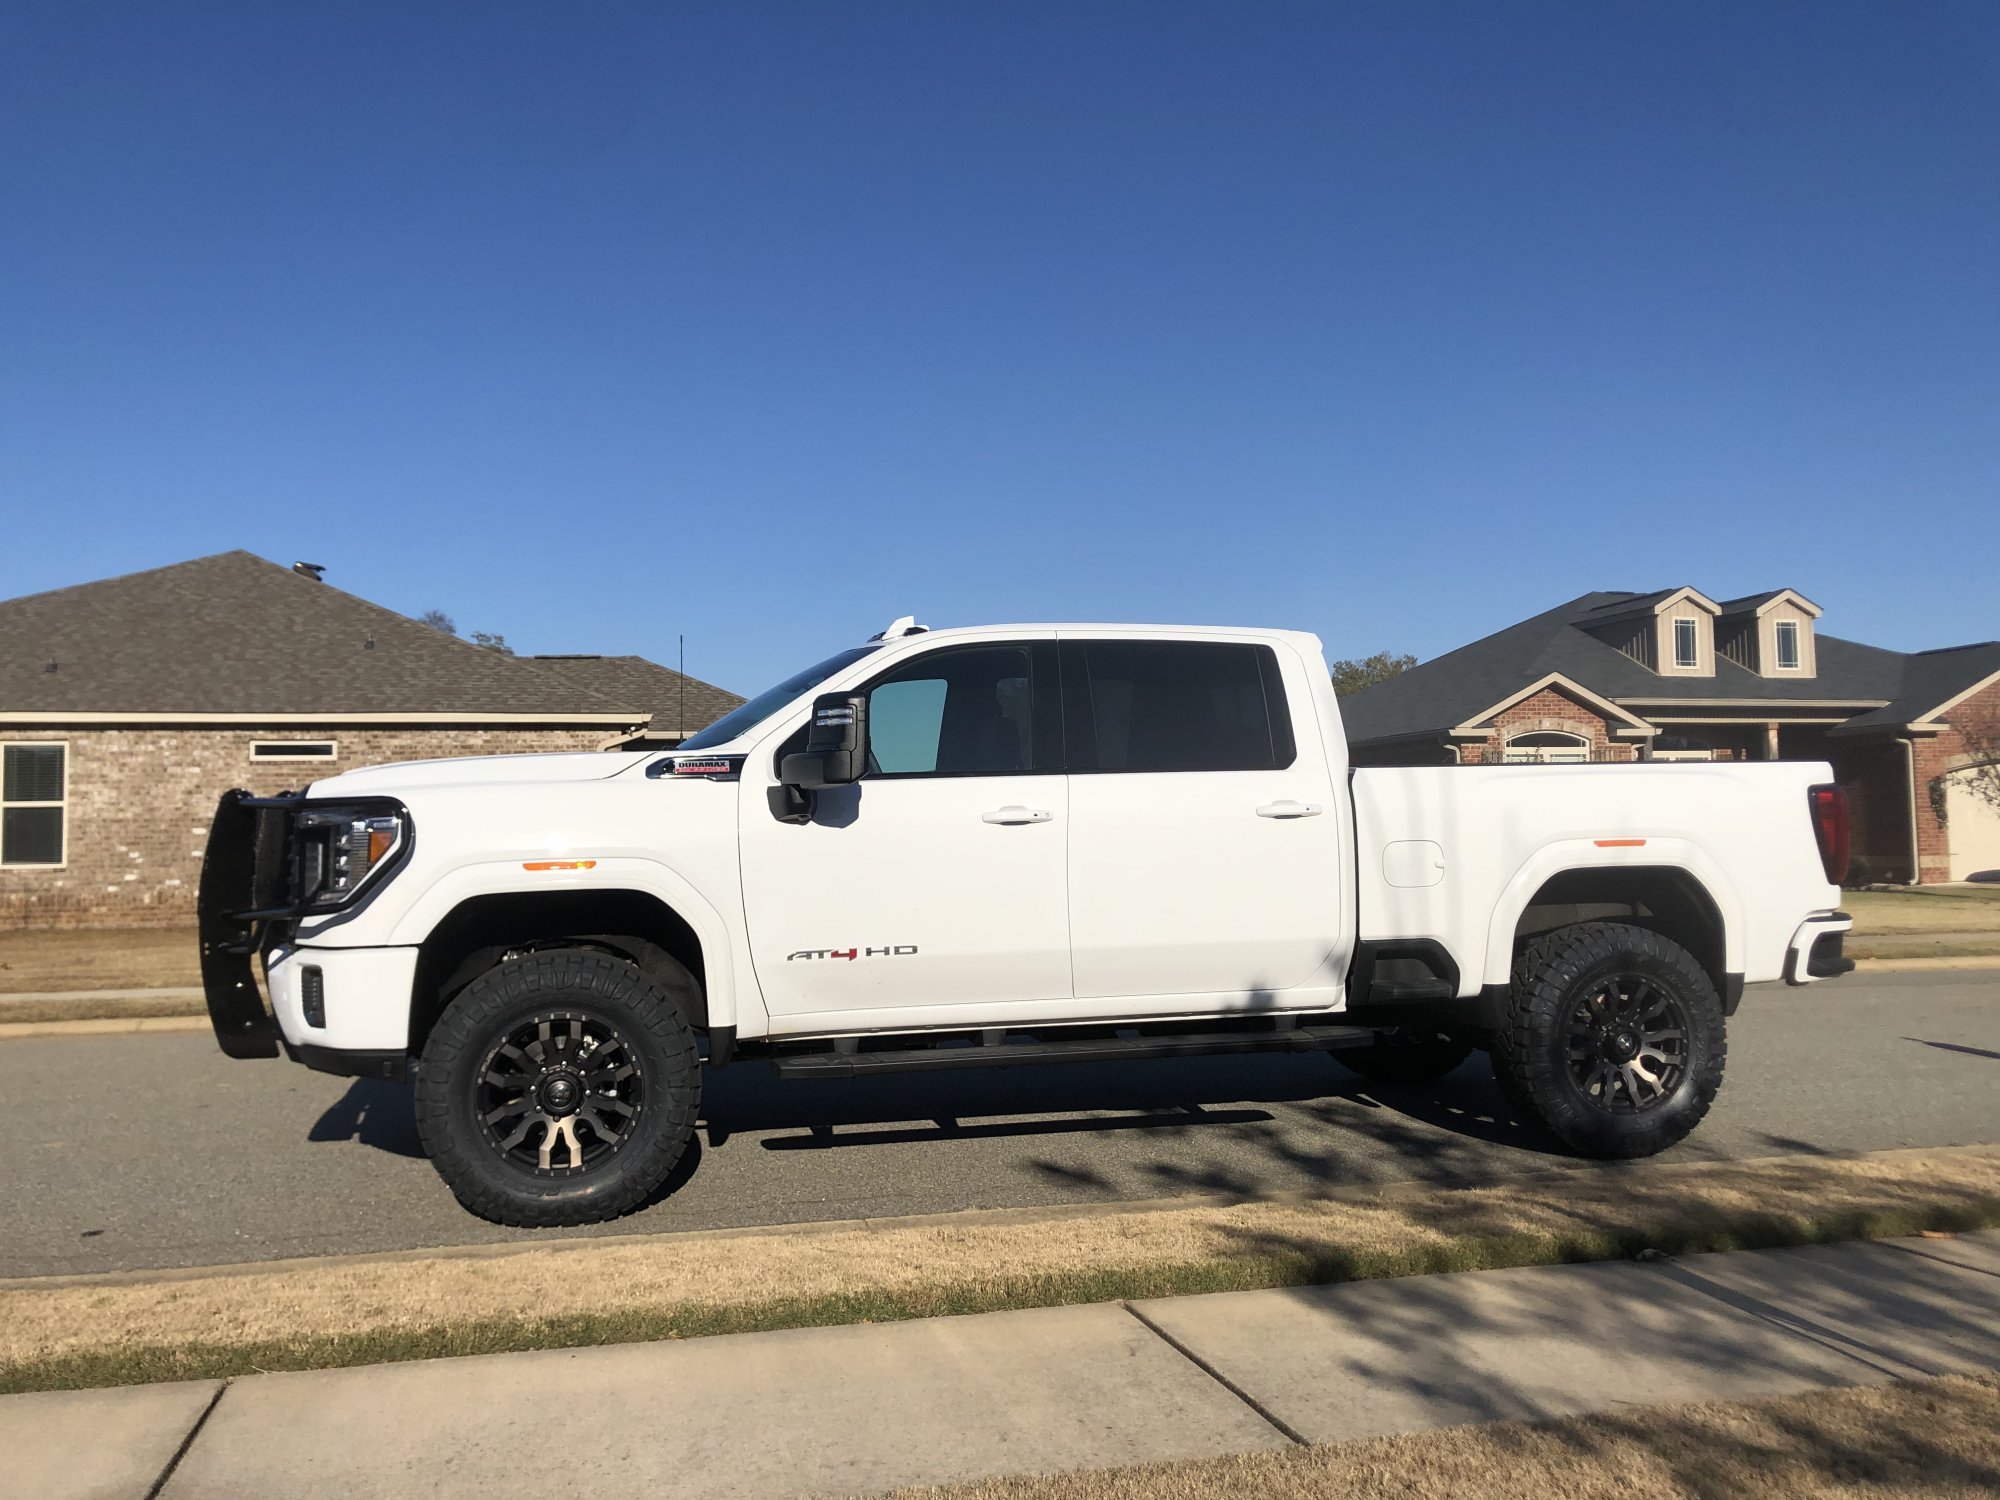
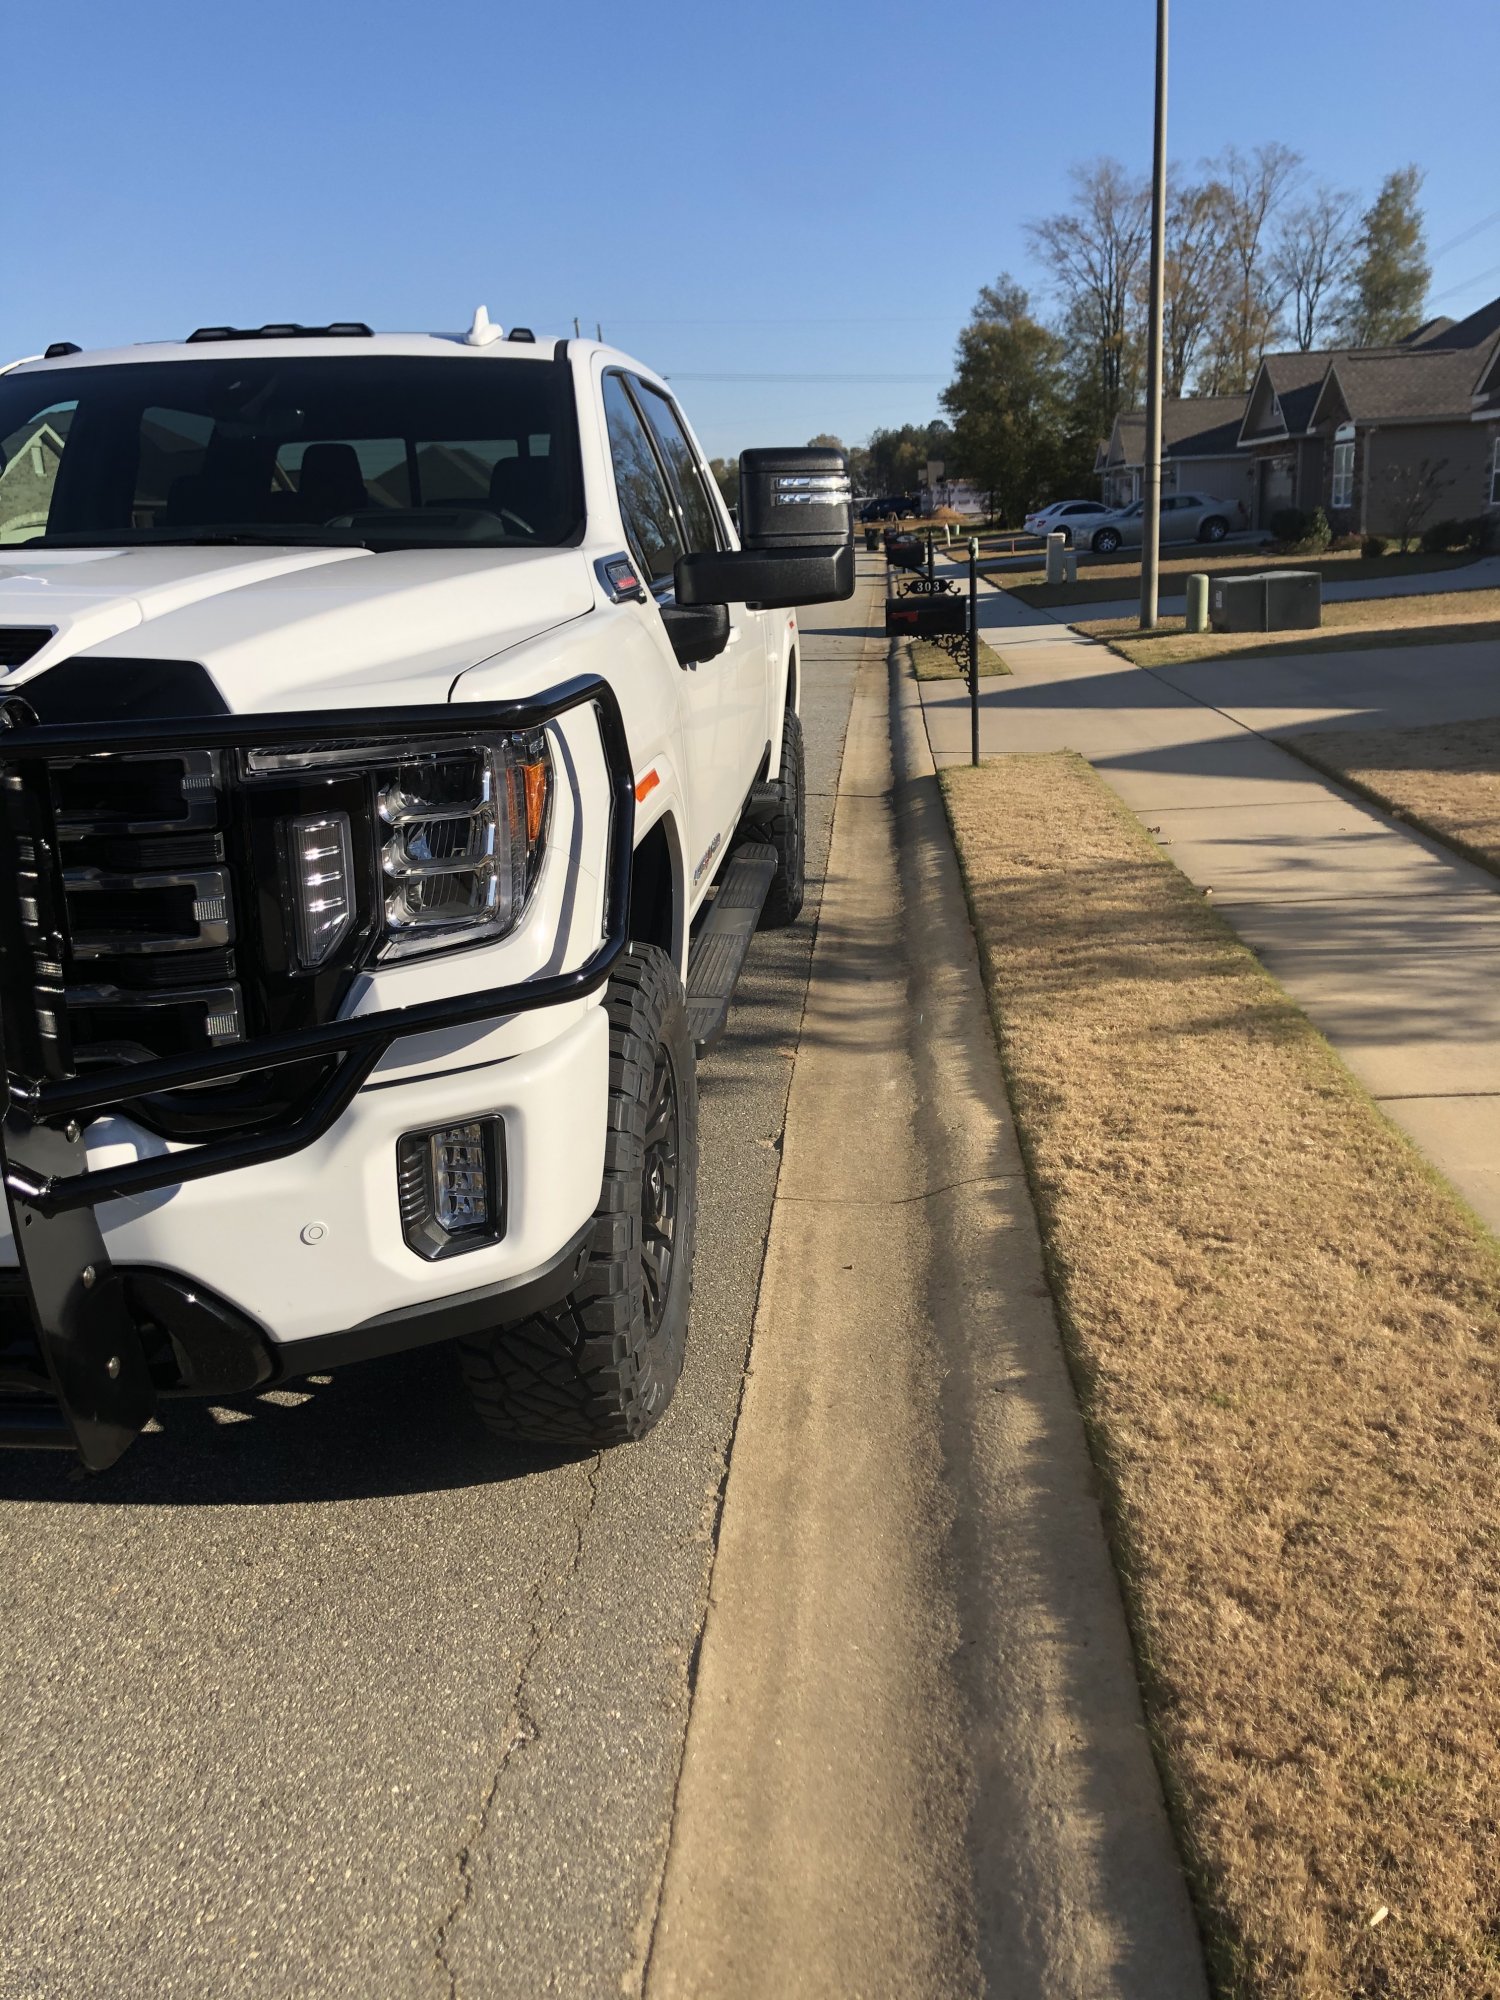
Just picked up my AT4HD two weeks ago. Leveled, 20x9 +20 offset Fuel Contra’s on 35x12.50x20 Nitto Ridge Grapplers Sent from my iPhone using Tapatalk1 point
-
I just put the 3” blocks in the back. Perfect ride height now. Sent from my iPhone using Tapatalk Pro1 point
-
Readylift 3/2 sst kit with fox shocks fuel blitz 20x9 +20 offset 37x12.50 20 nitto ridge grappler Initially it rubbed the front felt liner and mud flap in the rear. It does rub the frame rail at full lock. I removed the lower valence just because. I trimmed the mud flap and was able to bend the brackets in the front behind the felt liner enough to eliminate any rubbing.
1 point
-
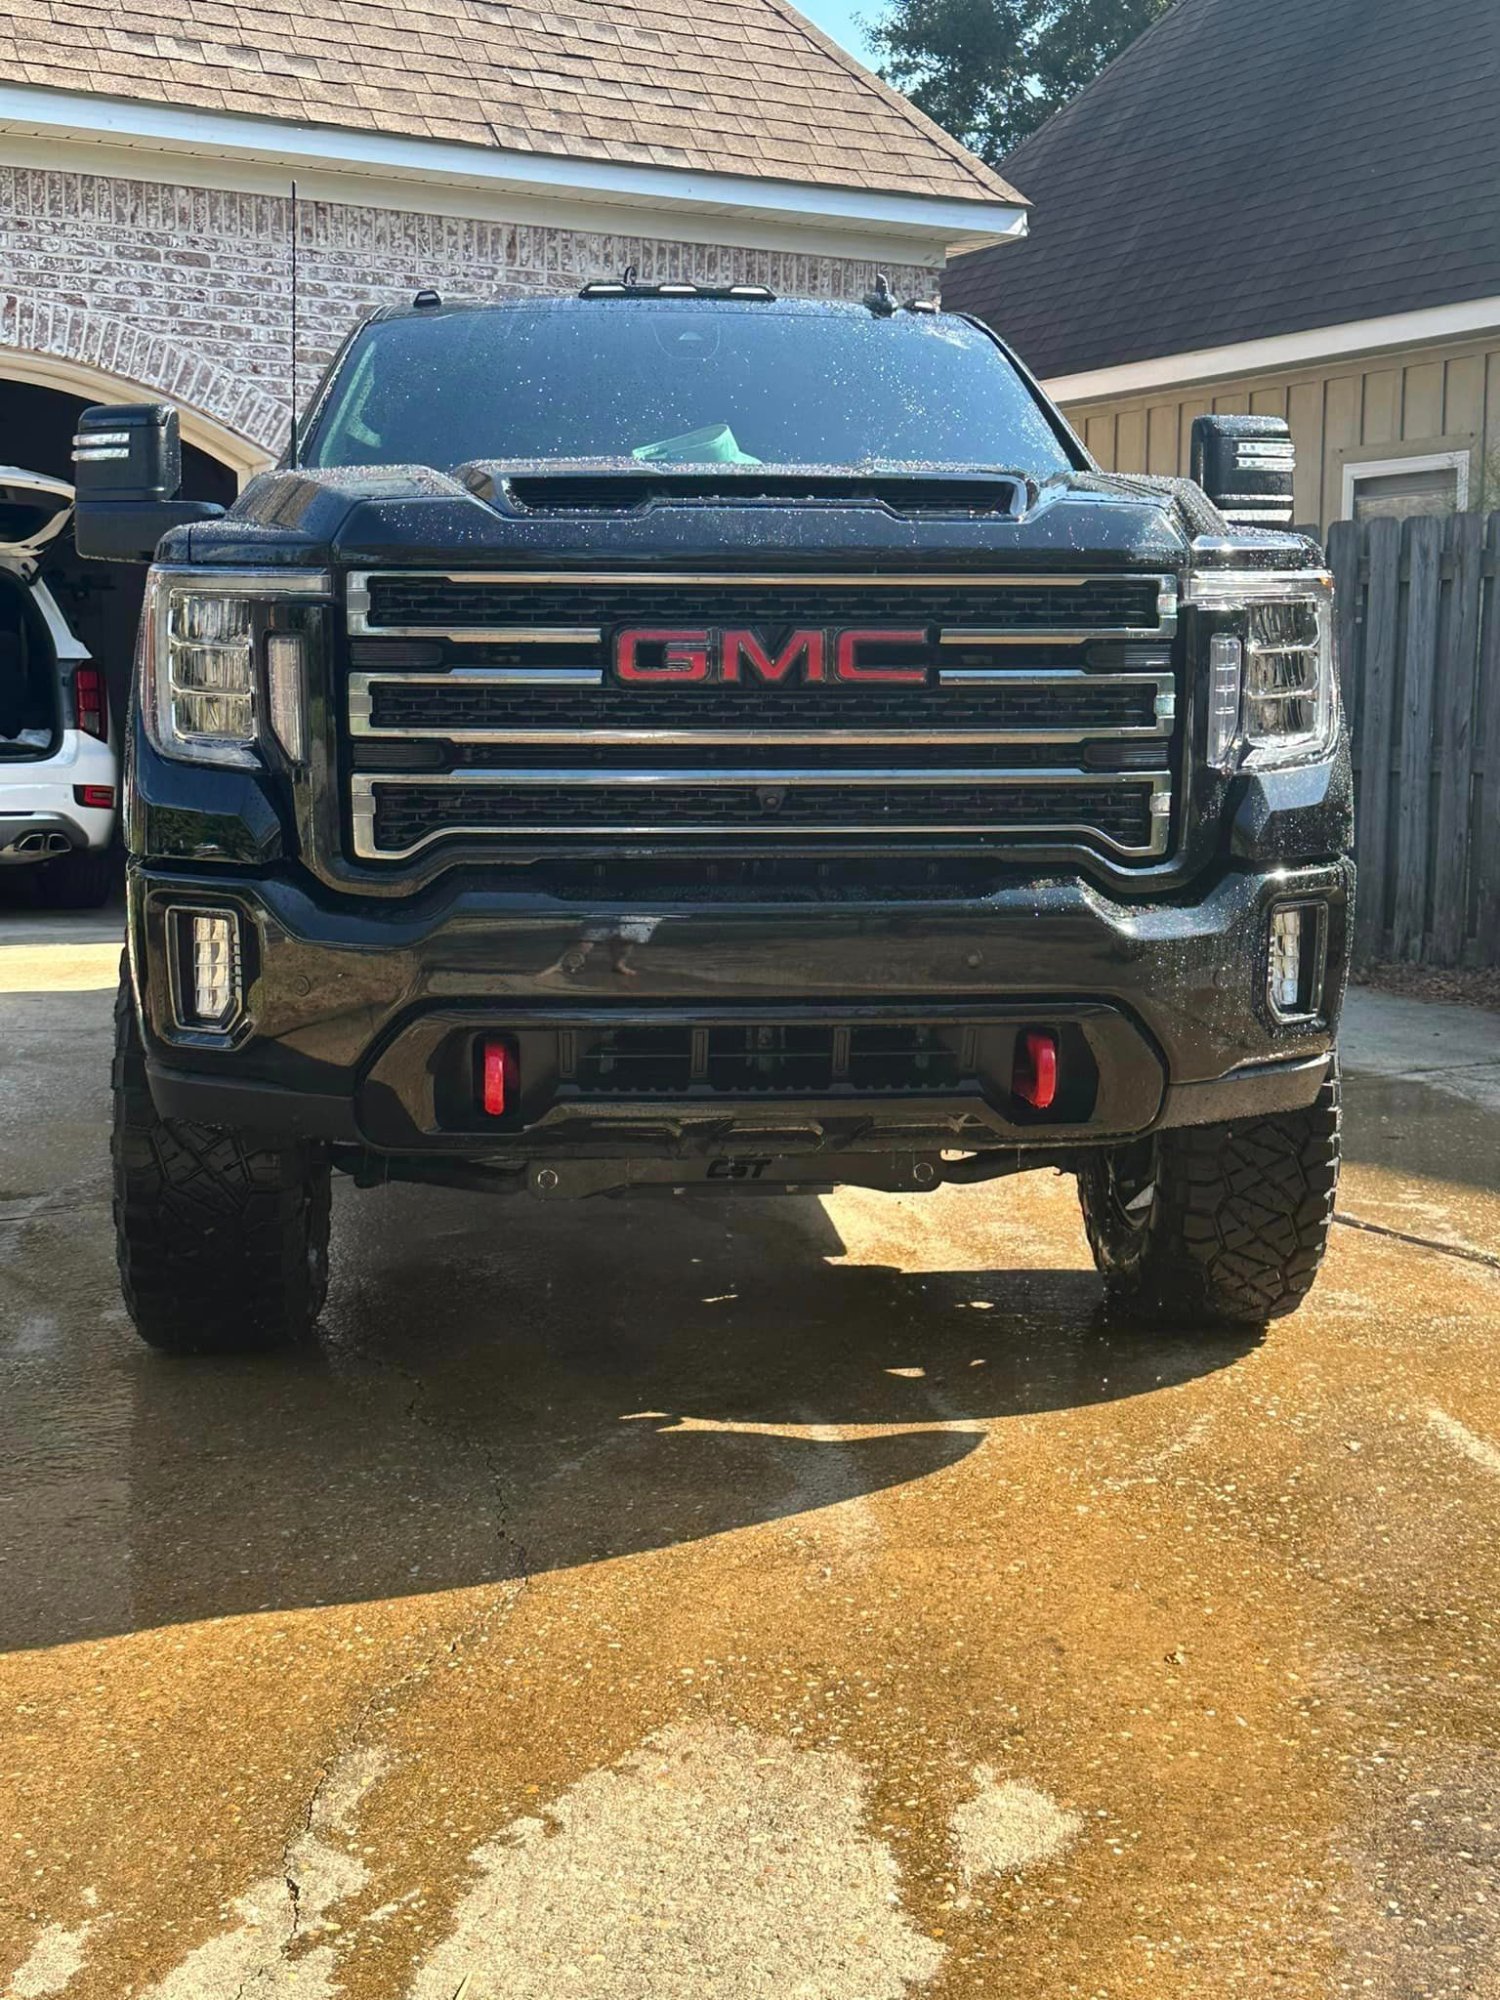
Finished up the CST 4” lift over the weekend. A bit of a chore to get it done but love it and drives great. Took about 14 hours on and off with helpers. The cSt kit didn’t raise the rear enough with the 2” blocks so I will be raising it more with 3” blocks tomorrow. As it sits, the front is about 1” higher than the back. I have a heavy slide-out in the bed with tools so it drops it about 3/4”. The blocks will bring it back up. Today I had new fuel sledge rims (20”x 9” 20mm offset) wrapped in 37”x12.5” BFG K02. Very minor rubbing on the front of the wheel well liners which I took care of with zip ties. The space between the mud flap and tire at full lock was a little tight so I heated them up and molded back a bit. I’ll take more picks once I bring the rear up. I included one pic of the lift before the wheels yesterday in my shop. Sent from my iPhone using Tapatalk Pro1 point
-
2 more of fender badges Sent from my SM-A705U using Tapatalk1 point
-
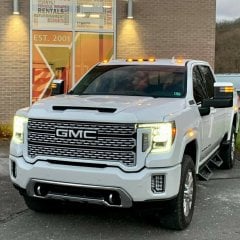
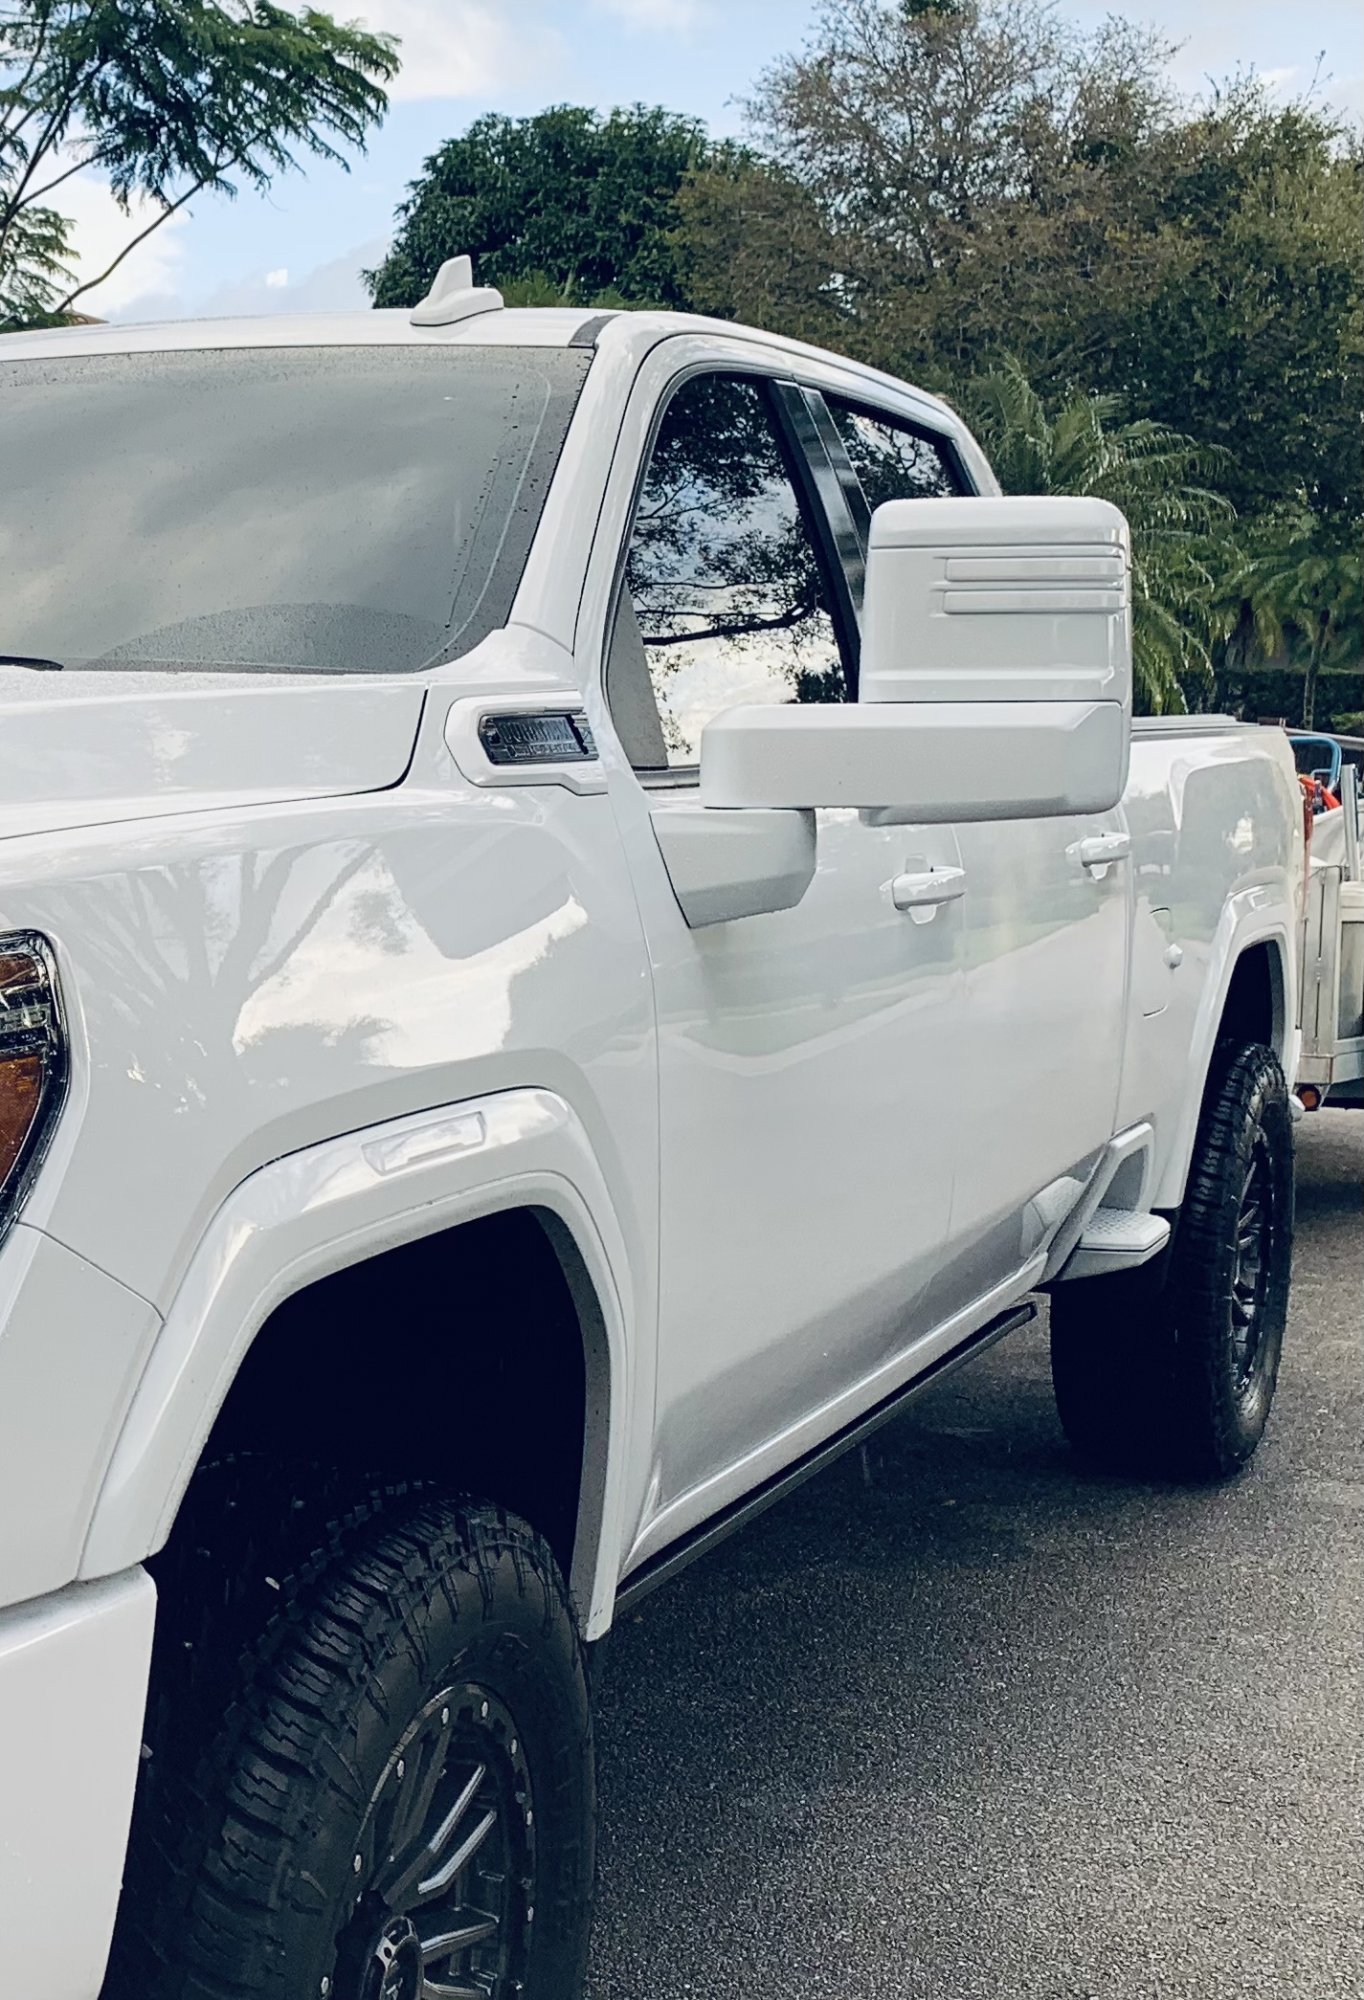
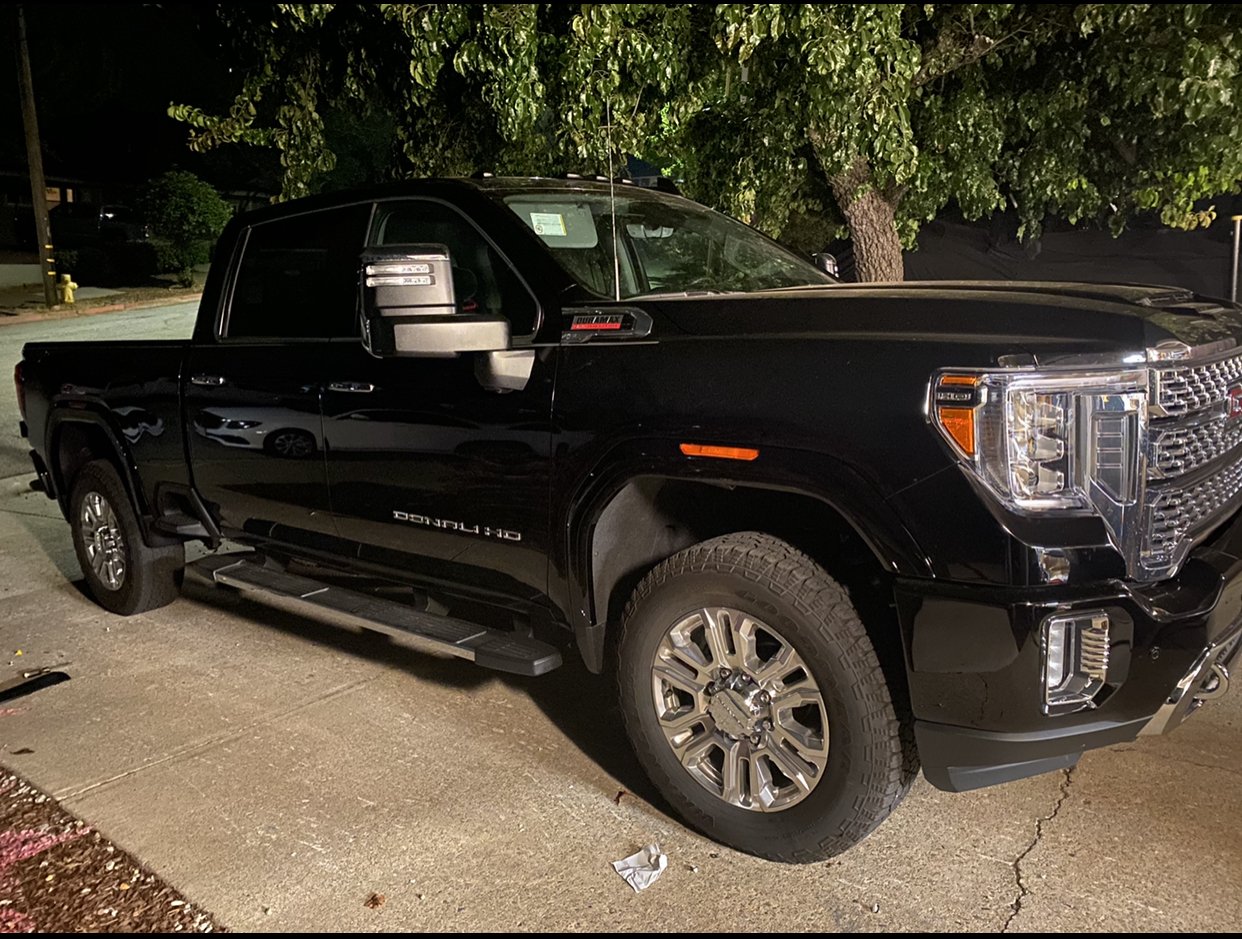
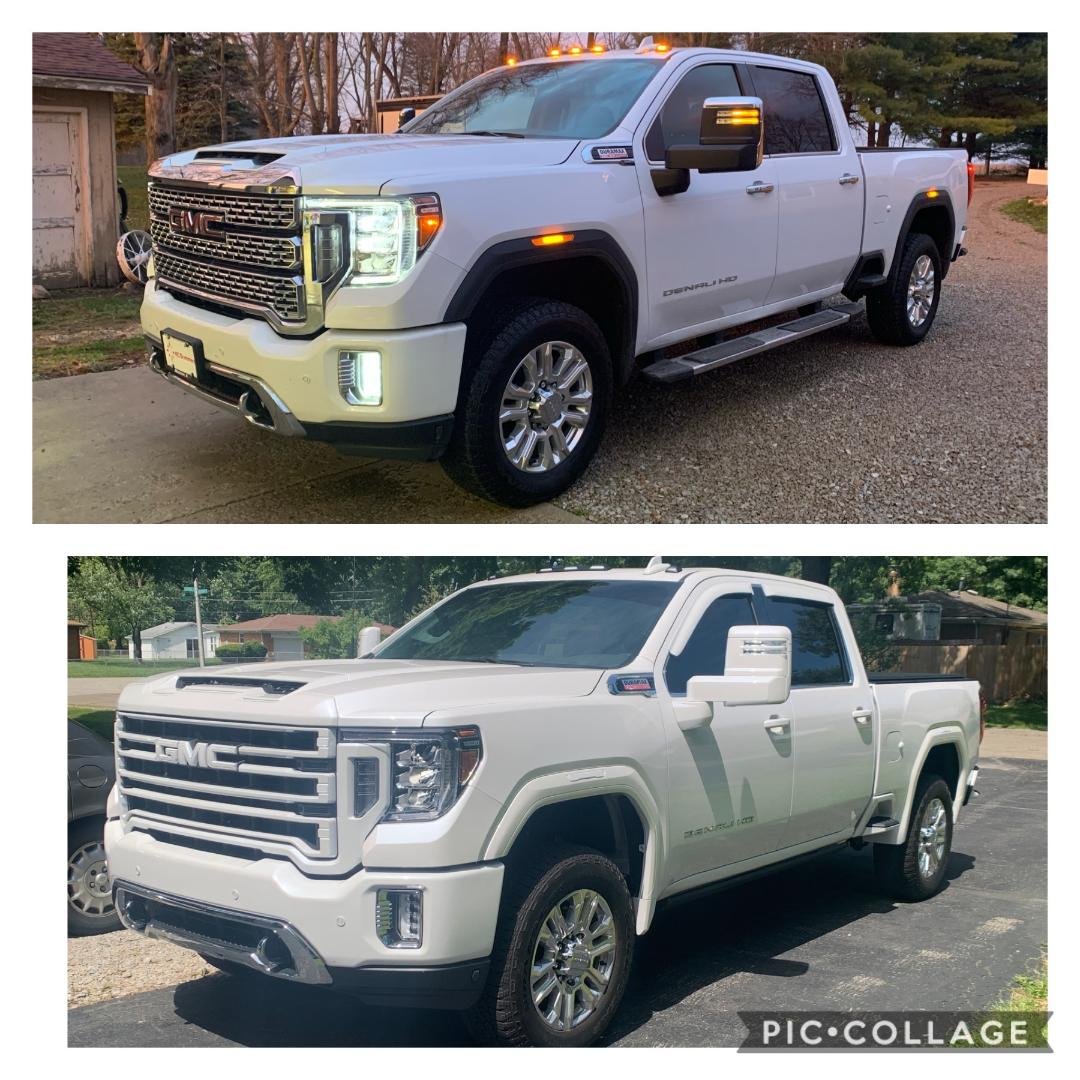
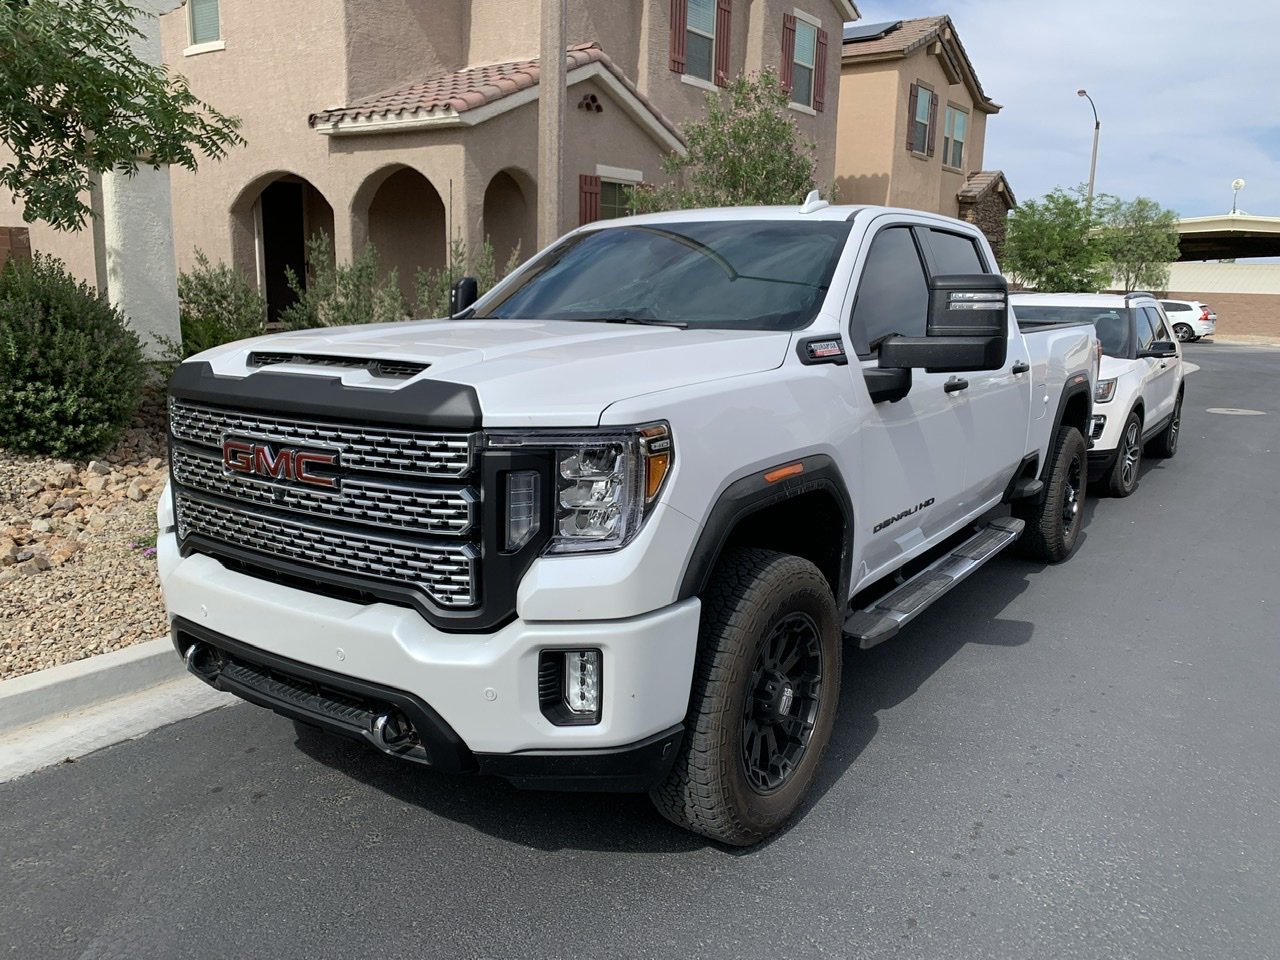
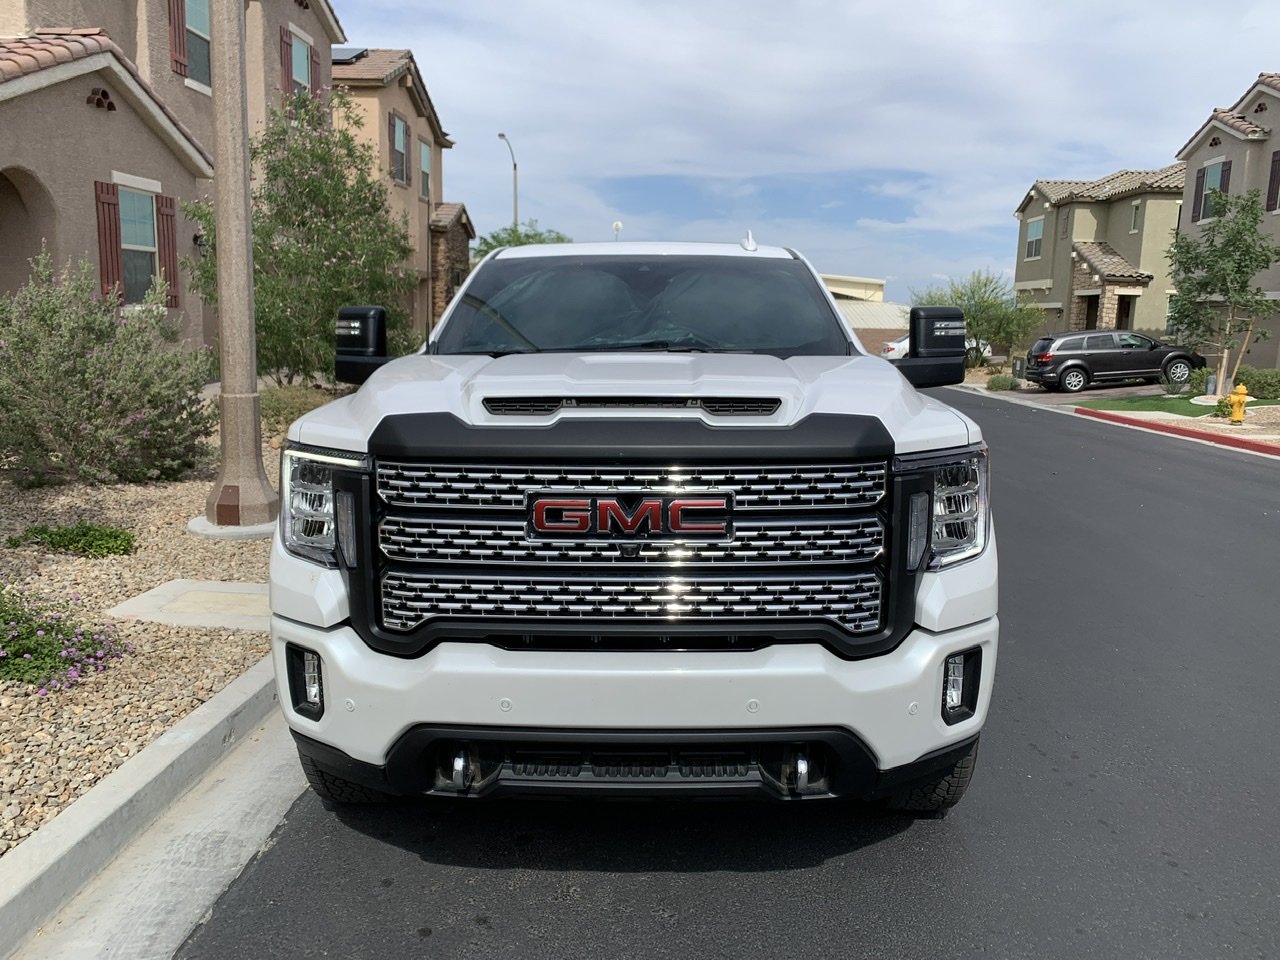
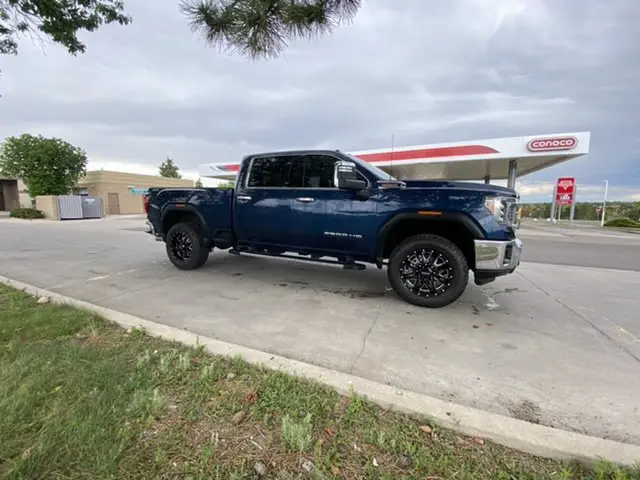
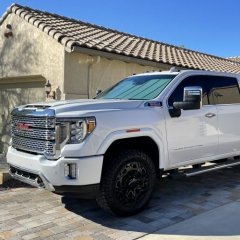
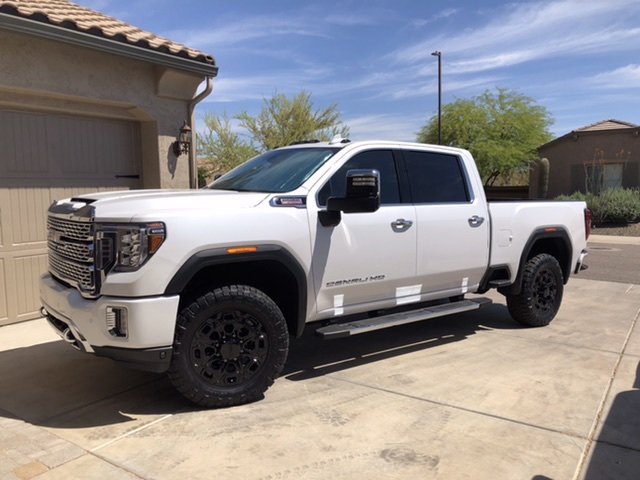
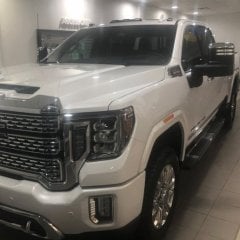
Just picked up the Denali 2500 from Pittsburgh custom wraps. Had GSWF clear paint protection film applied to front bumper. Color matched Vinyl wrapped door handles, chrome trim on mirrors, front and rear logos, upper and lower front grille trims and fender badges. Chrome delete around driver and passenger side windows with matching black vinyl wrap. Working on removing side and rear chrome lettering. 3" superlift with 22" wheels should be done within next month hopefully. Looking at some performance/tuning mods in the future. Waiting to see what Banks will have to offer. Sent from my SM-A705U using Tapatalk1 point
-
Hey guys, thought I'd post up a few pictures of my truck and the mods I have done. The fourms have been extremely helpful in gathering information and ideas for the mods I have done. The upfitter switches post was excellent! Thanks to all! Mods include Color match Baja Designs S8 light bar Klearz mfg smoked fender lenses Pac Brake air bags and dual path controller Viair onboard air system GM upfitter switches to control everything MBRP exhaust tip Torklift Camper tie downs. Sent from my Pixel 3a using Tapatalk1 point
-
Want to get the Amp Steps but the stock one can minimize door dings. Sent from my SM-N975U1 using Tapatalk1 point
-
1 point
-
Truck is filthy from our Florida rain
1 point
-
Got the fender molding painted and frosted fender lights
1 point
-
Finally took some decent photos of the truck after the new lift and boots! ReadyLIFT 3.5/3" SST Lift (comes with Bilstein shocks) -- huge ride quality improvement over stock Banks Derringer (badass little multi-gauge) 35x12.50x22 Nitto Ridge Grappler tires Fuel Blitz 22x10 -18 wheels *Note that the truck isn't on even ground, so the gaps aren't how they normally look. It's got a slight rake forward, but a much more level look overall.
1 point
-
Now just have to wait!!!! Sent from my iPhone using Tapatalk1 point
-
Ordered a spare set of textured black handles. Smoothed and painted them.
1 point
-
LTZ with chrome deleted and debadged. 20x9 +20 Fuel Blitz wheels with 295/65R20 Nitto Ridge Grapplers. Stock height, I just had to zip tie the front of the wheel liners back. Has the AMP Powersteps.
1 point
-
Painted the bumper on my W/T
1 point
-
After a long backorder, I got my color matched fender flairs delivered and installed. They look really good IMO. I may smoke those side markers out eventually, but going to keep them for now.
1 point
-
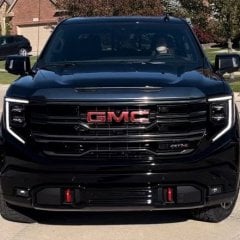
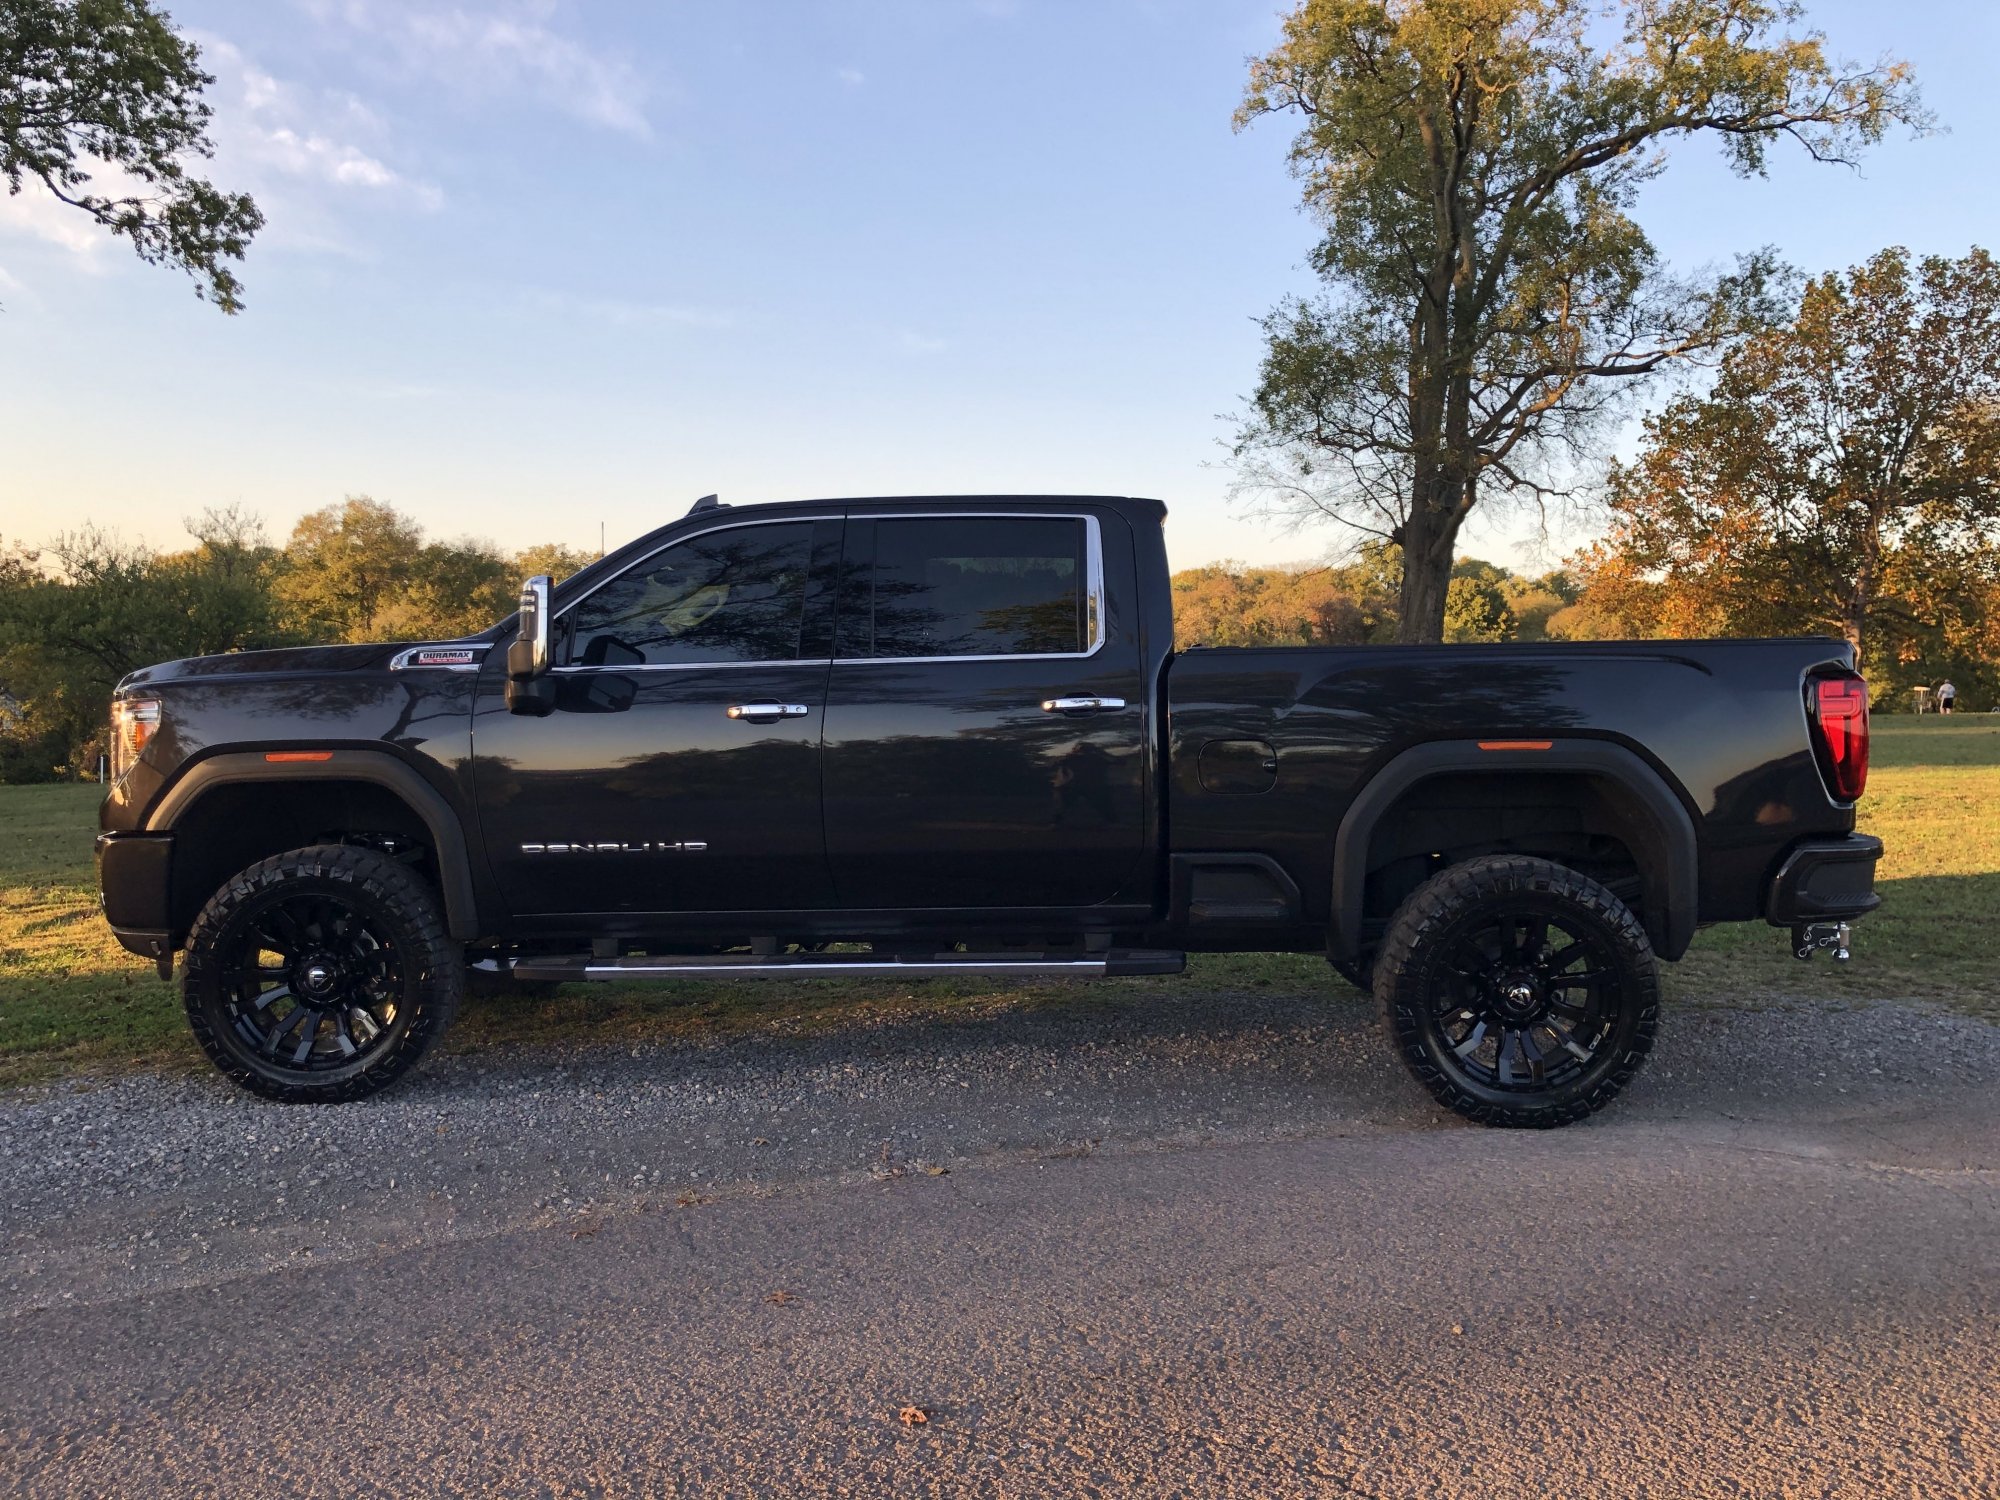
currently paint matching everything chrome or black. ditched the denali grille for the At4. Gave it some amp steps and removed all the emblems on the tailgate. leveled with keys and upper control arms. getting ready for some forged wheels!
1 point
-
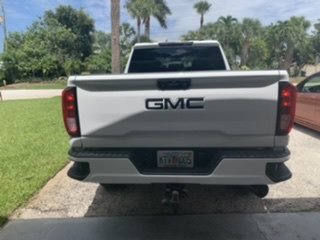
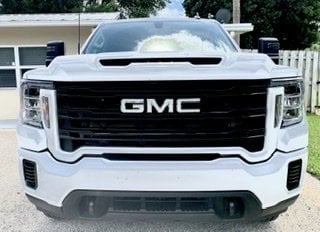
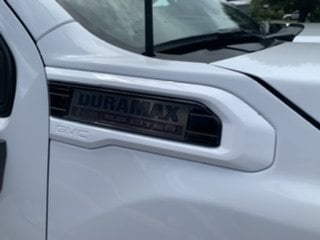
I’ve had the truck one week today. Base model duramax crew cab 4wd SB. So far I’ve done: Debadge, other than GMC on rear (replaced with vinyl) and front of course Chrome delete (Vinyl Wrap) Tint: 15% on sides & rear, 45% on windshield). Smoked mirror lights, side markers, and third brake light Wheels and level go on next week - 20” fuel rebels wrapped in nittos. Handles and side / bumper steps color-matched within 2 weeks. More pics to come soon.
1 point
-
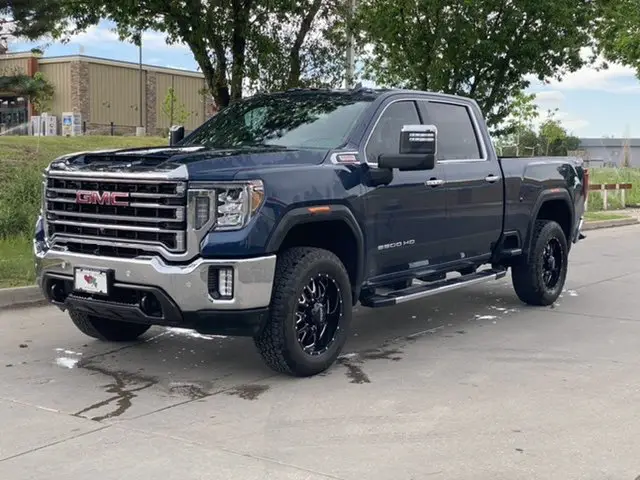
Thank you! We drove it 900 miles home to Florida from Illinois and loved it. I thought my girl would hate me by the time we made it home, but the ride was NIIIIIICE. Maybe the Fox 2.0 shocks make that big of a difference, but this is my first lifted truck with big wheels and first 2500 and I am absolutely over the moon! Pull the trigger, you won't regret it! Oh AND it fits in my garage [emoji13] Sent from my SM-G988U1 using Tapatalk1 point
-
Chrome delete process, to blackout the toe hooks or not? New KMC wheels. Bed cover on its way. Amp power steps are next.
1 point
-
Got some new wheels 20x9 +18 ultra wheels
1 point
-
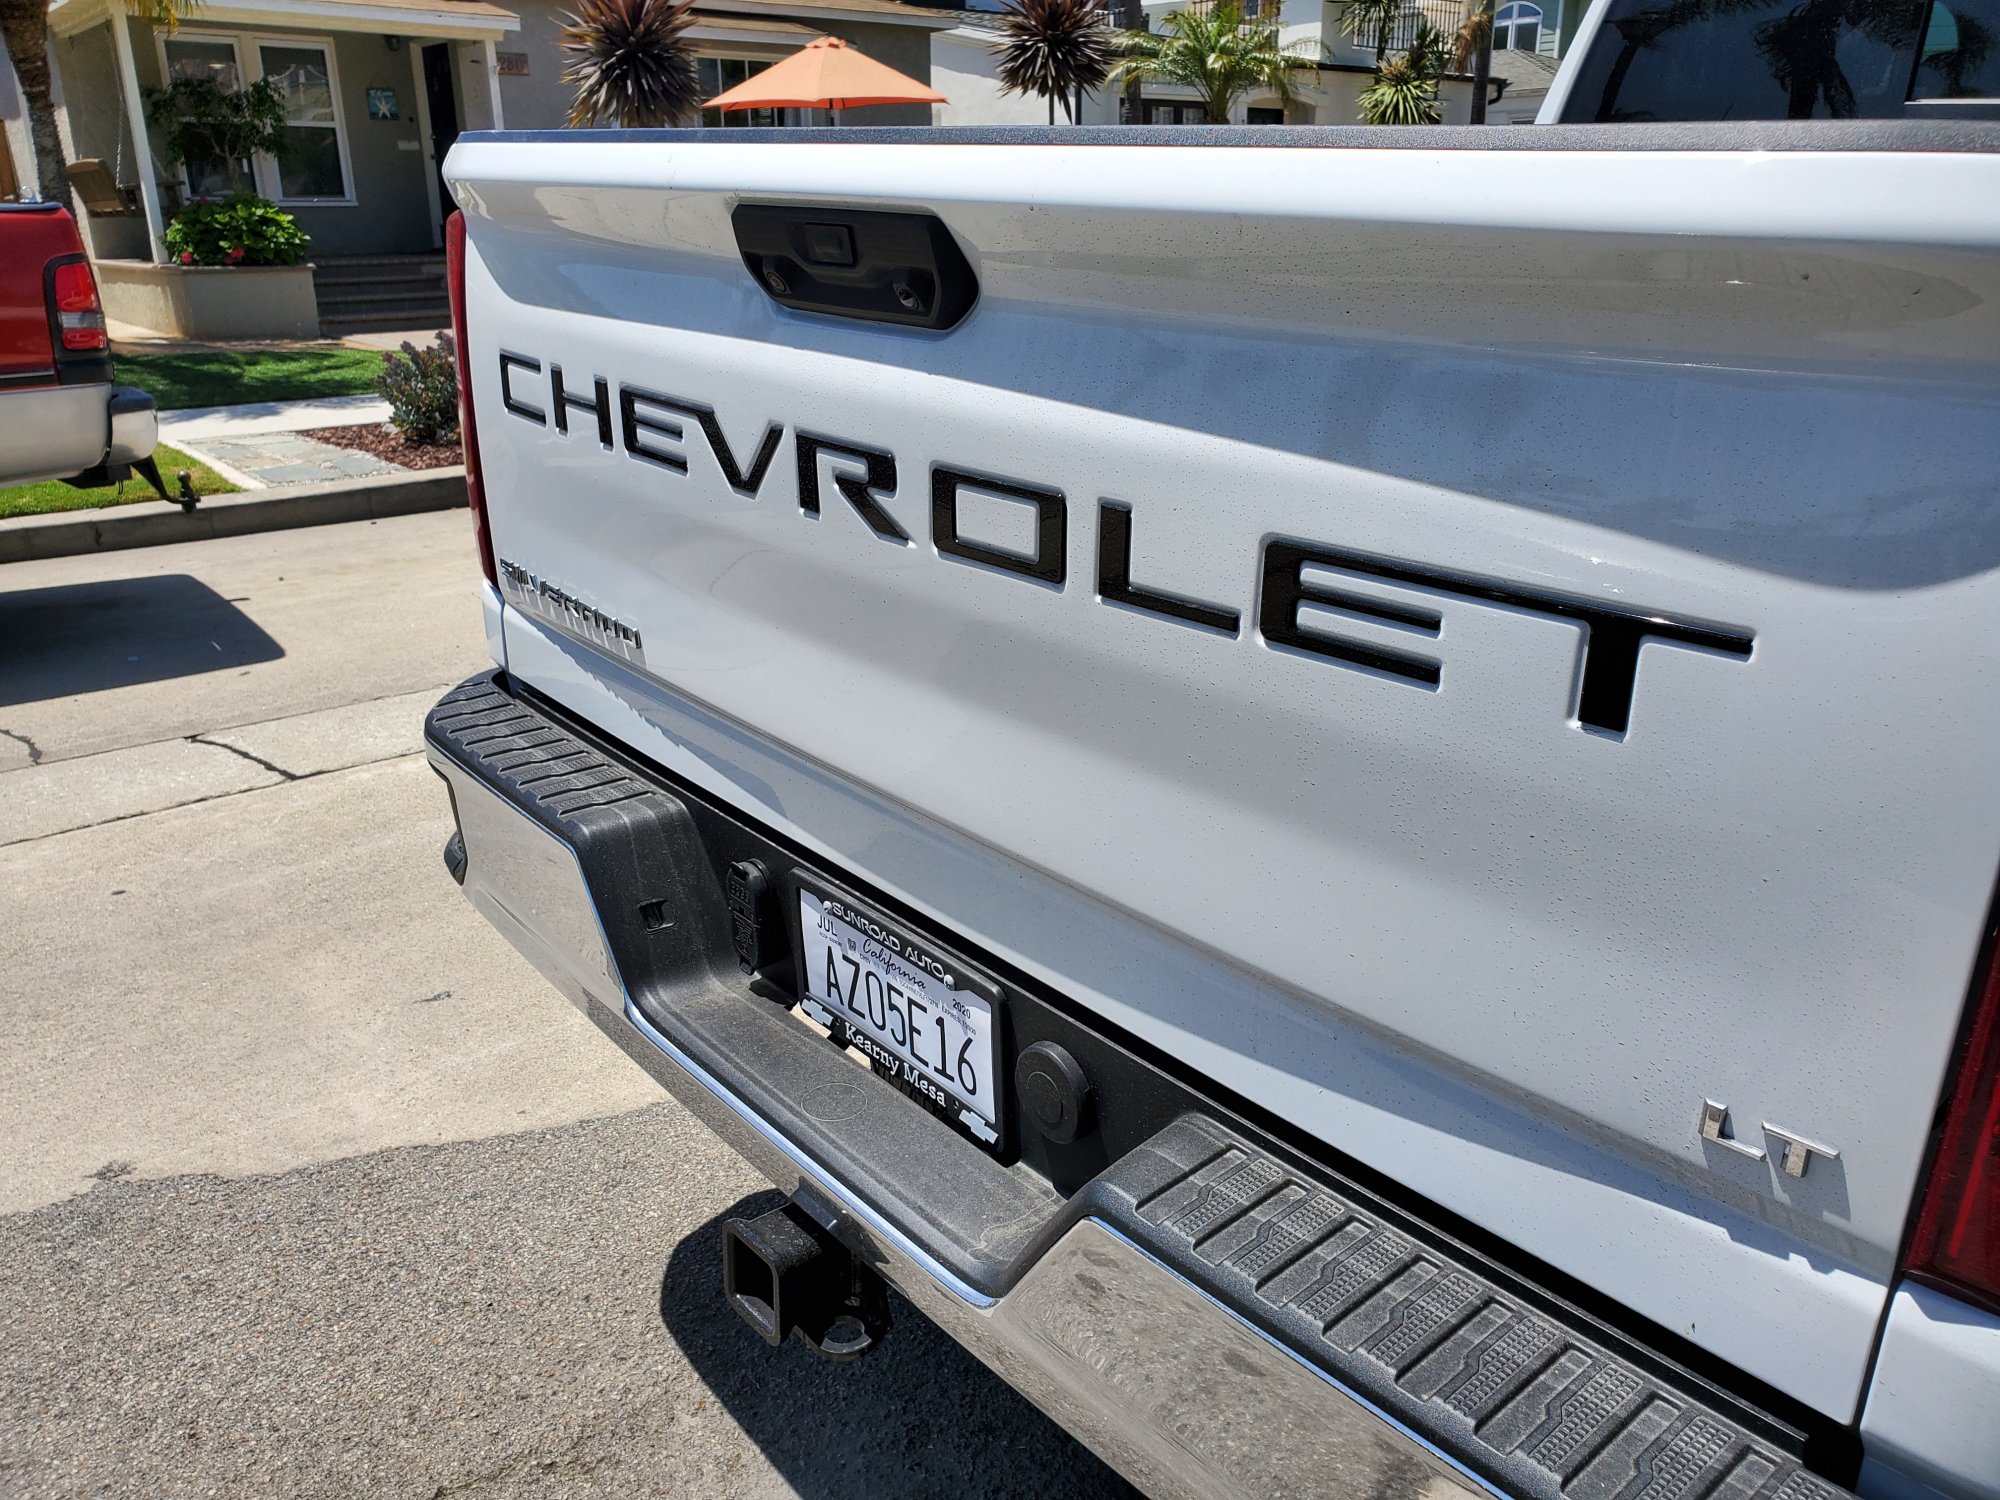
Nah I had sticker on 1500....this is domed black letters...looks a bit more factory imo, though for some reason " ET" looks crooked in pic.....she is dirty girl right now, needs a bath
1 point
-
https://r.tapatalk.com/shareLink/topic?url=https://www.gm-trucks.com/forums/topic/238565-my-upfitting/&share_tid=238565&share_fid=33003&share_type=t&link_source=app My upfitting Done alot to my truck in 2 weeks Sent from my Moto Z (2) using Tapatalk1 point
-
Got it tinted yesterday and loaded down with toolboxes and air compressor today 35%on the windshield 20% over back 3 and 5%on front 2 surprisingly it didn’t squat any when i put the pack rat and montezuma in it. Sent from my iPhone using Tapatalk1 point
-
Just got mine last week and put some new shoes on. 285x65/20 Grapplers...basically 35x11.50’s.
1 point
-
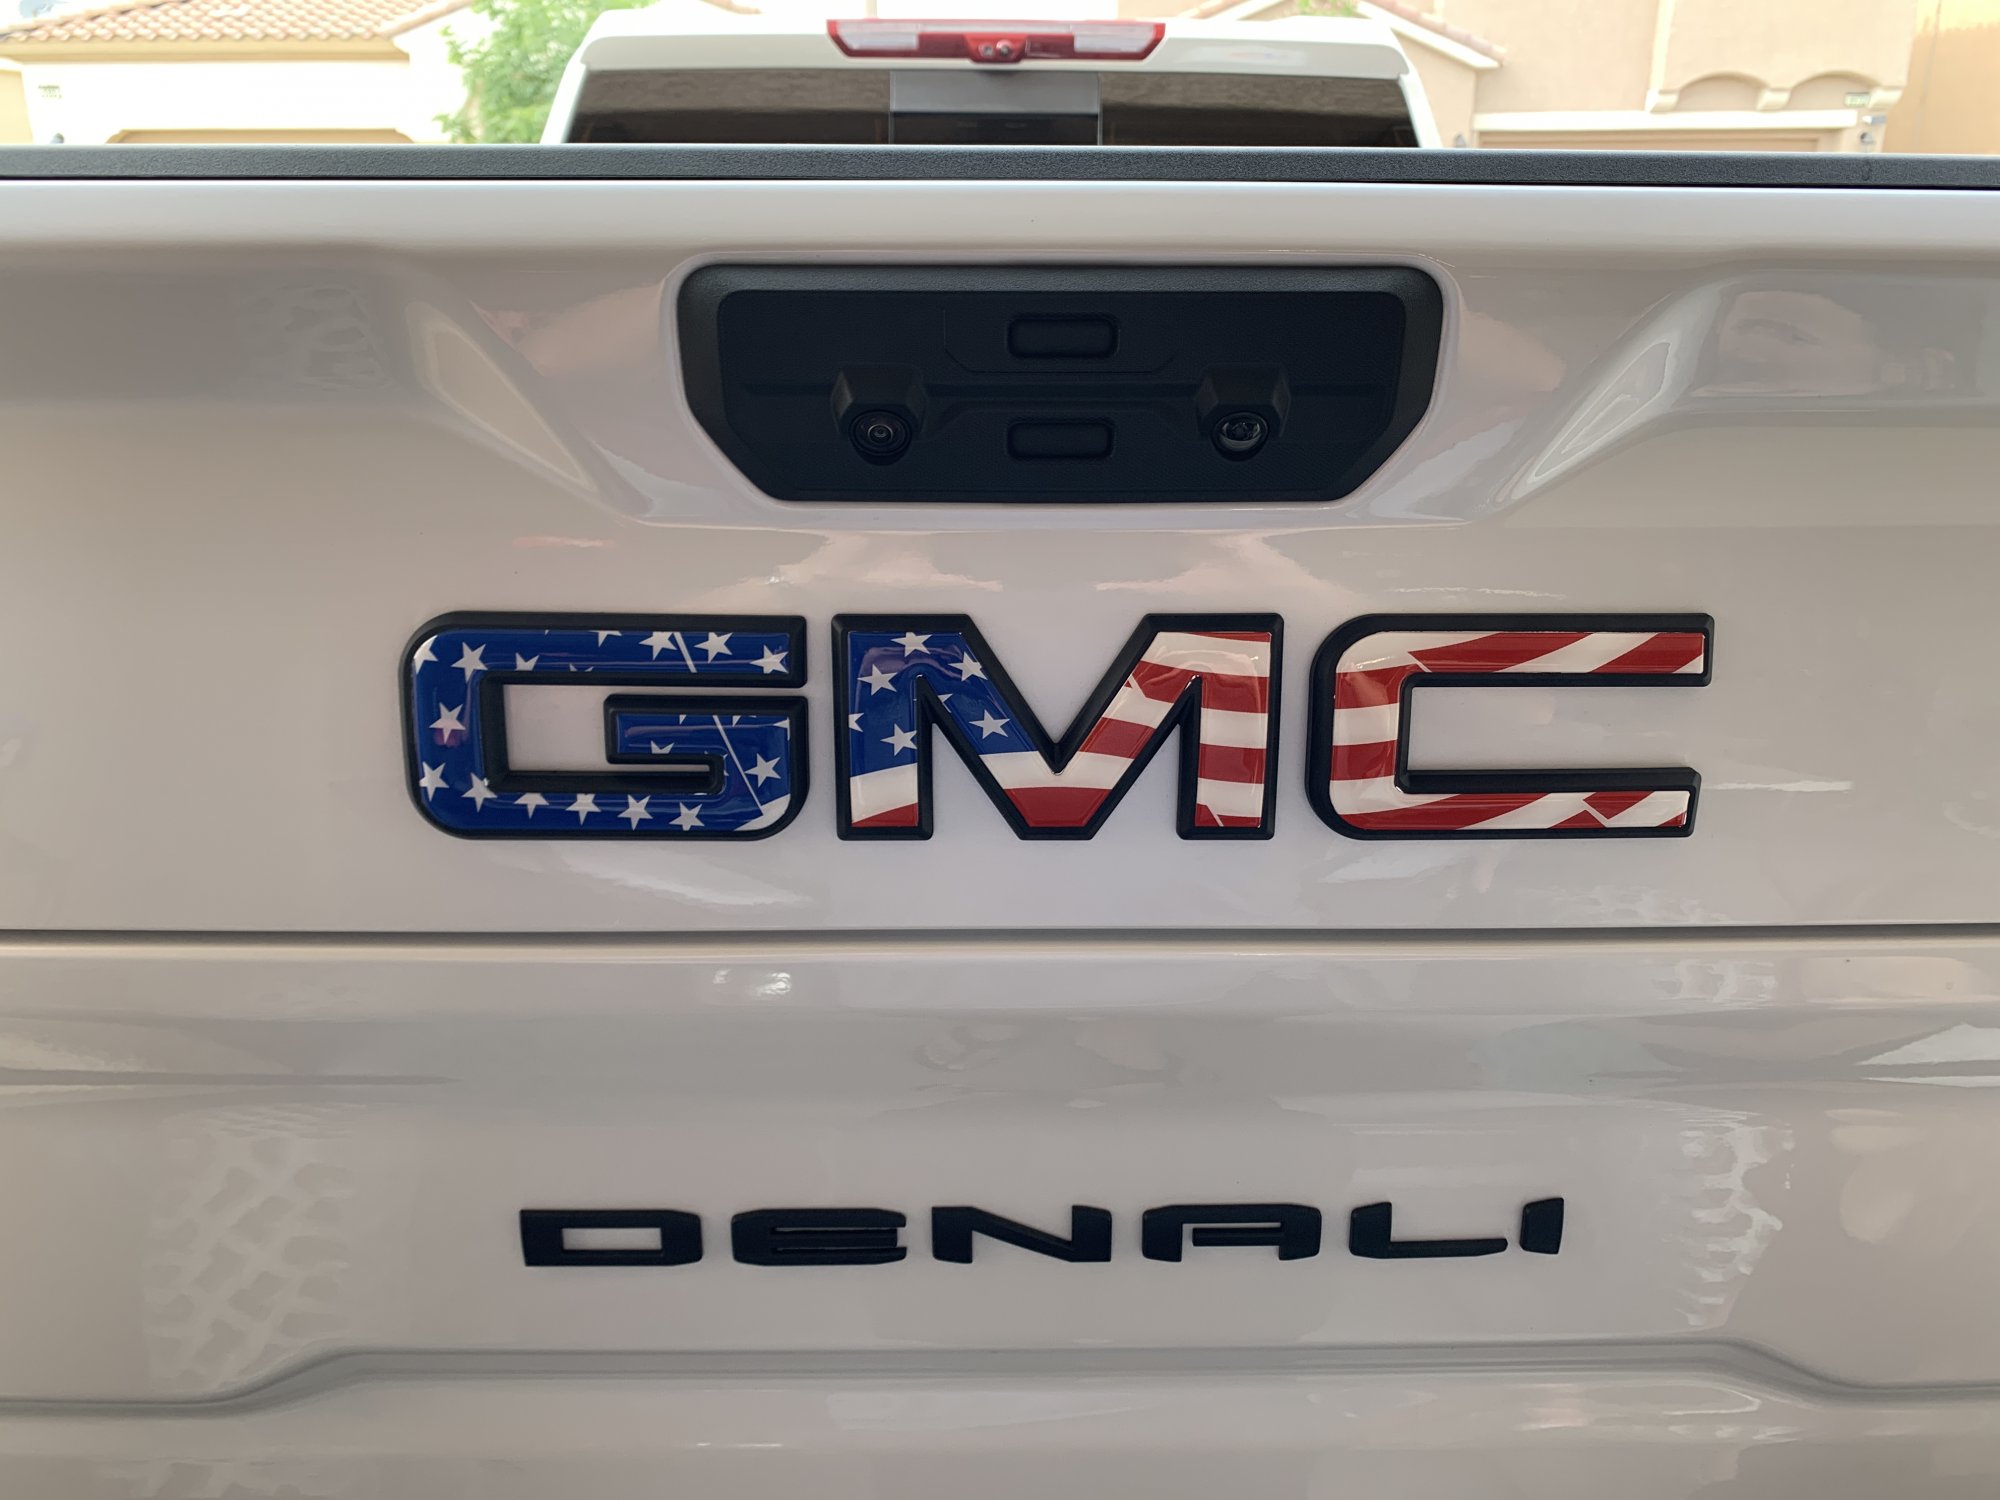
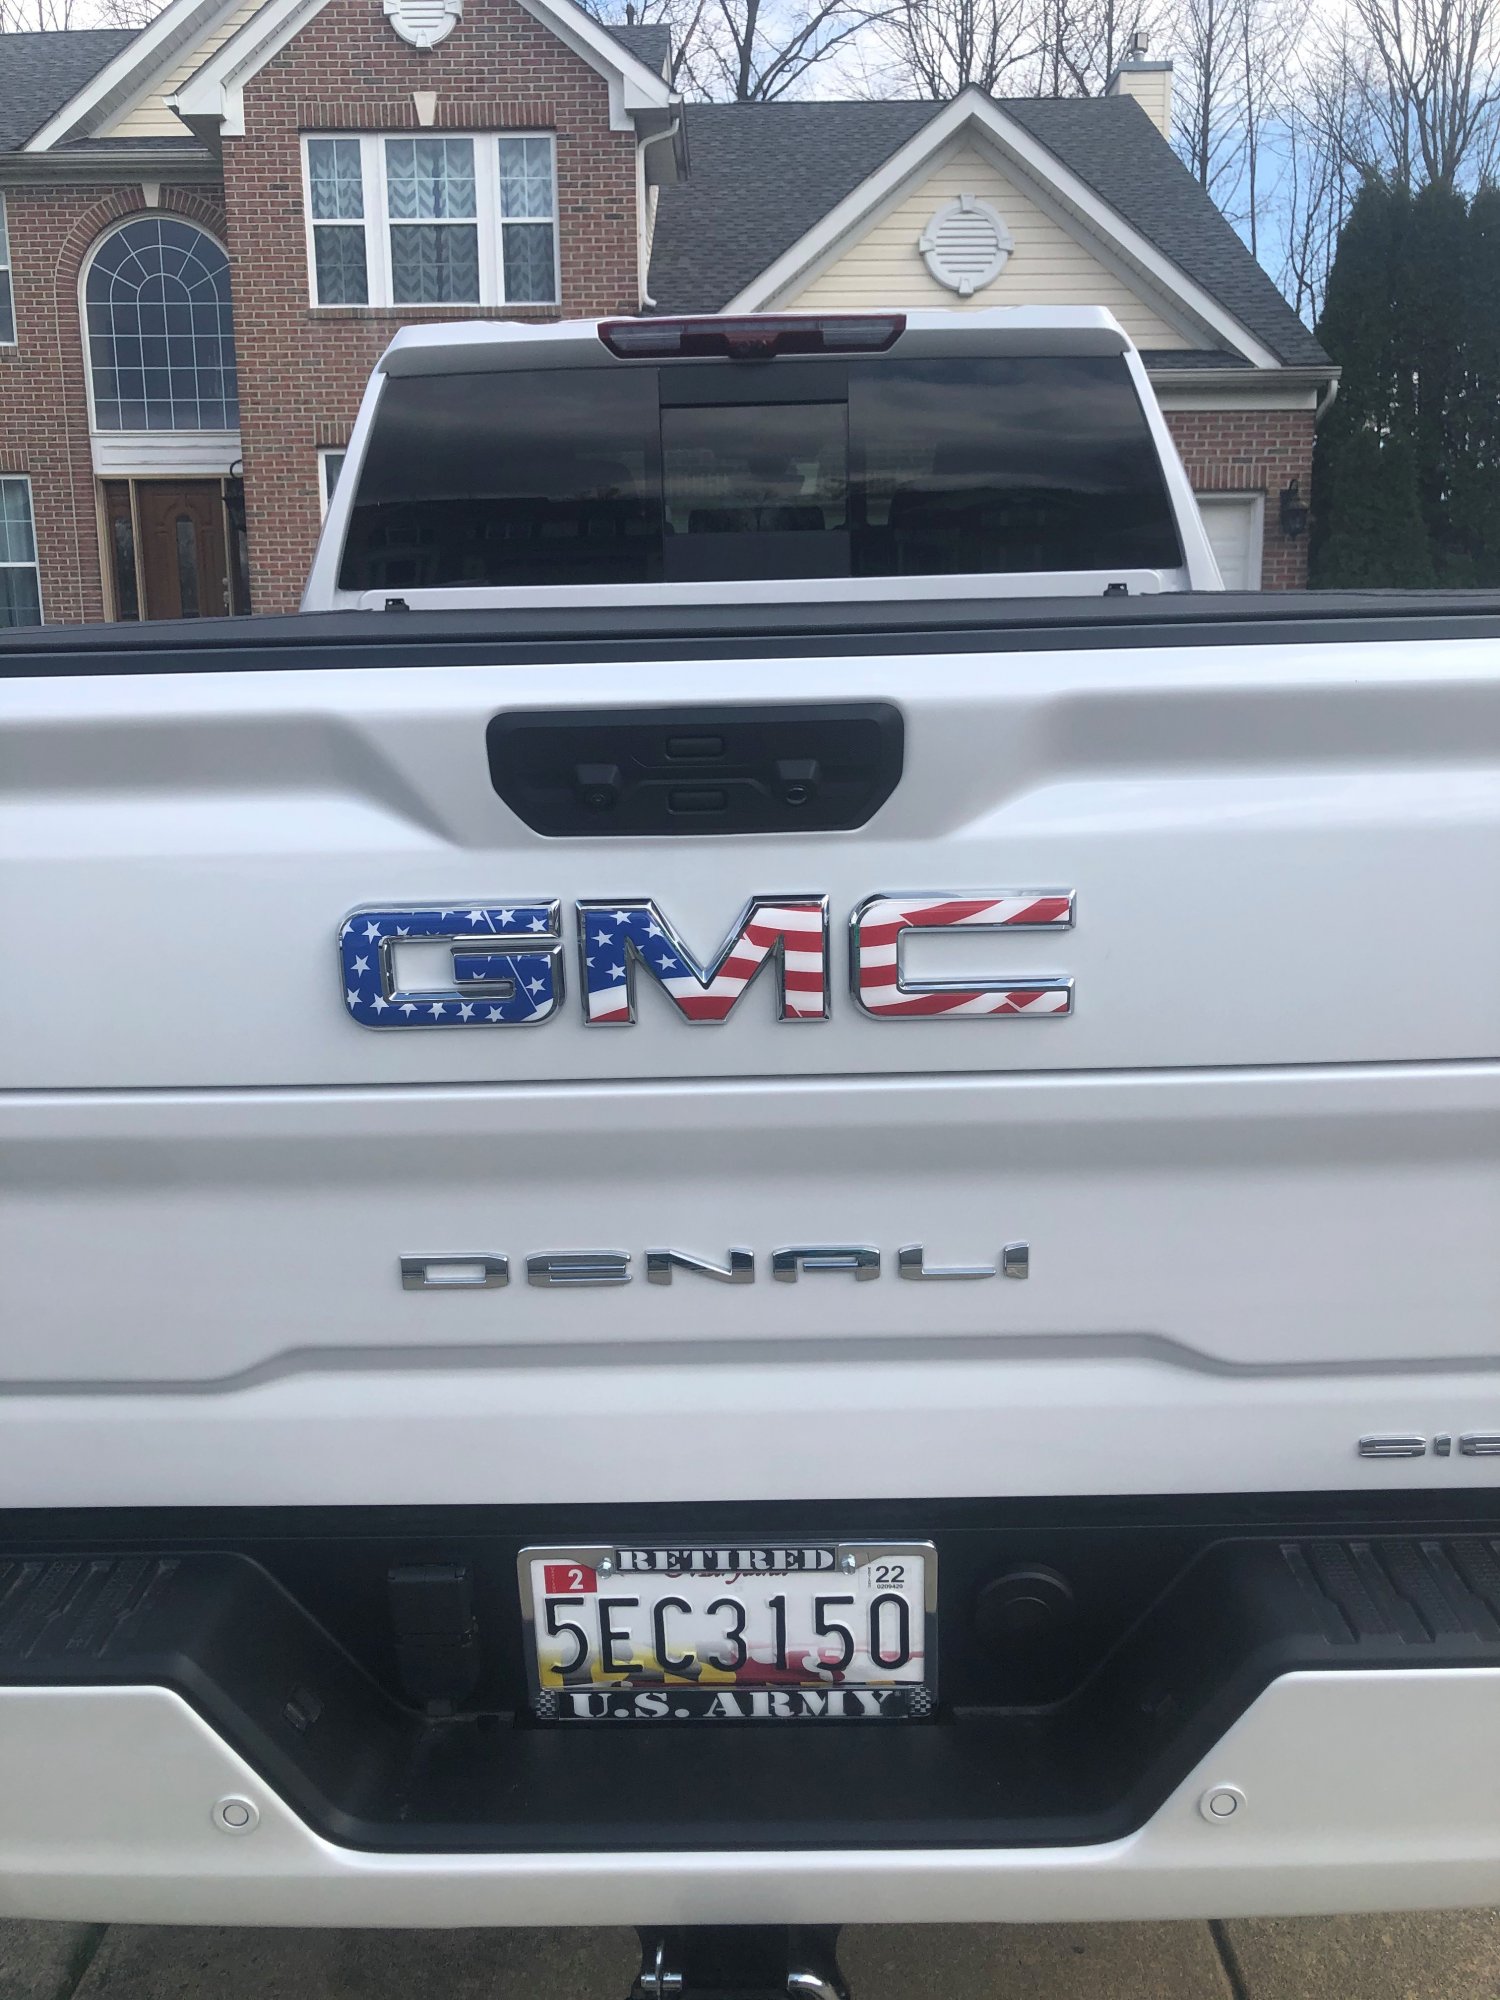
Color Matched fender moldings and red white and blue GMC letters.
1 point
-
My setup is complete now with nice factory-looking points to hook up an inverter. Should I ever need to jump start the primary battery, I can always run jump cables from aux battery to the primary.
1 point
-
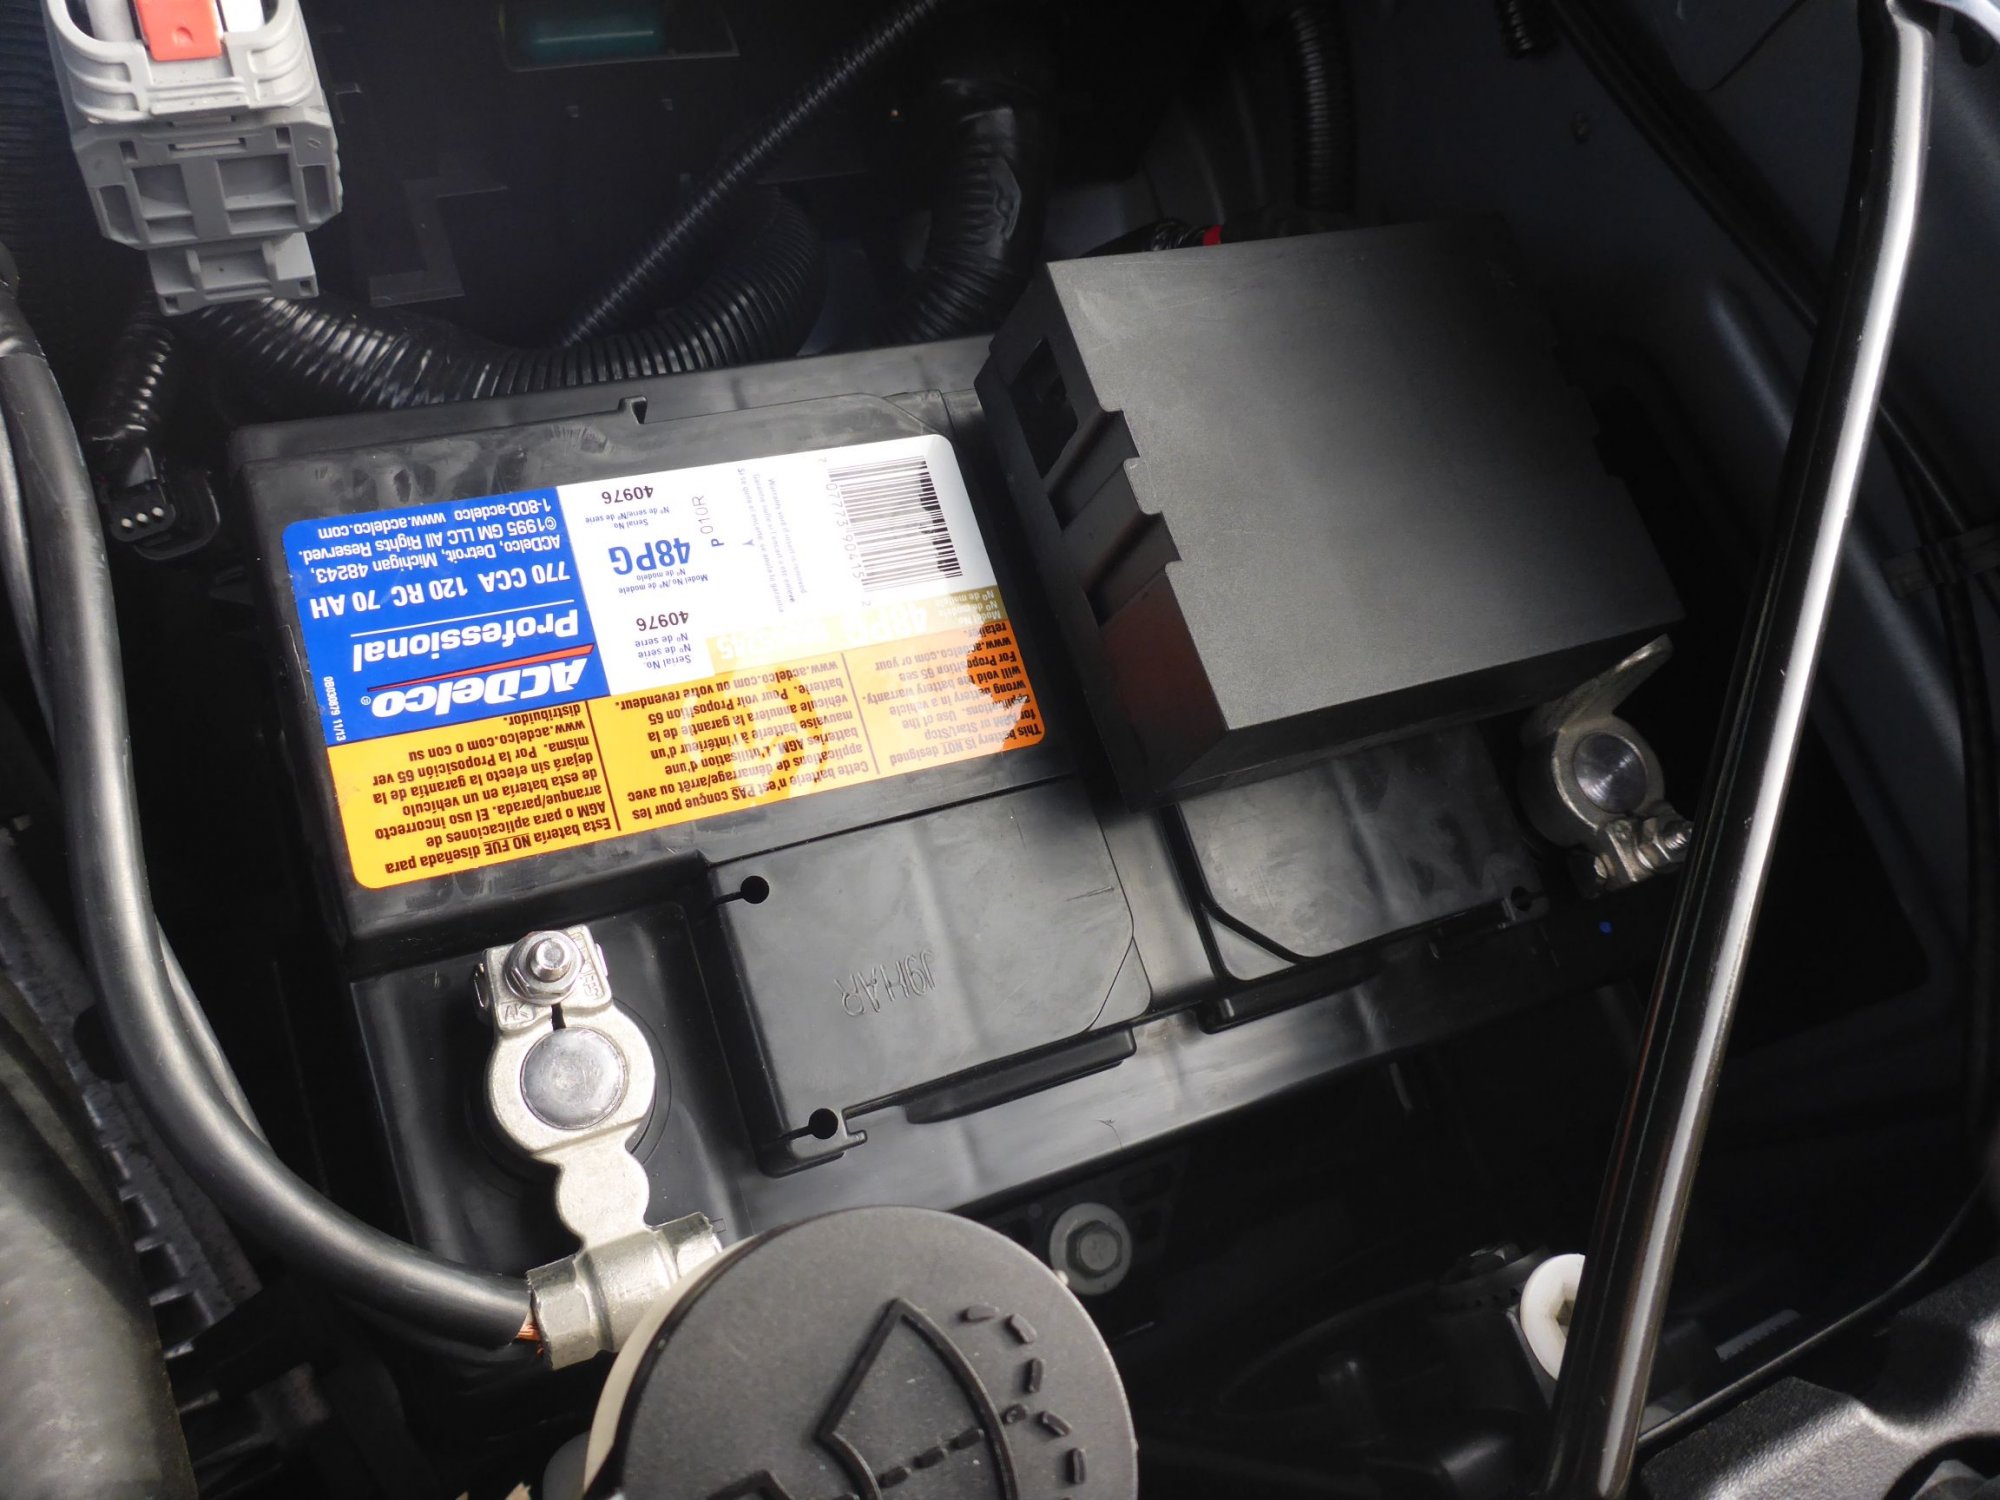
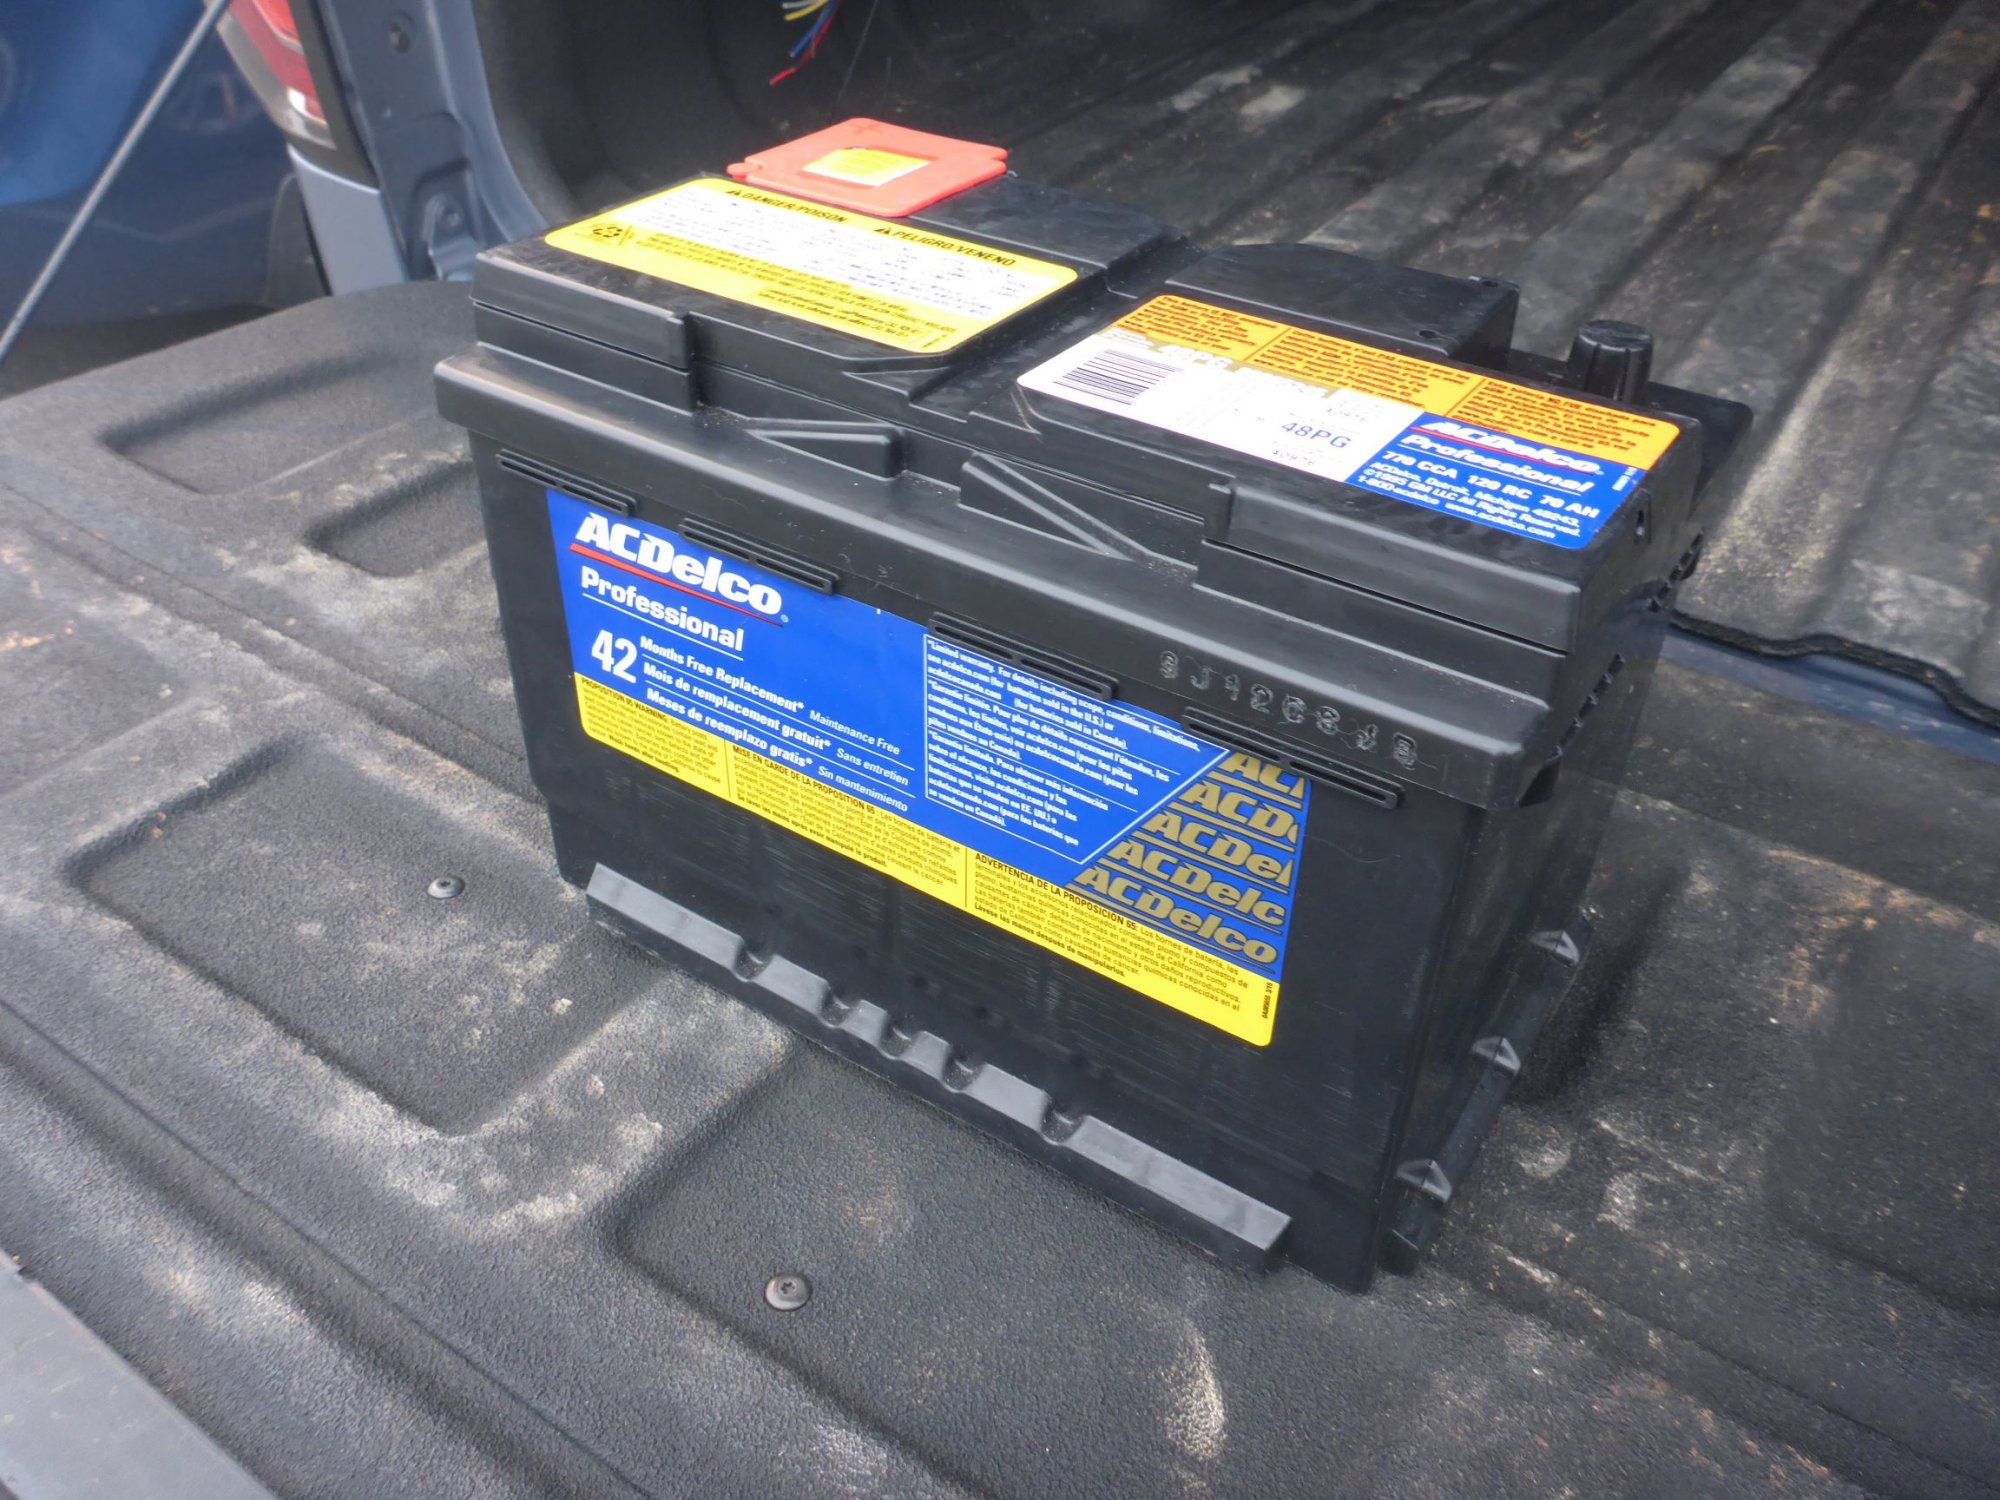
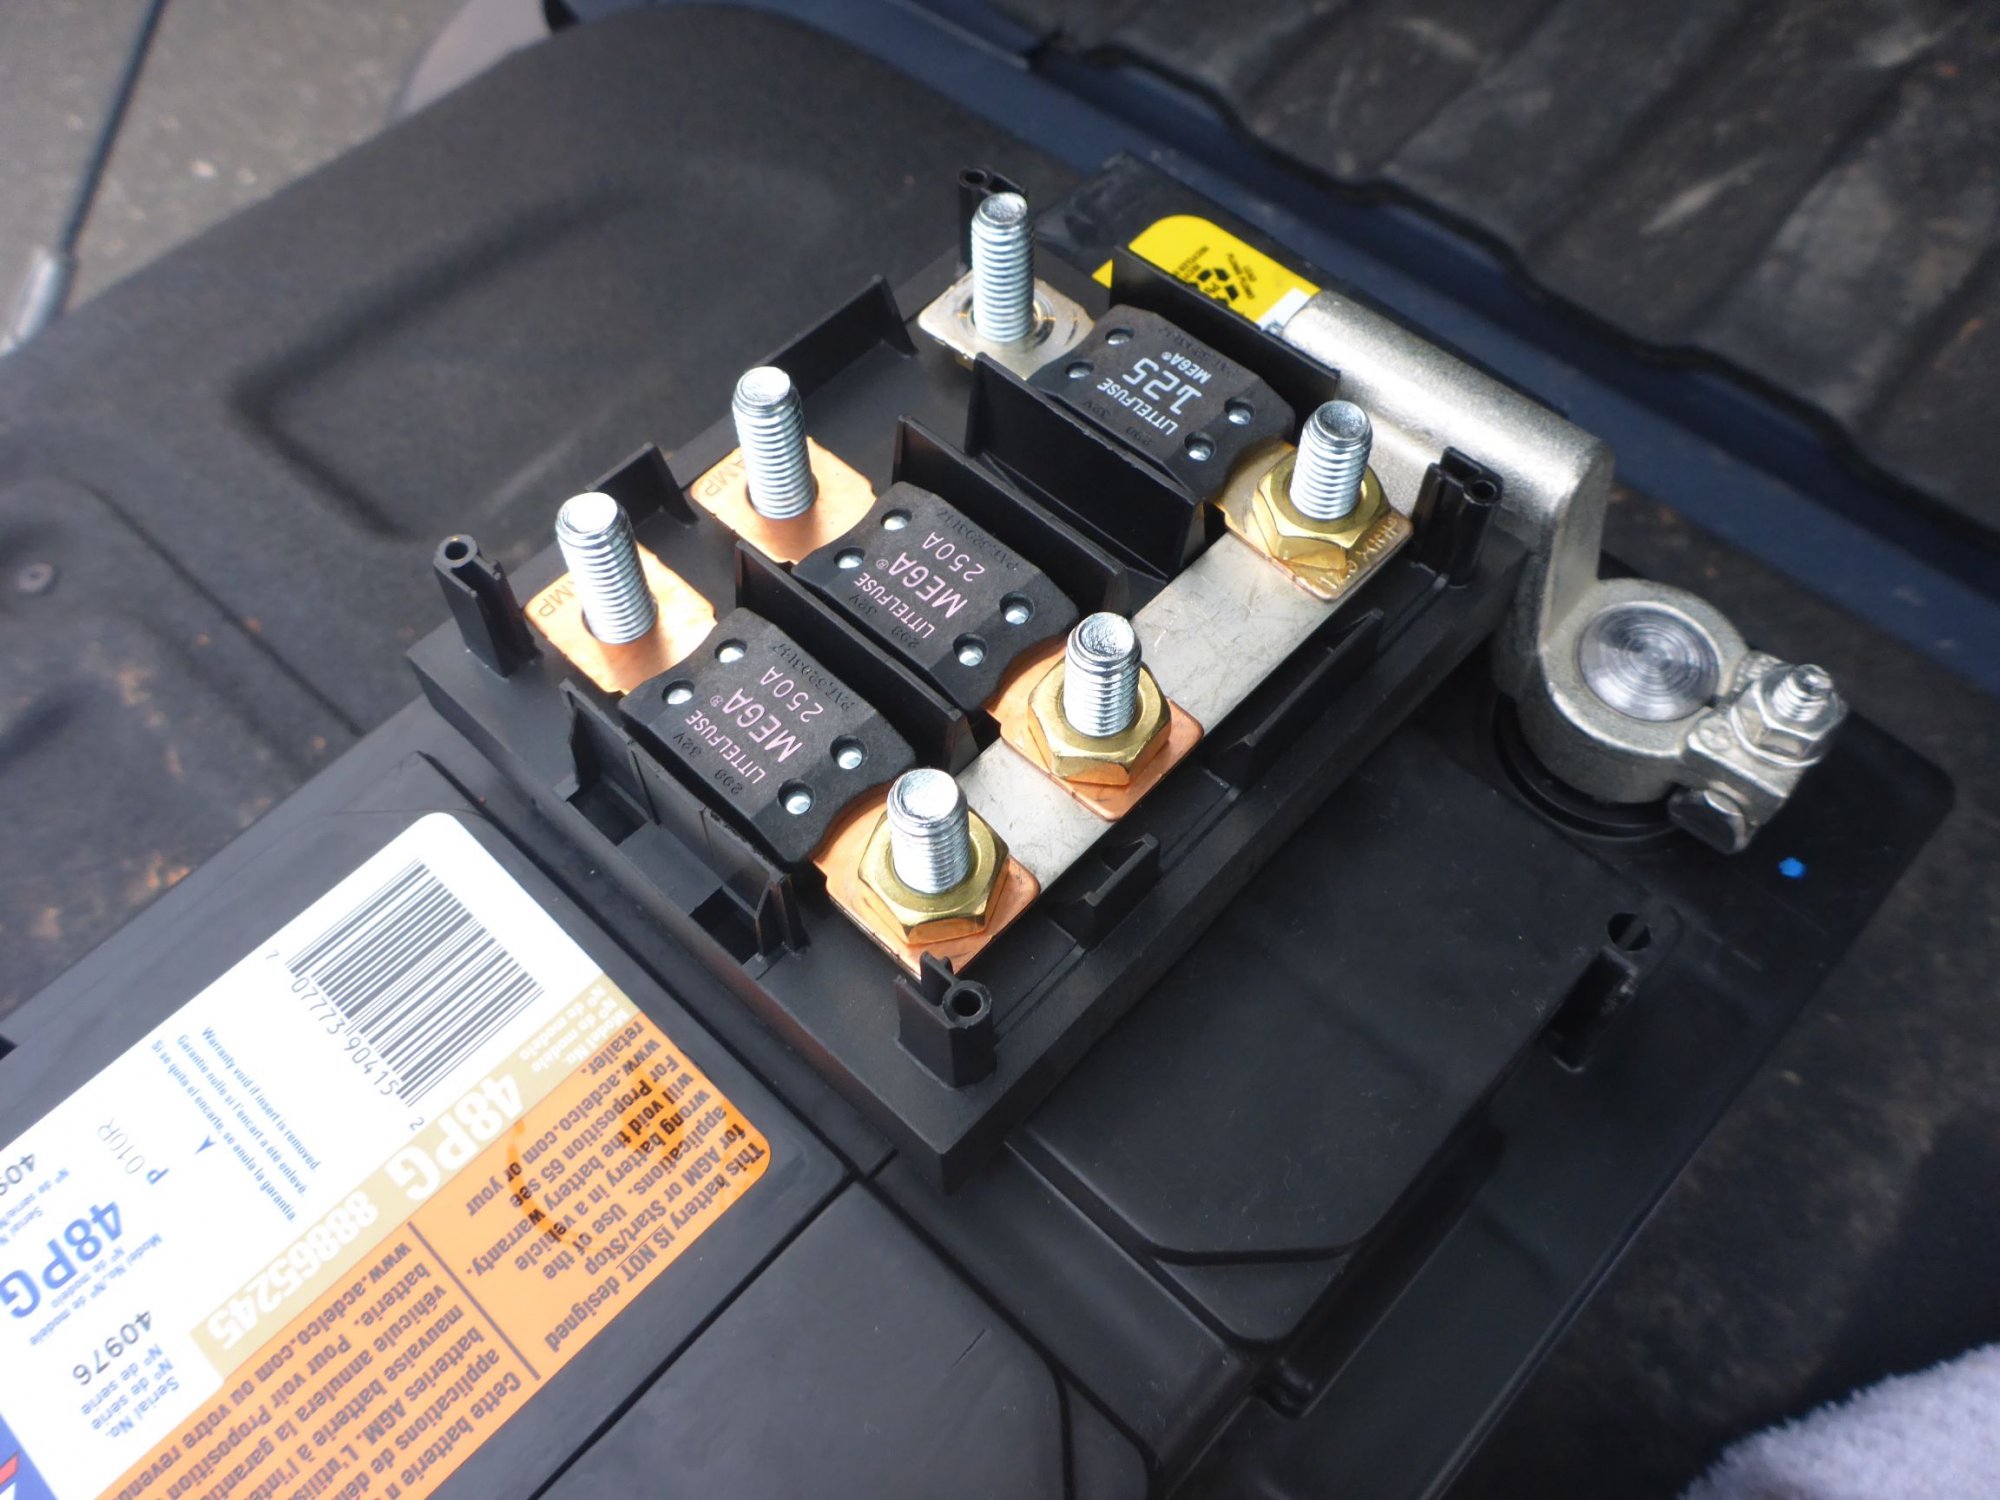
I picked up a 48PG battery today and installed my three-fuse modification. The original negative auxiliary battery cable 84354708 seems like it would never be delivered, so I picked up 22846471 (at about the same price) and removed the sensor. This one gives an additional ground lead of decent gauge that can be used for accessories, which is even better. I've replaced the 175A fuses with 250A as a preparation for a 3000W inverter running off of the aux battery. I will post pics once the battery lays down in the next couple of days.
1 point
-
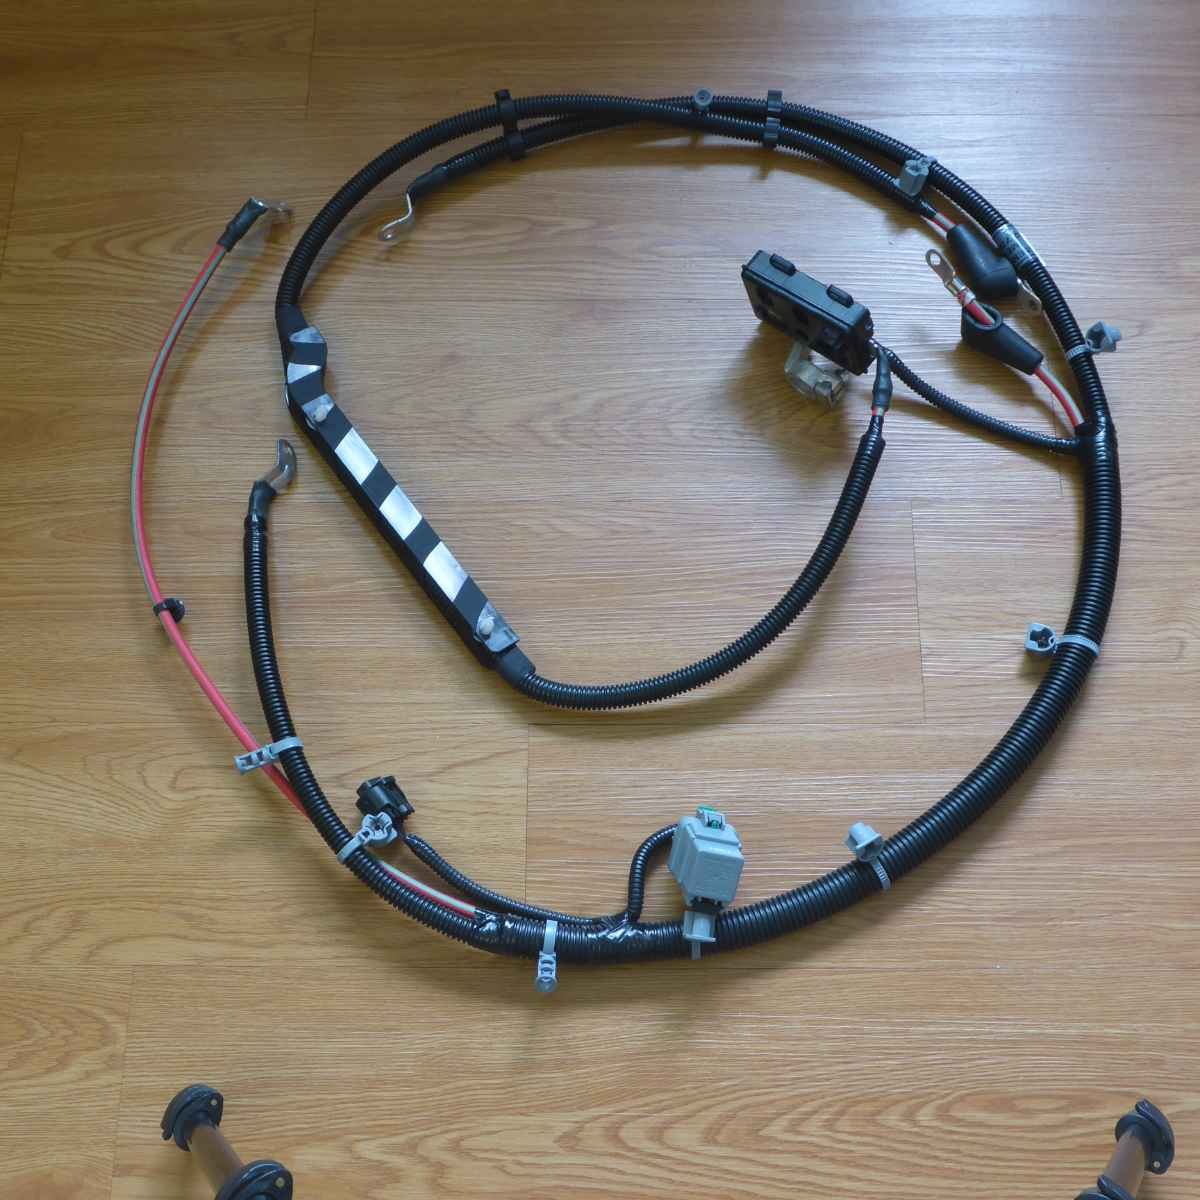
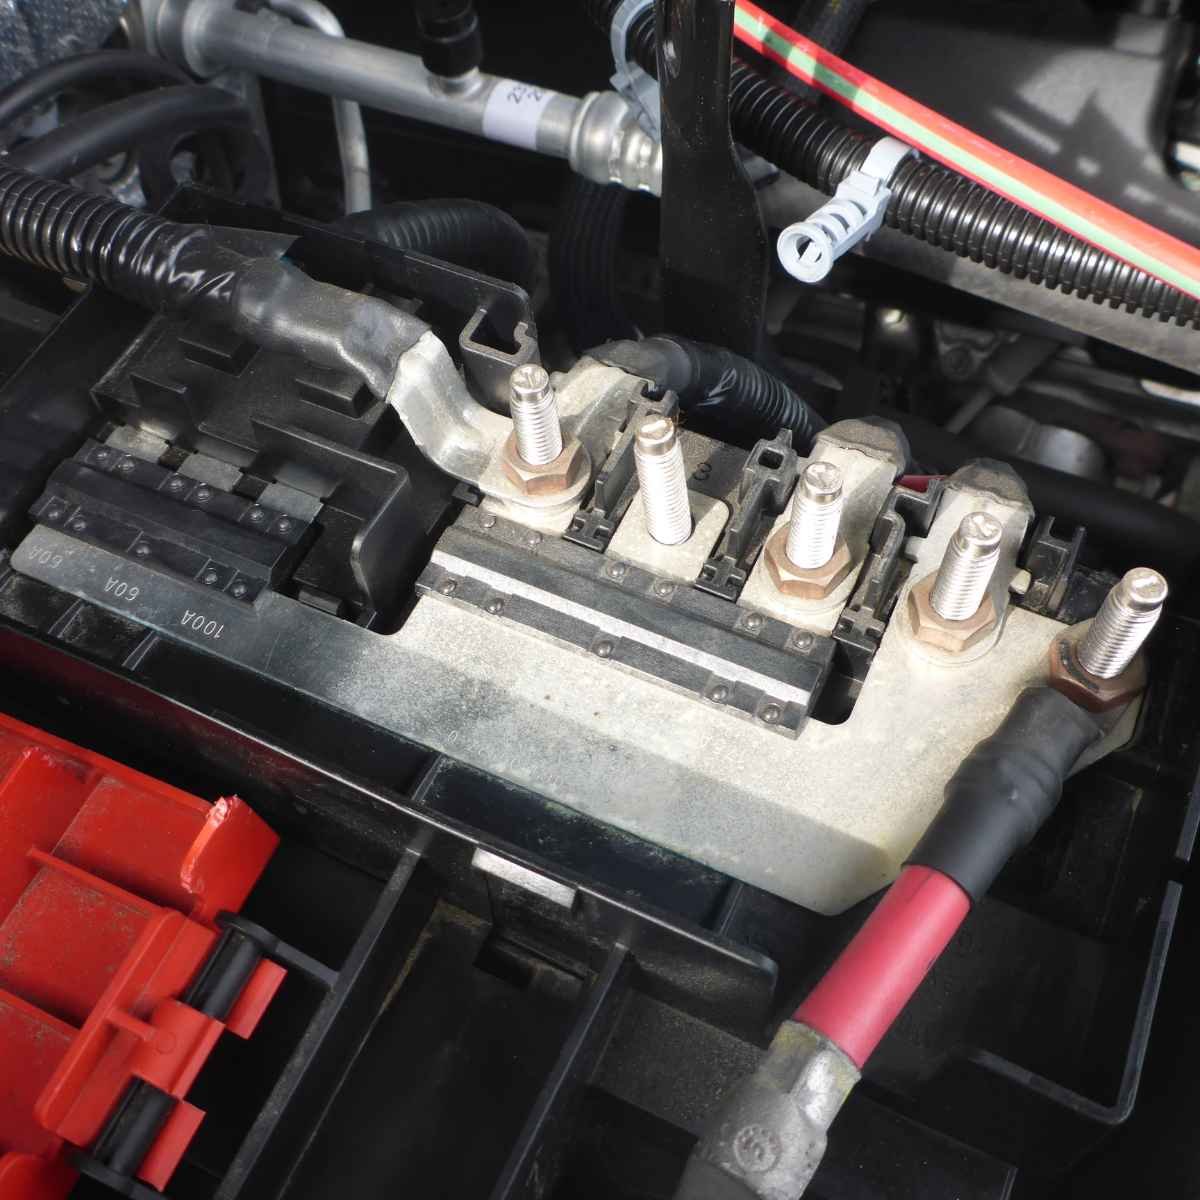
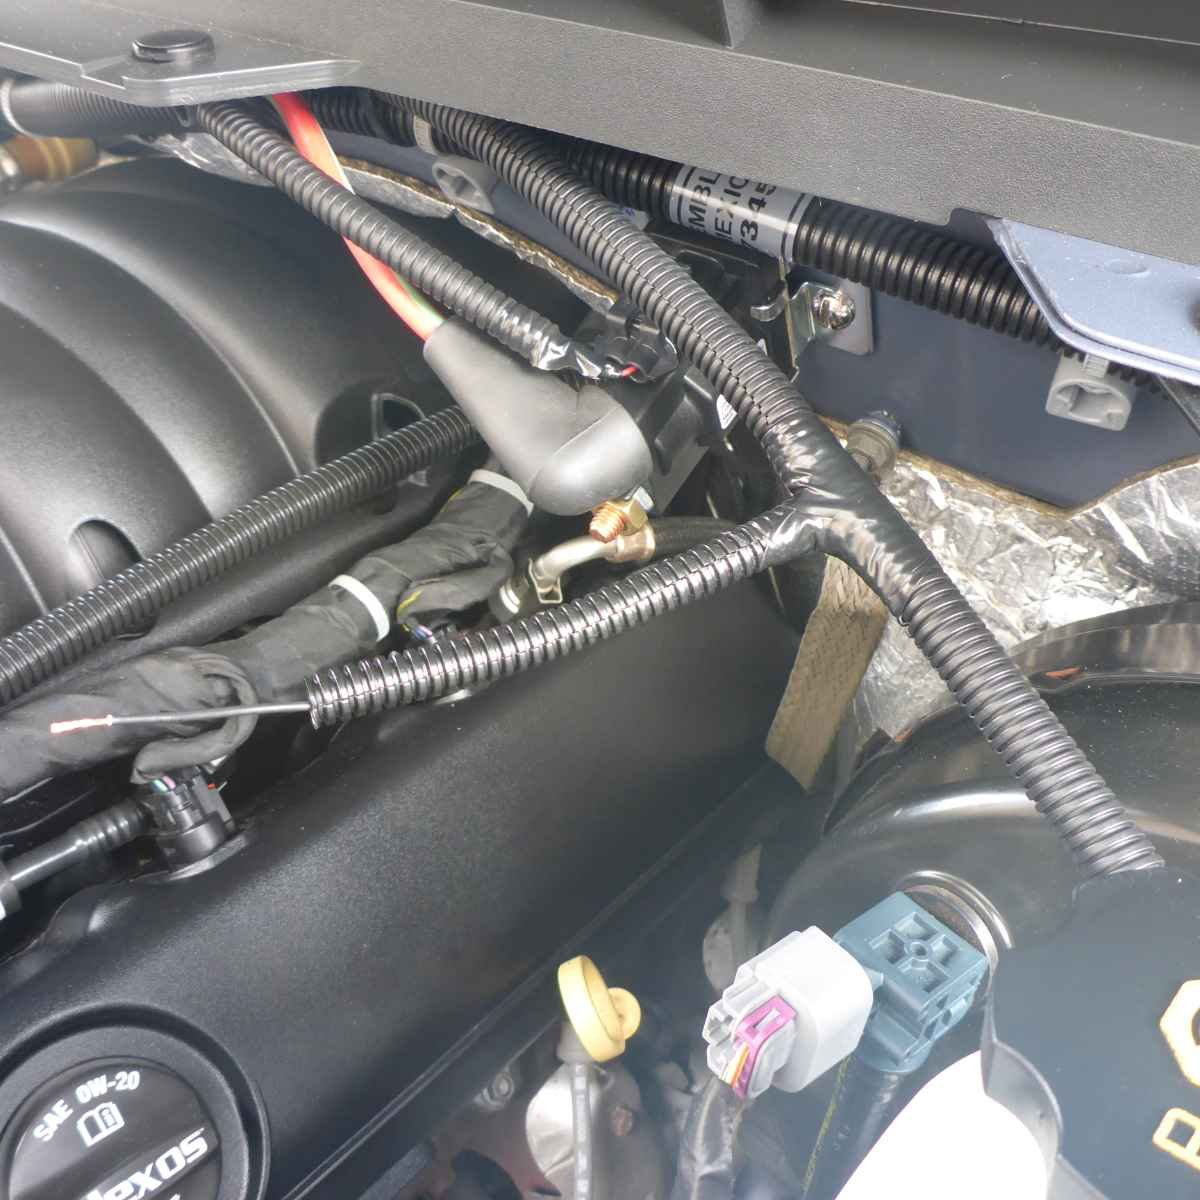
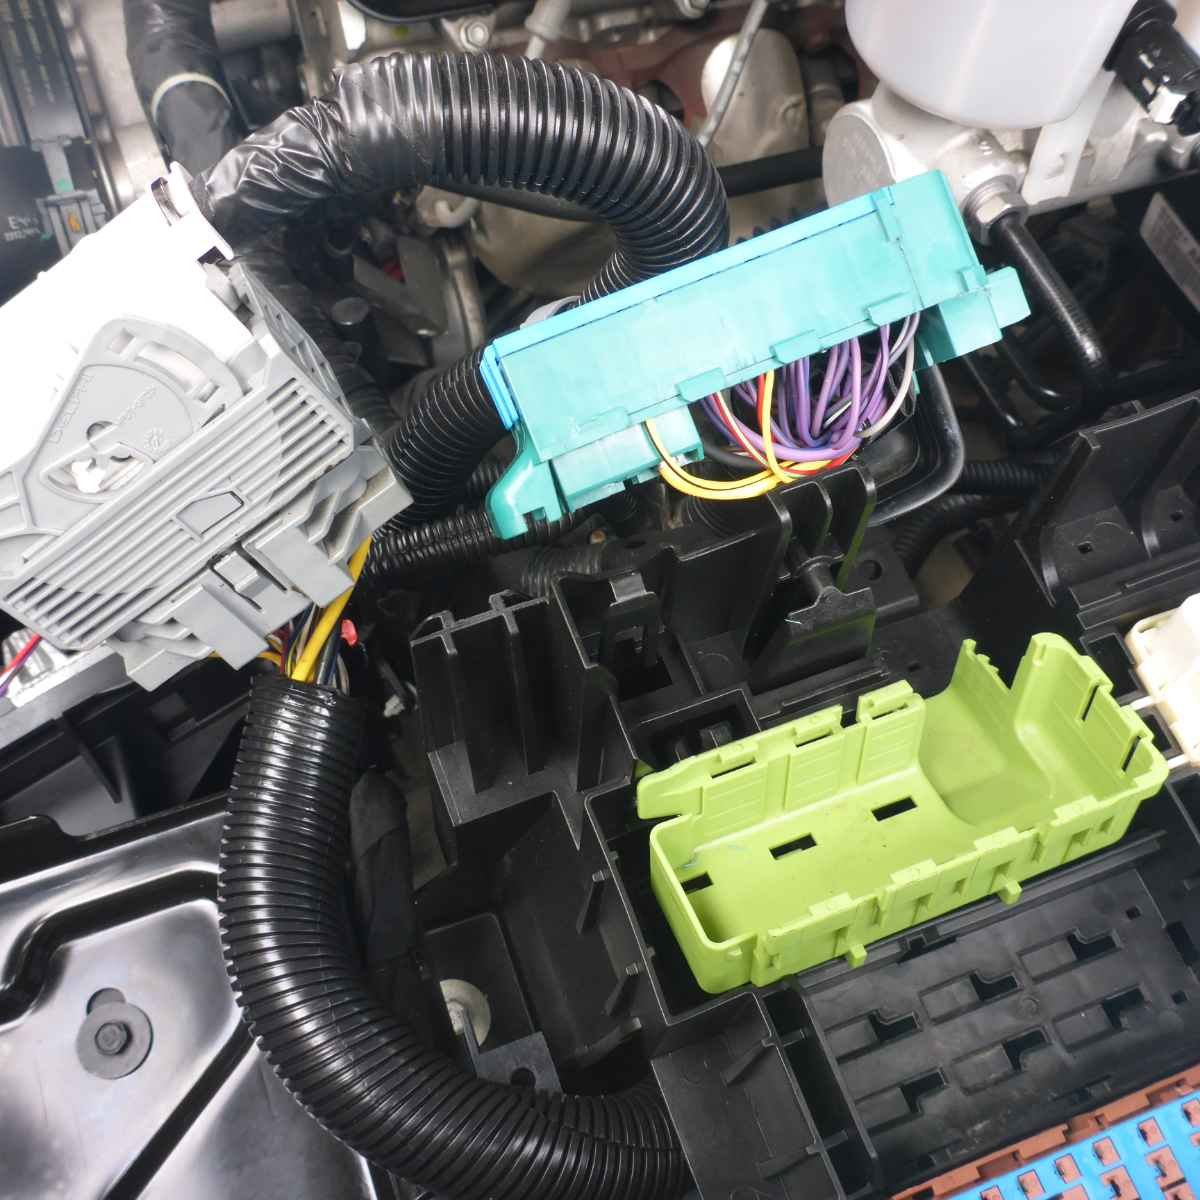
This is the battery tray, secondary auxiliary relay, and the optional 3 fuse box and cover for older model years if you want to replace the single fuse box on the aux battery harness: This is the factory harness between the primary battery and the X50A underhood fuse box: This is the aux battery harness that replaces it and adds the relay for switching the battery isolator, cable running from the primary battery distribution block to the isolator, cable running from the isolator to the aux battery (including the battery terminal with a 125A fuse), the connector for controlling the isolator, and the connector to control the aux battery switching: Here you can see the blank screw on the primary battery distribution block - the cable running to the isolator hooks up there. This is the connector on the aux battery harness where ground, (+), and the control signal (run/ignition) need to get in: This is the service terminals that connects to that connector. I ran black, violet/brown, red/white wires in the standard flex installation hose along the firewall (connector is on passenger side, my wiring goes back to the driver side) Here is the battery isolator secured to the firewall. I pulled out the black wire right there to connect to the ground post. This is the connector where you need to connect the red/white wire from the harness (the terminated lead wire is white) This shows where things come together with the red/white wire going to the service connector: Violet/brown can just be tapped into on the engine/body connector: All done (except for the aux battery which is on order, so I left the cable going to it disconnected from the isolator just to avoid having to heavily isolate it).
1 point
-
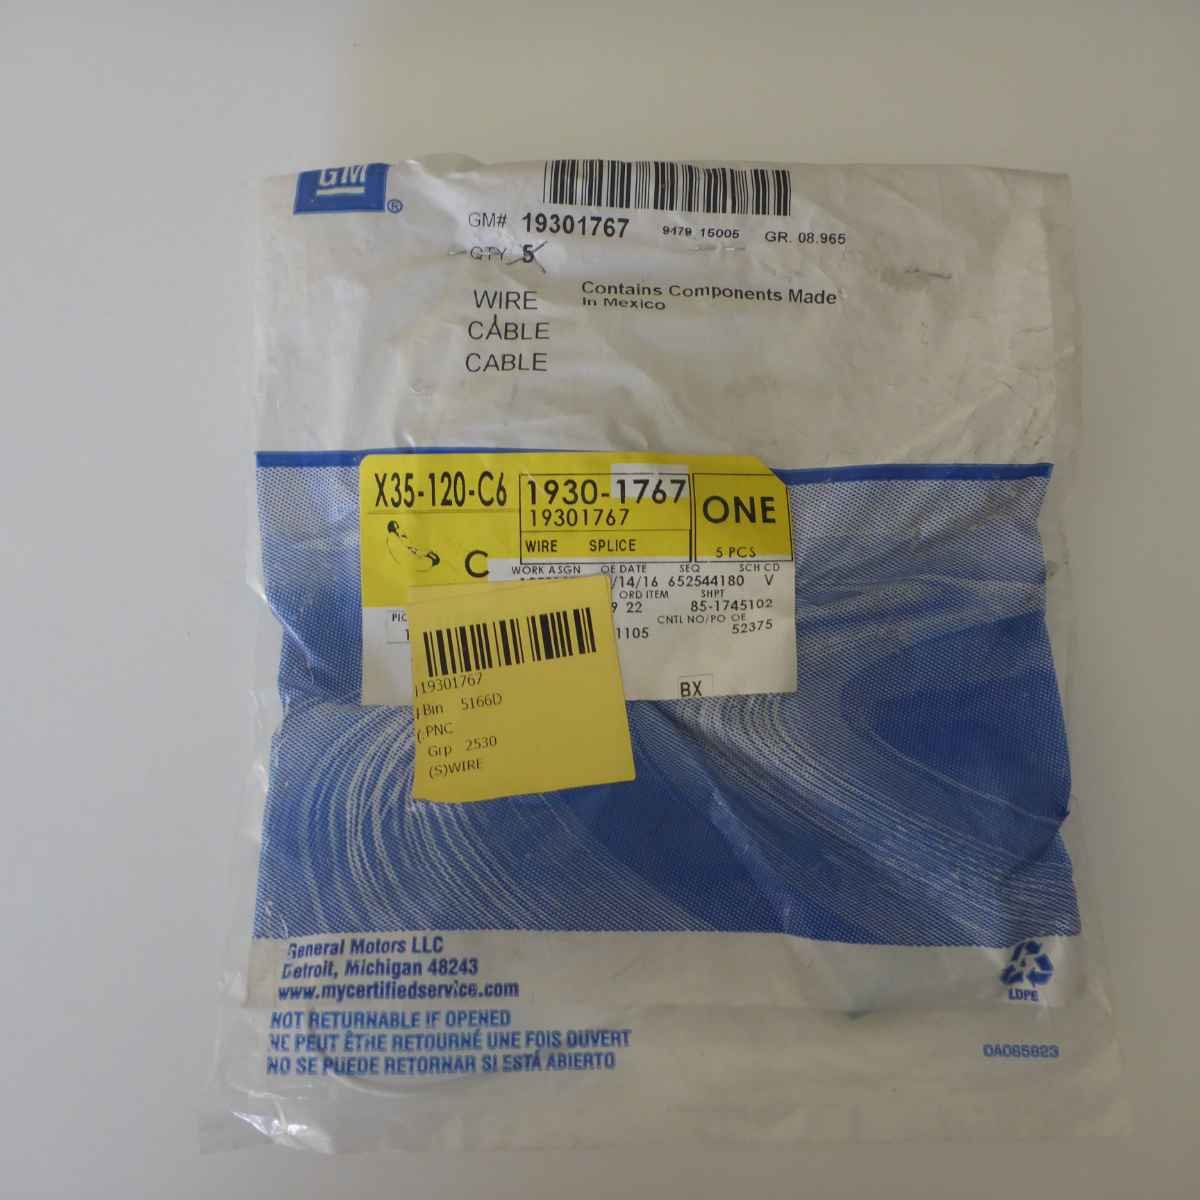
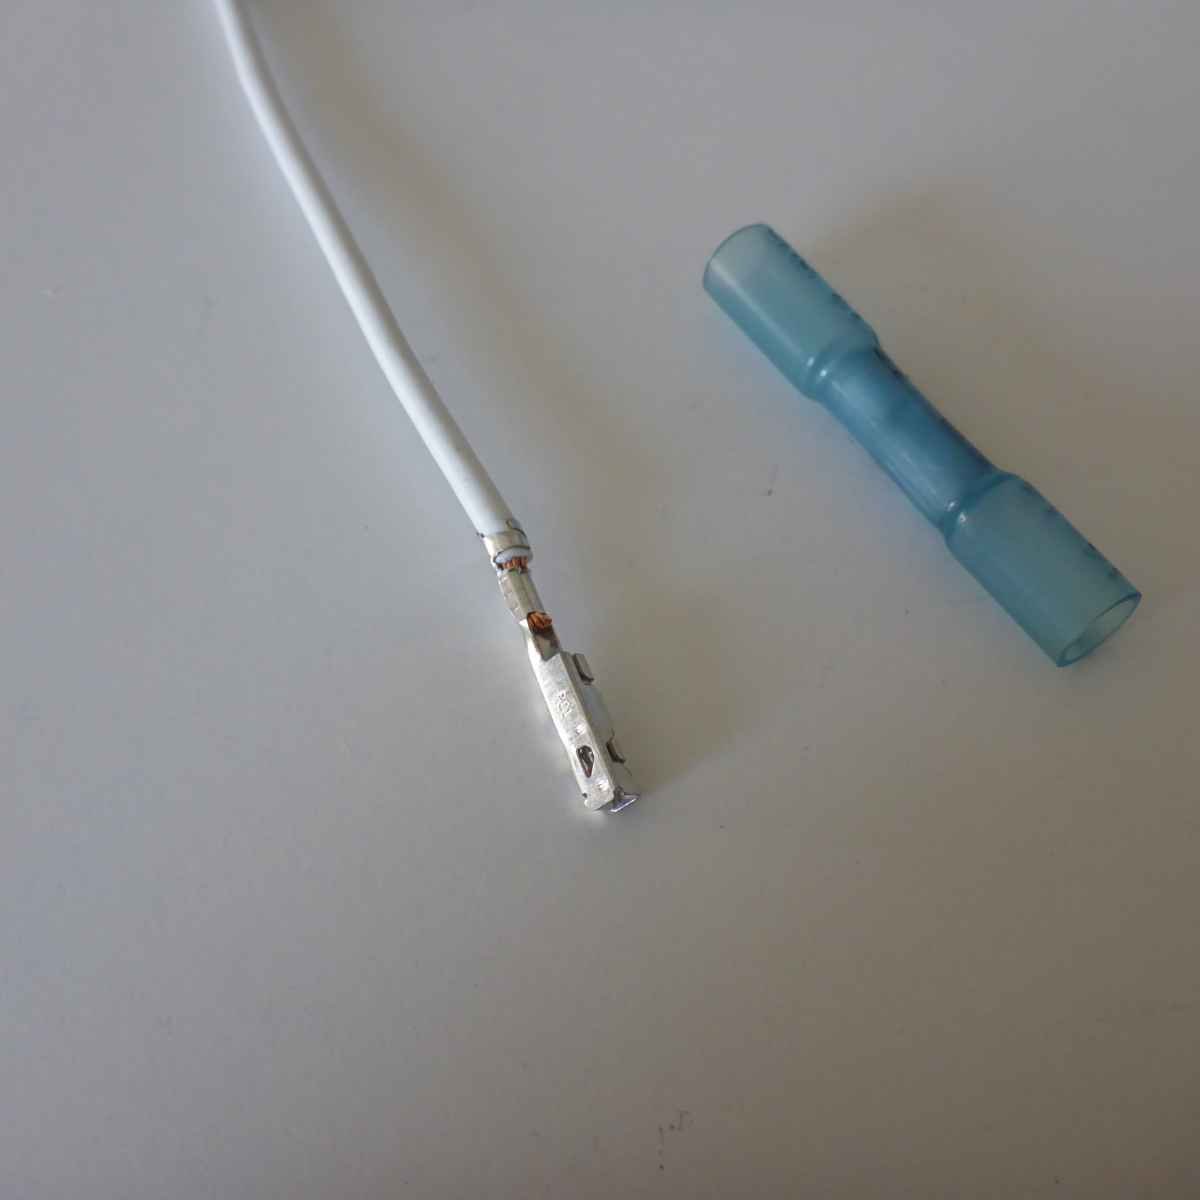
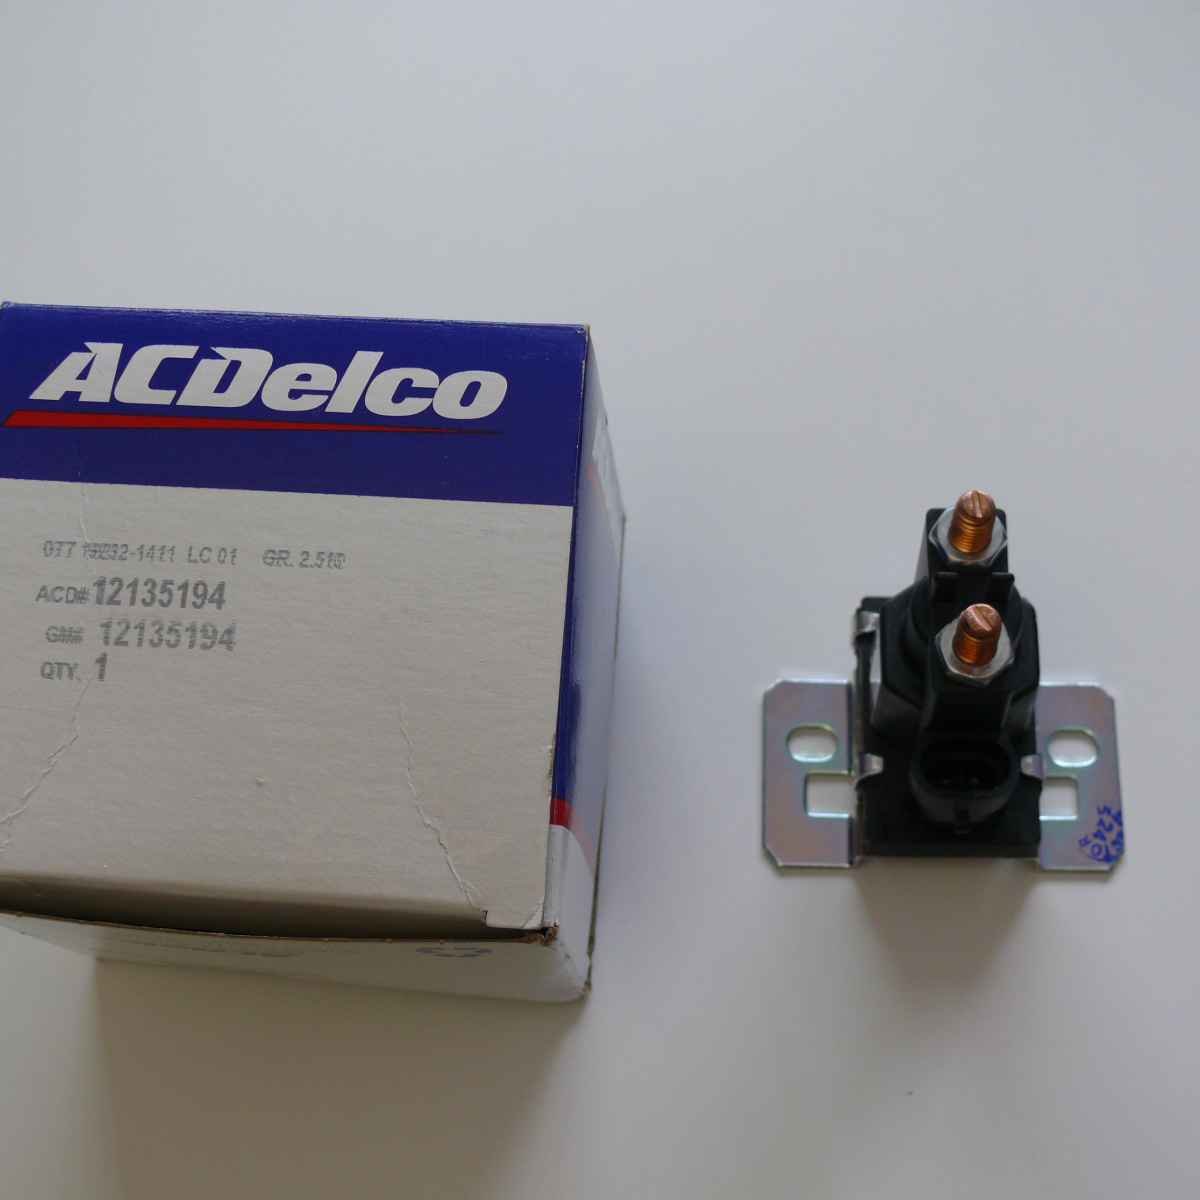
I am just finishing up my factory-style setup on my 2016 Sierra 1500. The harness part # for this age is 23273450. It replaces the original wire that runs from the primary battery to the underhood fuse box (it contains this within the harness). It comes with the relay that controls the battery isolator ("secondary auxiliary relay"). It also includes the auxiliary battery positive terminal with a fuse holder adjacent to the terminal (populated with a 125A fuse), however, it does not come with the cover for this single-fuse box (part # for the cover is 22945779). If you would like to directly draw high gauge cables to accessories (e.g., inverter), you can get the 3-fuse holder from older models (19116352 and cover 15881616) so you get a 100% factory install with provision for accessories. This 3-fuse holder can replace the single fuse holder that comes with the aforementioned harness (just take the battery terminal off of the single fuse holder and set it on the 3-fuse block). In that case, the fuse block sits on the battery just like the single-fuse box would. The distribution block on the primary battery already has a blank 125A spot for the auxiliary battery harness (as seen in photos above), so no modifications are needed there - just some nuts (should be 21021808). Auxiliary battery negative terminal with the wire should be 84354708 (I am still waiting for this last part to complete my setup). The secondary auxiliary relay part # is 12135194. You will have to use either self-tapping screws or rivet nuts to mount it to the firewall. Battery tray part # is 22989633, retainer is 14005061, and the retainer bolt is 11519527, as mentioned here earlier. Next, you need the "X158 Auxiliary Battery Harness to Engine Harness" that supplies ground, (+), and the signal for the relay to the aforementioned auxiliary battery harness (if you don't want to make the connector yourself). Service connector part # is 19367564. If you want to go full-factory, you can get violet/brown and red/white wires online. The black (ground) from the harness, I connected to the ground post on the firewall where the relay is mounted. The violet/brown connects to pin 42 of "X115 Engine Harness to Body Harness" connector near the underhood fuse box and the auxiliary battery. The "body" side of the connector is very accessible and there is already a violet/brown wire that you can tap into (that is the "Run Ignition 3 Voltage" signal). The red/white needs to go to pin G6 of connector X2 of the underhood fuse box - there was no pin in there so I used the terminated lead 19301767. I already had the F52UA fuse installed - that one will supply power for the auxiliary relay, so just adding the terminated lead was enough. Everything works but I am surprised that the relay disconnects the batteries during cranking. Can someone confirm how the system operates? I was expecting the auxiliary battery to "help" during the cranking. I can clearly hear the relay engage when the key is in ON, but disengages during cranking, and engages again when the cranking is over. Thank you!1 point
-
I'm installing as per oem installation. Tp2....this is a quote as to What is needed for wiring the relay and isolator. With those items installed you have completed the install of the new hardware. Now it's time to tackle the wiring aspect. There are only 3 wires we need for this. Switched 12V (only hot when key is in ACC), constant 12V (always hot), and ground. Orange wire is used for switched 12V, red/wh is constant 12V, and black is ground. The two 12V wires will come from the fuse block and the ground will come from the passenger side head. The orange wire is technically the "ignition 3" circuit and is controlled by the BCM..1 point


This leaderboard is set to New York/GMT-04:00