Leaderboard


Popular Content
Showing content with the highest reputation on 06/08/2018 in all areas
-
Guess you could always heat the ECM and drive the moisture out of it. Wonder if the PO had opened the case and ruined the seal. Or do as suggested and purchase a replacement2 points
-
Waiting on a few items. Denali sterling wheel, and dl3 mirrors And I'm back on stocks now until I get my new wheels
 2 points
 -
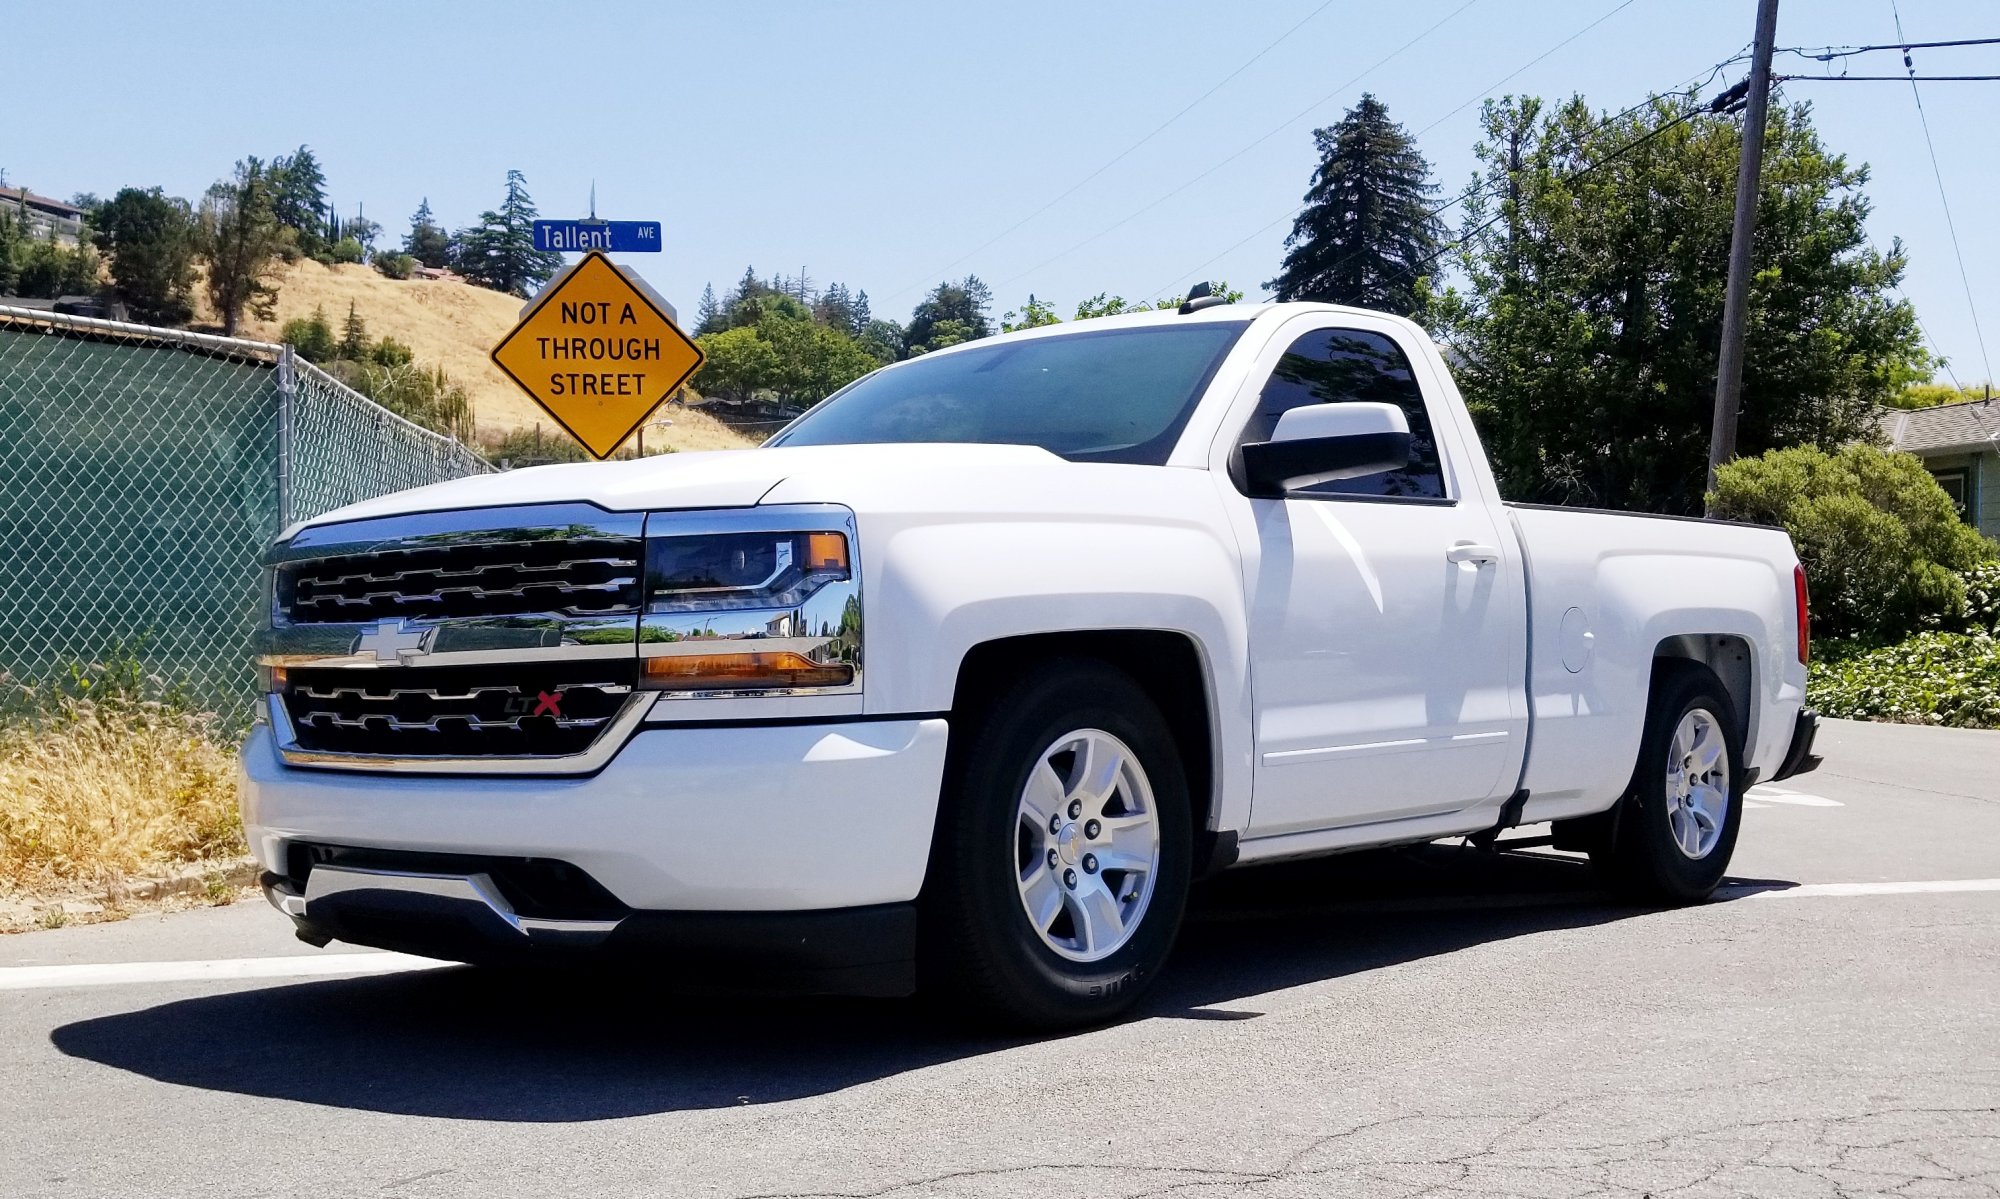
Took it in for an oil change and left with heavier pockets and a truck half the size. Bye bye High Country, hello RCSB SLE.2 points
-
At the request of another member, I'm going to detail the route I took to get the Denali Cluster into my 2015 2500 LTZ and match the physical gauges to the chevy blue color This takes some soldering skill so do not attempt it if you have never touched a soldering iron. A little backstory to anyone reading who isn't familiar, you can put the Sierra Denali gauge cluster with the 7" center screen into your same model year non Denali truck, (even Chevy). There are stipulations to this that I wont go into so please read this thread for more info. Also, Please don't start blasting emails to Chris White (White Automotive & Media Services) asking for details without the requested info from him. I see a lot of people who don't read prior to sending requests and I for one don't want to see this service dropped because they get tried of it. After getting the correct cluster from a Denali and sending it off to be programmed by Mr. White, I received it back and put it in. Great upgrade, everything works as it should and they look awesome. The one thing I did not like about this whole process specifically for the 2015 model year was that there was no cluster made with any of the chevy blue theme in it like the late 16,17, 18. So in my Silverado I was stuck with the cluster from a GMC that didn't look right with the red. Now going forward (as of now) there is still no way possible to get the graphics on the center screen to have the blue, only the red in 2015's. However, depending on what theme you choose in the menu they are pretty subtle and don't use a lot of red in them. I can deal with that. There is a way to at least change over the physical gauges to the blue. Which I will outline here. Basically what we will be doing is changing the gauge faces and the LED's behind them providing the backlighting. You need to source the gauge faces from another cluster somehow. I found just the faces for sale on ebay. They do have to be from the Denali cluster as the locations for the warning lights are different than non Denali clusters. Also watch for Diesel vs. Gas since the tach is different too as well as KPH primary vs MPH. The backlight LED's became the problem for me. I could not for the life of me find the blue or cyan or turquoise or whatever color they are anywhere for sale. Without knowing the color wavelength i was shooting in the dark and struck out every time I ordered what I thought were them. So i went another route. Chances were that most of the chevy clusters use the same components across the board. I was going to source them from my old cluster but nope, they use all white LEDs and use the color of the tick marks to change the light output. So wandering through ebay one day I came across a 2014 chevy Cruze cluster for sale for $13 and $4 shipped. I did a quick google search for the cluster and saw images of what appeared to be the same chevy blue color used in the Silverado's. So i took a shot ant ordered it not expecting much. Turns out they are a perfect match! they are the same PLCC-4 Leds used in the Denali cluster and their output is the chevy blue that i was looking for. plus for $17 its worth it. Here is the cluster in question. I have seen many for sale at the same price as well. Taking it apart there are exactly 8 of the cyan colored LEDs that you will need for the swap. So don't ruin any or you will need more... I 'm not going into soldering techniques either here so if you aren't confident, practice on some of the other ones on the Cruze board since its garbage anyway. Just remember not to pull on the LED before its free from the board or you will rip the solder pad right off the board and ruin that LED mount point. This cannot be undone so be careful. Now that you have a stack of LEDs, its time to go after the ones on the Denali cluster. Take the front plastic lens and chrome rings off in one piece. its easier. There are 4 screws holding it together in the back. Take those out first. Again, I'm not getting into the details of disassembling the cluster since it comes apart the same way as the Cruze one you just did. Take off the needles and remove the gauge face and warning light divider assembly in one piece. It will look like this. You will notice that you will be left with the servo boards in the cluster along with the screen . flip up the clamp on the ribbon cable holding the boards in and remove them to work. Here they are . Notice the block of 8 LEDs on the bottom. These are responsible for the white numbers and blue or red tick marks. We want to remove all the "Ticks" LEDs. before you remove them take not and mark the orientation of the LED on the board. the LED has a corner cut out on it and that indicates how it is mounted to the board. For whatever reason they are different on each board so mark them accordingly and pay attention or the led wont light up when replaced. Note that the solder pads on the servo boards are very fragile. DO NOT pull up on the led unless there is re-flow on the pads or you will tear them off and the board will be done. Once they are all off then go ahead and solder back on the blue LEDs from the other board. Make sure that no two pads contact each other when soldering back on or the LED wont work. They must stay isolated from one another since its a 1 cathode 3 anode style LED. Once that is done and you make sure everything works then go ahead and put the boards back in, put the new overlays back on and put her all back together. Now sit back and take it all in that you are now 1 of a handful of people that have this setup on their gauges. Before: After: Now This is the route i took. I currently have another 2017 Denali cluster enroute to me to see if the servo boards can simply be swapped to alleviate the soldering aspect all together. I will update this when I find that out. Talking to Chris he says there were hardware changes in the different years so I don't know if they will swap out. UPDATE: Update to this project. I can confirm that the servo boards from at least a 2017 cluster will swap over to the 2015's. So those of you with more money than time can simply swap the boards and faces from a 2016 with blue or 2017+ cluster. That makes this about a 30 minute job and much easier since the soldering portion is gone. and for what its worth, the screens are also interchangeable as well. No that you gain anything from swapping them.
1 point
-
1 point
-
In my opinion, you can safely open the computer box, but do it carefully. If its 100% dry inside, seal it back up right away. If its wet: Consider buying "VIN # Programmed" unit on eBay for $100 delivered. If you want to dry yours out, use gentle compressed air, and then set it on top of your refrigerator for a day or two. In front of a fan for a day or two works as well. Static electricity can fry it, so you don't want to do it on carpet while wearing socks. Also, when your holding the computer, try to avoid being hit by lightening - as it can damage the computer.
1 point
-
Sent you a message to buy a DIY kit for the new mirrors. Thank Phil.1 point
-
Paid cash for the High Country a year ago, got $4k less then I paid, on trade-in, for a $20k cheaper truck. I walked out with heavier pockets. Lol1 point
-
Would love to upgrade my entire jump seat to the full console where would I find one for a 2018 crew cab silverado. I would also need to order your wiring kit for the console. By the way I started following you on YouTube I will be doing my upgrades my now just cause your videos are so good.. Thanks Brotha keep up the good work!!!!1 point
-
I may have a biased opinion because I own a RCSB but you couldn't have made a better purchase lol Sent from my SAMSUNG-SM-N920A using Tapatalk1 point
-
I removed the rear cover of the center console. There are 4 torx screws to remove, then just pull up towards the ceiling with 10 degree angle towards the back to release the friction clips. I then used a snake to run the wire under the carpet. It helped to remove the door sill trim and then I stuck my arm under the carpet to lift it up a little so the snake wouldn't get snagged on the carpet pad. It took about 30 minutes.1 point
-
Phil, Sent message needing your wiring harness. Let me know what is needed from me next. Thanks1 point
-
Sent from my iPhone using Tapatalk1 point
-
Haha, Because my 20 month old destroys the cab with food and I got tired of having to roll out the vacuum every day to clean up the crumbs.1 point
-
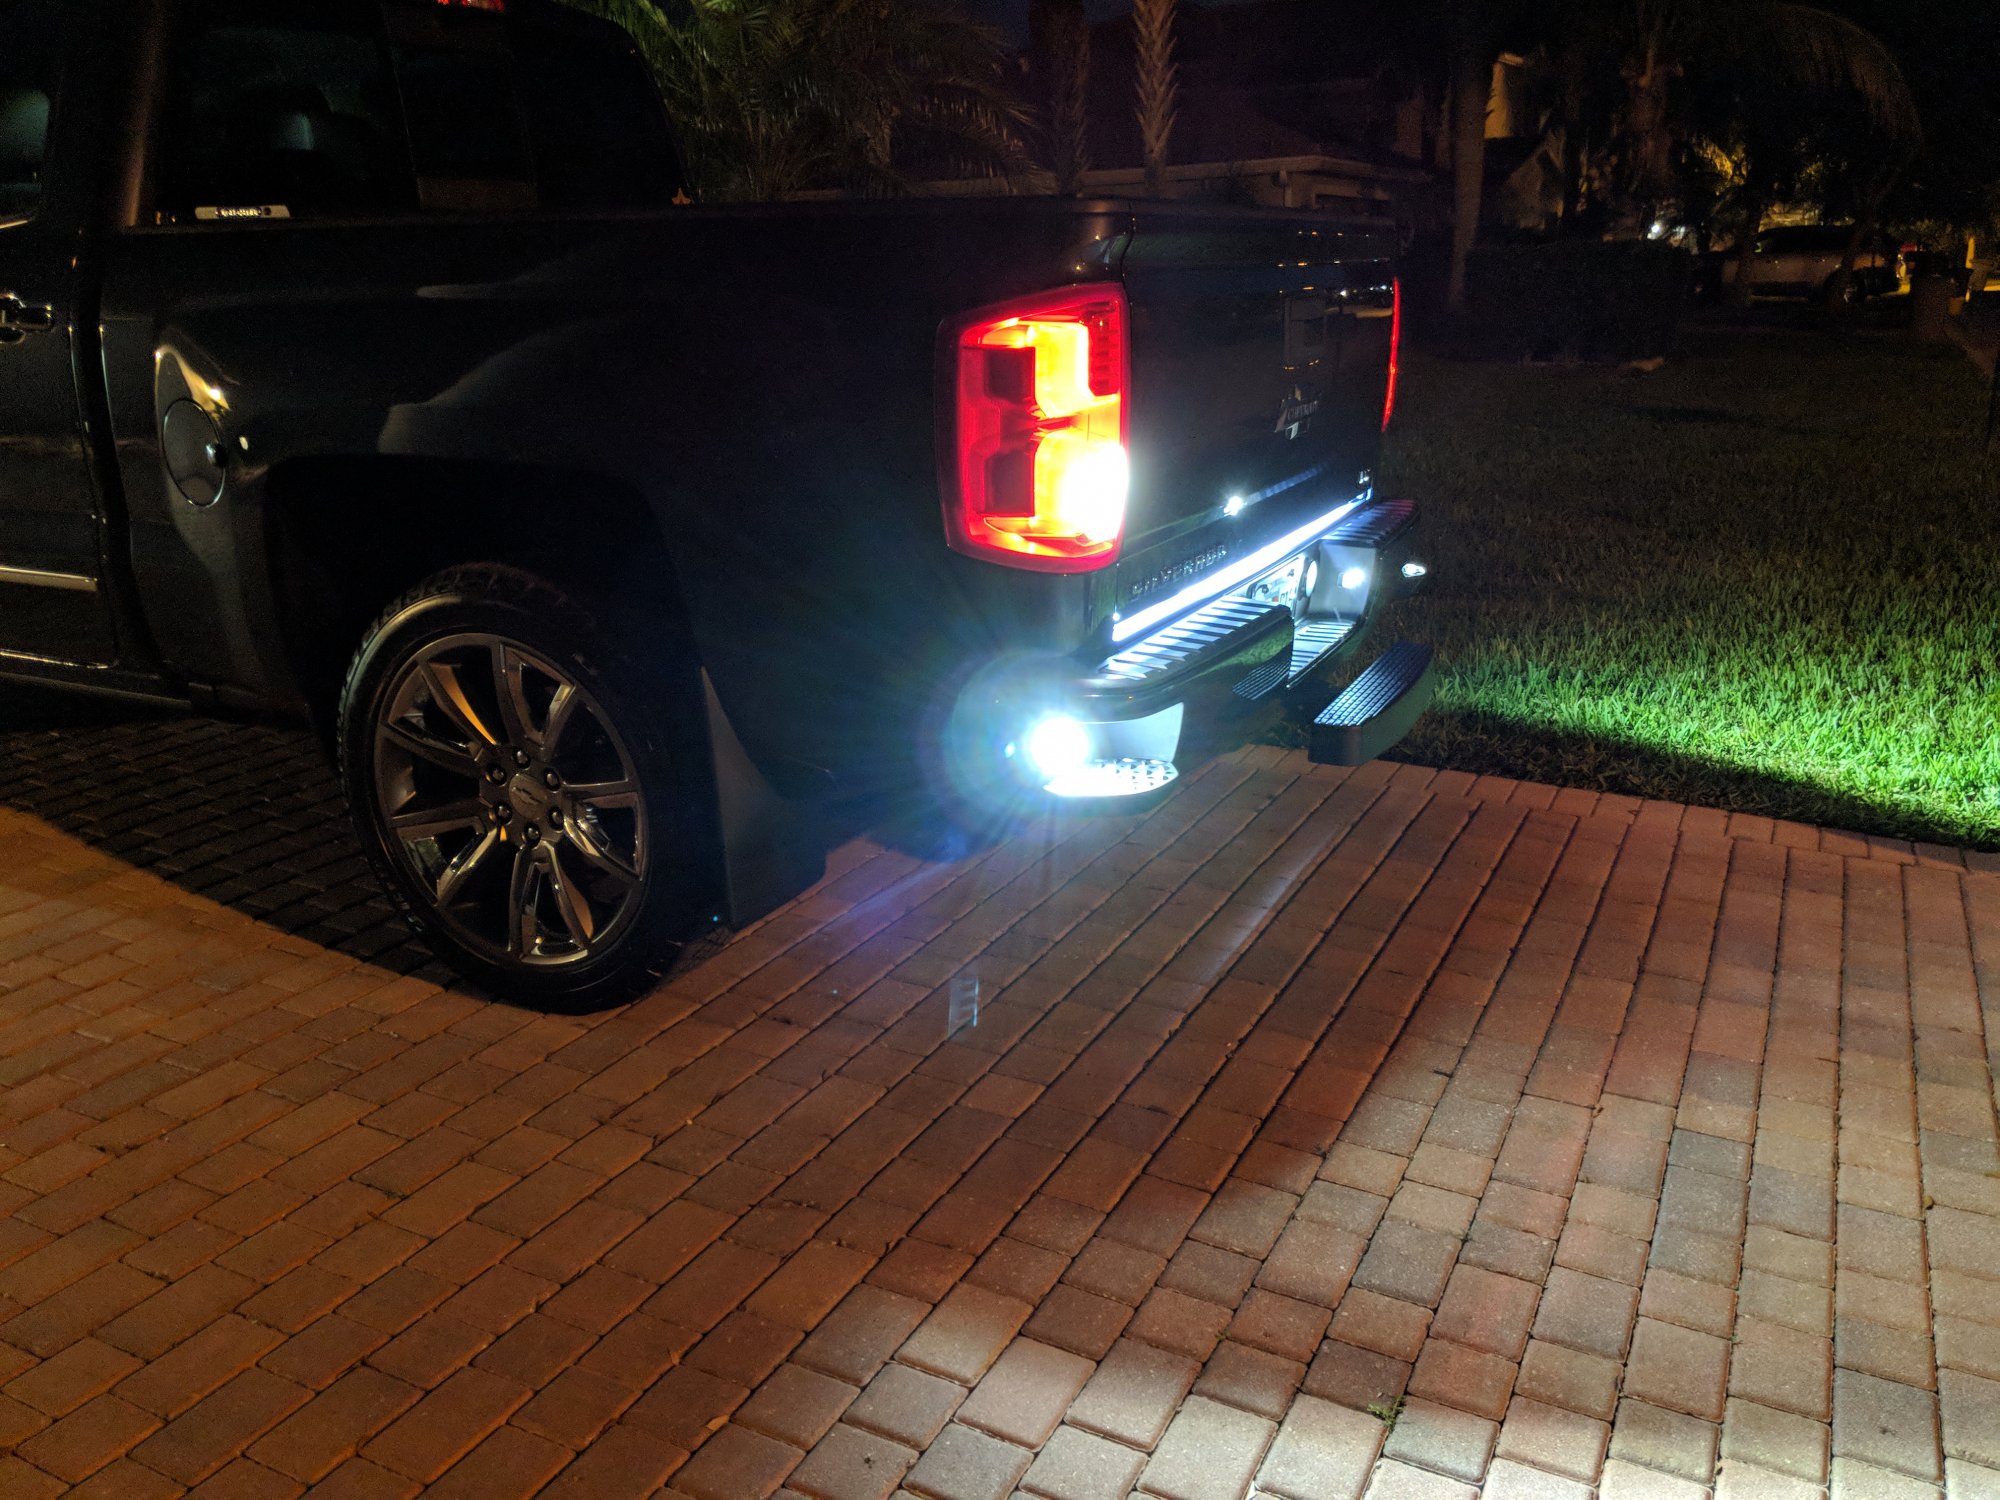
Did you tie into your reverse lights or put em on a toggle? Sent from my SAMSUNG-SM-G935A using Tapatalk1 point
-
1 point
-
Added two 12v outlets in the back to keep my jump starter and vacuum charged up. Got the Dyson V7 Car + Boat for $170 at Costco today.
1 point
-
That's half of it. The problem was that the Denali cluster has red LEDs backlighting the red faces so both had to be swapped.1 point
-
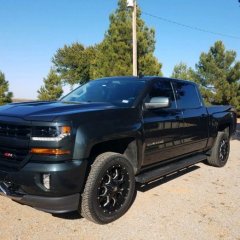
UPDATE: After over 6000 trouble and vibration free miles I think I may have really found two main causes of the Chevy Shake. It is the very long aluminum driveshaft and the 20 inch tires. Just replacing the shaft took out 90% of the shake. Going back to a proven 12 year old set of 17" Chevy Tahoe Z-71 wheels with brand new tires took care of the rest. I hate that I had to spend $2,000 to fix a new $40,000 truck but with absolutely ZERO help from GM, I could not afford to do otherwise. Truck is approaching 9000 miles. Ill check back in at 15,000.1 point
-
2017 Chevy Silverado LTZ Z71 6.2L 4.5" Zone w/ Bilstein and Fox 22x10 American Force Grips 33x12.5 Nitto Ridge Grapplers Instagram @wildchevys1 point
-
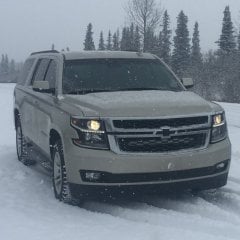
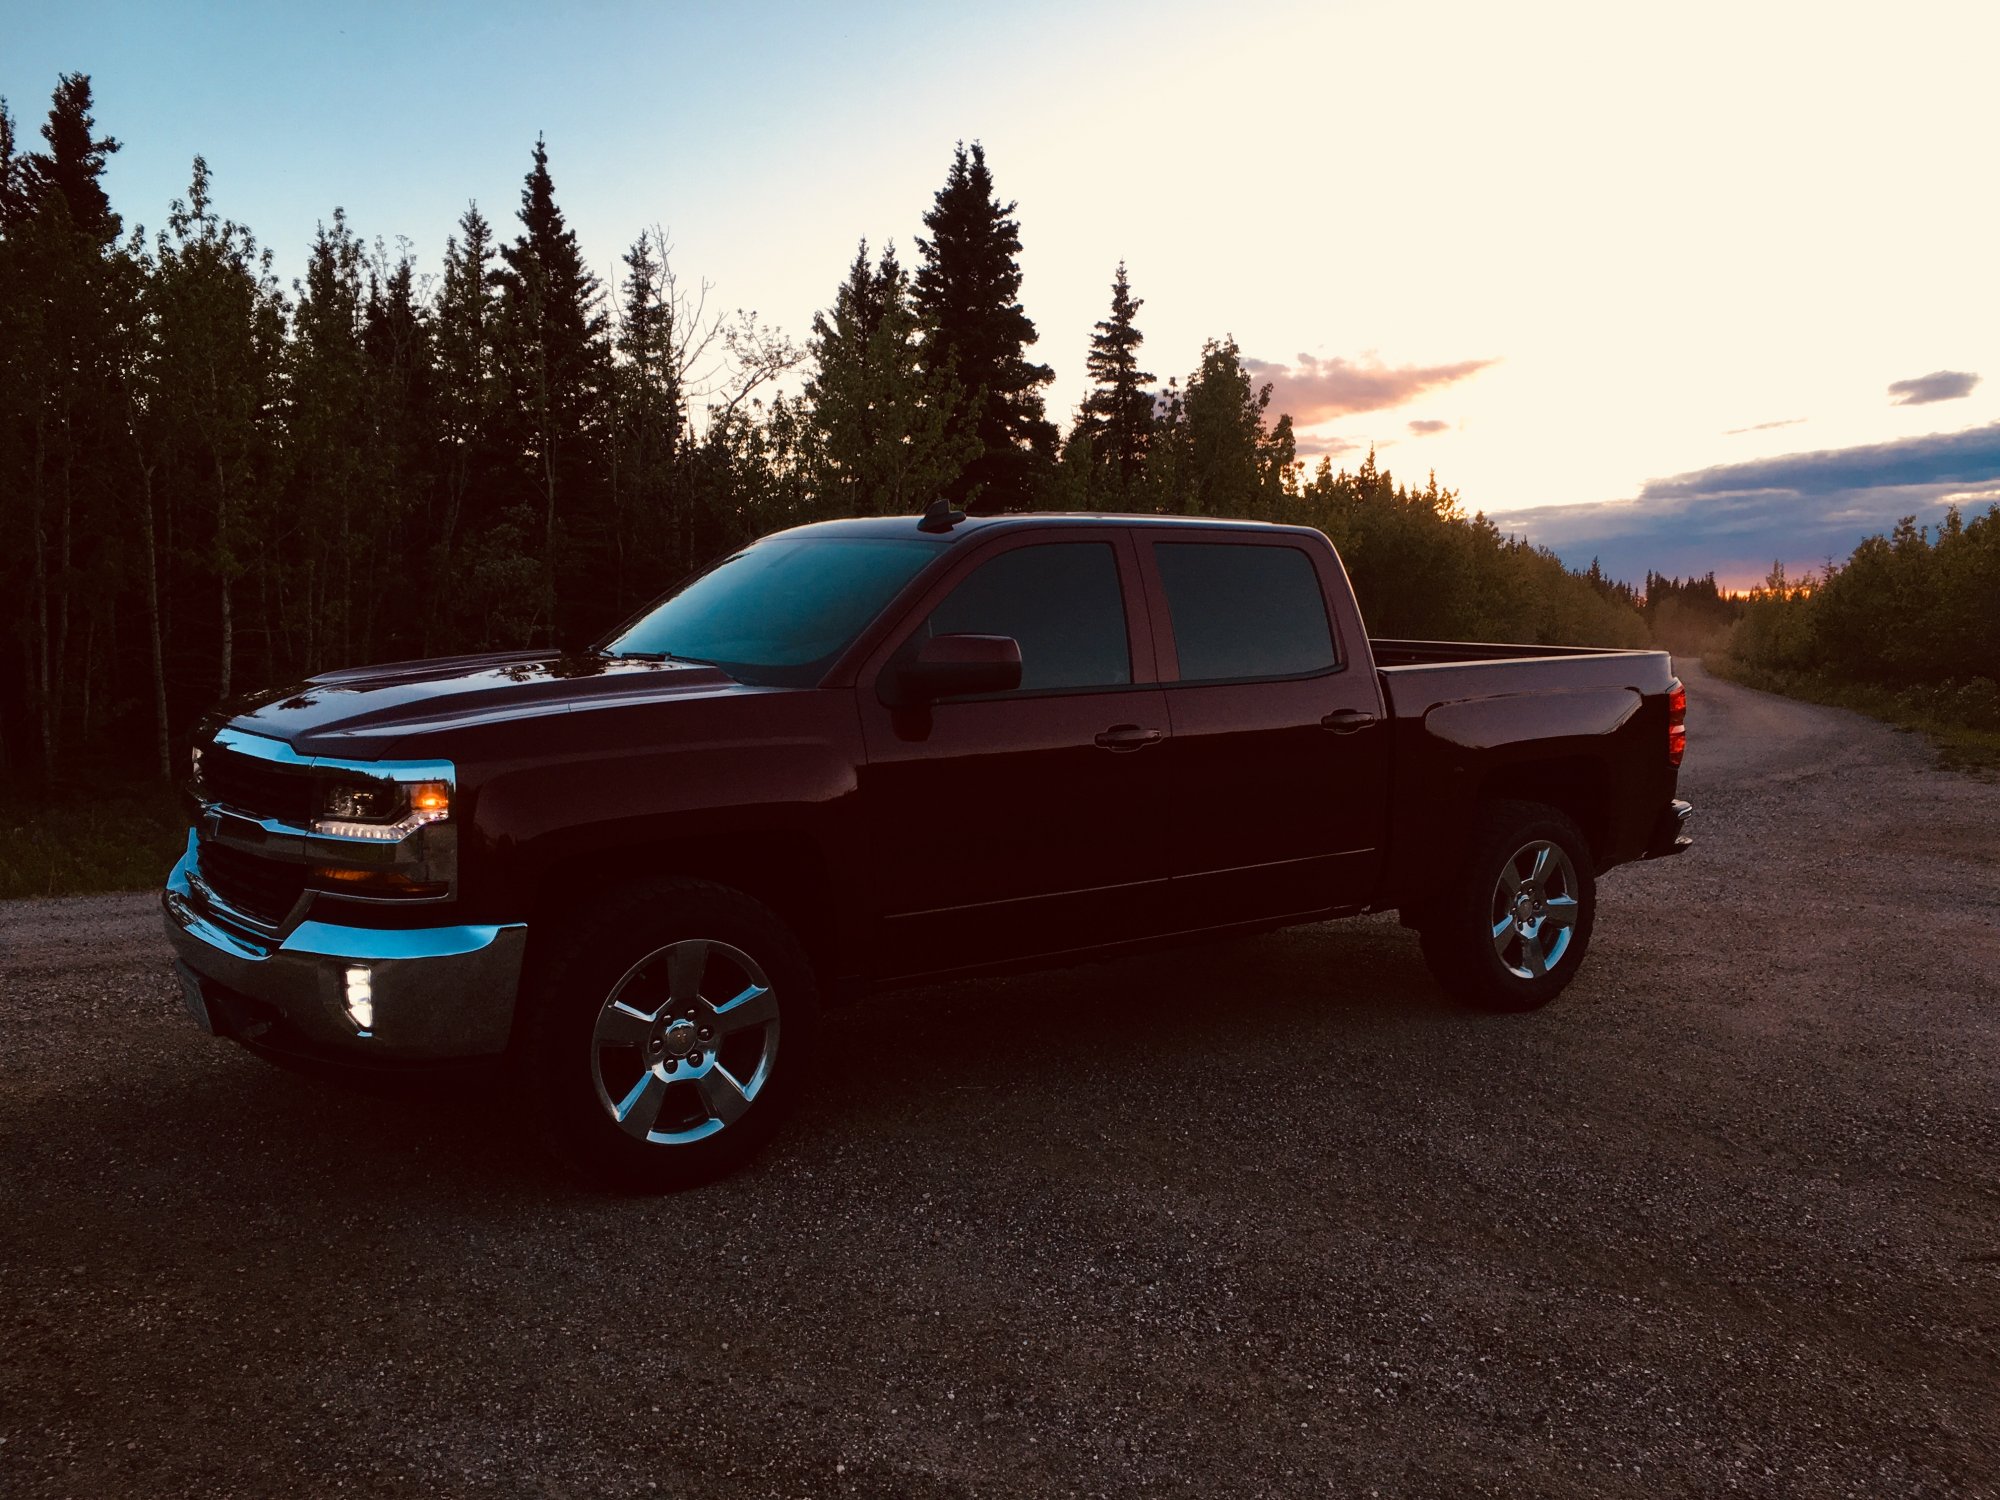
Had a chance to wash the truck finally... 11:30pm and the sun is just popping below the horizon up here.
1 point
-
Added Rigid Industries LED lights to the step bumper. Extremely bright.
1 point
-
Tinted my Silverado Blinker lights Sent from my iPhone using Tapatalk1 point
-
Got my Scorpion SC-24 22x14 -76 mounted to my Nitto Trail Grappler LT355/40R22.. truck goes in for the 8” SuperLift (Kings) lift this Thursday ?[emoji51]1 point
-
What gauge cluster and rearview mirror do you have?1 point
-
For those with the "Off-road" screen on the Diver Information Center (DIC) that shows the 4WD mode and tilt/incline...It will also show which wheels have lost traction by changing from green to orange and flashing. Kinda neat1 point
-
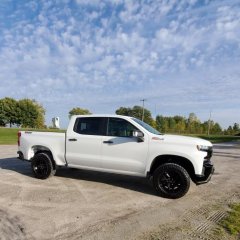
2018 GMC Denali1 point
-
Out with the old and in with the new and improved!! Sent from my SAMSUNG-SM-G935A using Tapatalk1 point
-
Sent via Morse code1 point
-
I got my floor console from gmpartsonline.com cheapest new. But you would need the last 8 digits from a vin that has the floor console. This way you get the whole unit. don't try buying what they show on web sites. you need to give them vin and let them look it up. If you look it up you would be buying a lot of parts. So find a truck that is same year as yours with the floor console and use there last 8 vin numbers/ letters. You would have to buy side panels. Console does not come with it here is two I found don't know if the first one will fit yours . second one is up there but cheaper new. https://www.ebay.com/itm/Chev-Silverado-2013-Center-Console-Sierra-Tahoe-Yukon-Suburban/253301980145?hash=item3af9f97bf1:g:kxEAAOSwAHtaKvKg https://www.ebay.com/itm/Chevy-Truck-Silverado-2015-Black-Plastic-Center-Charging-Console/253235999082?hash=item3af60ab16a:g:NTwAAOSw4nhZ-NMX1 point
-
I bought mine of eBay so I don’t know/have a parts list. Someone did post one on another thread. I’ll see if I can find it and will edit the thread if I do. Sent from my iPhone using Tapatalk1 point
-
Hey Phil, great video!!! Just wanted to know the part number for the latest 2018 center console because I really want the wireless charging feature. And the part number for that mounting bracket toward the front.1 point
-
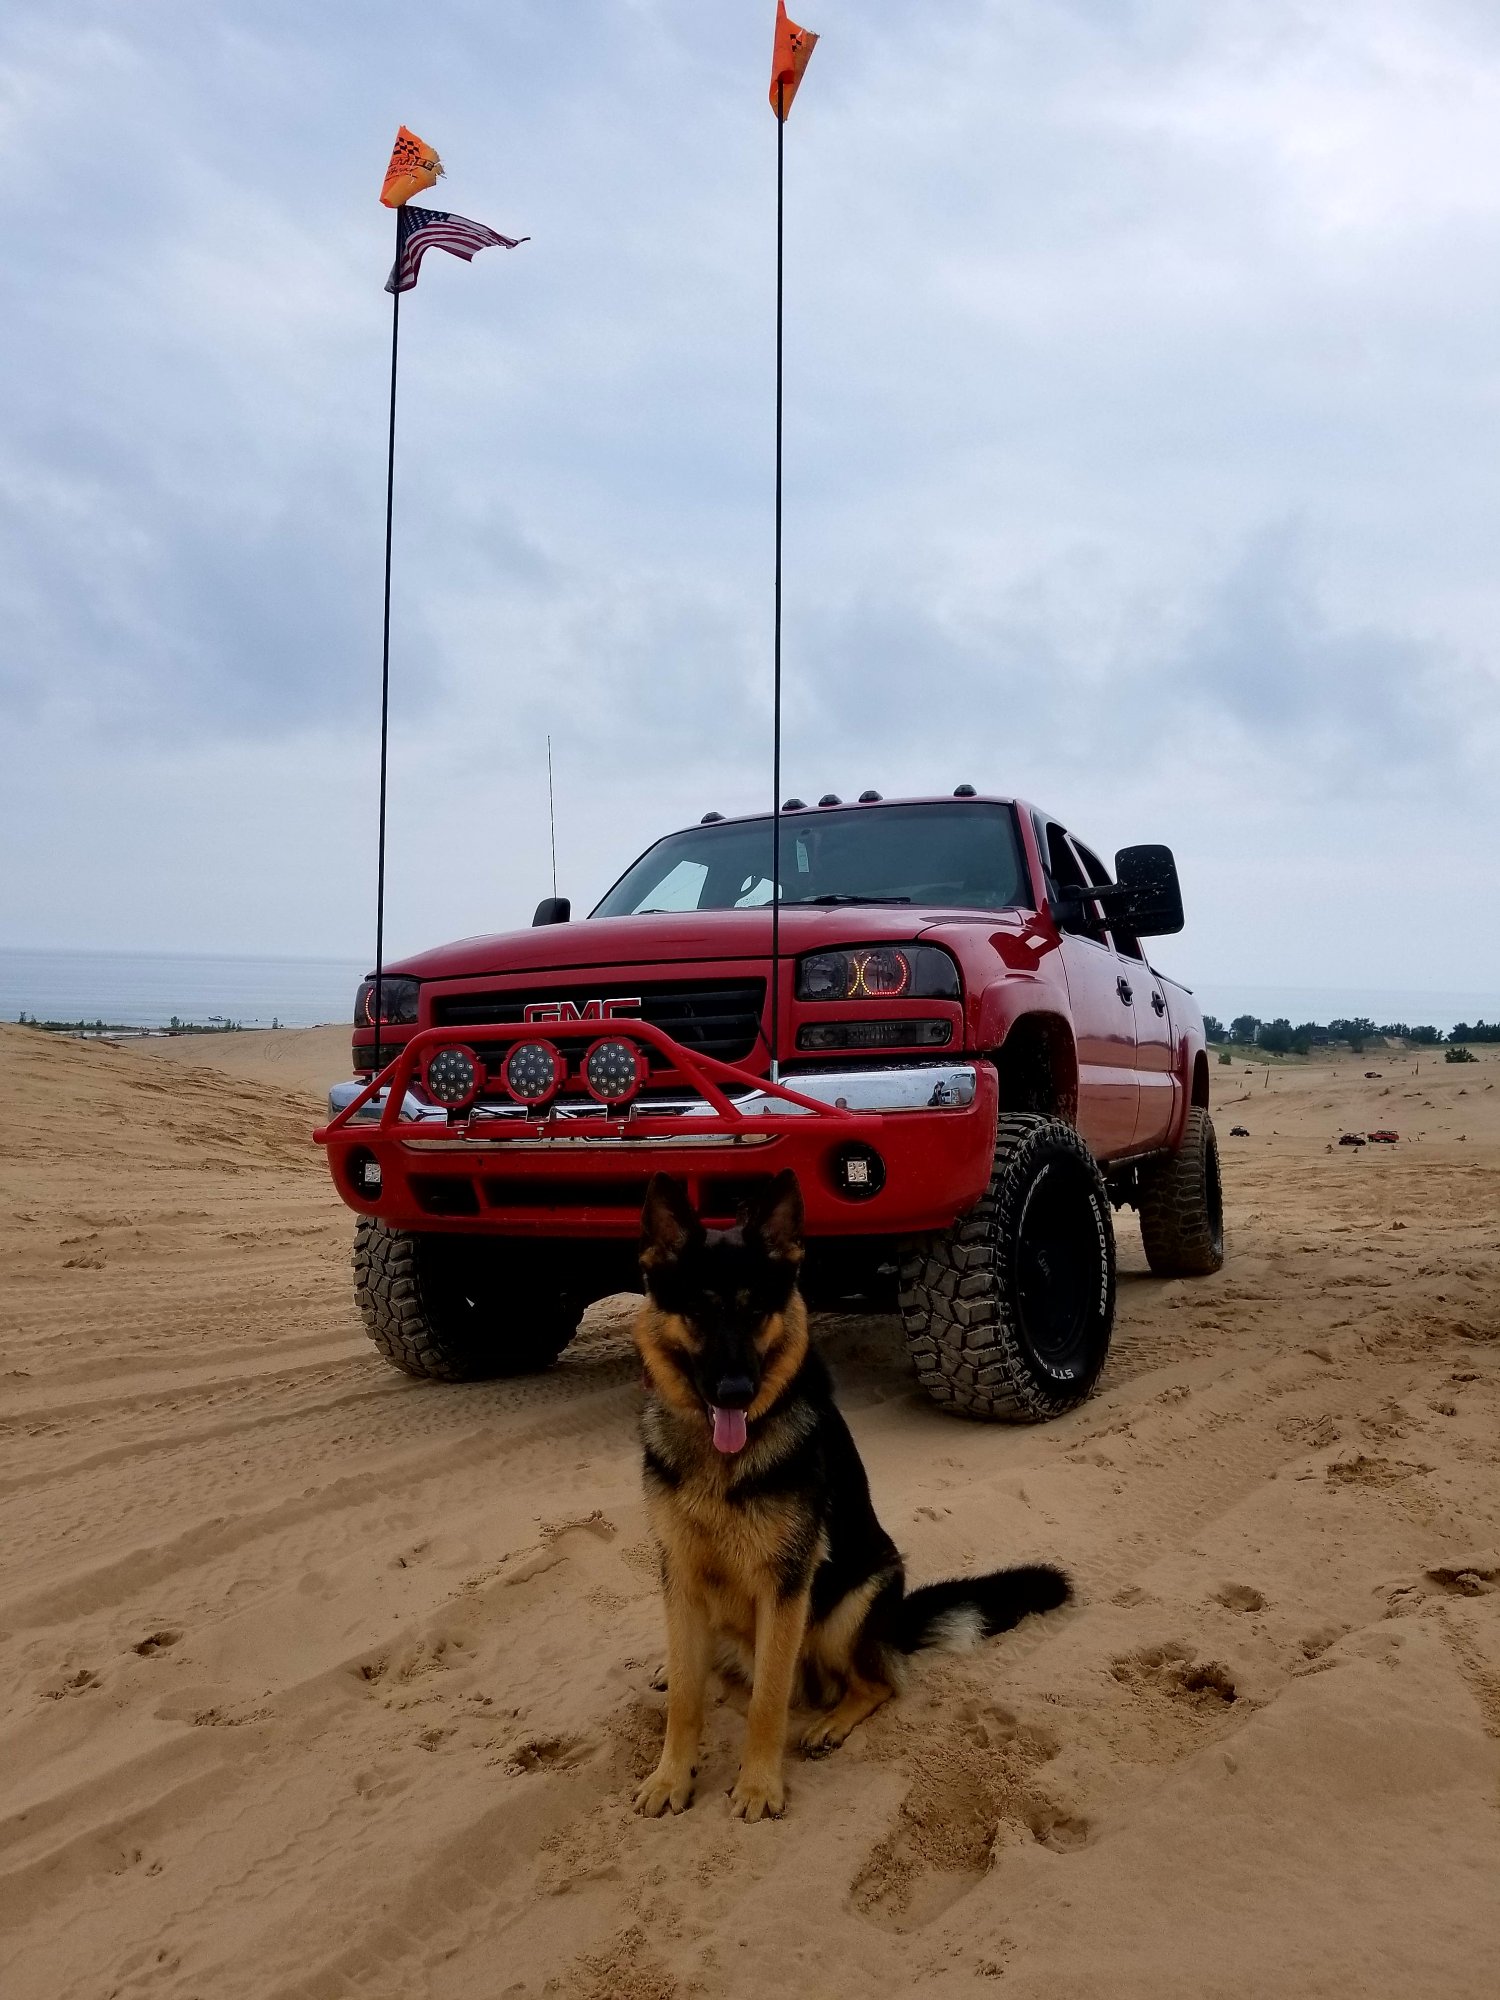
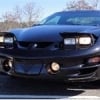
I'll play. Here's mine:1 point
-
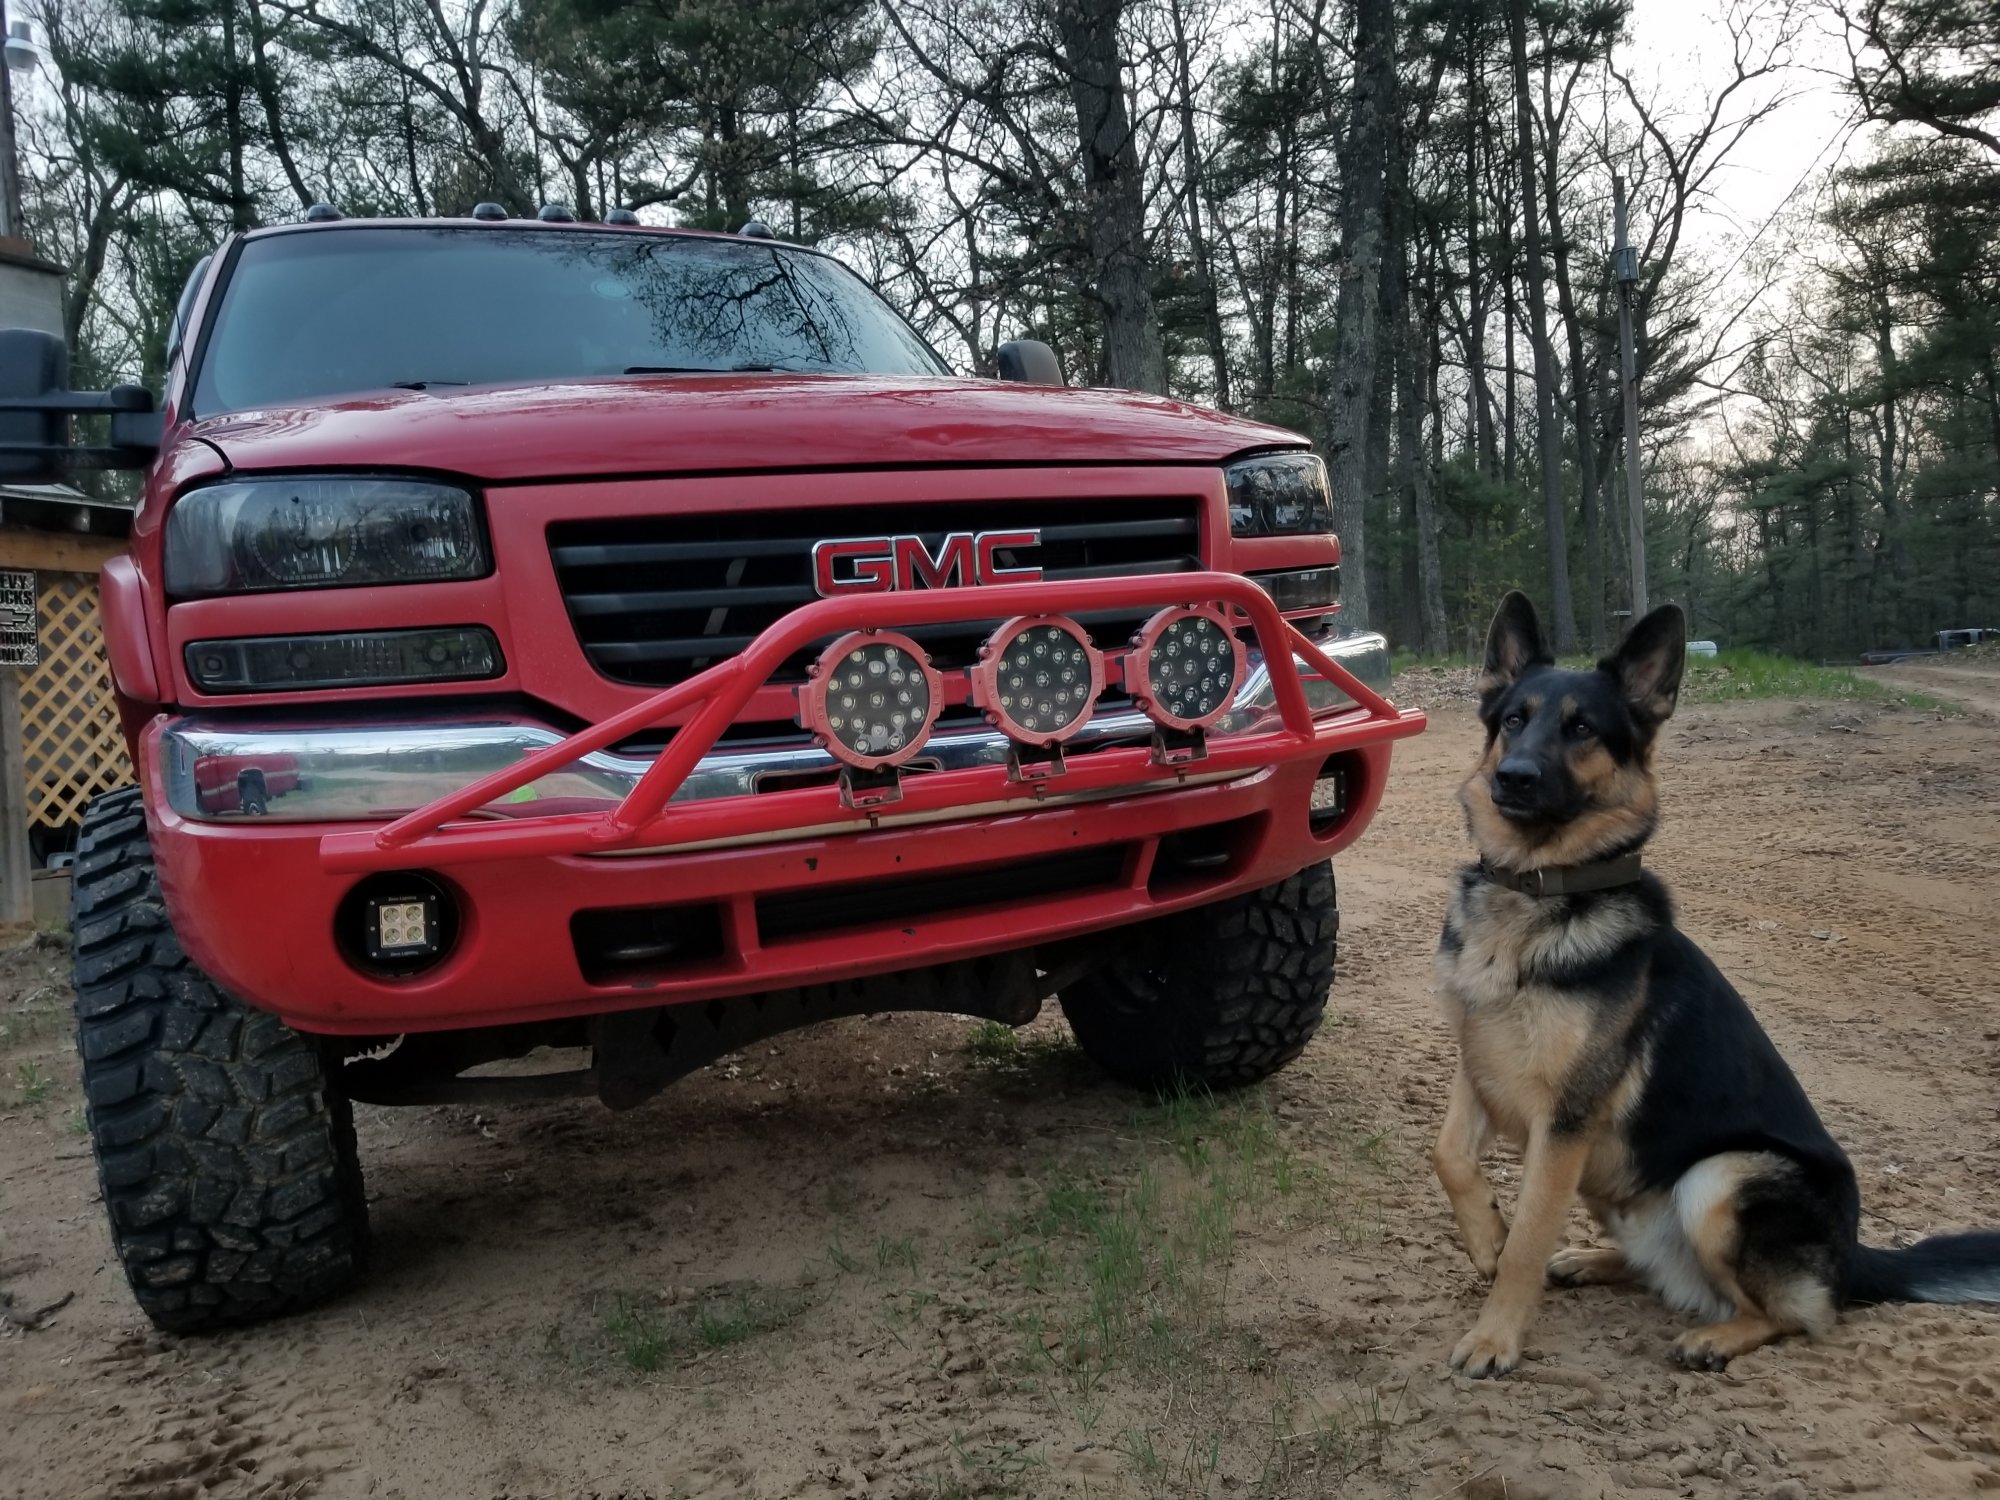
Blockhead, what lights are behind the grille on your truck?1 point


.thumb.JPG.96e5ac8c60641f8011665a2c92c083f2.JPG)


This leaderboard is set to New York/GMT-04:00