Leaderboard


Popular Content
Showing content with the highest reputation on 08/09/2018 in all areas
-
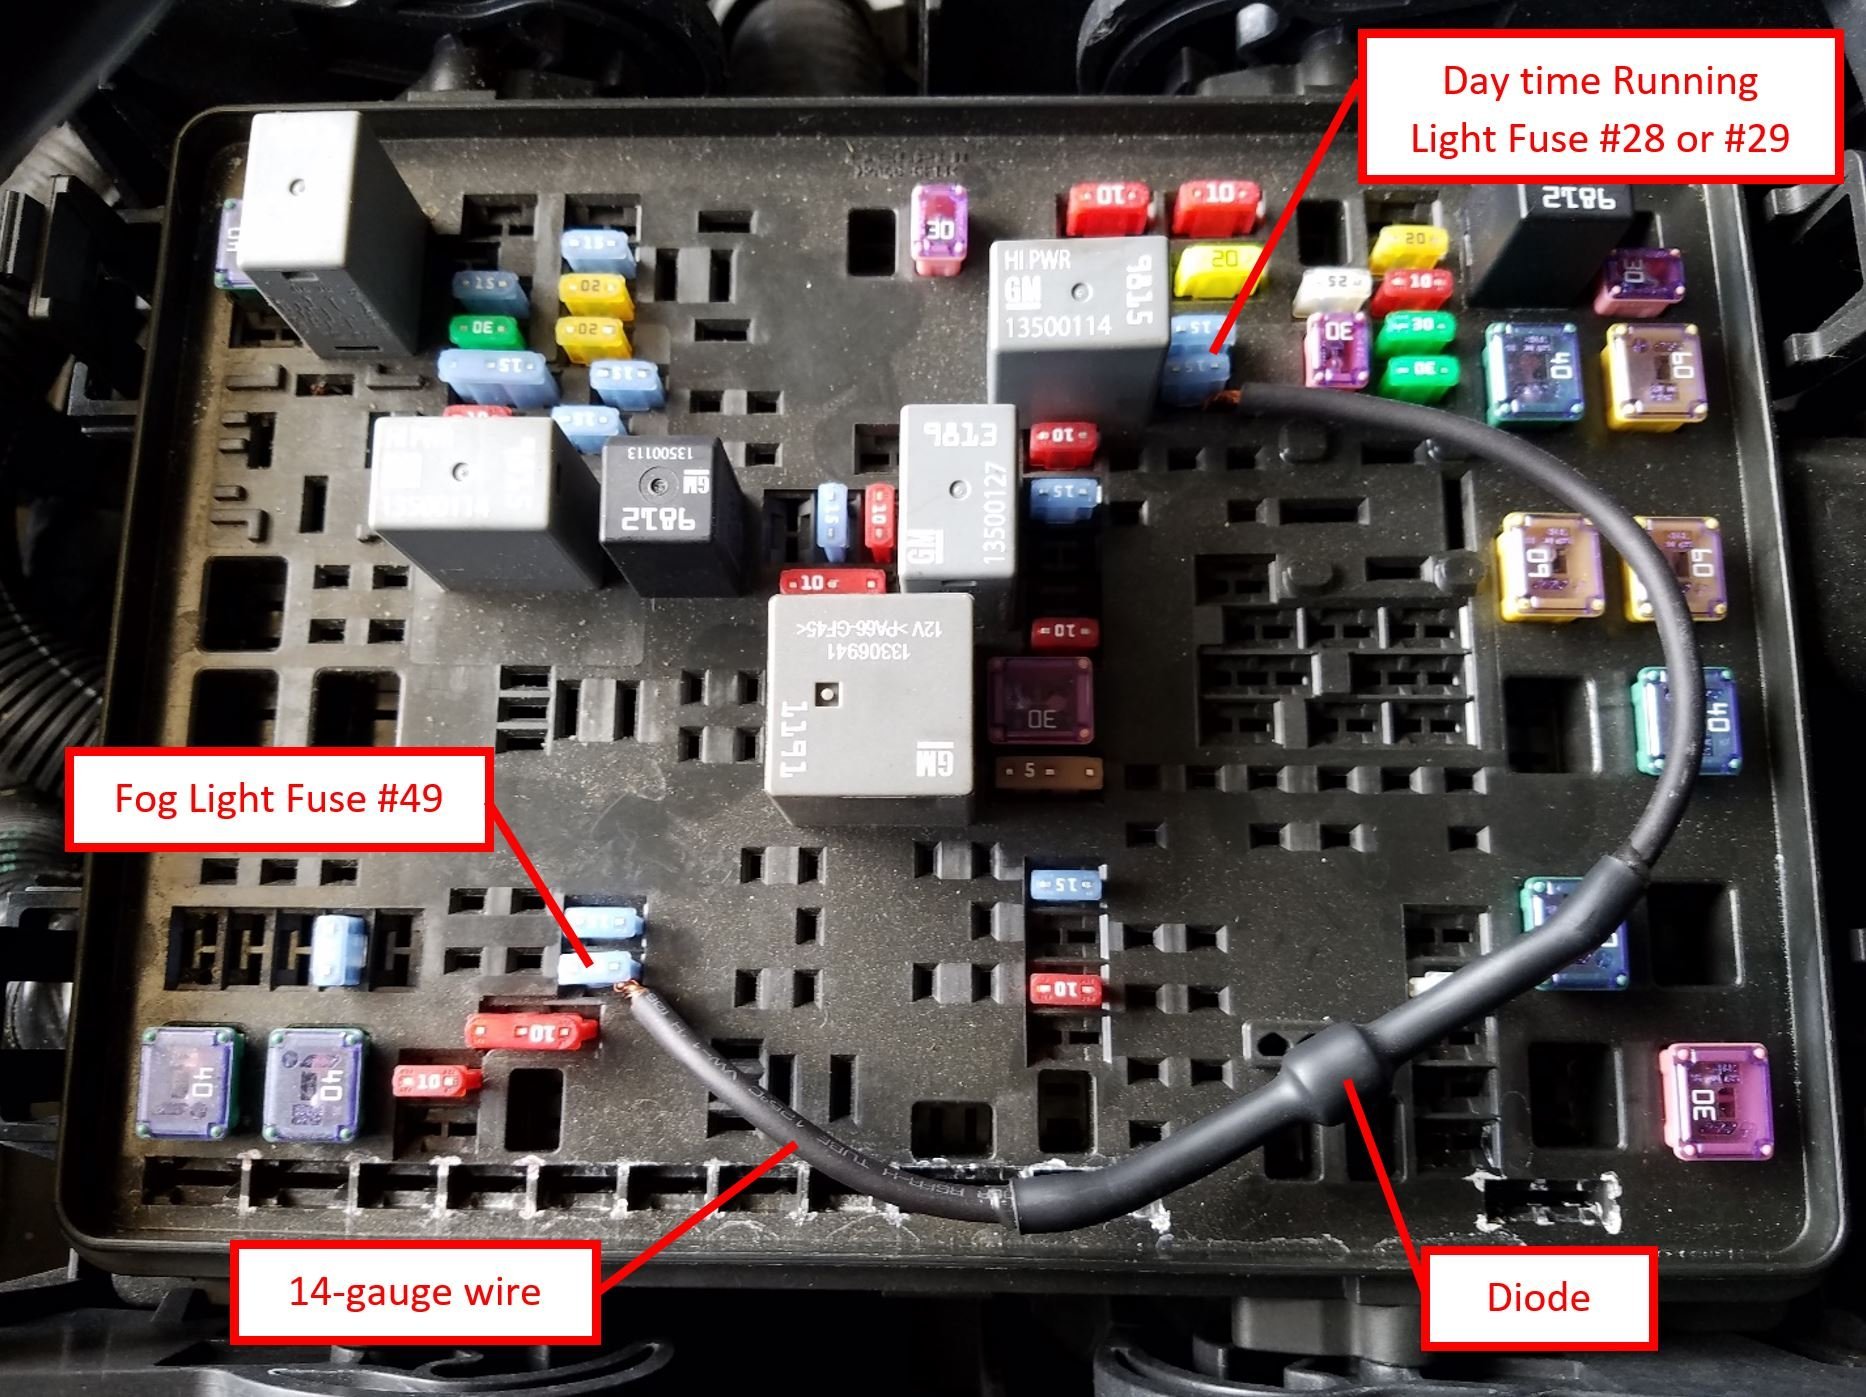
I posted this in another thread, but they were looking to only have the fogs on with high beams. My solution has the fog lights automatically turn on, and stay on, anytime the parking lights or headlights come on (hi and lo beam). You never have to hit the button. Figured I'd label this as a "How To" in case those are housed somewhere. I'm new to this forum, so let me know if I should be doing this differently. Cheers! Hey guys - recently bought a 2016 Sierra Denali and joined the forum. Stumbled upon this thread while clicking around. I always gain so much from these forums, so I thought I'd give back in my first post. Here is a simple solution I made to have the fog lights automatically turn on with the day time running lights - did this with my previous truck as well (2008 Cadillac Escalade). I bought a diode and used some 14 gauge wire I had laying around. I wrapped 14 gauge wire to each end of the diode and sealed it with marine grade shrink wrap (waterproof). I then got into the engine bay fuse box and pulled the fuses for the fog lights (#49) and day time running lights (#28 or #29 - can be either, only need one). When I put the fuses back in I wedged the wire in one of the slots for the fuse connector, one end of the diode/wire goes in the fog light fuse and the other goes in the DRL fuse. Keep in mind the diode is directional (only allows current one way), so if it doesn't work at first just flip the wire around. Now anytime your DRL's are on, the fog lights will automatically come on. No need to push the fog light button. The fog lights also stay on when you turn on your brights. I attached a photo of my set up, it was taken standing over the driver side fender looking at the fuse box. Ask any questions if you got em!
 7 points
 -
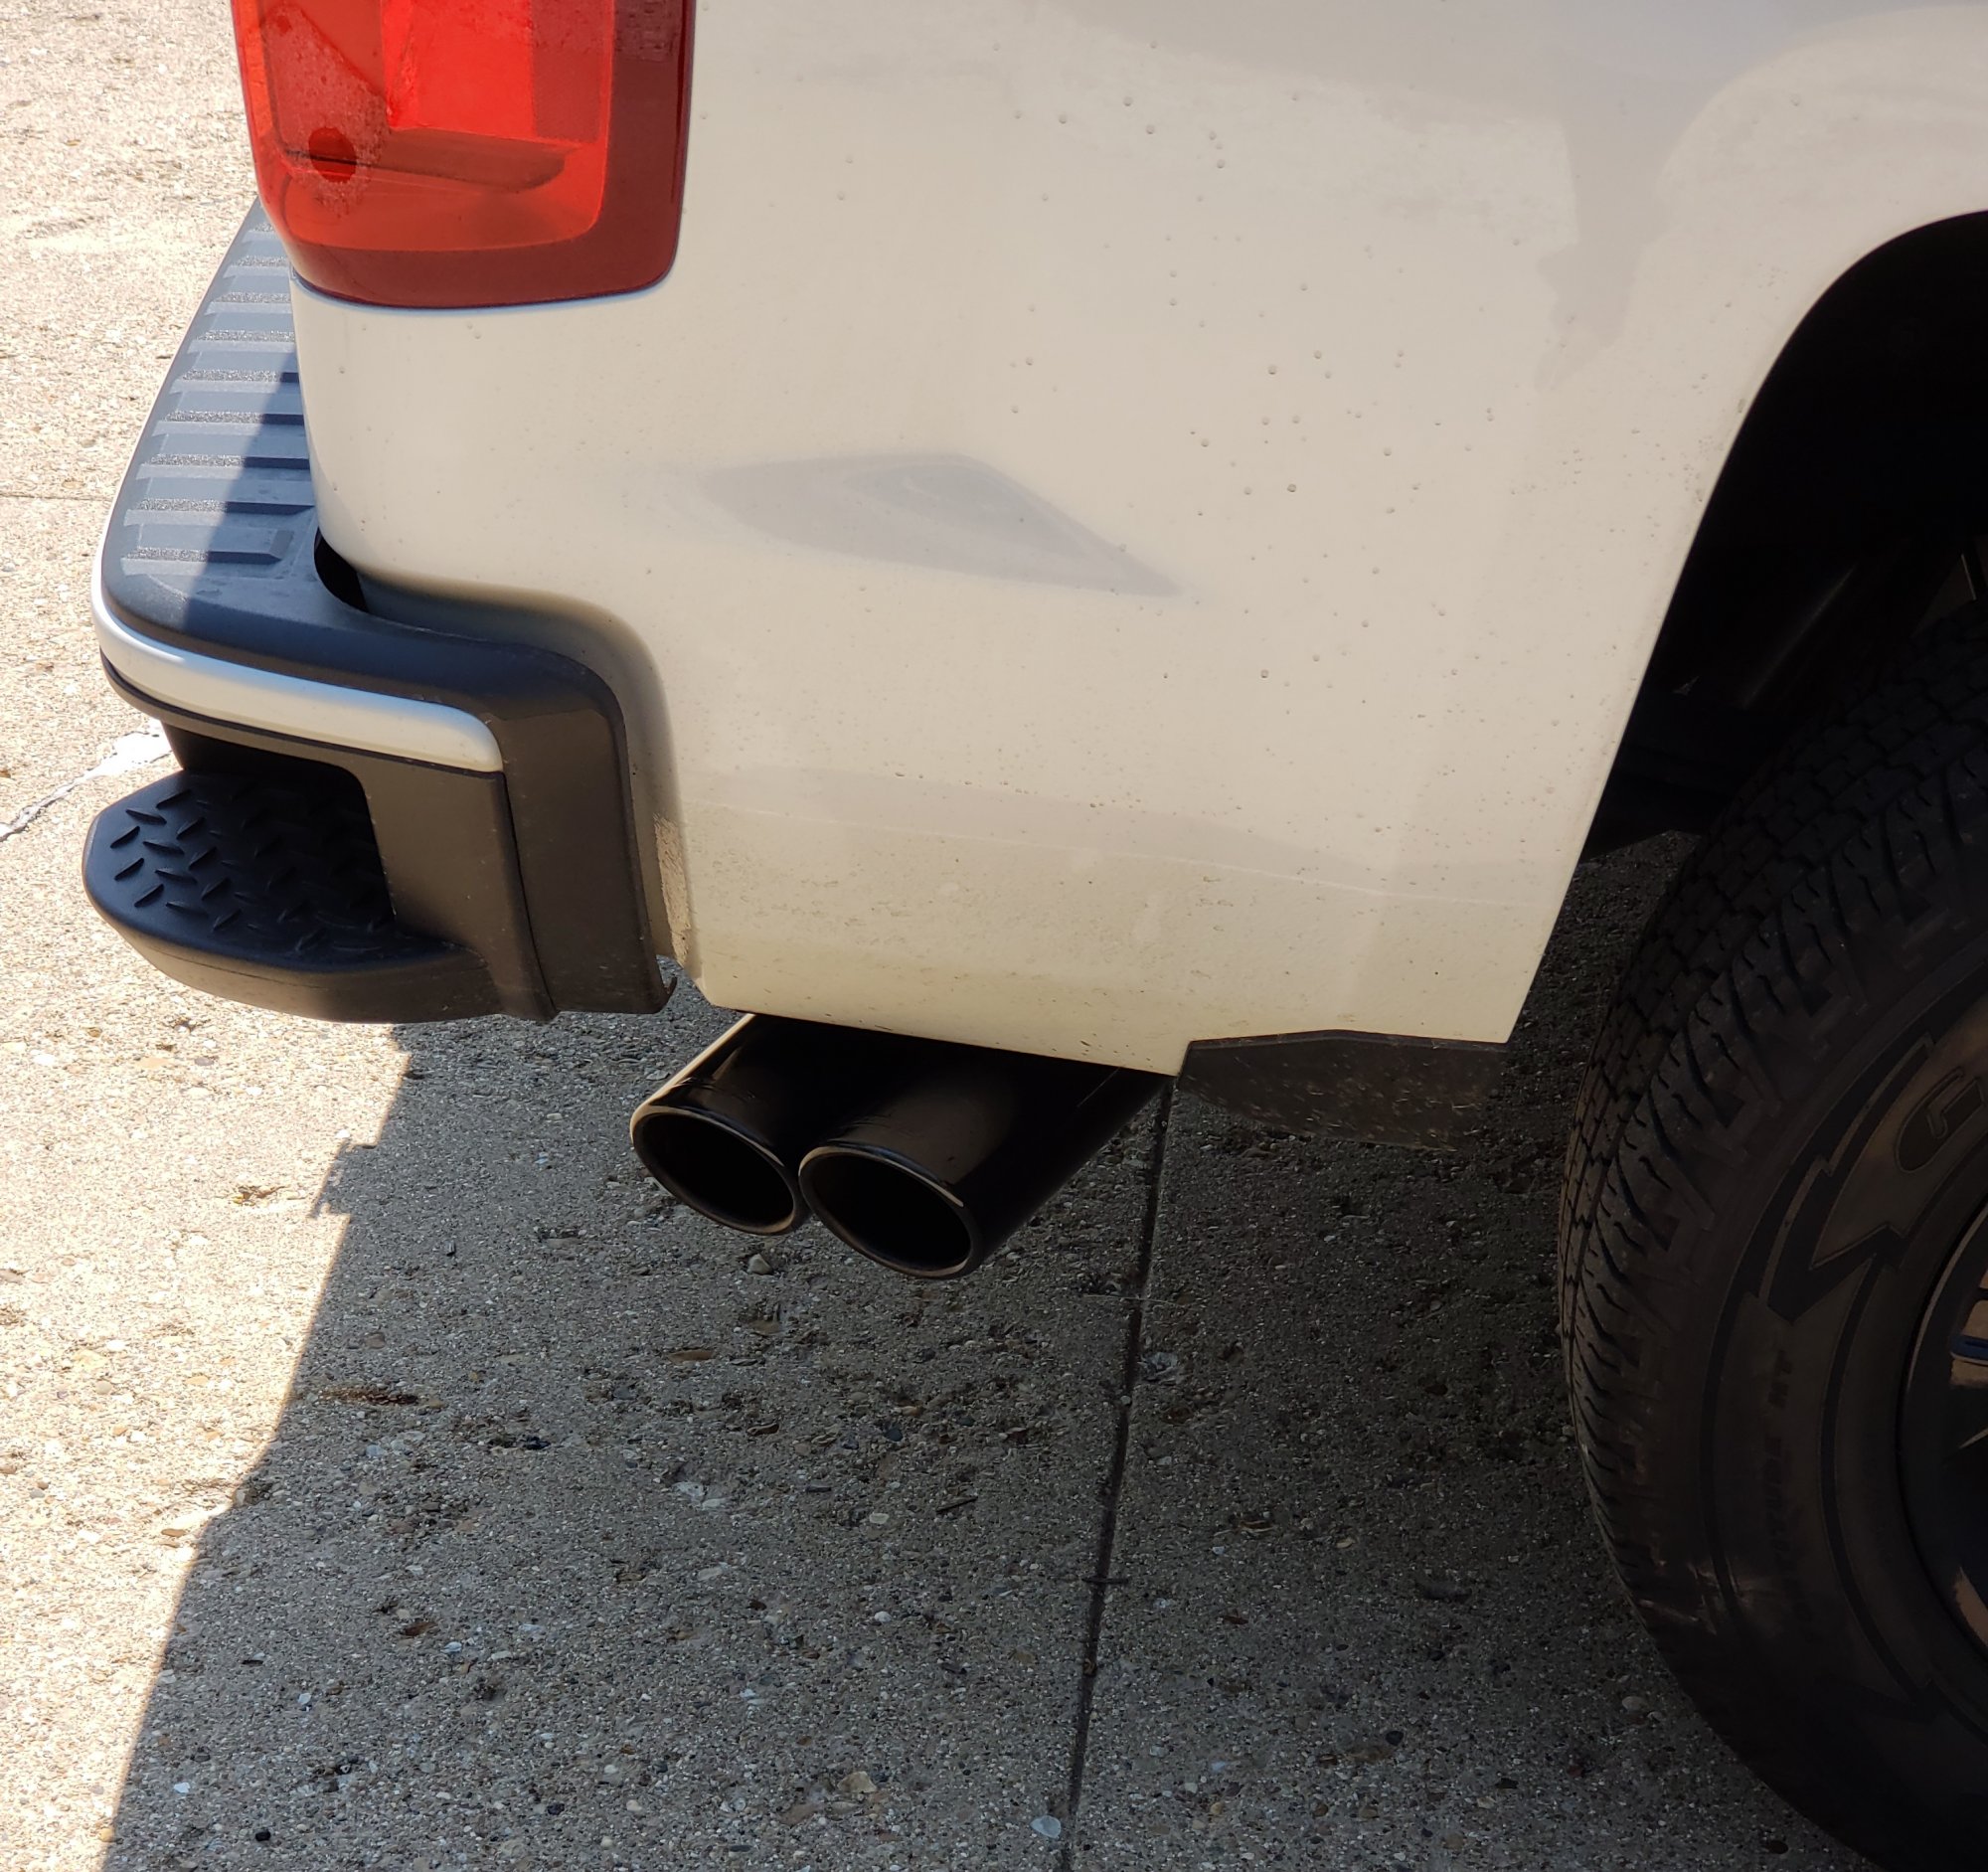
Installed GM borla exhaust with black chrome tips!
4 points
-
Here is my 17 Had my 07 till 205k hopin this one lasts me just as long
2 points
-
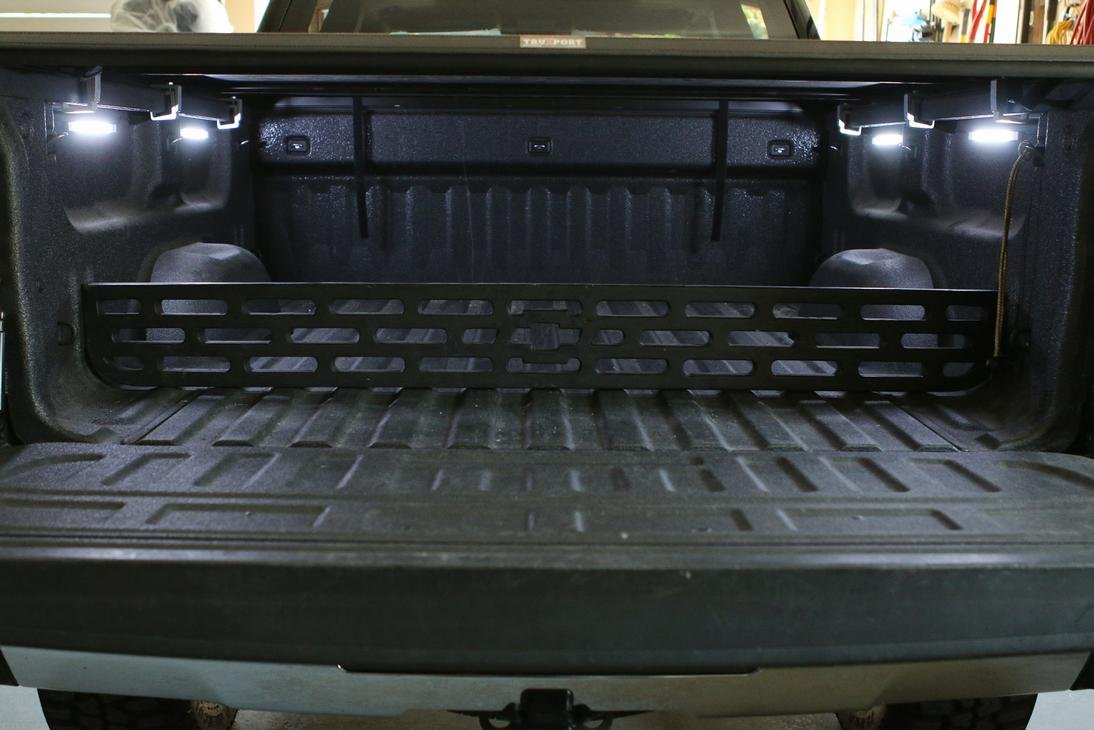
made/installed my own bed lights write up is in my build thread... bed light install
2 points
-
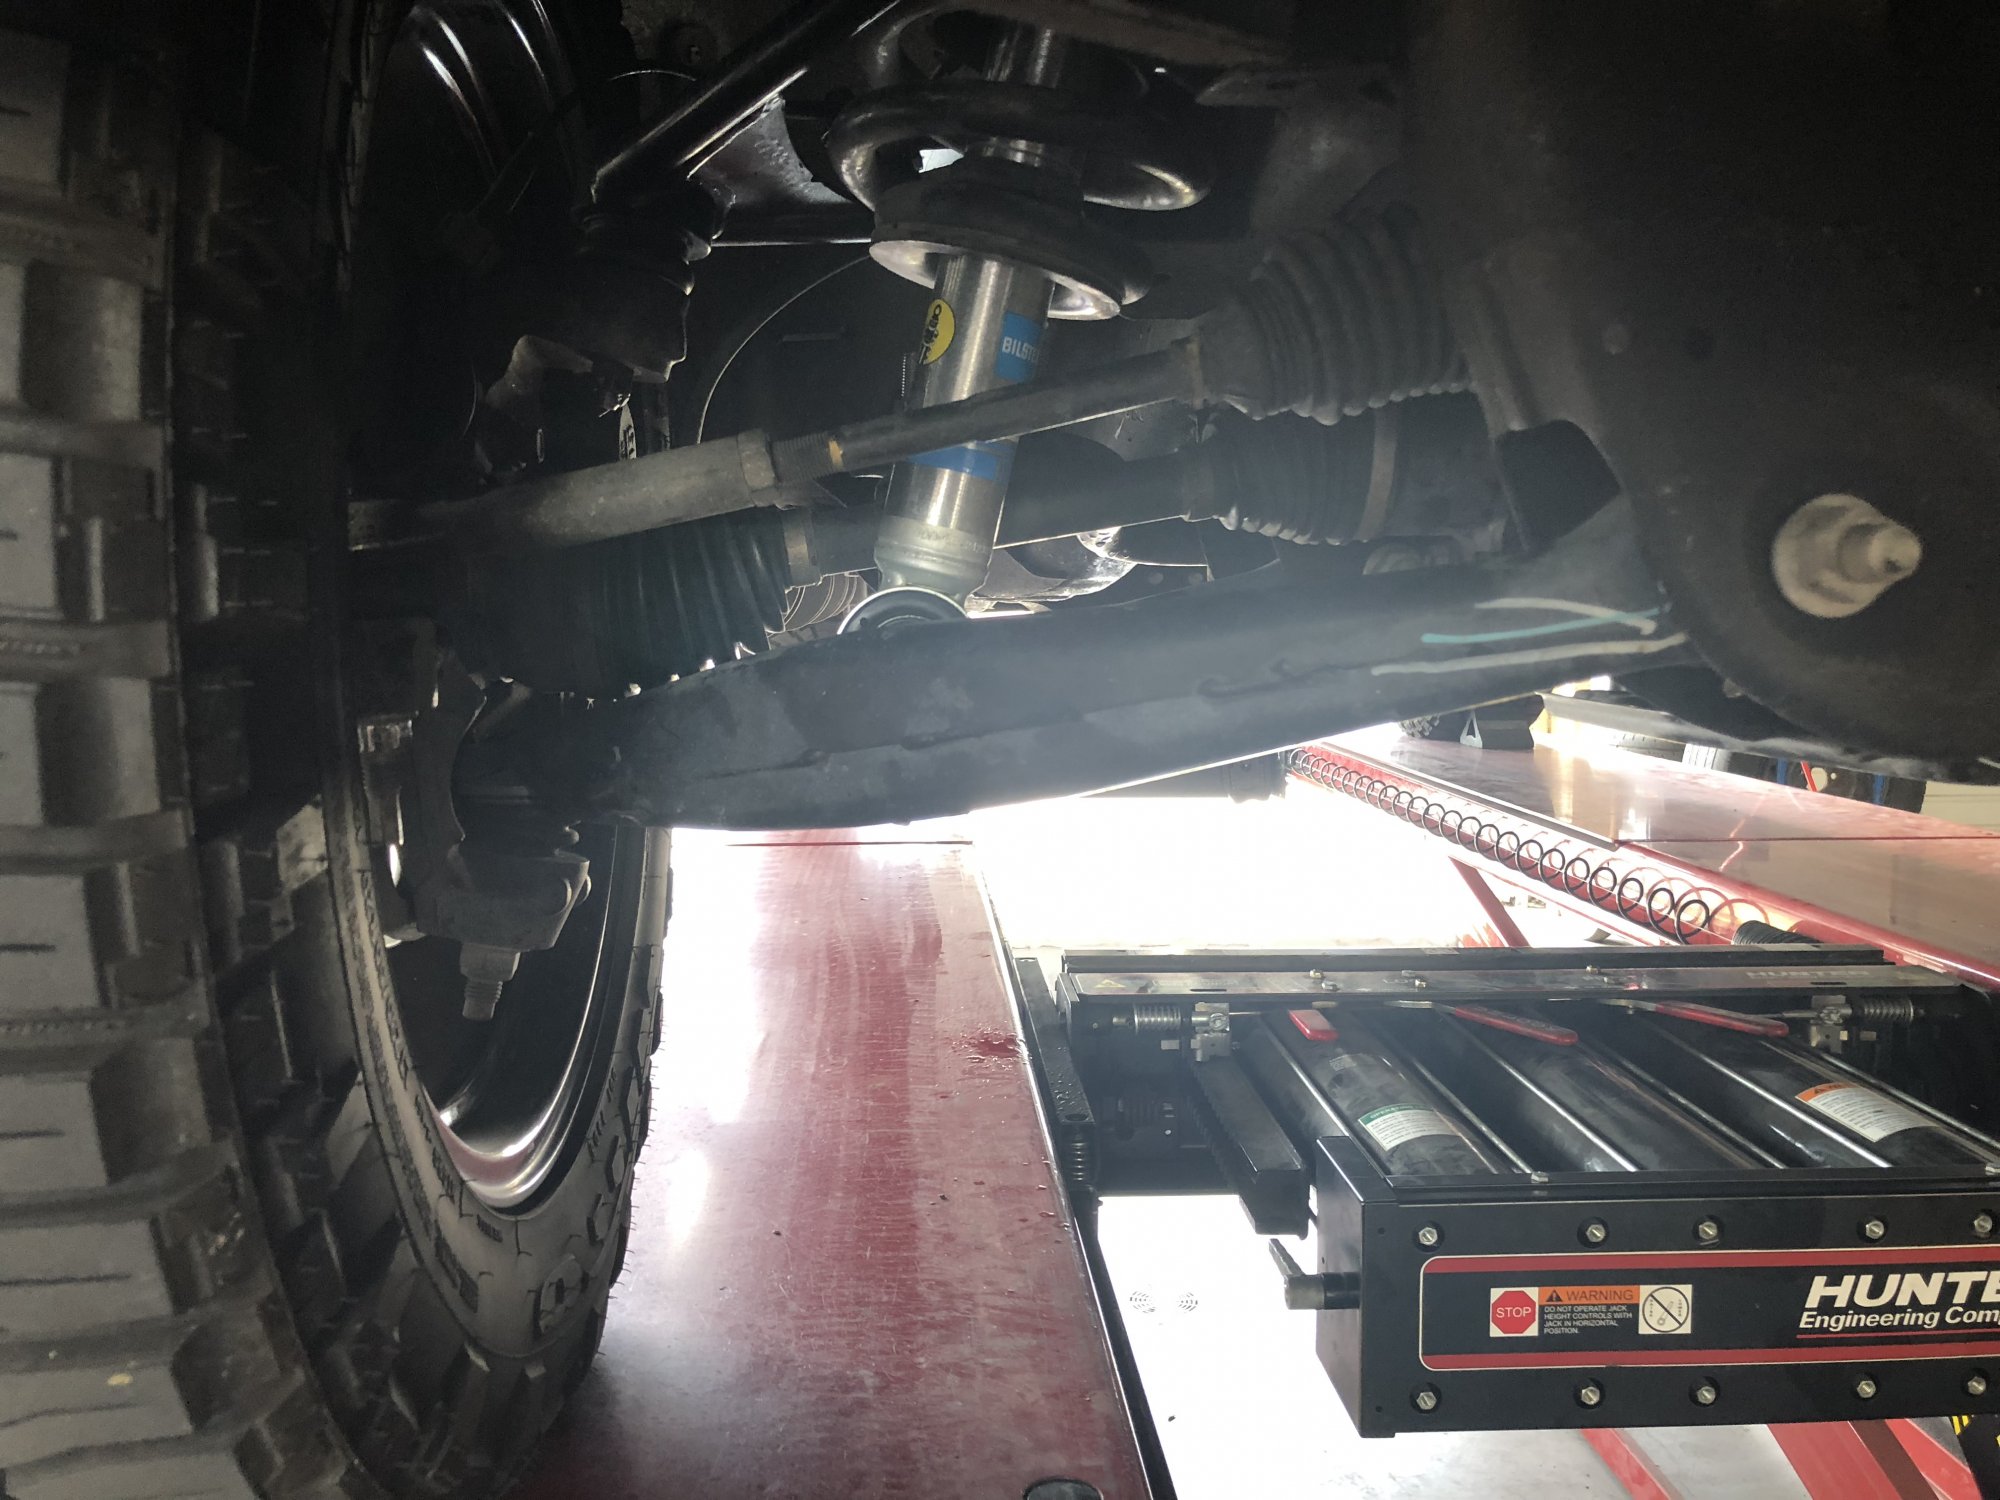
Yes it comes with about a 1.5-2” diff drop, this is what the CV angles look like.
1 point
-
added a OEM high country leather wrapped cluster visor to my truck. Alittle over $50 but close to it. I enjoy it and it lets you add whatever color leather you want. Sent from my iPhone using Tapatalk1 point
-
Found the spare, it's a NTE5812 Diode (6A, 100V). Looks like Amazon only sells them in a 5 pack. https://www.amazon.com/ELECTRONICS-NTE5812-STANDARD-DIODE-pieces/dp/B011N9OCV4/ref=sr_1_cc_2?s=aps&ie=UTF8&qid=1533862118&sr=1-2-catcorr&keywords=nte58121 point
-
This is the superlift 3.5” front with Bilstein 5100 shocks set at factory ride height. The rear is a 2.5” rear block for now. I plan to swap the rear to a 3” block and Bilstein 5100 shocks.
1 point
-
Thanks for the link, very helpful. Bummer for me. I generally like the truck otherwise. I can't see a 24 gal tank as being sufficient.1 point
-
Definitely interested, contact me off line...1 point
-
Pics!! Sent from my iPhone using Tapatalk1 point
-
Selling them?1 point
-
Hey! Yes, I got it to work. I finally just pried it open, praying that I wouldn't break anything. But once I got the screen open, replacing the ribbon was a breeze. DVD player works great again. Thank you!1 point
-
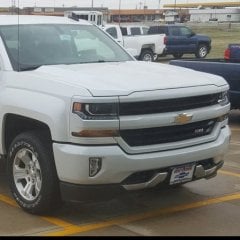
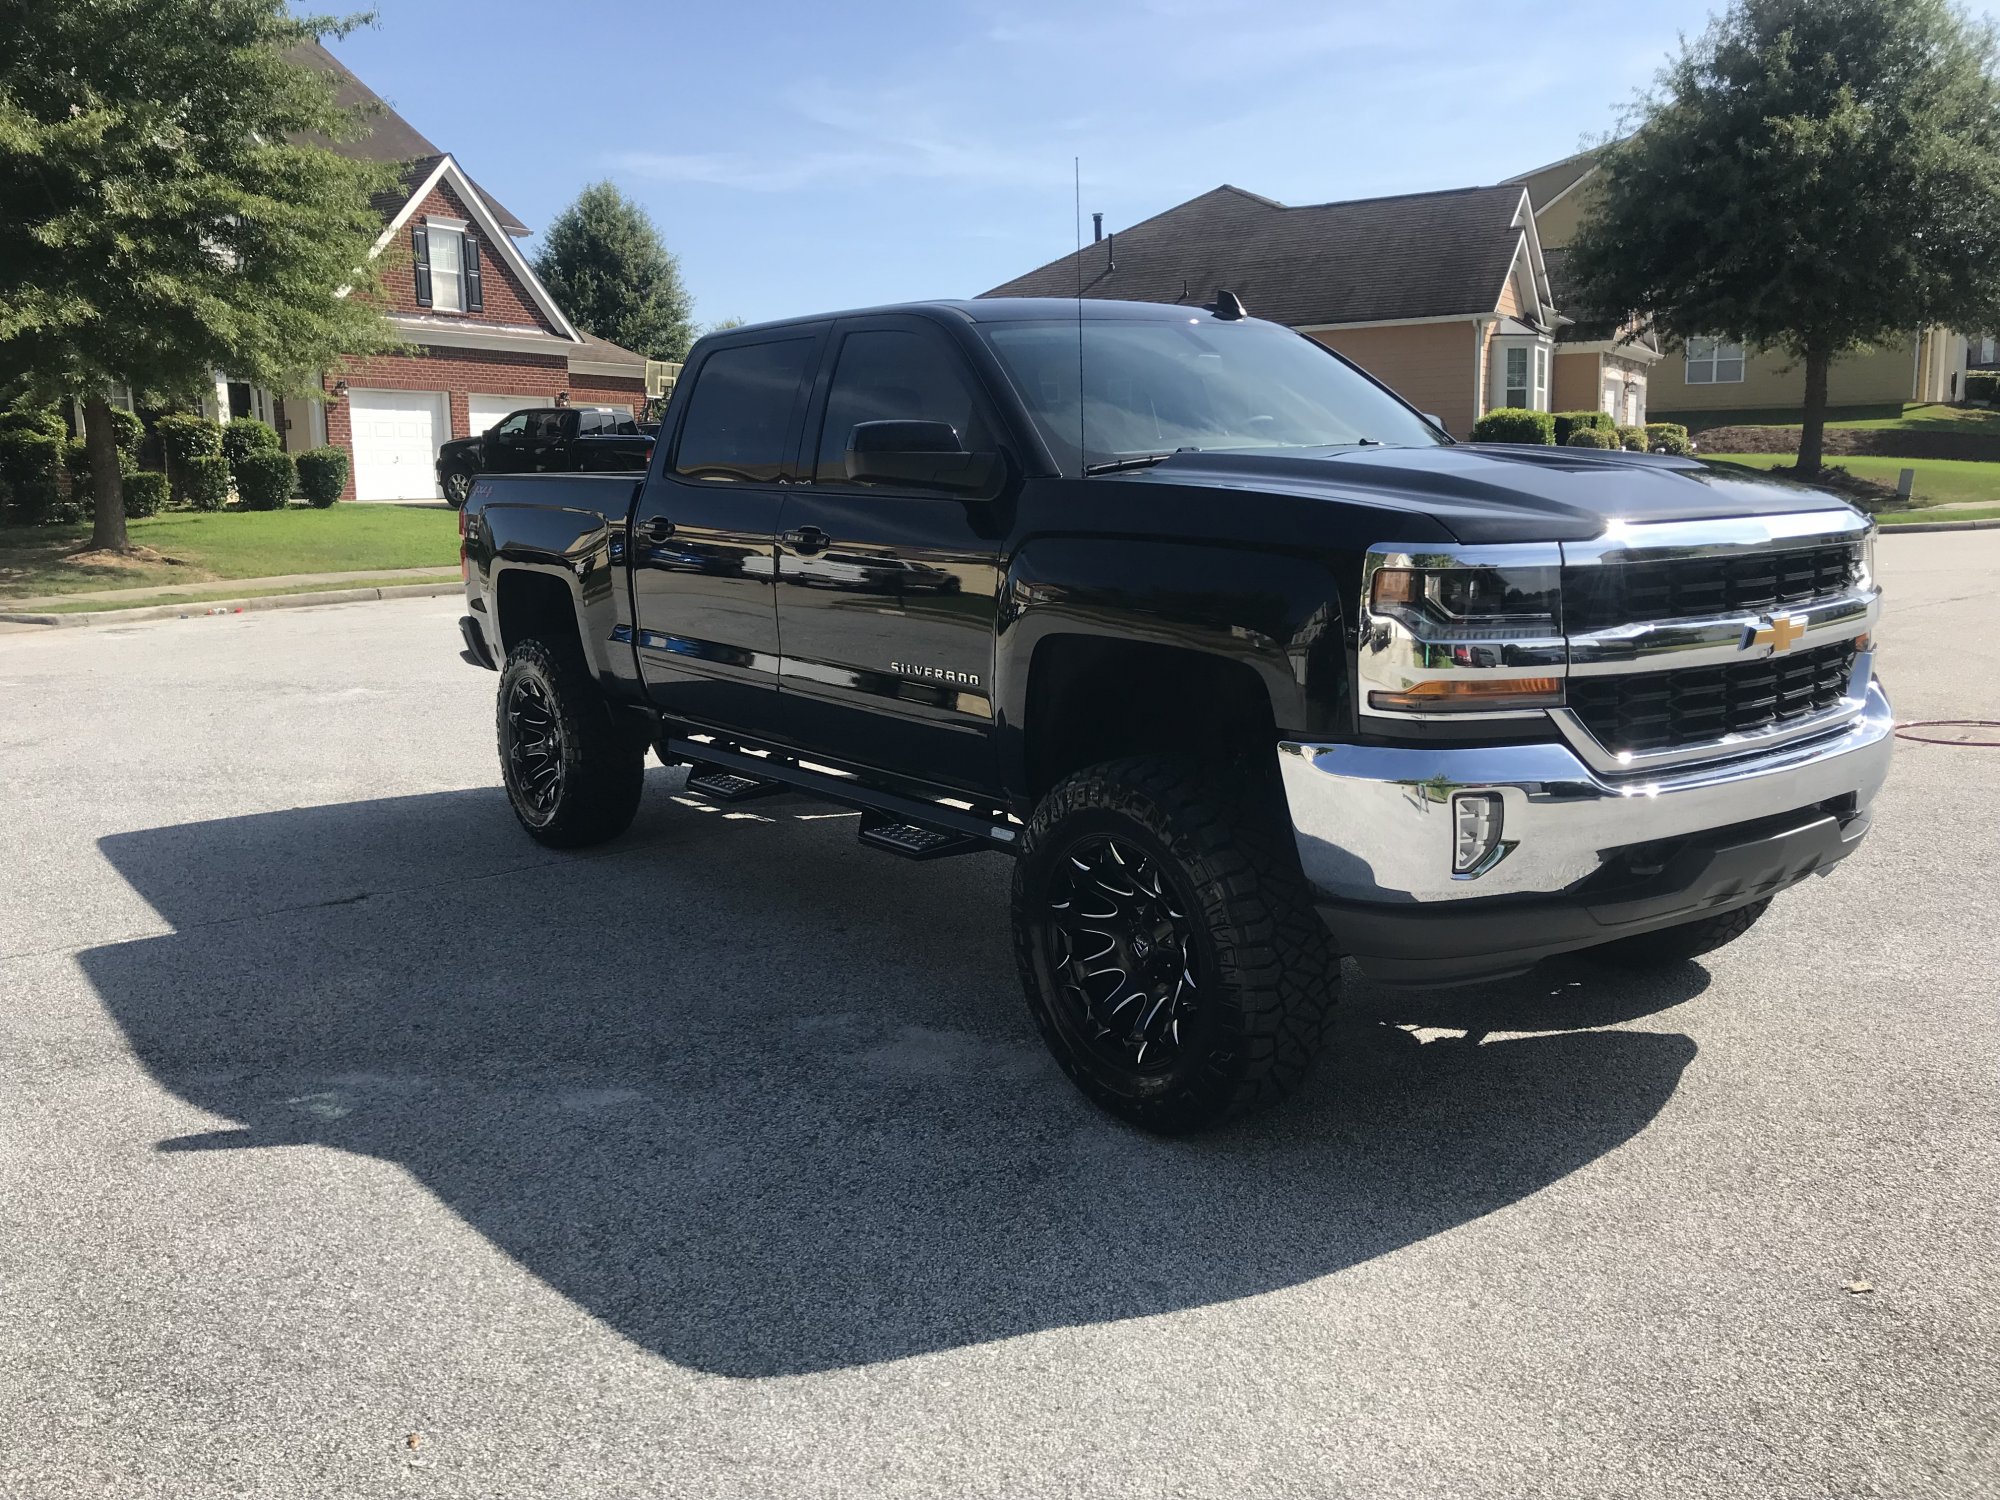
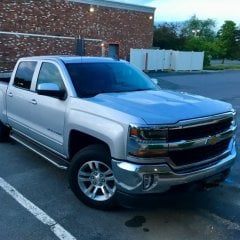
Proud owner of a brand new 2018 Chevy Silverado 1500 LT Custom Crew Cab.. She’s lifted 6 inches and I’ve swapped the bow ties so far.. next up 5% tint (20% on the windshield) and a few other modifications..
1 point
-
I don’t even see a contact number on their eBay page. Just text Greg?1 point
-
I will investigate the issue? Report back after the fluid sensor is changed out.....Stranger things have happened I guess than a fluid temperature sensor always reading 20-25f cooler than it should be? Everything runs fine.......1 point
-
So just a few things here if I may to hopefully help everyone: 1. We recommend getting new clusters from Greg at Pace Performance. He will work his tail off to make sure you get the right cluster at the best price with zero hassle; he's the man. 2. We get a ton of these in with cracked lenses (likely on the trip in). We do our best to note this on the shipping notice from the website. 3. Many people are not packaging these appropriately for the trip and we will not add more packing (we don't stock packing material) so make sure your cluster is packed for round trip use not "just barely making it there". Packing instructions: - Make sure you have an adequate sized box for around 2-3" in each dimension of extra space for packing material; don't go crazy on box size 2-3" is plenty with bubble wrap I assure you just make sure its packed TIGHT when sealed - USE BUBBLE WRAP ONLY - NO STYROFOAM PEANUTS. DO NOT USE A METRIC TON OF TAPE SO WE HAVE TO CUT IT TO GET THE CLUSTER OUT; THIS WILL KILL THE BUBBLE WRAP LOL -Air bladders can be used for secondary protection around the bubble wrap but not a primary means of shock absorption; these get punctured by the edges of the cluster and deflate in transit. Basically just dont toss these in random boxes and ship them in, seeing a lot of that lately and the peanuts are also out of control. Almost to the point we are going to have to start charging a cleanup fee if you use them LOL We are almost through our backlog and on track to reopen tomorrow sorry for any inconvenience this has caused but its been a bit of a shit show lately with people waiting weeks to send their stuff in rather than right after they place their order hahah1 point
-
Ha Phil. I was just being goofy. I know there isn’t a wire in these trucks you haven’t scouted. I’m envious but appreciate the education and help you’ve given me with the mods I’ve worked on. I couldn’t have accomplished them without your help and product. I’m thinking heated steering wheel next.1 point
-
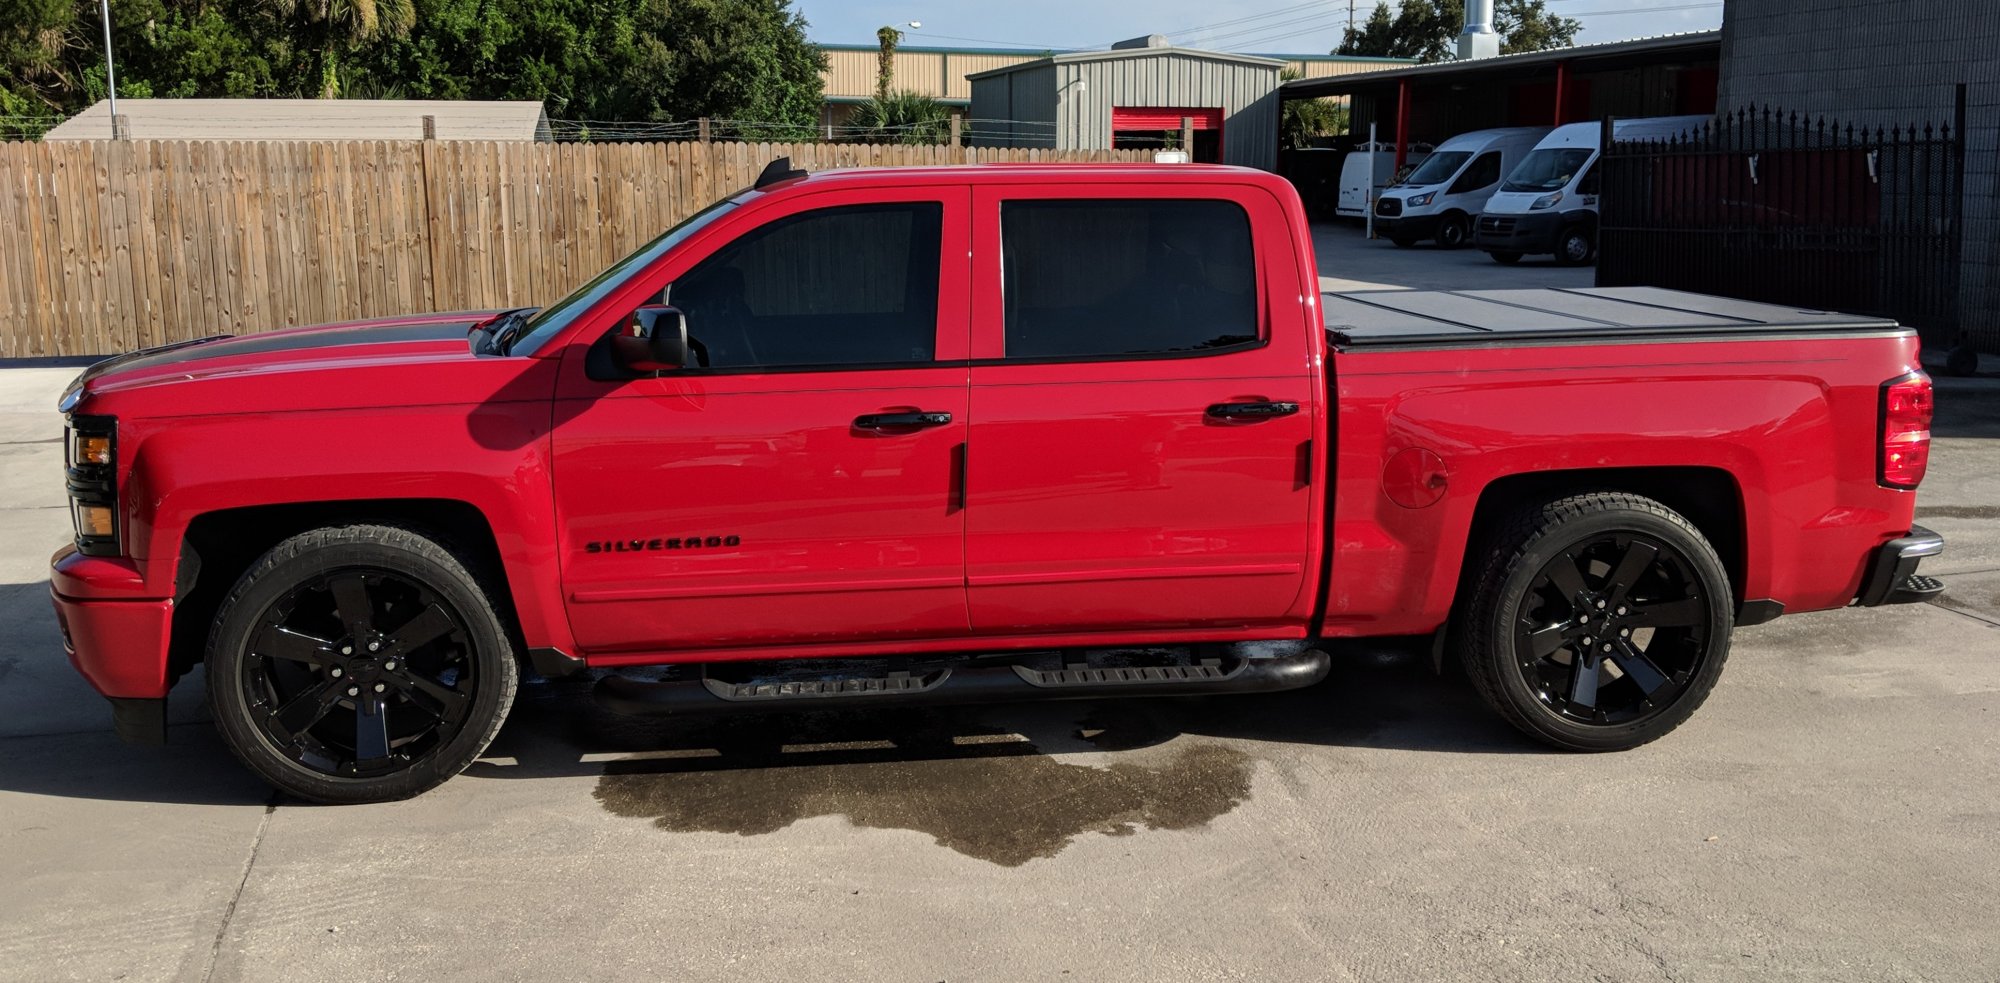
Couple of weeks ago I had my baby lowered. It was too low. Today she came back up a couple of inches. Also added 1.5" spacers to give her a wider stance.
1 point
-
Ok so this man will not be getting a new one ?1 point
-
The real question is, how many times had he had his mirrors off? ?1 point
-
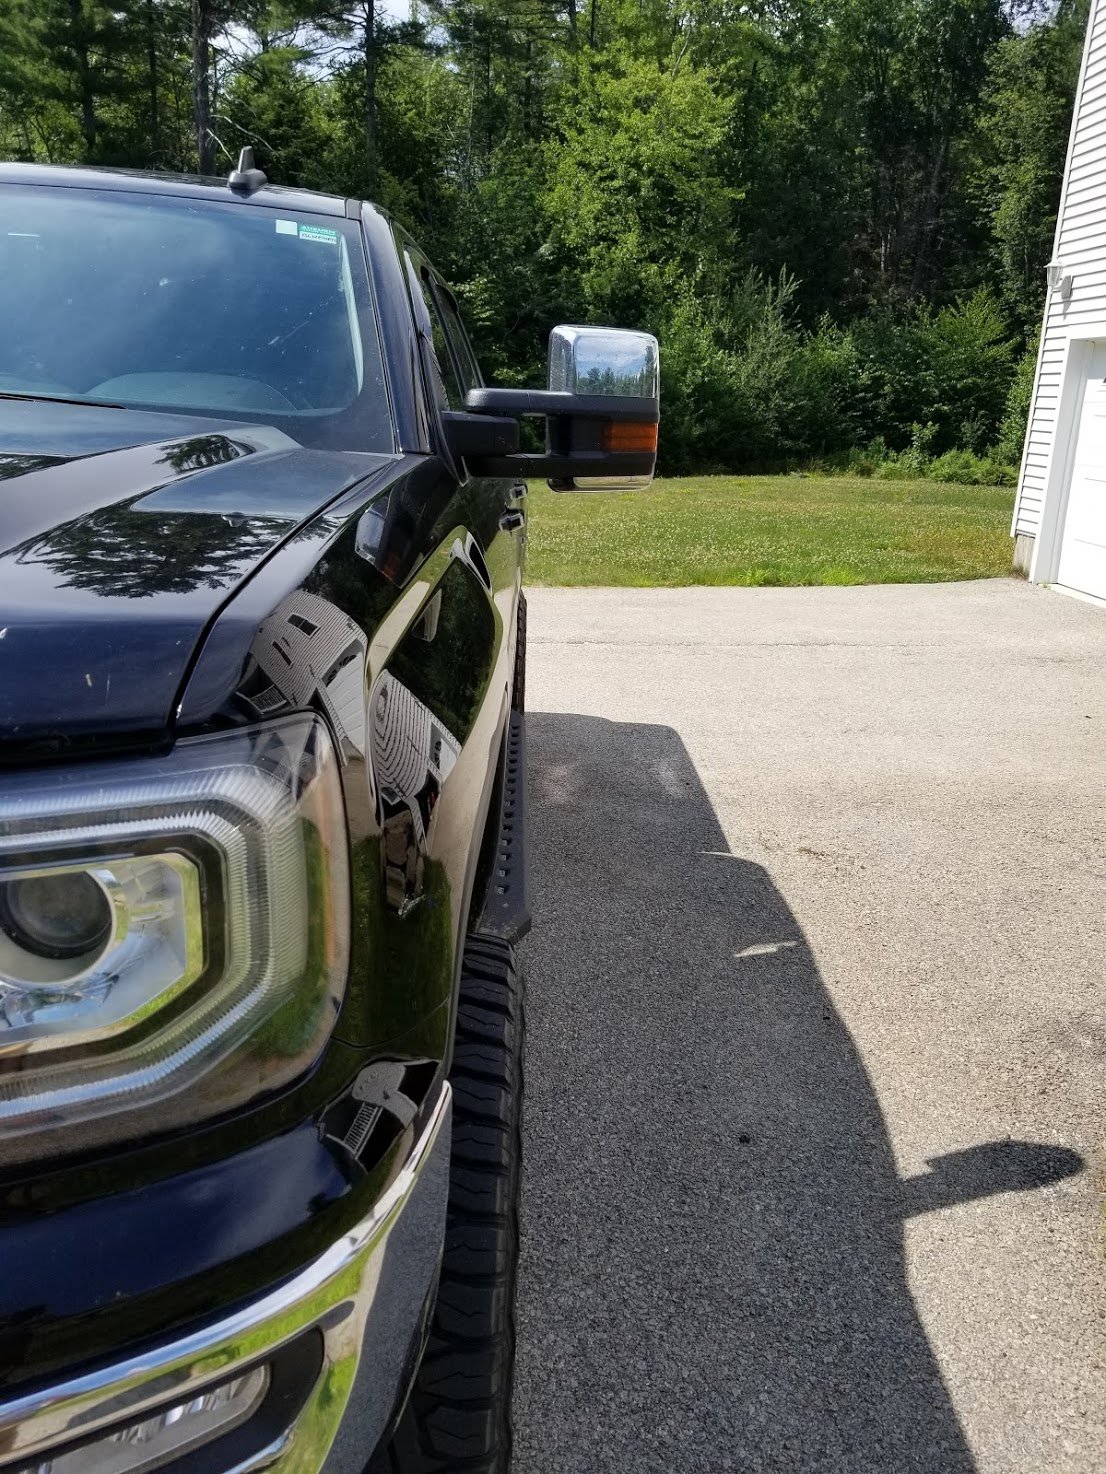
Phil certainly has a nice looking truck. I wonder if he has ever thought about adding tow mirrors???1 point
-
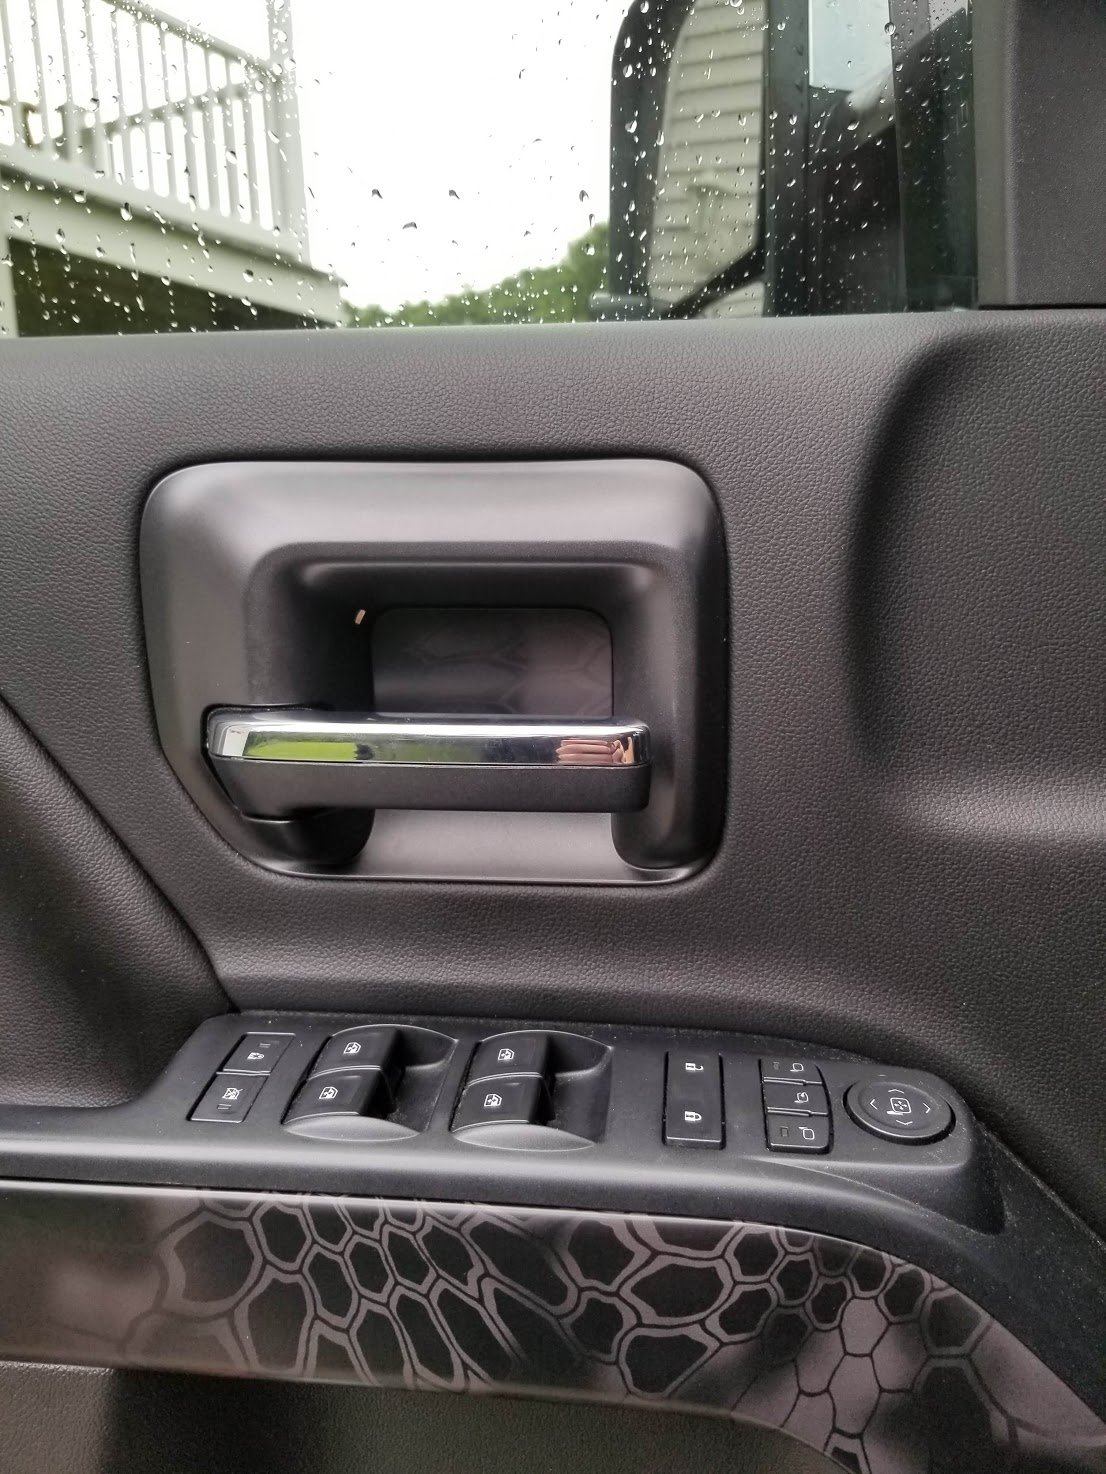
Redid my Illuminated Door Handles. Now outfitted with Switchbacks! Running Light and Turn Signal circuits ran to them. Also swapped out tow hooks and added Caliper Covers. Going for the Redline Edition Look. Before: After: Caliper Covers from MGP: As a Running Light: As a Turn Signal: Sent from my iPhone using Tapatalk1 point
-
Just did thr denali cluster swap
1 point
-
Wrapped interior brushed aluminum trim with kryptek typhoon matte. Not 3M brand and it was an "upgraded" exterior version so it was tacky as hell. The lady I spoke with on the phone said it was about the same level of difficulty to install and wouldn't leave residue but even just during the initial application when I pulled up there were multiple times I saw residue. Made certain parts of the wrap look slightly different (areas I pulled up vs didn't) and complex corners were hell. All in all though I like the look and I've got more than enough to wrap another truck interior or other stuff. Expensive as hell but I really love kryptek and the truck has a theme now (matching seat covers). Additionally I installed the Go Rhino RB20 steps. Pretty straightforward install although I had to punch out a hole for bolts and file as it wasn't punched out during assembly. Went in fine, instructions were slightly off from parts they gave me (maybe difference in years) but was pretty straight forward, no major complaints during install. I do wish that the mounts were thinner as when you walk up to the truck you can clearly see the 4 points it mounts to the truck. Also wouldn't mind if it was slightly tighter to the body, most of the videos made it seem like it was, but for whatever reason it isn't in my install. Lastly the front is slightly wider than the rear. Actually sort of lines up with the additional 1.5" track width in the front. Steps are pretty grippy overall, interested to see how much snow they collect during the winter. Next up is installing my amber lamin-x fog light film and hopefully by end of month my diamondback cover. Also ordered a husky rear storage bin as I've been carrying everything (straps, jumper cables, bungee cords, first aid, etc.) around in an old backpack. I really went hog wild the past few weeks and need to calm it down a bit. Still a bit left I want to do (Upgraded stereo, line-x front and rear bumper, line-x chrome mirror caps, new grille, custom badges front and rear, front and rear off road lights) and some things I'm up in the air about (possibly line-xed fender flares, blackout the tan headliner trim and black US flag headliner, grille guard). For now though she will probably sit for the rest of the year. Need to let the bank fill back up to a more comfortable level and I've got my eyes on a scar 17s so we will see what happens there.
1 point
-
These truck prices are getting insane! I’ll wait until 20% off is available. Got my 2015 CCSB LT for 34k. Would love to see some LT prices around there for this new model. Sent from my iPhone using Tapatalk1 point
-
Cross posting this from the lowering pinned thread if anyone is interested: I got the Belltech 2" lowering shackles put on. Personally, I left the 1.25" blocks on the axle to keep a short rake just in case I choose to get another boat again or something of the like. Installation was pretty straight forward. I'm fortunate enough to have a friend with a two post lift. We removed the OEM hitch and then began breaking down the rear shackles. Being it was on a lift with only one large floor jack, we choose to gain clearance over the frame rails by disconnecting the bottom shackle bolt and lowering the truck onto the floor to lift the top shackle bolt above the frame. Right away we ran into a problem in that the bed seam was contacting the shackle. Back up in the air and some taps with a ball peen hammer, the bed seam was folded over and it was smooth sailing from there. Final measurements came down to 1.25" higher in the rear which I was okay with as aforementioned. Total install time with a two post lift from hitch removal to hitch installation was 2hrs 15 min with two people and mostly hand tools. Will post pics tomorrow. *EDIT* Also, I used to have this obnoxious ever so slight shake in the seats at highway speeds. Wasn't the typical GM shake that has been documented but something that bugged the hell out of me. That shake has also been resolved and the butttest attributes that to the lowering the truck a touch. Additionally, the ATROCIOUS leaf spring creek is gone as well. That could from getting some weight off the springs with the truck in the air but I doubt it (never noticed it resolving after an oil change). Time will tell.1 point
-
That's a cool kit, and 1 of the ones that I considered when looking. I ended up getting the Superlift 3.5" kit that comes with new new control arms, and doesn't require you to cut the rear crossmember. Just installed it this weekend, along with a set of Bilstein 5100 shocks set at the factory setting.1 point
-
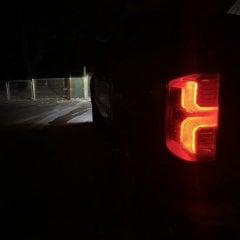
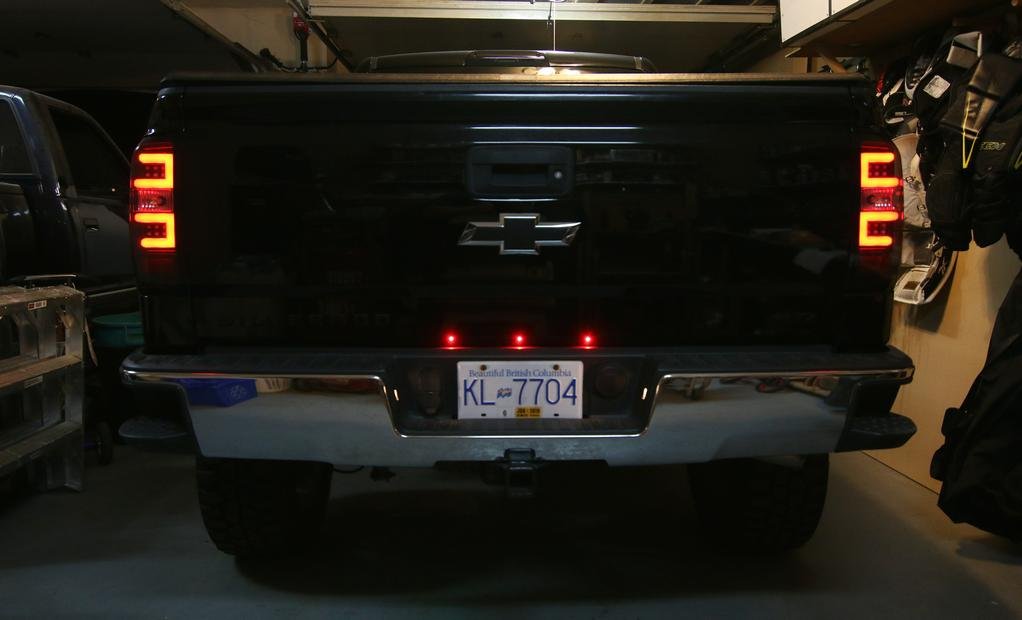
added three tiny red LEDs above the license plate. i used these: LED bolts and got power from the license plate lights (so these will only come on when the headlights turn on)
1 point
-
RC 2” level, front only - stock rear. Sent from my iPhone using Tapatalk1 point
-
Installed some bed lights, tie down loops, and frame plugs. Sent from my iPhone using Tapatalk1 point
-
Threw on some Dub future wheels. 22x9.5 +30 with 265/40/22 Nitto 420s tires. Drop is IHC 5/7, the front dropped slightly less than 5.1 point
-
Hey does anyone know if 295 60 20 toyo open country at 2 extreme would fit on a 14 sierra with 2 inch front level kit on stock 20s???Thanks1 point
-
-----HID FOG LIGHTS----- Installing HID fog light bulbs in the 2014's has so far been a mixed bag. Some members have installed operated them for months without incident, while others have had their HIDs melt the fog light housings. It seems to happen across the board and isn't due to one brand running hotter than another. It might possibly be to duration of each use, with some magic number of minutes that, if you exceed, it'll begin melting the plastic. No one has really shown any evidence for why some melt and others don't. So that said, if you choose to install HID fog bulbs, realize it's a toss up on them damaging the housings. -----HID FOG LIGHT BULB UPGRADE SHOPPING LIST----- (1) HID Kit This HID kit will include two HID bulbs and two ballasts (ballasts regulate the amount of current flowing to the HID bulbs). When ordering, you must specify the bulb number, wattage, and color temp: Bulb Number: 5202, 9009, or H16 are acceptable (all three are physically identical but were designated with different numbers by different agencies) Wattage: The majority of HID fogs on this forum have been 35 watt. With those, like I said above, it's a toss up. The 55 watt will absolutely melt your fog light housings. Some discovered 25 watt kits while searching online, but there has been debate if they're actually 25 watt or just re-labeled 35 watt kits. Hard to say what's correct. Color Temp: The actual color of the light, measured in Kelvin. 3500K is stock yellow, 4500K to 5000K is white, and 6000K is white with hints of blue. Color temps of 7000K & above are very blue/purple and are definitely not recommended. (2) 5202 male / 9006 adapter *optional* Most HID fog kits only have two bare wires for connecting to the stock source (which sometimes have metal pins on the tips). You can either jam these pins in the factory fog sockets, cut into the factory wiring and splice in the wires, or purchase 5202 adapters off eBay which you can connect to HID kit and then easy snap into the factory connections.1 point


This leaderboard is set to New York/GMT-04:00