Search the Community
Showing results for tags 'Rear'.
Found 11 results
-
 I am about to change the rear differential fluid on my 2016 Silverado. I went to the dealer to get the fluid (75W-85 special new fluid, supposedly "High Efficiency"). The dealer was unable to give me the volume spec for the fluid to fill it back up. I have seen both 2 liters and 2.6 liters required. Seeing as to how the fluid costs $22 a liter from the dealer, I don't want to buy 3 liters if I only need 2. Can anyone help clear this up/set me straight???
 -
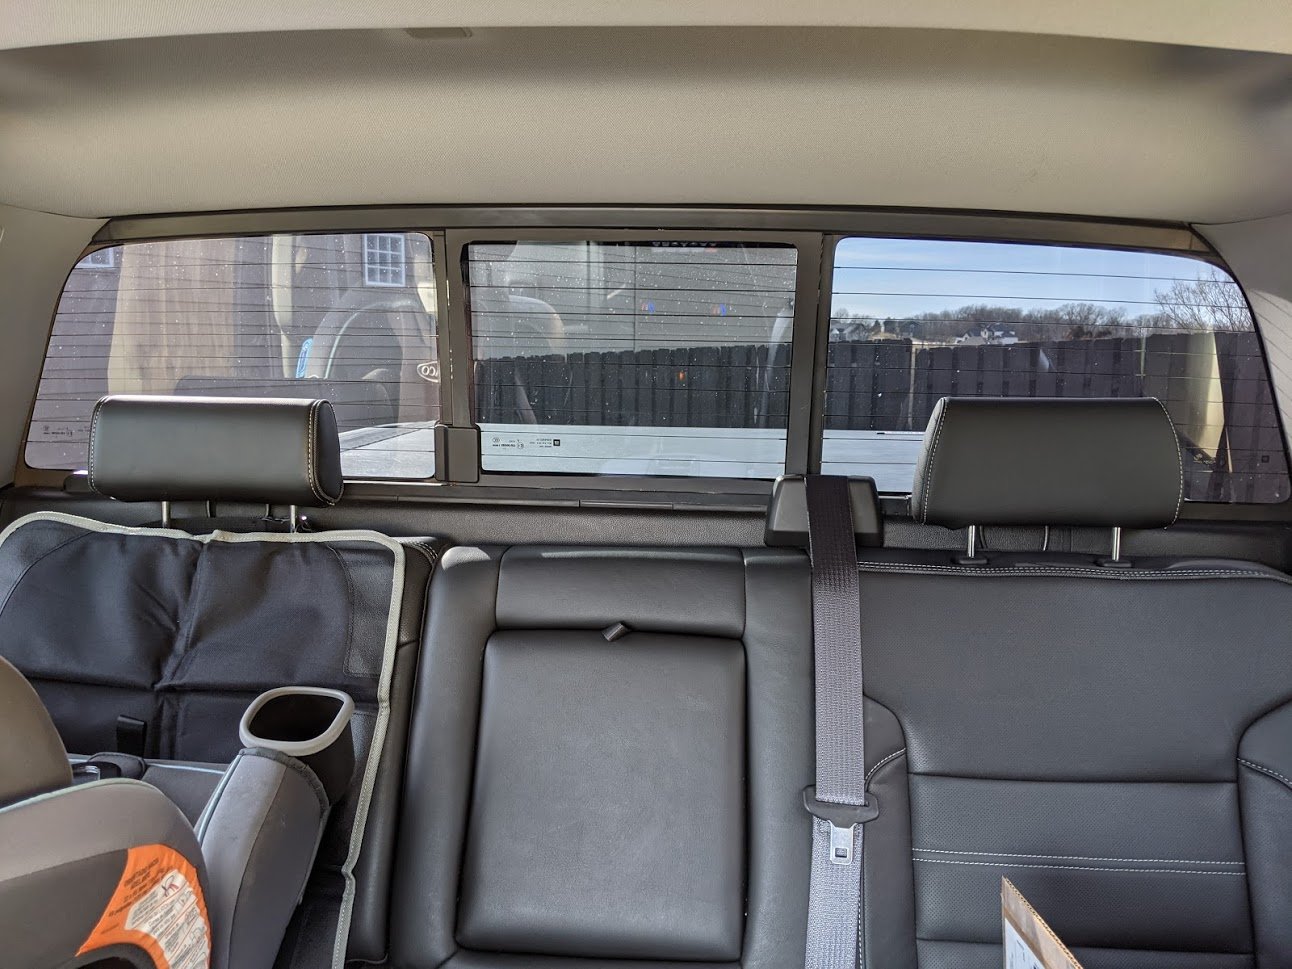
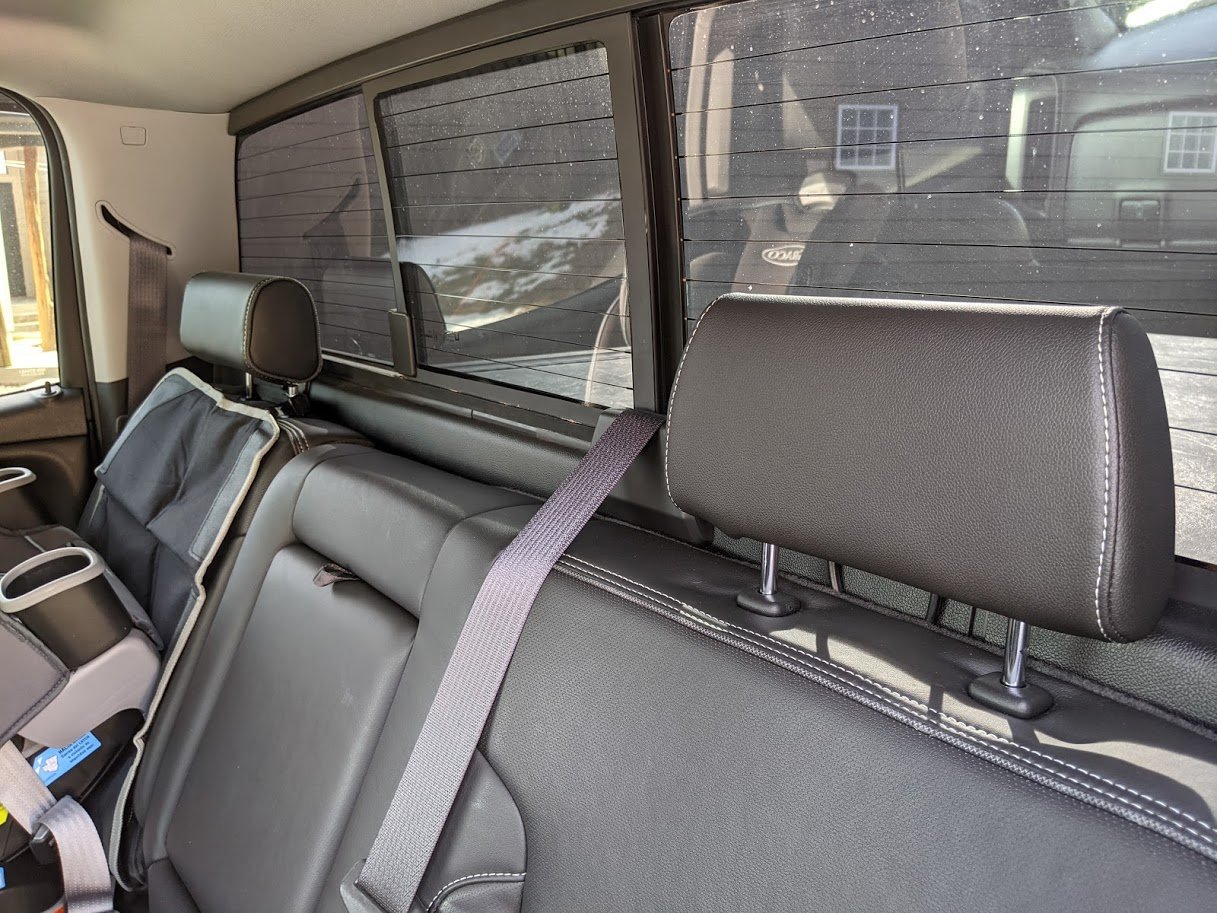
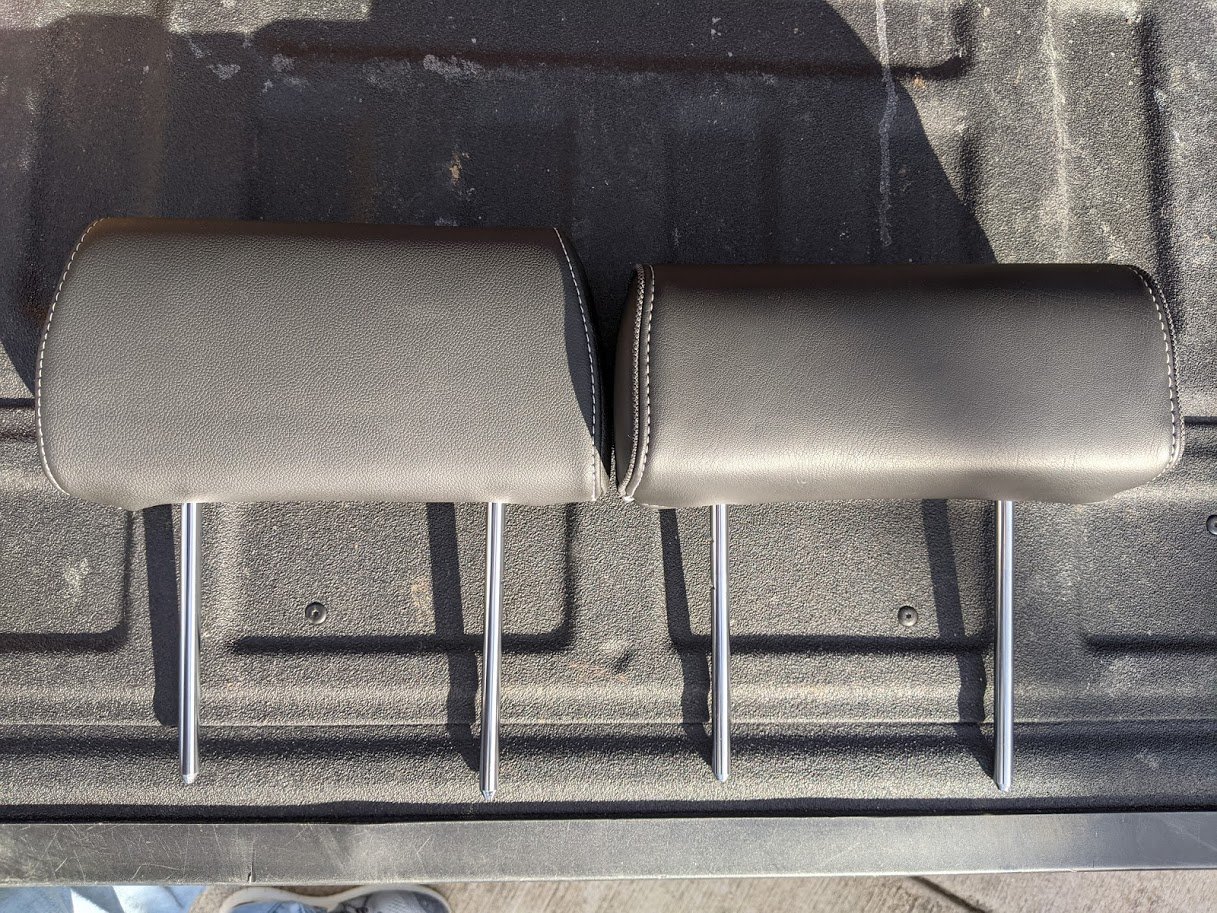
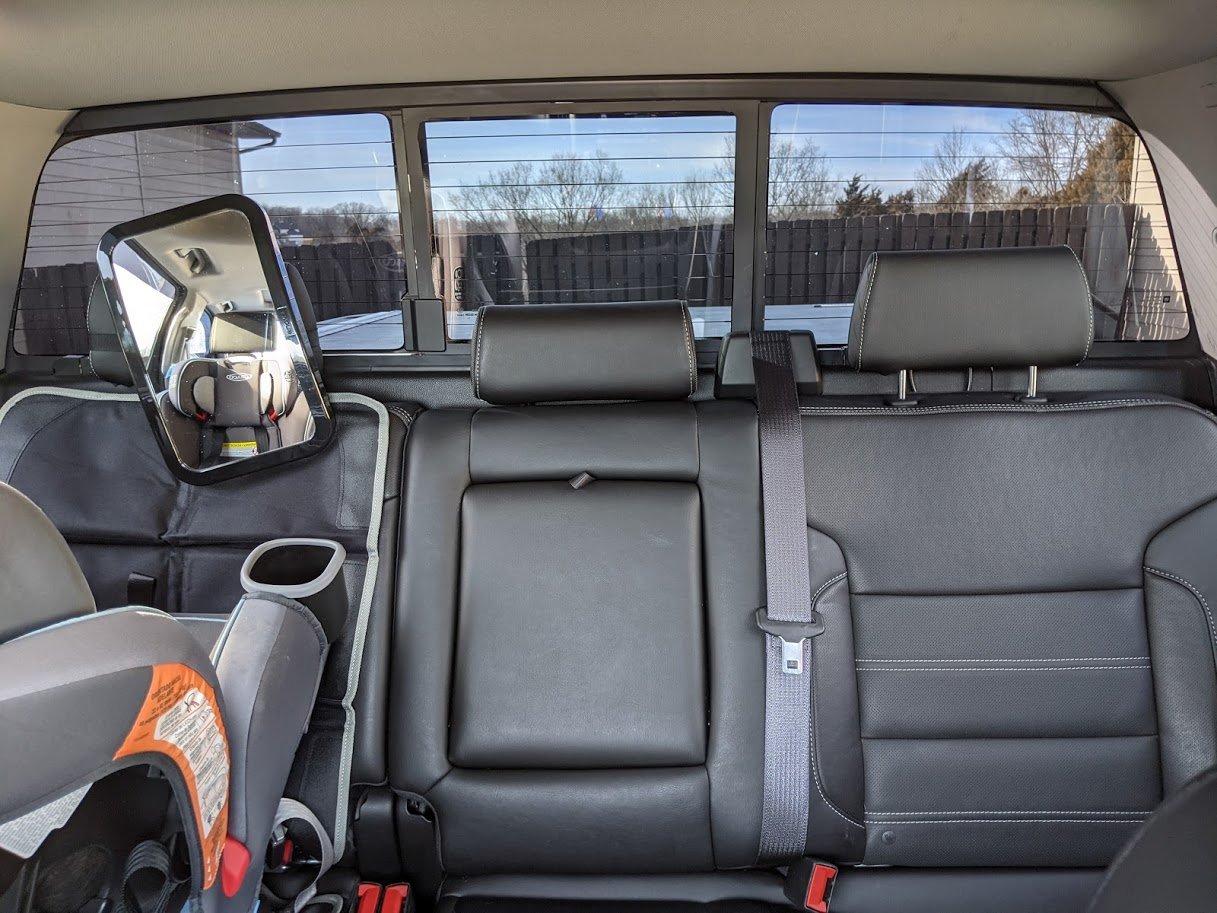
I've always thought the rear headrests were awful short and stubby in my 2016 Sierra Denali Crew Cab. For adult passengers and my kids once they are tall enough, I wanted a better option. After digging around in here I noticed that in pics of double/extended cabs the rear headrests were different and looked taller than my crew cab headrests. There are a few options on ebay and I found rear headrests from a double cab that match my black leather interior. Thought I'd show comparison pics of the crew cab headrests vs the double/extended cab headrests. You get about an inch more of coverage, so nothing spectacular but it is more. Headrests in good shape ranged from $50-$200 in my ebay search, so it all depends on how much you want to pay for the additional head coverage. Next on the to do list will be to add notches down the steel leg mounts to have them stay higher than the factory notches. I did notice the double/extended cab headrests stay locked in position much better than the crew cab ones. Why? I have no idea, but the crew cab ones would fall down even when going over a slight bump in the road. In the last pic I just slid the crew cab headrest legs behind the middle seat to have something there. It stays in position pretty good, won't be able to extend up but it doesn't move at all while driving.

-
 I have found the FIX for broken rear camera cables. I broke my rear trailer camera and was able to replace the connector with a new connector setup. Works well and if your handy you can do it yourself for under 40 bucks!!! Contact me for parts and cost information… email [email protected]
 -
2020 Sierra SLT This morning I noticed a buzzing noise coming from the rear of the cab. The sound came from the right bottom of the rear window. The buzzing stops when I turned the rear defroster off. Turned the rear defroster back on, the buzzing started again. Has anyone else had, or noticed, this problem? I tried to find a connecter to see if it was loose but couldn't find it. I don't think it's affected the performance of the defroster, at least not yet. I figure it'll require a trip to my dealership's service department, which I'm not a huge fan of. Thanks for your time, DC
-
Im wondering what issue would cause the rear wheel cylinder ears that hold the brake pads, to shear off? I have a 2006 GMC Sierra 1500 2WD 4.8L with rear drumbrakes. I replaced the rear wheel cylinders and brake shoes on both sides. After 5-10 minuets of driving, i had extremely loud squealing from the rear when braking to a stop. I took off the drums to check and saw that the passenger side wheel cylinder ears had sheared right off, but only on the outside of the truck, not inside ears. The shoe that is towards the front of the truck also was pushed out towards the inside of the drum and was rubbing on the inside facing where the hub sits so that must be what was causing the squealing. But i dont understand what would cause such a force to shear the wheel cylinder ears right off. Drum out of round? Before i replaced the shoes, both passenger and driver side shoes towards the front were almost to the metal shoe backing plate, so thats why i replaced them.
-
 I have a 2009 Avalanche, both rear windows wont operate with the front or individual switches. I replaced the main driver side switch with no success, I checked all the wires and fuse box on driver side. Any ideas?
 -
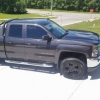
 Rear factory look
© lovecars2016
-
From the album: 2015 GMC Sierra Truck Silver
-
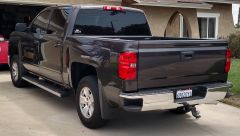
From the album: My 2014 Silverado
-
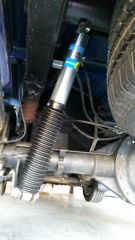
Swapped the stock rear shocks for Bilstein 5100 series
Josh_perry24 posted a gallery image in General/Off Topic
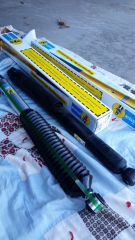
From the album: My 2014 Silverado
-
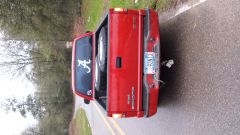
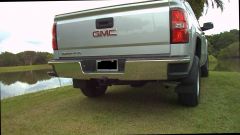
From the album: 2002 GMC Sonoma SL EXT. Cab 2WD
Sonoma Rear Before Larger Tires and Lift Kit.