Search the Community
Showing results for tags '3500hd'.
Found 11 results
-
Anyone have experience installing Aftermarket Keyless Entry on WT maybe remote start too, and which company? I’m sure the dealer ones are $$$…
-
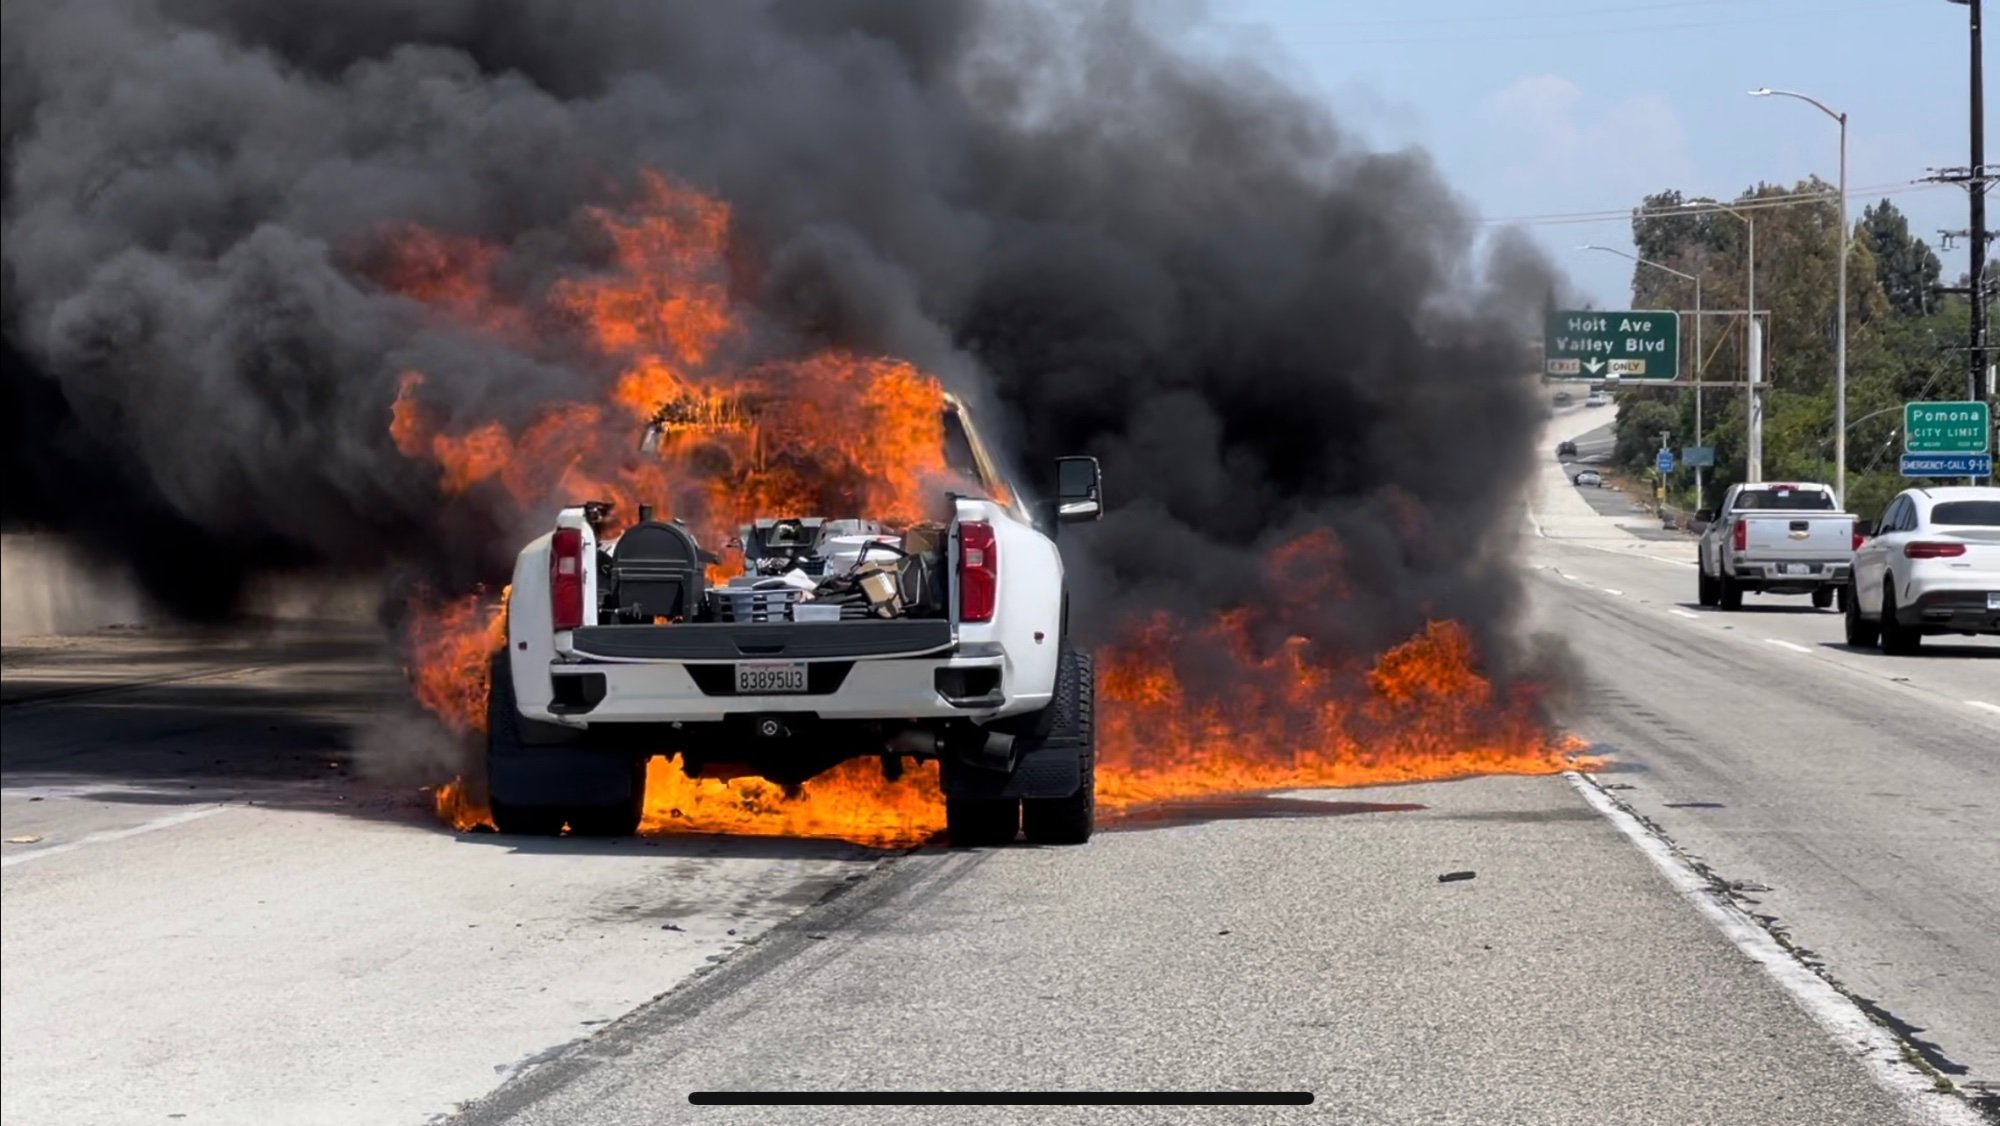
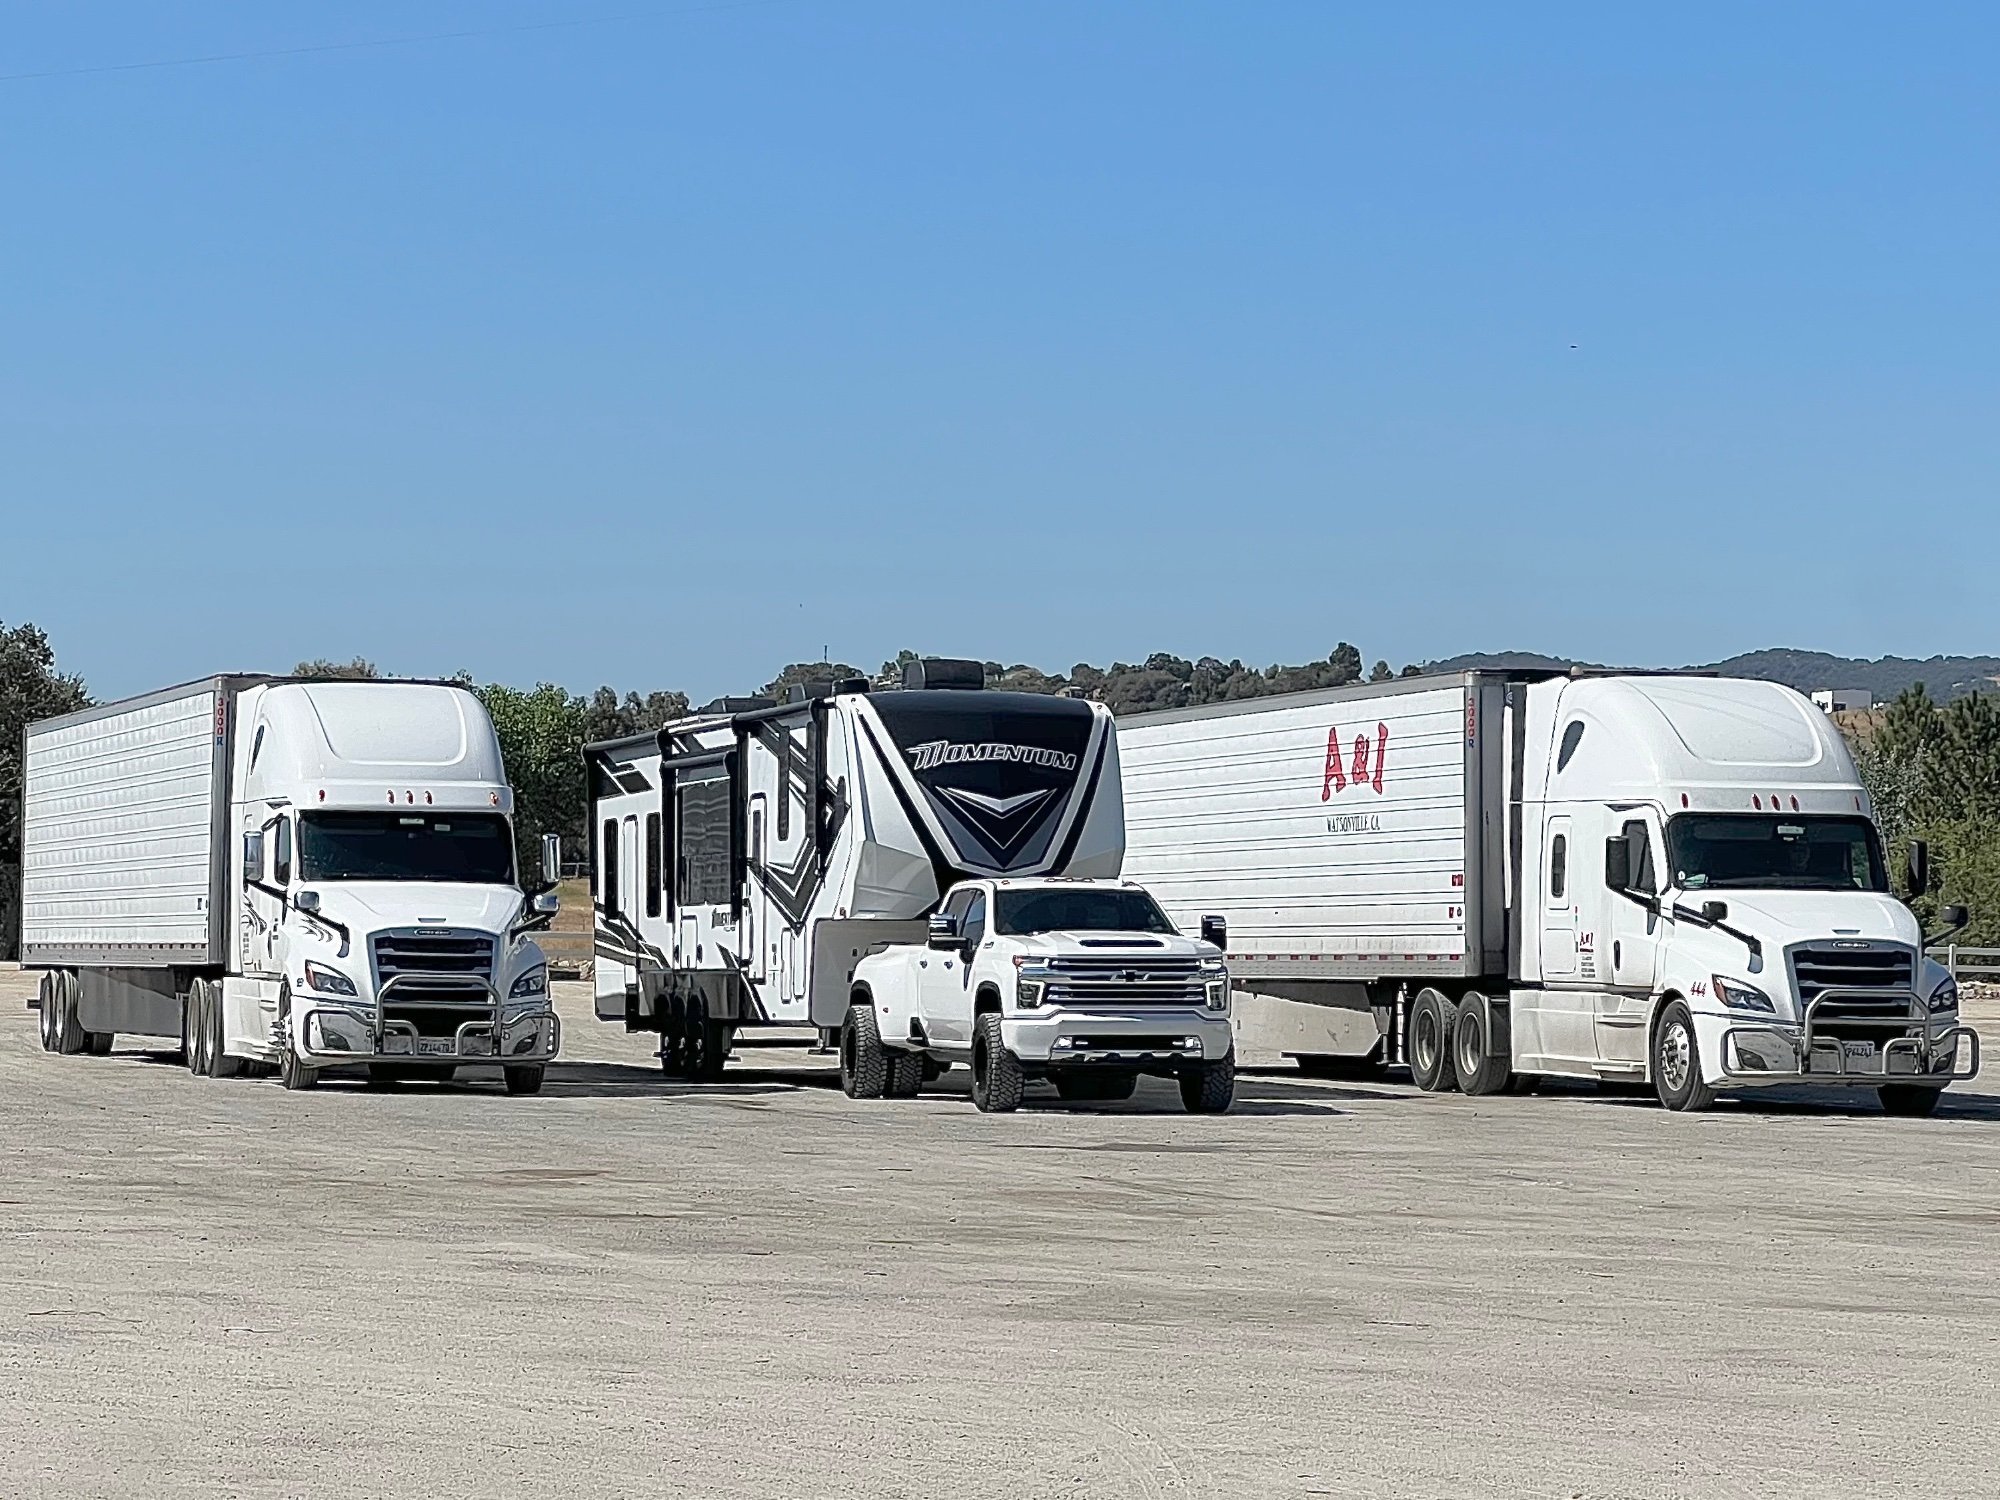
 New to the this forum but a seasoned vet on others. I’m posting to see if anyone else is having brake issues after the TSB for the brakes on the 3500 L5P. If not to keep an eye out. Long story short, we just finished a 12 day camping trip up the coast of California. On the last day we headed home which is 4 hours away pulling our 5th wheel. (2023 Momentum 395M). 30 minutes from home, We were getting on the interchange and noticed some clear white smoke corresponding with my break pumps. On the third pump I lower my trailer breaks thinking it was set too high cause of the steep grades. Pumped again and that’s when I got a steady white smoke. Pulled over right away and inspected to find fluid leaking in front of the driver rear tire and a small fire. First thing I do is shut off the truck. Run around and get my wife out of the truck so we can kids and dogs out. As I turn around my 4 year is strapped in his car seat with flames all up the rear door and back glass. It happened so slow and fast at the same time. All I could think about is that glass breaking and the oxygen sucking the flames in and watching my son burn to death in front of my eyes and I can’t do a damn thing. I did indeed get him out and the family in to the trailer. We were stuck in what I call the kill box now. It’s 2 major freeways that interchange in to a 2 lane highway with at least 1/4 of concrete barrier on both sides with no turn outs not too much further up. We were lucky to stop where we where. We tried to put out the fire out with 4 extinguishers between the truck driver, tow truck driver and myself with no anvil. At this point I have to either get my family out of the trailer or unhook and try to drive off. Well ….. we were able to unhook. Jumped in the truck knowing turning on the fuel pump was a terrible idea. The thought of my family sitting on the upper deck on top of 2 propane bombs under them just gave me the push I needed to commit. Turned her on and floored it. The truck had exploded with me in it. I still remember seeing the flames all around, the heat and smoke in the cab. I was able to exit the vehicle after that excess fuel to burn off. I suspect that the initial fire started on the passenger rear and moved to the driver rear. As there are tire stamps from the right rear some something hot, melting or leaking for over 80 feet. Where I stopped first. You could see that it was leaking where the tires would be. Puddle is wet on the right side and the left is burned. if fuel was leaking, there would be a fuel burn line or fire. This is what I think happened but we will have to wait and see what the experts say. We are very fortunate that there were no injury or fatalities. Insurance company has taken custody of the truck and investigation is pending. I only have 17k left on the loan and had 15k of parts and labor in to it. Mods were as follows. 35x12.5 wrapped on 20” Fuel Triton wheel, K&N drop in filter, S&B 62 gallon fuel tank, Retrax hard roll up bed cover, B&W 5th wheel hitch and custom mudflaps. All I know is that I almost lost my family, trailer and truck that I’m most likely going to lose on. 3500 was purchased certified used last June around 14,000 miles and burned down last Thursday with about 16k on it. Now the adrenaline and shock has worn off. The anger and ptsd is kicking in. We wouldn’t have gotten out with our skin suits with out the help of the kings if all kings …God, the 2 Good Samaritan and our great first responders. In the end of the day I have my family and health and thankful for that. I’ll be posting my outcome, as soon as I hear back and case is closed.
-
- 1
-

-
- break pressure switch
- fire
- (and 9 more)
-
NEW BILL SO WE CAN REPAIR OUR TRUCKS
-
 TIA for your help and time… BLUF: Ticking noise under truck, not heard from top of engine compartment. I noticed a ticking/clicking/pinging noise under my truck today, took a video, hopefully you can hear it. Anyone else? Truck was in Park and Neutral (Parking brake engaged) and still heard the sounds.
 -
I normally get vehicles without sunroofs, because the headliner height is lower on vehicles with sunroofs and the headliner presses the left side of my head to the right in the driver seat (confirmed this in a 2019 3500HD on the dealers lot last month). I'm 6'3" and it's mostly in my torso. Does anyone know if the height of the headliner in the front cabin becomes equal with the rear headliner height if the sunroof is not optioned in (in other words without the sunroof is the headliner is closer to the actual roof panel since it's not hiding the sunroof mechanical under it)? I'm hoping to order my 2020 GMC 3500HD Denali SRW soon and this is the one option I'm not sure about yet. I don't care about resell or trade in values because I'm keeping this truck for at least the next 20 years, but if there is no height difference I might as well get the sunroof and pre-pay for my chiropractor.
-
Thanks for the add. Greetings All!! Going to start my membership, by asking what I hope is an easy question. On an online site, they have a deal on a power retractable tonneau cover that I really like, (like same price as non-powered), but I also just installed a Weather Guard tool box. My hope/want is that I can put the retractable canister in back of the toolbox, (tailgate side) and then mount my onboard air tank under it, with the compressor in the toolbox. Finally my question is; will the electric cover stop at my tailgate automatically? I understand I have to cut the rails to accept the canister in the different location, but the cover stopping in the correct stop has me guessing what other mods I’ll have to do. please help ASAP, as I do not know how long this deals gonna last. Thank you! Collin 2018 GMC Sierra Denali 3500hd
-
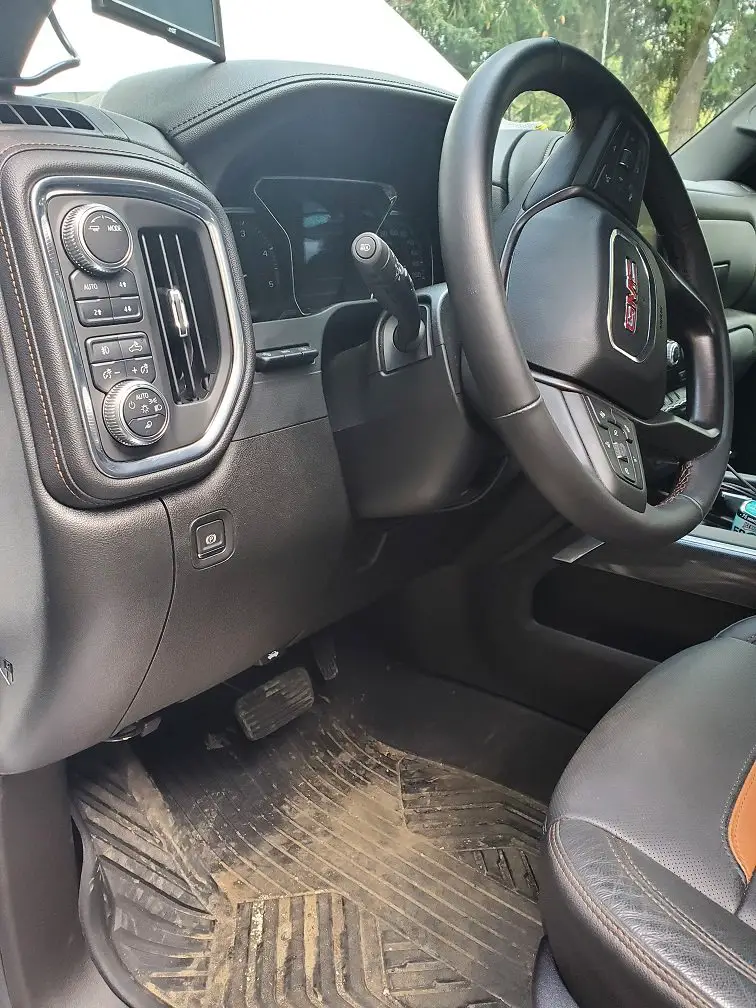
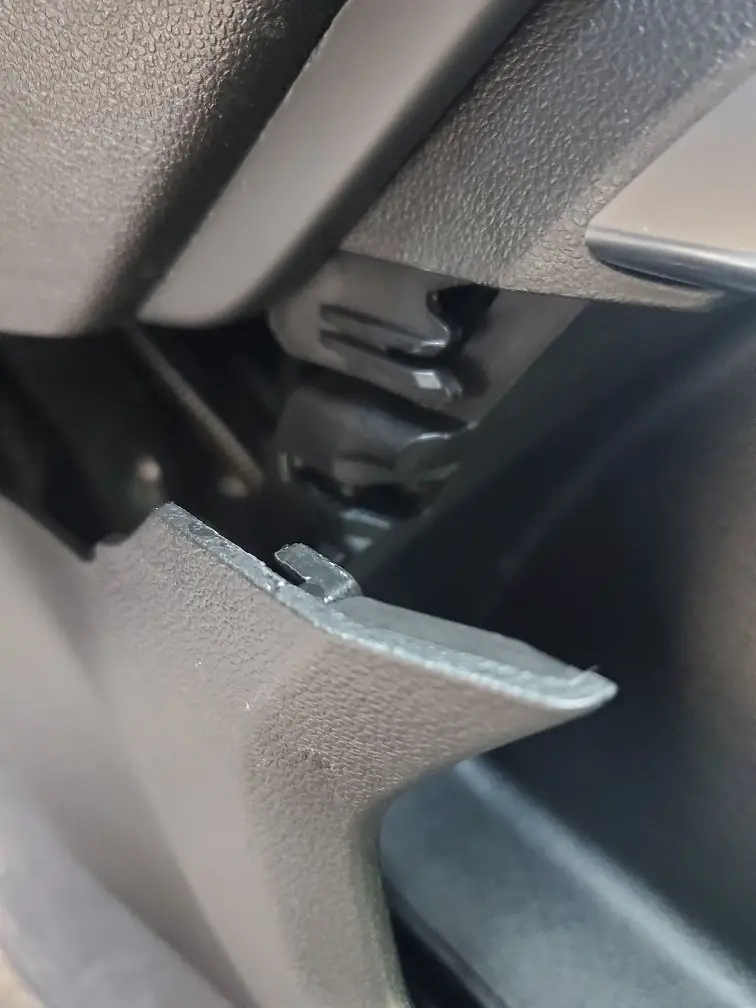
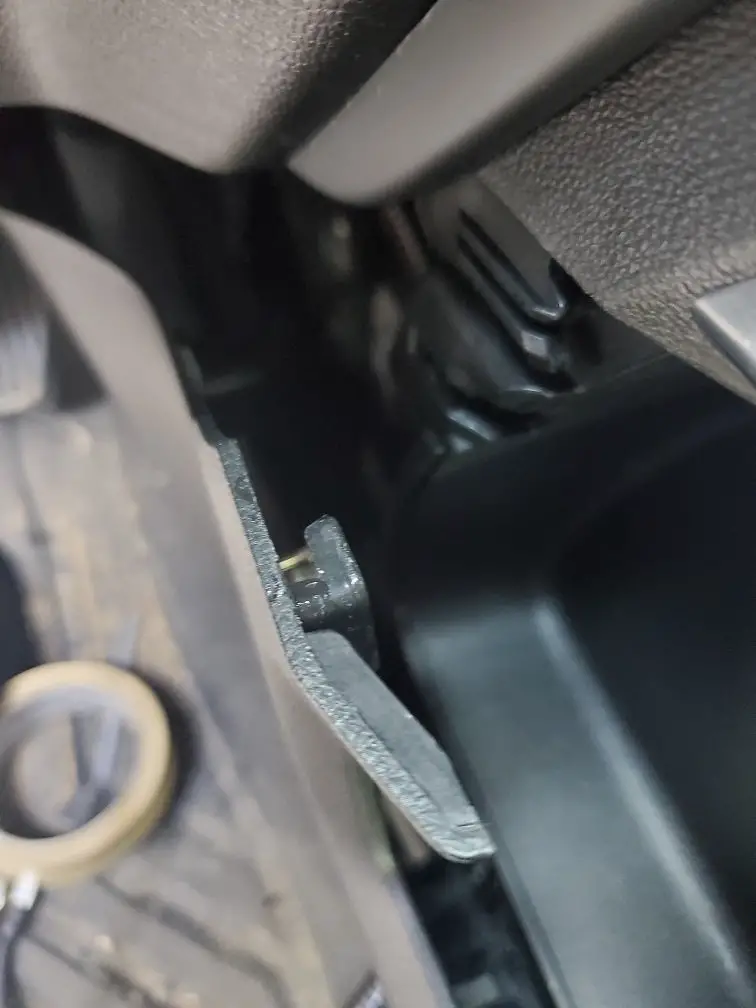
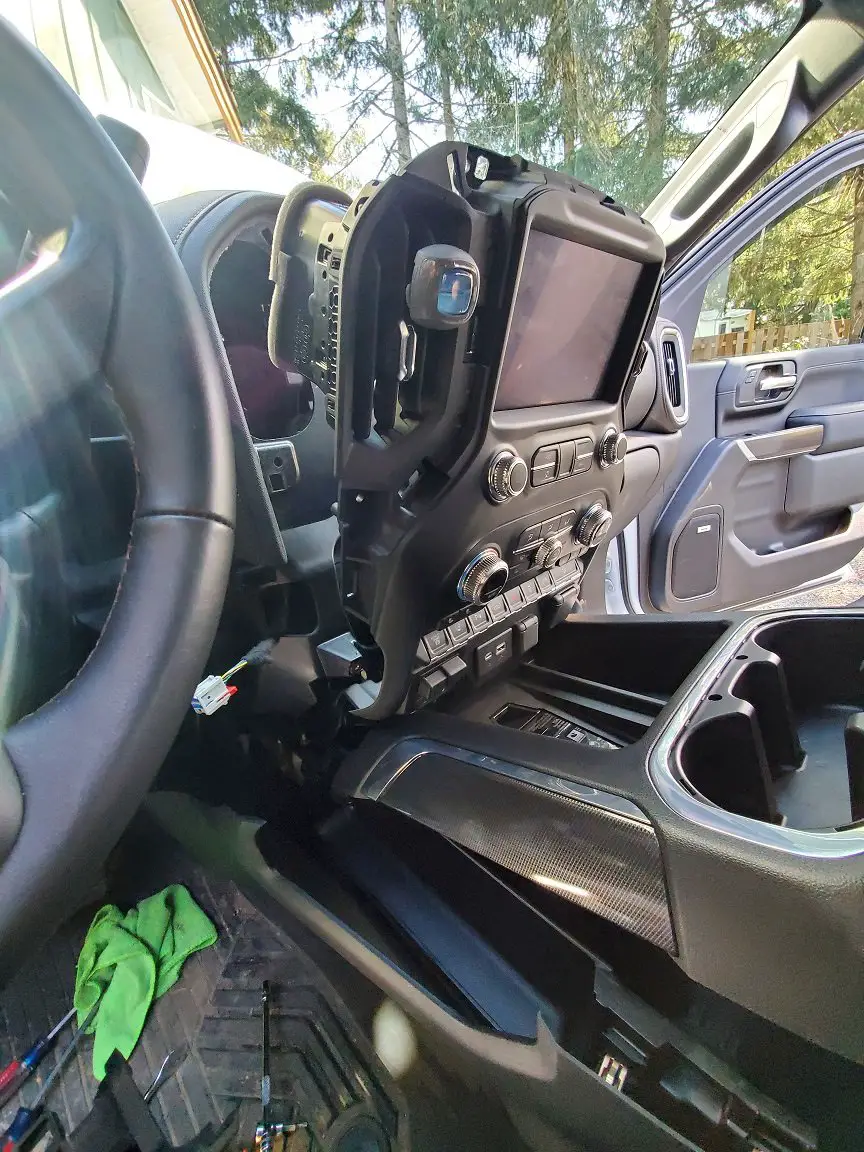
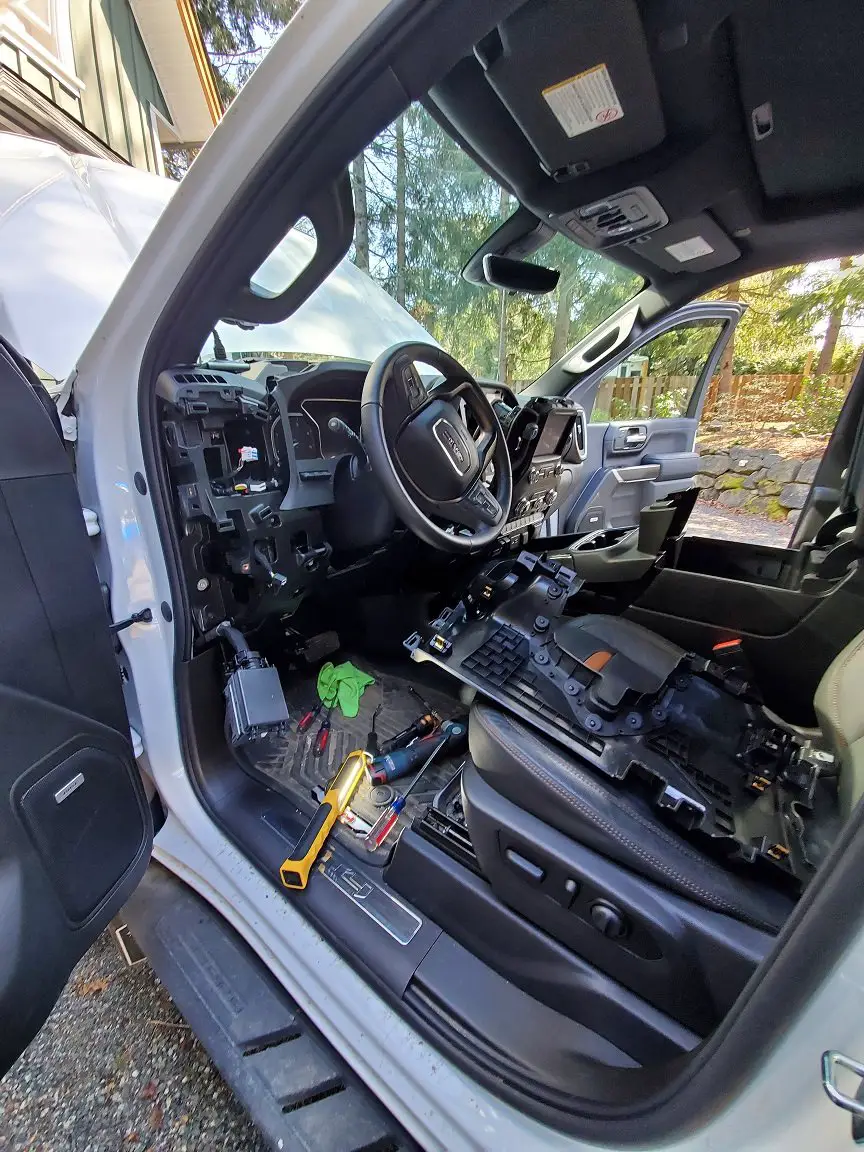
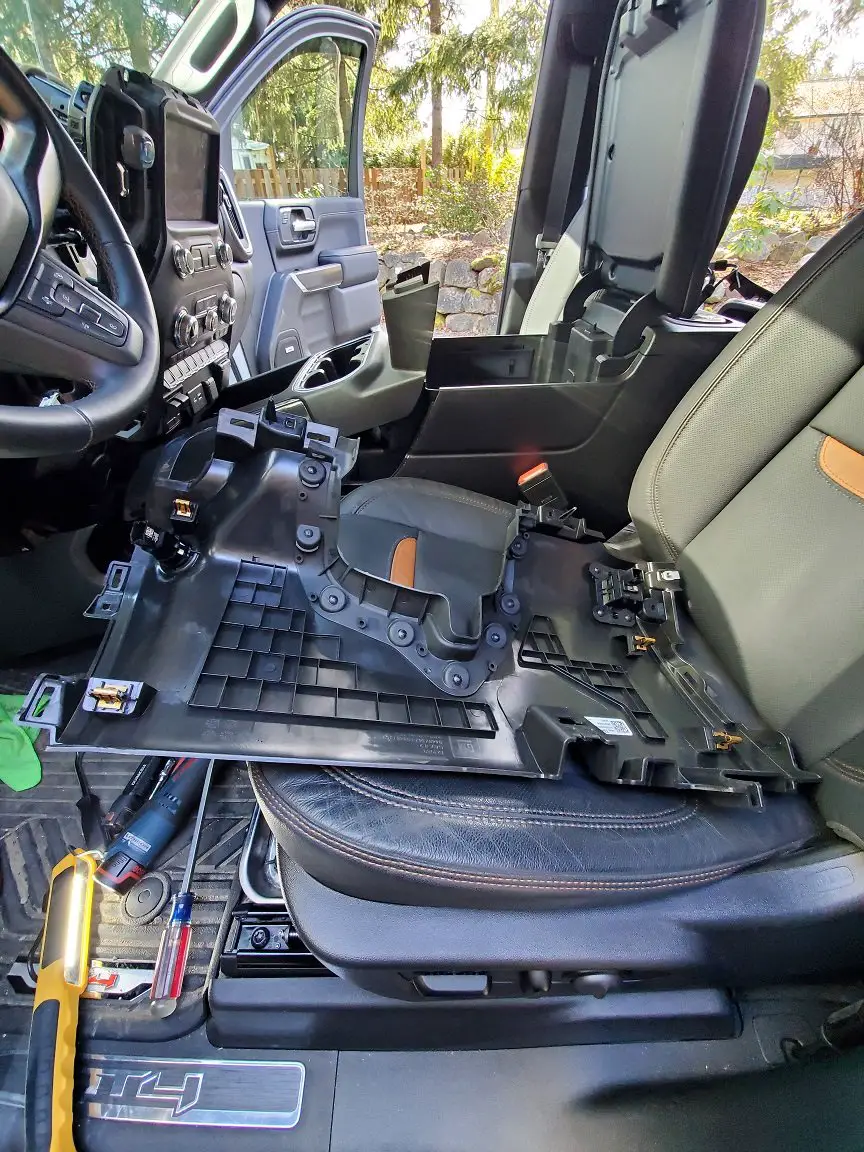
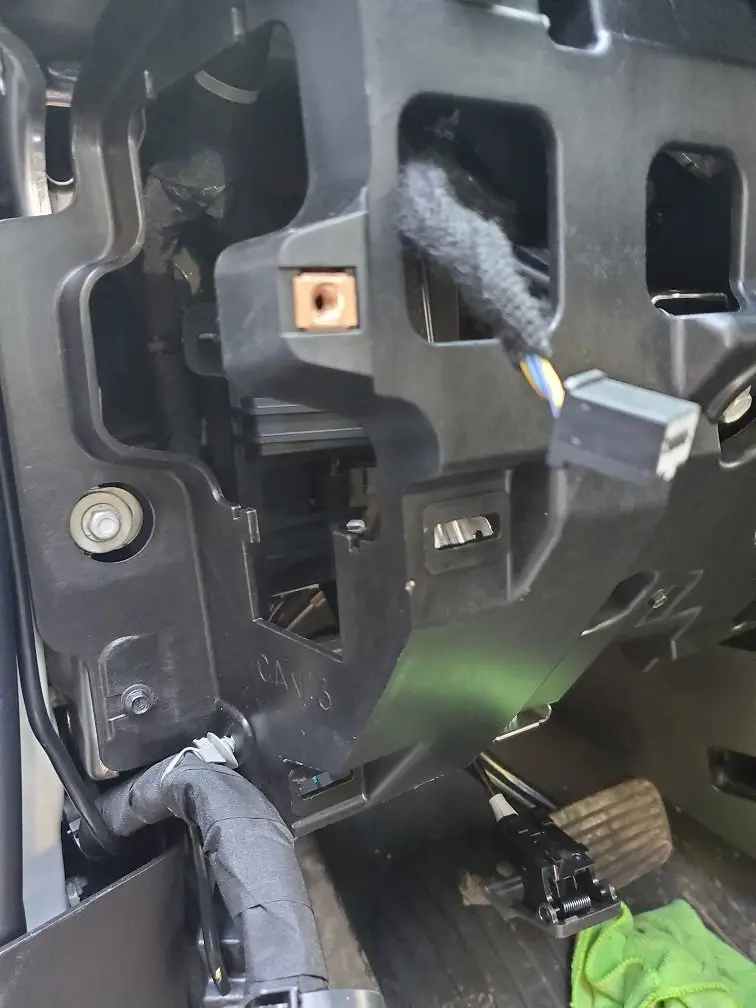
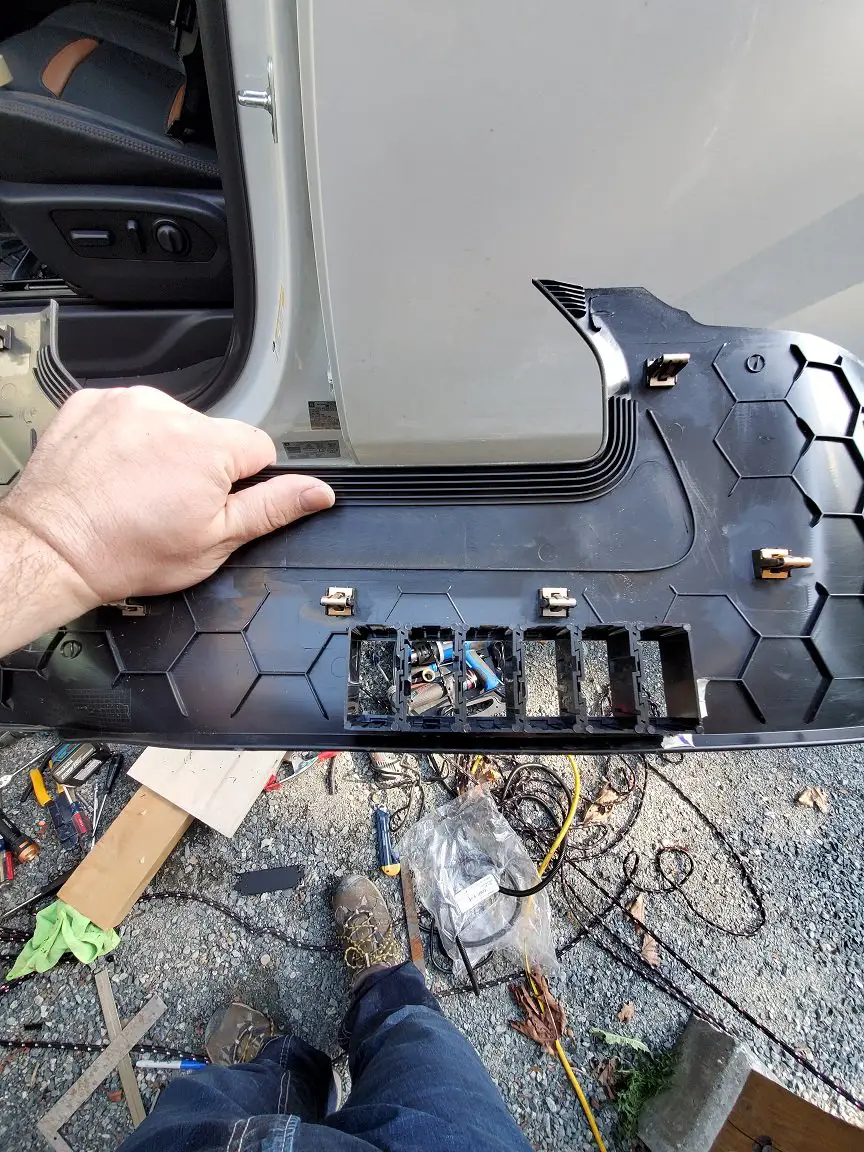
Morning, It was suggested that I place the write up on the custom gauge installation in this section so I will do just that. A bit of background: this truck is brand new with just under 8000 km on the clock. It has already seen -45C and some off road conditions. I am a business owner (Arrowsmith Project Management Limited) and this is one of my trucks. First: a special thanks to everyone who has discussed the upfitter switches using the GM parts. I was very excited about that and was going to go that way but with discussions at the local parts counter about being my responsibility and that it would void the warranty and such I decided to do my own thing as all of this 12V stuff just needs a source and a ground. No ECM or other modules to plug into etc. Second, because I bounce down roads everything has to be solid, secure and of industrial grade to not fall apart in the middle of nowhere. Here is the installation process. FYI get the right tools - in this case the trim removal tools or you could end up with scratches and nicks like this. (PIC 1) PIC 2 and 3 - OEM trim of the AT4 before PIC 4 and 5 - Pay close attention to how things come apart - watch all the videos and read all the existing write ups on removal of panels. This TAKES TIME. Go slow and be patient. There are 2 clips that will break if your removal of the console lower trim piece on either side is removed in haste. PIC 6, 7 and 8 - The removal process. PIC 9, 10, 11 and 12 - Switch locations and layout - plan this out carefully. measure as many times as you need to. Take lots of pictures. I opted to use the OEM location as best I could for 2 switches. These ones control my front light bar from Bright Source and Strands. It has a main ON/OFF and a secondary driving light in both amber and white. This resulted in first installing a SPST rocker and a SPST moment switch. The moment was later swapped out for a SPDT rocker. I had a little trimming to do under the knee bolster panel. PIC 13, 14 and 15 - Trimming the drivers side lower console panel - this was done to house the cluster of switches for all the other goodies I need. (Reverse Alarm (1), Buggy Whip (1), Overhead Rotating Beacon (2), winch (1) and rear facing service lights (1))
-
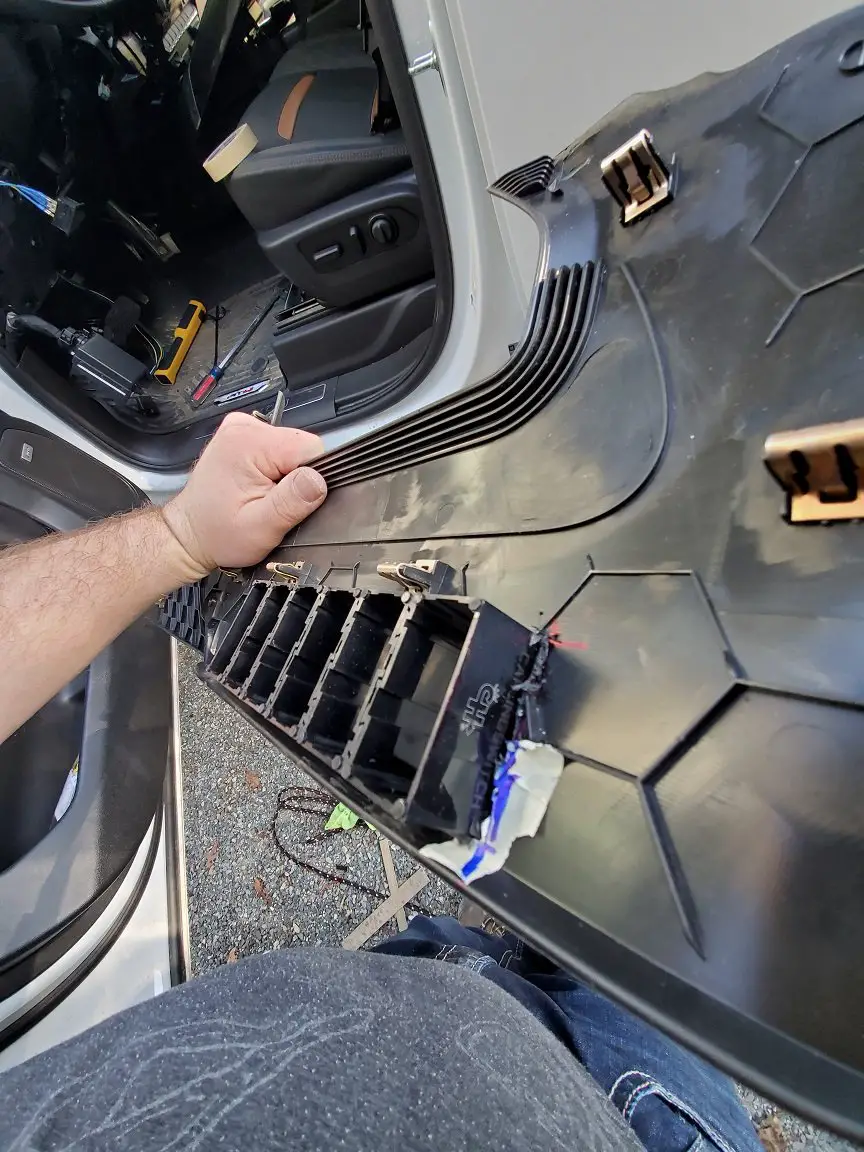
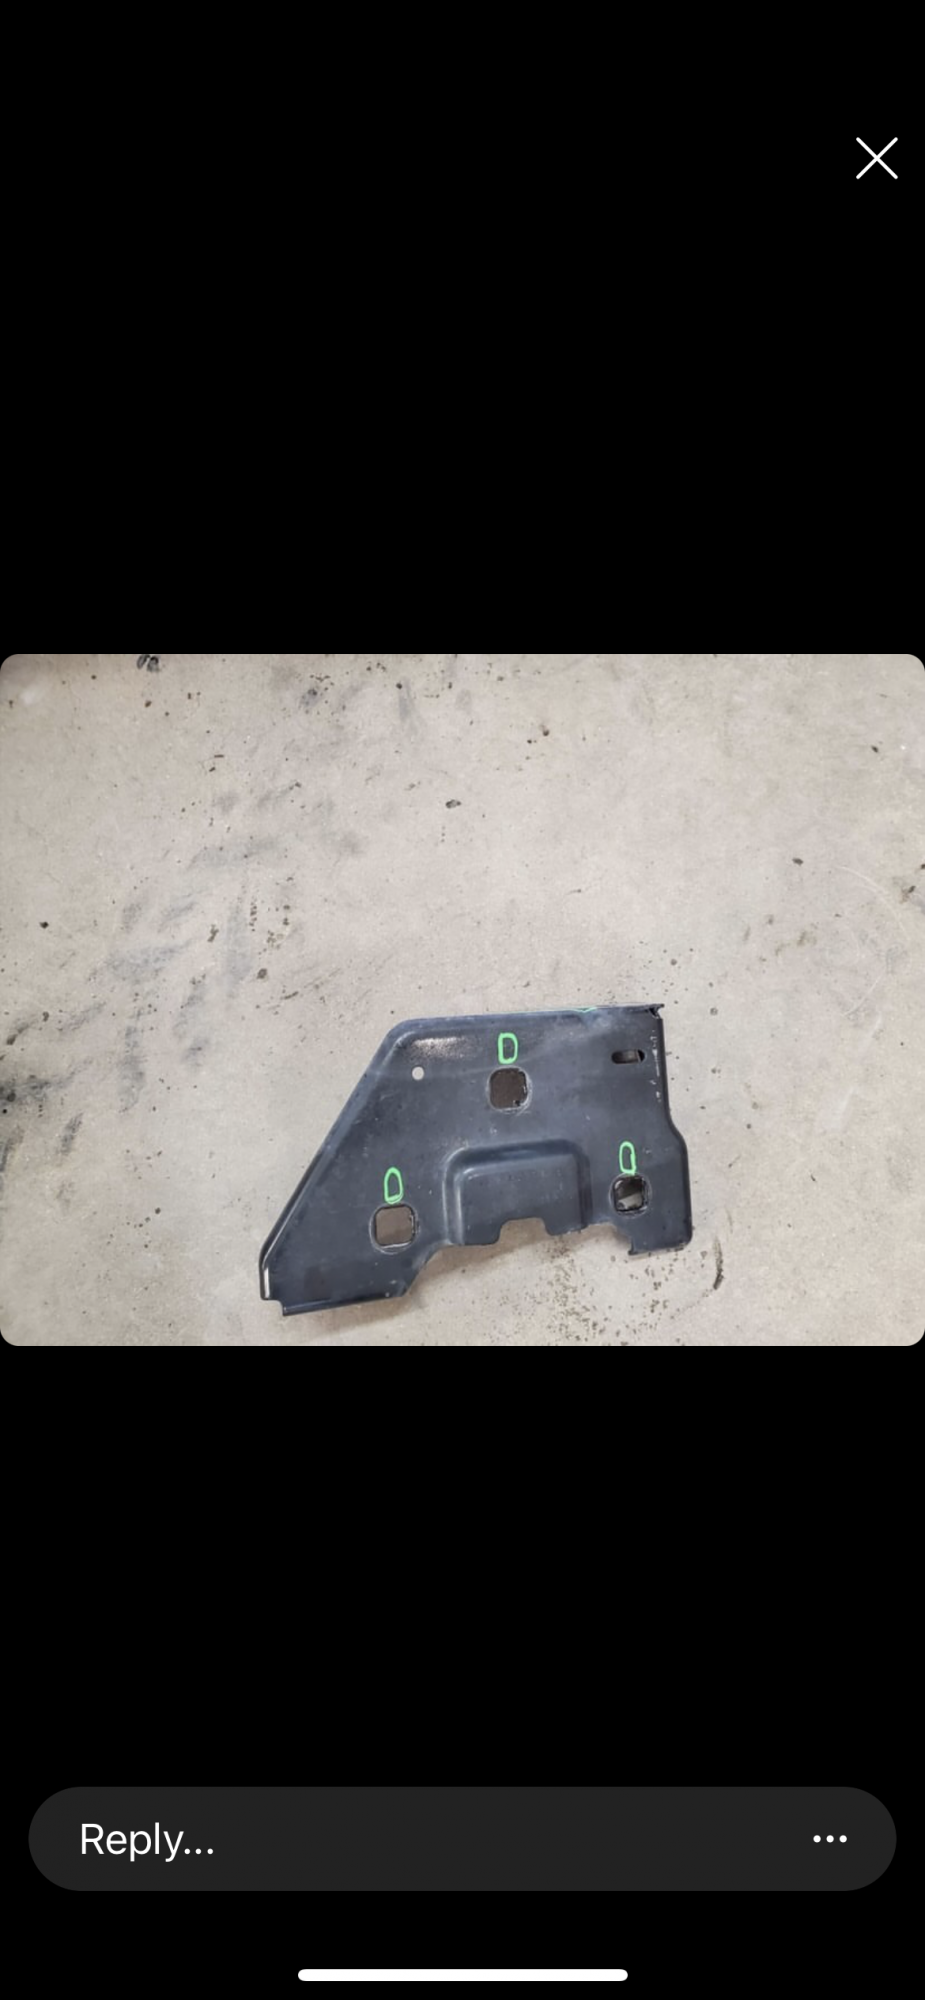
 So ive been seeing the conversion on 08-13 Sierras , and very popular on Silverados even the 14-16 conversions. On feb 1 some jack ass cut me off and hit my front bumper and fender , lucky for him i was already looking into doing a 2018 denali headlight conversion with the gen5 wiring harness and 2015 HD front bumper with 2500 all terrain grille To keep the theme going. As I researched could not find anything on the 2014-2018 sierras being converted to HD , all the guys i saw on IG with them had shops or buddys do them. Some guys welded either the 1500 or 2500 brackets lower ,enlogated the holes lower, redrilled , some had no gap -some liked oem gap between the grille/fenders. I did find two guys I kept intouch with they were a lot of help. One sent me pictures on how to re-drill the stock bumper brackets lower and cut some parts off it to clear the bumper , the other told me 1/2 above the existing holes . I took it upon myself to source a complete front bumper from ebay with everything $750 with shipping all i have to do is paint it , found a all terrain grille on ebay for $300 , had to buy the 2500 bumper guides and 2500 bumper fillers no luck on hood yet.while the parts arrived i bought the 2018 denali lights from fankie on here and the harness from gen5 easy bolt on by the way. When all the parts arrived i grabbed my grinder and drill . To start i took the 15torque head screws and 7mm from the sides of the wheel wells , took the 12 plastic clips from the upper cover , removed the 4 top 10mm bolts ,pulled off the bumper filler pieces between the grille and bumper , exposing the 10mm 4 bottom grille bolts , then removed the grille. Gaining access to the 4 18mm bolts that hold the bumper on the brackets, i loosened but did not remove till i went under the front bumper and removed the 2 outter 15mm bolts that hold the bottom of the bumper , i loosened the inner 15mm bolts but did not remove , once that was done i removed all 18mm bolts holding the bumper and took it off . Once off the stock 1500 bumper brackets have 3 15mm bolts in a triangle pattern, i removed all 6 and removed the tow hooks , the tow hooks will be eliminated from this . Once i had the brackets off i measured 1/2 inch above each hole . Now this is important if you want oem gap like myself i drilled a hole slightly bigger than the bolt going threw at the center of that 1/2 mark . If you dont want gap id suggest drilling under the 1/2 mark and possibly enlongating that hole down wards for adjustment. By drilling the hole a 1/2 inch higher it drops the bracket to clear the 2500 grille . In addition to redrilling the bracket you have to cut an L shape on top right next to the top bolt that the bracket has , i actually cut the bottom of the bracket and eliminated the bottom slot for the second 18mm hole because i was having issues lining up , ended up not being the problem , i found that out of the 6 15mm bracket bolts you only use 4 the top and inside 15mm the outter 15mm that completes the triangle actually hits the hd front bumper and it sags in the back ,so removing levels the bumper flush , i tried grinding the head down and still no luck removing was the fix. With the bumper off , you want to remove the 1500 bumper guides 3(7mm) bolts rachet wrench works best and socket aswell , install the 2500 bumper guides with same bolts same place these support and clip on to the new 2500 bumper filler pieces under headlights which youll have to buy . They clip and slide right on , the two bottom outter 10mm bolts that held the old grille will hold these in place and the other two 10mm in the middle from the old grille will be eliminated. See pictures.To finish securing the bumper filler and guides you have to screw the 7mm and 15 torque screws by fender trim , you will either have to buy the 2500 or 18 fender trim pieces or just trim yours roughly enough to bolt on the remark to trim perfectly and level like i did cant even tell .So Once the guides and fillers are installed grab the redrilled bumper bracket to your liking in gap, make sure its clearanced with the L shape you can rebolt bolt to frame leaving the outter 15mm off at that point you can lay the new bumper on the brackets rebolt the top 18mm bolts the bottoms wont line up -i eliminated by grinding off ,see pic -you can reconnect the lower 15mm outter brace and tighten , youll find out that it bolts right up and if you drilled at 1/2 center like me you keep that stock oem gap maybe a bit tighter gap actually but it looks good , you can then install the grille by pushing the clips in and only bolting on the the top 4 10mm bolts once done youll find that the gap is nearly perfect if you drilled at center of the 1/2 mark , some drill under the 1/2 mark to get less gap and some enlongate the hole lower towards the original hole to adjust and have no gap , but i see that as rubbing issues with paint. sorry for rambling on on the install , i will try to post all my pictures size will be limited and ill go back to proof read fix anything that i missed. Let me know waht you guys think or if you need help
-
Hey guys, Cold weather has made me take out my winter front for my grille for the first time. It has a convenient hole for the camera but looks awful as 4 inches of the grill on either side are still showing. Is everyone else’s like this or did the dealership give me the wrong one?
-
So, I want to know what it would take or if it can be done, switching some heated/ac seats out of a Cadillac Escalade Platinum model into my 2007 GMC Sierra 3500HD SLT. Then also switching the control panel in the center console for it also. I just want to know if anyone has done this and if it can be added and done???
-
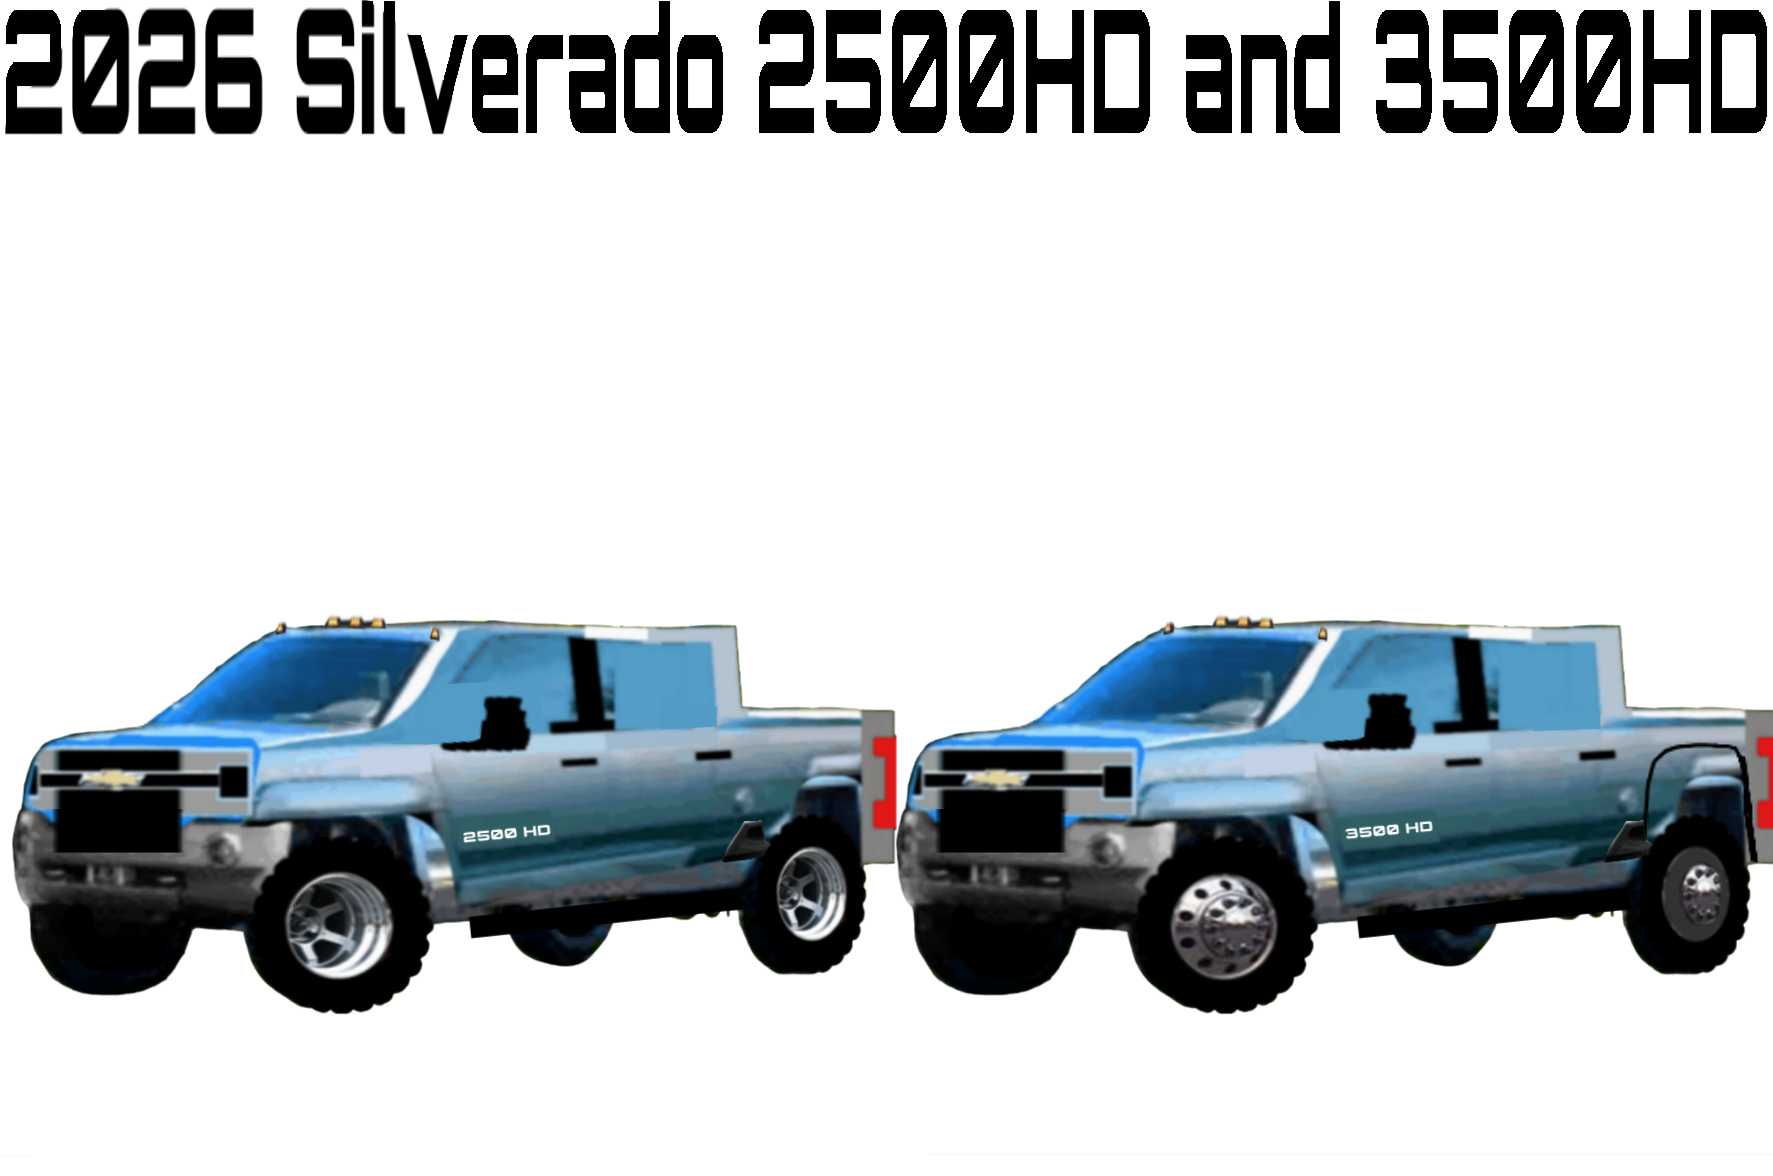
The picture that shows 2500 and 3500 both they look better


.thumb.jpg.1af0fedf68068d41639e1cf539e8df4d.jpg)