Search the Community
Showing results for tags '2500'.
-
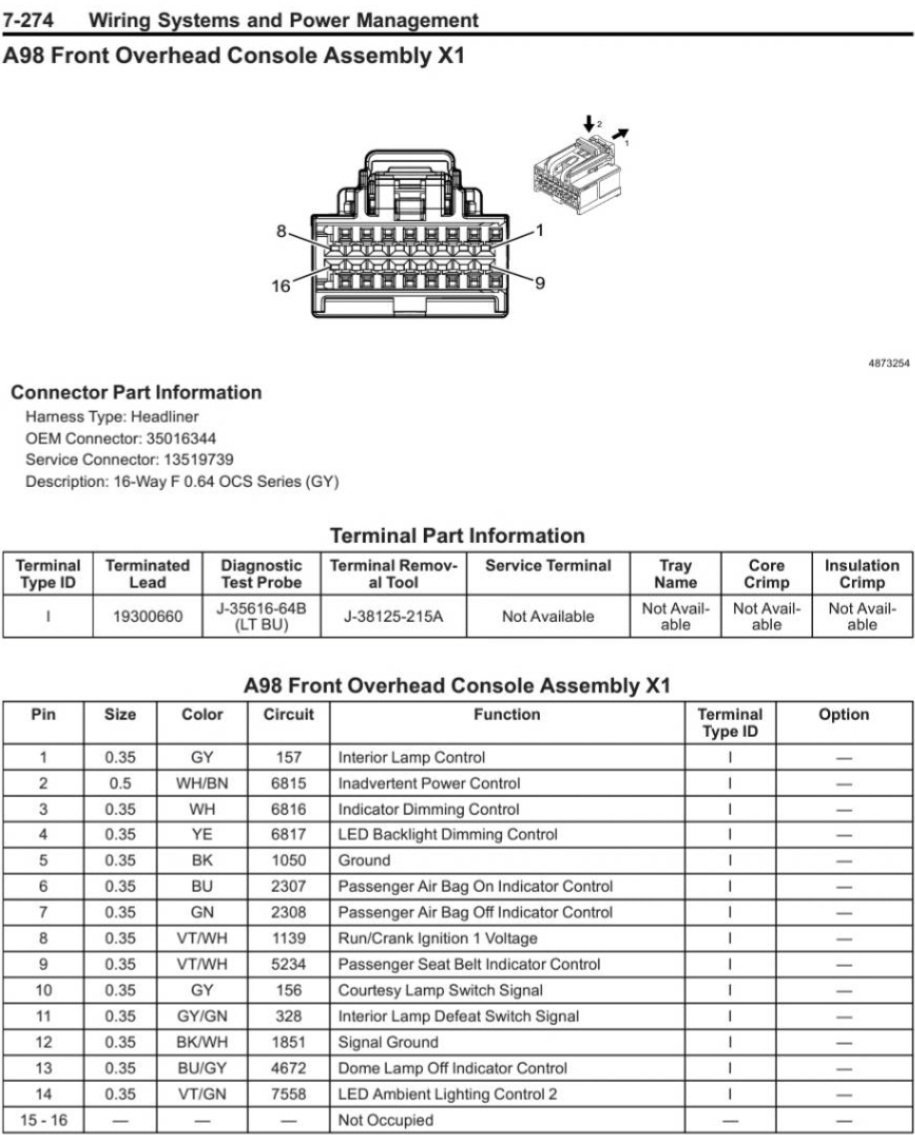
Only joined to spread the word. Like most of you I've been frustrated with the horrible interior lighting without easy fix. I also wasn't willing to have holes drilled in my trim pieces, or lose any functionality of my switches or courtesy lights. If that's of interest to you, I'll try to include screenshot of item since links die, and hopefully enough pictures to get you through so you don't have to spend multiple hours testing circuits to figure it out. The good news is the rear dome lights are so easy to do. Take the rear dome assembly down and take it apart. It's only held up with clips and a small pry tool to get it apart. Remove the 2 fresnel lenses out and put it back together. That's it. Probably 3X the usable light from the rear domes with a nice even spread. The front assembly is quite a bit harder. I'm not going to explain how to remove the assembly and take it apart, there's plenty of videos online. For this mod I ordered some neutral white 3/4inch clearance lights from Tecniq. They have a real nice pattern to them and plenty bright. I needed a way to power them so I used some mosfet trigger modules. Probably 10 bucks in parts if I didn't over order for another projects. I needed some diodes to prevent feedback and keep the bcm safe. I had some on hand. DONT FORGET THE DIODES. I removed the fresnel lenses from the front as well. I took everything apart and with a Drexel 'gently' made the leds fit roughly in the same position as the factory holes. It doesn't take much. I had to trim a bit from the bulbs as well. There's a tiny spot on the pcb board that produces 4 volts on either side corresponding to the lights. If your not comfortable soldering, it's pretty small. Next I routed the wires from the led through the holes directly behind them. I did have to cut some of the rubber out, but be careful not to take too much. Once the pcb was back in, I ran the wires towards the rear and again used the Drexel to make room on the back piece for them to come out. Then I wired them to the mosfet modules. You might have to knock the tiny led off of the module. It's a tiny power draw but these module are meant for 5 volts and we're working with 4V. Mosfet module Requires Vin, Gin, Vout, Gout, trigger, and trigger ground. I place the diodes in the the Vout. Make sure the orientation is correct. Module power out to led. Pigtailed Gin to trigger ground. And made some quick disconnect leads for the power in. I connected to power and ground directly to the wiring harness via t-taps. I know people have said you can mess up the bcm that way, but considering the leds only draw 40 mA @12V each I wasn't worried about it. Connected ground to number 5 pin on the grey harness. I'll have to apologize, I don't remember which wire I connected in the harness for power. It was late and I was very frustrated. I initially connected to number 14 but I lost some functionality. There was another wire that hade 12v power at all times and I hooked it up there. I believe it was pin number 10. Anyways I hope this helps. I know gm dropped the ball on these truck for interior lighting. Mine are so bright now I have zero issues. Have full view and it's bright enough to see everything. The lights up front don't shine at my eyes, and they light up the floor. I'm not even going to do the floor lamps now! 10/10 upgrade! P.S. I'm going to throw some pictures of the interior up here so you can see the bightness. Don't judge, she's a work truck! Lol ANMBEST 10PCS DC 5V-36V 15A(Max 30A) 400W Dual High-Power MOSFET Trigger Switch Drive Module 0-20KHz PWM Adjustment Electronic Switch Control Board Motor Speed Control Lamp Brightness Control https://a.co/d/19L4oGi https://www.ebay.com/itm/292380373219

-
 I’ve looked everywhere on the internet and can’t find what I’m looking for. I’ve seen threads on this topic on here and tried all the solutions. I’ve Disconnected the battery/let it sit/discharged caps. Got a brand New mic. Dropped headliner to check wires weren’t pinched. Changed the fuse. The only thing different about my situation from others is that the rearview mirror was removed. Someone else removed it and I don’t know where it is. It’s a work truck so you can’t see out the back. But I know there’s onstar in the mirror and I’m wondering if it’s possible that the mic doesn’t work with the mirror disconnected. Any help is much appreciated or any other possible fixes that I haven’t tried. Thanks
 -
 How much water should be coming out of 2002 Silverado 2500 HD muffler drain hole? Seems to be a lot more than normal or a lot more than it ever has before.
 -
 Sorry for the simple question. I have a 2020 Silverado 2500 HD and I cannot figure out how to get the cab mounted cargo light to come one. The obvious button that illuminated the permitter lights, in-box lights, and tailgate light doesn't seem to turn on my cab mounted (up with 3rd brake light) cargo light. Am I missing something or is this another delete from gm (e.g console storage, read map pockets,...)
 -
 What suggestions or advice is available for buying a GMC | Chevy truck? What should I watch out for -- the GOOD and BAD? I want to come back to the GMC | Chevy family. For over 20 years, we owned a 98 GMC Suburban, putting over 230k miles on it myself, and I LOVED that truck. Other than typical wear and tear -- I never had any problems or issues with my Suburban. I am looking at 2016-2022 -- GMC | Chevy 1500 | 2500 series, all trims (4x4), except the base models. My budget is around $35k plus'ish; yes, I understand my budget limits what I can get. I am a USAF retired veteran living off a fixed income. Yes, we tow hitch pull RVs and various trailers, but not as often as before. What are the GOOD, BAD, and UGLY these days on the GMC | Chevy trucks? Is the additional price for either diesel and/or 2500 worth it? SHORT STORY: so, a few years ago, I bought a 2015 Ram 1500 4x4 EcoDiesel 6cyl w/turbo Lonestar -- well, I have been disappointed with Chrysler | Fiat (FCA). They lied about the EcoDiesel, and after forced recall ECM updates, they sucked all performance and mpg from the truck. Buying a newish GMC | Chevy, I do not want to fall into what happened with my 2015 Ram. When I had my suburban, I never had so many recalls, been lied to, and never had poor performance. Thanks for any suggestions that you will provide -- Gary (ExFalconFxr)
 -
06 Silverado 2500hd 6.0 My Silverado is getting really hot while towing up hill, to the point that the "Engine Coolant Hot" light is coming on. (Which I stop and let it cool down). This has gradually gotten worse. Truck does not get hot while towing on flat terrain. Any ideas?
-
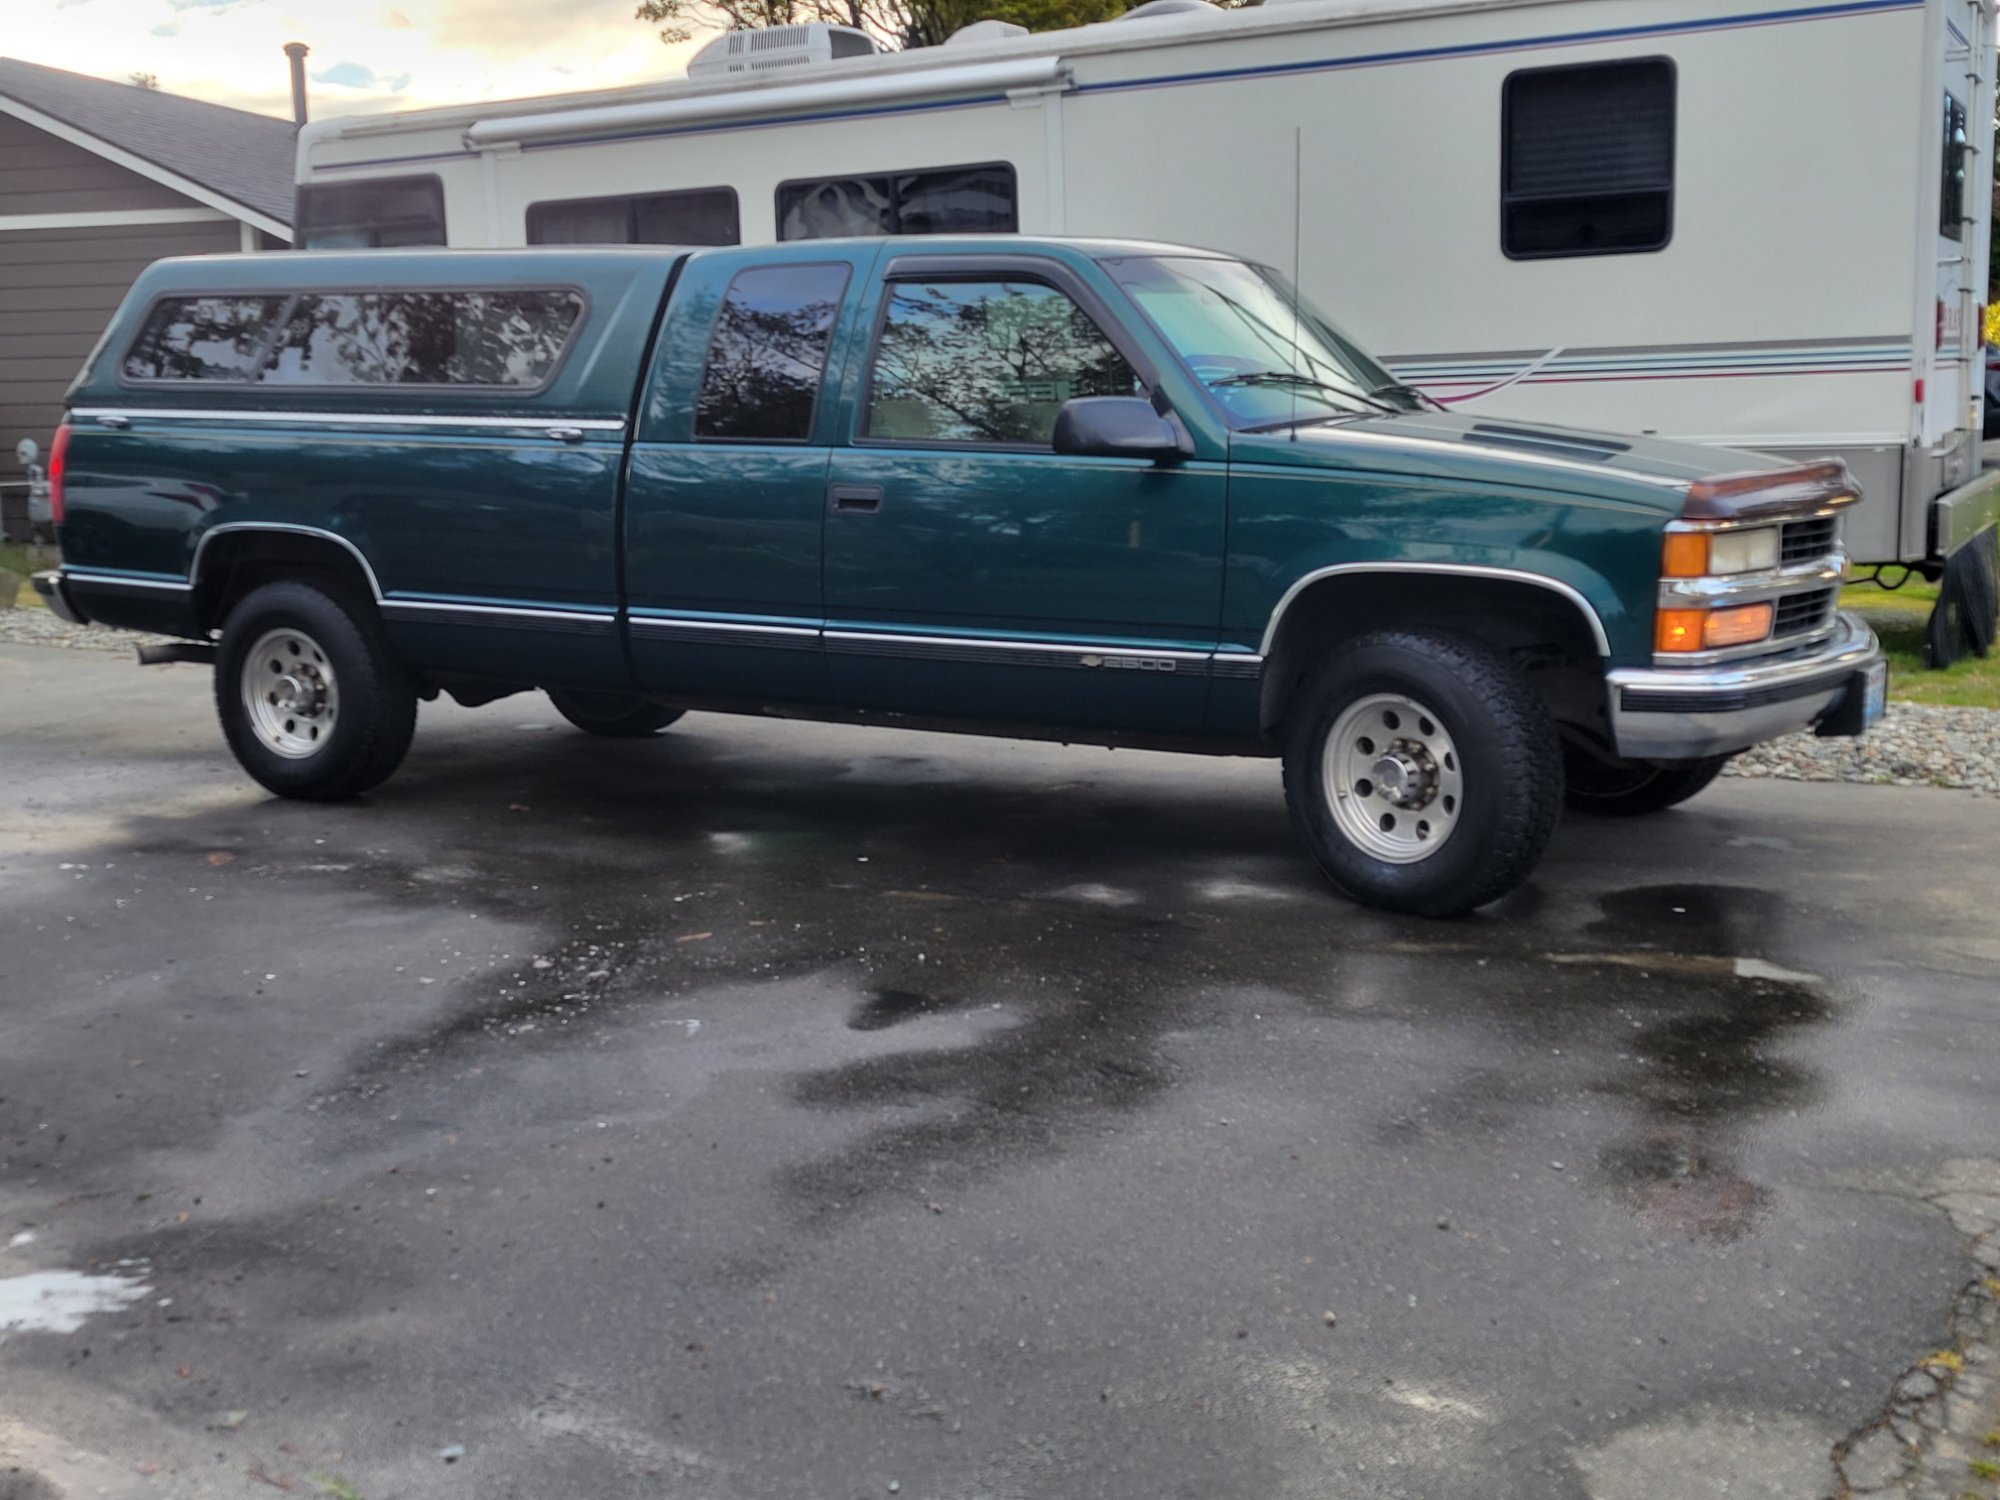
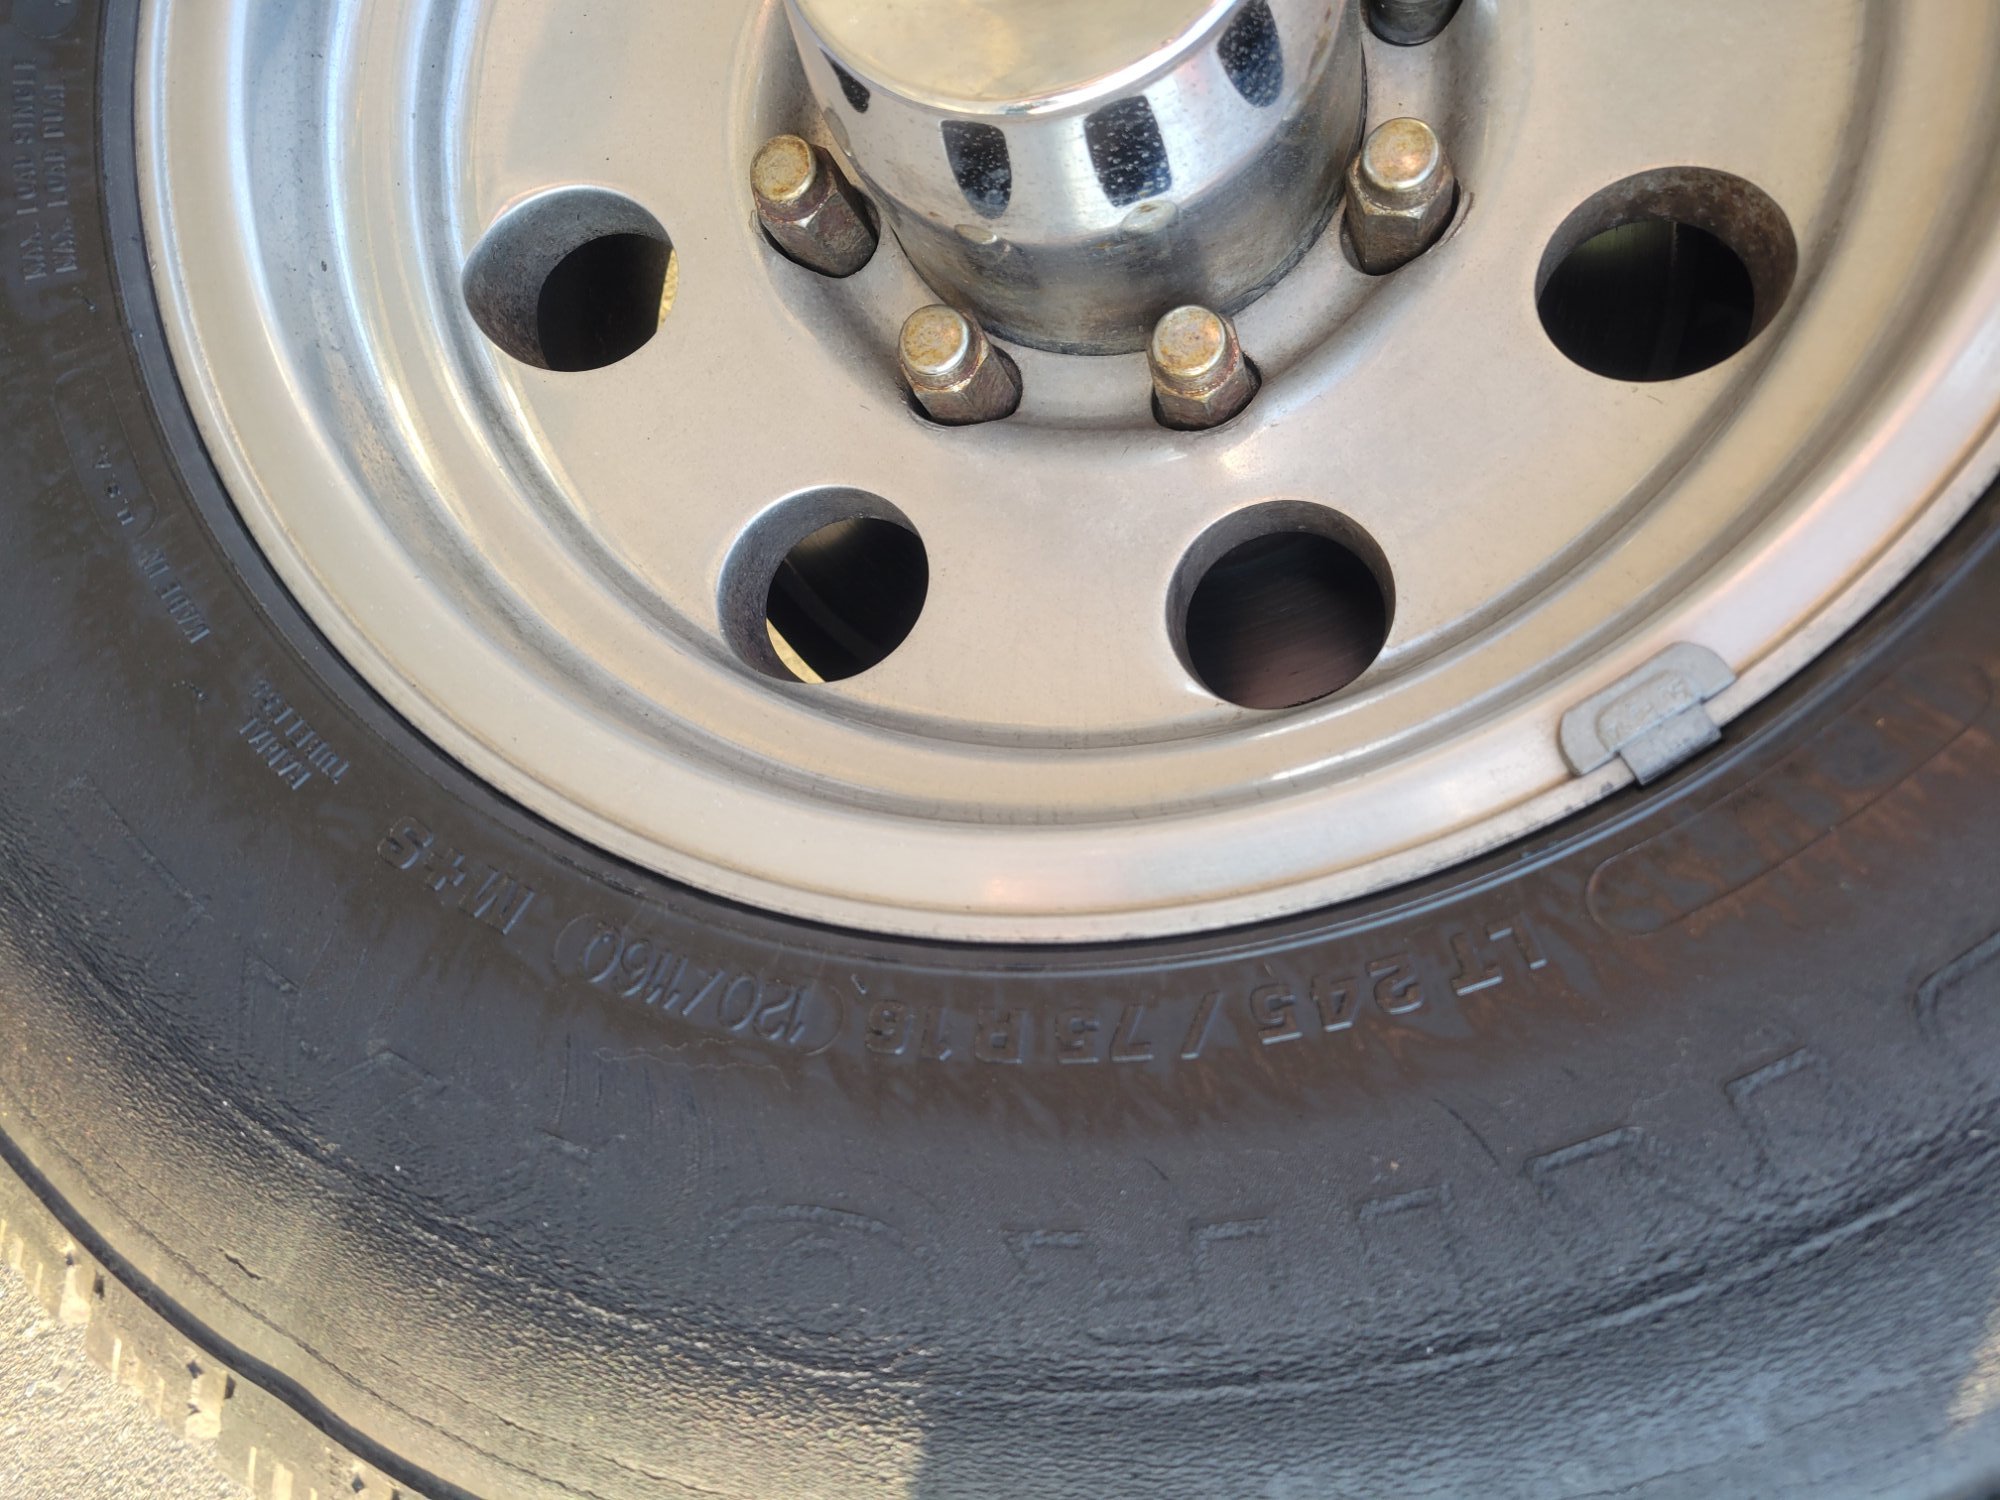
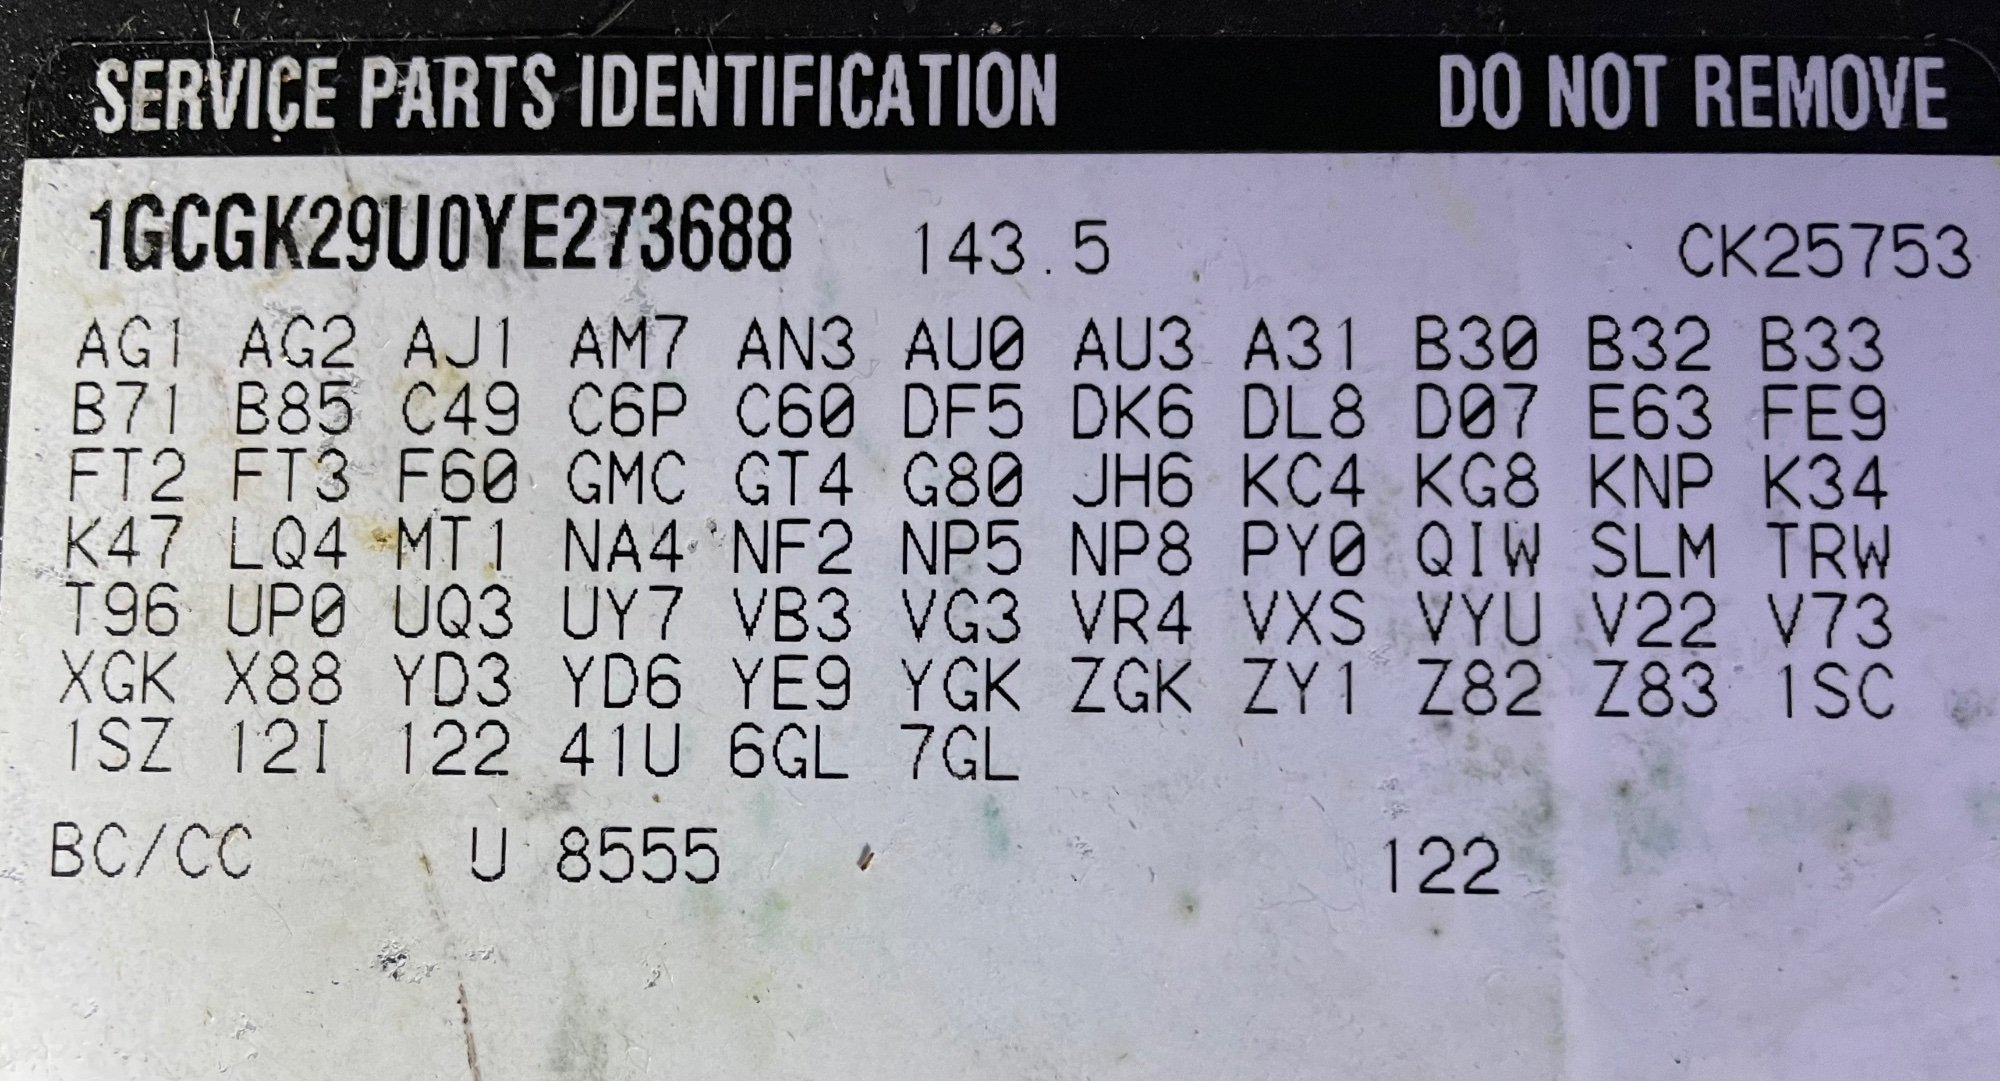
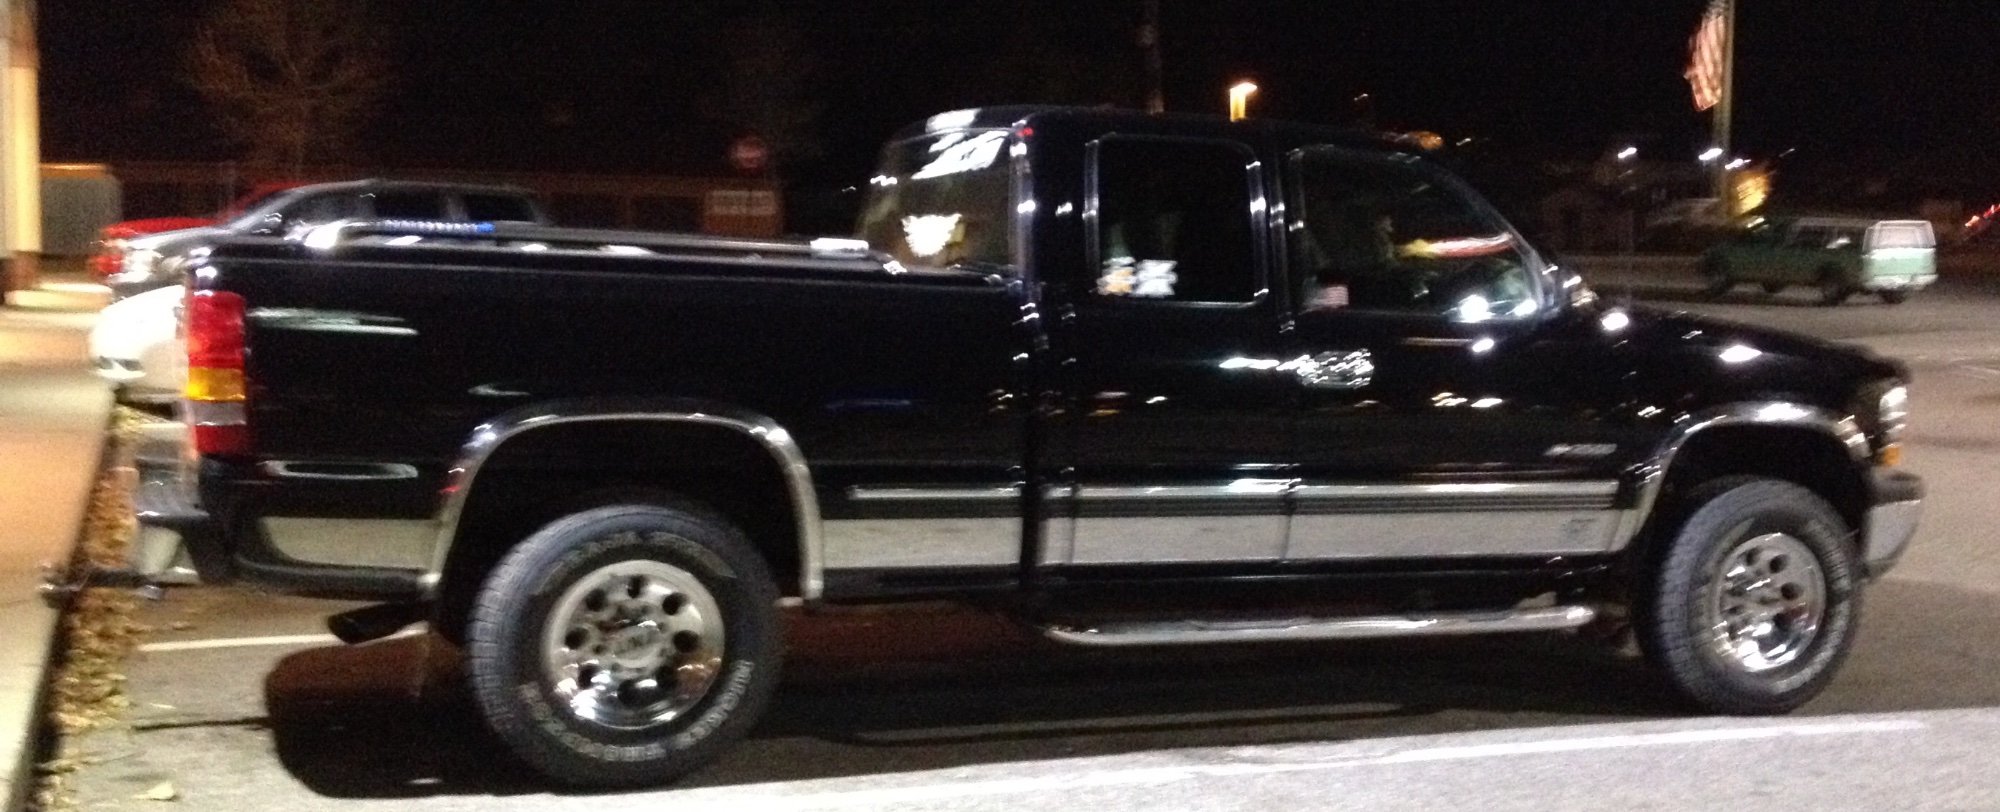
 Picked up a 1996 2500 2wd silverado. Currently has LT245 75 R16s I have a set of LT265/70R18 on rims from a 2015 silverado 2500. Is there a website or someplace i can see if these will fit my pickup? I appreciate all the help you all can give.
-
 Hello guys & lady mechanics, I’m in the process of replacing my rear disc brakes, it has 4Wheel anti loc disc brakes. I have the rear rotors with the interior surface for the parking brake shoes. I have new rear backing plates and hardware. But I noticed a little bit of a runout in the axles, I’m assuming it’s normal bearing wear. It has 175,000 miles on it. Plus the brake lines rusted and caused a pedal to the floor issue for me, so I replaced every single brake line with all new stainless steel lines, and new brake hoses. It has new rotors and pads upfront. What I’m trying to find out, since it’s a 14 Bolt GM differential in the rear, what exactly do I have??? 1) Is it a 9 1/2 inch ring gear, 14 bolt rear end, or is it a 10 1/2 inch ring gear 14 bolt rear end? Where can I find this out. I need to order bearings and seals, and a pinion seal which is leaking. which is my next question, 2) how do I determine what size my pinion seal is before I order one? O’Reilly shows 8 options 3) Last question is, I’m assuming I’m going to have to pull the cover, remove the locking pin for the limited slip differential, and push the axle in, pull the retaining clip, and pull the entire axle out to get to the seals and bearings, correct? My plan is to put a new B&M aluminum differential cover and fresh fluid once this is all done… Lastly I wish I would’ve found this side or search prior to doing my brakes, I would’ve found out that GM was offering half off To replace all new brake lines for $500. It’s done now though. Happy holidays you’ll Dave
-
So my wife went and broke the right passenger side mirror on the Avy. They are the power extending style and of course they only extend and retract manually! What are my options for replacements? I hate these mirrors anyway but now I got a reason to change em out! I love the 07 and newer style HD mirrors on the GM's! Will these work on my truck? If not, what else would you recommend? I would love to install power folding tow mirrors using the factory power switch for the extending ones but I have not been able to find anything.
-
Ok, I want to come back to the GMC/Chevy family. For over 20 years, I owned a 98 GMC Suburban, putting over 230k miles on it myself and LOVED the truck. I too owned a 2003 Chevy 1500...put many miles on it too. I am looking at the GMC/Chevy 2500 series diesel trucks. I will stay within the 2016-2019 year range, with about $35k plus'ish budget. I might look at the 2021 trucks, only due to many deals/rebates etc. What suggestions or tips are out there for these trucks? What should I watch out for and/or look at getting? So, a few years ago, I bought a 2015 Ram 1500 4x4 EcoDiesel Lonestar -- well, I have been disappointed with Chrysler/Fiat (FCA). Short story, they lied about the ecodiesel, and after forced recall ECM update, they sucked all performance etc., from the truck. When I had my suburban, I never had so many recalls, been lied to, and never had poor performance. Thanks, for any suggestions that you will provide. Gary
-
 My new truck has cameras all over it. Front, side, rear, top. I figured out how to remove the tailgate, even made a short UTube video to help others, but after removing it, I found out that the camera system does not work. I still wanted the front, side, and top cameras to work with the tailgate off. Has anybody else encountered this? Figured out how to keep them working with the tailgate off?
 -
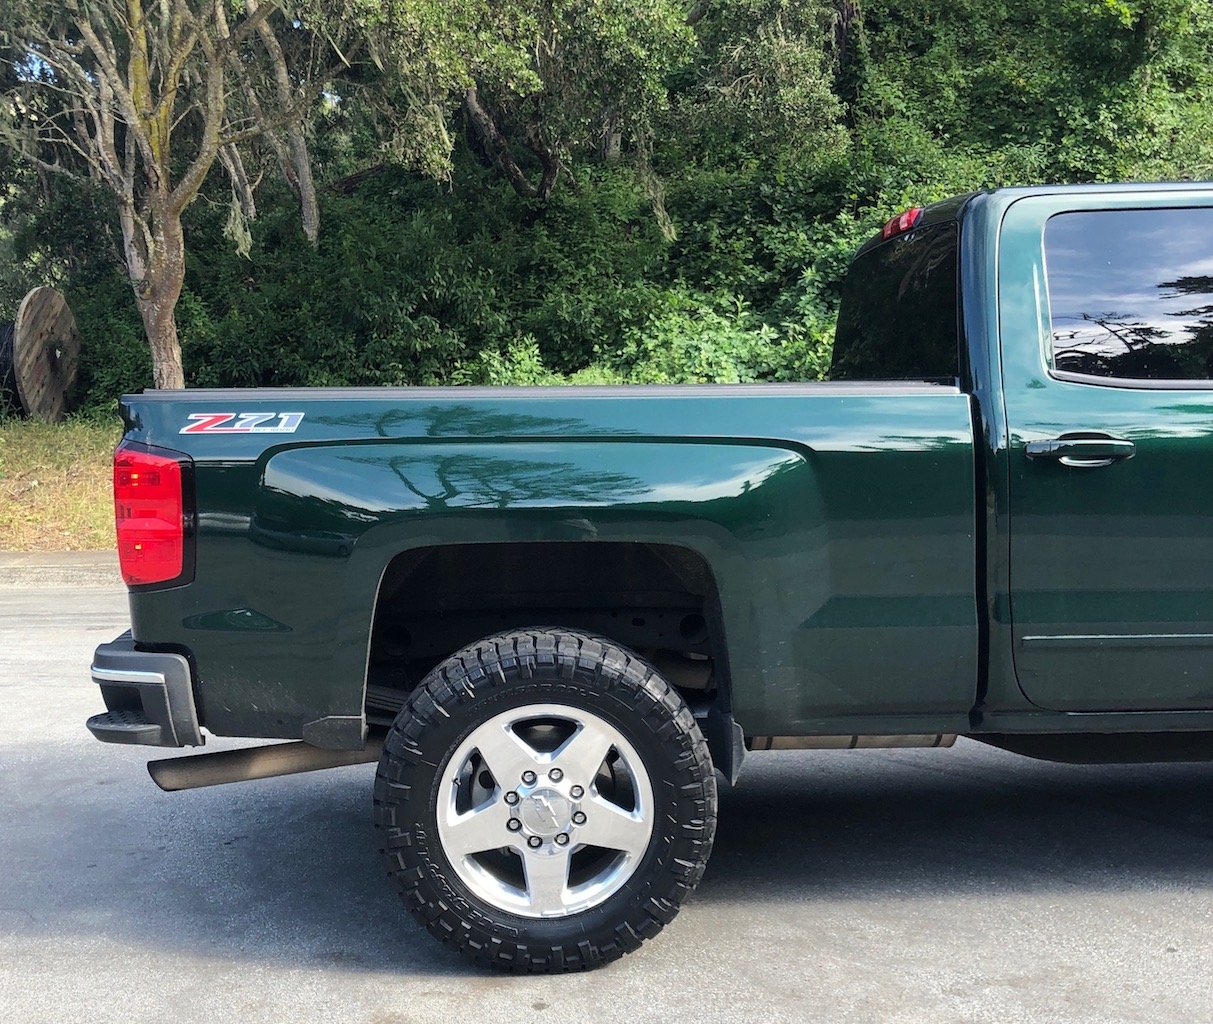
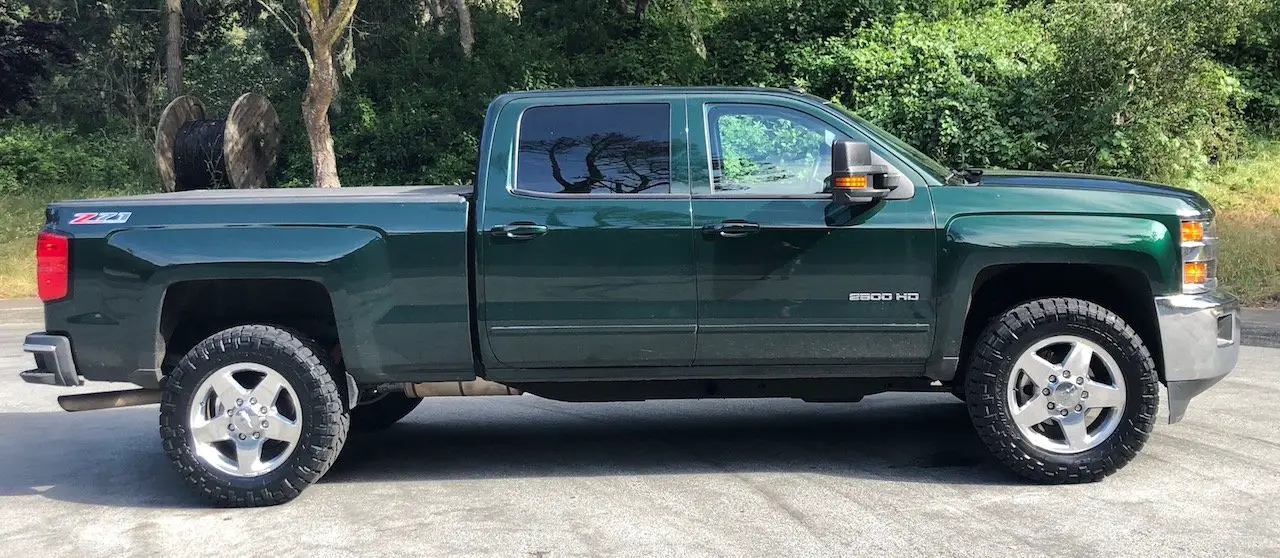
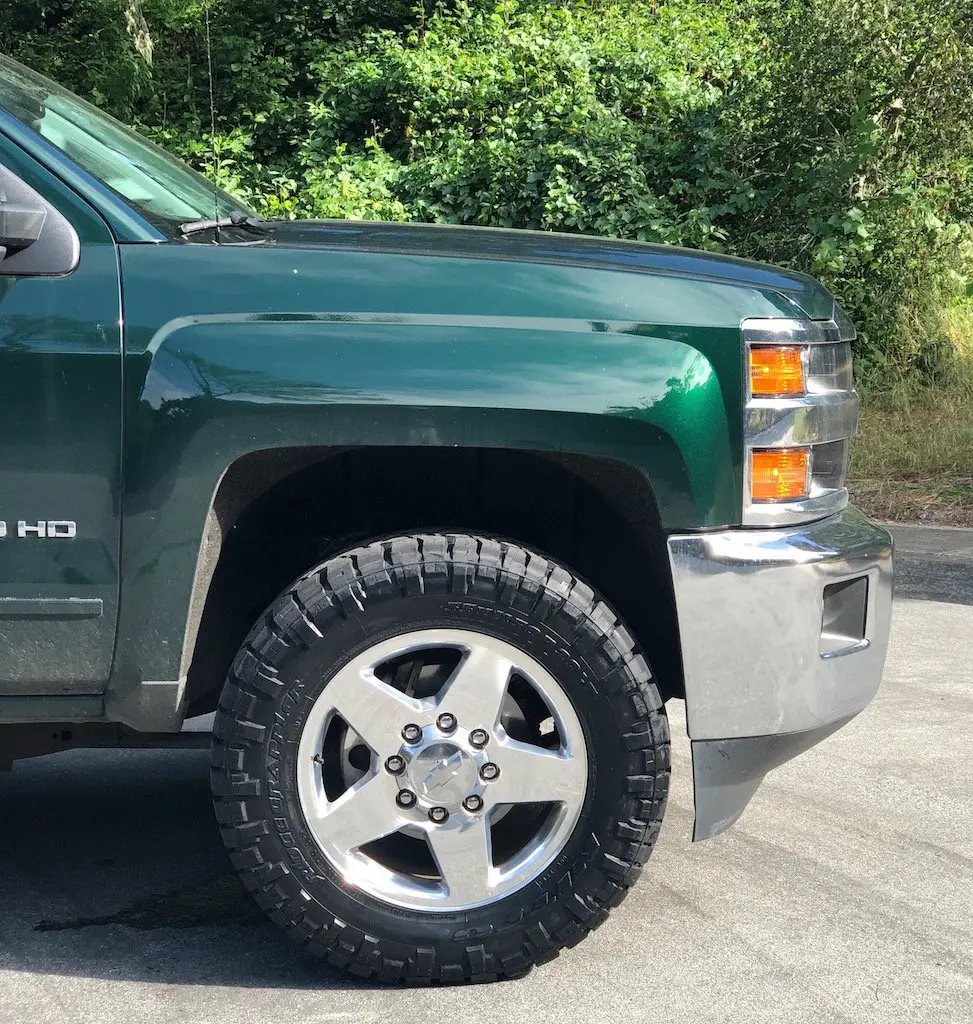
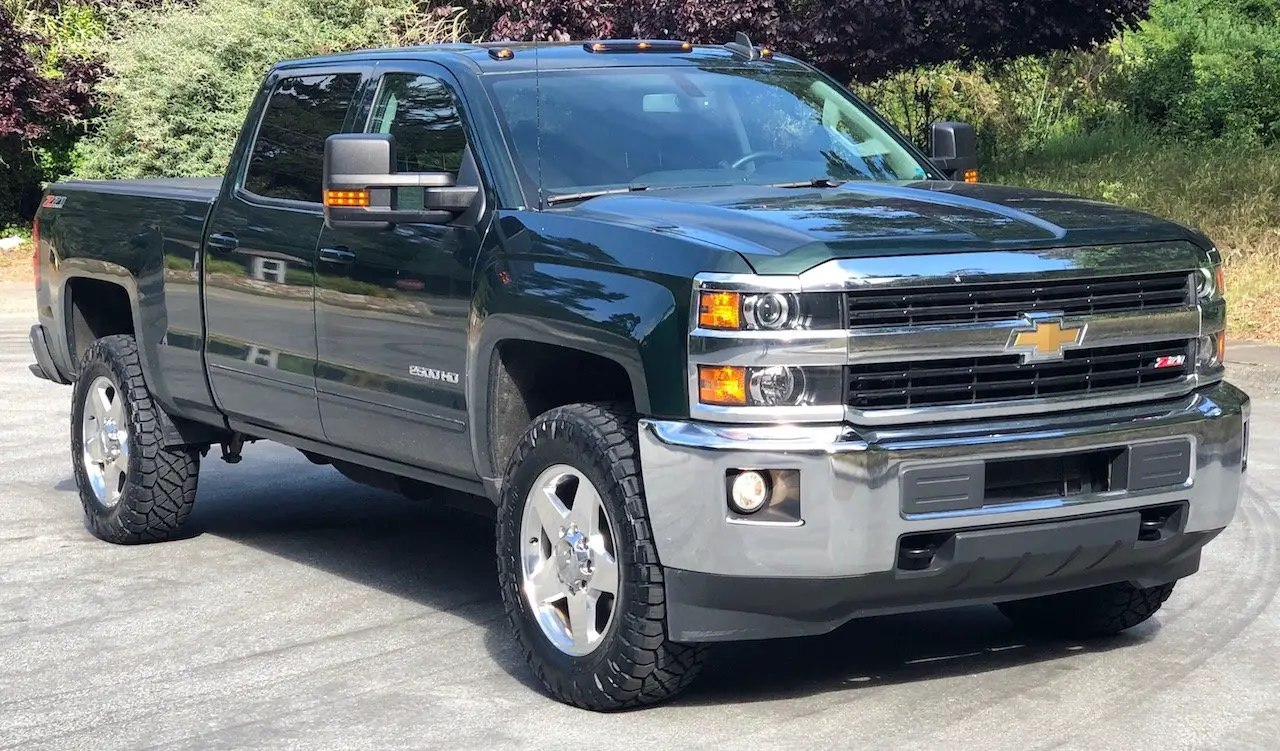
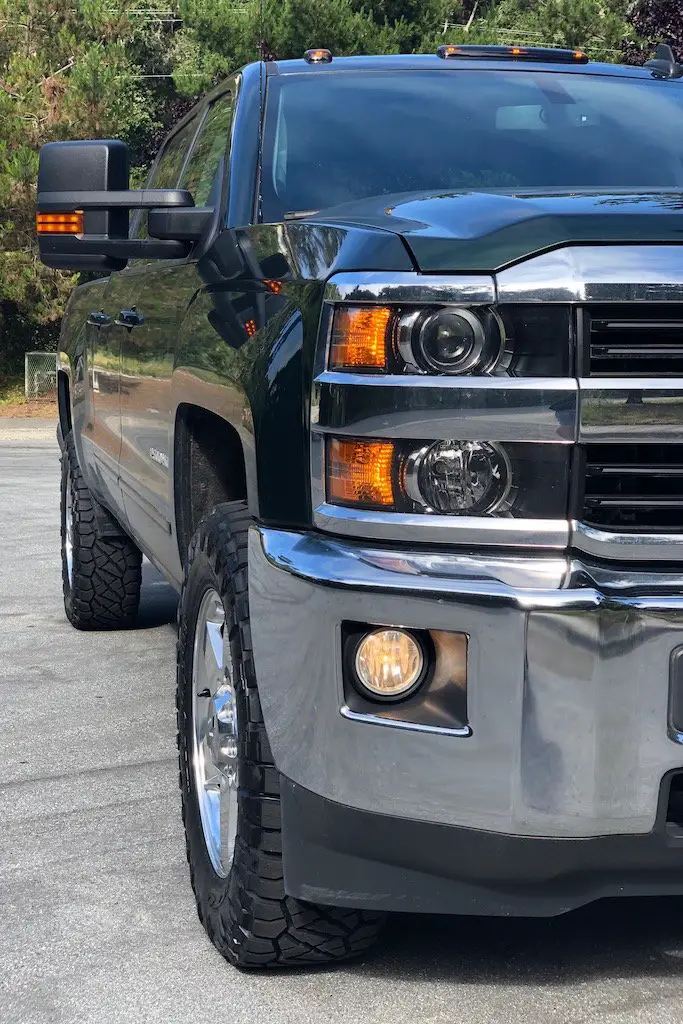
 A flat Good Year Wrangler SR-A set the tire shopping in motion, and a 10% off sale on Nittos convinced me to try the 35x11.50r20 Ridge Grapplers. My goal was to get as much tire as possible without having to adjust the suspension so as to retain the stock ride, keep costs down, and achieve the aesthetic I like for modern 4x4 trucks. I was prepared to crank the front keys a few turns for up to 1" of leveling, but my preference was to avoid this if possible. Ridge grapplers have two sidewall designs on the tire; one side reminded me of Transformers, so I went with the more subdued sidewall. This doesn't impact fitment. After about 20 miles of driving and some parking lot testing turning the steering back and forth, the tires fit fine with only a few close spots throughout the range of motion. I've seen people report frame rub at full lock with these sizes; it hasn't happened to my truck yet, but I wouldn't be surprised if it rubs mildly while turning sharply over rough terrain. Rear clearance is fine. A few tips: Check the actual dimensions of the tire you're choosing. The Nittos are 35s, but the actual diameter is about 34.7". Each manufacturer is a little different, and most list the true dimensions on their websites. The same applies to metric sizes - a BFG may be narrower than a Toyo. Looking at my truck, 35x12.50r20 would have fit too, but would probably rub on the wheel wells while going over bumps during a turn. The 11.50s provide just enough extra room that my truck has yet to rub, though my mileage count is low (20 miles since install) so I'll update this thread as I add miles. Expect to lose fuel economy. No data yet, but I anticipate a 1-2 MPG drop. Aftermarket wheels change everything. The popular offset or "poking" look makes it harder to stuff big tires without a lift. If you're changing wheels and tires, disregard this thread. What's next? Fresh oil, a detail, and maybe a front window tint. I'd like a Corsa, but they're $$$. Please excuse the dirty truck:
-
Hello, Just bought this big boi recently and love everything about it but would like to upgrade couple of things 1. Do the sell Retractable Side Mirrors, I want to be able to when I turn off the car and lock it so that the side mirrors close by itself 2. Also would like to be able to press the little button on door handle to open the door instead of unlocking it. Does this exist for this model? Any links would be appreciated 2020 Silverado 2500HD Thanks
-
I have a 2000 Silverado 2500 6.0 that is having some hesitation/cutting out on acceleration. It’s weird it seems like if you ease into the throttle it doesn’t cut out but if you mash on the gas it acts like it wants to die. It does it in park and in drive. First noticed it when I was pulling my boat out of the lake and I could barely make it up the boat ramp, it was spitting in sputtering until it eventually seems like it cleared up and started going normal. I replaced the spark plugs, spark plug wires, fuel pump, fuel filter, ran seafoam through the gas, and change the air filter but it seems to not of helped there’s also no check engine light. What could be the issue, thanks!
-
 I recently became acknowledged about the myth of the 3,000 mile oil change on newer vehicles with advanced oil. I own a 2006 silverado 2500 v8 6L WT and I change my oil every 5k miles with Mobil synthetic 5w-30. I cannot seem to find the exact information within my car manual or my Haynes/Chilton manual for the recommended interval between oil changes. Is there anywhere I can look up how often I can change my oil with the specific engine of within my truck? I have heard some oils can go 10k+ miles on some vehicles. I'd love to do less oil changes, but don't want to endanger my engine since oil changes are so quick though I'd love to save money too! Where can I find this exact information or do you have any other suggestions? Thanks in advance!
 -
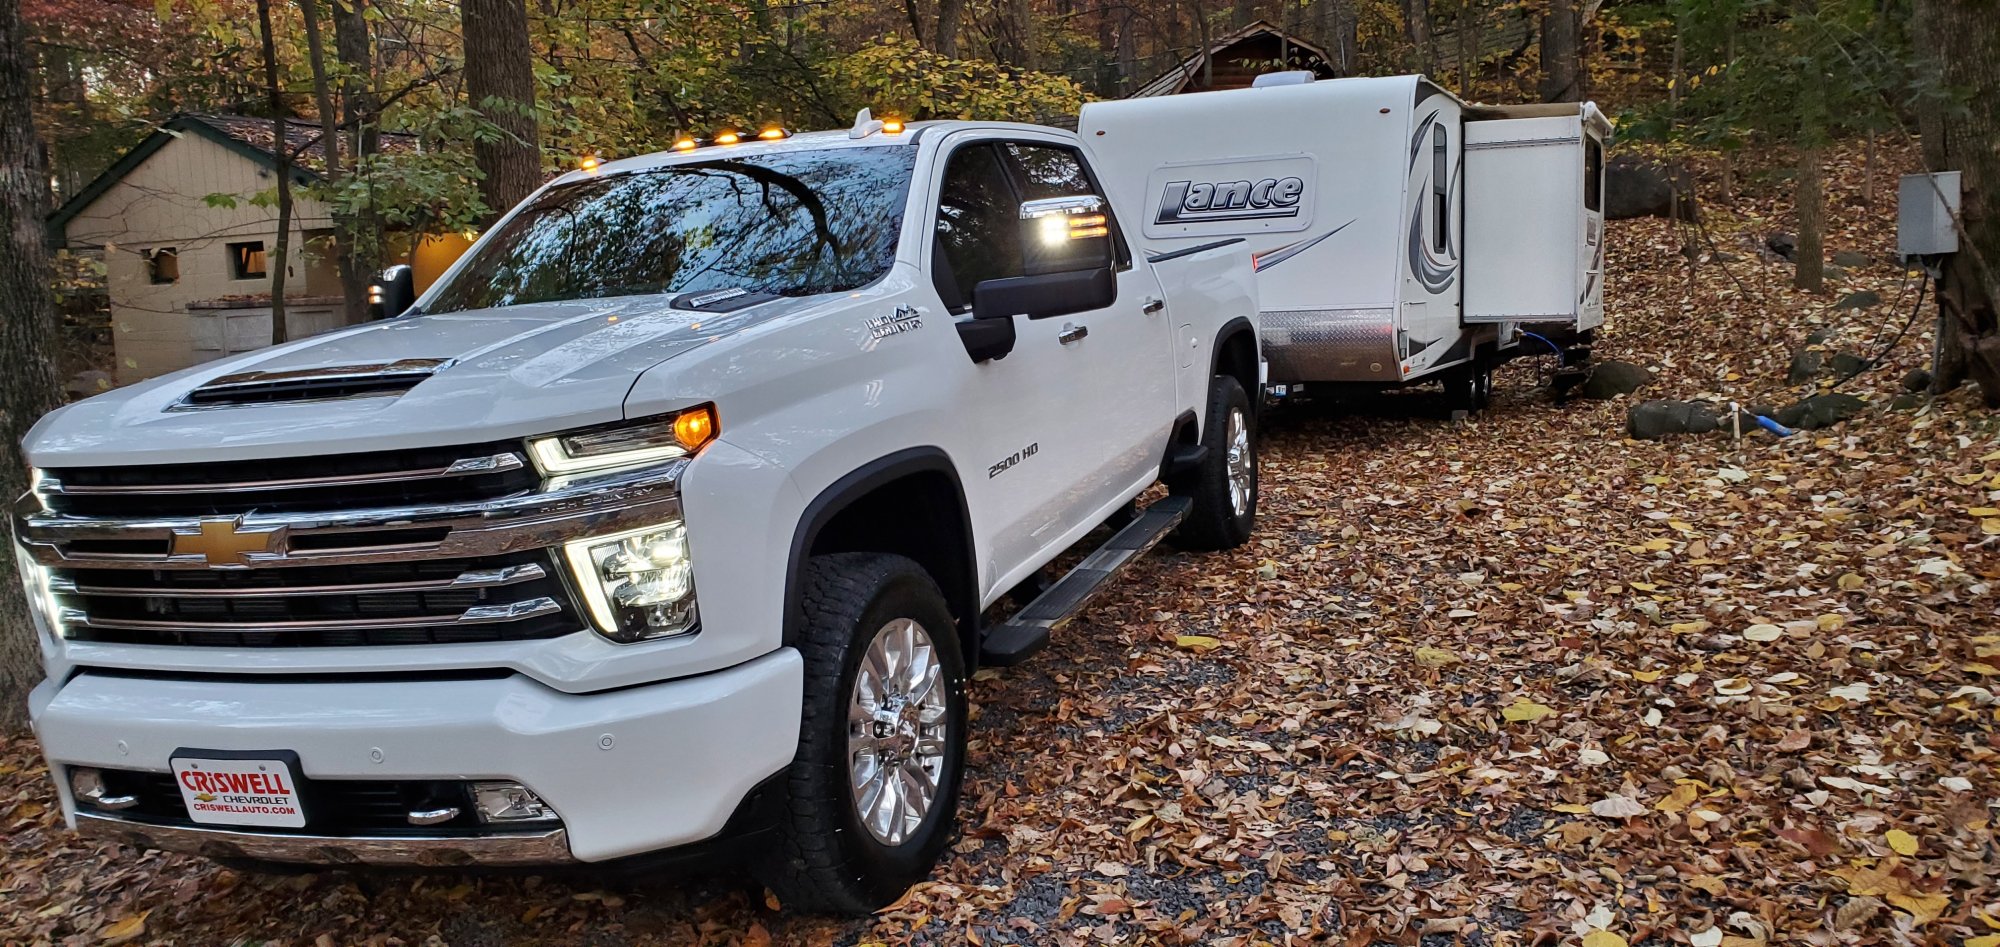
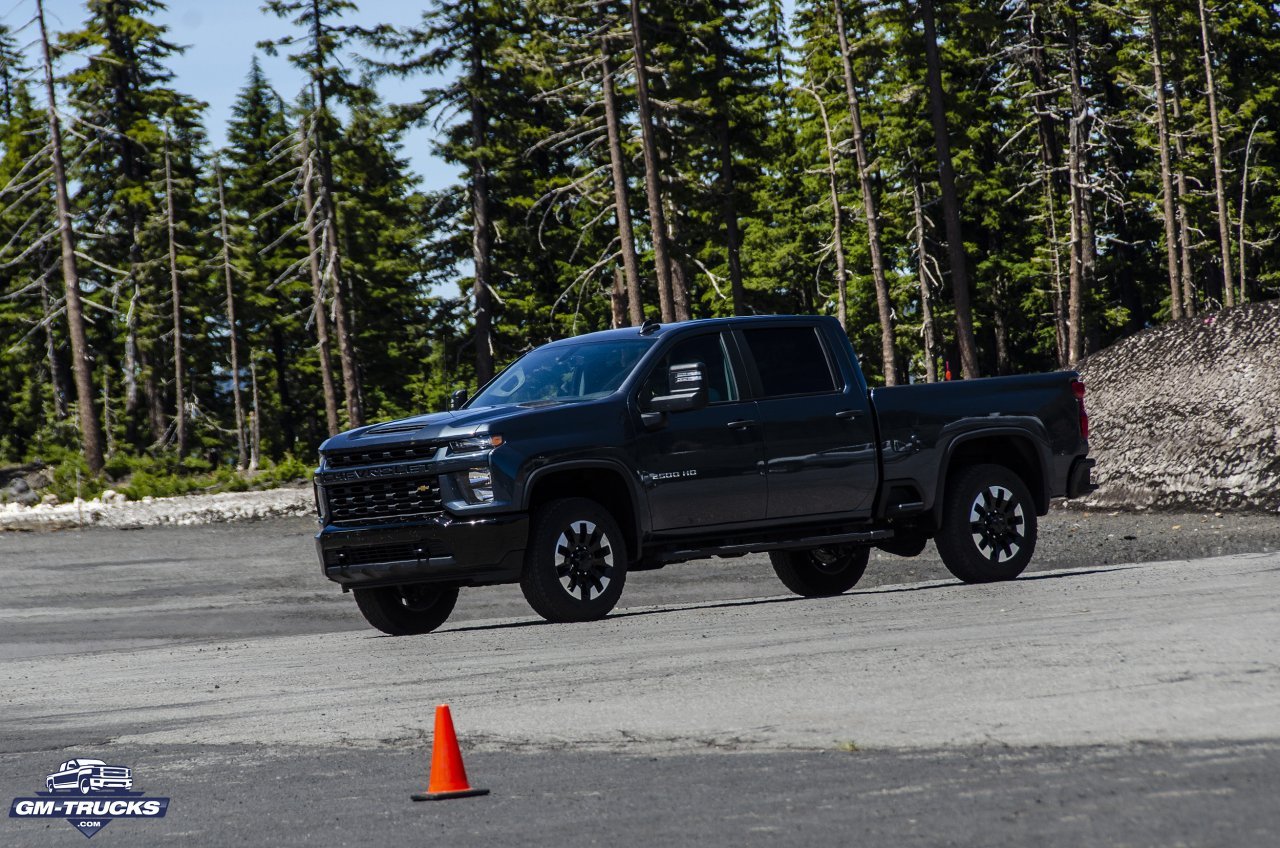
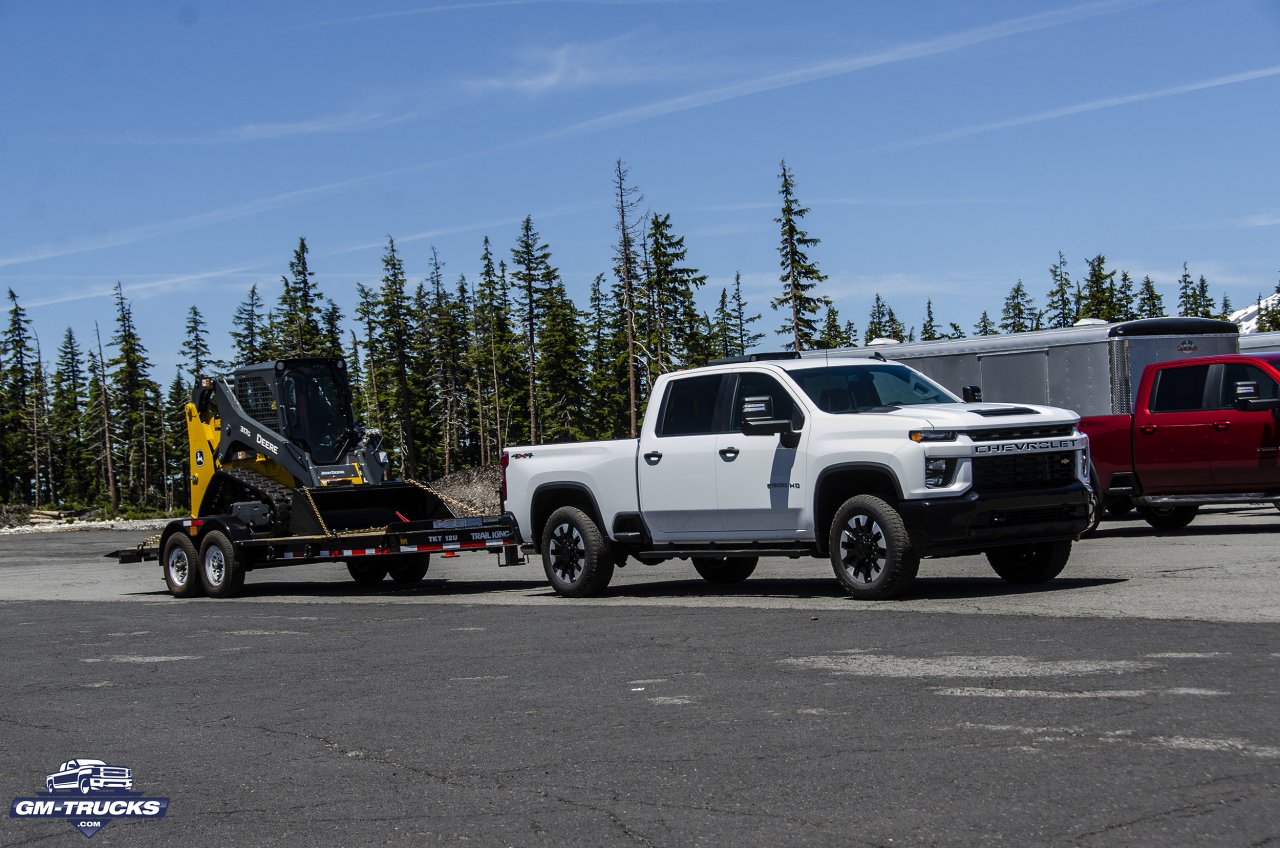
New 2020 Silverado 2500 diesel, newly retired, bought truck to tow a travel trailer. I've been a GM customer and amateur mechanic for over 50 years. I had not driven a 3/4 ton truck for decades, when I test drove a new 2500 I simply was stunned by the ride quality, to say the mechanical engineers have made improvements would be a world class understatement. The power, ride quality and tow features (mirrors and cameras) sold me within weeks of shopping. The size is a little off-putting but after only 8 weeks I have compensated for parking and maneuvering a very large pickup. The truck draws some jokes about its size but I absolutely love the towing performance, it is a worthwhile trade-off for me.
-
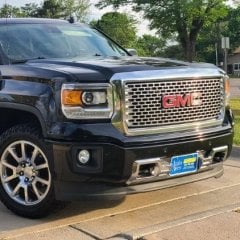
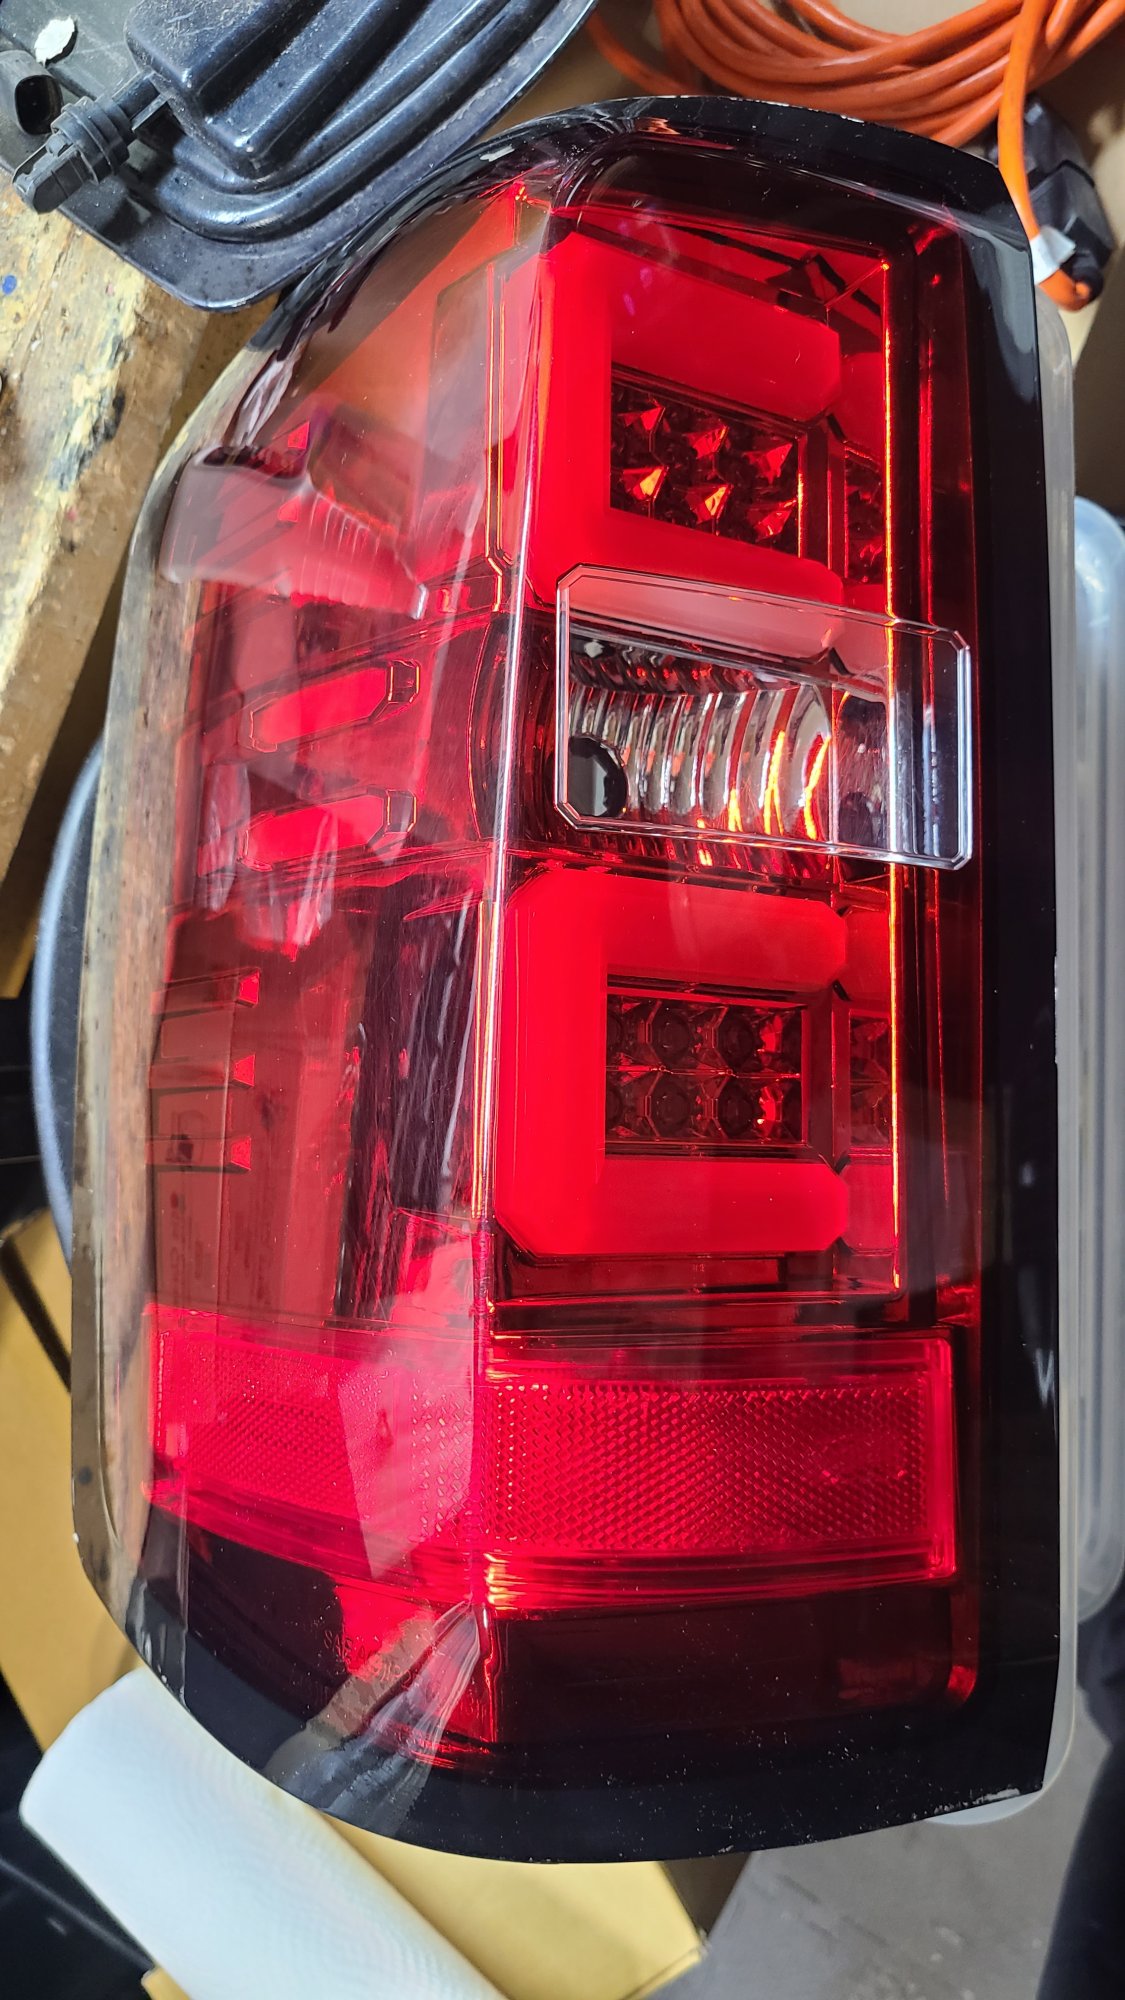
Posting my aftermarket tail lights from my used 2016 Silverado. bought LTZ tails from a member here, took these off as they were installed when i bought the truck last year. no damage, have had 0 issues with water or condensation. actually love these tails but id rather have the LTZ factory lights installed. light output is great. had them on a LTZ truck so im guessing these are the models for the LED trucks and im not sure if they will be 100 percent compatible with a 2014or 15 application. In any case there are threads here to make your own resistors or people who make harnesses if you run into problems, but i never did. willing to ship at buyers expense, but send a PM with a zip code so i can figure out cost of shipping to you. otherwise we could probably meet if nearby to DENVER, GOLDEN, or LITTLETON COLORADO. I'm posting this on the forum, local craigslist and other apps/sites just to move these quickly, but if they are sold elsewhere ill update the post as soon as possible. Would like to get 300 out of em but I'm also realistic so send me an offer and we can go from there. Thanks for taking a look at the ad, have a good day!
-
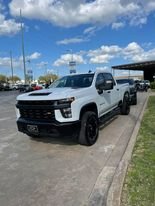
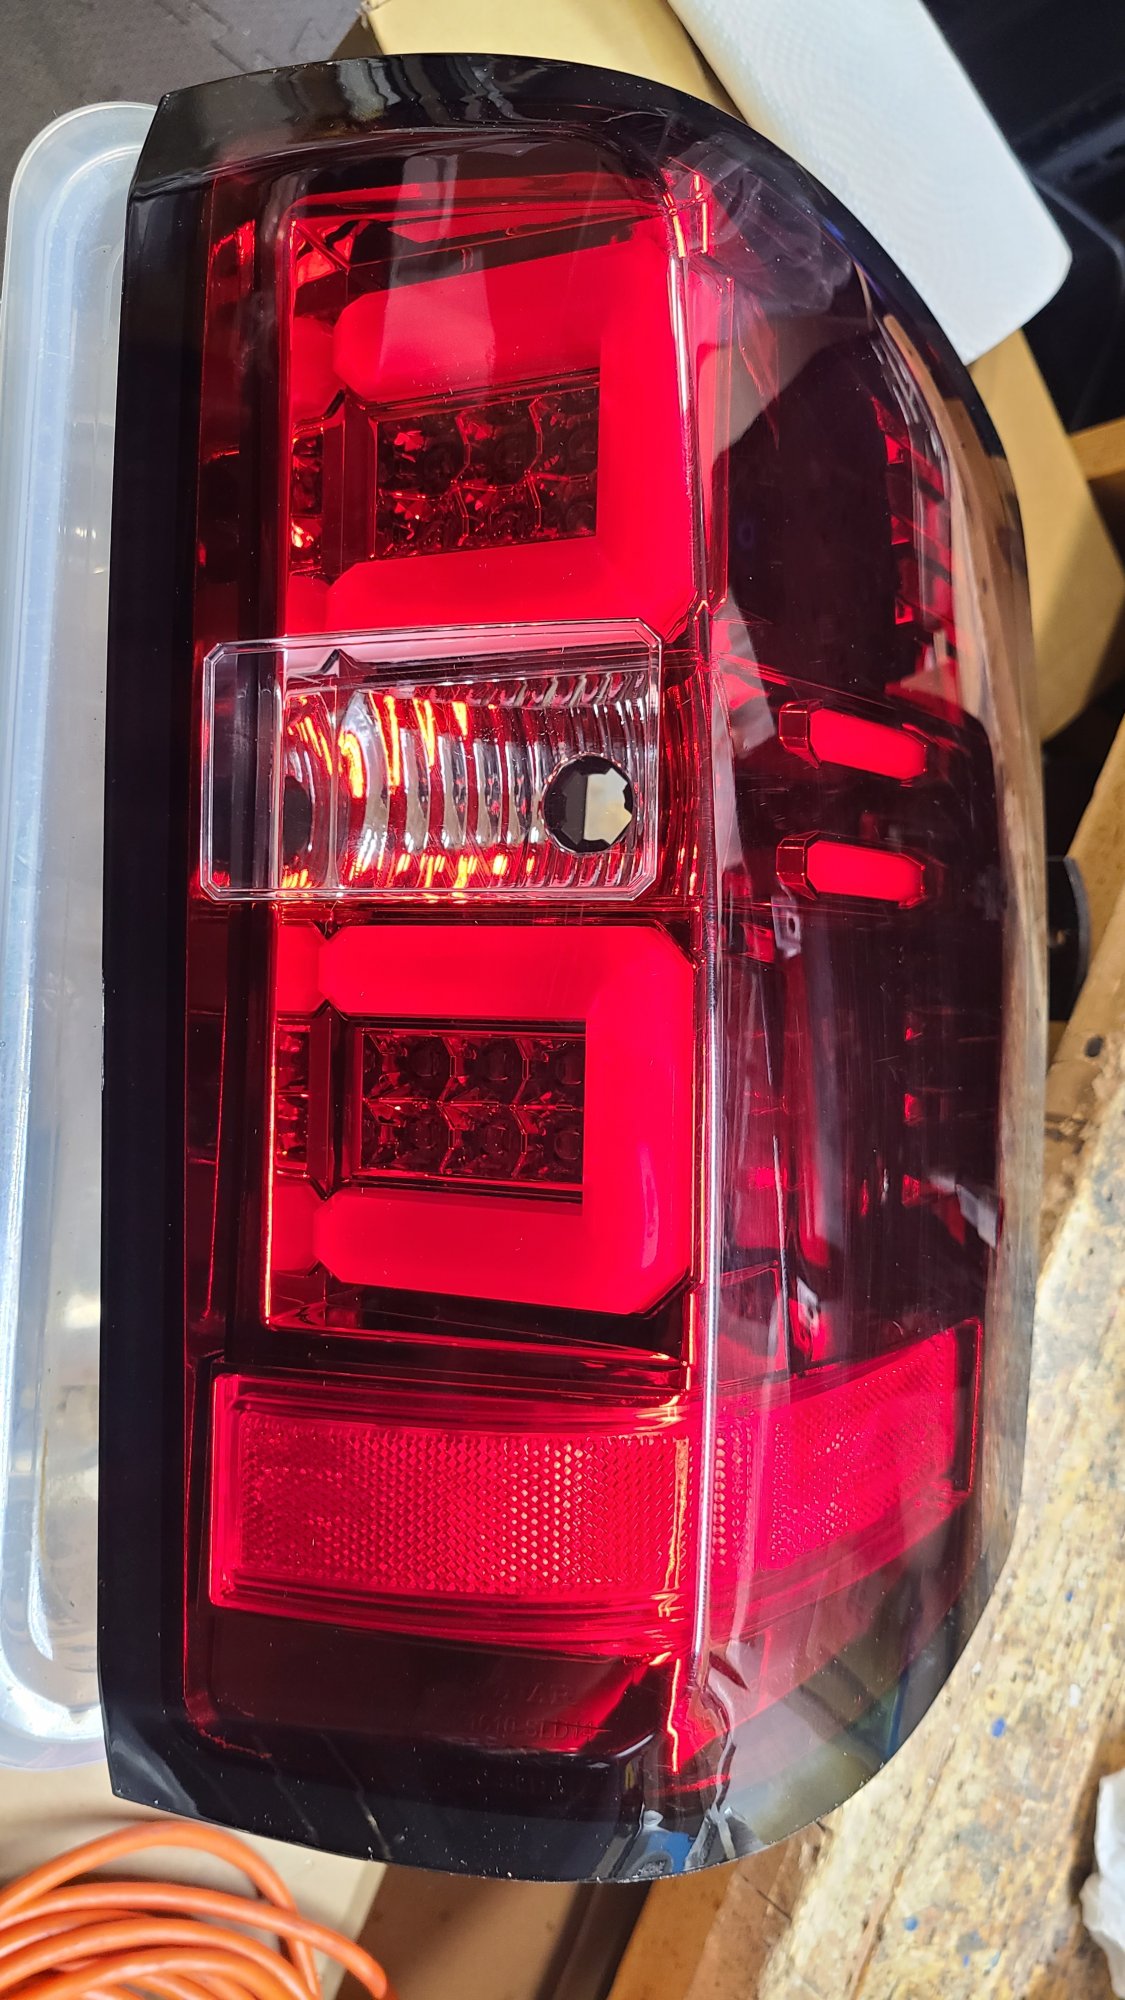
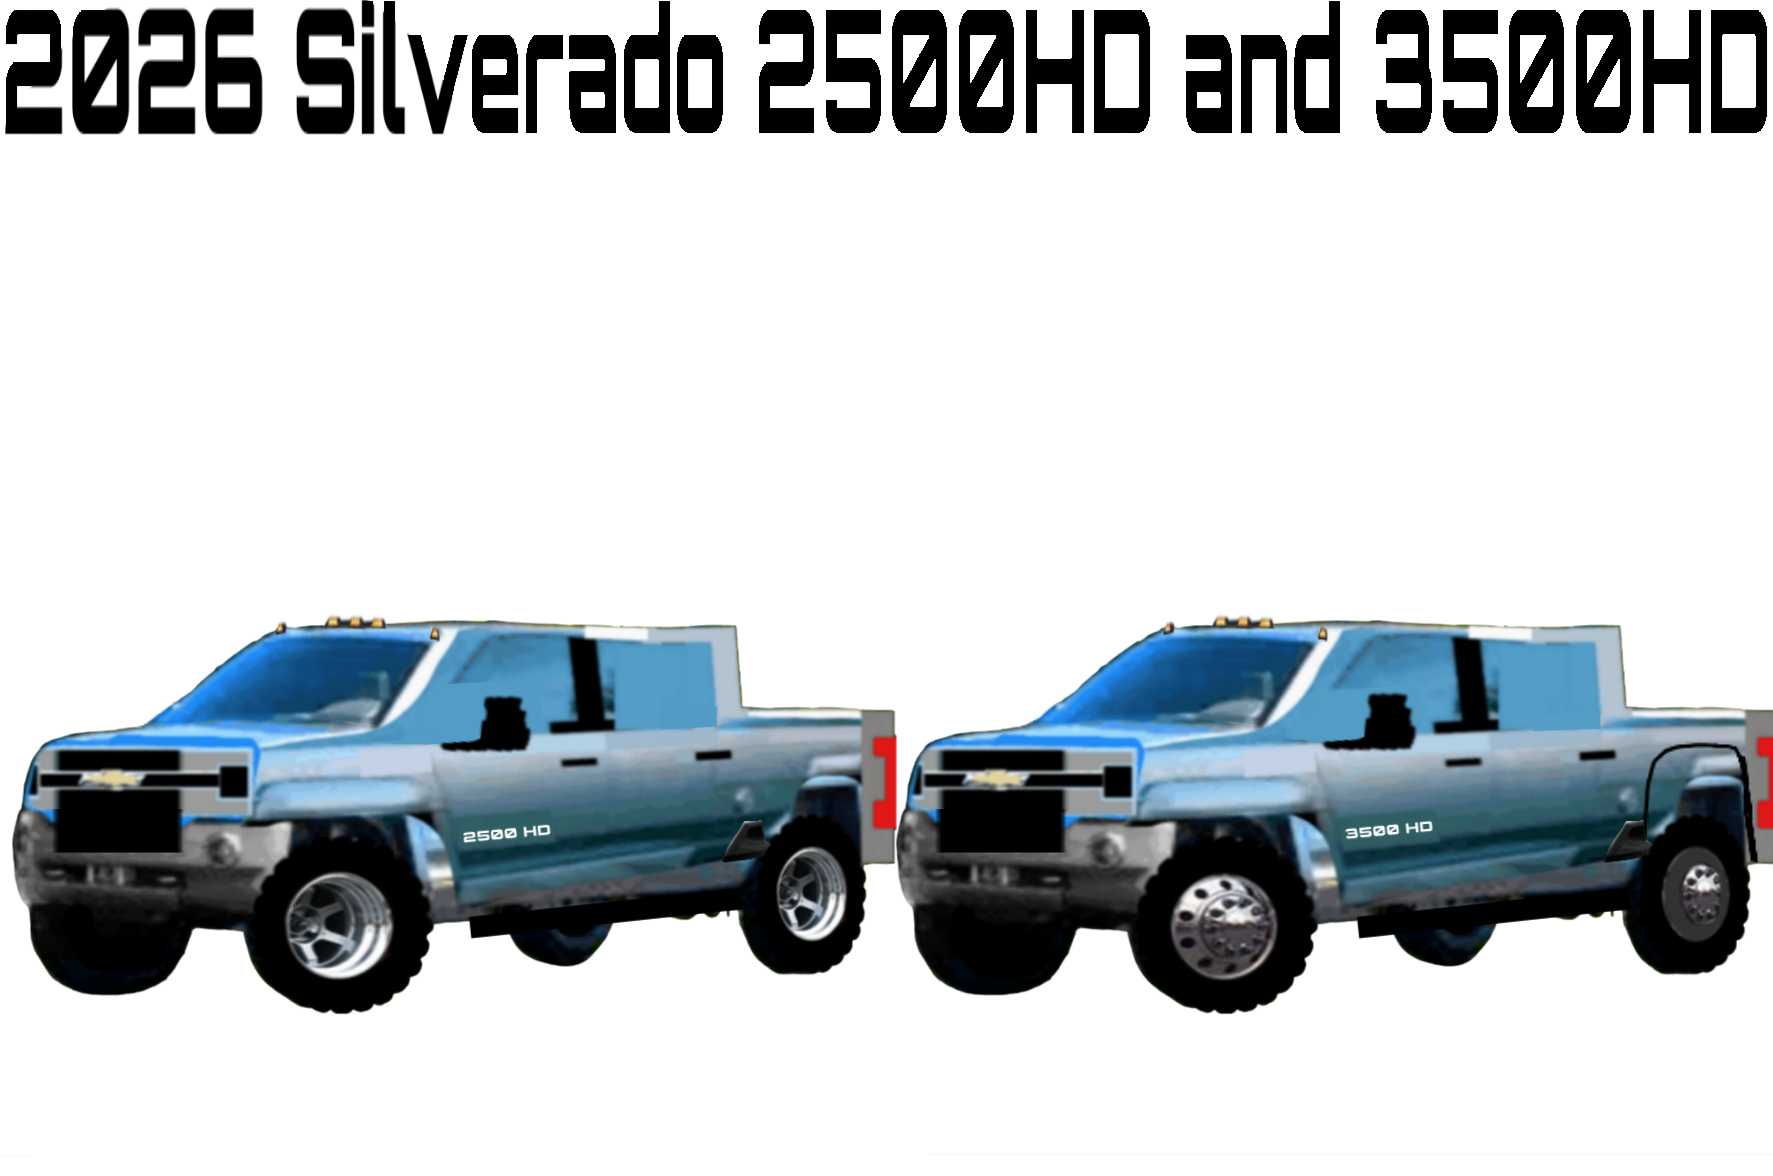
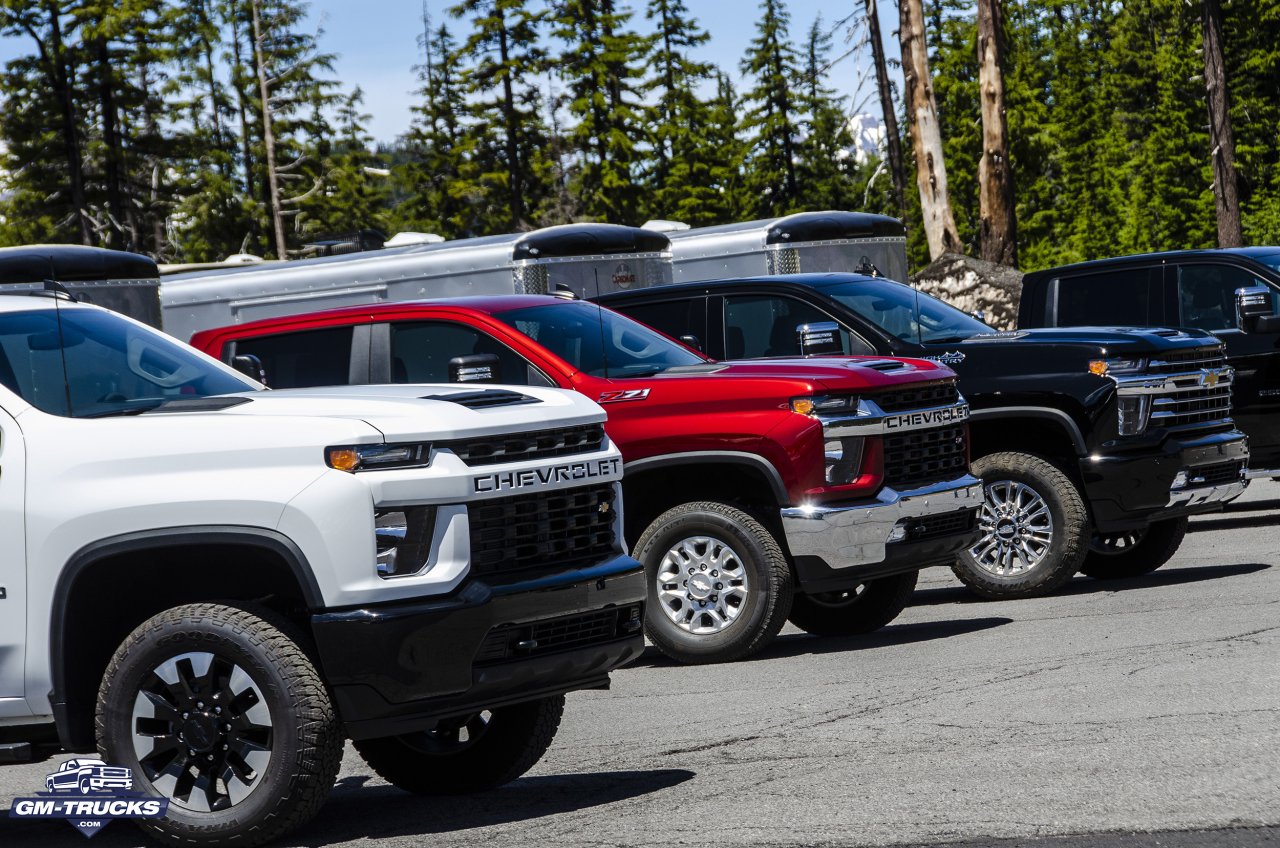
The picture that shows 2500 and 3500 both they look better
-
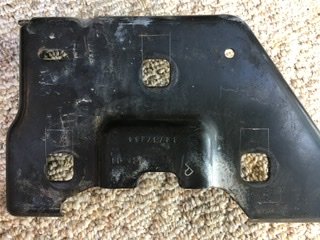
I BOUGHT A 2012 silverado 2500 in facebook marketplace but the person who had it didnt have the hardware/clips/bolts to put it together. He ziptied it together, I NEED HELP FINDING WHERE I CAN BUY ALL THE HARDWARE to assemble it properly! IN THE IMAGINE I CIRCLED WHAT I NEED
-
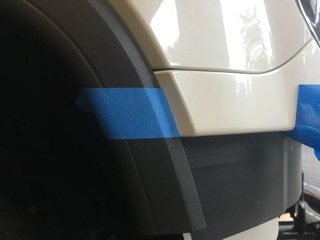
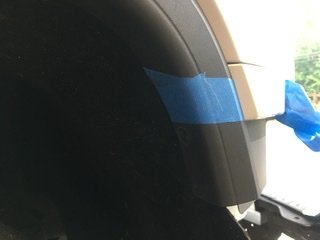
Ok Members, Here is the all inclusive way to swap a GMC K2xx 1500 front bumper to a 2500 Front Bumper. This is for the Sierra only, the Silverado is/may be different. First lets start with what IS needed the part numbers if applicable. HD Grille (PN Varies ) HD Bumper assembly (PN varies) HD "headlight fillers"( GM list's them as 'Top Cap Assembly) --------LH PN 22831429 Paintable --------RH PN 22831430 Paintable HD headlight filler brackets ( GM lists them as Fascia Bracket assembly) --------LH PN 23451021 --------RH PN 23451022 ****I will also mention the Front bumper to inner Frame support brackets. I got them with my 2500 bumper when I purchased it, so I used them, and they work and fit great. Im sure but cant say for certain if the 1500 bumper for frame supports can be made to work. Once all the swap parts are acquired, then you can begin modifying the parts on the current truck The 1500 Bumper mounts have to be used. I attempted to try and use the 2500 brackets and the mounting holes are in the wrong location, as well as it makes the bumper sit way too far forward away from the truck, As for the 1500 modifications, the 3 mounting holes will need slotted so the bumper brackets can sit lower to accommodate the additional height of the new bumper. Reinstall the brackets and drop them down until they hit the frame. ***** I spaced my brackets up a bit off of the frame. I felt the gap between the headlight fillers/grille, and the bumper was too much. with a little spacing you can get the gap nice and tight***** I also used 3 additional washers behind the brackets to space the bracket away from the frame. With out the additional spacing the bumper sat too close and didn't align in the wheel well Once the frame brackets are situated, you can move onto the fascia brackets. they are a simple swap, unbolt the 1500 and swap them for the 2500 brackets Now install the headlight fillers onto the fascia brackets that were just installed. The headlight filler assembly's will also use a bolt location from the 1500 grille that the 2500 does not use. Now its time for the bumper. Install the bumper onto the frame brackets. The 1500 brackets will only allow the Upper hole closest to the grille to be used for attachment. The Bumper will fit pretty tight onto the brackets. As I said earlier I was able to use the 2500 Inner bumper to frame brackets , they were the correct length, and shape to fit around the frame Mounts The last big modification is the fender well trim. The 1500 trim is much longer as shown by the blue tape line. The trim needs cut on the bottom of the tape to align with the headlight fillers When it’s all said and done the top pic is the OEM 1500 Denali and the Bottom is the 2500 Denali Swap (yes I know the fog lights aren’t in but I was excited to take a pic)