Sport Bar Lighting, Wiring & Switching

-
Similar Content
-
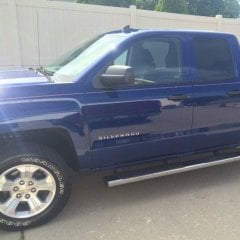
wiring help Rewiring but I cant identify this component - 1991 Silverado K1500 4x4
By Malicious_Apeman,
- wiring
- electrical
- (and 5 more)
- 7 replies
- 442 views
-
- 2 replies
- 749 views
-
- 4 replies
- 1,106 views
-
- 8 replies
- 6,475 views
-
- 0 replies
- 1,267 views
-
-
Recently Browsing 0 members
- No registered users viewing this page.
-
Forum Statistics
250.4k
Total Topics2.7m
Total Posts -
Member Statistics
342,838
Total Members8,960
Most Online
-
Who's Online 0 Members, 0 Anonymous, 765 Guests (See full list)
- There are no registered users currently online


-
Latest Articles
-
Posts
-
-
By cautious optimist · Posted
This is a really late reply but I just found this thread. They won't sell the hinges. I've gone 7 rounds with them. Their solution is to buy a new cover. I'm about to buy a new cover and it won't be a Bakflip. It also won't be from realtruck.com. -
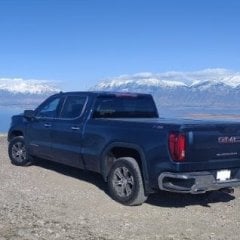
 Yes, and also pulling heavy trailers or a large camper up steep grades as well as descending grades such as the more rustic off road camping locations and using engine braking with that low gearing as well as soft ground can just suck the power . I realize pickups these days tend to have an over all lower first gear ratio compared to automatic transmission pickups from years back so that has helped a lot in its ability in high range but there comes a point if in four wheel drive the torque runs out at the wheels, certainly with a gas engine. They don't put two speed transfer cases on pickups for a cool factor, they have a function if one needs that massive torque to the wheels that high range can't deliver.
 -
.thumb.JPG.2c573de60d3a3a4407c7d92298db46dd.JPG)
By Grumpy Bear · Posted
Notes 7/18/2026 3,400 miles on this batch of Mobil 1 Euro 5W40 since the GDI pump replacement. Alcohol runs very clean when ring seal is tight and the sump isn't getting hosed with fuel. Checked oil level at fill up today as is my practice and grabbed a white Kleenex to look at the color. What color? I was going to change it but..... -

By Another JR · Posted
4 low is really nice on steep boat ramps.
-
-
GM-Trucks.com Clubs
-

Black Truck Club
Open Club · 612 members
-

White Truck Club
Open Club · 380 members
-

Canadian Owners Club
Open Club · 282 members
-

Red Truck Club
Open Club · 157 members
-

diesel 3.0
Open Club · 281 members
-

Texas Owner's Group
Open Club · 371 members
-

NorthSky Blue Club
Open Club · 118 members
-

Midwest Owner's Group
Open Club · 213 members
-

2015 Custom Sport Club
Open Club · 5 members
-

GM Snow Plowing Club HD
Closed Club · 14 members
-
-
Popular Contributors
-


Recommended Posts
Archived
This topic is now archived and is closed to further replies.