
Leaderboard


Popular Content
Showing content with the highest reputation on 06/10/2019 in all areas
-
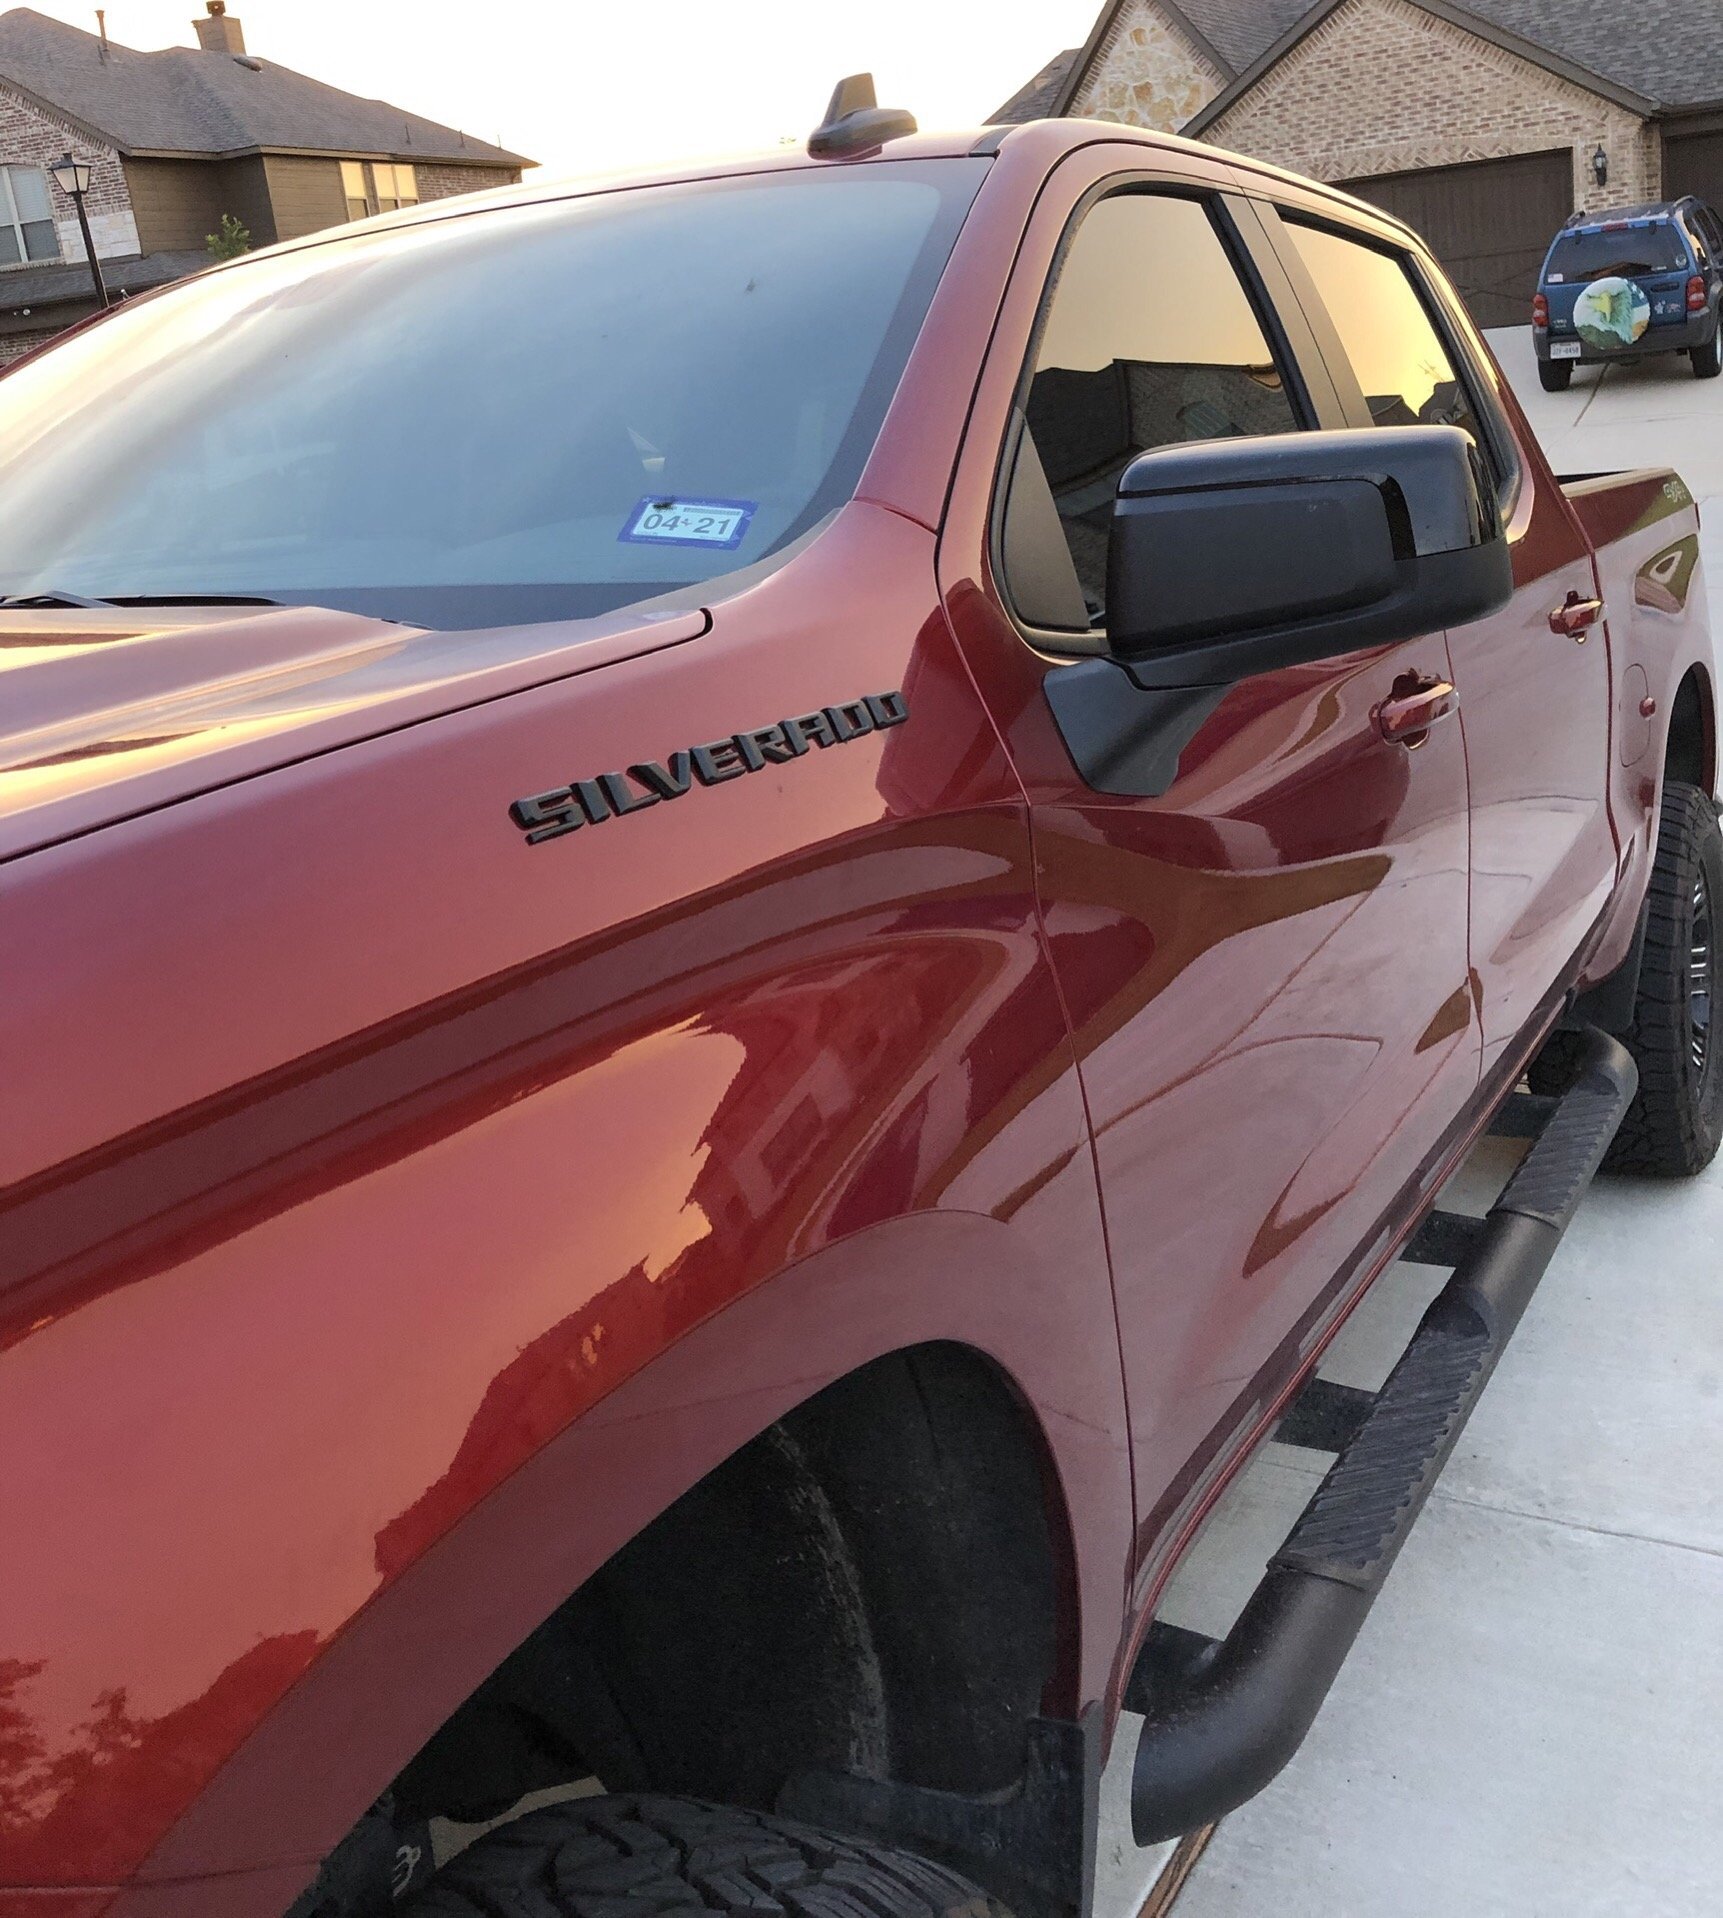
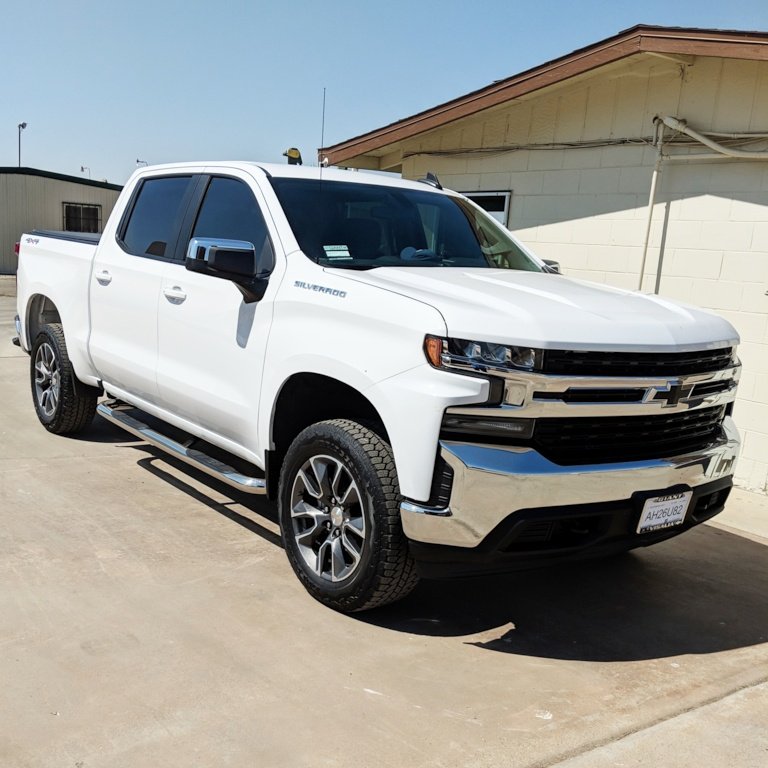
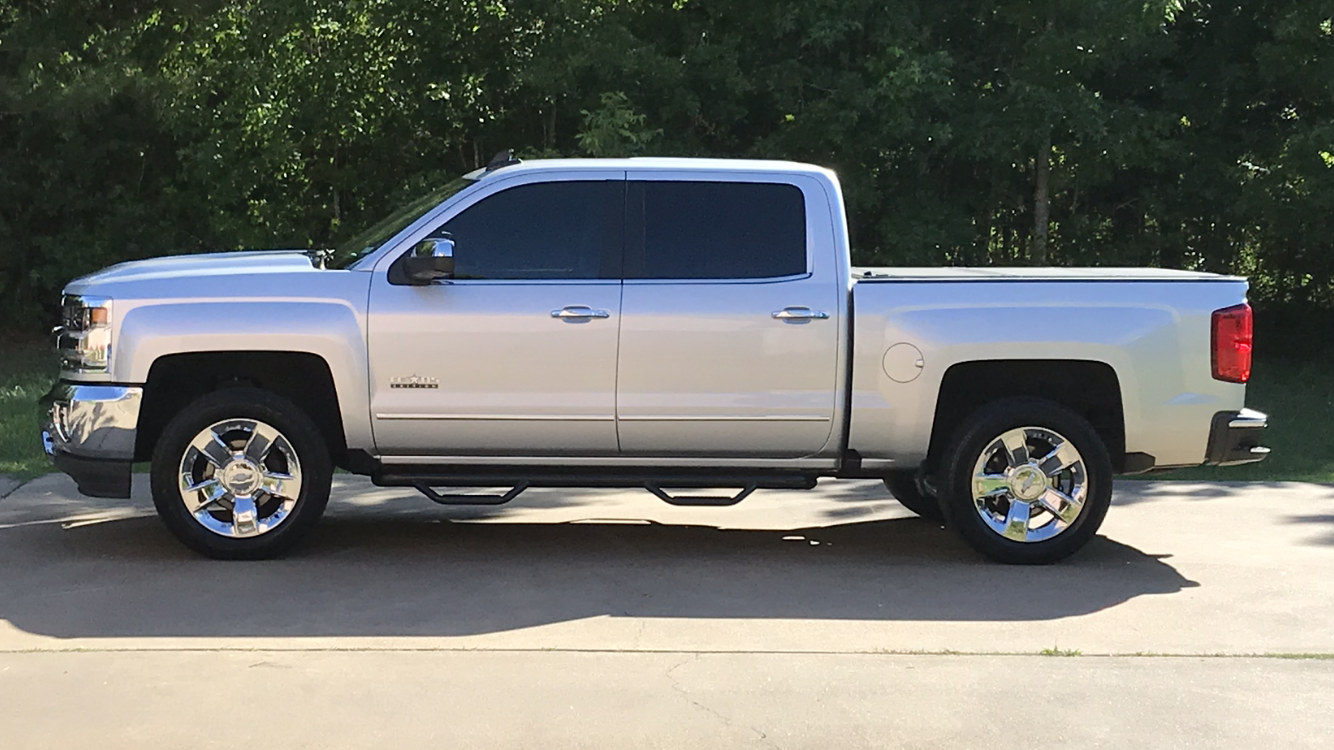
Nice wash and wax!
 4 points
 -
4 points
-
Got her back. All done... for now, lol.
3 points
-
2 points
-
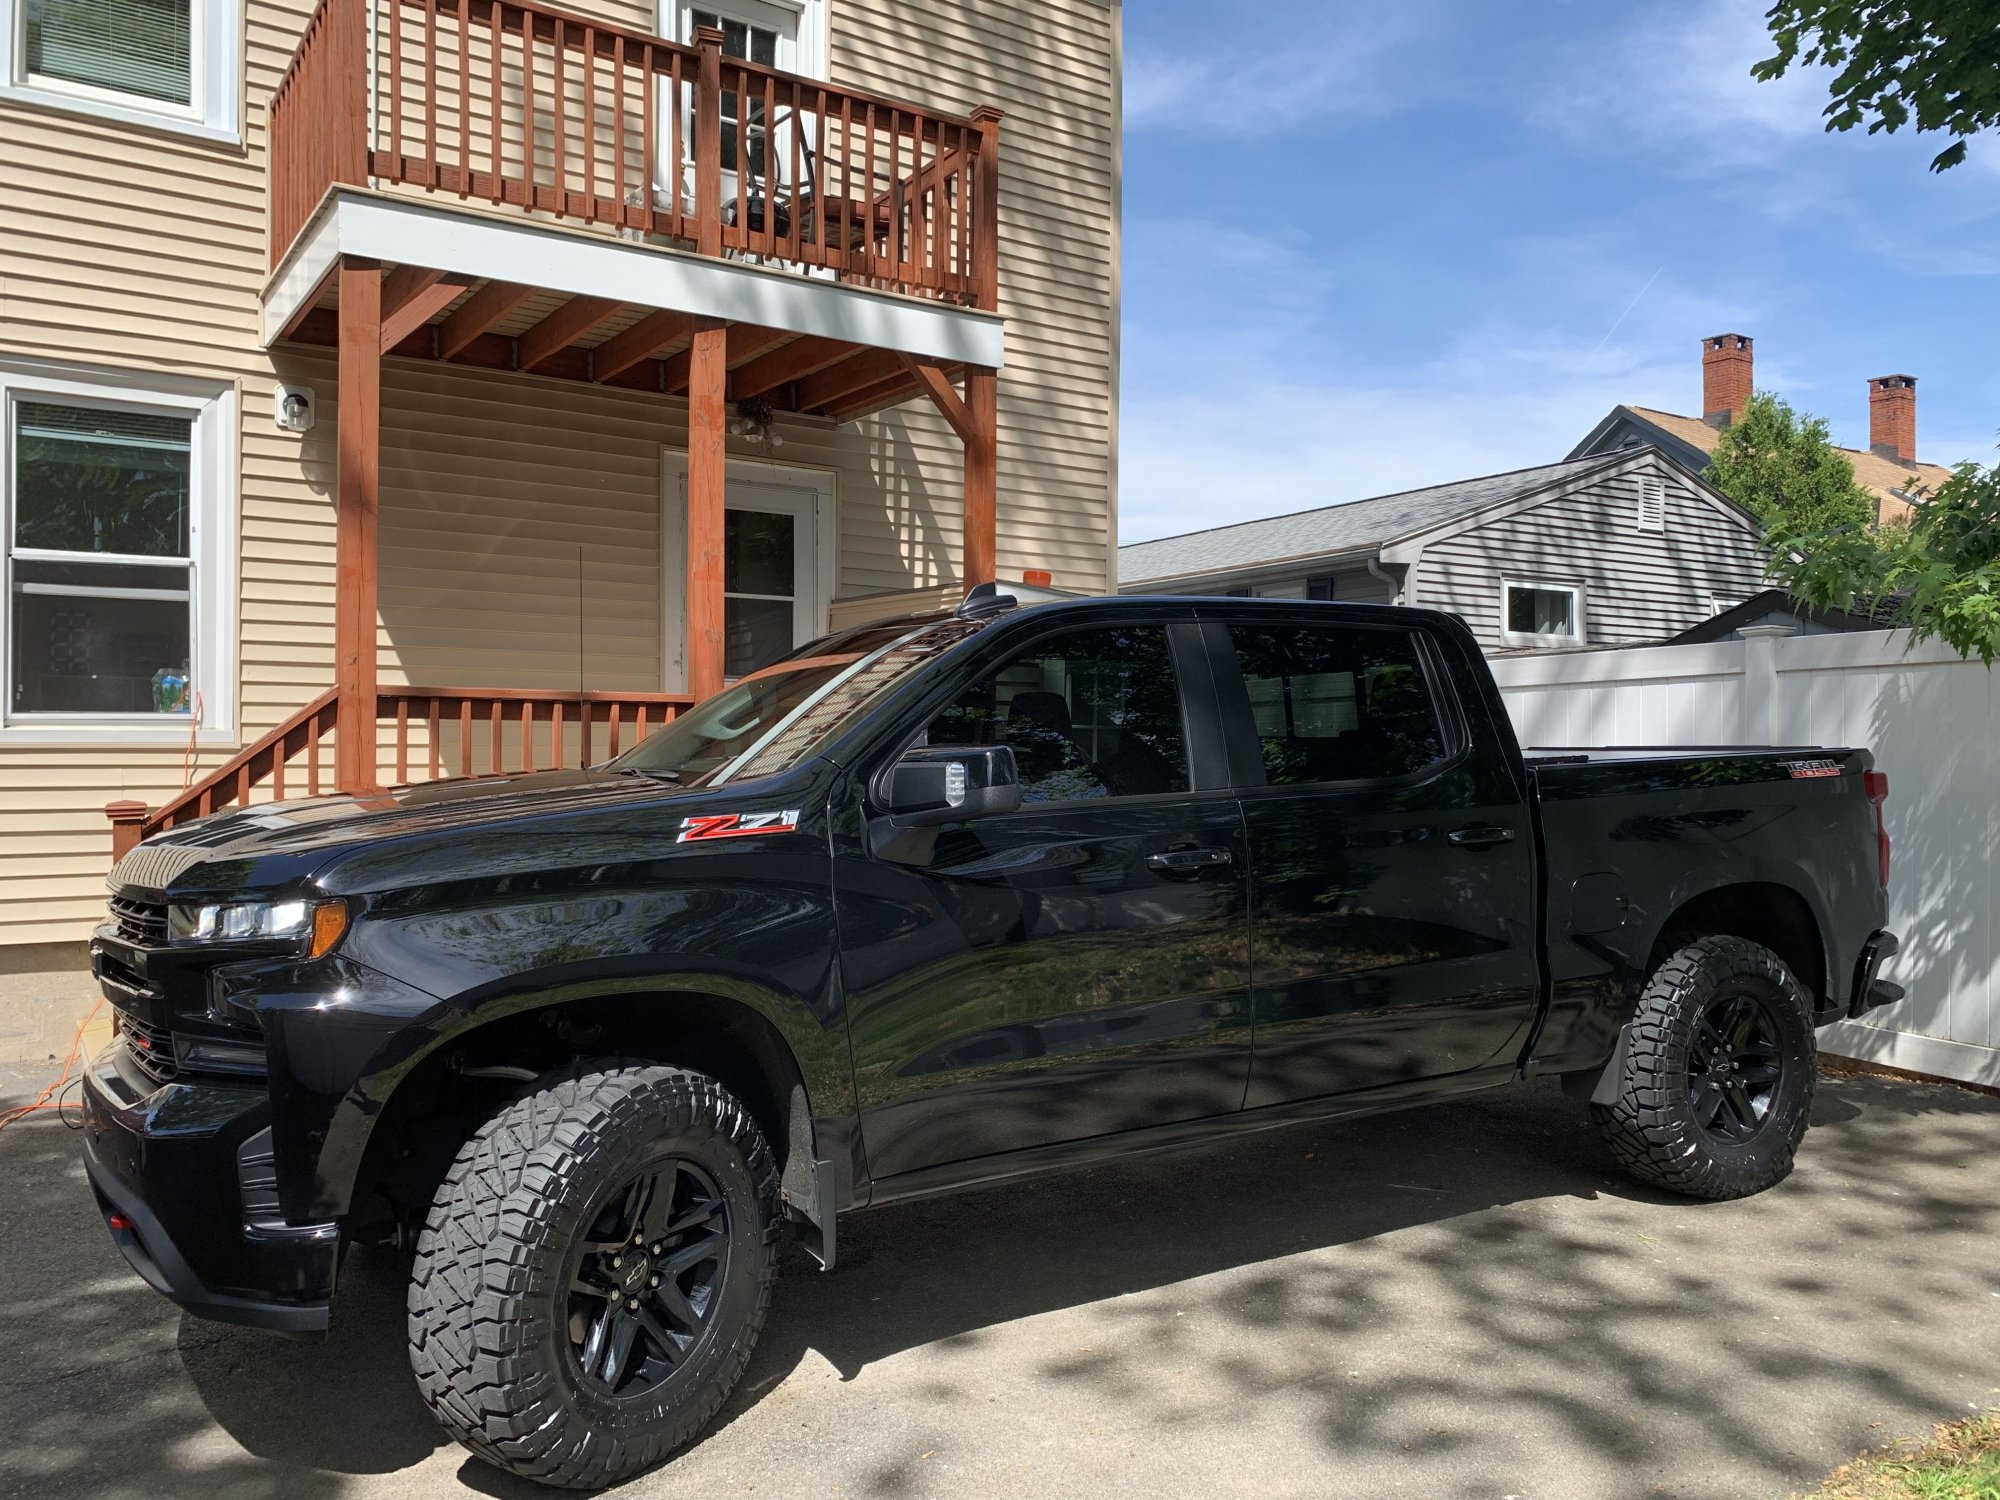
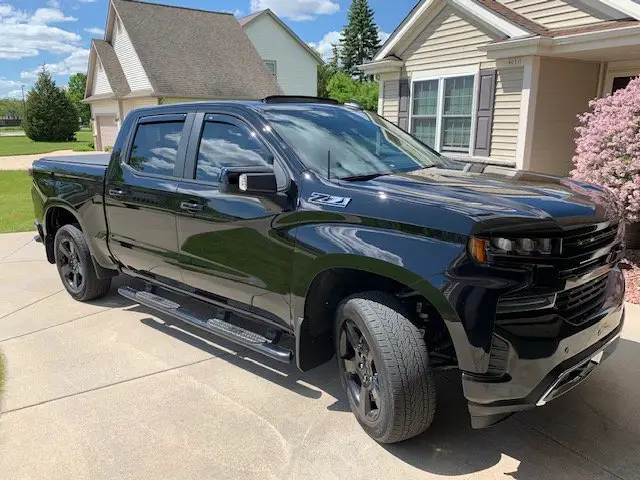
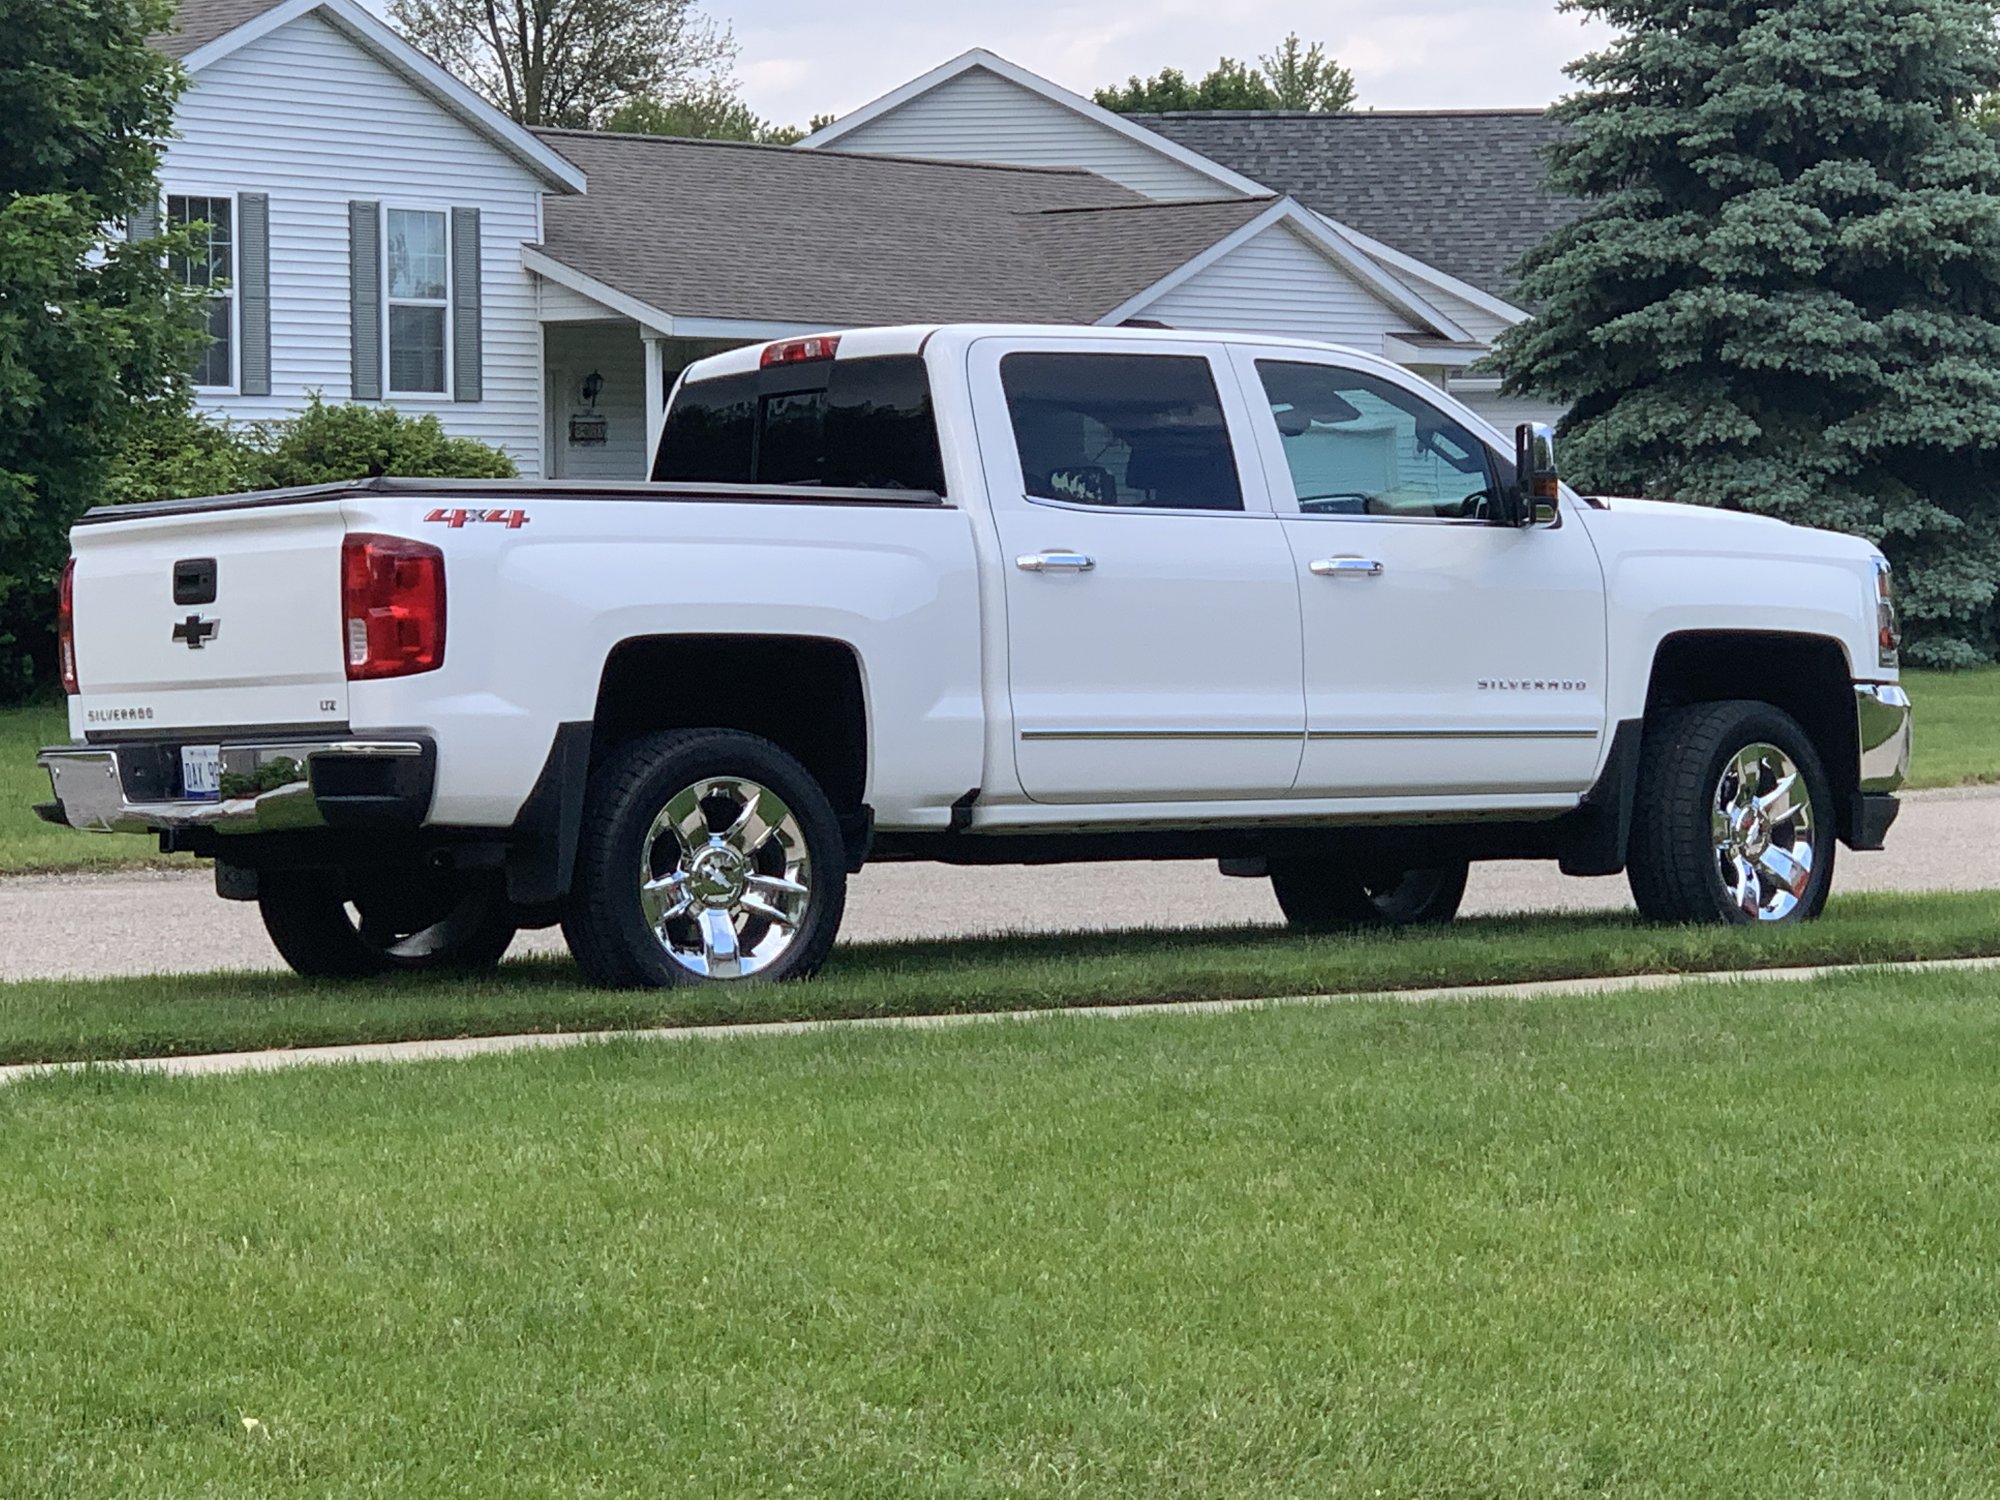
It was bath day today
2 points
-
Little dirty, but here ya go... details in signature. Need to get spacer for rear, as Im OCD. Just need to figure out what size...
2 points
-
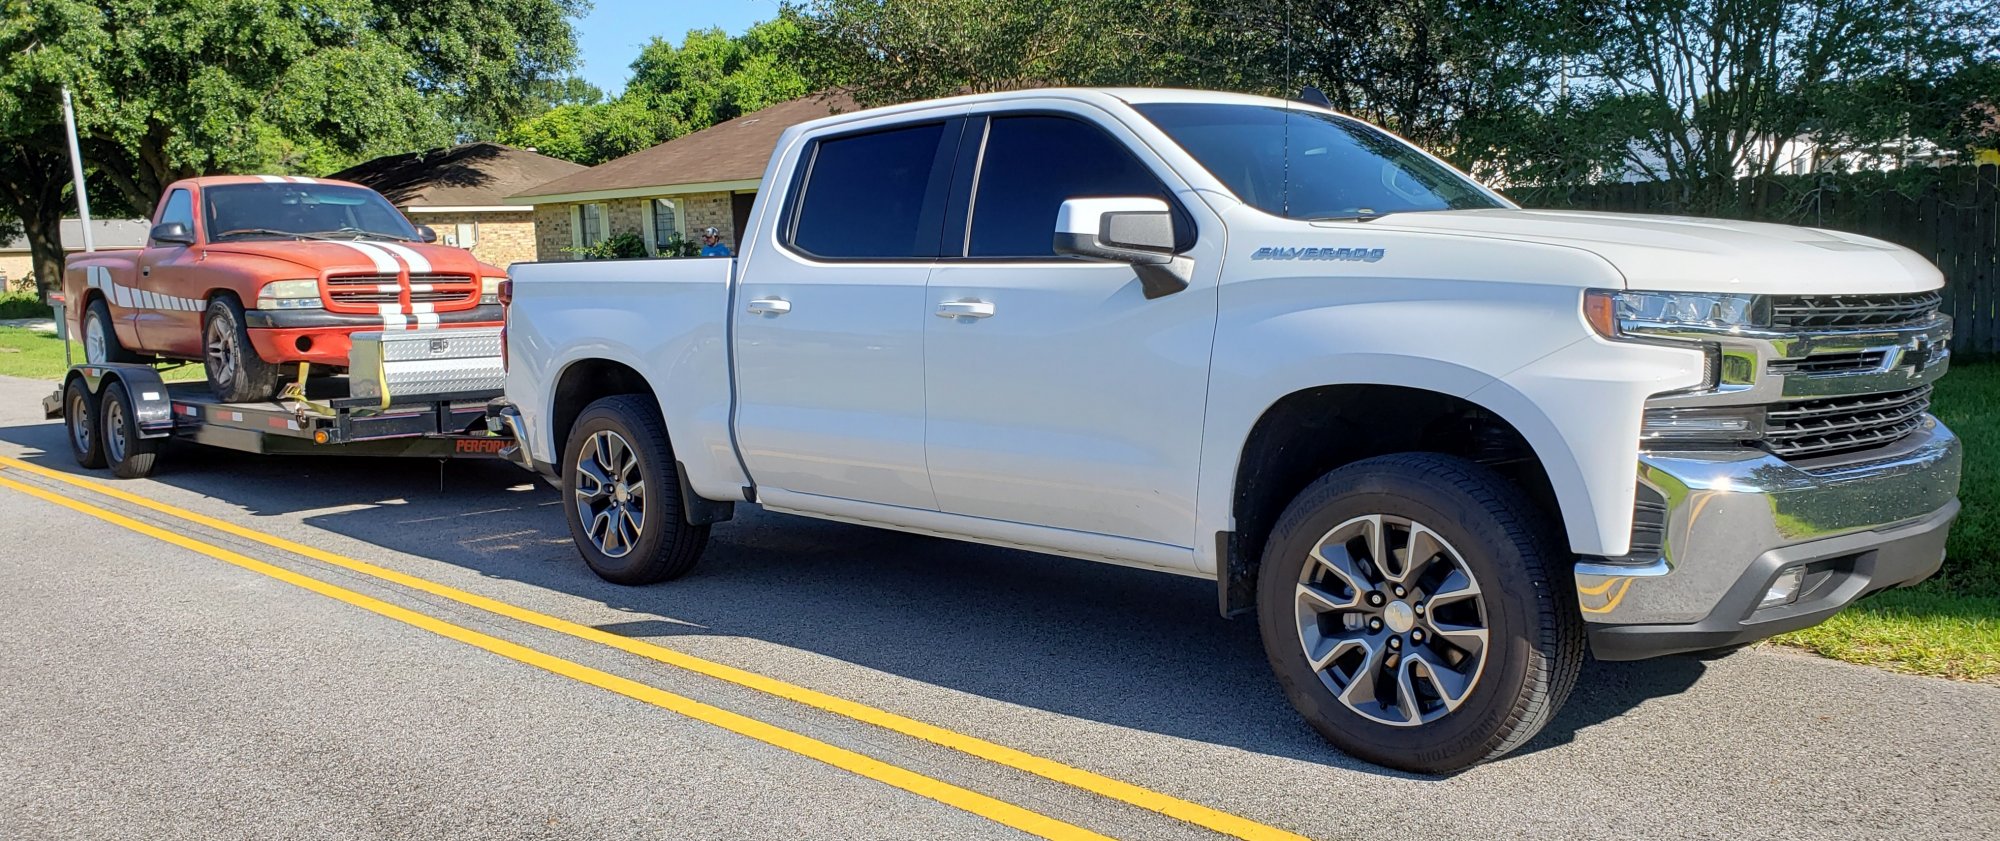
Pulled about 6,000 lbs this weekend with mine. Did really well. Engine didn't struggle at all.
2 points
-
SCROLL TO BOTTOM FOR MY FEEDBACK ON THE KIT I purchased the Eibach Pro Truck lift kit the other day so below is a quick how to on the process and some initial feedback I have on the kit. My truck has 75k miles and I knew before purchasing anything I had a blown rear shock. I wanted to lift my truck higher so instead of purchasing OEM equipment and adding more rough country spacers (already had a 2" lower up front), I saw the Eibach kit. It included everything to complete a reasonable 2.5" lift AND included new springs for less than $600. From my tuner days, Eibach was the go-to for lowering springs, I assume they know what they are doing plus they are American made, can't go wrong. The struts are adjustable like Bilsteins so this was the best option for achieving the lift I wanted. With the Eibach springs and the struts at their lowest setting, my truck would be 2.5" higher according to the instructions. Also, the rear shocks in the kit, safely handle a +1" lift in the rear. This is what I wanted! Since I was already touching every other suspension component, I figured I might as well add the 2" rear blocks I've been eyeing so I bought those direct from RC. Truck set up before project: 20" wheels, Falken AT3W 33" tires, RC 2" lower spacer with stock struts and shocks one of which is completely blown. The ride was sloppy, pulling into driveways or other major bumps my truck was rocking and rolling, signs my stock set up was done. I would wince before hitting large bumps on Chicago expressways knowing my cage was about to get rattle. The 20" wheels and heavier tires aren't helping but the dampers needed to be retired. Purchased parts: Eibach Pro Truck Lift kit: E80-23-006-02-22 Includes new springs, new monotube struts, and new monotube rear shocks. Also includes new king nuts for struts and bump stop collars for reusing OEM bump stop. https://eibach.com/us/i-8809-pro-truck-lift-system-stage-1.html Rough Country: 6532 (2" rear blocks) Includes new u-bolts, washers, nuts, and 2" tapered rear blocks No link, this is the rear blocks from their leveling kit, you have to order over the phone. Side note, RC folks are REALLY nice on the phone. If your are uncomfortable working on compressed springs do not attempt the strut disassembly yourself. Take them to a shop. I've done several spring projects in my life and understand how dangerous they can be. Be safe and take the necessary precautions and where the right PPE. If the compressors fail, they should fail in an open area, not in front of you. Prepare for the worst, hope for the best. I am not responsible for misuse of the below info. Important tools: Eye protection and hand protection Pneumatic gun Spring compressors pry bar jack and jack stands Sockets 10 mm and 15 mm all the way up to a deep 22 mm Wrenches 15 mm all the way up to 22 mm A friend, loved one, kid, someone to help. I did this work by myself and it took me probably 6 hours in total, would've been half that with a second set of hands. Before you do any suspension work, always take measurement from fender to ground or from fender to top of wheel. This gives you baseline measurements to calculate your final lifts. Rears (blocks and shocks): 1. Jack your car up on both sides. Put on jack stands. You want the rear axle to drop straight down. Only doing one side at a time will be an issue, I learned the hard way. 2. Doing one side of the truck at a time, remove the upper shock bolt (the nut is welded, just remove bolt) and the bottom bolt/nut. Shock should pop right out with some love. 3. Place a car jack under the differential. Remove the (4) 21 MM bolts on the factory u-bolts. Again only on one side at a time. 3. SLOWLY lower the rear differential to allow enough room to remove the stock blocks. Watch your brake lines, you have some play but not too much. 4. Before installing the new block, clean the alignment pin and hole on your truck. Mine had a lot of dirt and salt. A wire brush cleaned it right up. I also sprayed it down with WD40 for good measure. 5. Once the block is installed and lined up, slowly raise your diff back up. If your blocks are tapered make sure the taller side of the block is closer to the rear of the truck. Install the new u-bolts and torque the new 22 mm nuts down in an alternating pattern. Old block next to new blocks below. 6. Install the new rear shocks, start at the top then do the bottom. I had to compress the shocks about 1/2" to get the bottom bolt in. 7. Repeat on other side then your done. I took the truck for a quick test drive to test out everything. No shutter, no issues. Picture below of my old shocks next tot he new, one looks blown... Time for the fun part, the fronts! Fronts (struts and springs): 1. Unbolt the 3 nuts on the top of the strut. Easy access through the engine bay. You can remove these before the car is lifted without issue. Leave the outside nut hand tight to prevent your strut from dropping out. 2. Jack up one side of car and remove wheel. 3. Unbolt the sway bar end link, tie rod end, two bolts on bottom strut mount, and the upper control arm ball joint. The UCA will need a BFH (code for hammer) to help it out. Leave the nut finger tight so the UCA doesn't shoot out of knuckle right away. Some people say you can do this without removing the UCA but I just couldn't see how that could be done in my application. 4. If you're by yourself place a car jack under the knuckle, remove UCA ball joint nut and slowly lower front hub assembly, there should be plenty of room to remove the strut now. I used a jack stand to hold the hub assembly while I unscrewed the top nut on the strut and carefully remove it. Once the strut is out, loosely reattach the UCA to the hub so you can leave it for a while. 5. With a permanent marker, draw a line down the strut assembling marking everything. The line should be on the outside face of the strut assembly. This is your index line, when you transplant these pieces to your new strut they should all line up. If they don't you messed something up. 6. Now the dangerous stuff, install your McPherson spring compressors on the stock spring, try to grab coils that are far from each other as the spring will be easier to compress. Compressors should be 180 degrees from each other to ensure even loading. 7. Put on all your PPE, say a pray, and start tightening the spring compressors until you see a gap between spring and strut per mounts. Treat loaded springs like a gun, never point it at anyone and try not to drop it, jostle it, anything that could affect the compressors grip. Personal note, when I am doing dangerous stuff in my garage I either text someone letting them know what I am doing and text them after I am done or tell my wife if shes inside to check on me occasionally. 8. After you remove the king nut, open up the compressors, you can toss the springs. You will need to remove the upper assembly of the strut (top mount, bracket, spring boot, and bump stop). You will also need to remove the lower spring perch. Do this by gently tapping the perch towards the top of the strut to release it. PB blaster helps speed this up. 9. Prepare the Eibach struts. These are adjustable to dial in your final ride hide. In my application, when used with Eibach springs, the bottom level (lowest setting) will achieve a 2.5" lift up front. Snap ring was moved into the bottom grove and collar installed. The lower perch from OEM strut was installed. 10. There is a metal collar inside the yellow bump stop, pull this metal piece out and replace with the one supplied by Eibach. The shaft is bigger on Eibach struts so the collar needs to be upsized. 11. Dangerous part 2, install the compressors on your Eibach spring. Again try to grab coils that are far apart to ease the compression process. I believe the springs needed to be compressed 1/2" to fit on the strut. This was the most nerve wrecking part of this project. The compressors have seen better days. Those bends are pretty ugly. 12. Once compressed start lining up the strut, inside rubber boot, bracket, and top mount. Your line you drew earlier should all line up with the outside face of the strut. Make sure the bottom of the spring is fully seated on the perch plate. 13. Install top metal spacer/washer from OEM strut and new king nut provided by Eibach. Tighten down nut then your good to unload the springs. Once the springs compressors are removed the scary part for that strut is over. 14. Remove the nut on the UCA and reinstall your strut. Have at least one bottom strut mount bolt available so once you get the strut lined up, you can throw a bolt on the hole to keep things in place. 15. Reverse the beginning steps with the reassembly of the hub parts. You'll will need a pry bar braced on the spring to hold the UCA down firmly into the top of the hub so you can tighten the nut without the ball joint spinning. 16. Repeat on other side. 17. Take your truck for a quick test drive, if no noises or issues, take in for an alignment. 18. Take final measurements to confirm relatively even lift. Drivers side may be lower due to gas tank. Final thoughts on the upgrade: I am absolutely in love with the kit. I've been putting off replacing shocks for a while, so glad I finally did this project. Dare I say, Eibach MDFA? (Made Driving Fun Again...) Like I mentioned above, I was beginning to notice I was wincing before hitting big bumps because of how loosey-goosey my suspension had become since I bought it. The Eibach kit firmed up the ride noticeably. At slow speeds I do feel small bumps which is a given with monotubes, 20" wheels, and aggressive tires. At speed, the dampers turned those crazy earth shattering/dash destroying bumps on Chicago expressways into muffled bumps on the road. Also the dampers recover quickly. Driving into parking lots or steep driveways, my truck you to rock back and forth, now the truck rocks and correct quickly. No over correction. I would highly recommended this kit as an alternative to the Bilstein kit. If your looking to lift your truck, its hard to beat this package. Overall very happy with the kit and how it turned out. Excited to get some off road time this hunting season! I filmed the install and will be posting the video when its edited. Thanks! WF411 point
-
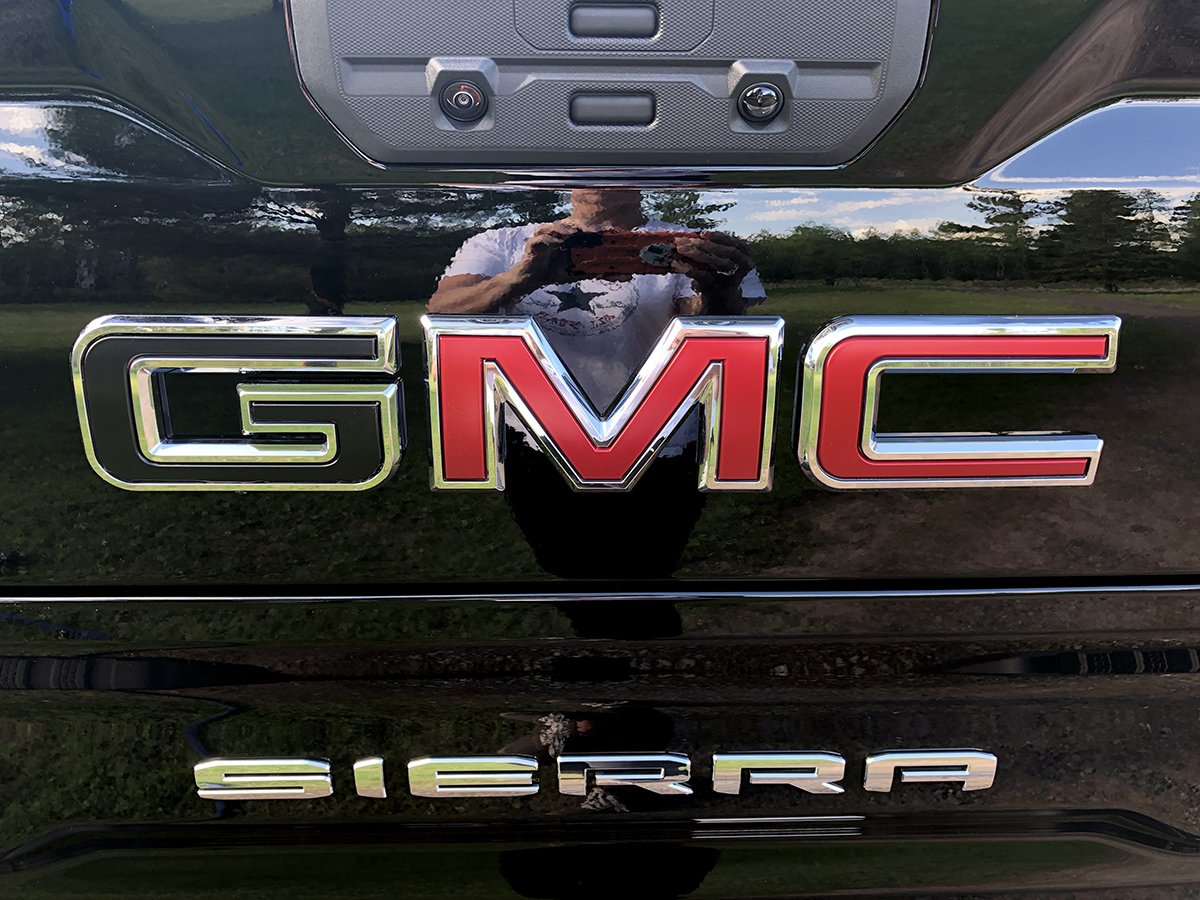
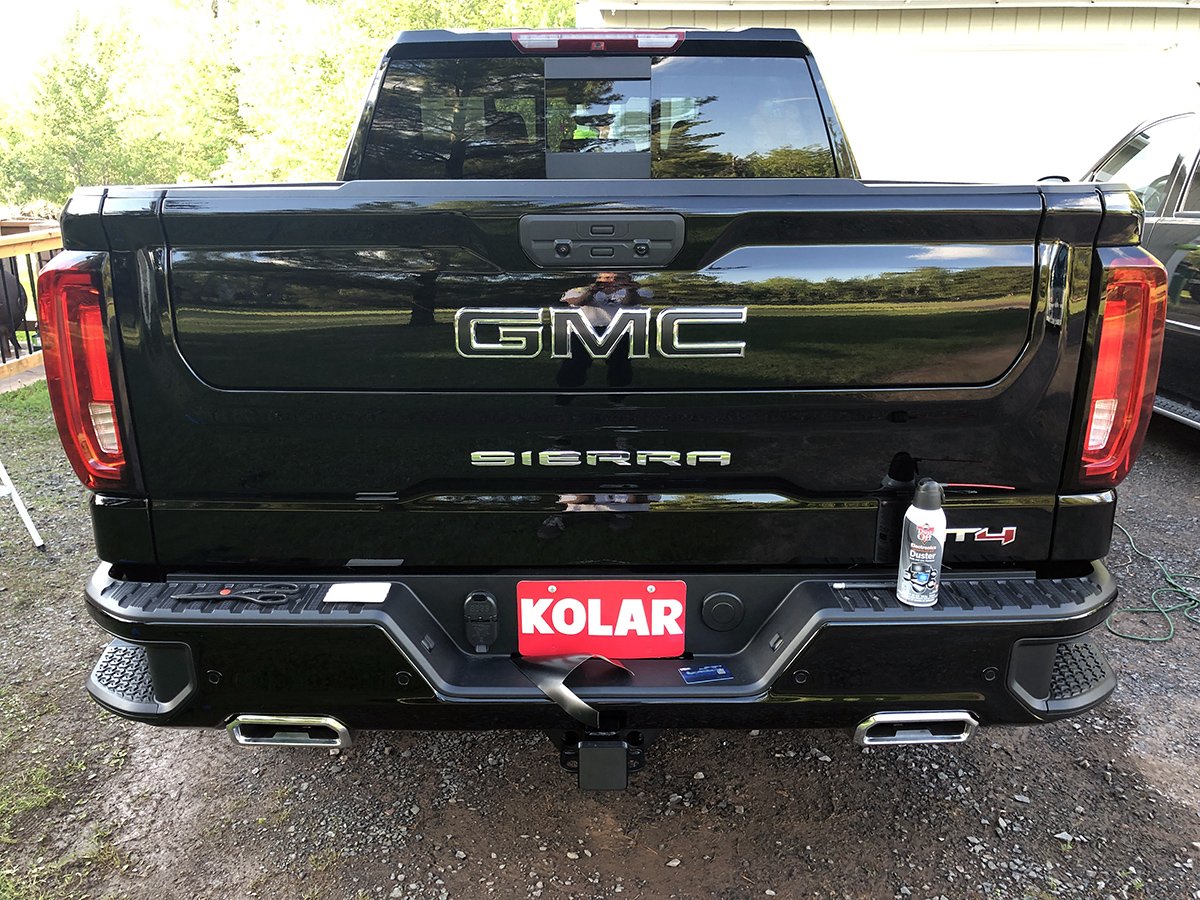
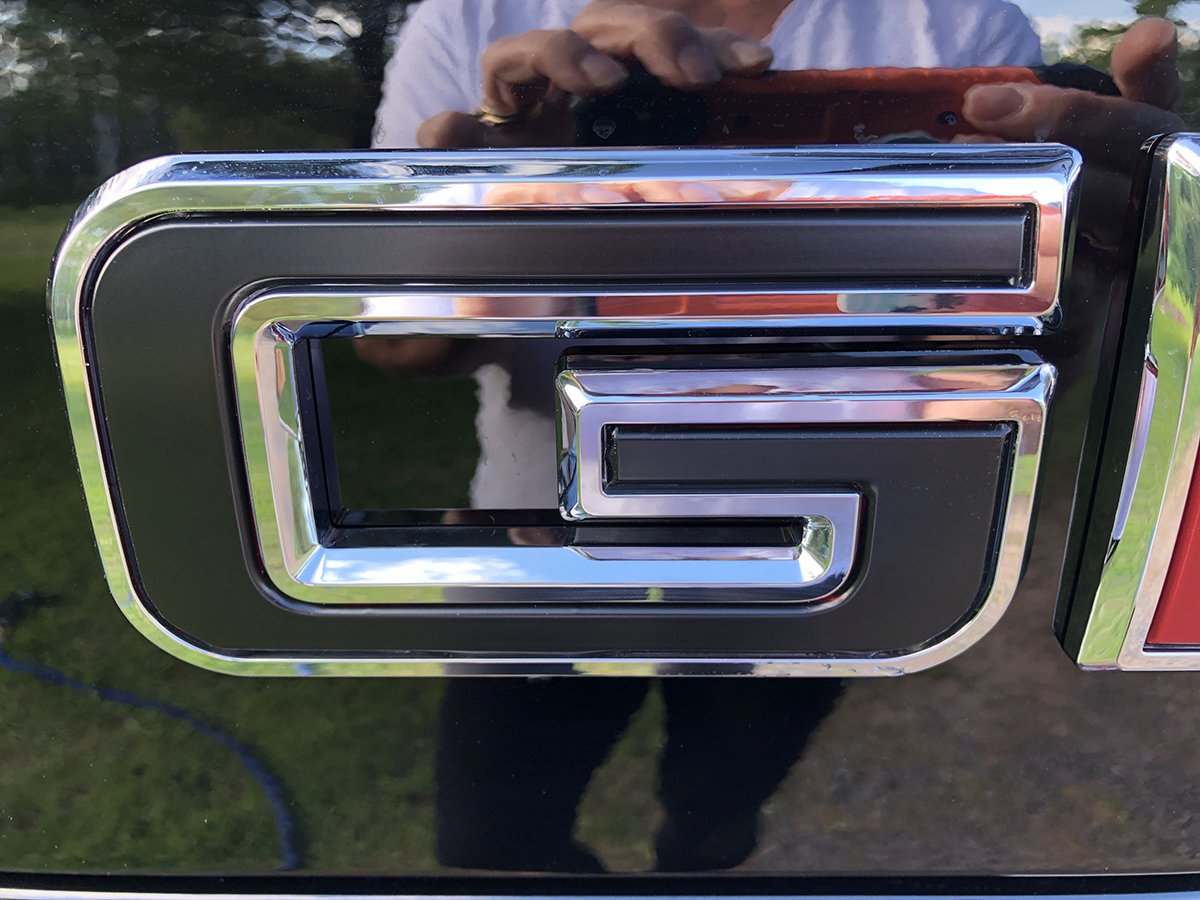
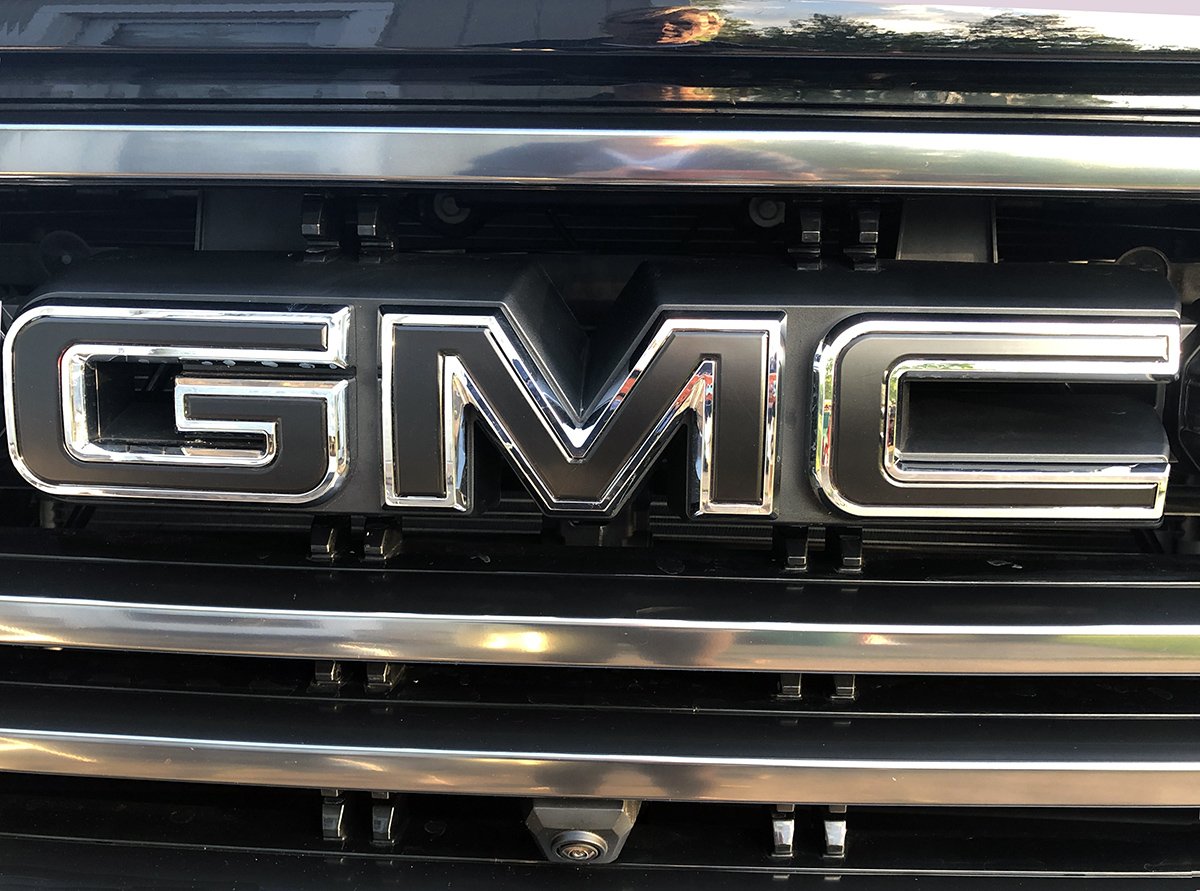
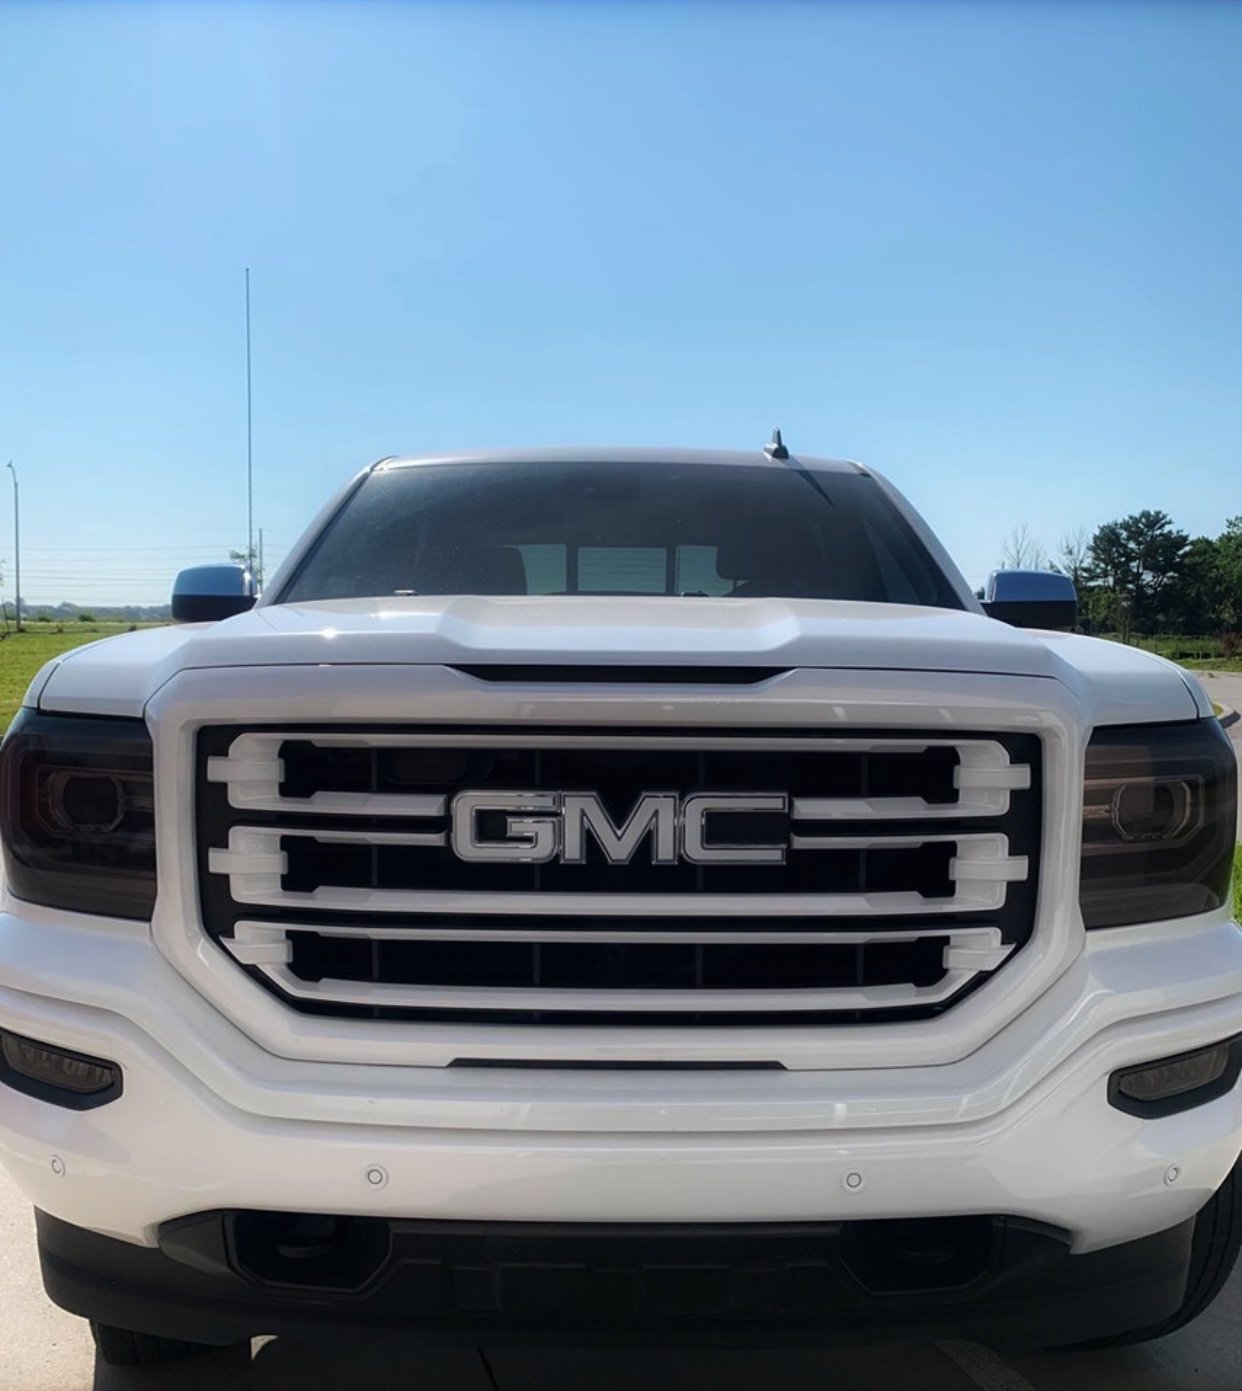
So, today I blacked out the GMC emblems on the grille & tailgate on my '19 AT4. My truck is black and I like the sleek black look. This was a simple, subtle mod in that direction. I used 3M 1080 wrap vinyl & a little heat. They came out nice and if I decide I want them red again, for some reason, I can just remove the vinyl.
1 point
-
Sorry, had the tint shop do it. I'll try and find out the product next time I'm over there.1 point
-
And my GM side piece got a taste of the blacked out action this weekend, too! ?
1 point
-
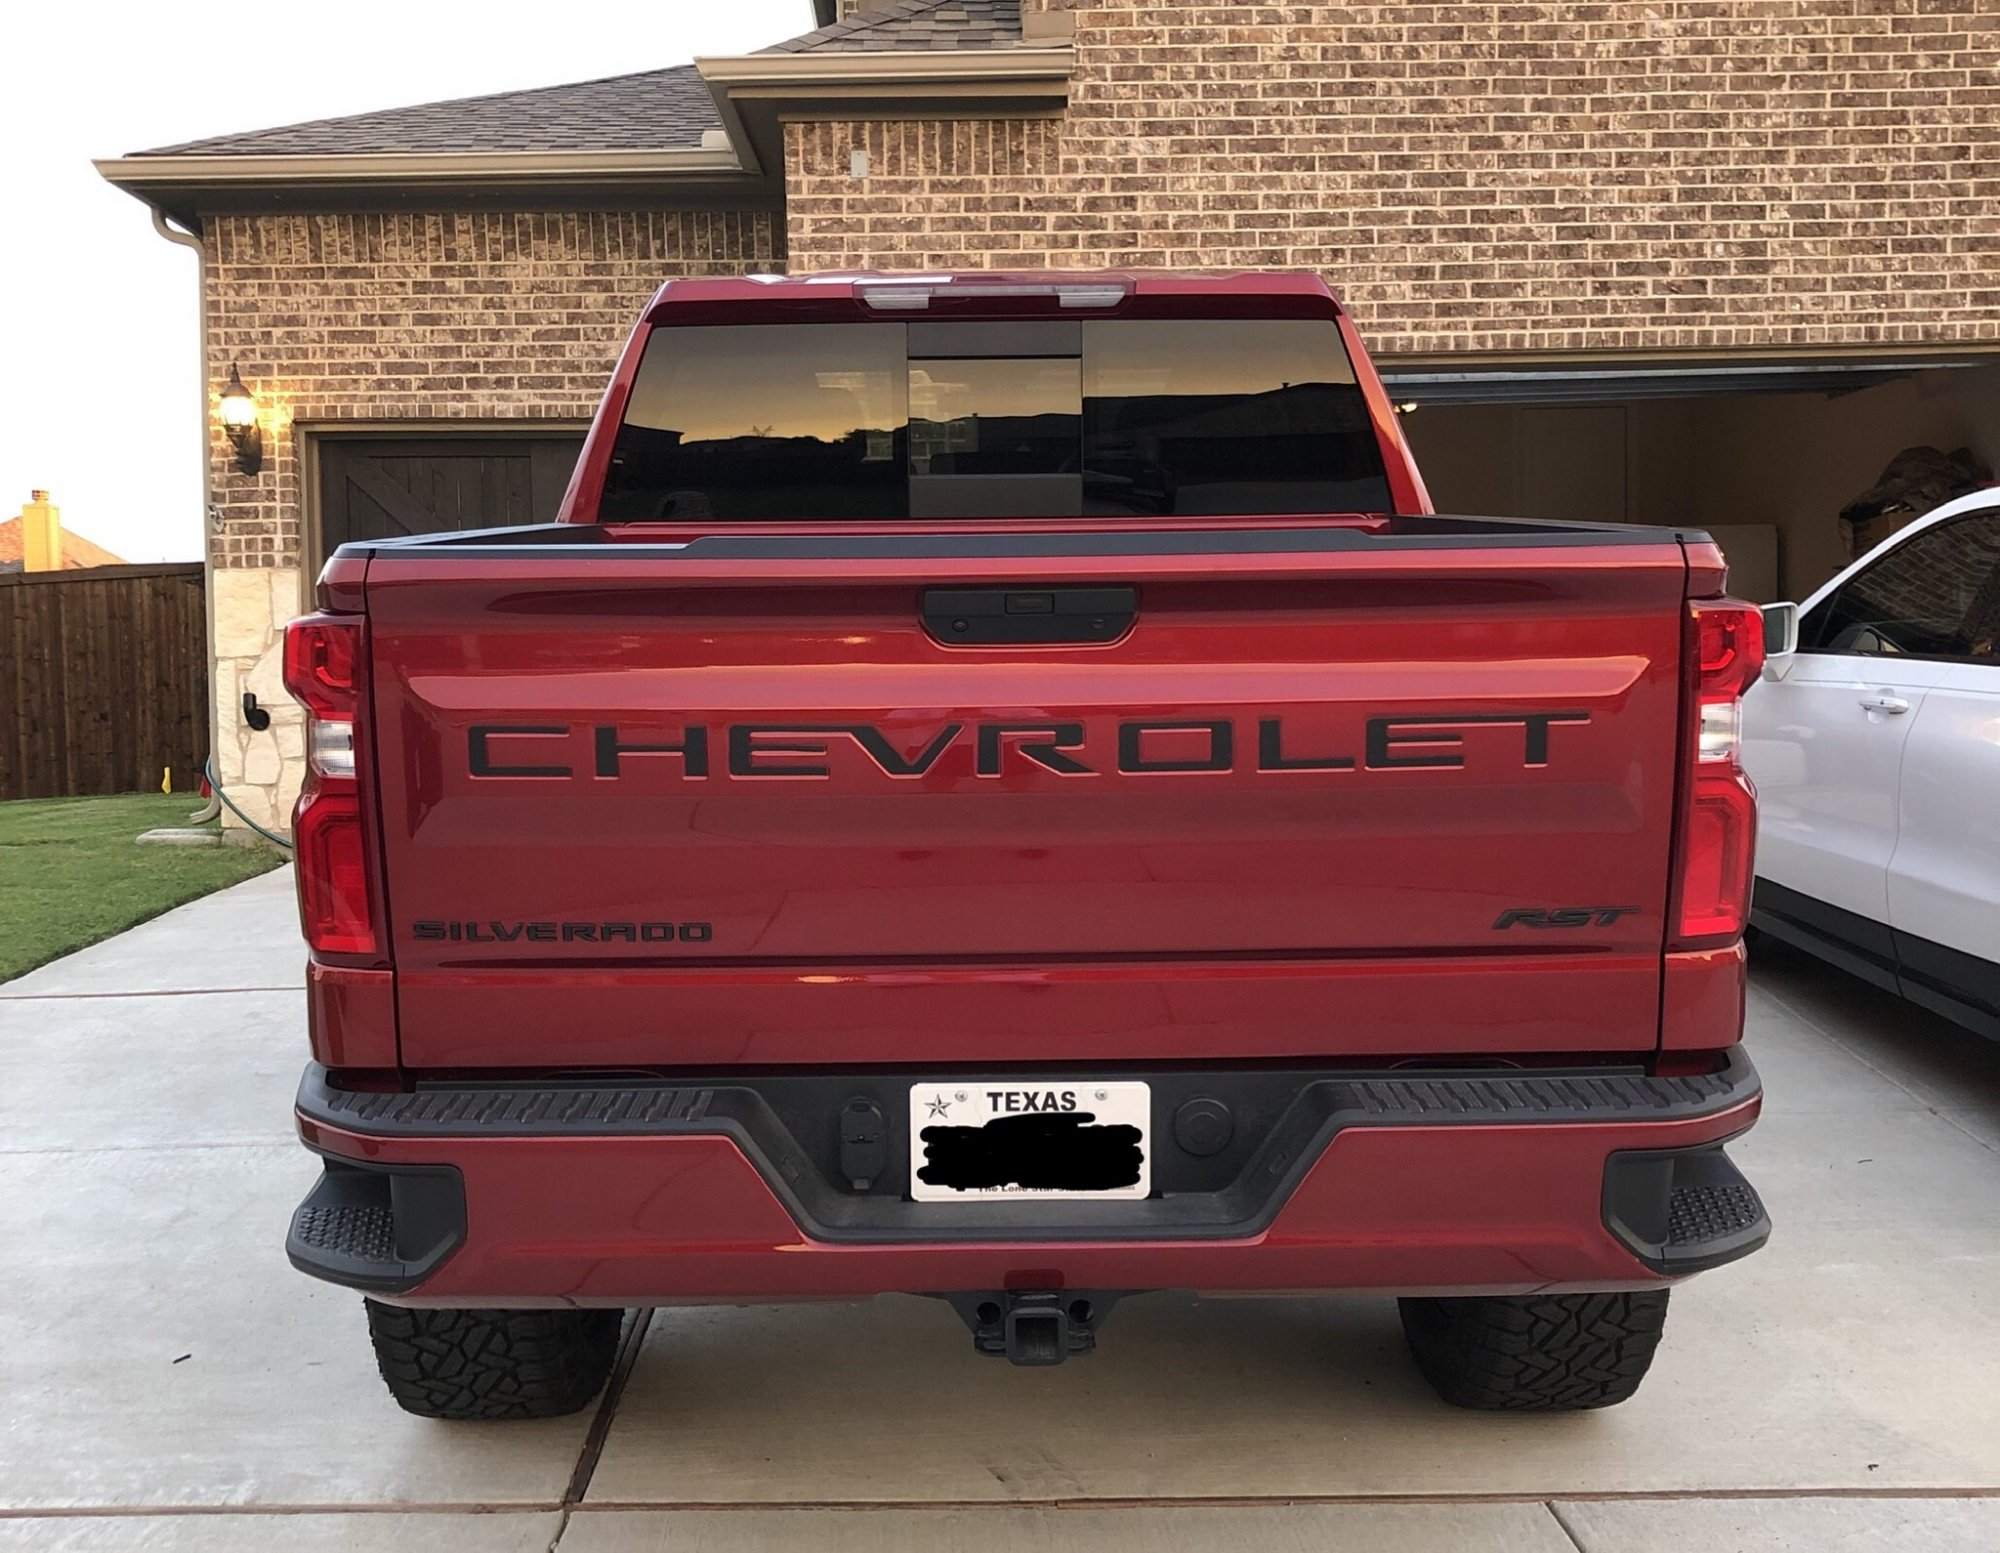
BDTrims insert for the tailgate. Blacked out all the badges the old school way with plastidip lol Rydonair 13” antenna replacement.
1 point
-
6.2/10 speed enough said1 point
-
That’s a killer ride, looks perfect1 point
-
Yeah they start clunking around 15000 mile after the drive train breaks in..1 point
-
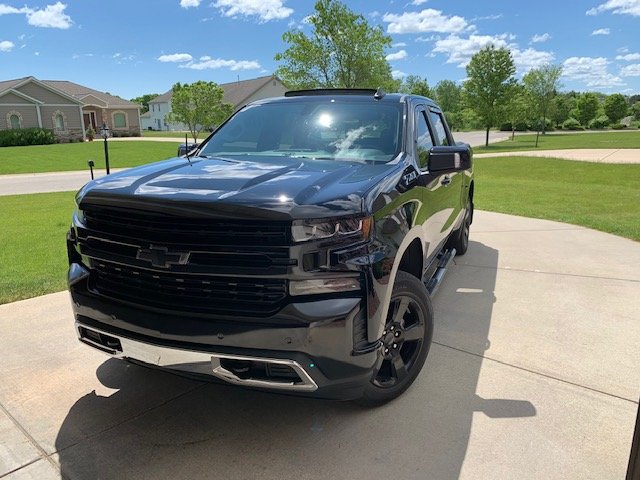
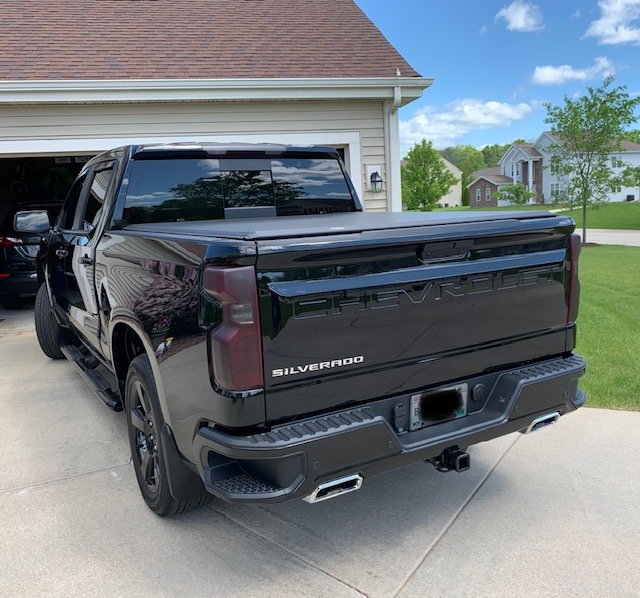
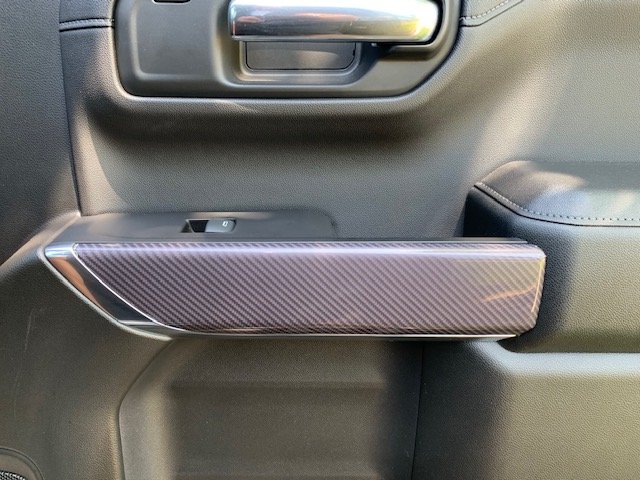
-Access tonneau cover -Dealer sprayed bed liner -Westin side steps -Chrome delete front/rear bumpers and side mirrors -Added chrome piece below the bumper -blacked out Z71 badges -Tinted tail lights. -Stubby antennae -AVS vent visors -Carbon fiber vinyl over the wood grain on the doors (shoutout Obxman7) -Illuminated Bow tie (shoutout BeardBros) -Window tint -Xpel’d the hood -Swapped all incandescent bulbs for LED’s -Wheels 20’s from my ‘16 on till I figure out what I want to do for 22’s -fogs coming soon
1 point
-
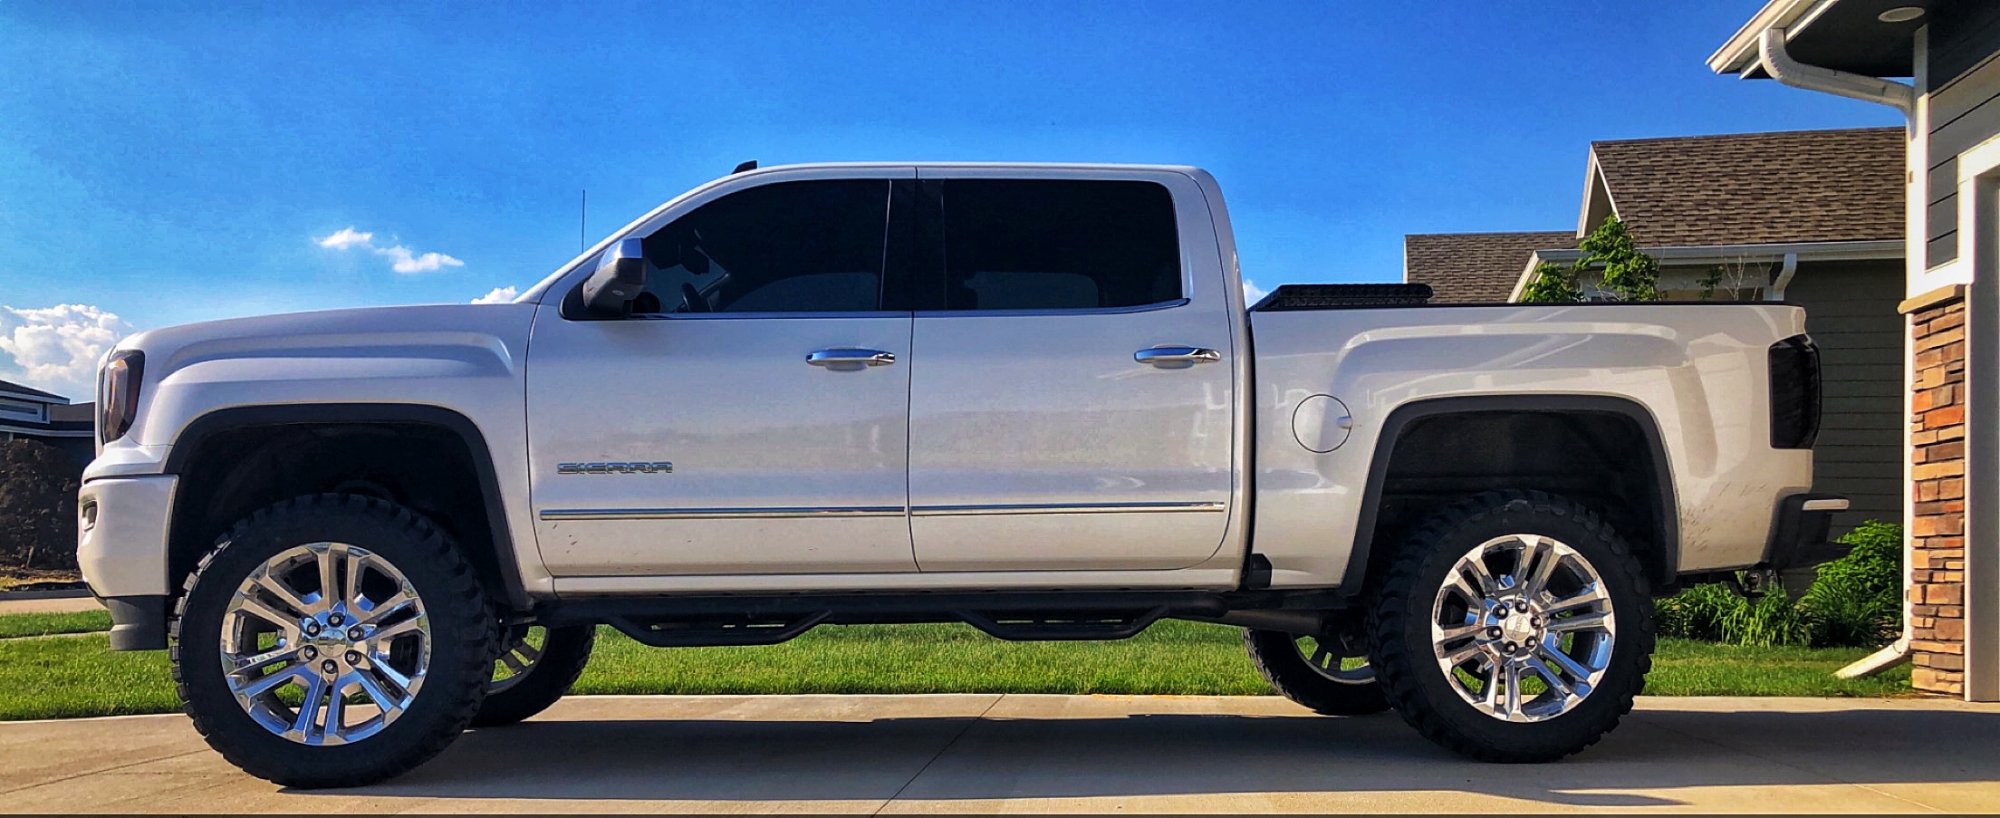
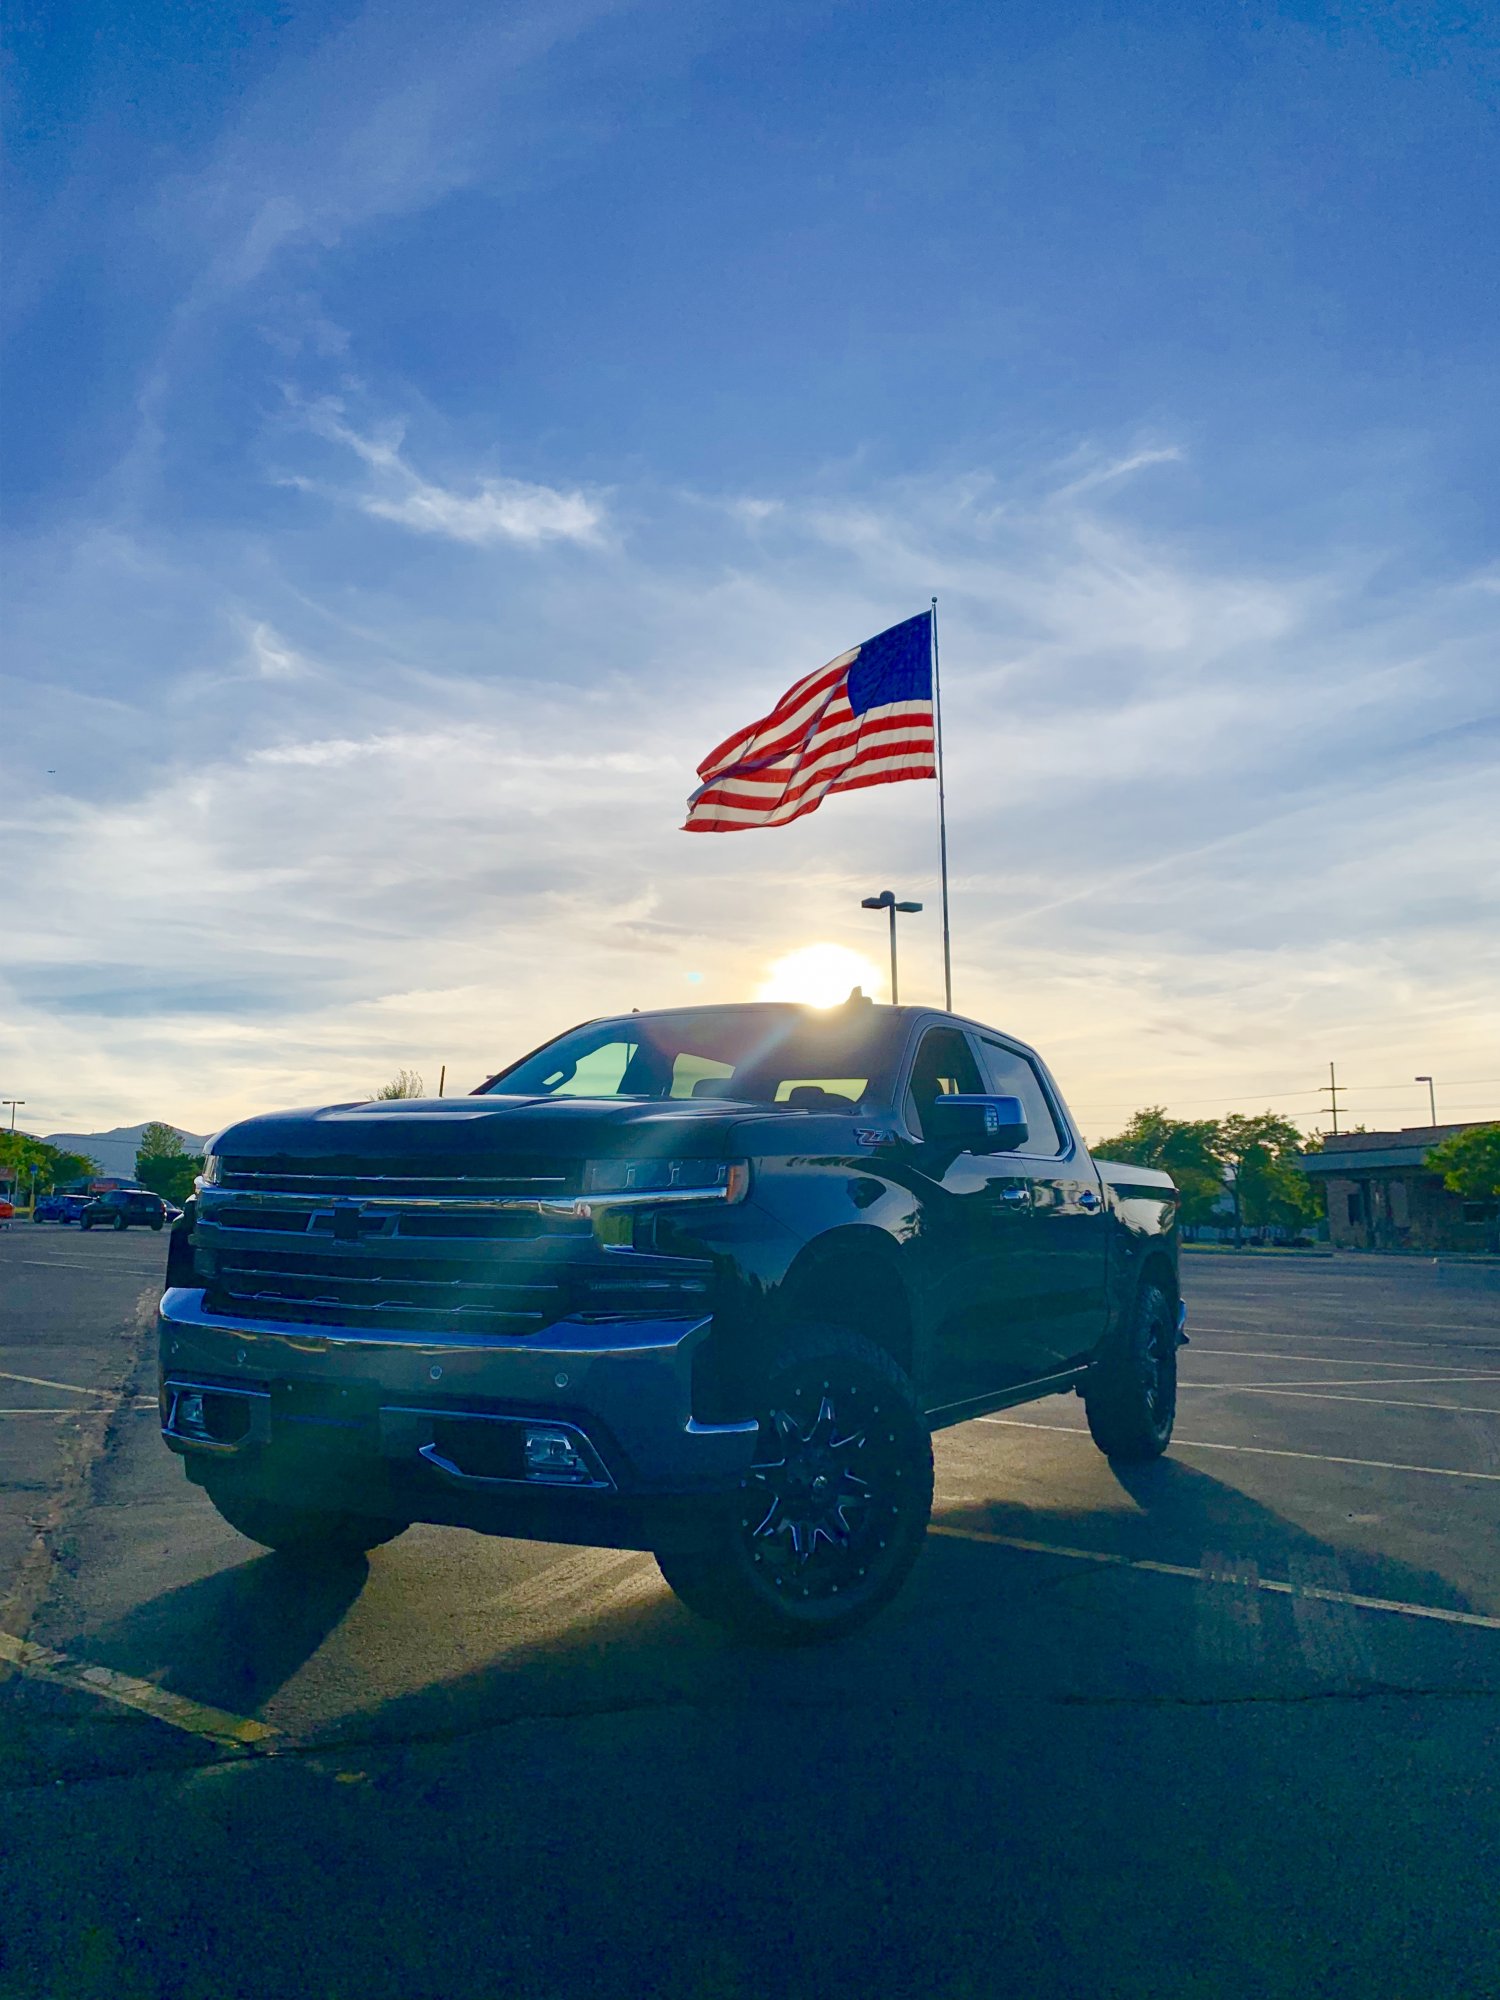
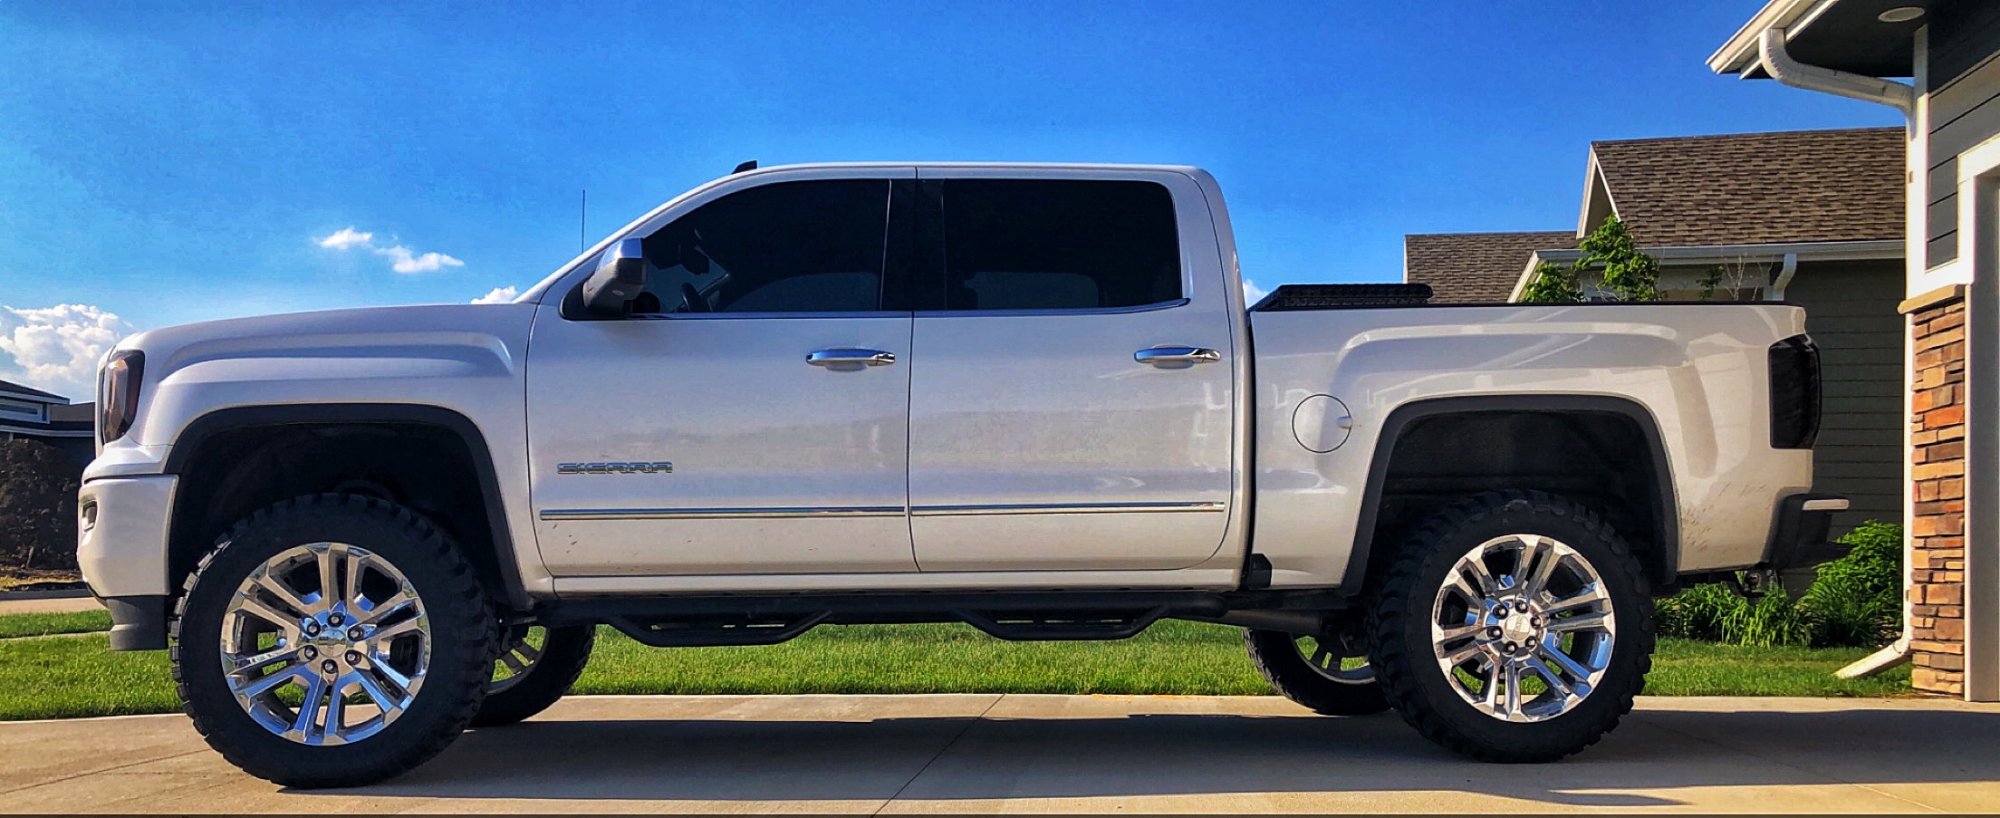
I was going for level with a Motofab kit that was supposed to be 2" front and 1" rear. Motofab said they were good for the 2019... but I guess they did not realize that the 2019 does not have a stock 1" rear block to remove like the k2. So I got a 2" front and back, and still have a 1" rake. But I'm actually really happy with how it looks. Rake looks much better without the nose so low to the ground. (The first pic is earlier, before I installed rear wheelwell liners. They make a huge difference in the look of a truck when lifted, especially white ones.)
1 point
-
Full photo of the truck with 325/65/18 on OEM rim, 1/4 spacers & 2” factory lift
1 point
-
Spacers up front. No issues on the back.1 point
-
$270 for the armrest, $240 for the lights, $46 for shipping. From gmpartsoutlet.com.1 point
-
1 point
-
Well, I want ahead and ordered the part anyway. Will post photos when it arrives. Also ordered the fog lamp kit (84125494).1 point
-
Lol, aside of a little transmission clunks I’m really enjoying my truck. To much put into it to just get rid of it. Right now it’s in the shop with 18k on it doing a preventative transmission flush. I told them it’s the only way to prevent trading it in for the Raptor, they didn’t like hearing that. I’m now realizing that I’m much more into the German Manufacturing then the GM but I need a truck for off-road and hog hunting Sent from above1 point
-
Yup, because image is very important; you have to have others know you drive a 4wd truck regardless if it is used or not. It can be easily rectified by placing strategic 4wd emblems/stickers on the truck to let others know you aren't driving around in a lesser much less macho 2wd truck at the local starbucks... Tyler1 point
-
Great to know you had success without the need to cut things up. I have a RC 5 inch suspension lift + a 1.5 inch Zones Body lift with 20x1x0 -18 Fuel D 611 and I'm told there will need to have some cutting done. I am currently running 33x12.50x20 TOYO AT's
1 point
-
Here is the front... had the bumpers, grille, and GMC logo done. On the grille, only the surround was supposed to be done, but they accidentally did the entire thing. I actually like it better.
1 point
-
Is the truck holding up or a new Raptor coming sooner rather than later? Sent from my iPhone using Tapatalk1 point
-
looks good! lots of blue rcsb k2xx rcsb trucks on this site1 point
-
Spring cleaning! Once a year, top to bottom, under and over, front to back, inside & out.1 point
-
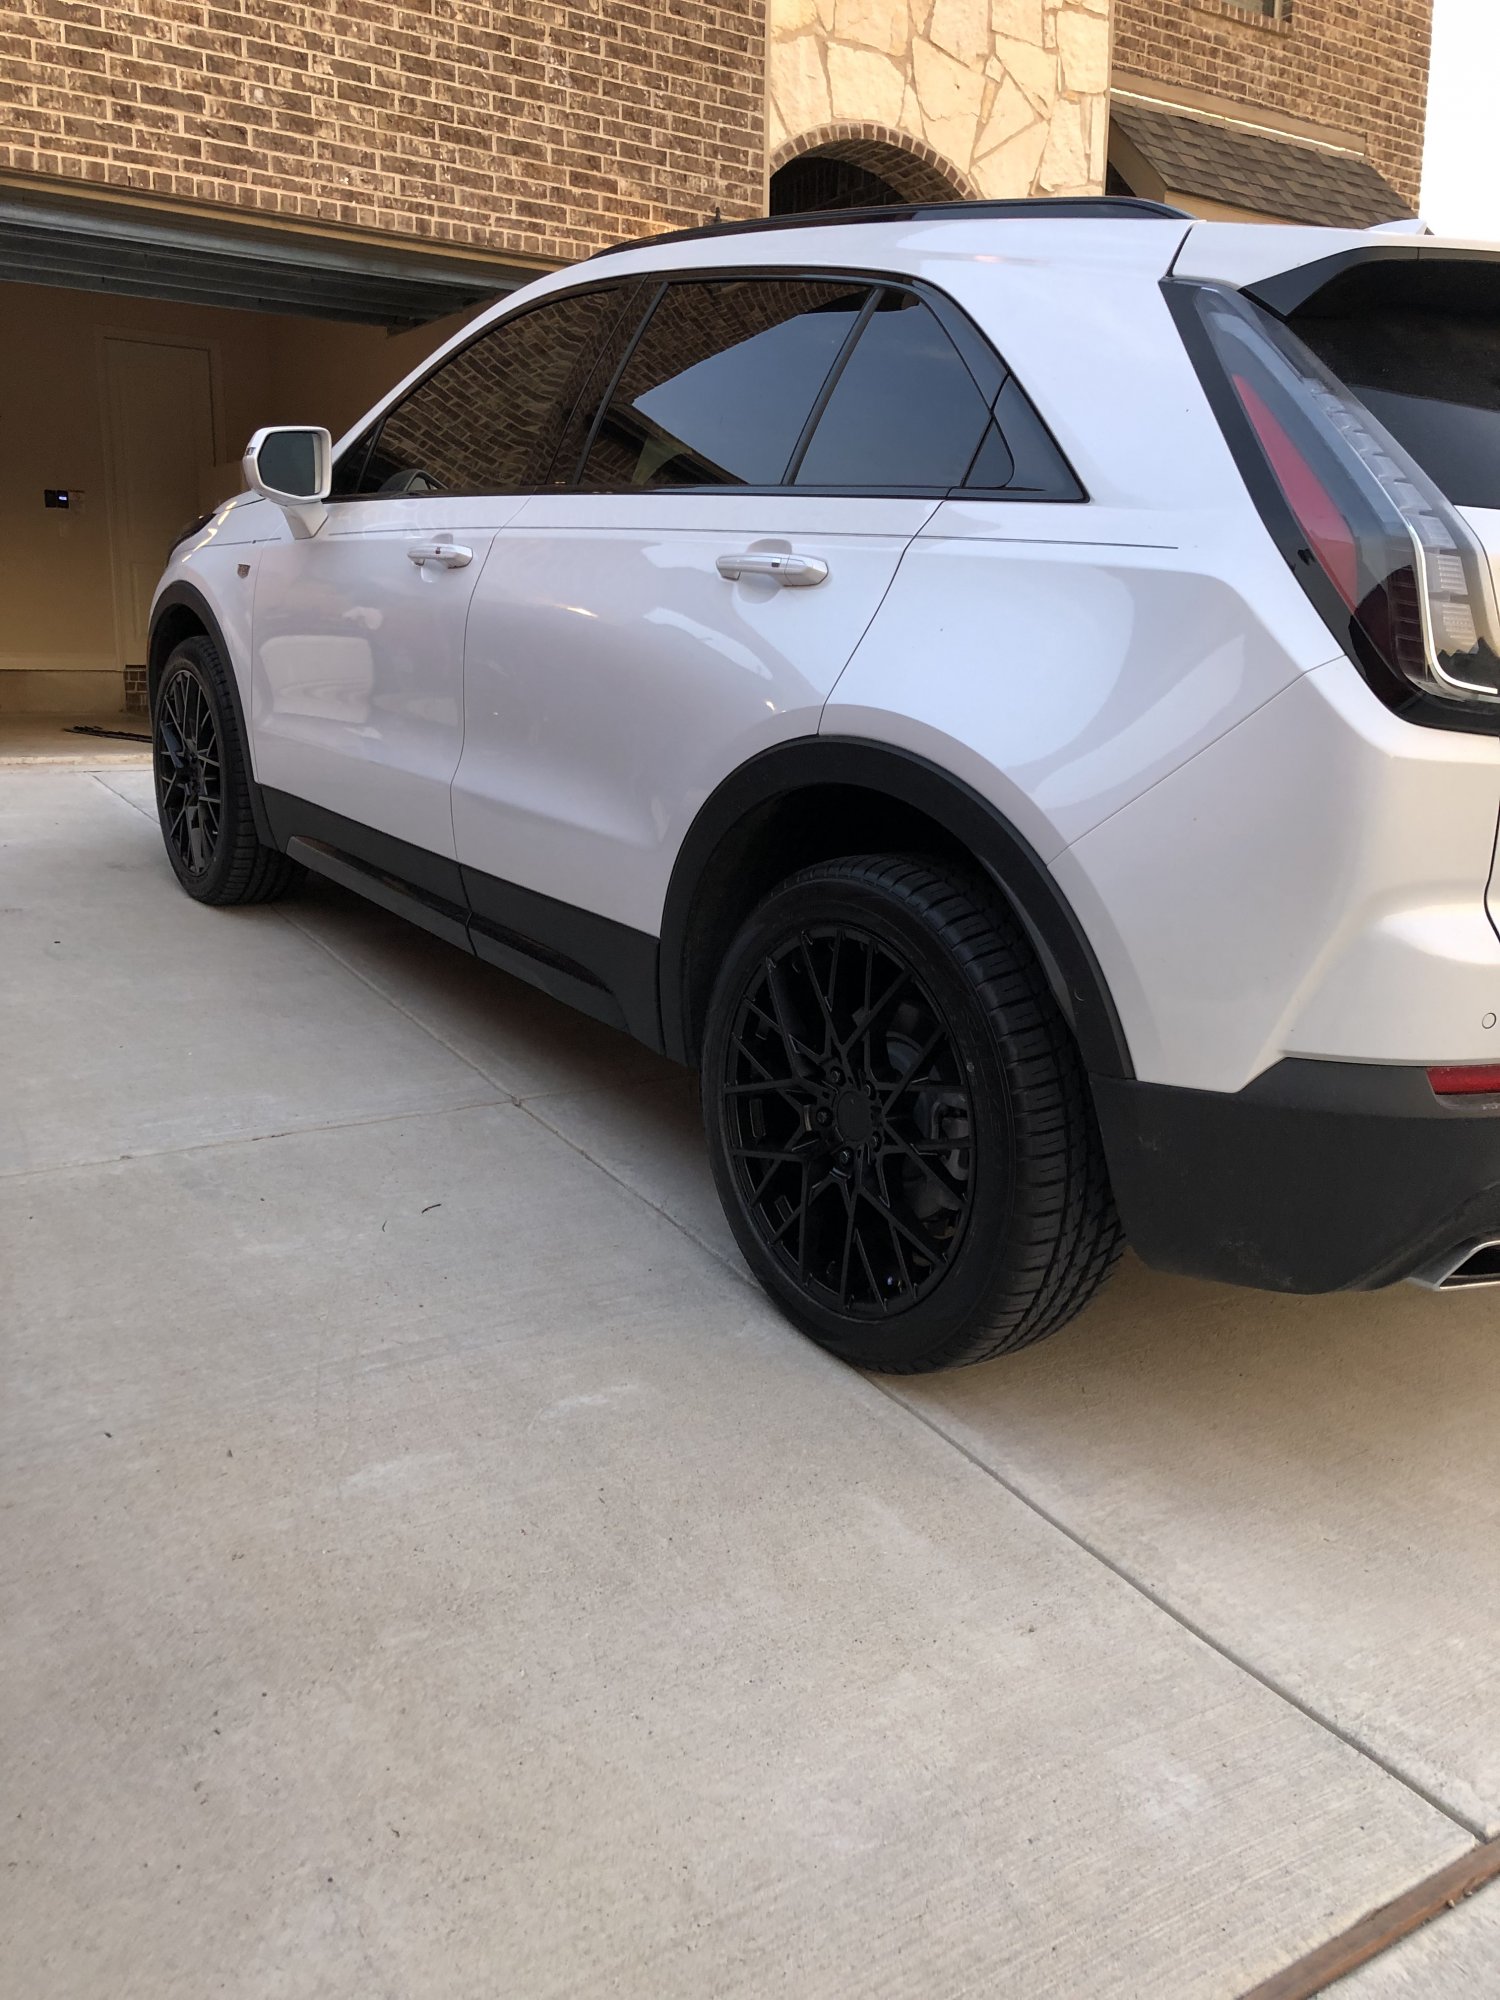
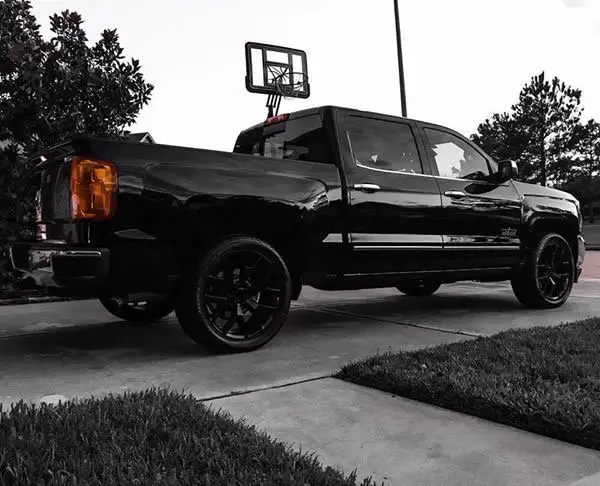
I'm glad I decided to get black wheels for MY truck and you guys got the wheels you wanted for your trucks ? Even had them on my 2017
1 point
-
Just got mine leveled
1 point
-
did it myself using avery vynil1 point
-
And what's wrong with black wheels?
1 point
-
Sure the guys that have ordered will post them once they get their parts installed. Thanks to everyone figure this out, and taking the plunge on ordering the parks! Looking forward to the install photos.1 point
-
Does anyone have a photo of this part (84647286)? Just want to confirm it's the right thing before I order one as there's a 20% restock fee plus shipping costs if returned.1 point
-
Installed Motofab 1.5 inch level kit and tint. 15% on back windows, 5% on front and 50% on windshield. Love this damn truck! And I traded a ‘17 Denali Sierra.
1 point
-
Mines 2wd but just put a 1.5 inch level on the front. Rear is stock. Gonna go with bigger tires when these wear out. I’m satisfied with the level because i still wanted some rake with towing. No difference in ride.
1 point
-
No mods or anything, fits like a glove. Probably could go to a 34.5” but anything more than that and you would definitely have to do some trimming.1 point
-
Got the MotoFab 2.5” front/ 2” rear installed last weekend. Install went pretty good, only about 4 hours complete. No rubbing, seems to ride same as stock. Thanks to those who provided input!
1 point
-
So nobody with a catch can wants to post pictures of their valves but are 100% positive that theirs are in better condition than non catch can engines. Got my laugh in for the day1 point
-
It’s basically just new shocks, CVs, and rear blocks right? Sent from my iPhone using Tapatalk1 point
-
I want to see a 130k motor with catch can. You can get cheap smartphone scopes on amazon.1 point
-
Thanks steve841. Here's the exact truck that I drove, and then ordered based on it with the exception of the 22" wheels which aren't available with the Max Tow. I'm going to add the 22's back with a little heavier rated tire once I get the truck.
1 point
-
checking in for the HD guys here 22x14 / 8" lift / on 37s
1 point
-
The 2.7 is not for me but TFL had really good results in their loop at altitude. Real world reports of 2019 GM performance and mpg in general have been good overall. GM's problem is that the roll out and packaging of these new pickups is too dull and incomplete. Why not a 6.2/10-speed in a LT or RST? Why not have a couple more interior color combinations? I think their lack of doing anything exciting with this roll out helps diminish any type of of buzz the 2.7 probably deserves.1 point
-
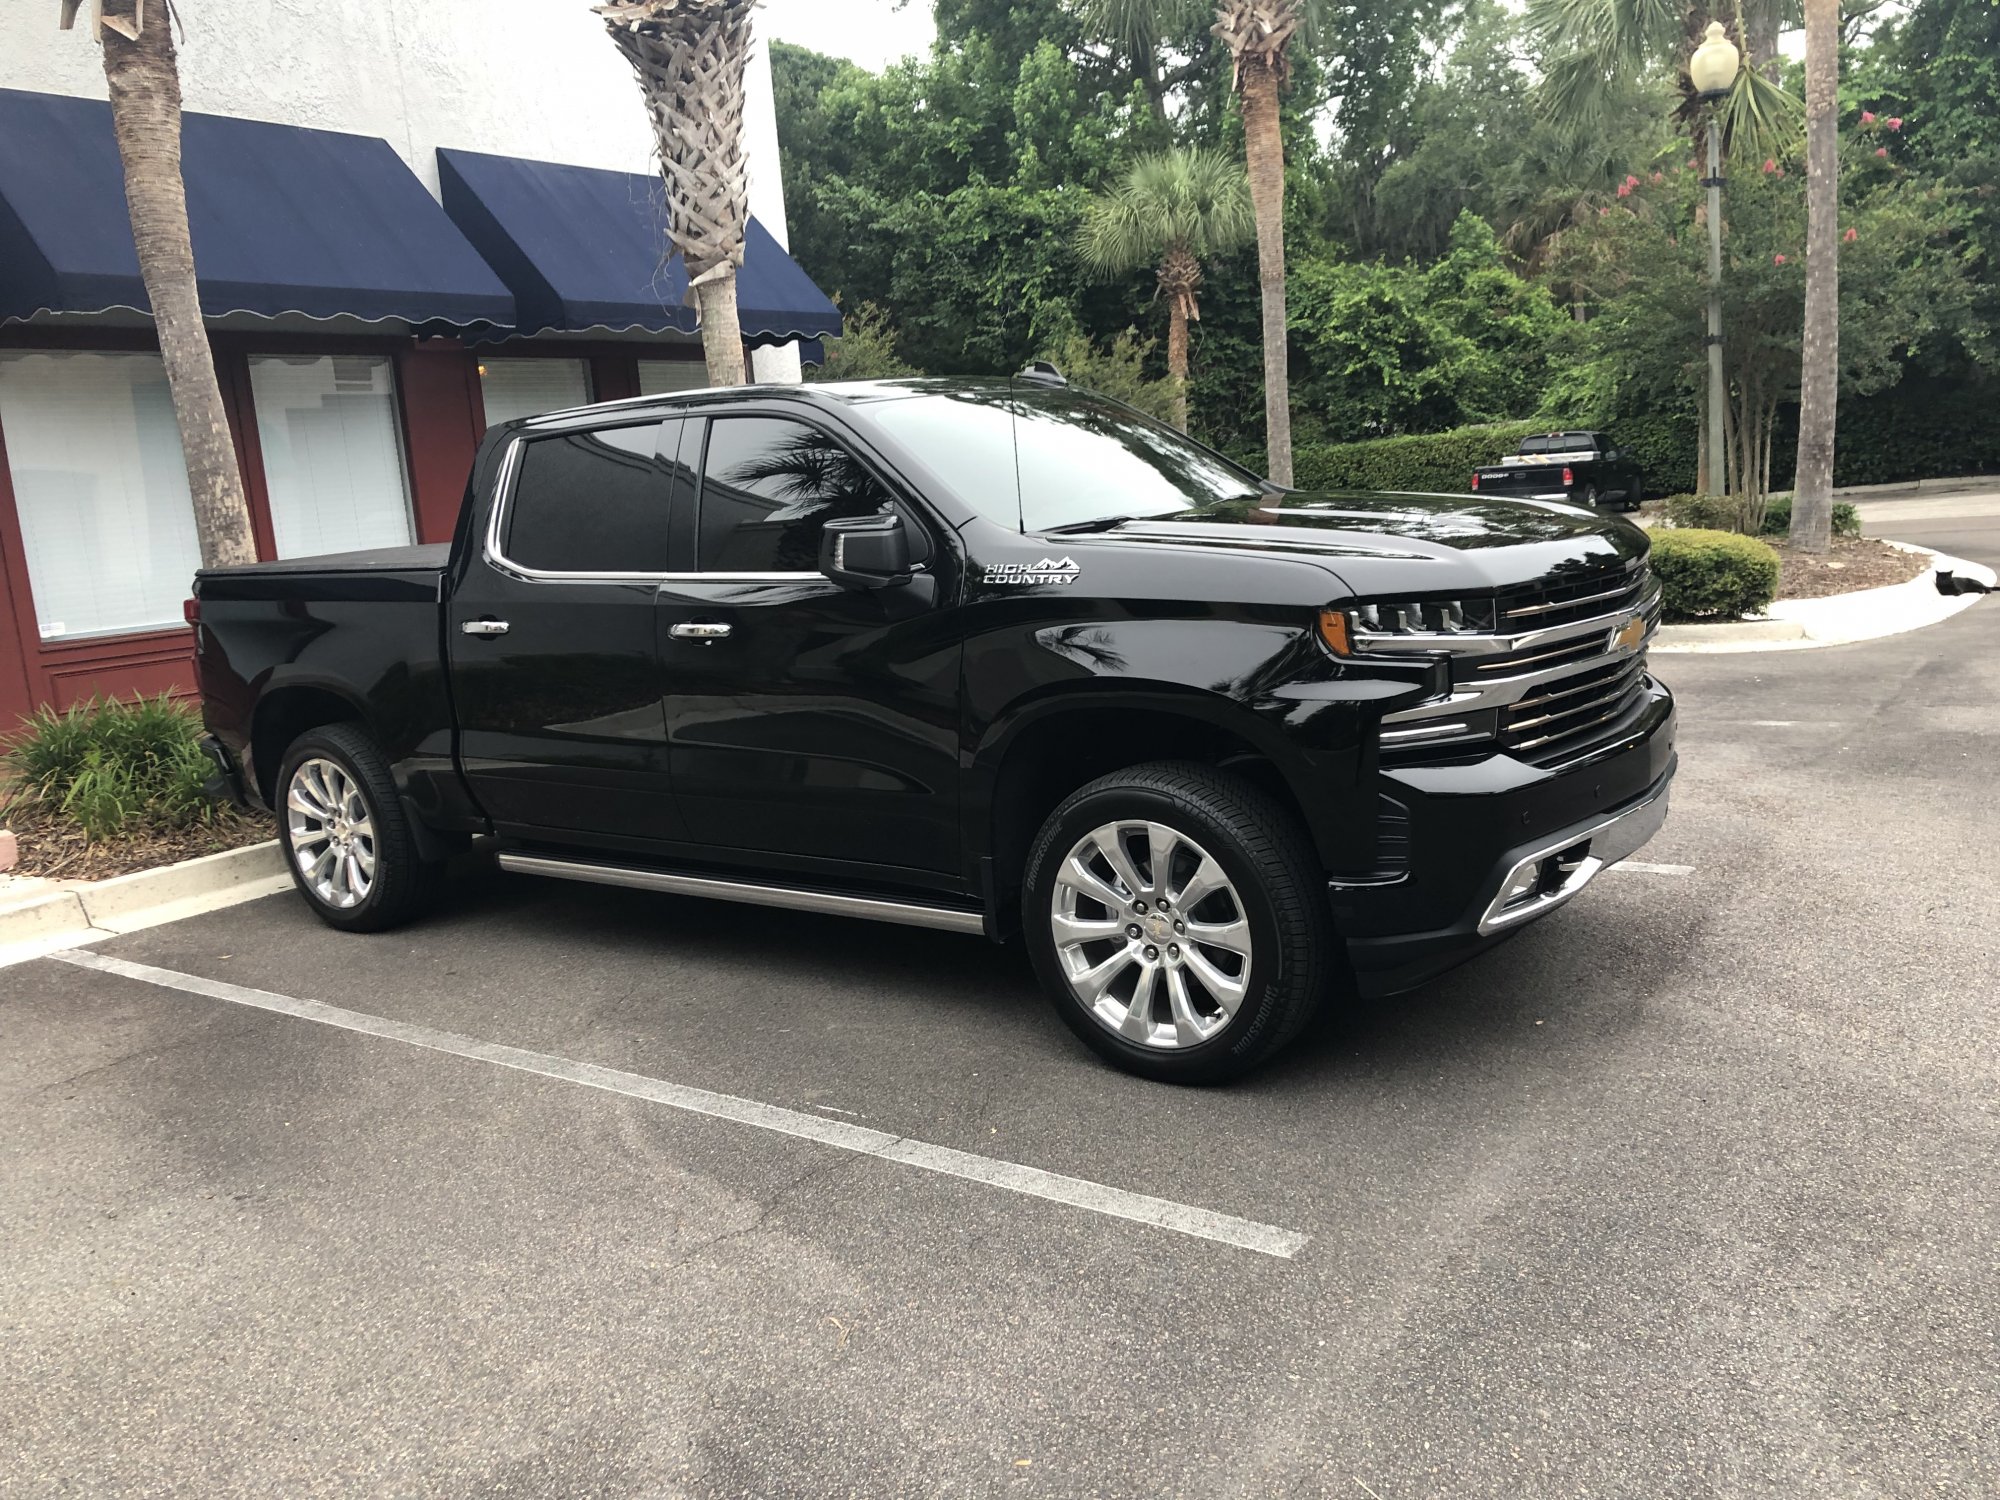
Heres some recent mods I have done. High Country grille, Black Flame Customs headlights, & OEM chrome mirror caps. High Country taillights, OEM chrome tailgate handle, LED third brake light, & license plate lights. “OEM Style” running boards & OEM chrome door handles.1 point
-
Youre on gmfs1 point
-
Just installed a 2.5” RC leveling kit and put on K02 275/65R20s. Happy with the finished product, just need to trim a little felt that is rubbing.
1 point
-
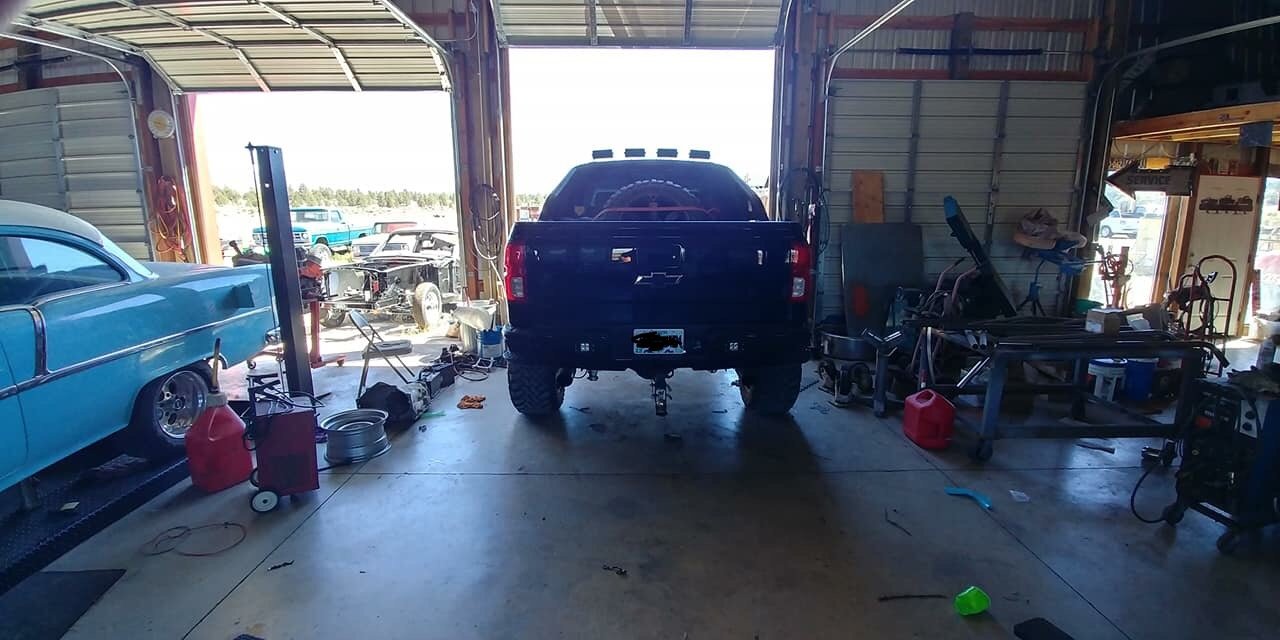
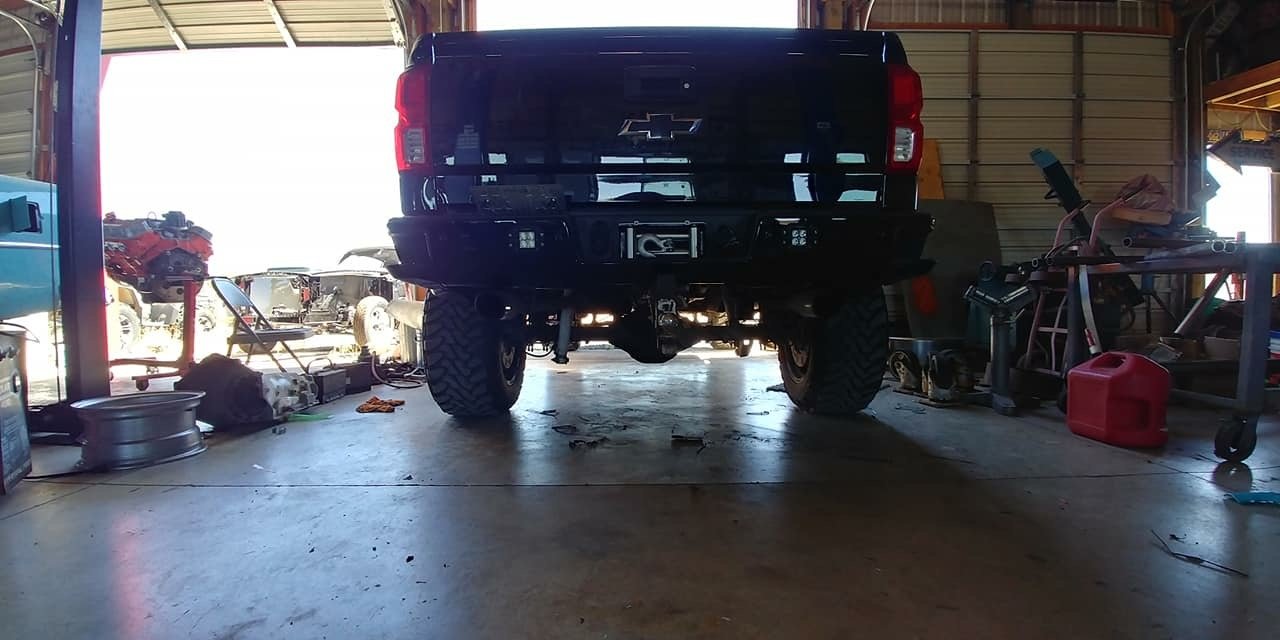
Rear winch done. I welded these brackets and plates onto the hitch receiver.
1 point
-
Good choice! Those methods look awesome with that color!1 point














-Copy.jpg.1d7f33b320ee056b2f5359fe3a0c2eb5.jpg)

.thumb.JPG.2c573de60d3a3a4407c7d92298db46dd.JPG)















This leaderboard is set to New York/GMT-04:00