Leaderboard

.thumb.JPG.2c573de60d3a3a4407c7d92298db46dd.JPG)

.thumb.jpg.6fef9afe0e9b84ad4ccad3874a38da33.jpg)
Popular Content
Showing content with the highest reputation on 12/16/2020 in all areas
-
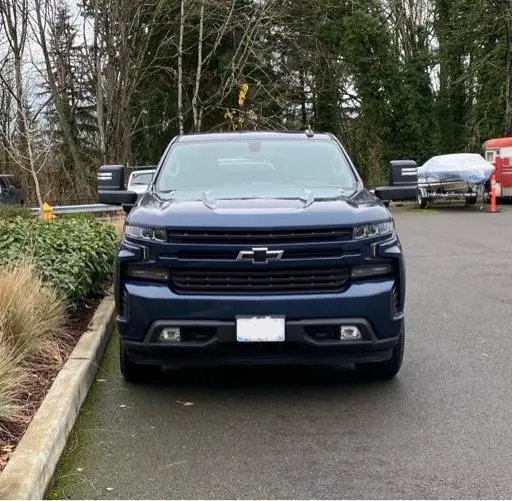
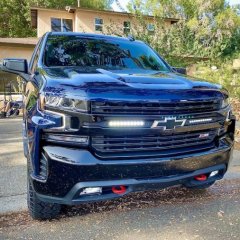
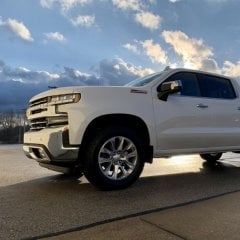
Said farewell to mine. It was bitter sweet. For a 2021 Silverado LT. Will start tearing it apart soon [emoji51] Sent from my iPhone using Tapatalk10 points
-
I wish there was a way to pin some messages on this thread. Here are a few that every new reader needs to read: 1. Yes, if you have a rear slider your window WILL leak. Period. (you may last longer if you live in a desert) 2. Yes, your window will eventually leak again if the dealer "seals it". 3. No, your replacement window is not some new, unicorn design that will finally solve this. I realize I'm taking some liberty with the finality of statements #2 & #3, but those claims hold up pretty well on this 180+ page thread.5 points
-
Sorry, I had too! ?
 3 points
 -
Now I understand3 points
-
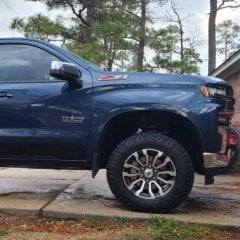
Posted in another thread, but installed the Eibach lift front and rear.
3 points
-
When I go surfing and snowboarding I hate taking my key. I've lost one on a powder day and had to get my in-laws to bring the spare up to the mountain. Plus camping or running out to the truck you don't have to remember the fob every time. They also cost allot when you lose one. My buddies with Ford's have these keypads and they get to leave theirs in the truck.2 points
-
None taken GBear!, After reading your last missive, I guess my next mod, which was an extra engine oil cooler coming off the other end of the bracket is a no-go. Here in Abilene, TX the summers get into the 110-115 degree a lot. So I was gonna cool the engine even more. Guess I'll put that oil cooler on the Trany..... Anyway, Y'all stay safe, trouble is on the horizon if U been keeping up with the pols lately. PQTUS will straighten them out. Purolator Pure One PL22500 or AMSOIL filter EaO34, decisions decisions..... ") I'll post pictures after the Mod, maybe a couple of days, Friday supposed to get up to 60 during the day. I'm out jd2 points
-
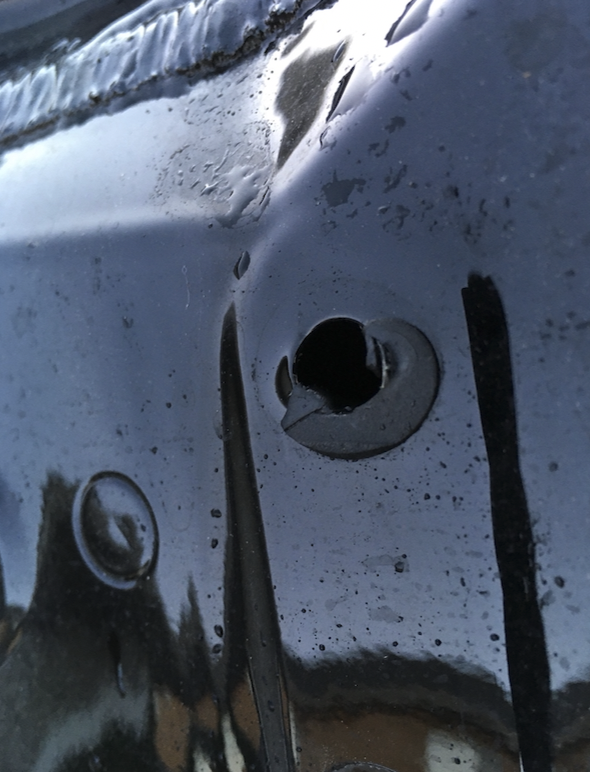
Yup, I just followed the TSB linked above. There was another pdf on how to drop the headliner I'll post it here. Headliner.pdf Bought a tube of my own Kent Sealant. I took the whole headliner down. Left the spoiler on at first and water tested with a hose. I had a leak from one of the spoiler holes. Bad gasket from one of the retainers. My leak was different after I took it in to GM. My first leak was down the corners like everyone here. After the fix, the leak was coming from inside the headliner because I would go through a car wash and it would be fine. Then the first hard stop in traffic, my headliner corner would be soaked. Water was pooling on the top side of the headliner. I suspect the tech wasn't careful and mutilated the gasket accidentally. I ordered a new retainer from GM. It comes with the gasket. But I still had a slight trickle of water on the driver side. There was some sealant missing or fairly thin near and above the slider itself. But the left and right corners had plenty of sealant. So I just filled in the middle top section with more sealant until it was level to the top of the glass. And that fixed the leak. I realized that even though the leak was dripping on the inside driver side rear. The source of the water was travelling from the center top of the sliding window. I suspect the adhesive they (Fuyao) used to glue the glass to the plastic frame is either poor quality or not done right. Be happy to help anyone wanting to do this themselves.
2 points
-
Got a little mud on the tires. New tires are great in the snow Sent from my iPhone using Tapatalk Pro2 points
-
Final update that may help some and infuriate us all: Local glass guys got together, some of these guys have been doing this for 30+ years, and studied the aftermarket window from ATI. They actually got two of them in. They said it is not a solution and there were a number of reasons why. Advised me to avoid that route. Some of their techs have been doing these repairs for GM dealers and have relationships with upper management at GM. The word from GM is that they are very aware of this, but they have no intention of making a permanent fix at this point. Its TSB sealant, then replace glass, then sealant, etc. Until the owner is out of their 36K bumper to bumper, then they are holding the owner responsible. This may change, hope it does, because it is not a good look for GM. This glass company said they were shocked at GM's position and they will not buy any GM product for their fleet simply due to GM's handling of this issue. They also work on other brands and other brands are having similar issues, but they are being addressed properly (Tundra, Ford, Ram). Basically, if you aren't already aware, GM does not care about their consumers. Lastly, their best tech that has done dozens of these repairs, advised the most successful repair is to replace the glass and at the same time to perform the TSB sealant. It adds some structure and stability, but is still only a temporary fix but should last longer. Their next advice, once you are out of warranty, is to simply install fixed glass or trade/sell.2 points
-
I'm surprised there isn't a class action yet.2 points
-
#4. GM is a bunch of friggin' idiots for letting this go on for over 3 model years with no end in sight.2 points
-
In response to your PM: I expect you don't know this. Mobil gets 20,000 miles out of that filter series by letting dogs and cats through. Somewhere on the box in fine print, get out your magnifier, that 99.9% efficiency is referenced to 30 micron. The ISO 4548-12 standard is 20 micron. The GM wear test standard is a Beta Ratio of 75 or 98.7% but the reason is to find the smallest size that can be filtered with the efficiency or Beta Ratio as the reference. Then it's apples to apples. So how does the Mobil 1 do at a Beta of 75? 25 micron. In this forum go to and read Motor Oil / Filtration / 4 for the quick information then the other filtration post, #3 is an eyeopener for the nuts and bolts. I spent some hours on your current question last night to hand you the best possible solution but it's you truck. I'm just offering INFORMATION....which is different from opinion...isn't it?2 points
-
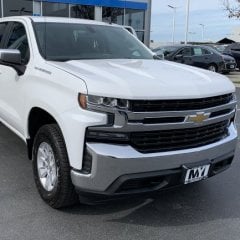
New Truck??? Now you got people looking at New Truck's .2 points
-
Just got my AMP Research Power Steps installed the other day. Also mounted my AVS Aeroskin Light Shield but haven't wired it up just yet (I'm NOT good with electrical, so still researching how to do it properly). Really love the look of these steps over the stock nerf steps!
2 points
-
-Toolbox is a UWS - Tires have held up remarkable well considering how much highway driving I do. No complaints so far. - 4" lift -35x12.50s clearing with no rub (wouldn't attempt spacers though) Thanks for the remarks! Can't say I don't enjoy looking at it while I am walking to it lol .
2 points
-
Not much has changed over the last few months, due to saving for a house and wedding next year. Snagged a cool pic from deer hunting a few months ago. Loving these Wildpeak 33's!
2 points
-
Only 56 pages? Rookies.?2 points
-
It’s handy as hell. I don’t always have my fob on me when I need to access something out of my truck.1 point
-
No it did not. I even called them, and they said it doesn't. A brand that 'seems' to get good reviews, is Kool Vue. Pretty comparable with Dorman, on price, and it has dimming. This place has them https://www.carparts.com/mirror-glass/kool-vue/cv49gl-s?&vehicle[cylinders]=8&vehicle[liter]=5.3&vehicle[submodel]=SLT&vehicle[model]=Sierra_1500&vehicle[make]=GMC&vehicle[year]=2006 and slightly cheaper on Ebay, but said out of stock https://www.ebay.com/itm/Auto-Dimming-Heat-Turn-Signal-Left-Driver-Mirror-Glass-for-Silverado-88944391/232950640976?epid=84001754&hash=item363cf0b150:g:PJYAAOSwxVFftRrN I messaged them, and they said they have it in the warehouse, and they would update Ebay in the next day or so. It's the same company. I can't bring myself to spend $300= on an OEM one.1 point
-
Your not bothering anyone. I wanted to make sure I was giving you the help you were actually looking to receive. Some are shy and just don't know what to ask or what information to supply. I just needed some clarity. A duel mount has advantages and some disadvantages. Higher flow for parallel systems lower the amount of time the system in in bypass with cold oil in the winter. This also makes lower relief valve settings plausible. Doubles the dirt holding capacity making it possible to run filters longer. Your can run tighter filters, to the same pressure drop as a single looser filter making better filtration possible. Which by the way is were I 'thought' you might be going. Why I asked about your plan/goal/expected results. As it turns out I was wrong. Trading as often as you do the added vehicle life would be wasted on your intentions. It's good to ask. That's the good stuff. But it also increases the amount of time it takes to heat the system up to normal operating temperature. If your normal drives are not long enough added capacity increases moister and fuel dilution. Why? Never gets warm enough long enough to boil it off. Cost is higher if materials is your only measure of cost. Ask anyone here, I'm an acquired taste. Meant no disrespect. 67 and a trashed back myself. Understanding what your looking to do...have at it as you planned. Those Mobil 1's will give you 200K engine life but I still wouldn't run them a year or 20K miles. 10K tops in pairs. 5K as a single. IMHO.1 point
-
Made it without incident and oil pressure intact. It’s dripping off the skid plate. Guessing oil cooler or line but they can’t look at it until tomorrow. Not trying to hijack with my own calamities but I did think it was pathetic and kinda funny to have the thing leaking in two places at once. Oh well. ? What I’ve read in the last page has almost talked me out of trading for a 2022. Just sayin, GM...1 point
-
Well I just hit 1,000 miles with my range pulsar lt and so far so good! No issues whatsoever. I really love the improved throttle response and I've noticed with the DFM turned off that the idle is way smoother. I figured I have lost about 1mpg with that disabled, but to me it is worth it.1 point
-
That's what I did, added the Kent sealant myself. So far, so good. I water tested it for a week with the headliner down. Rain and with a hose. There were some spots the tech missed when he applied the sealant. Once I gave it an even level of sealant across the top, all leaks stopped.1 point
-
OK, the replacement for that Mobil 1 filter in an AMSOIL filter is the EaO34.1 point
-
1 point
-
I'm pretty sure it's the same hold the button you want to save it too Sent from my Pixel 4 XL using Tapatalk1 point
-
I mean, he tested motor oil and it wasn’t much better than nothing at all1 point
-
i think -8 is probly correct size for oil line, used quality line from NAPA spend the $$$1 point
-
Just to add some better flowing characteristics, I would use a dremel and soften the 90° and sharp corners on the filter housings. MAKE SURE TO CLEAN THEM VERY WELL AFTER. For the filter stuff I don't have enough knowledge to help.1 point
-
well, you may not like my advice ? I see a lot of posts where the diode was just inserted into the connector and press fit against the pin. I would not do it that way, but doing it "right" requires some skills and tools. I would highly suggest soldering a short lead of wire onto the diode pins, heat shrink it, and splice that into the bcm wires either by soldering it in or using taps, which should be ok for an interior circuit (inside the cabin, reasonably free from moisture). why? that press fit is unreliable. you could end up with a poor connection. over time and bumps it could loosen up, you could end up with intermittent connectivity, the cargo lights flashing etc. the worst case though is pulling current through a poor connection, something that would be very hard to detect in this case...until it burns your truck to the ground. ok, we're talking about relay controls here, they are pretty low current. if you were trying to jumper some of the BCM circuits that directly drive lights and you're running a larger diode with a couple amps I'd tell you don't even think about doing it that way, you're just asking for a fire. with relay control you're passing milliamps through the diode, however a poor connection is still dangerous. now, it seems that tons of people have done this mod by just shoving the diode leads down the connector cavities and haven't had a problem, so you'd probably be just fine. but I wouldn't do it that way on my truck. completely up to you, stressing again this seems to be the go-to way of doing this and it seems to work safely. but just saying, if that relay draws 100mA on the coil, and you have a bad connection with the pin (which could even develop a couple years down the road should the diode leads get some surface corrosion on them or work their way loose over rough roads) that 100mA would be enough current to generate enough heat to char or melt the BCM connector or even start a fire. I'm an ECE (electrical/computer engineer) so I like to do this kind of thing the right way. I don't change vehicles very often so when I do a mod like this I do it so it will work safely and reliably for 200k miles and 10 or more years. Even if you are just pulling dozens of mA though a very poor connection, the leads can get hot enough to burn your fingers in a matter of seconds. Neither the diode nor the connector/pins on the BCM harness are designed for making electrical connections that way. At least on my projects, it's not a risk that I take. Not to mention, especially with the reverse lights/cargo lights mod, there is a long diode lead completely exposed, not insulated, and spanning across 2 connections in the picture in the first post. This could short against something and either cause mod failure, bizarre behavior (wrong lights coming on), or damage the BCM or its wiring. That is definitely not a good idea. At very very least, put some heat shrink or electrical tape over the exposed parts of the leads.1 point
-
It took me a while but had to do it. Been receiving so many requests for stuff. Sent from my iPhone using Tapatalk1 point
-
You will be the reason I get a T1 sooner than I expect, mark my words... ?? Excited to see what you have in store, congrats!1 point
-
The custom is body colored, work truck is just black1 point
-
I’m very excited to begin tearing this one apart! I carefully chose this one with a jump seat, power mirrors (manual fold) with Blind Spot, incandescent heads/tails on purpose. The console (if you get from GM), consists of several part #s is just like how the K2XX is. So I’m prepared for that. I’ll be working with my supplier on that and will hopefully make a coopere package like on K2XX. Push button Parking brake - annoying. LOL. 8k Funny what muscle memory will do even after 8k miles. Stay tuned! Sent from my iPhone using Tapatalk1 point
-
Post 17 and 23 show the grille part The CHEVROLET part was gloss black painted Sent from my Moto Z (2) using Tapatalk1 point
-
https://r.tapatalk.com/shareLink/topic?url=https://www.gm-trucks.com/forums/topic/238565-my-upfitting/&share_tid=238565&share_fid=33003&share_type=t&link_source=app My upfitting Sent from my Moto Z (2) using Tapatalk1 point
-
I will have to look tomorrow, but I'm pretty sure it looks like that. You are right. I sure didn't see it. I found a exploded diagram and it shows it. Thanks. I'll post up what I find tomorrow.1 point
-
This may be the first documented case of a car salesman lying to a customer to get the sale...1 point
-
Yeah, I glanced at it and went straight for the pics. My bad. Do you happen to have one of the rubber piece and the back. I'm not sure if mine has that. I will have to go look again in the morning. I think they are all about the same from '15 - '19. It looks pretty close.1 point
-
Thanks for the reply. So, what's it take to get the back cover off? Sorry, I didn't read it all. I found the easy ones. I will look again for the hidden screws.1 point
-
I'll be trying this ~$55 option once available https://9to5google.com/2020/09/07/android-auto-wireless-dongle-project/1 point
-
Replied to the other thread, saw it in the popular topics list and thought I could help, didn't even notice it was in the wrong forum. copying here: Disclaimer: This is based off the upfitter manual schematics and technical data, It would be best to look up and confirm and verify this information before you make modifications! To activate the Fog lights with the parking lights you can use a diode to jumper the relay controls: fog lights relay controls is X5 (brown? connector) pin 10, BRN/WHT wire Parking lights relay control is X5 (brown? connector) pin 22, BLU wire both are ground triggers for relays so to activate fog lights with parking lights: diode jumper Parking Lights Relay Control BCM X5, pin 22, BLU wire (GND signal) to Fog Lights Relay Control BCM X5, pin 10, BRN/WHT wire (GND signal), diode stripe goes towards Parking Lights, BLUE wire refer to the upfitter manual, pages (these are from the 2020 sierra book, pages may vary some with other years or for the silverado manual) 7-255 for BCM connector X5 pinout 2-24 for fog lights control schematics 2-28 for parking lights schematics, as an example. the parking lights are actually on a number of different schematics. , 2-31, 2-32. 2-33 etc. for cargo lights on with reverse lights, backup lights relay control is X5 pin 26 BLU/BRN wire, note, this is a +12V relay control wire, not ground like usual. This relay is labeled the trailer backup lights relay in the schematic. according to the schematic, it is responsible for sending the reverse lights command to the tail light assemblies (for sierra LED tail lights, others may be different) cargo lights (standing lamp relay control) is BCM X6 (pink) connector, pin 26, BRN/WHT and this also is a +12V signal. so for cargo lights on with reverse lights diode jumper backup lights relay control, BCM X5, pin 26 BLU/BRN (+12V signal) to cargo lights relay control BCM X6, pin 10, BRN/WHT (+12V signal), the diode strip goes towards the cargo lights, BRN/WHT wire note that because of the two different circuits for the cargo lights, this should activate the cargo light on the back of the cab and the "hitch" light on the back of the tailgate, but will not turn on the interior bed lights. references: 7-256 BCM X6 pinout (cargo lights) 7-255 for BCM X5 pinout (reverse lights) 2-31, 2-32 for backup lights schematics 2-38 for cargo lights schematics in both cases the only extra load we are adding to the source signal is a relay control, very low current draw. any standard diode will be fine. If anyone sees any errors, please let me know!1 point
-
For my 70 year old dad, the stock shocks in whatever he drives are good enough until they wear out and even then I doubt he'd replace them. For me, I just need something firmer and feels less bouncy. The stock Bilsteins in my 2016 Tacoma TRD OffRoad were atrocious. So even Bilstein can make bad shocks. The stock Ranchos in my TrailBoss are too bouncy for me. I also drive a 2020 Lexus RX350 FSport and that ride is sweet. So I'm a little biased when I drive my truck and it's bouncing all over the place. I don't want exactly what my Lexus has, but I need something a little more firm on the roads. OffRoad, the Ranchos are fine going up to my cabin in the mountains. I'm really more concerned about tires up there than shocks anyways. I hate getting stuck.1 point
-
Sent from my iPhone using Tapatalk1 point
-
Went to a body shop a couple weeks ago to see if they would paint my chrome bumpers. They would not for obvious reasons. Started doing a ton of research and ignored all of the advice on not painting them... Obviously. Finished the rear bumper today. Think it came out pretty clean. There are a couple imperfections in the clear coat, but if it bugs me enough I’ll polish them out. Hopefully my 4 hours of sanding hold up [emoji23][emoji1317] Not bad for 70ish bucks per bumper.1 point
-
Here is my 2017 midnight edition ltz 6.2l.
1 point
-
Given that GM's website lets you configure regular and extended cab trucks, as well as crew cab, I would say your salesman is just messing with you.1 point
-
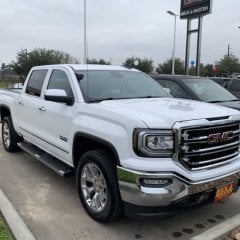
High country Standard bed all stock. Flat land south Texas 65 mph for 120 mile loop. Hope this holds!!
1 point
-
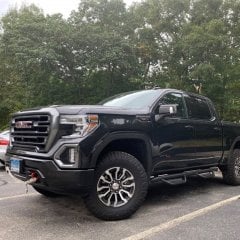
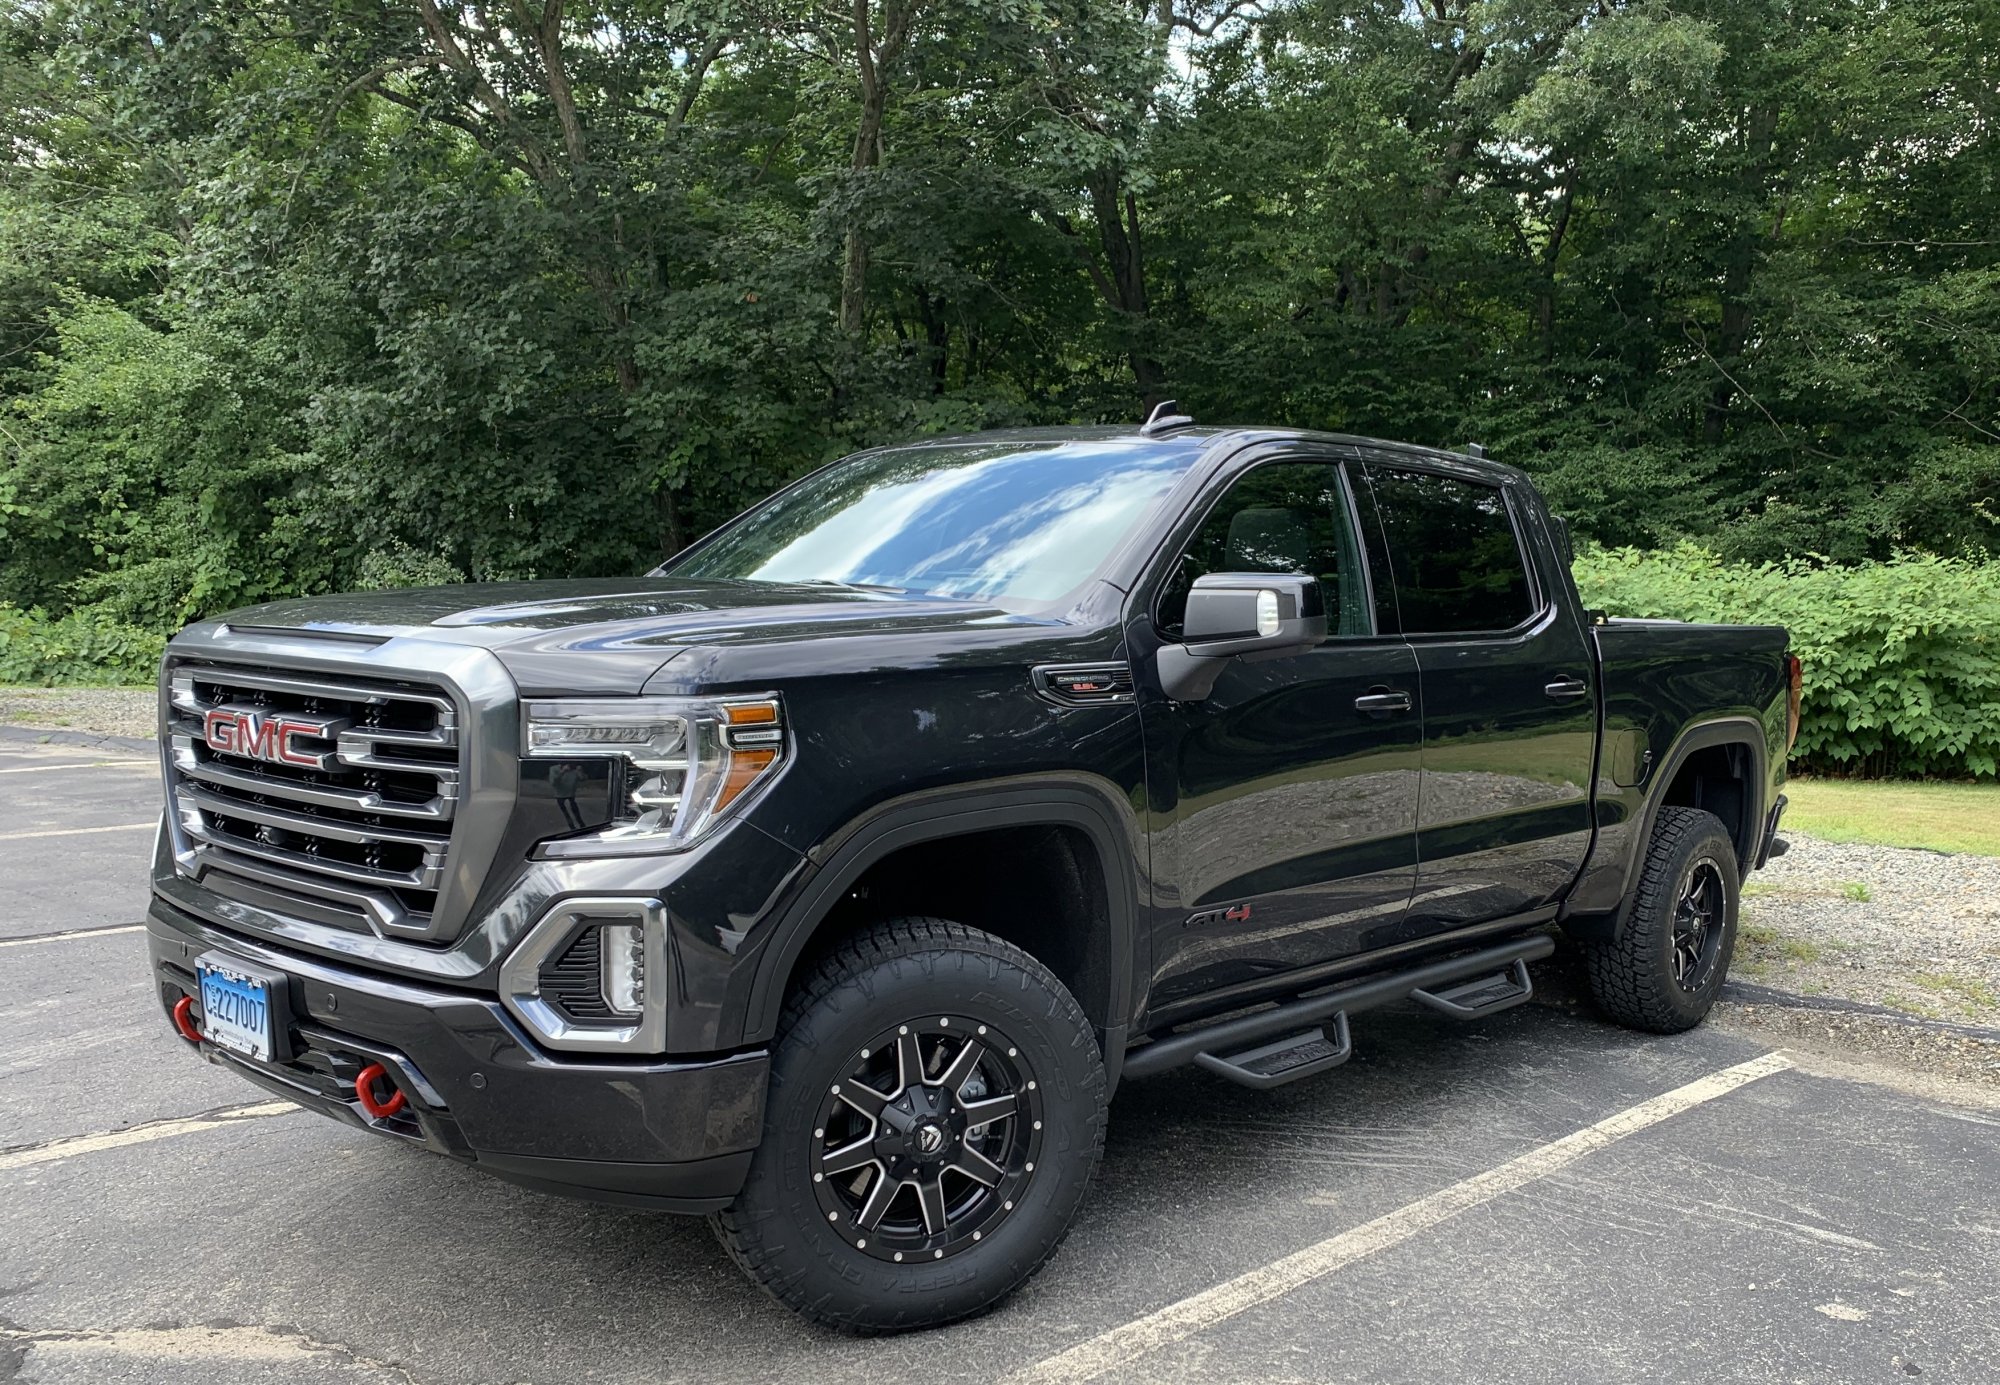
I think I'm done for now so I thought I'd throw a pic up. 2020 AT4 Carbonpro 6.2 in Carbon Black Metallic -Readylift +2 lift -33" Nitto Terra Grapplers on 18" Fuel Mavericks. -N-Fab Steps Love this truck. Just the right size, pretty big truck but I can still get into parking spaces in the city. And the 6.2 with the upgraded exhaust/CAI makes every ride a good time.
1 point


.thumb.JPG.96e5ac8c60641f8011665a2c92c083f2.JPG)


.jpg.c0d642ecfb22d35136f2b32e94782305.jpg)


This leaderboard is set to New York/GMT-04:00