
Leaderboard


Popular Content
Showing content with the highest reputation on 03/10/2020 in all areas
-
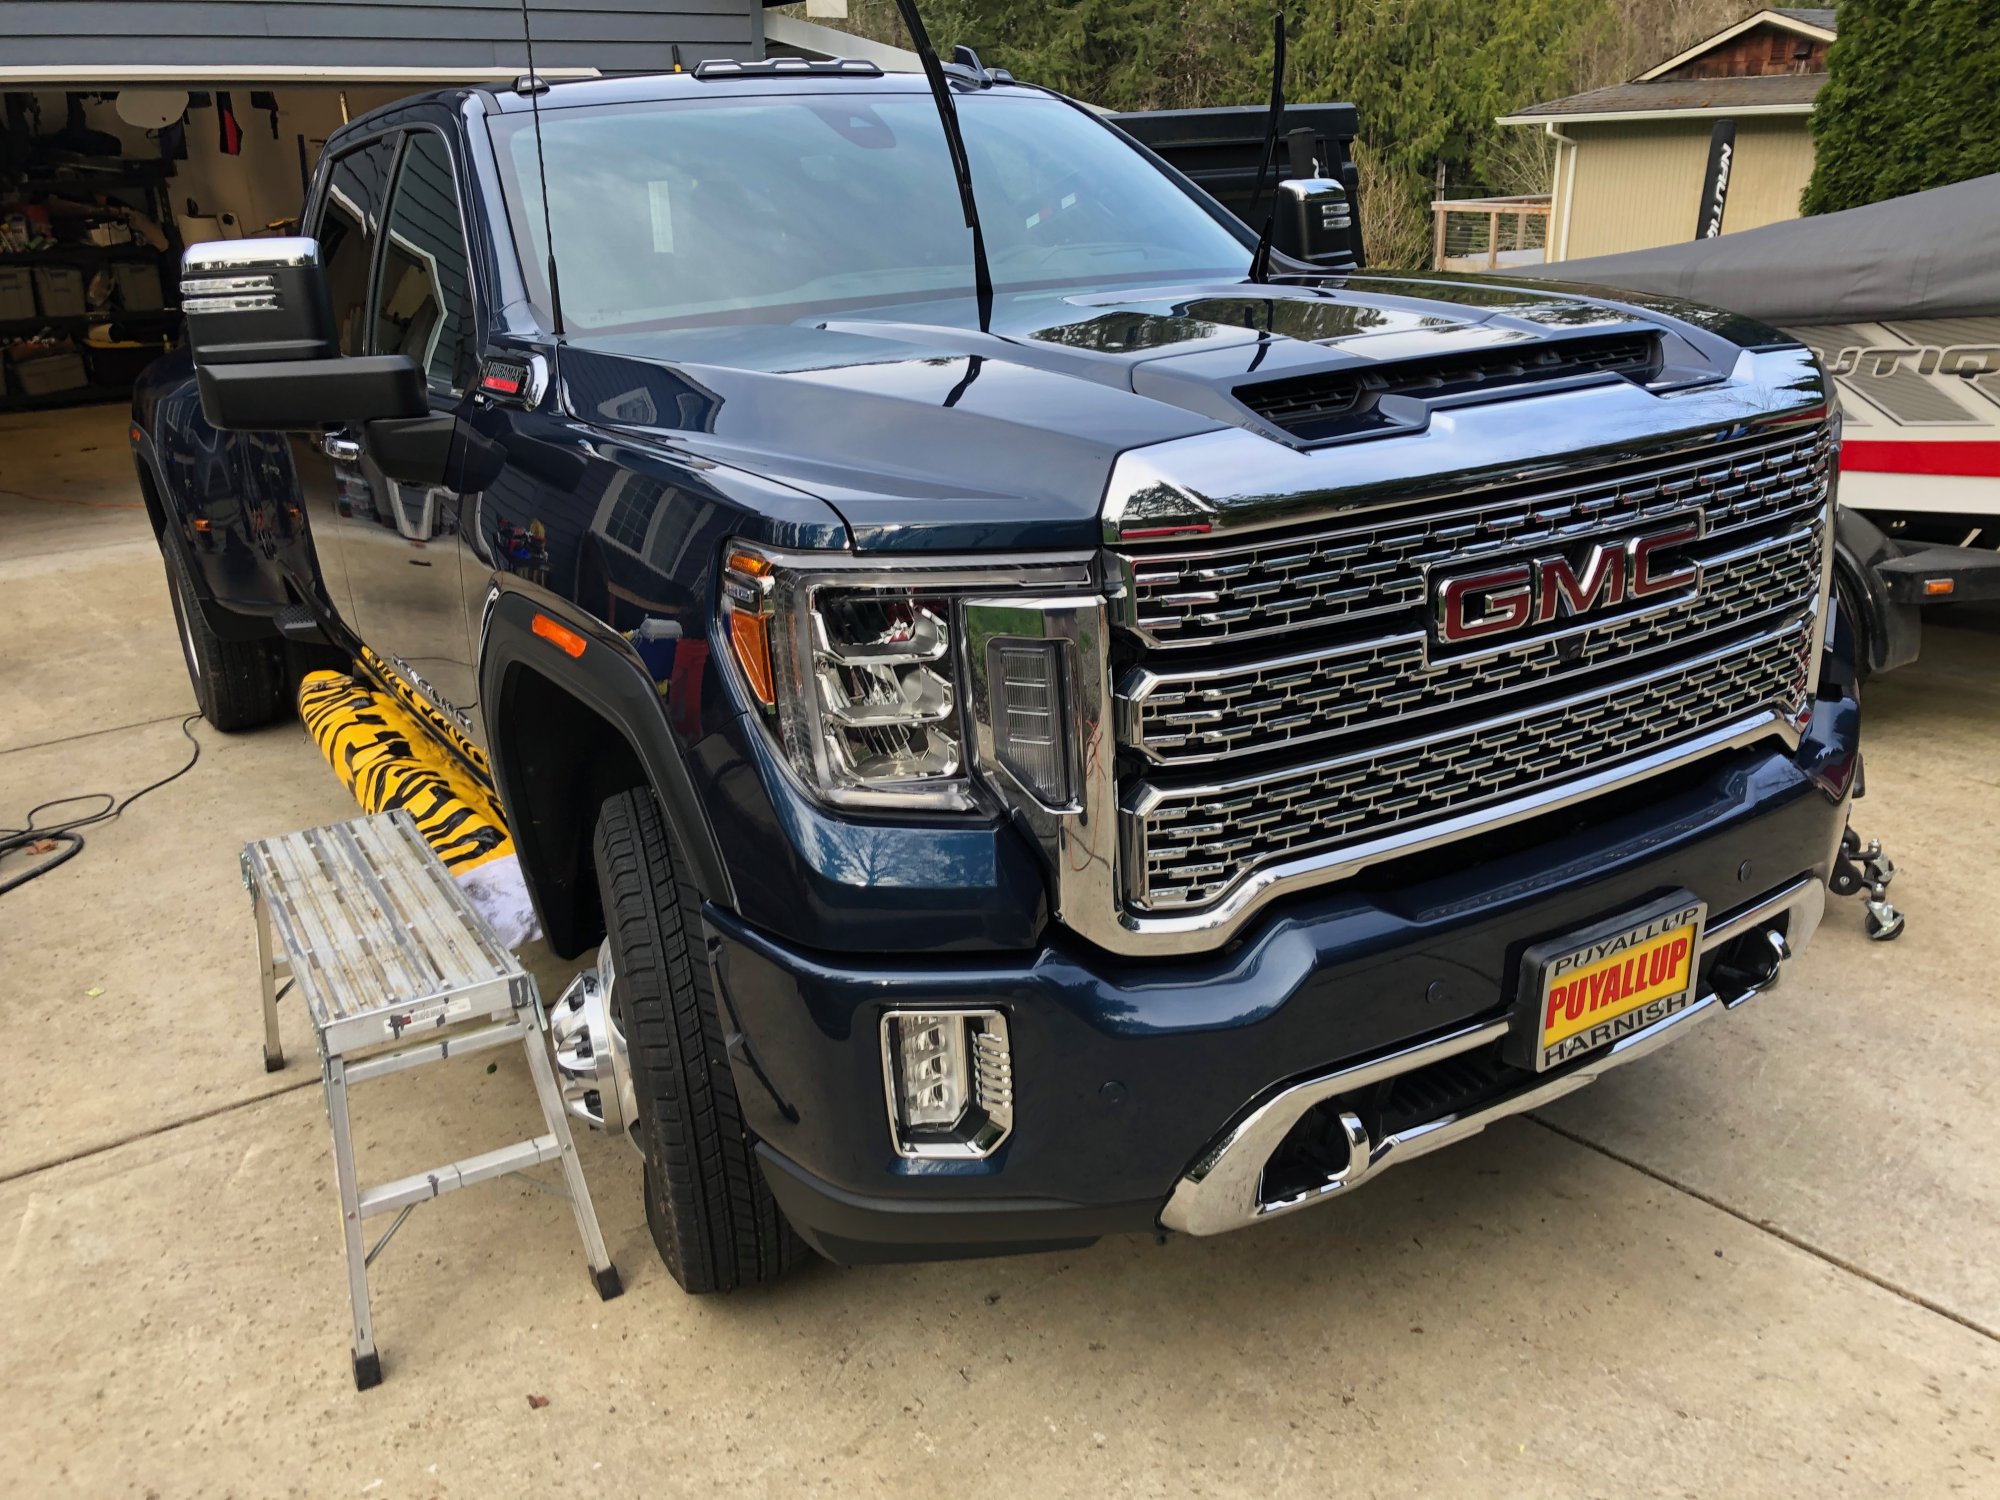
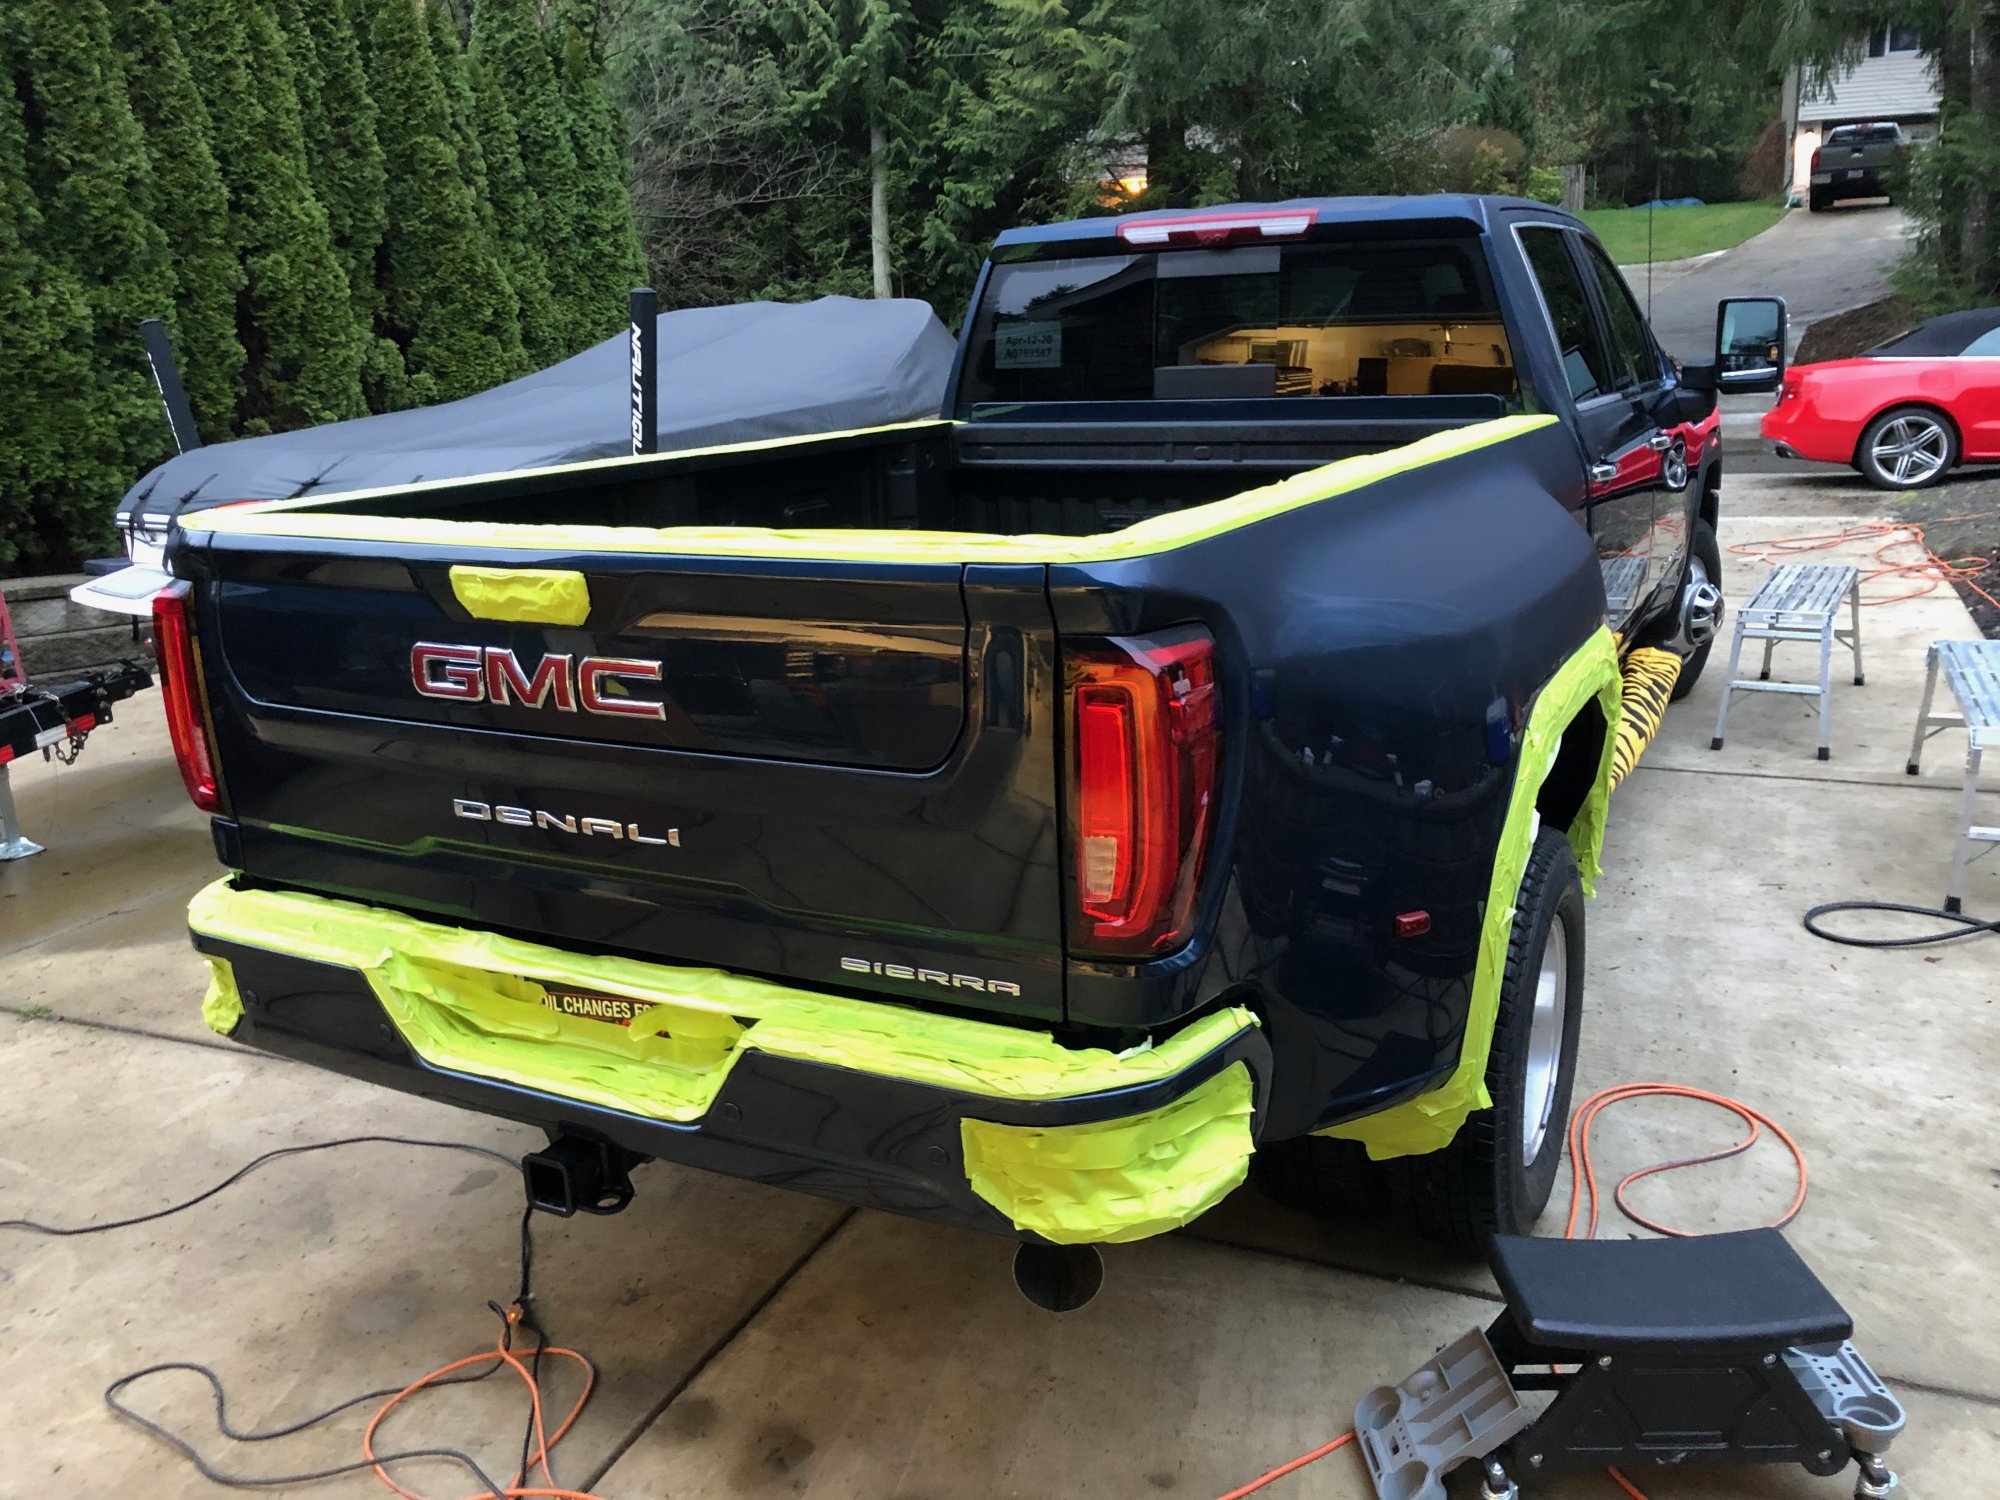
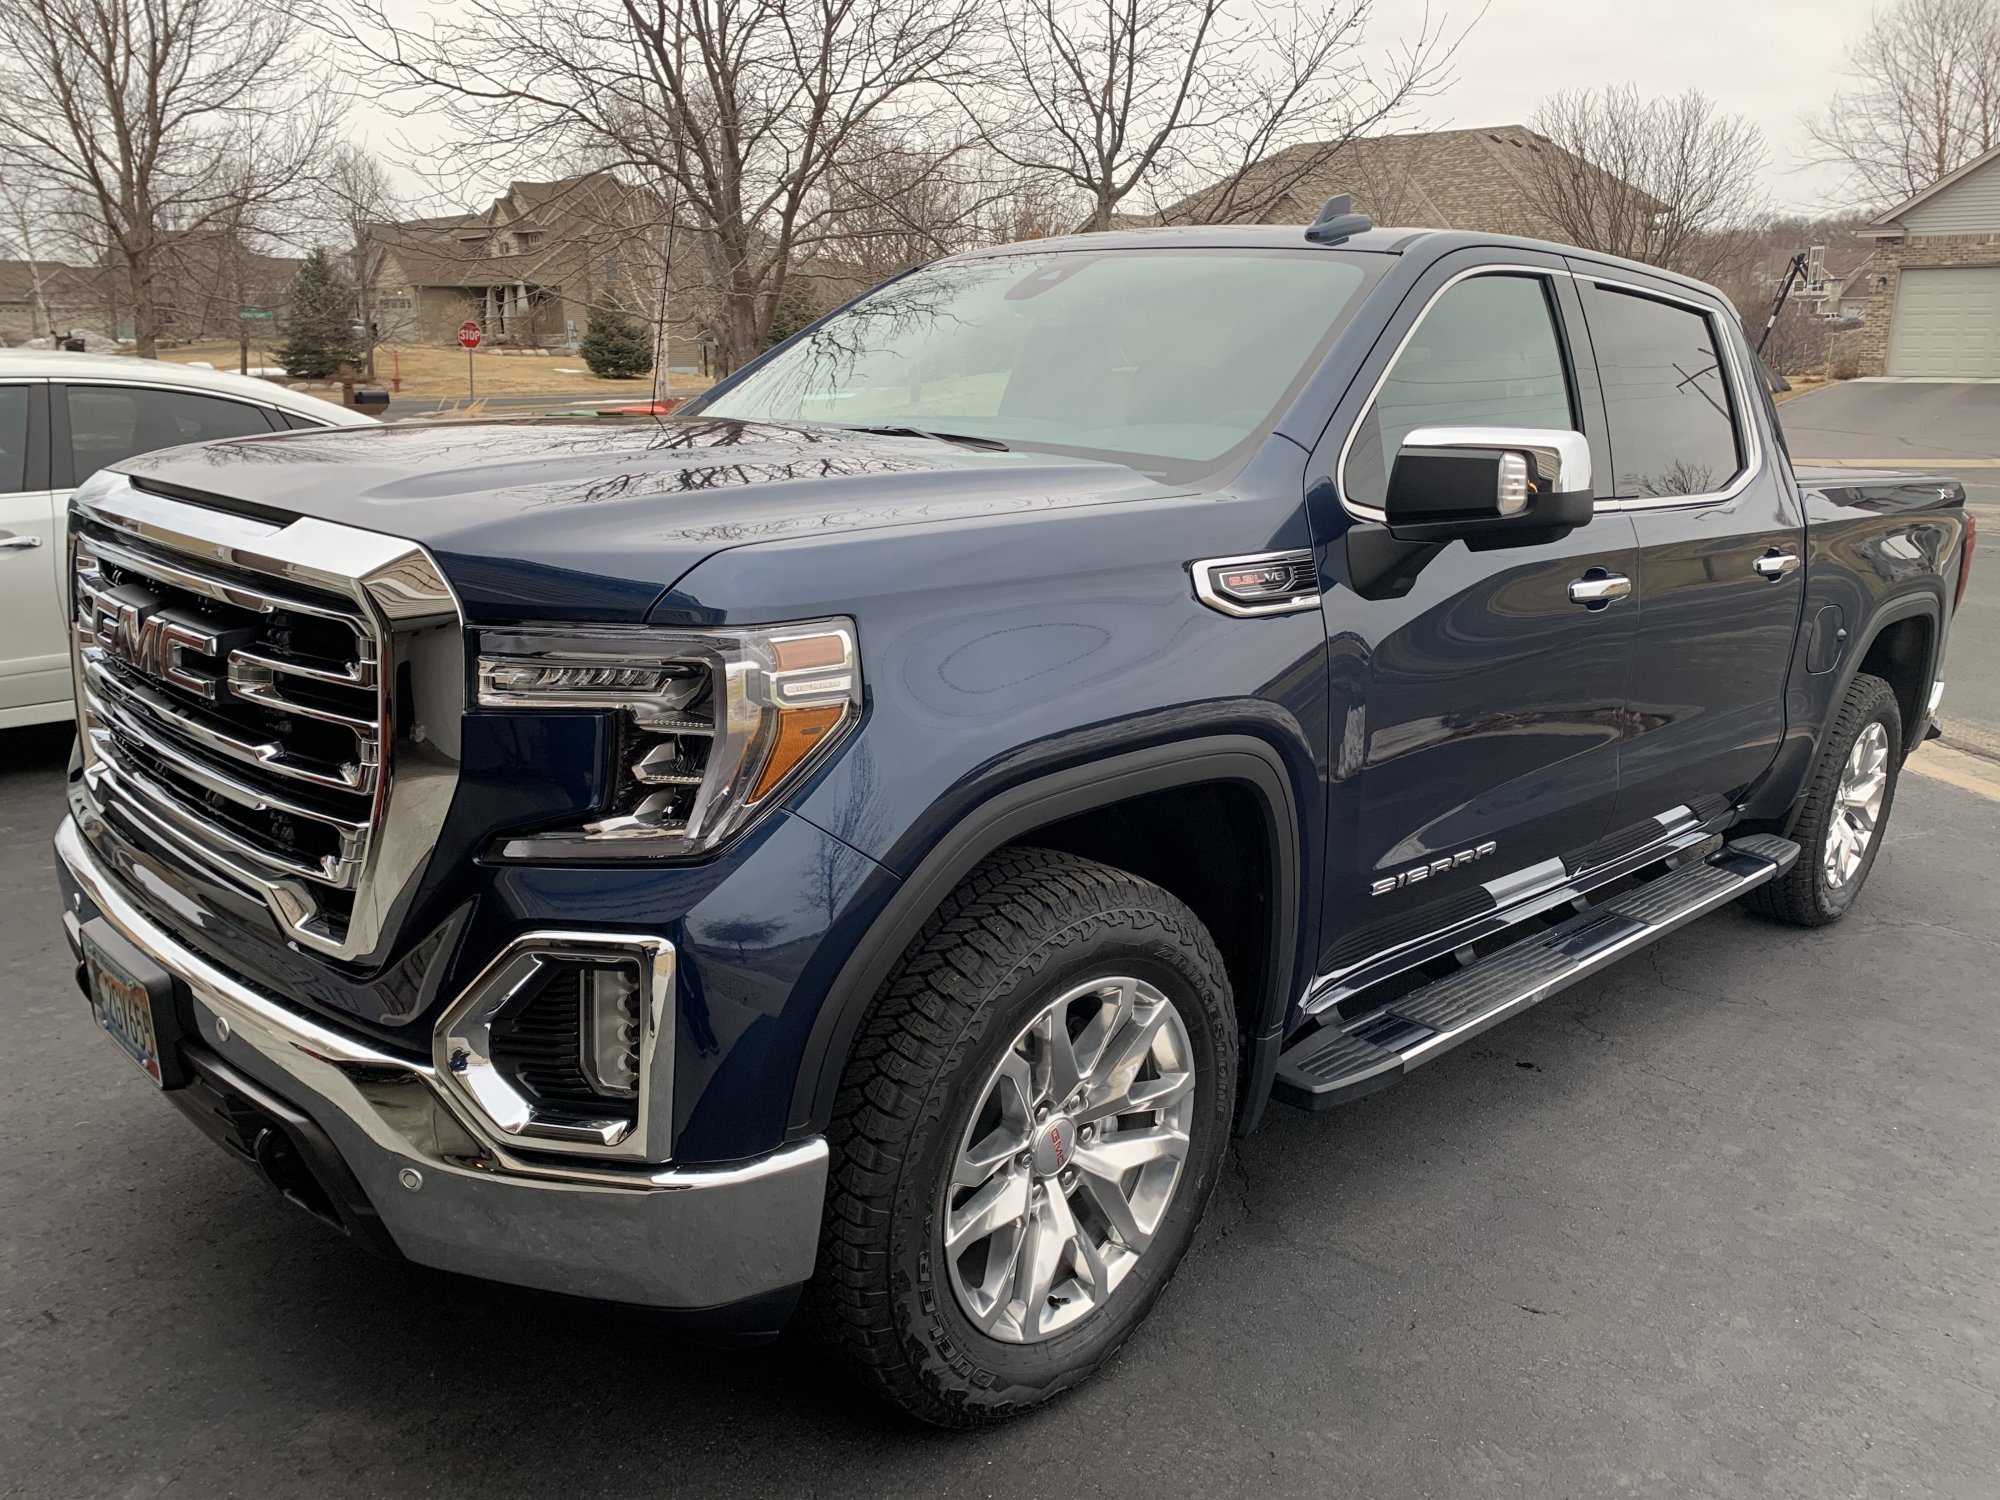
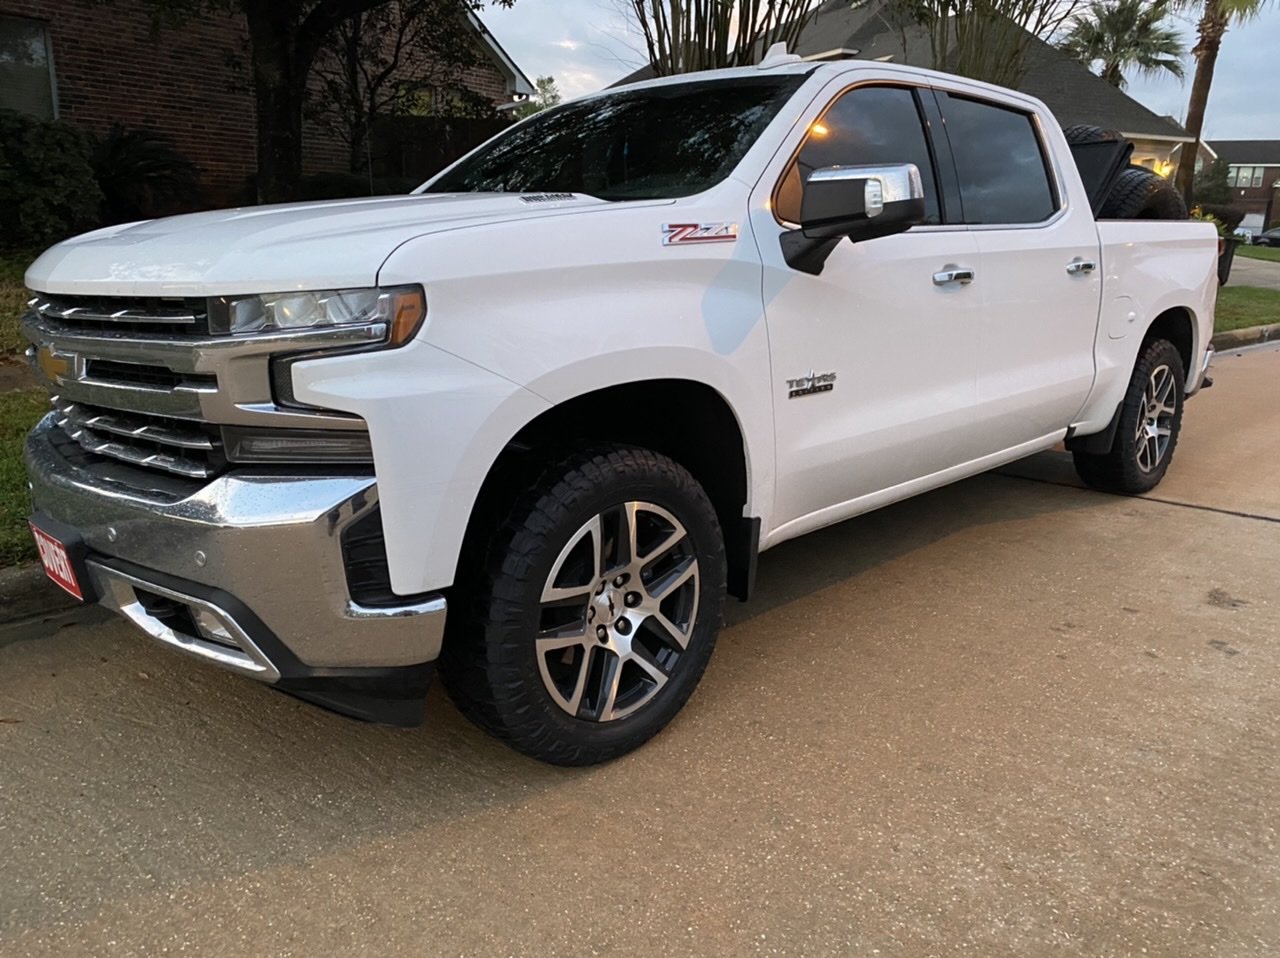
Post polish, pre top coat (too dark for final pics).
 3 points
 -
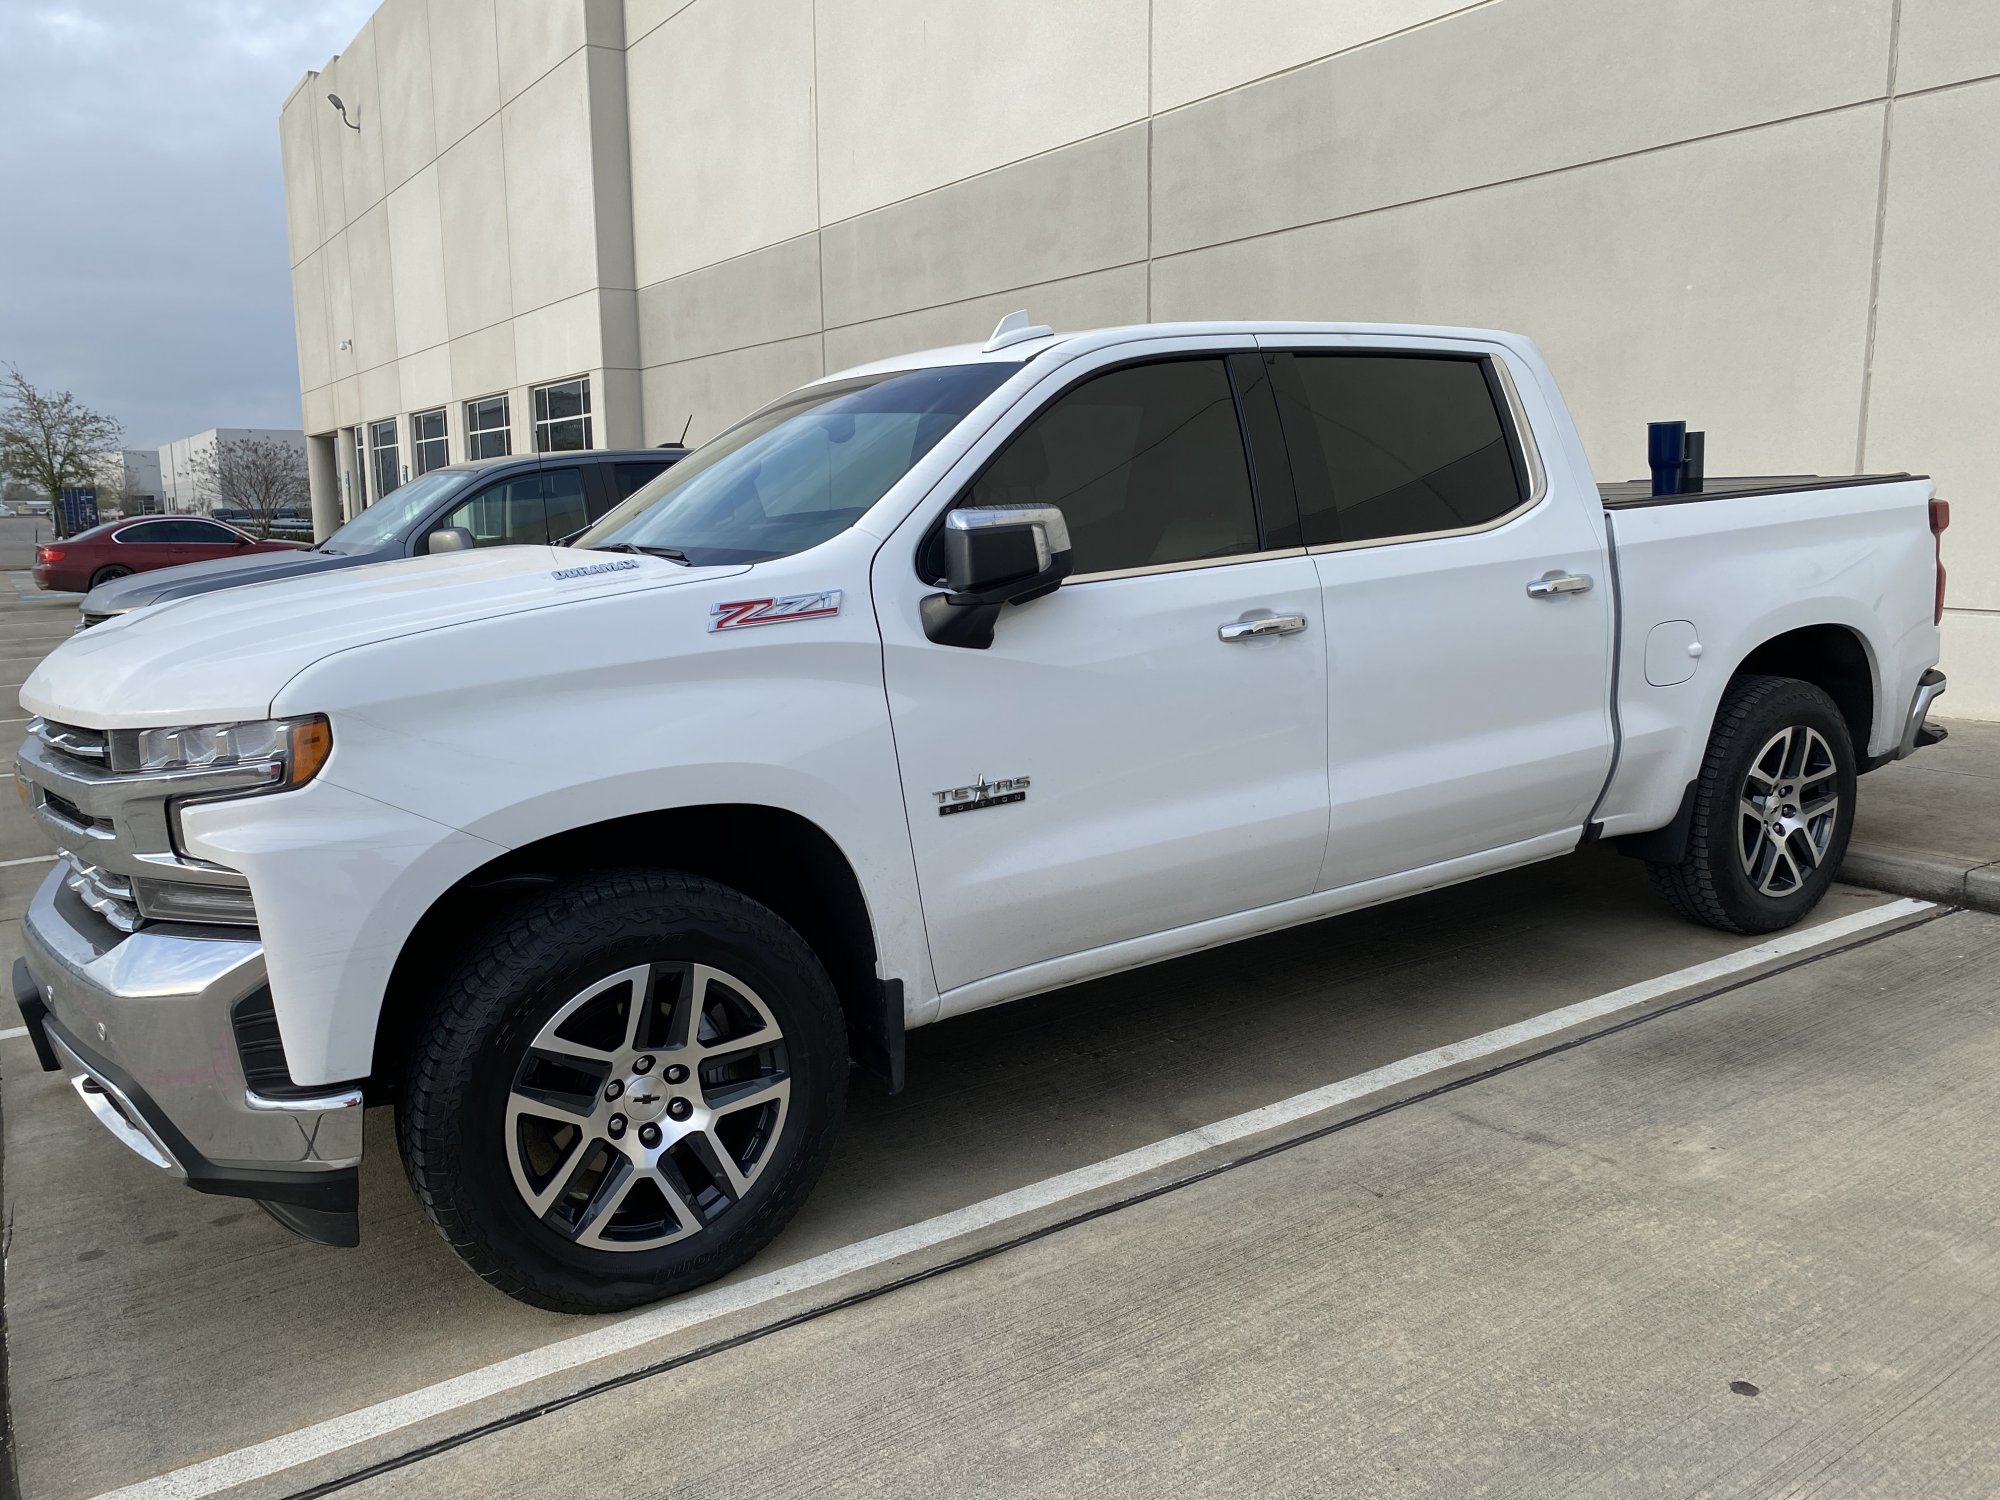
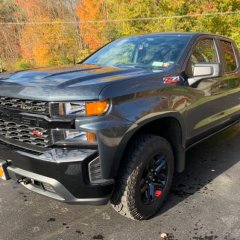
Over the last three days I buffed and prepped for ceramic coating, coated it (Car Pro CQuartz UK 3.0), and then top coated it (Car Pro Gliss). And battled the weather, some rain, and cold. I probably should have waited for warmer weather, but I think it came out great, all things considered.
3 points
-
I know it’s fun to be the headlight police on this forum, but Diode Dynamics does make LED bulbs that are designed to work in halogen housings without scattering light and glare everywhere. Maybe he paid a little more, got the good stuff and aimed ‘em correctly. Or maybe he didn’t and is blinding people. I personally don’t care either way. https://www.diodedynamics.com/led-bulbs/sl1-led-headlight.html3 points
-
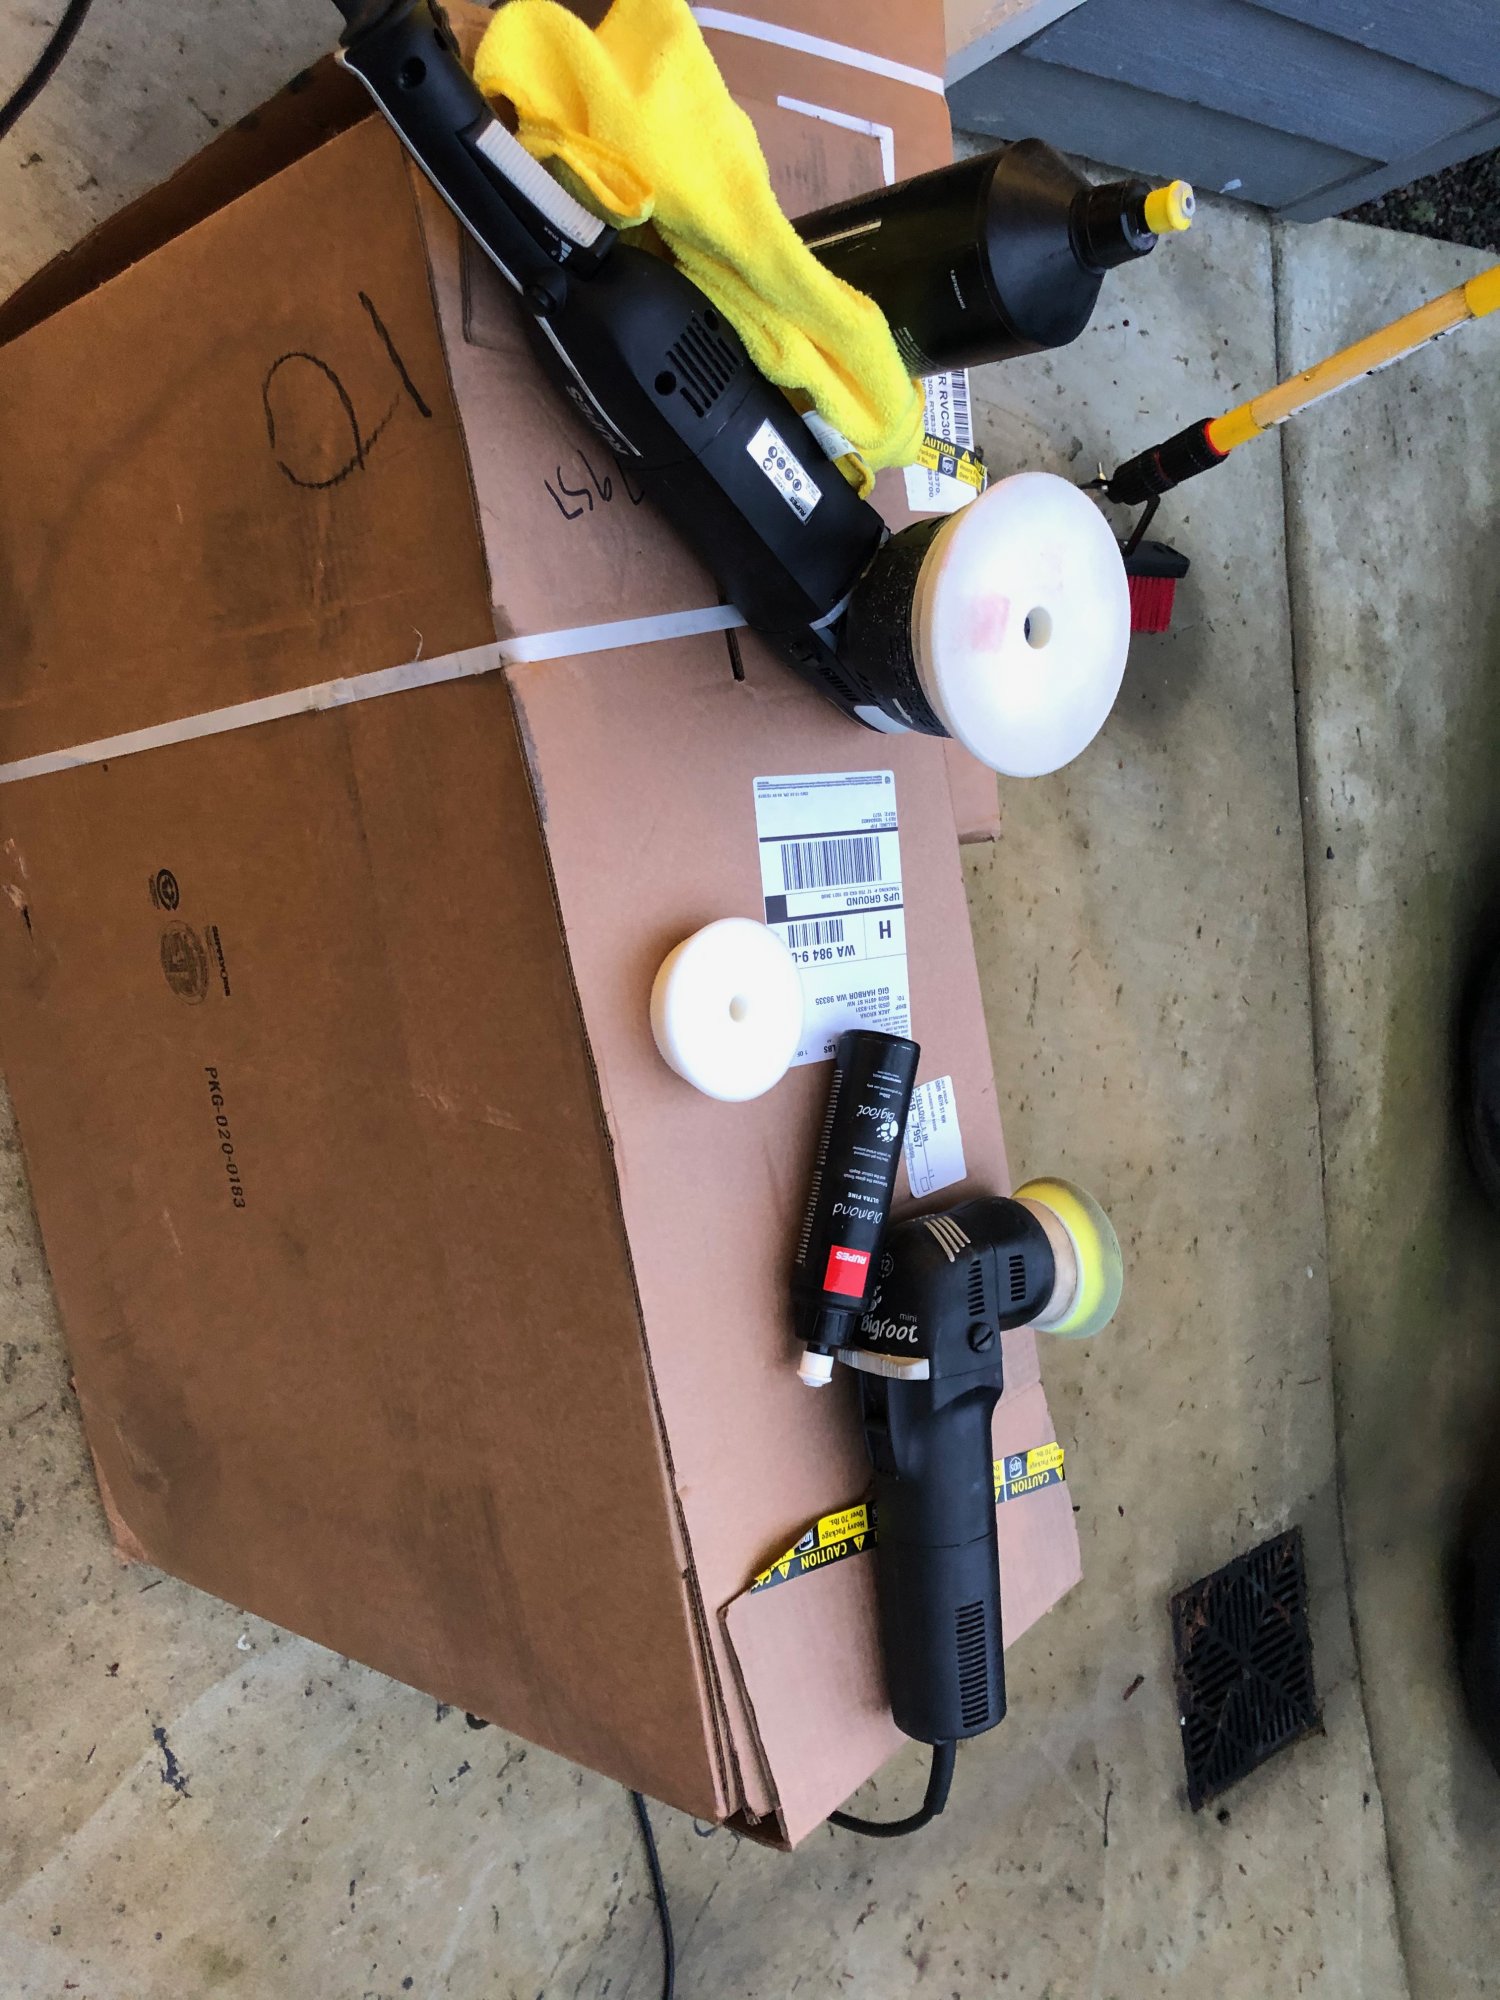
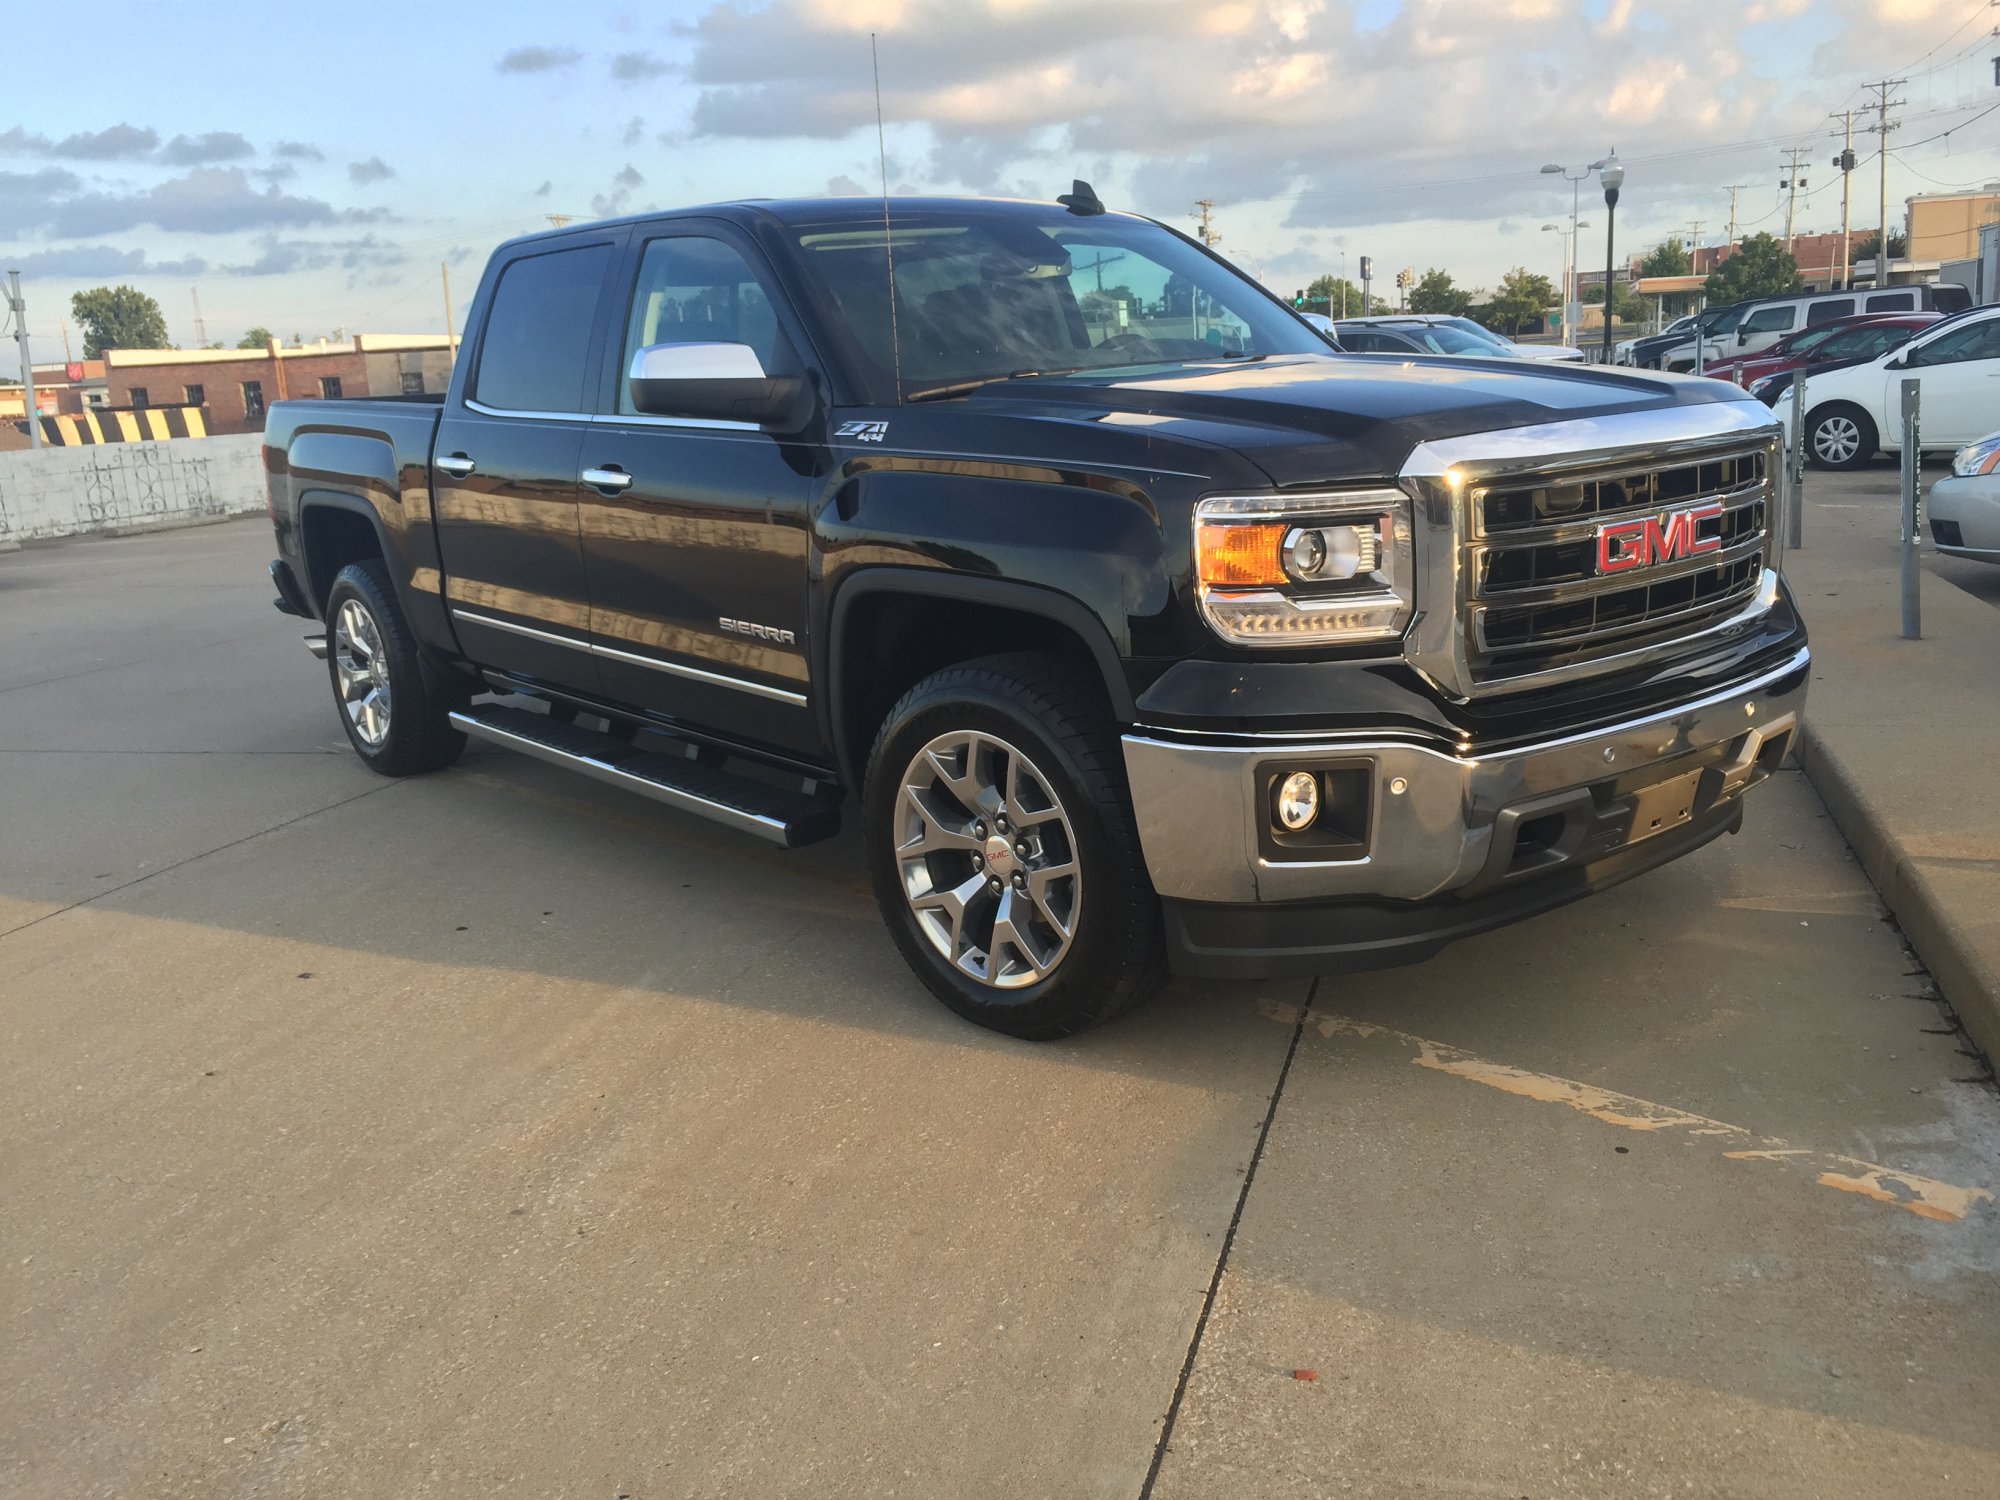
Did paint correction to remove the dealer installed swirls. Used the nanoskin clay mitt, then hit it with my DA and Meguiars 205 with a white pad. Had a few spots that needed 205 with a orange pad. Followed that up with collinite 845. My first time using it. I have been a Zaino user since 2004 and wanted to try something different. Goes on and off easily if you apply it thin. Think it turned out pretty good. Will see how it holds up.
2 points
-
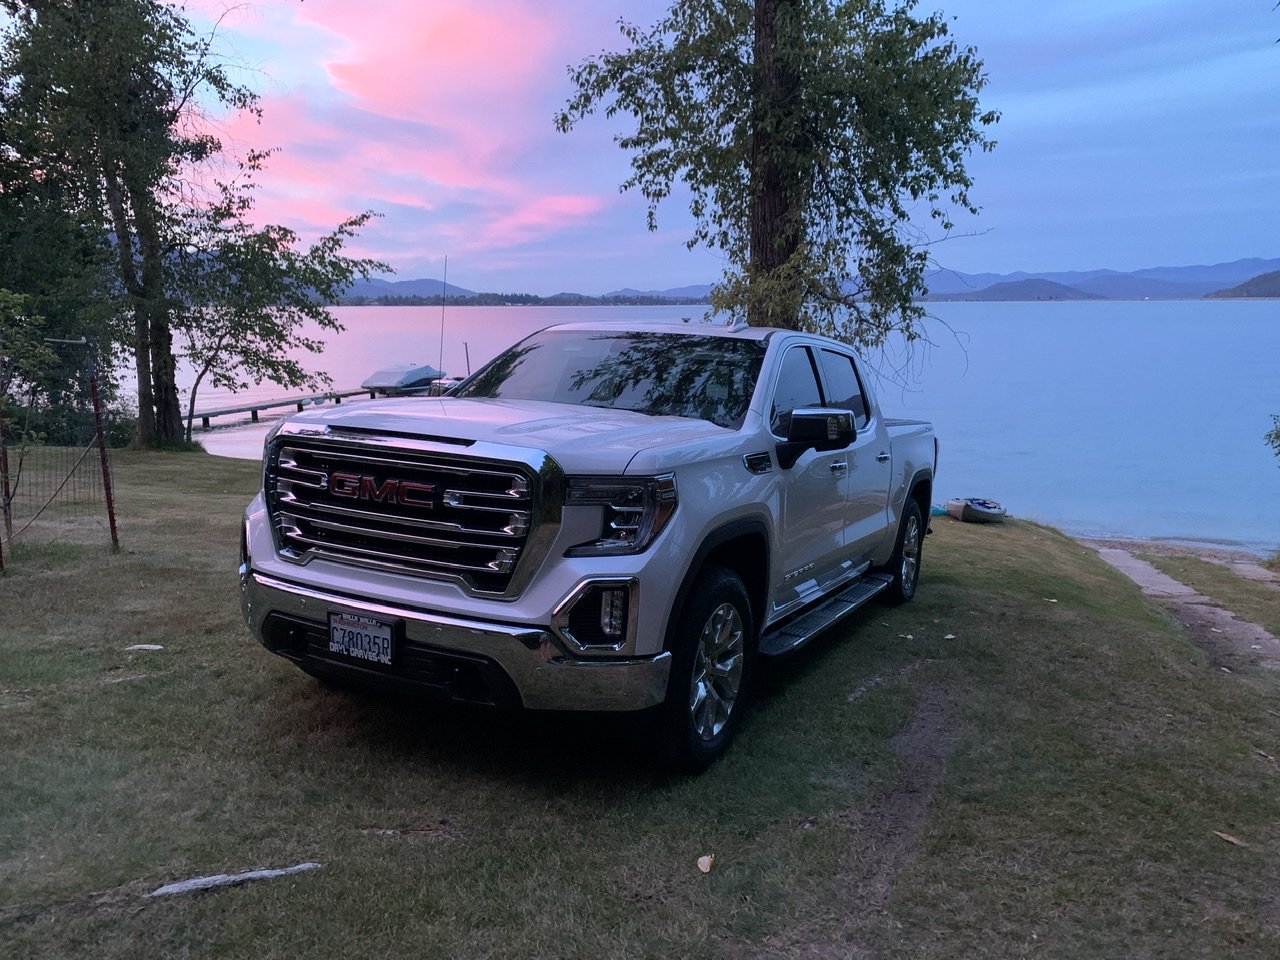
Washed and waxed. Sent from my iPhone using Tapatalk2 points
-
I got the Sealight LEDs on it and it does give it a nice cut off line. I was surprised the stock housing works so well with LEDs. I also did aim them down to not be a dick. I drove behind my friend with a Charger for about two hours a couple weeks ago at night and I did ask him if they were super annoying and he didn’t notice my headlights and didn’t blind him. Whenever I’m parked in front of a wall at night time I’ll try to remember to take a picture of the lights to demonstrate the light cutoff. I’ll also note that I came from a KIA Rio and ‘upgraded’ to HIDs on it and that housing was NOT meant for HIDs or LEDs. After about a week of a ton of people flashing their brights at me I took them off and went back to regular bulbs. I haven’t had anyone flash their brights at me since I’ve installed them and adjusted the lights lower quite a bit. I don’t try to be a dick on purpose.2 points
-
2 points
-
LED's in a halogen housing I am guessing? On coming traffic just hates you... Try replacing them with the correct housings so they work better and you aren't blinding others. I will say though the Stamped Chevrolet in the grill is growing on me, though I still prefer the bowtie. Tyler2 points
-
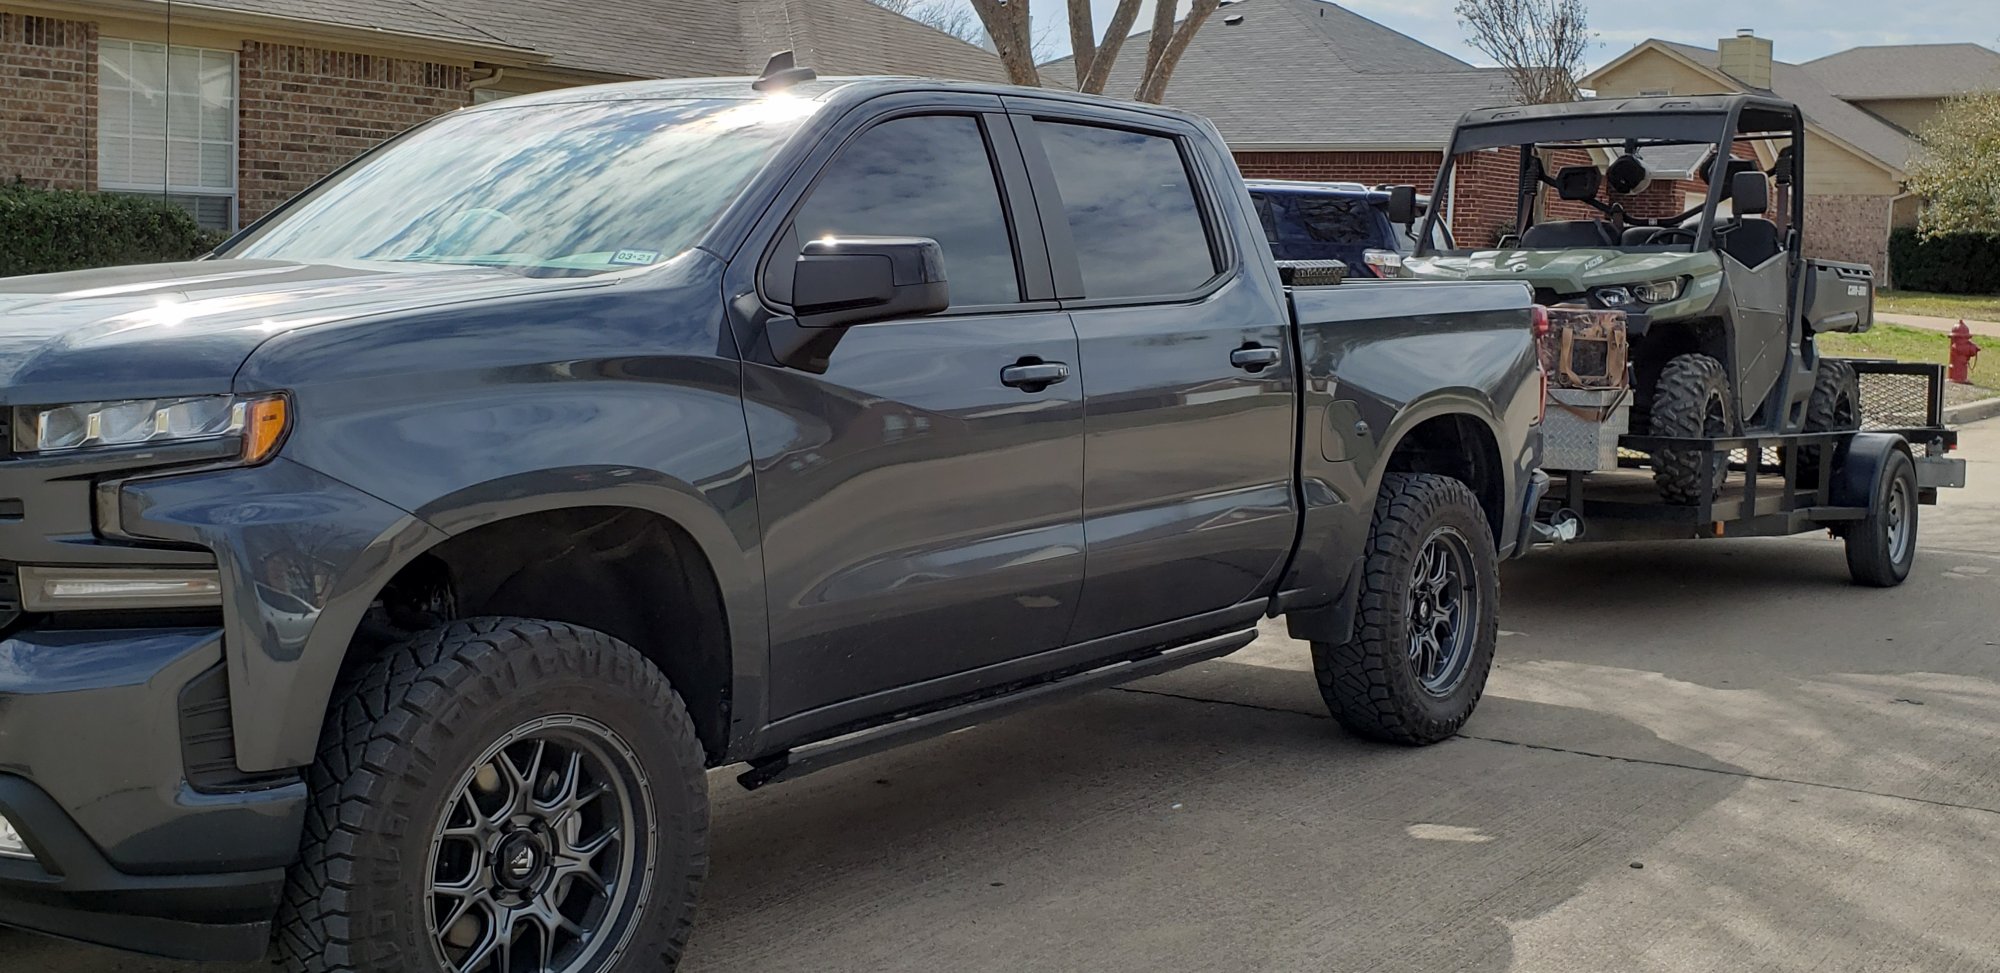
Quick shot with the Can Am headed to shoot some clays.
2 points
-
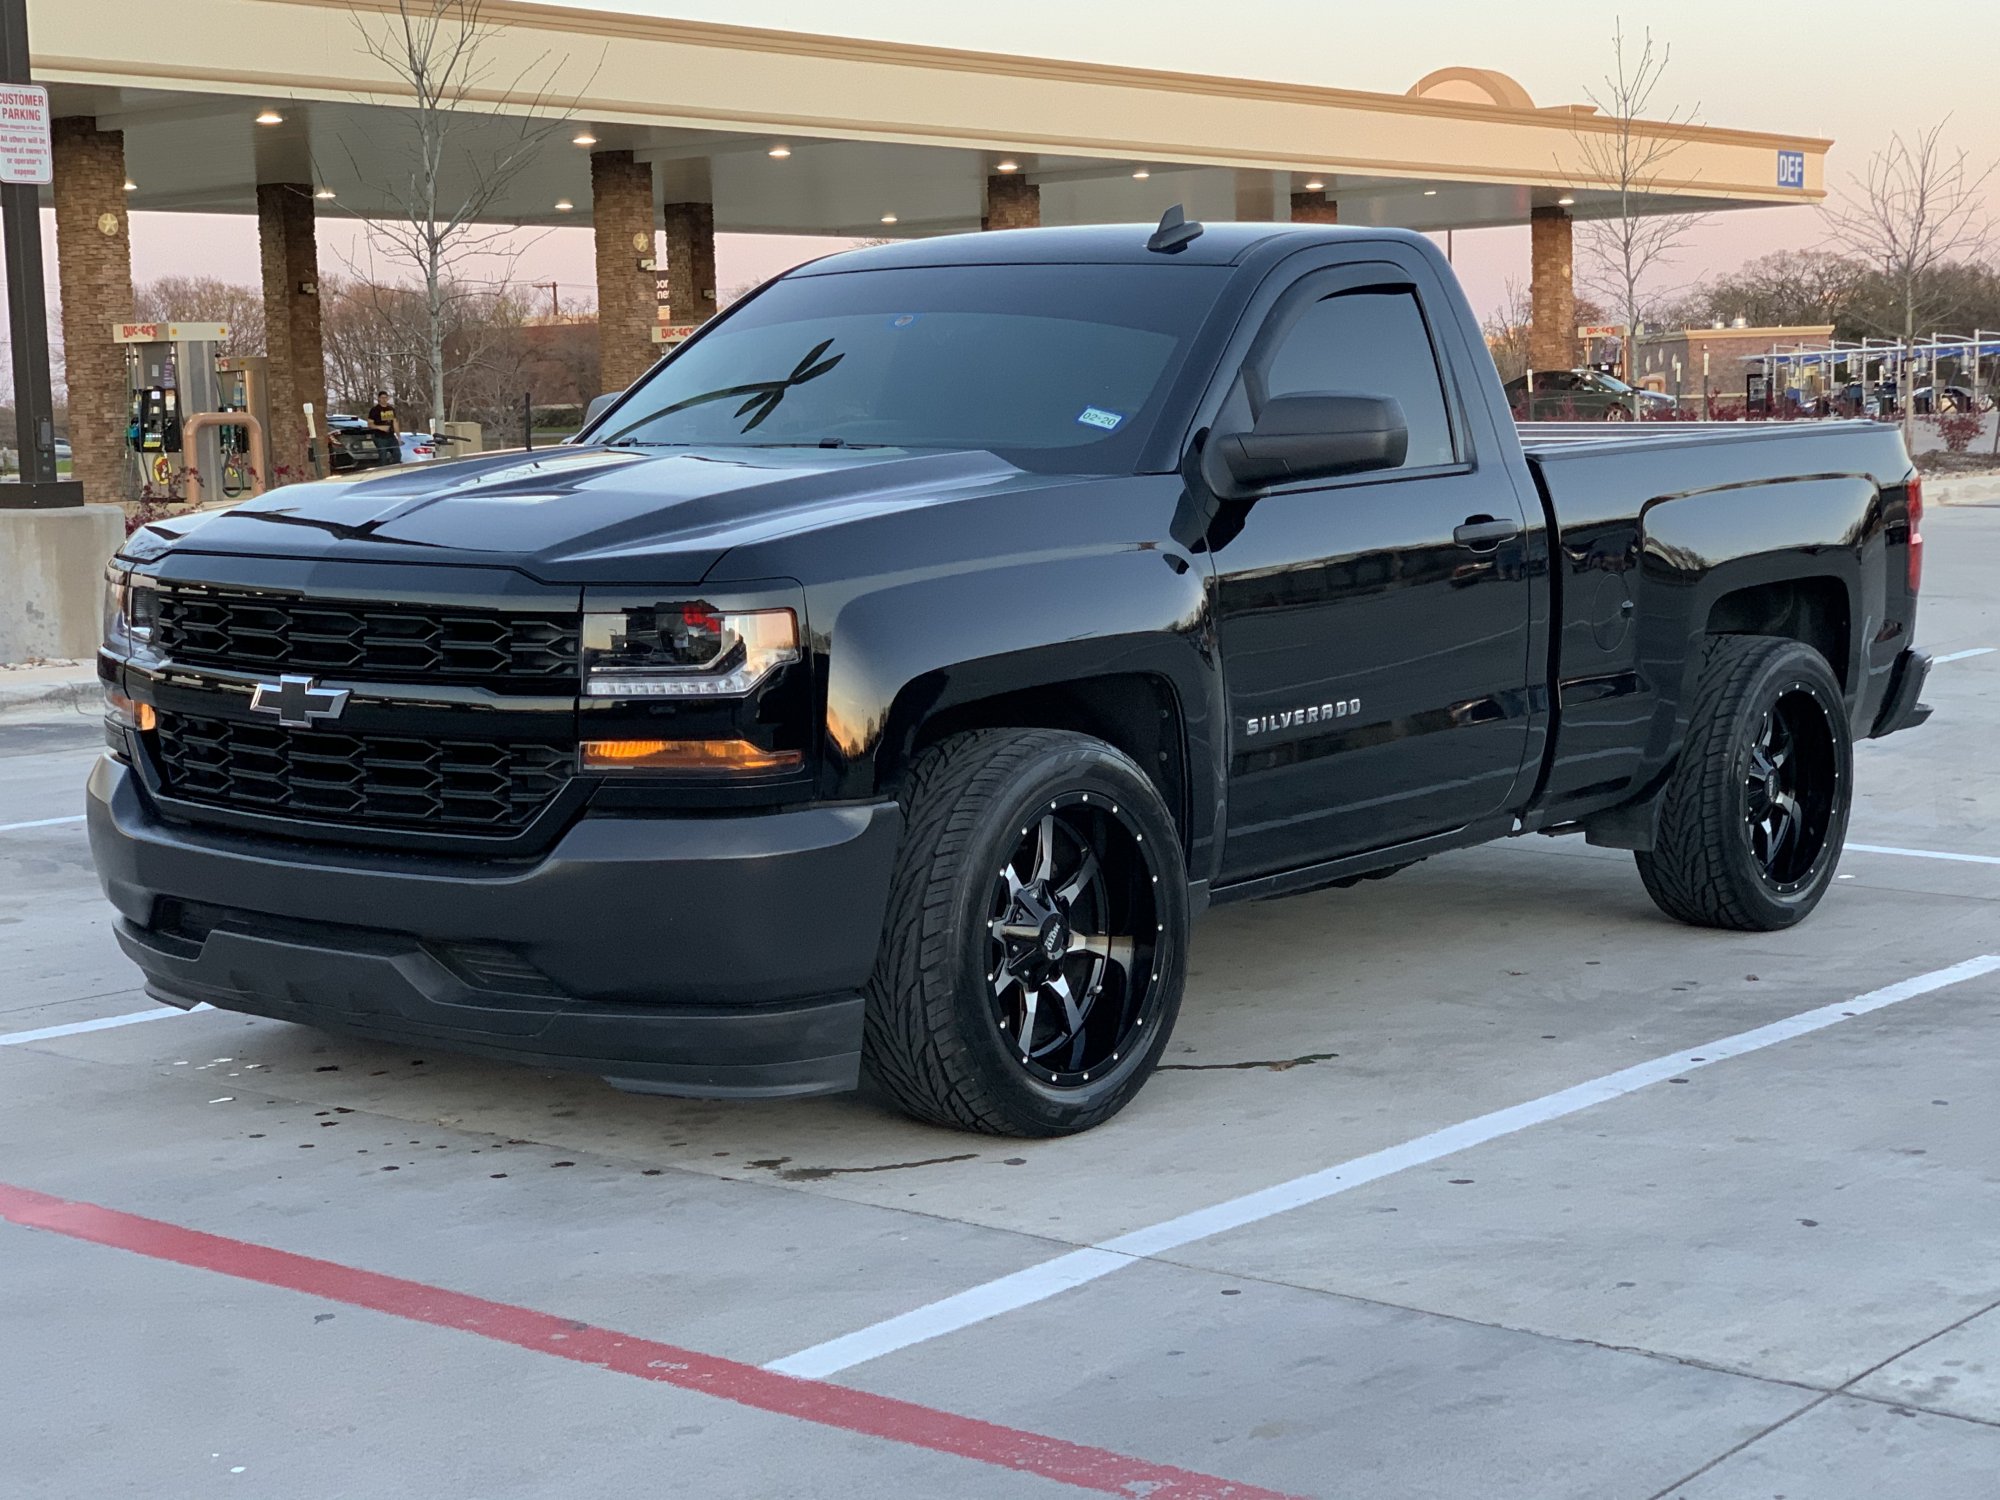
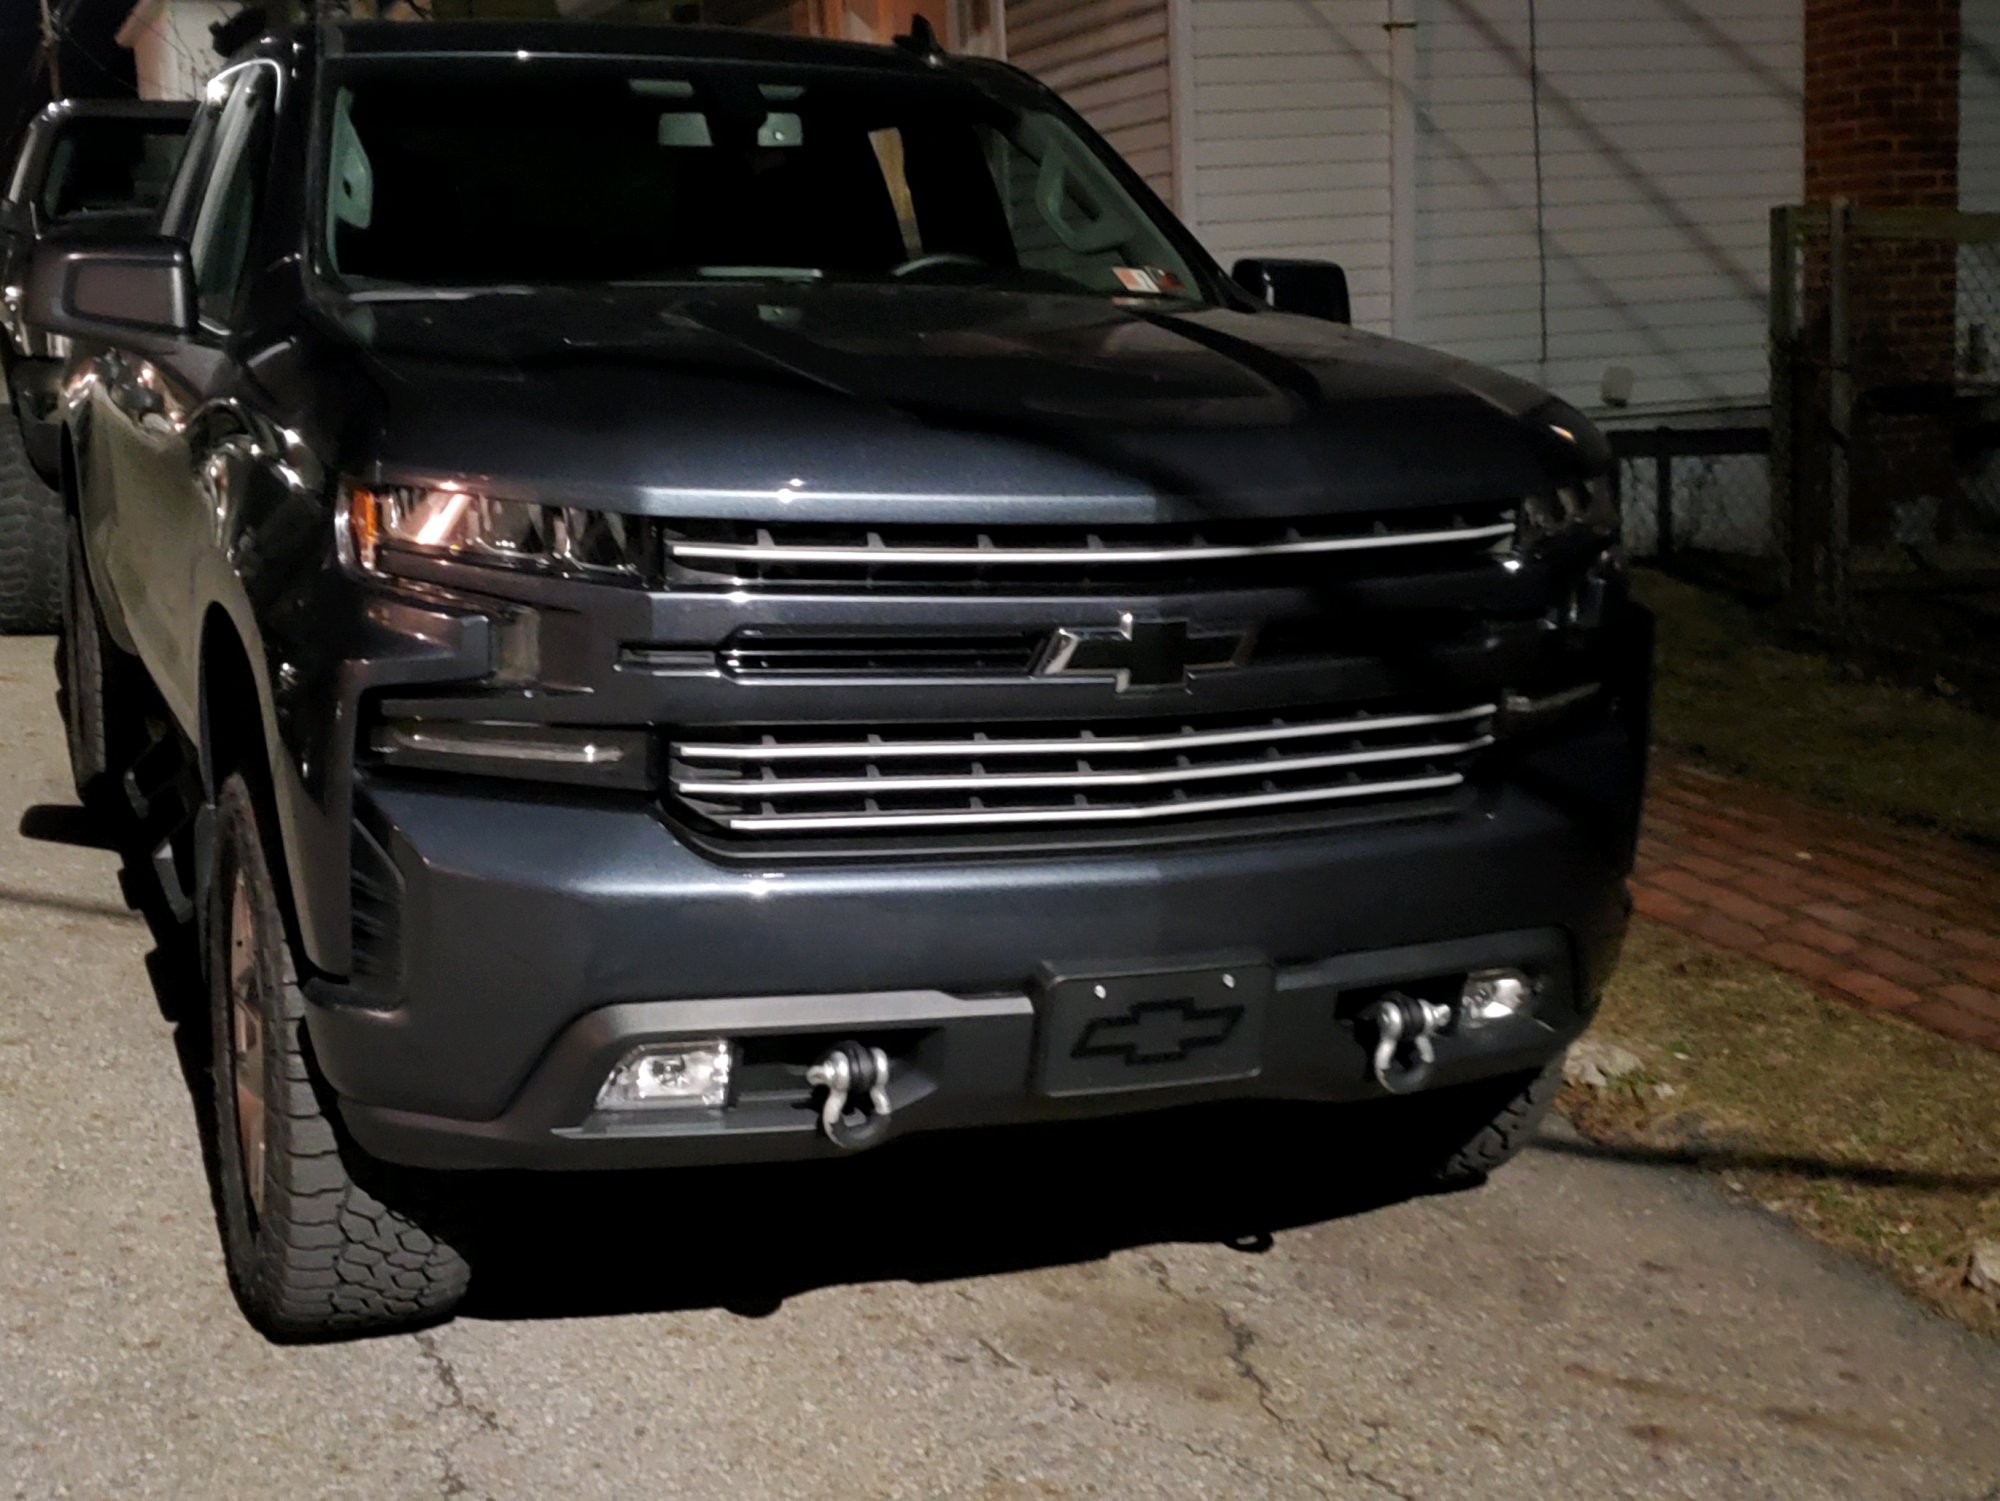
New headlights, billet grill...night view
2 points
-
Just picked up an AT4, needed better towing for my cargo trailer toy hauler conversion, ZR2 just wasn’t cutting it! Plus the 8-speed shutter was an issue. Sent from my iPhone using Tapatalk1 point
-
I don't think so, as I believe it's only stored in the IP.1 point
-
If you really keep running "Pepper" like this it's probably gonna loose the weak Trans6L80 and definitely lifter failures due to the CHEAP GM ENGINEERED "GIMMICKY" is what most on these threads call the AFM JUNK any day now. I would sell this "Highly" used/abused vehicle sooner than later. LOL1 point
-
2015 Silverado 4.3 now 110,000 miles at 2600 hours. 42.3 mph. Subtracting the above from this the last 6K miles have been at 48 mph! Pace is picking up. MPG is going down1 point
-
Just washed her up lookin A1, gas tank on full now ???1 point
-
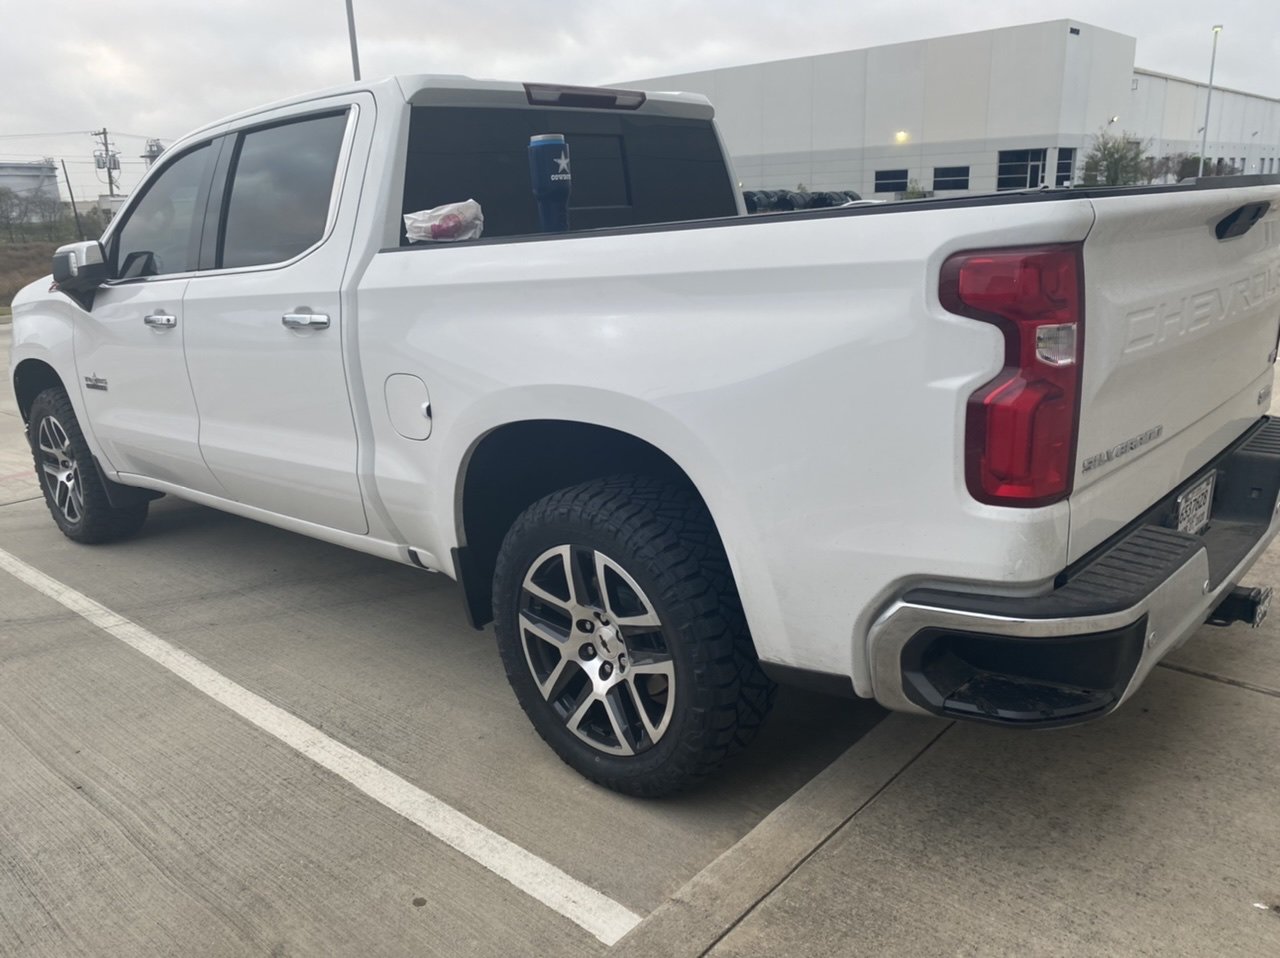
Factory Trail Boss 20s on my LTZ. Ridge Grapplers will be installed later this week Added 275/55r20 Nitto Ridge Grapplers
1 point
-
2016 SLT 107,000 with 2990 engine hours.....it runs and operates as good as new! Super impressed...love that AFM!1 point
-
You should be reporting this to NHTSA. That is a serious fire risk. If those wires are getting hot enough to melt plastic it could start a fire. Sent from my Pixel 4 using Tapatalk1 point
-
I’m thinking this Stephanie2012 post is click bait .1 point
-
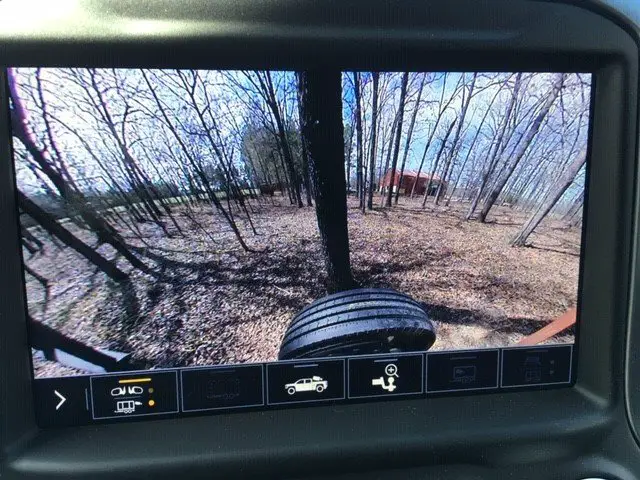
If the truck is calibrating, then the dimensions should be fine. I would first look at the angle of your camera, it needs to be at 35 degrees (0 deg is straight down). For calibration, you need to drive in straight line under 30 mph. I like to exit the trailer app and select the transparent view in camera app. There will be a status bar at the bottom that turns yellow as it calibrates. My understanding it is will only calibrate during daytime. I have also seen issues with spare tire and shadows that the system does not like during calibration. If you are still having problems, post a picture of rear camera view and camera mounting on trailer. #iworkforGM1 point
-
Lol just saw this thanks. I like the location.1 point
-
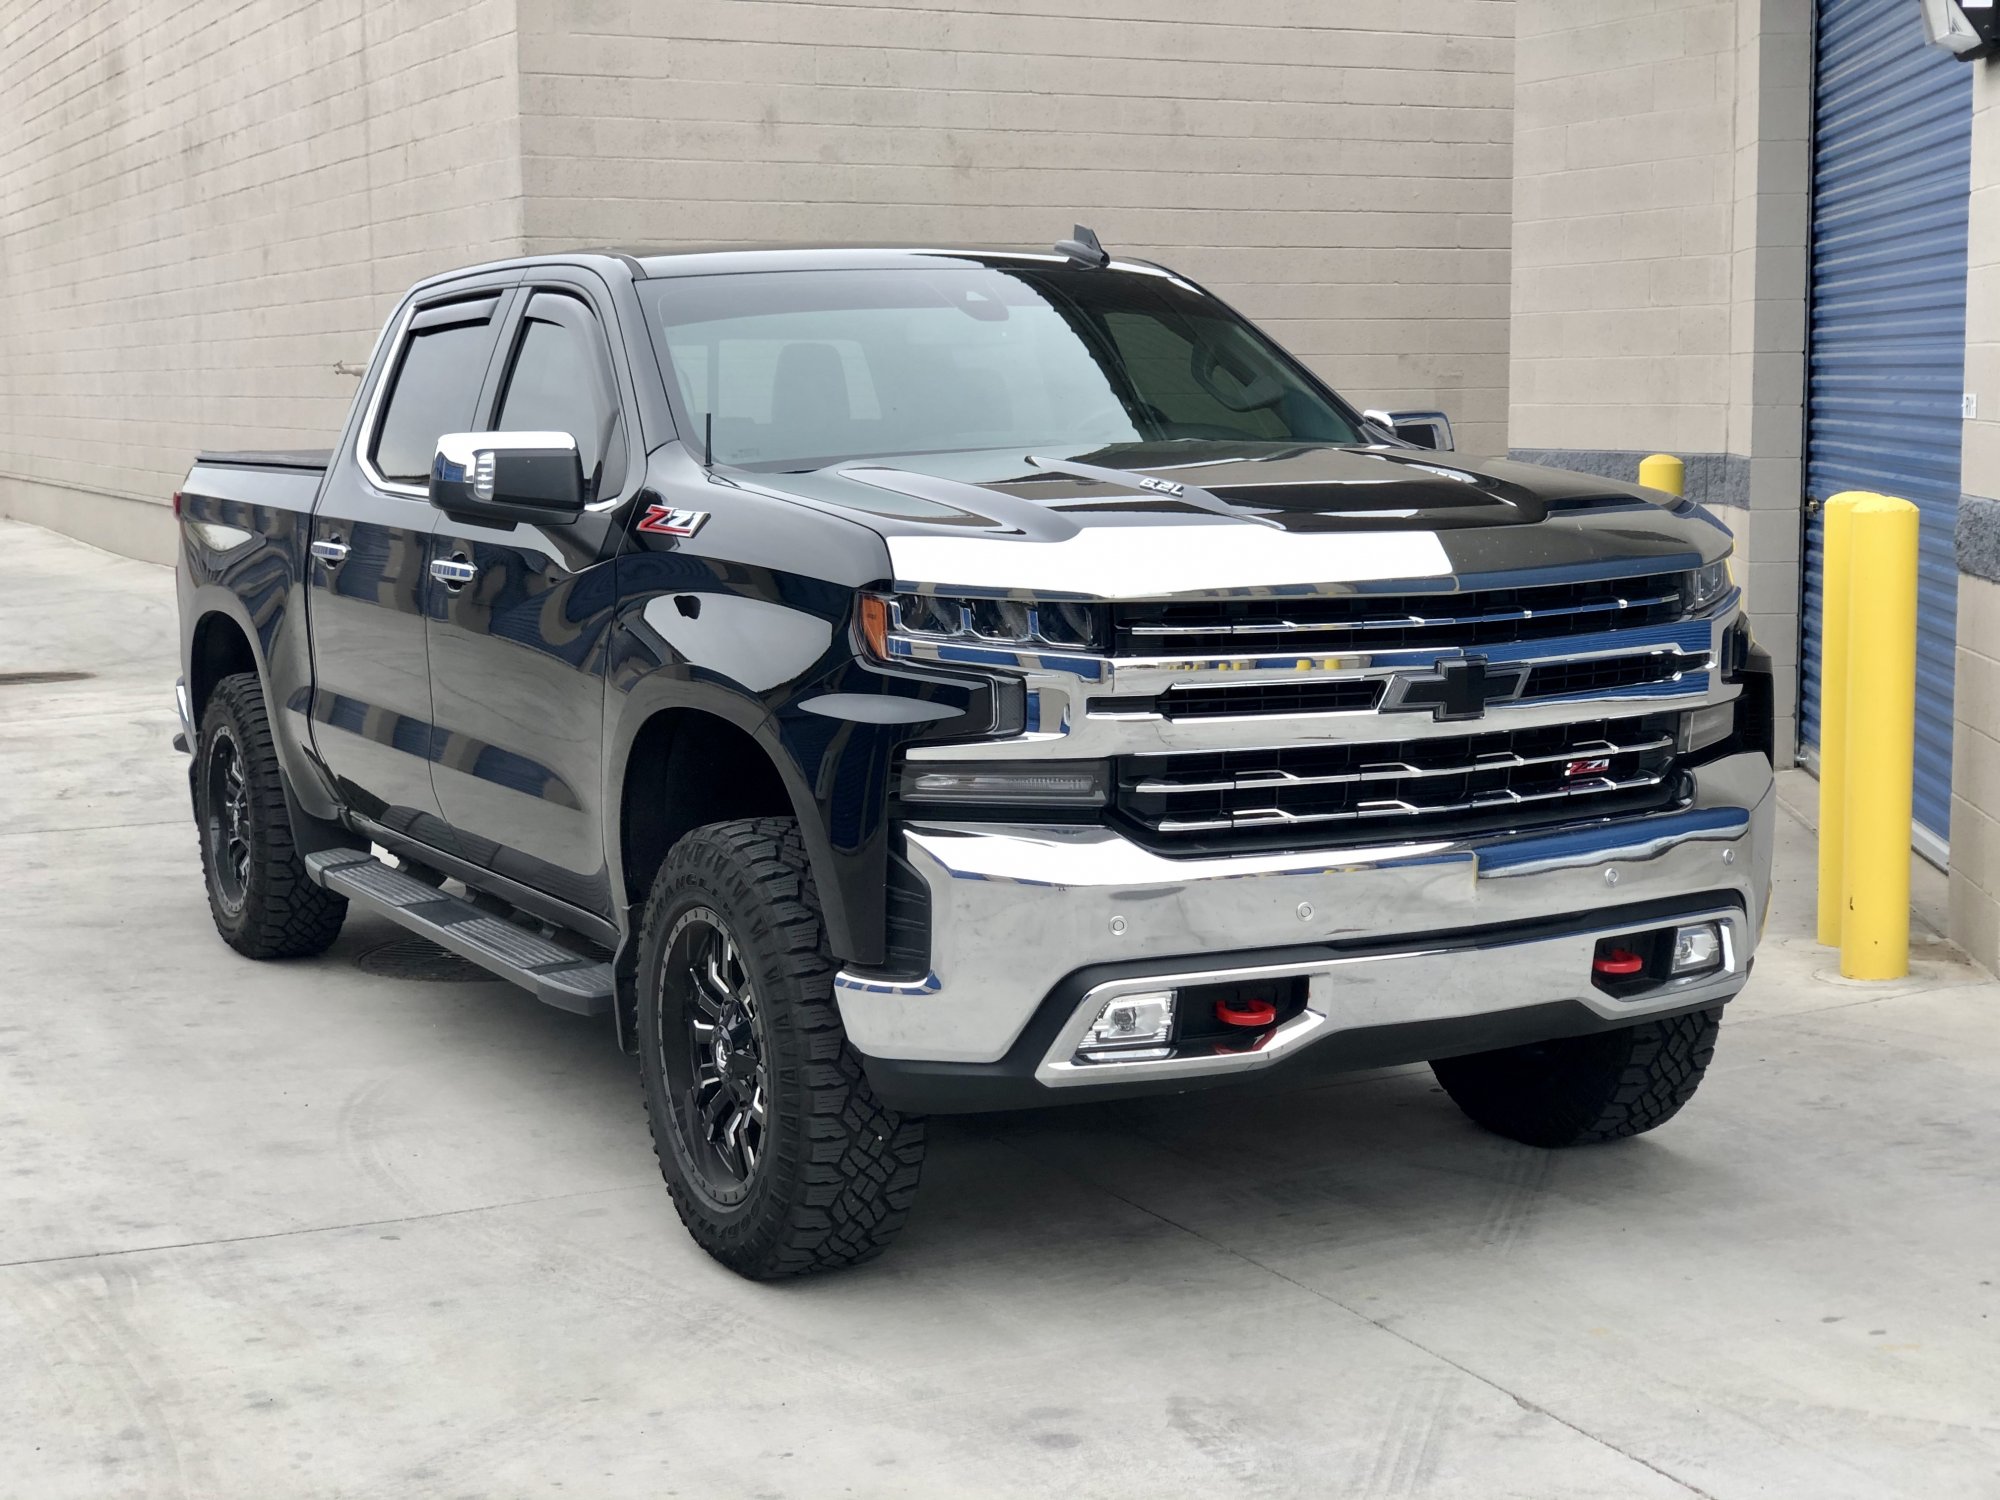
2019 LTZ 6.2 with 2”GM lift and RC level Looking for anyone with a 2020 LTZ 1500 with tow mirrors and want regular ones and want to swap please message me willing to pay shipping located in Arizona thanks
1 point
-
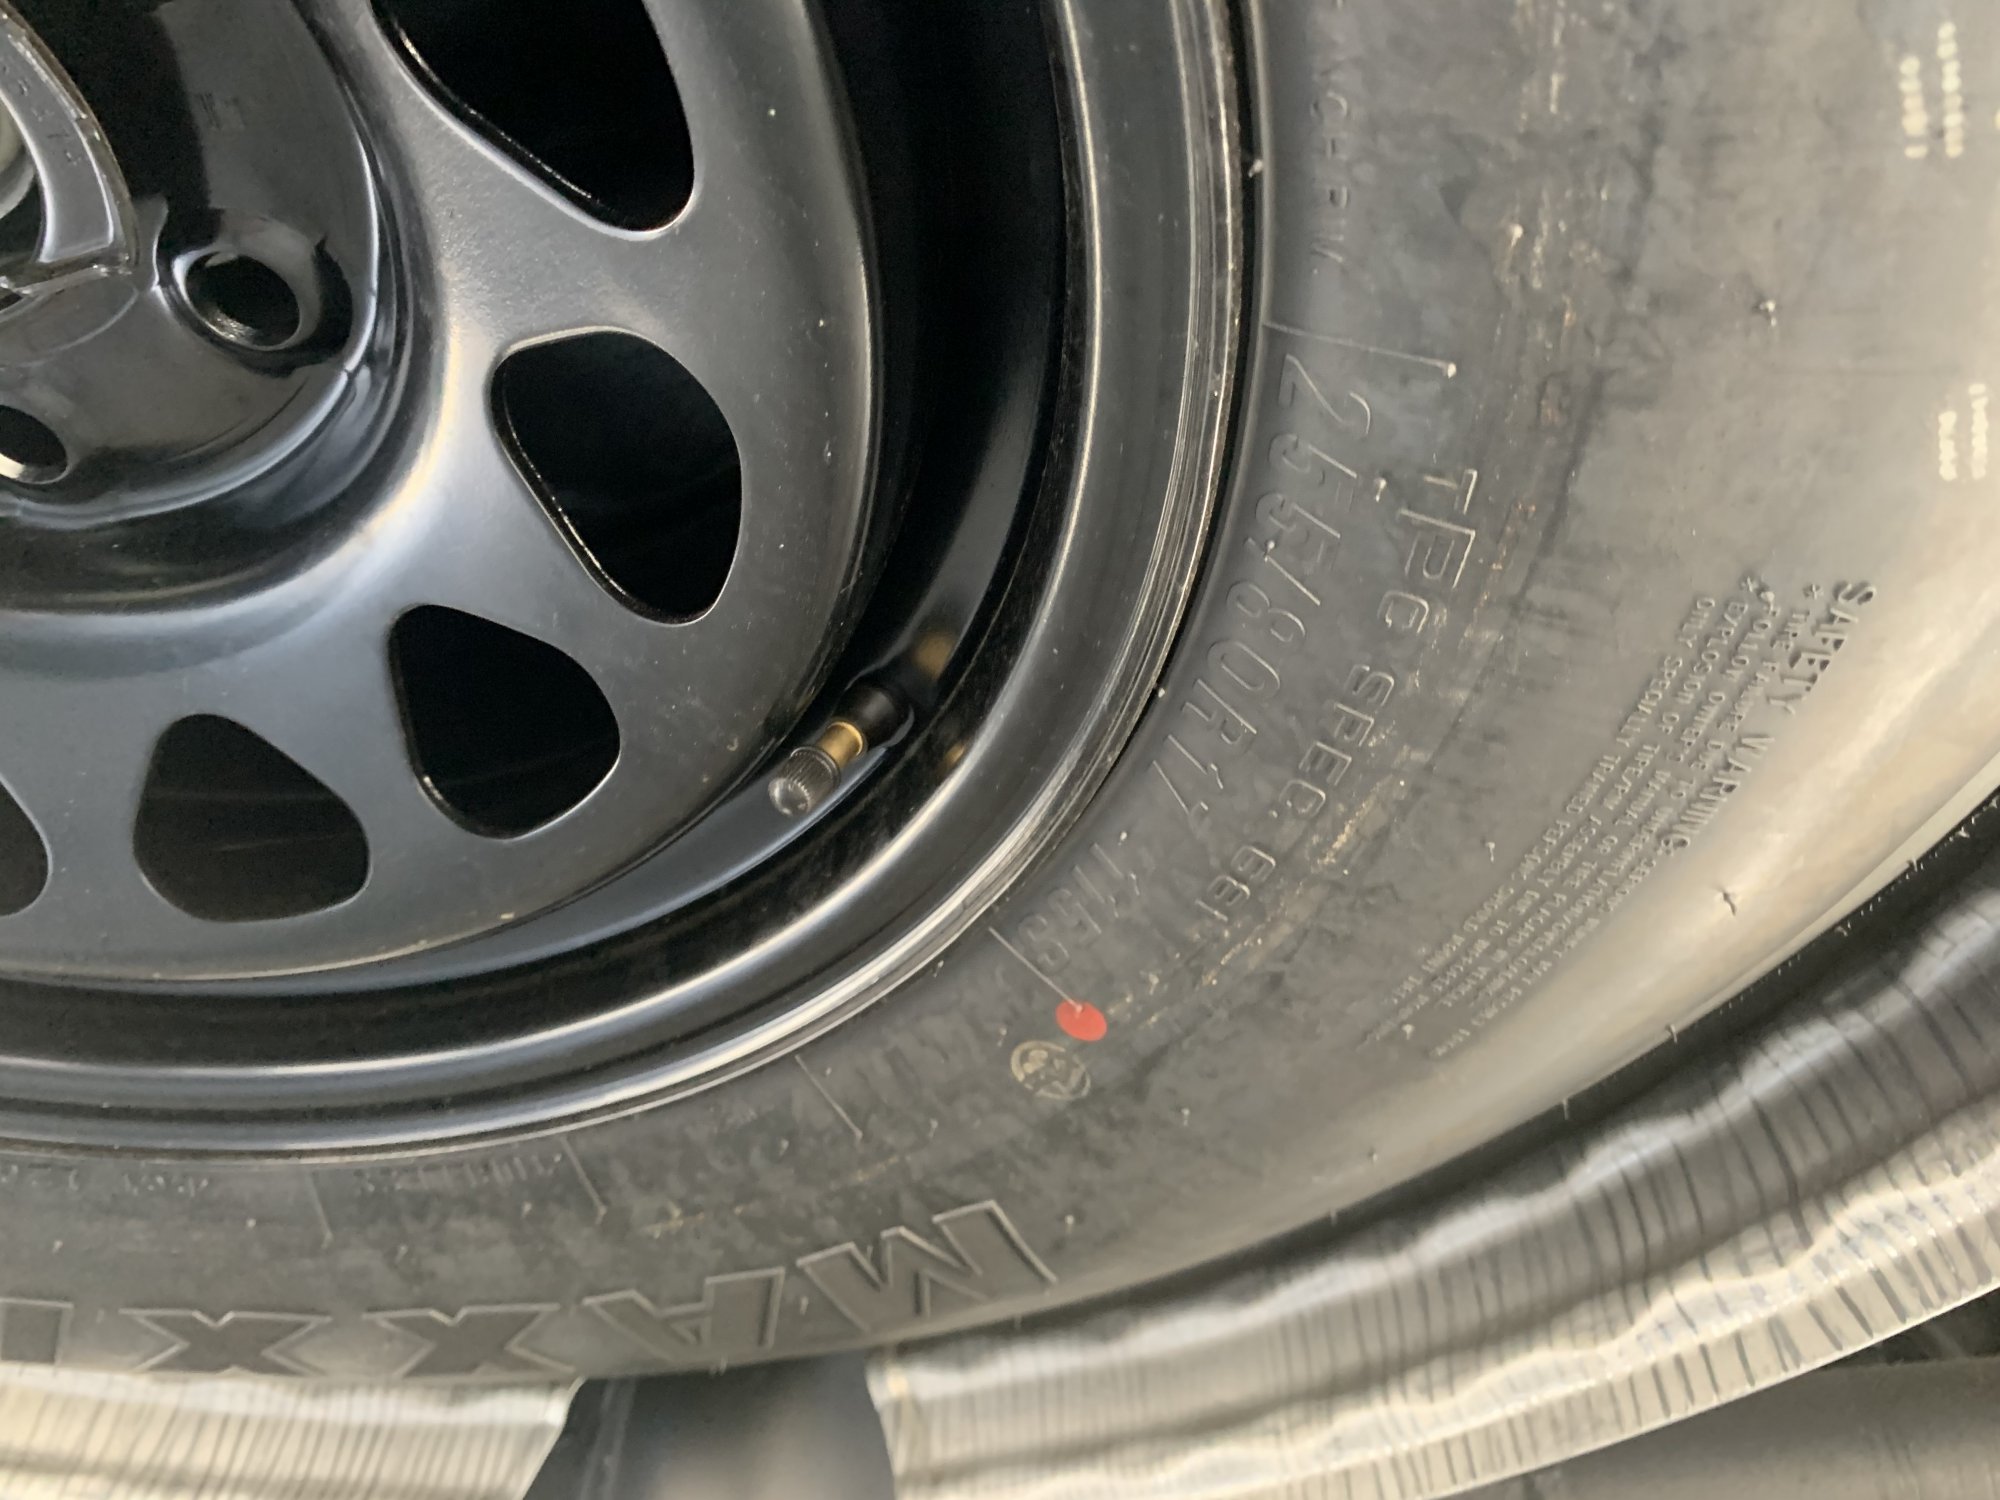
I’m pretty sure these should clear even 17 inch wheels, for those of us the went down to 17 inch wheels since the spare tire on these new Gen trucks is still a 17 inch. It would just have to be a low offset wheel to clear the outboard portion of the caliper. Pics are of both types of spares on 2020 Sierras at a local dealer of mine. Can anyone confirm this to be true? I just need to clear my 17 wheel barrels, my wheels have a concave and zero offset to clear the caliper width..
1 point
-
I changed based on all the talk of the clearance issues with the bottom spacer. The extra 1/2 inch was a bonus!1 point
-
Ryan B.1 point
-
Nice truck. I like those headlights more then the custom ones but I prefer the custom grill without the bow tie. I wish we had some aftermarket options for headlights.1 point
-
Yes, you are reading that correctly.1 point
-
Yes, my daughter drives a Sierra too.
1 point
-
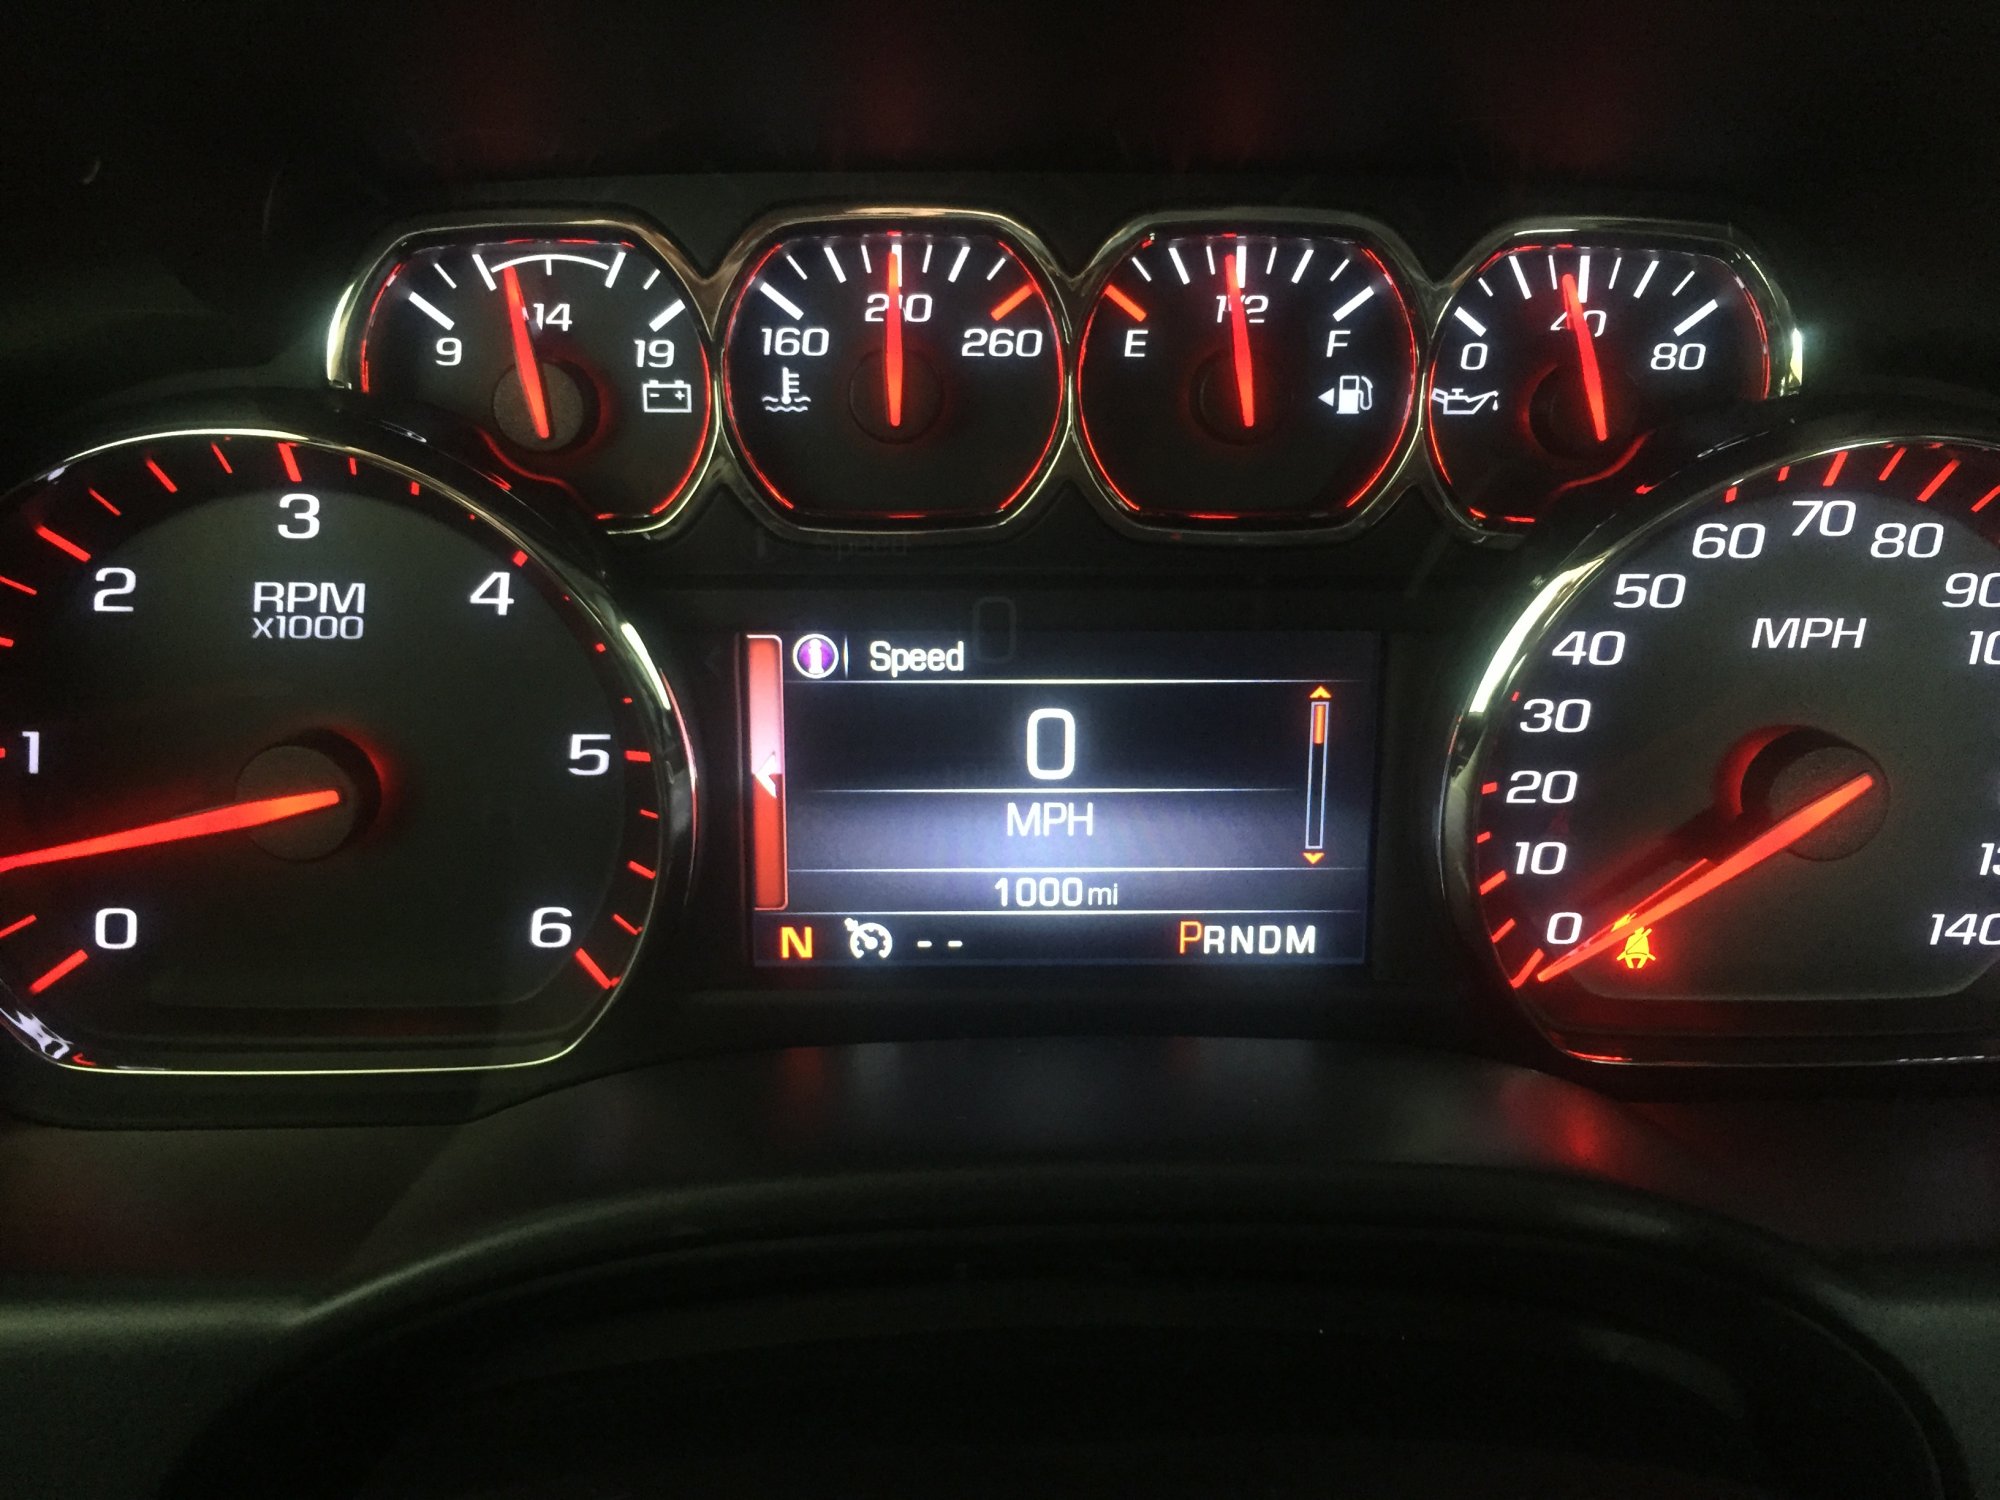
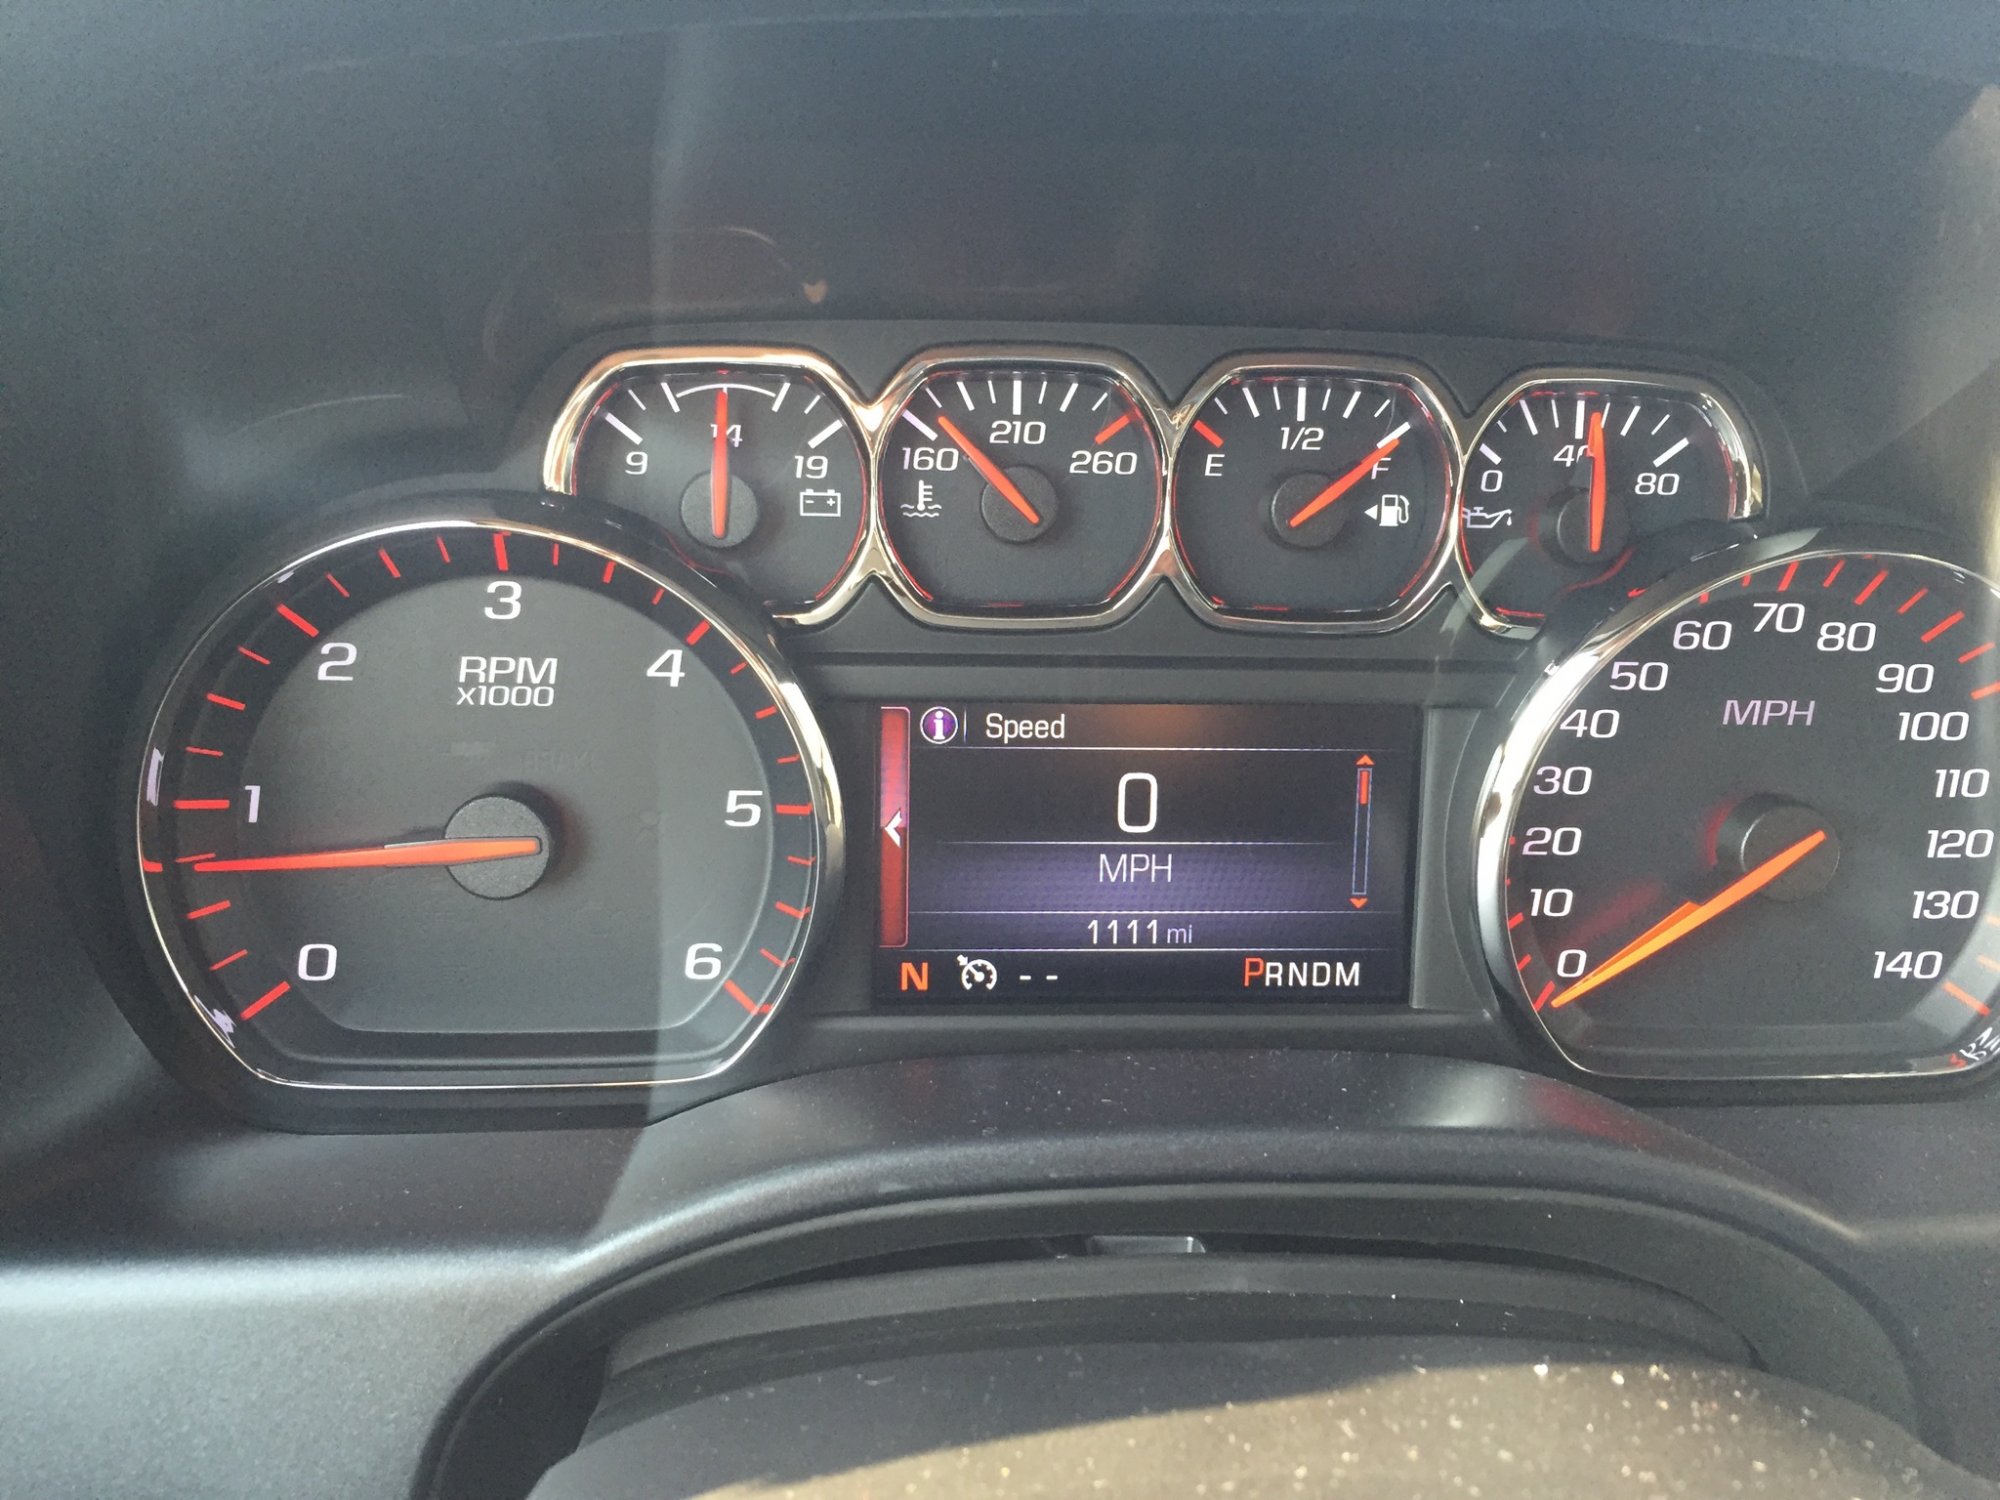
1000 and 1111 miles... not sure why but it is satisfying to me.
1 point
-
I should post a couple pics I guess. The day I got her...
1 point
-
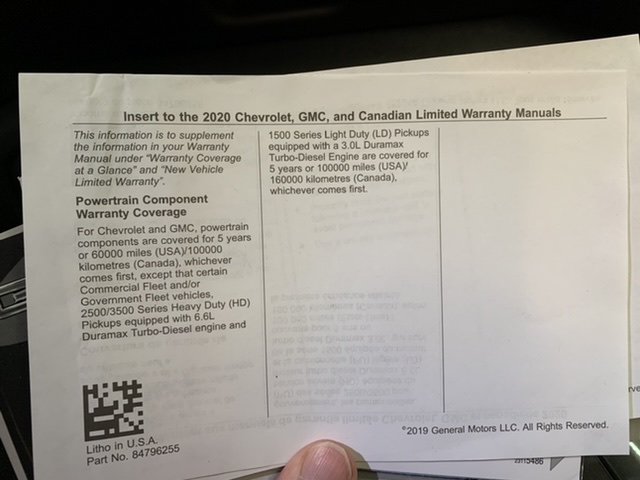
I found this supplement in my warranty booklet, am I reading this right, our 3L Diesel’s get 5 year/ 160,000km (100,000mile) powertrain warranty instead of the typical 100km?
1 point
-
Had a 2014 Silverado LTZ that was a great truck with absolutely zero issues. Traded for a 2018 Sierra SLT Z-71 that was a complete POS vibration issues and the dreaded 8 speed issues. So I rolled the dice and jumped on this 2020 AT-4 with the 6.2 and the 10 speed so far I am loving it. Keeping my fingers crossed that it holds up. I sure love the way it looks.
1 point
-
yeah I think theirs better options than the ranchos for sure....and still inexpensive and the GM kit doesn't require new CV axles....you can run em just like any other leveling strut....they just have em available and it comes in their kit.....not bad idea and you can buy them seperately Eibach is probably best leveling strut currently....belltech makes one too but not familiar with them, see them in a lot of lowered vehicles1 point
-
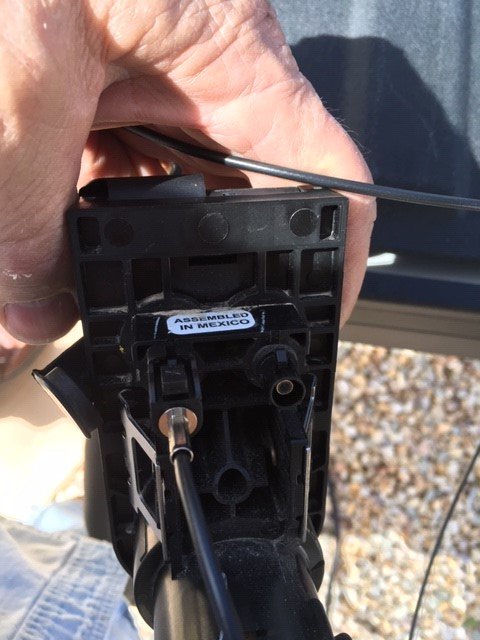
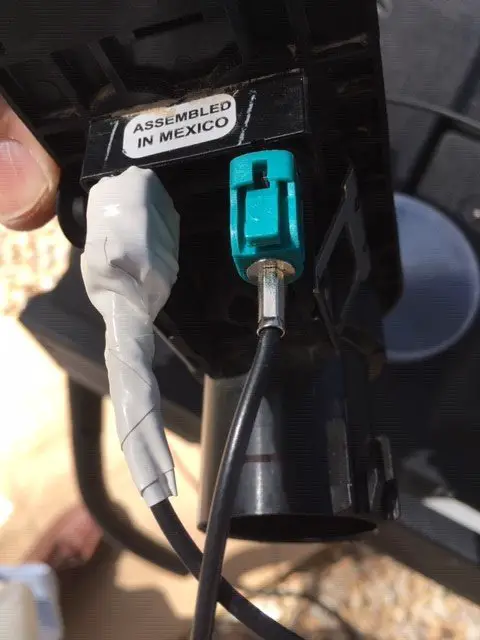
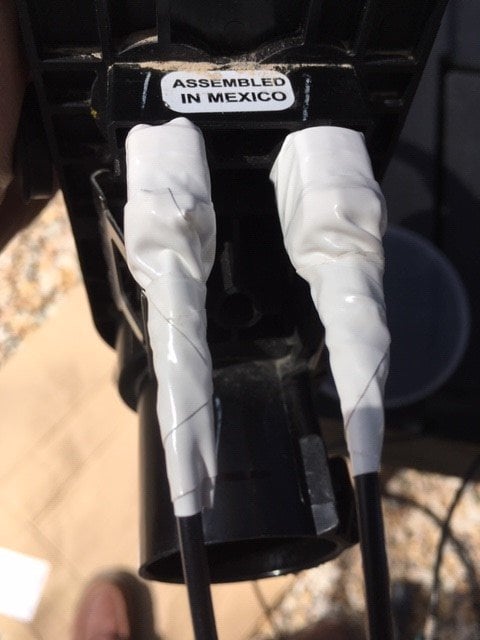
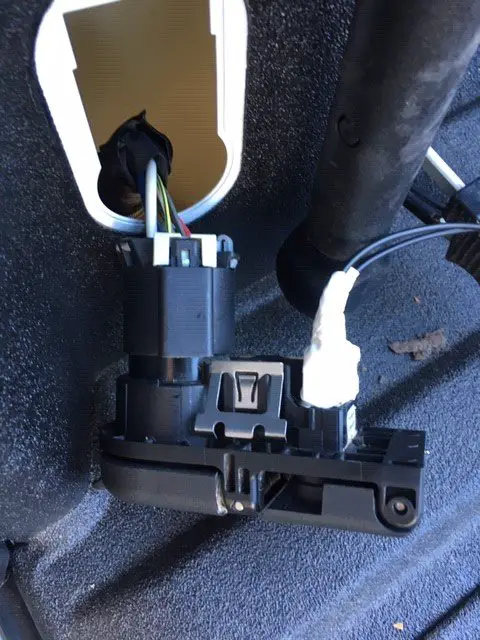
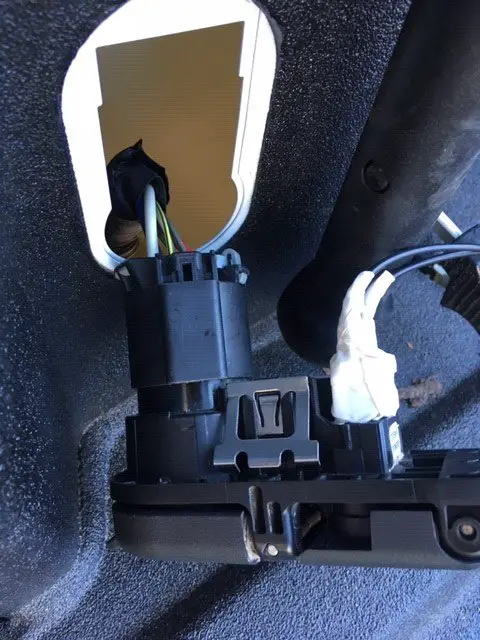
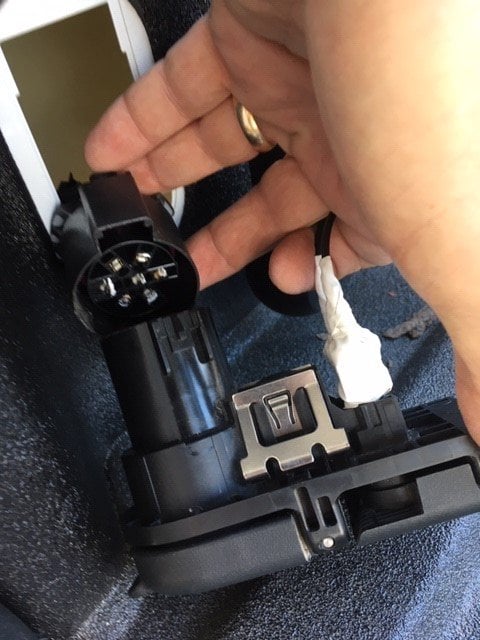
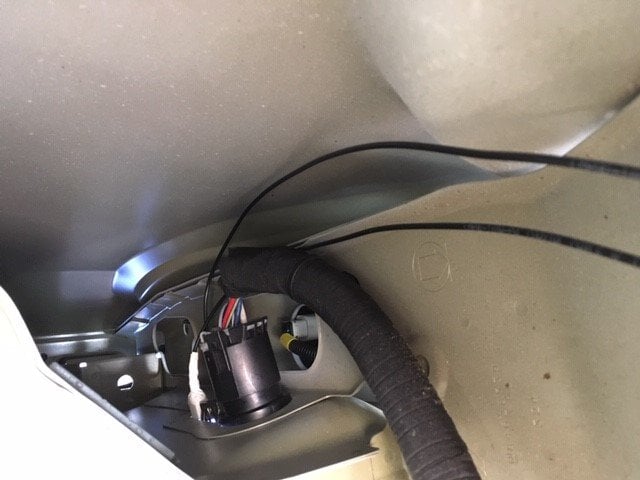
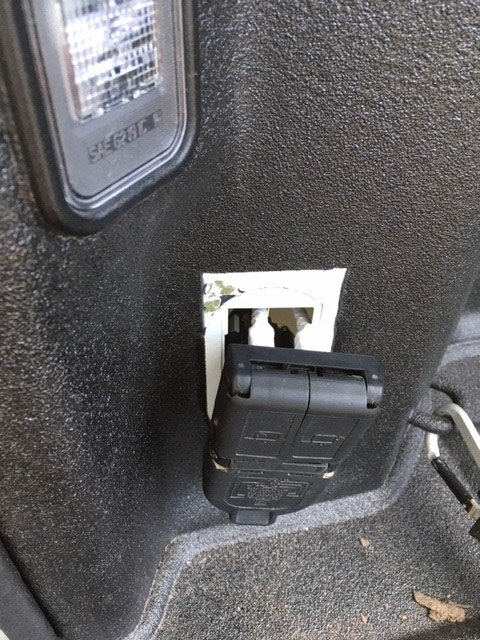
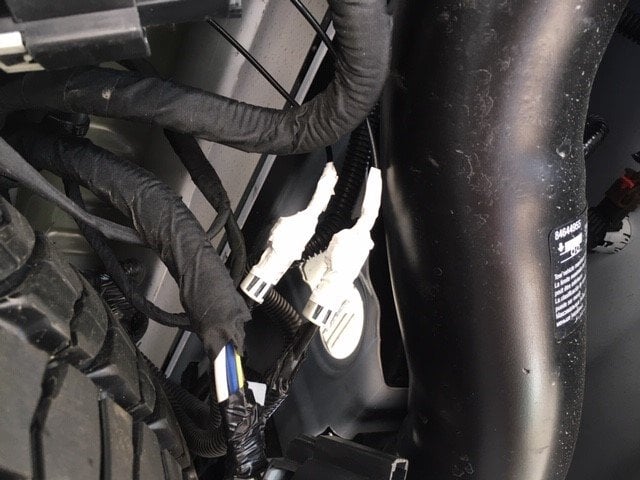
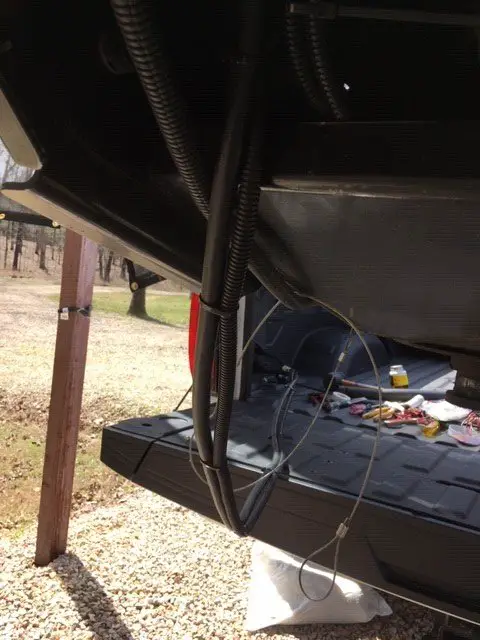
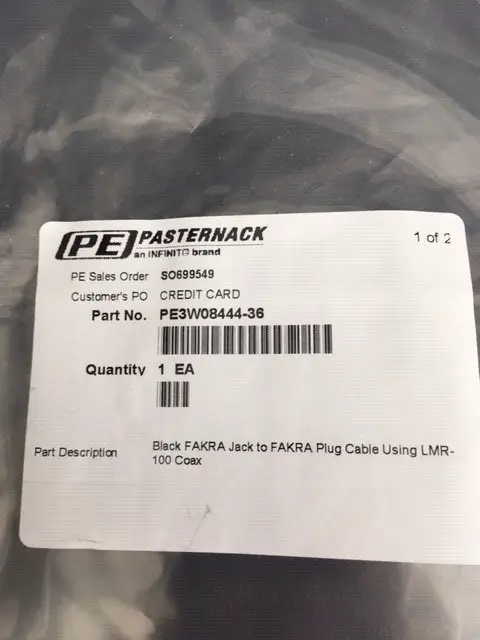
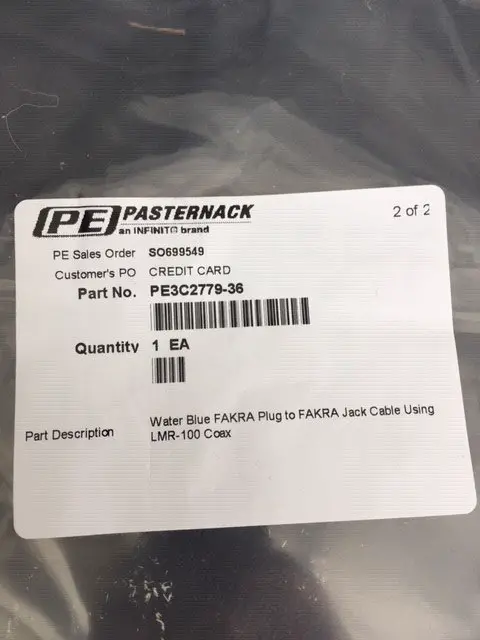
Just got back home after my wife's surgery and have completed extending my camera cables so I could swap the trailer plug with the video cable connectors from the bumper to the bed. It was a success and am very happy with the results and hope this helps everyone that tows a goose neck or fifth wheel. I purchased the cables from PASTERNACK (www.pasternack.com) 866-727-8376, Sales Person was Derek Burkett with the following part numbers. The last two digits are the length. I ordered 36" which worked great, but some folks may want to order another 12". The total cost including taxes and shipping was less than $100. a. Rear view camera cable (black) PE3W08444-36, description. Black FAKRA Jack to FAKRA Plug Cable Using LMR-100 Coax. b. Inside camera cable (Water Blue which is a universal cable to connect to the Orange cable) PE3C2779-36, description. Water Blue FAKRA Jack to FAKRA Plug Cable Using LMR-100 Coax. To install you will need to remove the bumper plug and the bed plug. The plugs have a metal squeeze clip that you need to press from the backside, the bumper can be accessed from behind the bumper and bed plug will require you to remove the rear taillight to access the rear of the bed plug. Your owners manual explains on how to remove the rear taillights. On the bumper plug video cables you will need to slide the red clips back and then push down on the release tab to release the jack from the plug. Next on the 7 pin connector you will slide the light grey clip back and then push down on the release tab to release the 7 pin connector (I found it easier to completely remove the grey clip due to access). I installed the bed plug first which will require you to remove some of the spray-on bed liner and make adjustments to the metal squeeze clips to accommodate the Pyle National Plug and the thicker bed wall. It makes it easier to do a test fit before applying cables. I spent many hours searching and calling, but I couldn't find anyone that would supply waterproof connectors, so you will need to tape these up to keep out moisture. The pictures will tell the story and I did finish up by using cable ties to secure the cables to the 7 pin cable harness from the bed plug to the bumper plug.
1 point
-
I have a Denali as well, so please don’t take this the wrong way. You are never going to be happy with the Bridgestones, they are subpar tires. I know out of principle we should be able to make the dealer be responsible for the fix but the fact is they never will be. Most of you who can afford a Denali know the concept of time is money. My vote is you get a set of Michelin’s and move on with your life. Should we have to fork out another $1k on tires on top of an already expensive truck, no, but that’s the reality of the situation. On top of that, even if the dealer could get a set of good tires, they probably wouldn’t be able to balance them properly. Get the Michelin’s from discount tire, at least they stand behind them and will make it right if the new tires don’t fix your issue. Sent from my iPhone using Tapatalk1 point
-
Guess ill be headed to the dealer, thanks! Just sucks knowing something is missing on a brand new vehicle thats all. Also with the diesel it takes a while to get to temp so if its supposed to be there id like to have it as itll help get to operating temps.1 point
-
Yea it’s a new house. It won’t stay empty long. [emoji51] Ryan B.1 point
-
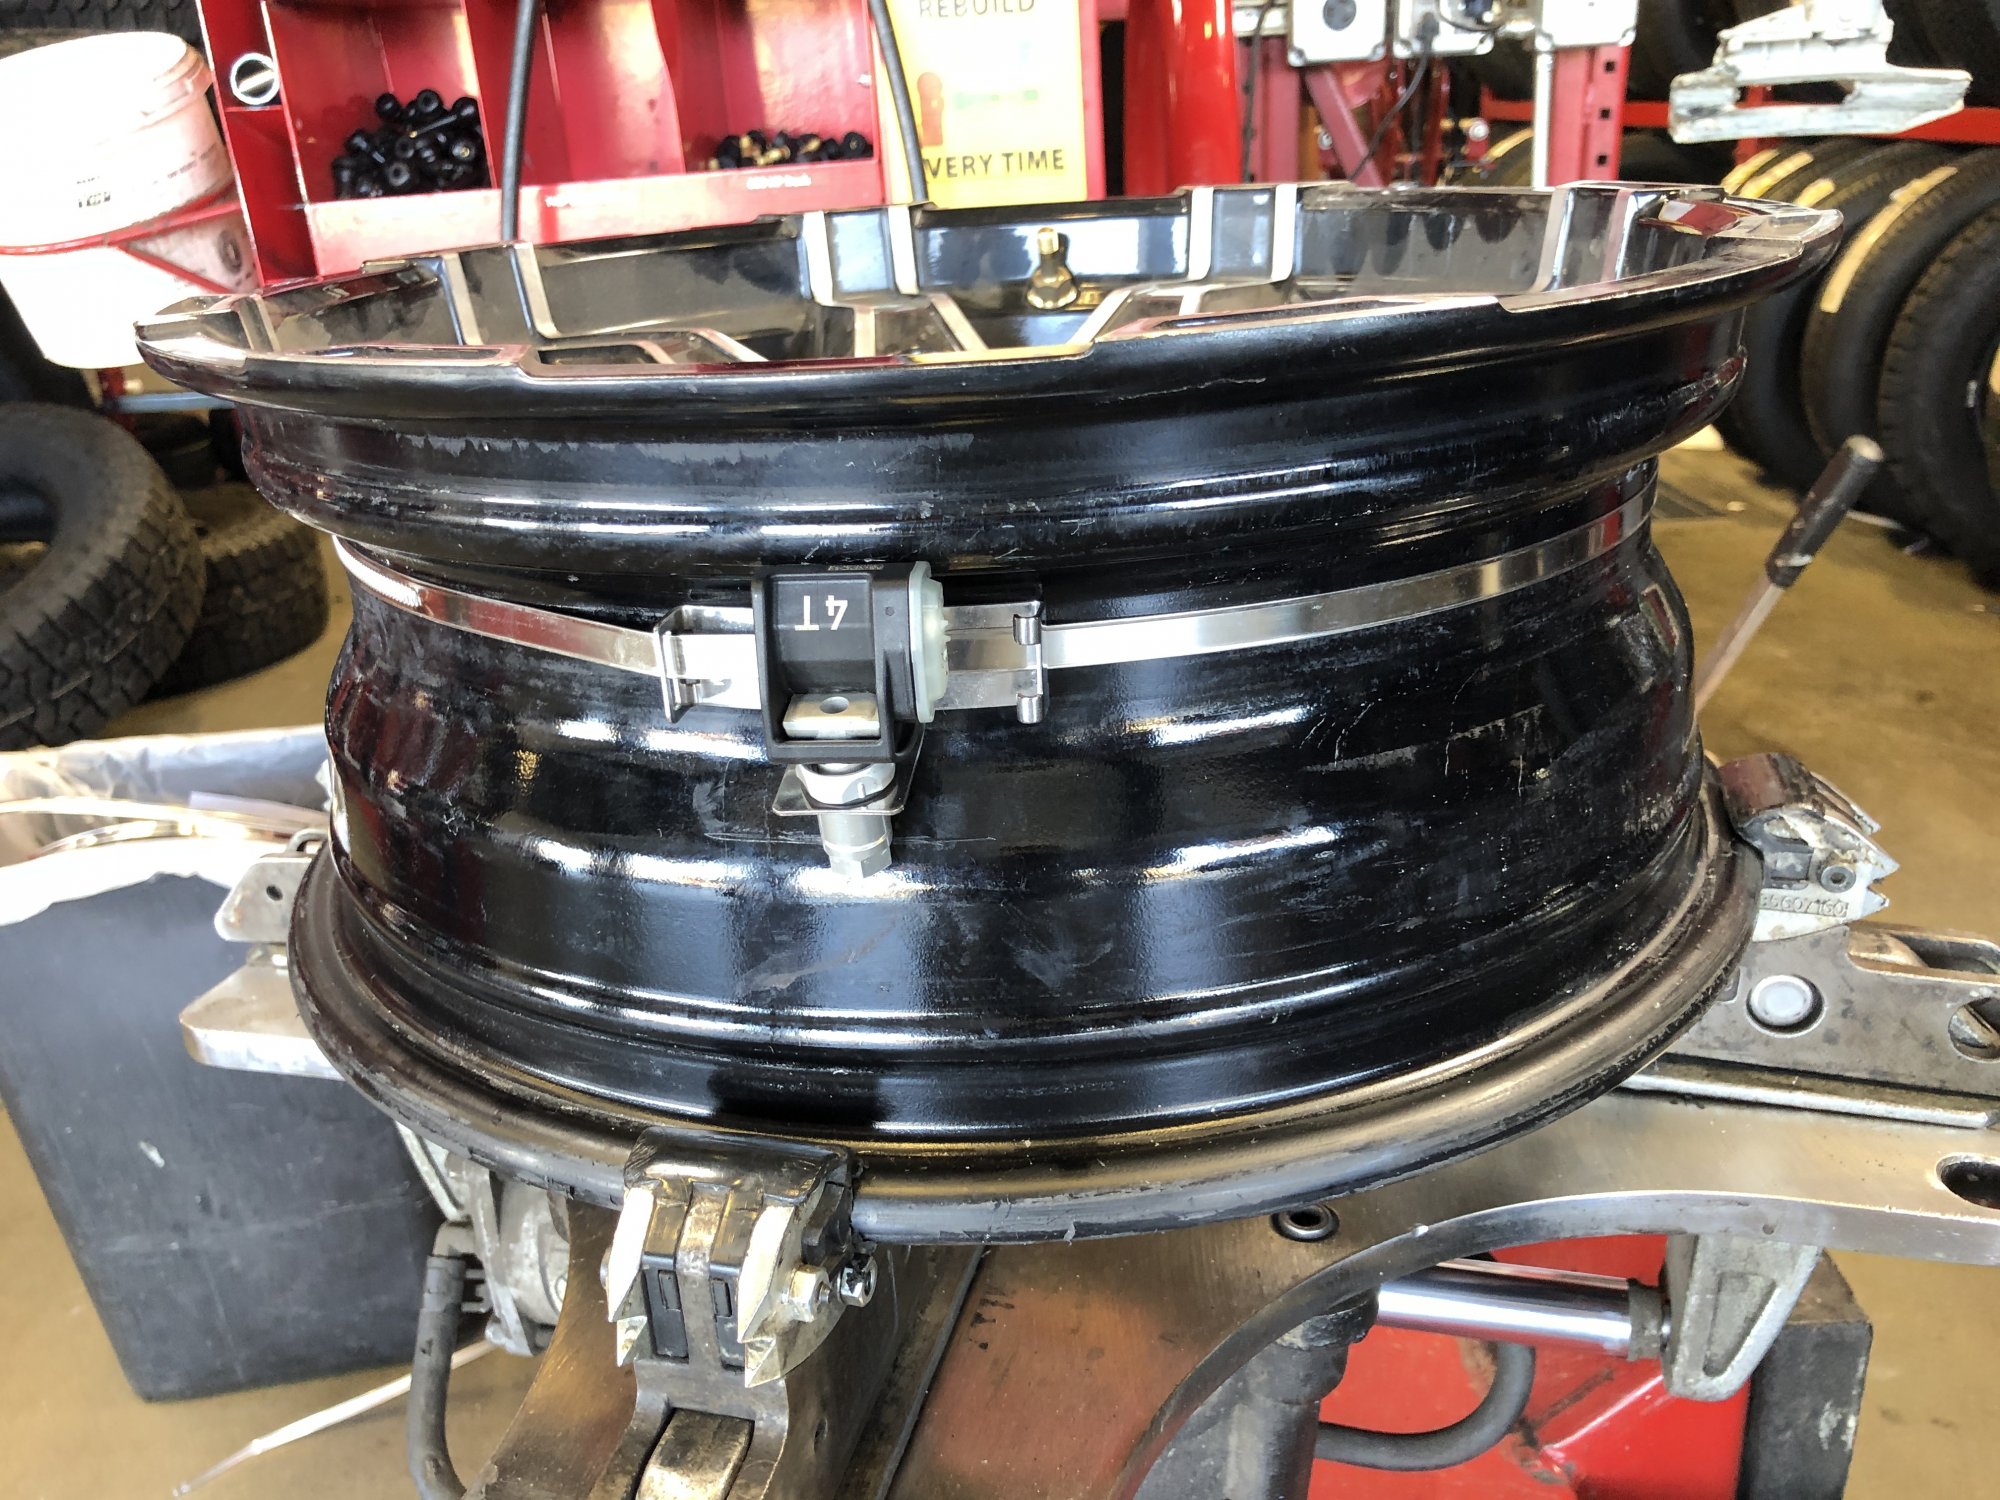
Yes, I actually posted a new thread. The new stems would not fit, but we did find a solution. Used the older style ford "bands" / giant hose clamps and placed the sensors inside the tire/rim. Pic attached. Works great. Hope this helps.
1 point
-
Here's a 4/6 with 22s and 305 45s. Close enough to maybe give you some idea Sent from my SM-N950U using Tapatalk1 point
-
Front view, I'll get better pics in the daylight.
1 point
-
Yes you are correct on the 'lift kit' thing. Geometrically speaking, a lift kit actually makes your truck more susceptible to damage/breaking. I thought about going with the 3.0 Kings with internal bypass but I'm really not going to romp this truck hard enough to need that. They are super Gucci though! ? The standard short bed was tough to track down and I appreciate a longer wheelbase for offroading (more stable at high speeds). Next in order is to finish the rear end with the Deaver U182 leaf pack and Camburg extended shackles. The leaf pack says 3" of lift but in order to keep my ride height I'll utilize extended shackles to compensate for the lift all while improving the suspension feel. After that; she'll be ready to bounce so 35's and fiberglass fenders all around! First Woops.mov
1 point
-
not the best quality gif Sent from my iPhone using Tapatalk1 point
-
2020 HD Wt 4x4- 37 bfgs. Kings should be here next week, waiting on uca's
1 point
-
Another satisfied customer!1 point
-
If we could hand out trophies on the internet, we would most certainly give you one.1 point
-
Looks awesome. . . and like a very expensive endeavor1 point
-
I installed mine according to the install video and have had zero oncoming cars flash me. Correctly installed the power cord will be facing down and the LED bulbs will be at the 3 o'clock and 9 o'clock positions as Sealights installment video demonstrates.1 point
-
On my 6.2 I used to get 18 to 19mpg after my 6” lift and 22x12 with 35s I now get 11.4mpg1 point
-
2015 Tahoe LTZ 3rd owner 75K- 20 inch wheels - We love the ride it after replacing front shocks with revised part number 84176631 for $700 We bought our LTZ from the local Chevy dealer used car lot to replace our 2003 Expedition XLT in part because the 2015 LTZ's reputation of more sports car like handling compared to the 2016 and later GM models that have a reputation for significantly softer handling Admittedly the test drive was short, in traffic, on a smooth road. After we bought it and started driving it the ride was so bad (and the engine was leaking oil) that we basically ended up parking it for 9 months until I had time to deal with it. I wasted all kinds of time on the internet reading about the harsh ride of the 2015 Tahoe, Denali, Escalade and even came close to ordering 18 inch wheels or trading it in. When I finally got around to working with the dealer to address the ride and engine oil leak the dealer found both front shocks bad, both were leaking (which I had identified also) and one shock was completely out of oil and locked into an extended position. No wonder the ride was rough! The dealer quoted almost $2400 to replace the 2 front shocks. A little research into their quote showed that price was for replacement of the whole strut assemblies not just the shocks. If you don't know the front springs and struts on the 2015 and later Tahoe, etc. are assembled into a single unit, kind of like a McPherson strut but not quite as there are both upper and lower A arms. My guess is the dealers don't want to fool with breaking down and rebuilding the strut/shock assemblies. It is possible other parts may need replacement such as the rubber bump stops etc. but in my case all of the original parts except the shocks themselves were reusable. I'm 62 years old and trying to work on cars less but in this case I decided to just change the shocks myself. My Tahoe has the heavy duty towing package and compressing the front springs was simply not possible with a loaner coil spring compressor from the local auto parts store. The total cost of the job was $736 ($301 each for two OEM Delco magnaride shocks from Rock Auto (use the updated shock GM part # 84176631) plus $134 labor at the local tire store to swap the new shocks into the old strut assembly - thanks to them for doing that in a couple of hours on a busy Saturday). It took me about 4 hours to remove and reinstall the strut assemblies from pulling the truck into the garage to test drive. The rear shocks were fine - with the HD towing package they are not electric. If I had it to do again I could probably do it in two hours - There are only 5 bolts holding each strut/shock assembly in plus one to loosen on the sway bar link. I reused the existing magnaride electrical connectors but those took a lot of patience to disassemble. If I had to do again I would buy the connector kits (part # 22836728) which I think are about $7 per side. I didn't have a service manual so based on the internet research the torque specs I used were 47 ft lbs for the strut towers and shocks, and 17 ft lbs for the drag link. That seemed to feel right during reassembly. Getting the strut towers out was easy (I used an air tool with an 18 inch extension and a deep socket (17mm I think) on the top tower bolts ) but plan to spend some time removing and reinstall the electrical harnesses and clips on the towers. It's all very straightforward though. Savings from dealer quote - almost $1700. In the end the dealer fixed my oil leak at no cost under the transferrable 100,000 powertrain warranty by replacing the oil pan (there is a GM SB on that) and the truck now drives, rides and handles like a dream - I love it! - and it does corner like a sports car.1 point











.thumb.JPG.2c573de60d3a3a4407c7d92298db46dd.JPG)






.thumb.JPG.96e5ac8c60641f8011665a2c92c083f2.JPG)
















This leaderboard is set to New York/GMT-04:00