
Leaderboard


Popular Content
Showing content with the highest reputation on 12/29/2019 in all areas
-
Not finding much how to make the lights work with the interior lights. I looked up the schematics and got it all to work. Looks ALOT better now. If you want to do it its easy. The hot wire hook up on the bcm is on the first connector(white one) which is connector X1 and pin 23. When you pull the connector off you will see a grey wire in the very bottom corner. The wire you want is the grey wire two over from the corner grey wire which is pin 23. I ran the hot wire from the bcm up to the drivers side light and tied in another hot to run to the drivers side. I also ran the ground over to the pass side and tied into the pass light and ran the ground right to the firewall. You will see a ground wire already there. For the pass light I cut some of the bottom cover back right where the push pin is in the middle. My lights I used has magnets so I just stuck it to the metal plate right under the cover I cut back. I will attach some pics.
 3 points
 -
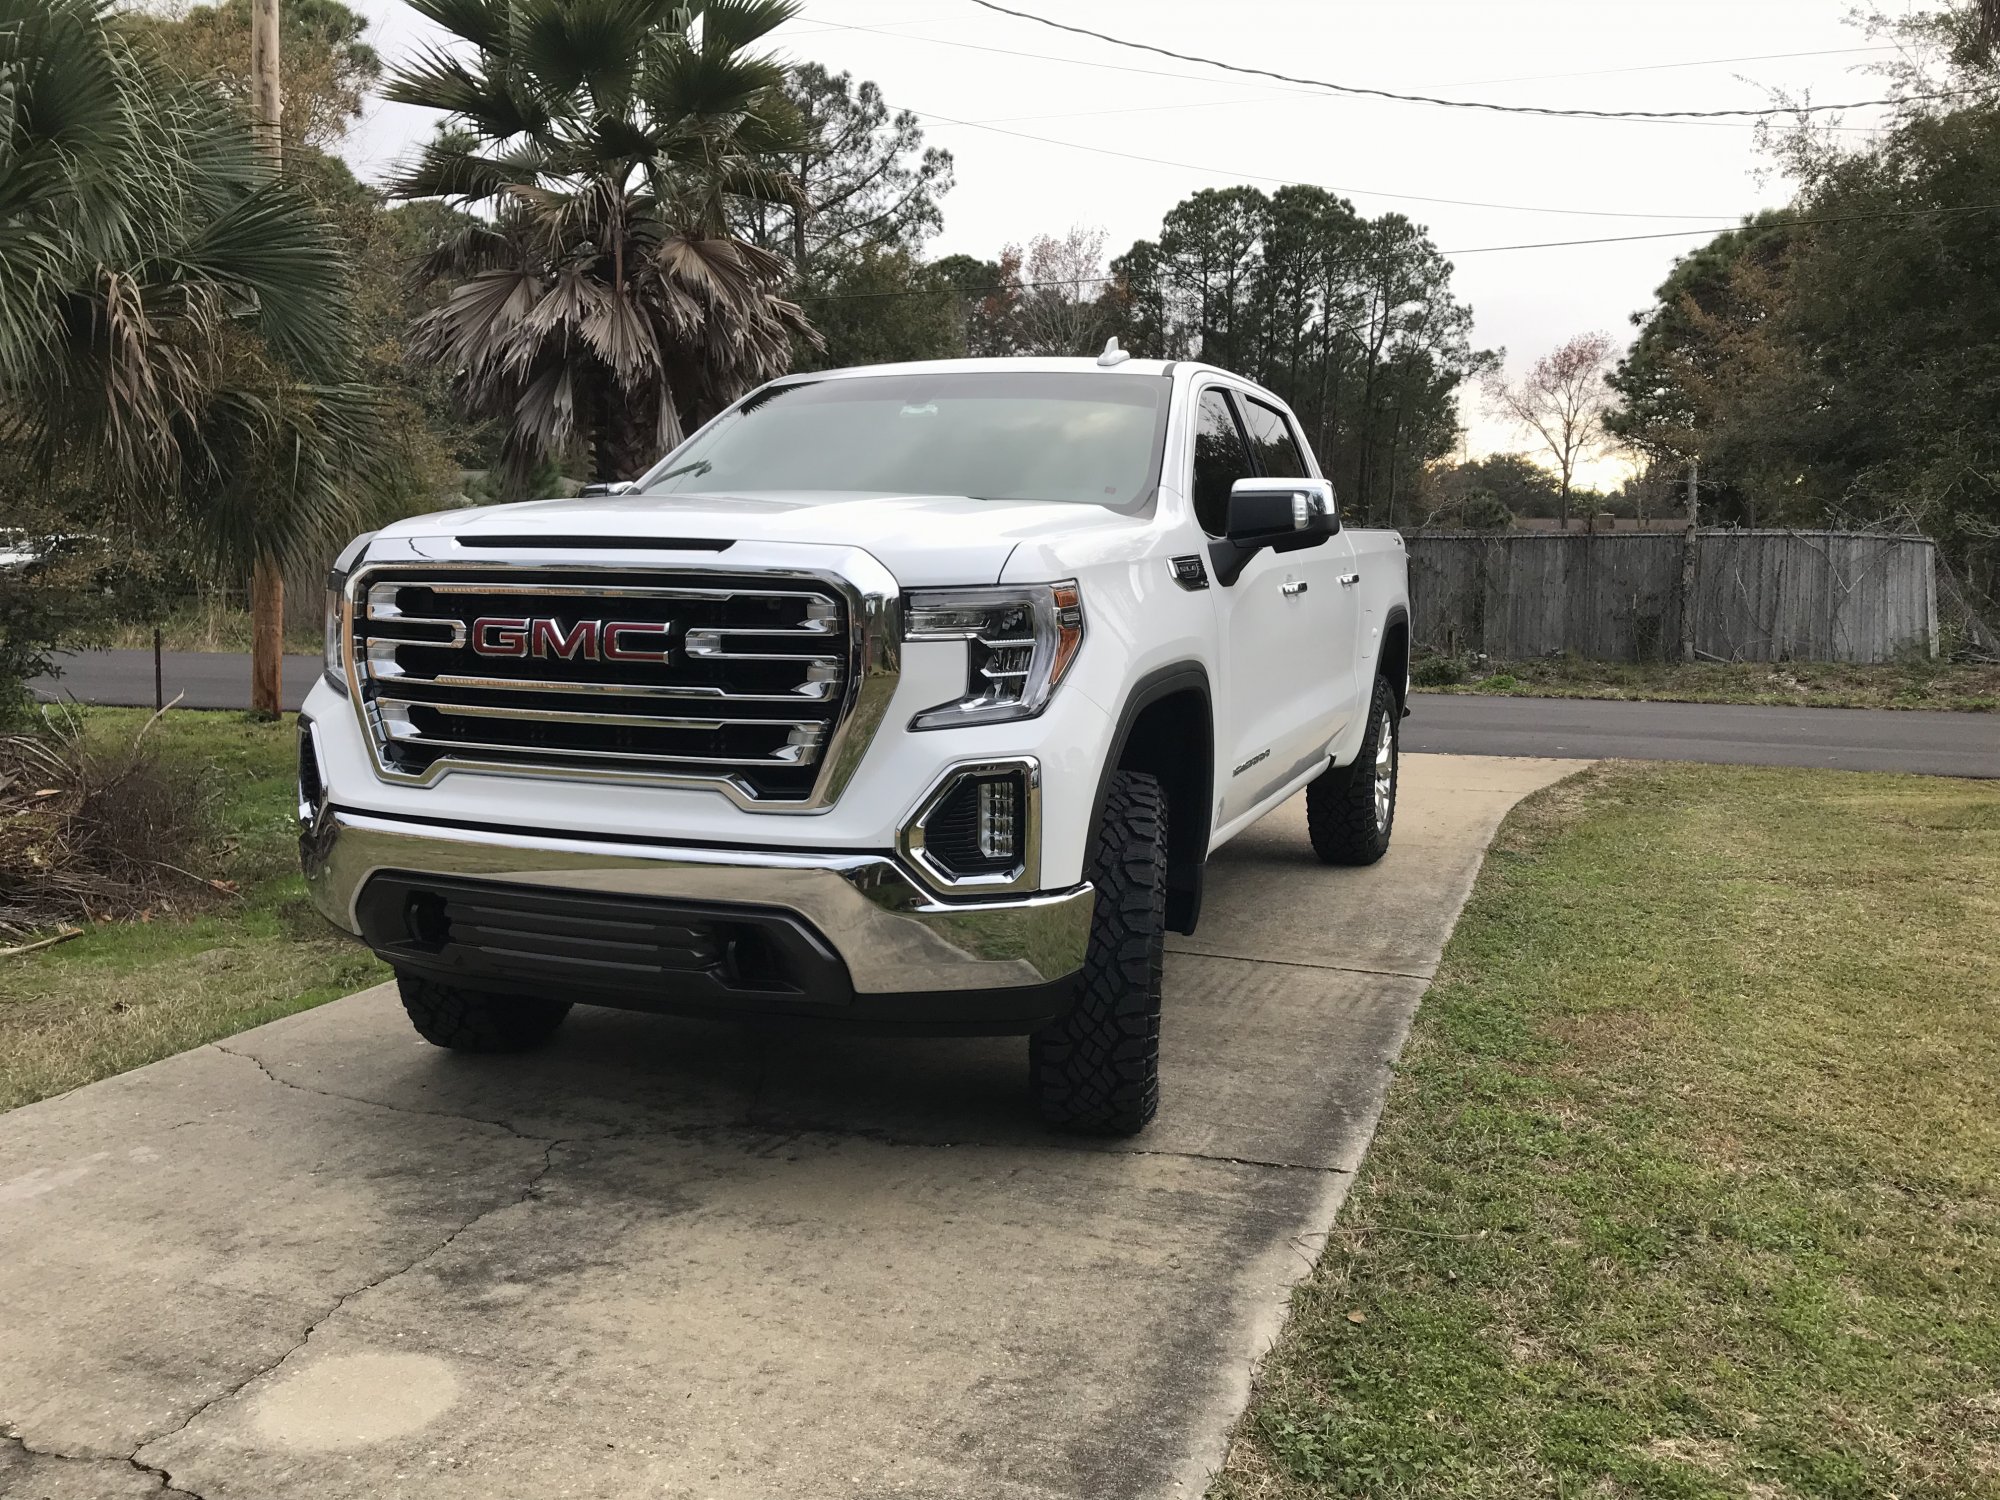
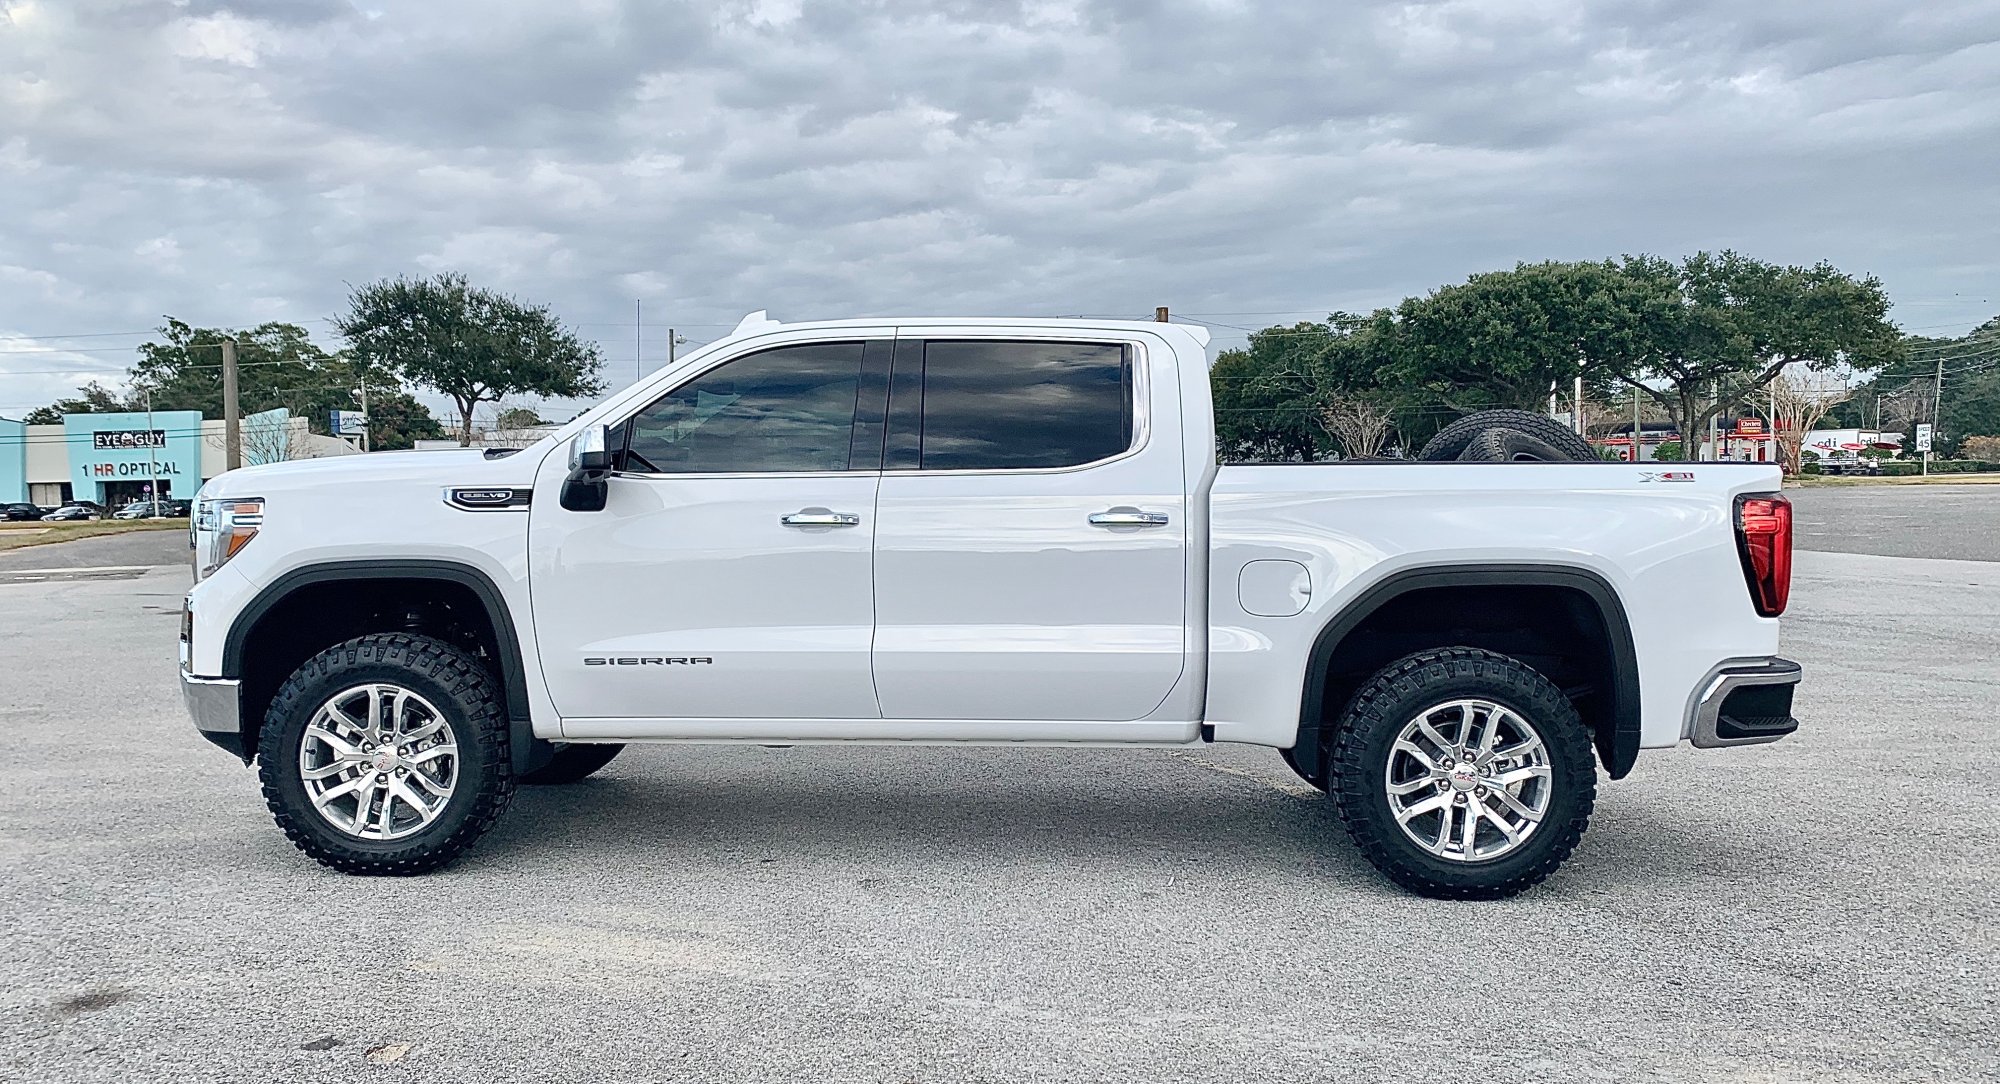
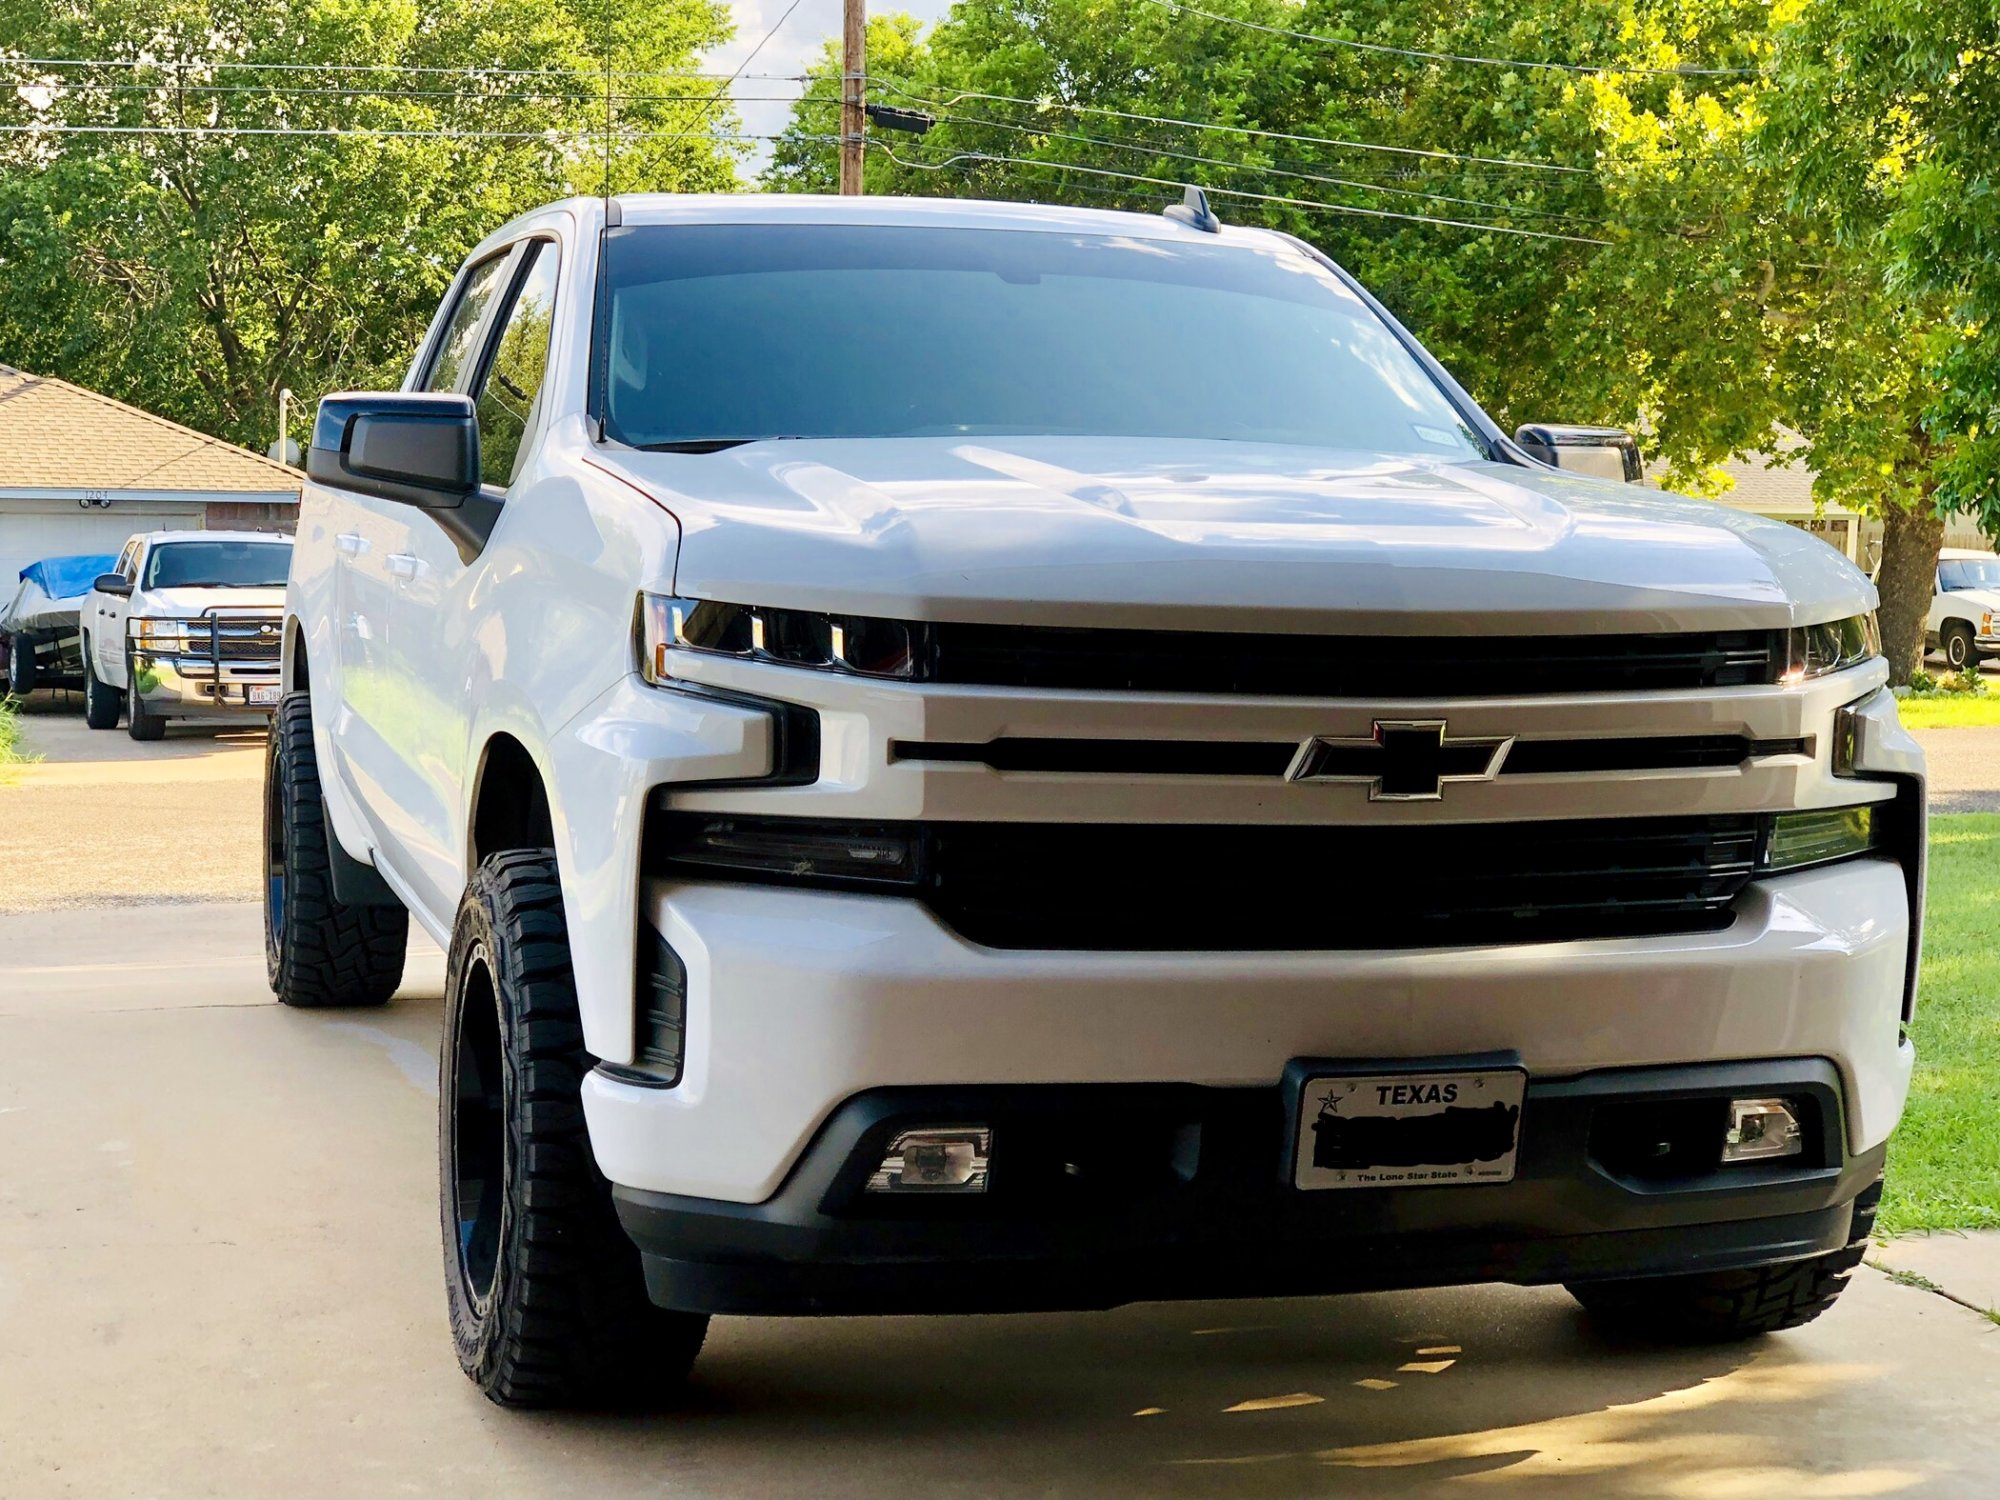
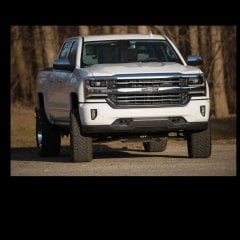
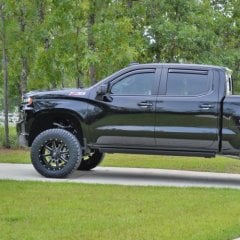
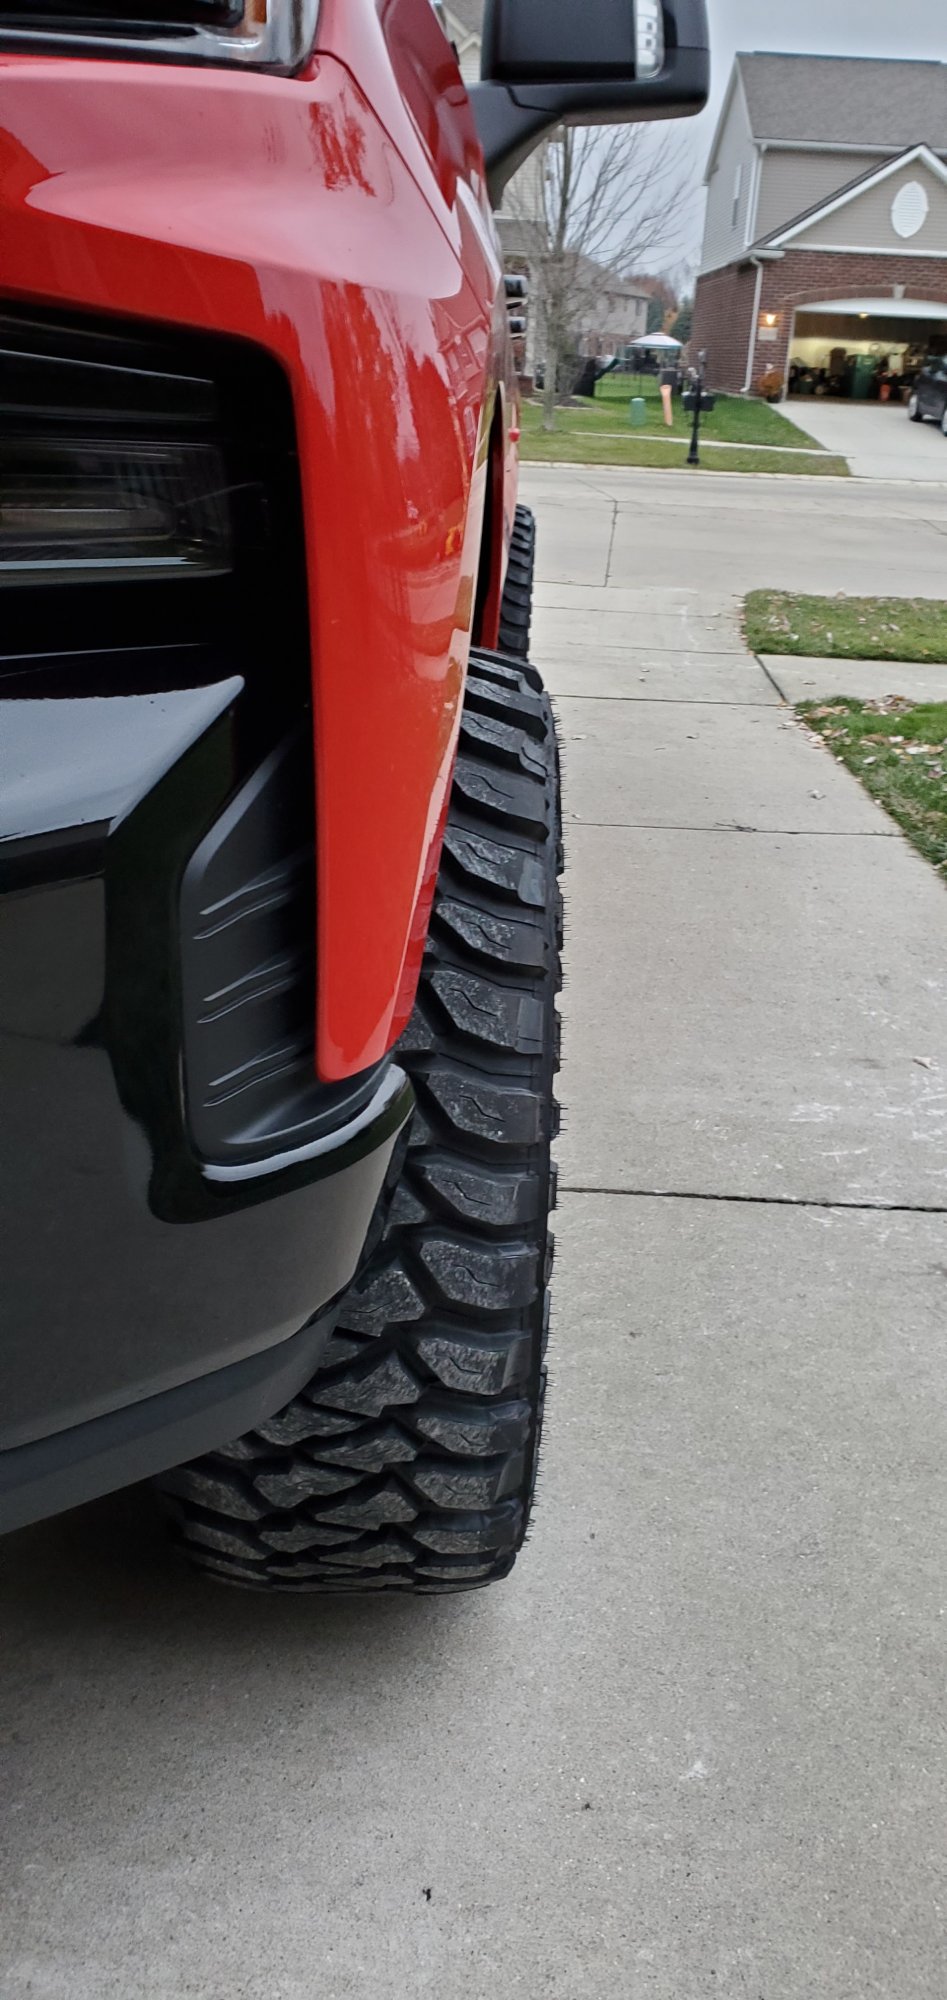
This is my first post and just want to say that this has been a great platform for any questions I’ve ever had about my GM vehicles. I did did an enormous amount of research before deciding on the Ready Lift +2 SST (part #: 69-3920) I saw a ton of people looking for pictures of set-ups, so I wanted to share mine to hopefully help someone out. This truck came with the factory installed 2” lift (same as AT4) got the above level installed which added 2” in the front and 1” in the rear. There is still 1” of rake to the truck which isn’t too noticeable. Installed 275/65/20 Duratracs and the stock rims. You CANNOT go wider on the stock tires, as it sits now there is only about 1/4” clearance at the UCA. Truck looks/feels great & no rubs lock to lock with zero trimming. No change to factory ride. Hope this helps y’all out! -JH
3 points
-
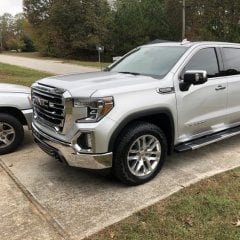
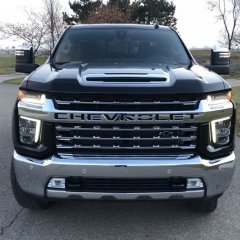
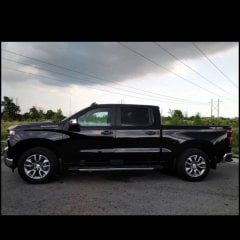
2020 SLT. Picked up at the end of November; finally got around to snapping a picture of it while in a local park. This is my first truck that isn't black... also my first truck without a plow now that I live in the south! I'm probably going to swap the wheels for a black chrome set, but otherwise it'll stay pretty much the way it is. Sent from my LM-V350 using Tapatalk3 points
-
Especially for 14,000lbs. Your truck will handle it just as well. The 10spd is a great trans, but I'd say it's more for getting crazy heavy loads going and keeping them going. Sent from my SM-N975U using Tapatalk2 points
-
there is always something better next year. your 2019 is a fantastic truck that will do anything you ask of it. don’t fall into that trap!2 points
-
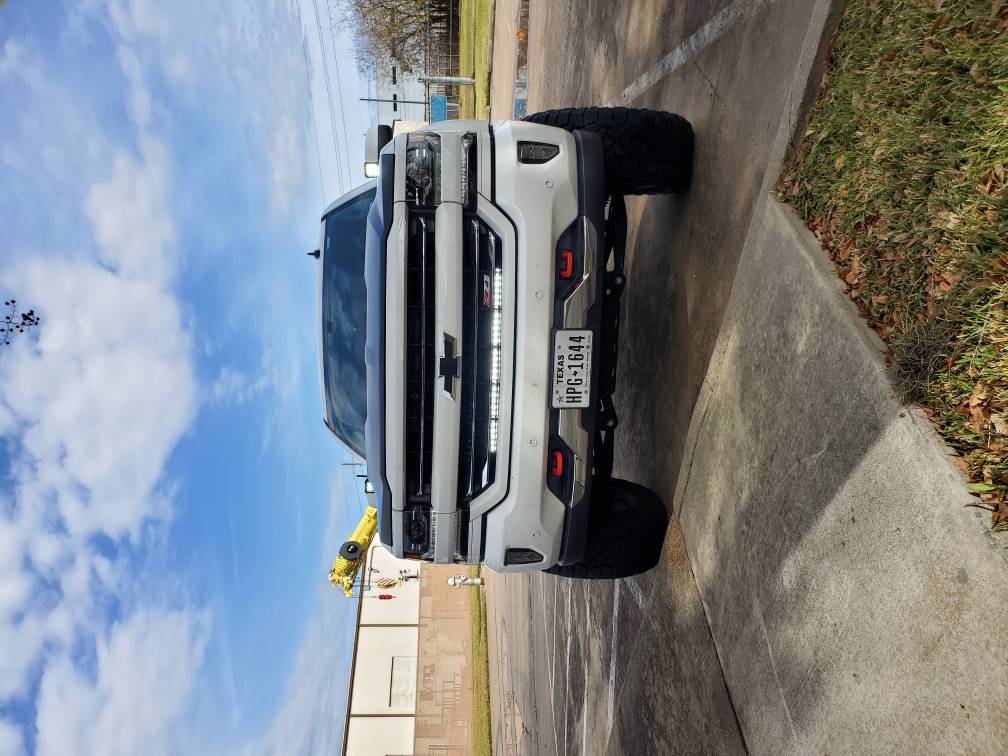
Finished installing my lightbar today. Same 31" bar that TXGREEK installed on a gmc. I installed it with the mounts that came with it, but the bar ened up being a little too high. I just drilled 2 new holes and now it sits perfectly. Unless you're looking for it, you can barely see the bar behind the grill. It also clears the active shutters perfectly. Looking forward to testing it out tonight. Sent from my SM-G975U using Tapatalk
2 points
-
Installed the illuminated door sills, absolutely love it. Especially since I got them brand new for under $50 for the set [emoji16] Sent from my moto g(7) using Tapatalk2 points
-
Complain on the NHTSA website. Have your VIN. Takes 5 minutes. This is the only way to get GMs attention because they could not care less about customer satisfaction. It is a safety issue first and foremost. https://www-odi.nhtsa.dot.gov/VehicleComplaint/2 points
-
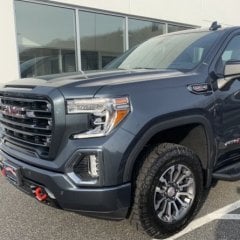
Well I hated to let go of my Elevation after all the work I had done to it but finally decided to upgrade yesterday. Wanted to go with a crew cab and ended up bringing home this All Terrain 6.2L. Loving it so far and plenty of mods to come I'm sure. Sent from my SAMSUNG-SM-G890A using Tapatalk2 points
-
Finally got my 3/2 Motofab kit installed today2 points
-
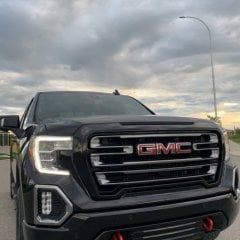
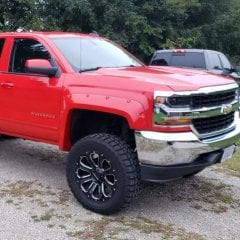
Since we're talking about cajun red. Sent from my ONEPLUS A6013 using Tapatalk2 points
-
I know the K2 guys have one of these threads so I figured we should too. Think it’d be useful for others. Post pics of your setup! Make sure to add specs of the wheels/tires, spacers, suspension, rubbing/trimming... I’ll get it started.. Fuel sledge 20x10 -19 (no spacers!) Toyo RTs 285/55/20 1.5in leveling kit Rubbing on the mud flap a lil before full turn
1 point
-
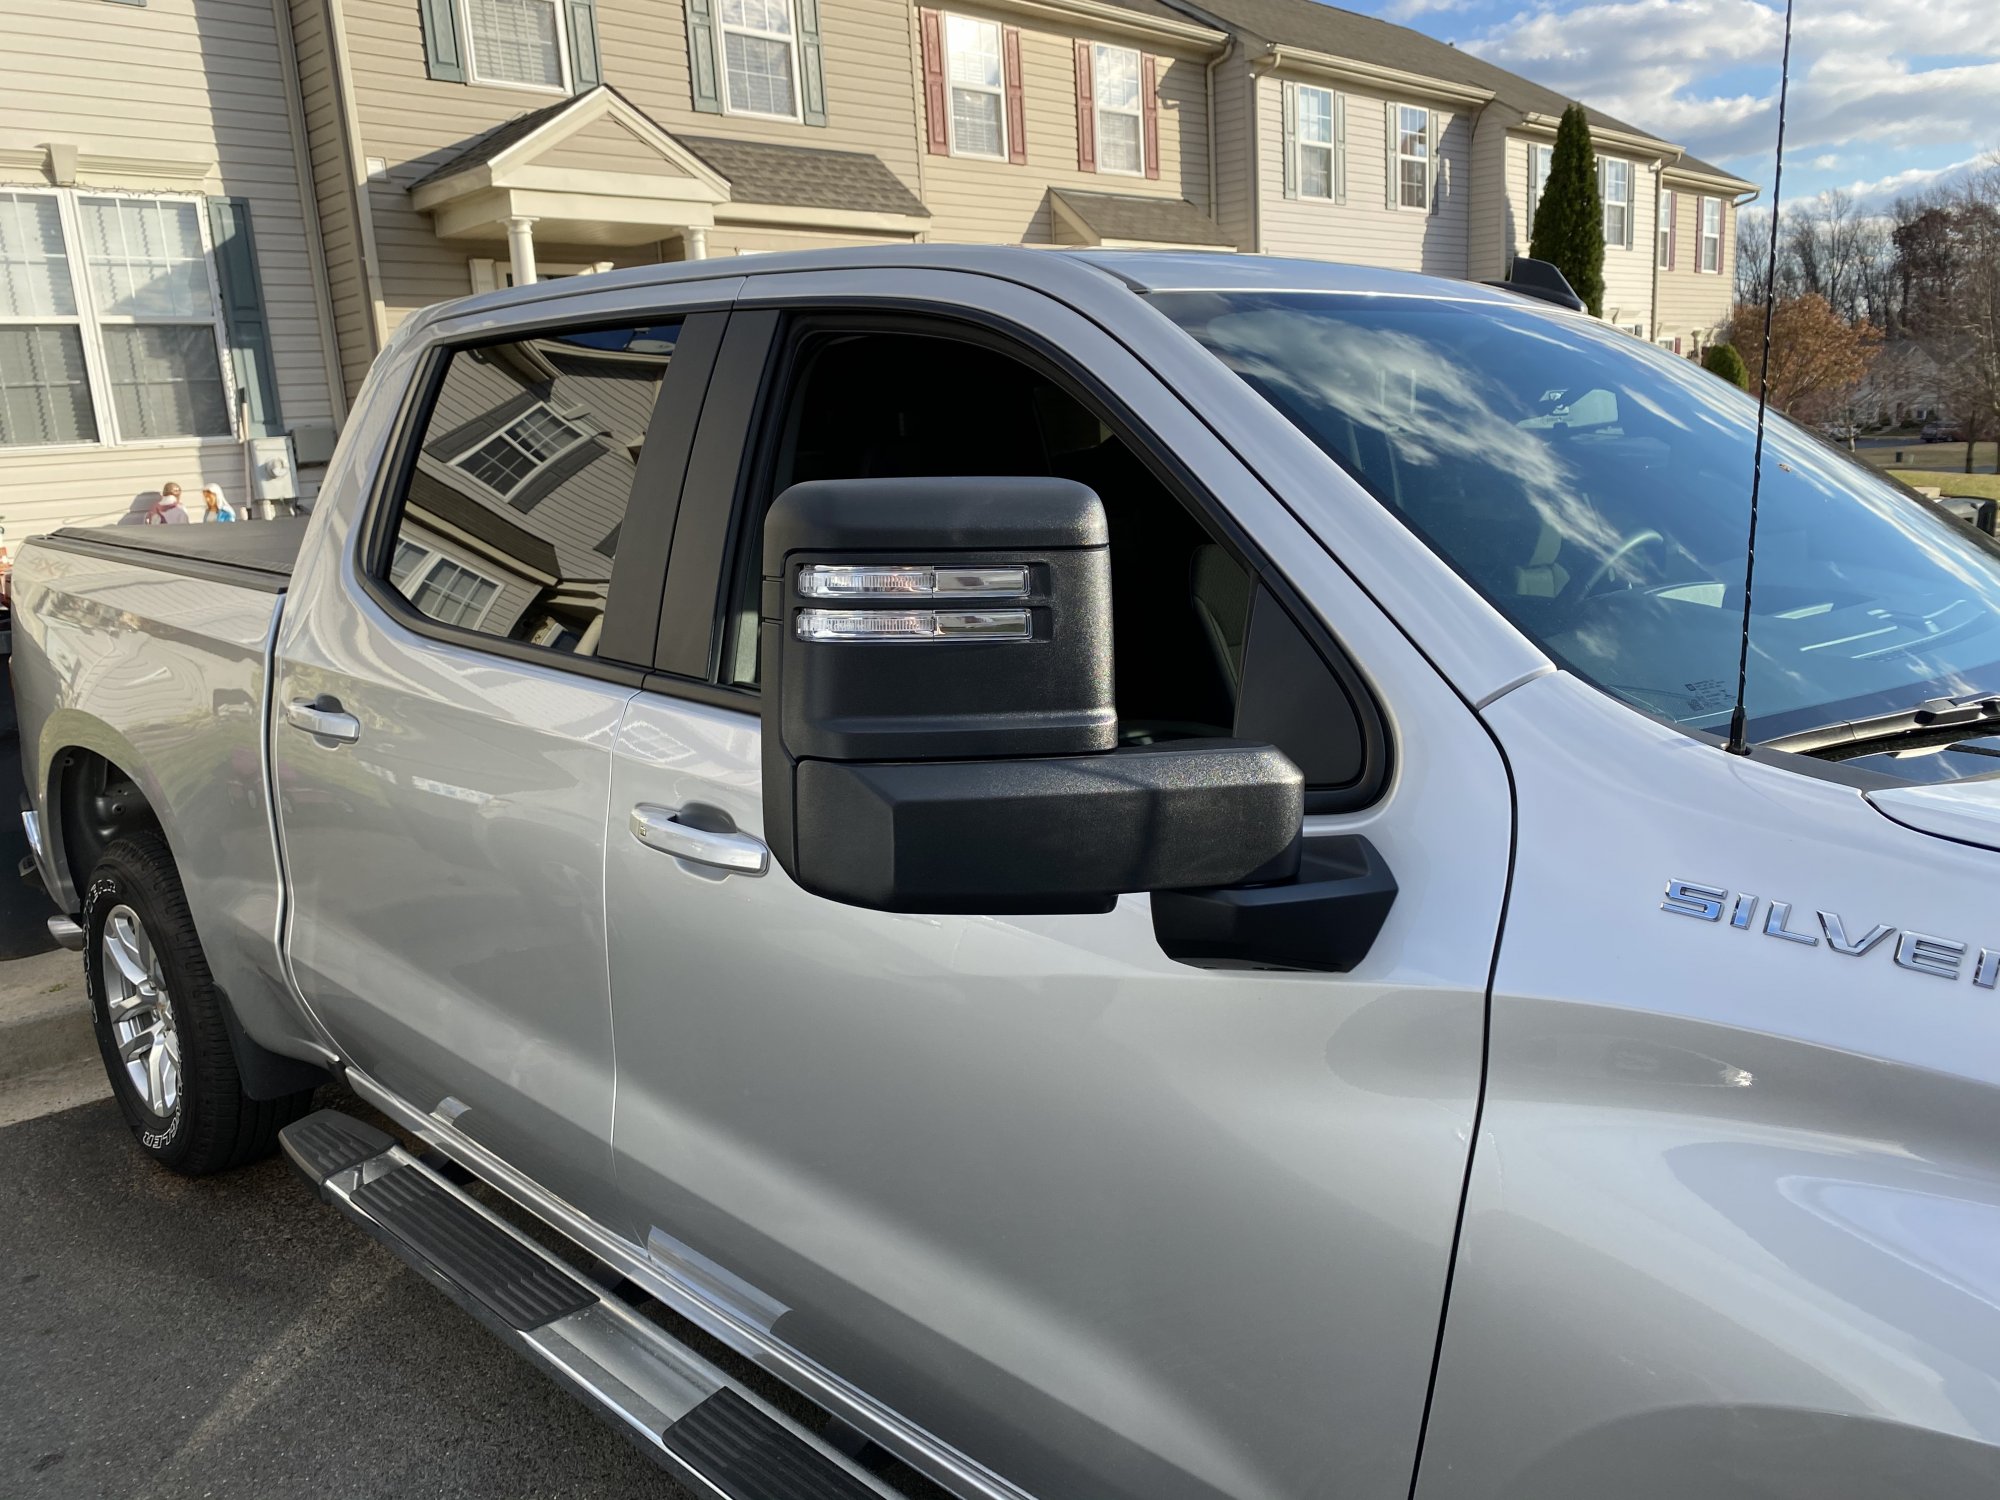
I just received my tow mirrors I bought on the Black Friday sale. I installed them today and thought I would share the install process and how it went. My truck is a 2019 LT 5.3, CCSB that originally came with the equivalent of DL8 spec mirrors. The part number I ordered was for the 2020 Silverado off the GM Accessories website, 84731241. I did NOT order the new harnesses for the mirrors yet. Newdude has posted the specific part numbers and specs for the different harnesses. Power adjustment and heat worked right away. But the turn signals, clearance lamps, and courtesy backup lights did not. The mirrors came with an authorization code for programing. But I’m very interested to see if they will just work once the harnesses come in. Before I installed the mirrors I took a 9V battery and tested the pins, I was able to get the clearance lights and courtesy backup lights working. We'll find out soon enough. Some notes I observed during the install: For those who keep up with their GVWR regarding towing – these mirrors are HEAVY. Literally more than double the weight of the DL8’s. My stock mirrors came in at 3lbs, the tow mirrors were 7.5lbs each. So you are adding nearly 10lbs to your truck (or 10lbs off your payload.) The second you get the last bolt off your mirror will fall to the ground. Be ready to hold it. When installing the new mirror, there is a foam gasket from the old mirror that does not come with the new mirror. I wasn't sure if I needed it but I put it on anyway. The thin foam gasket is not the same as the harder rubber gasket that comes with the new mirror. Torque the new bolts in a criss-cross pattern to make sure the new gaskets seal correctly. When removing the mid panel trim piece, start at the pointed front and pull back as it has a hinge in the back. Good news - unlike the K2's, no drilling is required to get the mirrors installed. They use 4 bolts just like the stock mirrors did. Here's the general install steps: Remove the trim panel behind the inside door handle Remove the 7mm bolt behind that panel Remove the mid-door panel Remove the two 7mm bolts behind the mid-door panel Remove the two 7mm bolts at the bottom of the door trim panel (bottom of the door by the weatherstrip) Pull the door trim panel from the bottom, work your way up each side of the panel Grab the trim panel at the 3 o'clock & 9 o'clock position and wiggle it like a steering wheel to pop it lose Unplug the main door electrical connector Disconnect the door handle cable Remove the black plastic weather plug covering the mirror anchor socket Remove the mirror connector Unbolt the 4 - 13mm mirror nuts Install the new mirror and reverse the process Here’s the finished product:
1 point
-
Your truck is outstanding! You recently purchased the top dog in the GM pickup department and may never utilize its full capabilities. Enjoy your truck!1 point
-
Also part of the problem is GM is giving barley any labor for this to the tech. I'd have to look at the TSB again but it was only like 2 hours labor. Which may explain the questionable work product on the sealant job. Sent from my Pixel 4 using Tapatalk1 point
-
I just checked the T1 Silverado Facebook group and seemingly every other post is about rear window leaks Sent from my Pixel 4 using Tapatalk1 point
-
I think part of the issue is the slider window has a piece of plastic for the window slider in-between the glass and gasket. The solid window is just glass and gasket but I would have to double check on my loaner. It's just a bad design all around. All to add a stupid spoiler that doesn't even look that good. Sent from my Pixel 4 using Tapatalk1 point
-
Ditto on sticking with the 2019. Having the newest and latest isn't always the greatest. In fact 9 times out of ten it isn't.1 point
-
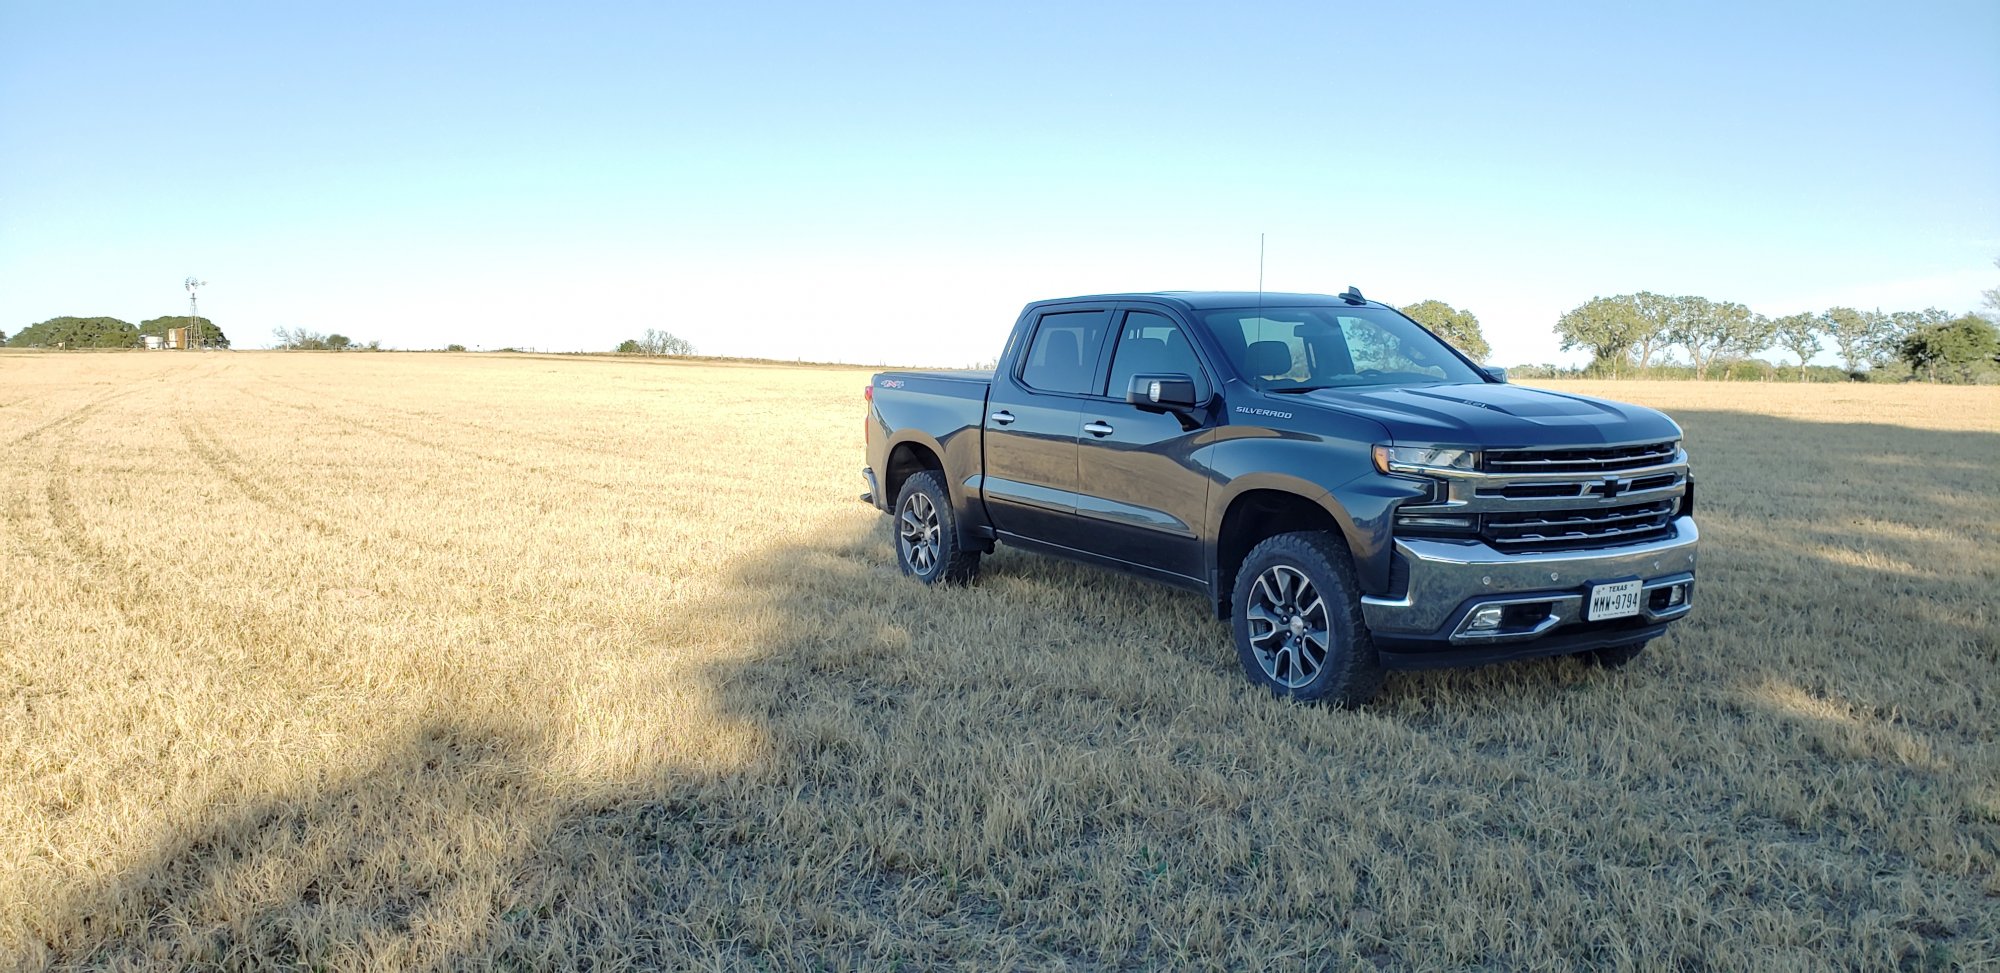
Took her out to country. Could be a chevy commercial
1 point
-
I don't think the solid rear window is included in the leaking. I posted in another forum. It seems like it's not IF it's going to leak but, WHEN.1 point
-
Been raining the last two days on and off and no re-leaks yet. But man, I'm checking almost every day. This isn't mentally healthy. Didn't start leaking until 12k miles. Nov '18 build, bought in March '19. No leaks until December '19. I would bet and agree with @econometrics that this issue affects all Silverados. There are only two types of Silverados, ones that have leaked and ones that will.1 point
-
https://www.ebay.com/itm/22933519-Illuminated-Door-Sill-Plates-Cocoa-Brown-2015-2019-GMC-Yukon/254273992934?epid=672234729&hash=item3b33e938e6:g:Y2QAAOSwYUpduPV5 The cocoa color is under $50 but the black ones are still running around $250 a set. Guess they are blowing out the Cocoa color. Sent from my moto g(7) using Tapatalk1 point
-
installed my light sill plates Thursday knkguillot also,a good addition for under $50m bucks1 point
-
In the case of the Mazda it boiled down to one idiot on the assembly line who just didn’t care about his job. All of the cars off the line for almost a year had no caliper pin lube and created a big headache for Mazda. It happens.1 point
-
Where did you get them for 50 per set? I want to do Chevrolet ones for my silverado... Sent from my SM-N975U1 using Tapatalk1 point
-
Sent from my iPhone using Tapatalk1 point
-
Nice truck, especially the color! ? enjoy it!1 point
-
I upgraded my reverse lights to LED and it helped. Video quality is still grainy but lighting is much better. Sent from my SM-N960U using Tapatalk1 point
-
The part that is curious to me is that there are hundreds of thousands of these trucks on the road at this point. If it was a purely software issue, and they all have the same software loaded, then I would think way more people would have issues with this, but there are people with thousands of miles on theirs with no issues.1 point
-
Those are Hostile Havoks, and look to be 20x10's. I had those on my 2013 Sierra.
1 point
-
1 point
-
I find that very hard to believe, plus you couldn't pay me to run their stuff.1 point
-
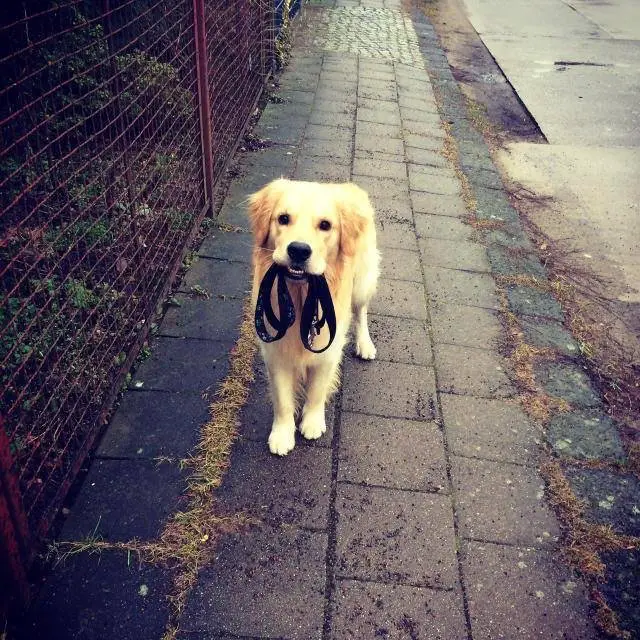
1 year old Cane Corso Sent from my iPhone using Tapatalk1 point
-
Just installed mine......mirrors do adjust but the lights do not work.
1 point
-
No. Mine comes out in the stock location. I like it. It’s a little loud, but it has a great sound. I don’t regret it.1 point
-
I have to admit that this is the first time I've looked at this thread since July when I lost my dog and best friend of 15 years. It was very hard but I'm glad he wasn't sick, and just passed away in his sleep one night. He had a very good life and was always a really happy dog.1 point
-
Same here. I always replace them.1 point
-
Upgraded my brother in laws seats with Wet Okole covers! Sent from my iPhone using Tapatalk1 point
-
Picked up my new 2019 Denali last week on a deal I couldn't pass up. Newish to the forum, previously just jumped in when looking for ideas or common issues...figured I'd quit creeping. Sent from my Pixel 4 XL using Tapatalk1 point
-
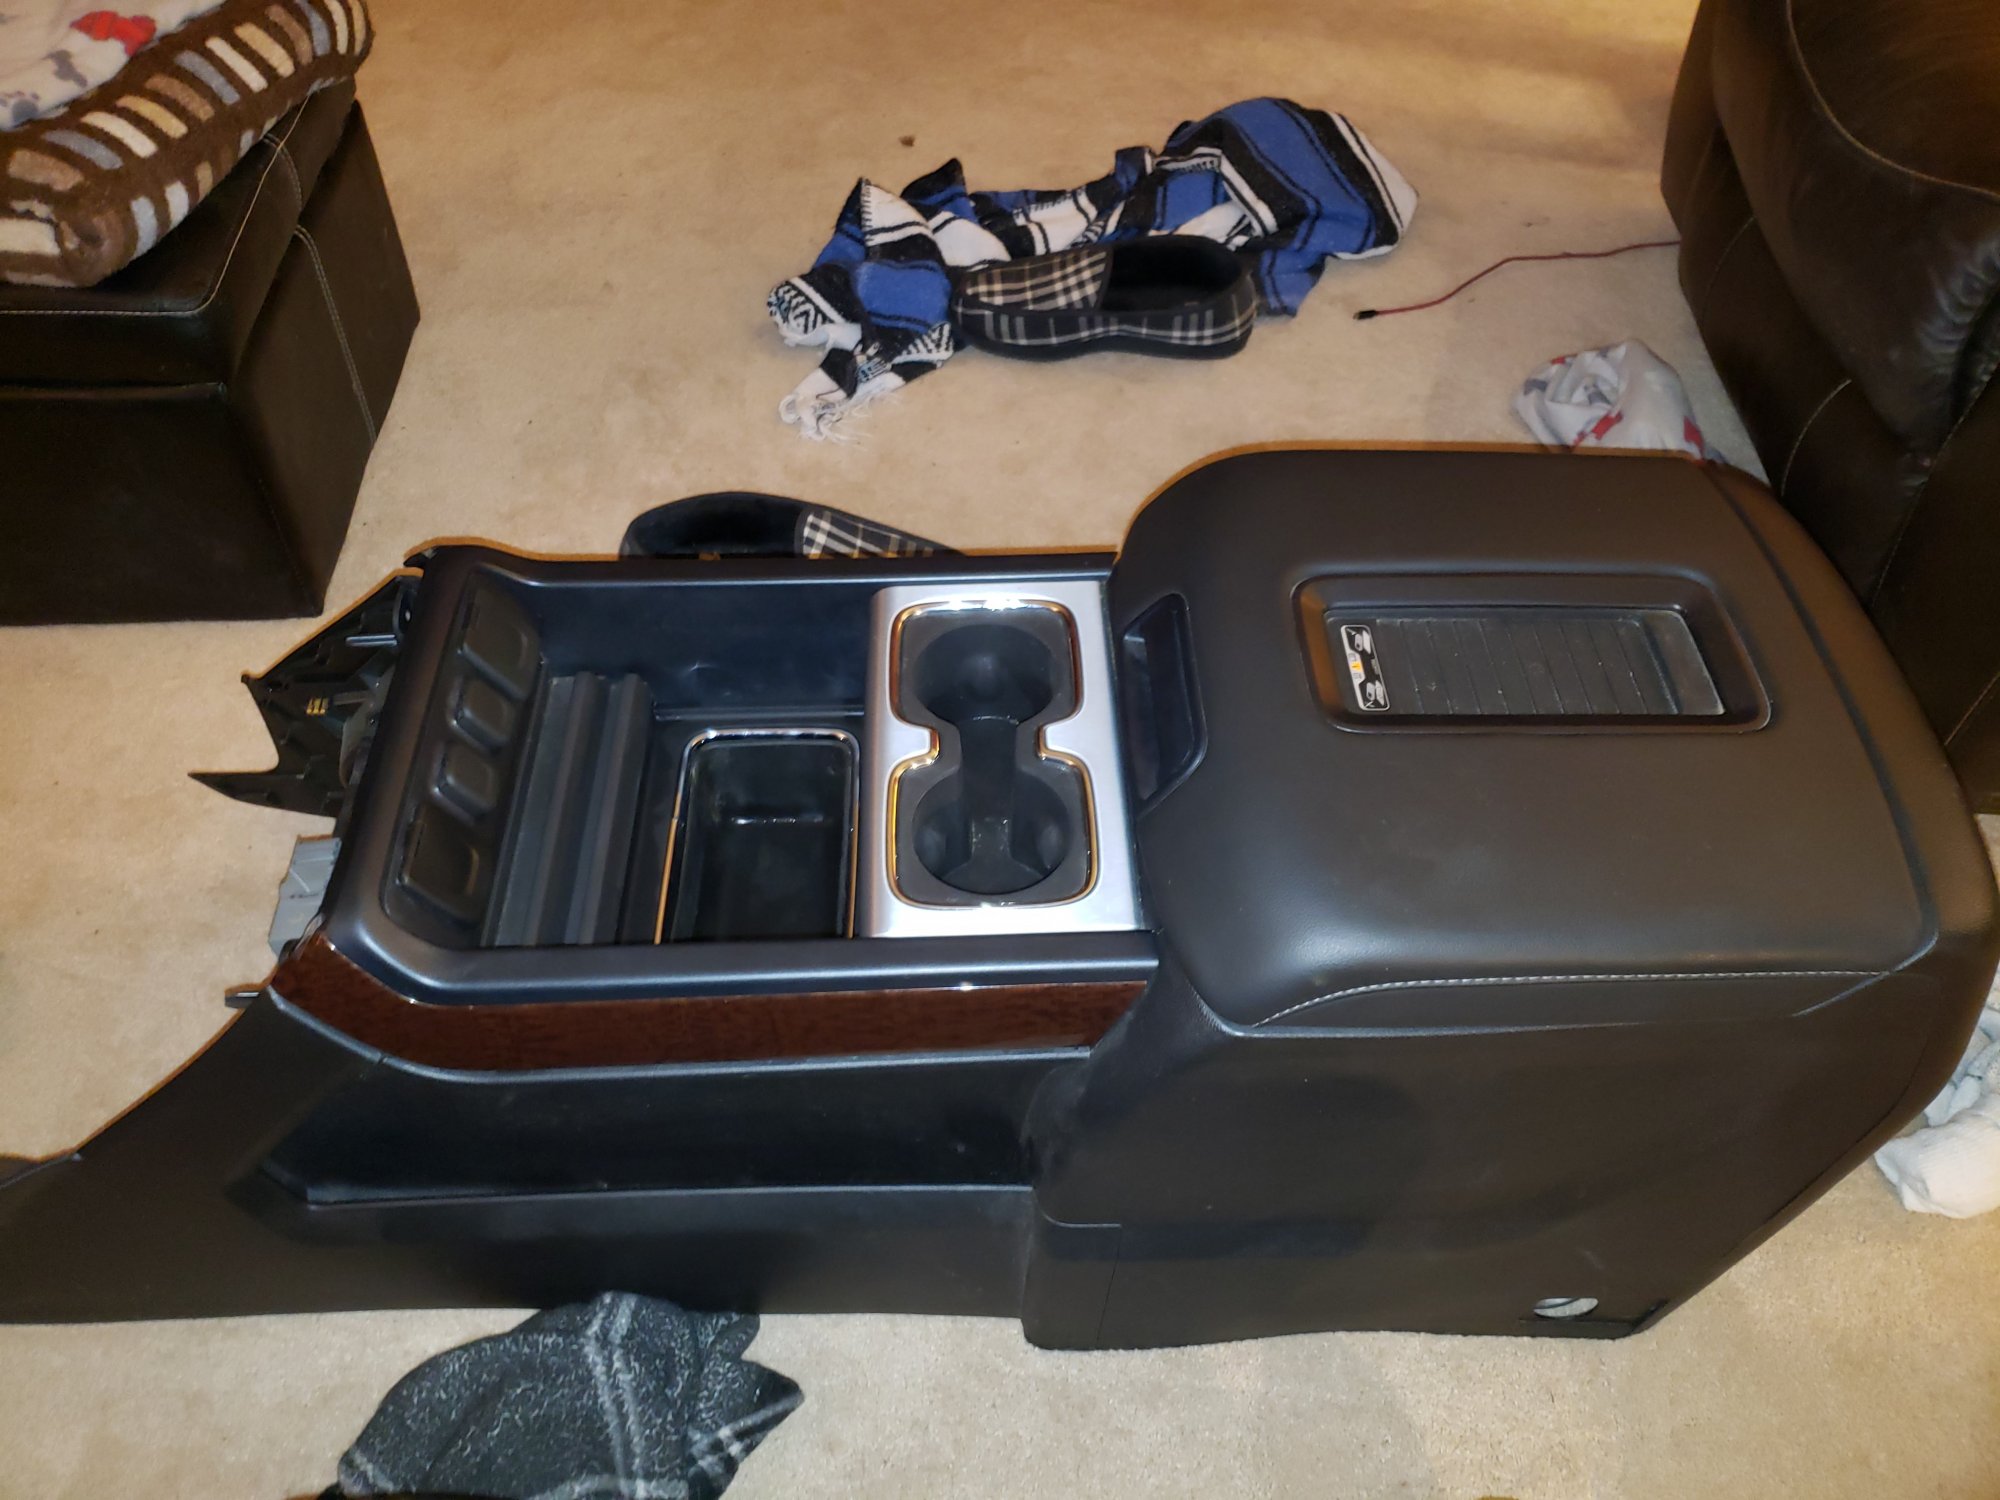
So thanks to pgamboa's facebook post I found that my 2018 has synthesis for the trim color (Hopefully). I found the GM part numbers for the upper tray piece with the usb ports, outlets and cupholder; 84092079 for reverse tartan and 84092080 for synthesis. About $140 online. I ordered it and hopefully i got it right.
1 point
-
I haven't posted a photo in a bit, just got her all shined up right before Christmas, weather been awesome, now it looks like rain for the weekend, better park under cover! ?
1 point
-
I unscrewed mine and put it in the garage... Haven't used AM/FM since 2009 or so1 point
-
Here’s my 2018 Custom Silverado. 2.5 front leveling kit on Toyo A/T 285/65/20r. Hoping to do some interior upgrades soon.
1 point
-
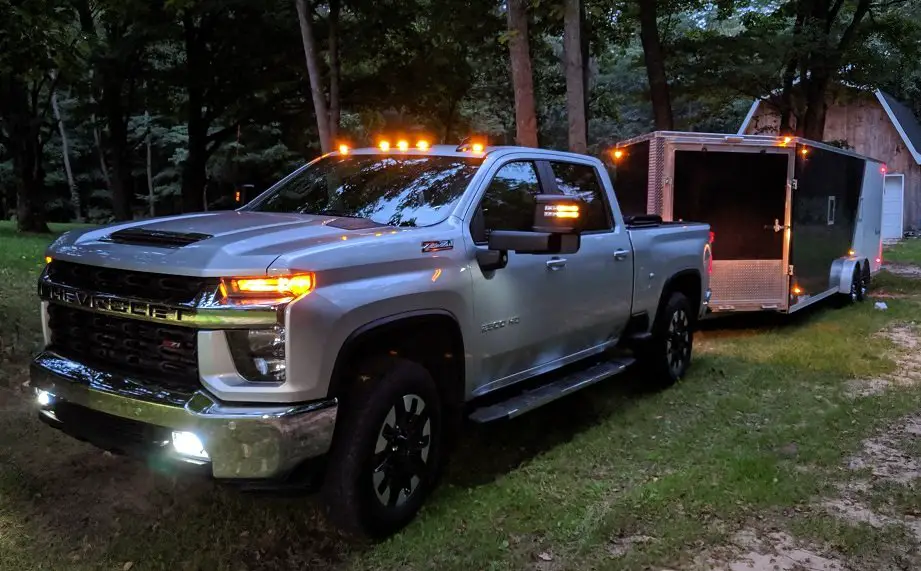
When I test drove my 2020 2500HD I was also surprised they didn't have the turn signal arrows in the mirror glass anymore. My dealer told me it was probably too bright and a distraction for the driver at night. So we tested the new mirrors and you can see the amber turn signal on the mirror's outside edge from behind the truck, but not from the driver's seat.
1 point
-
Ok guys, I did it. I installed the lift this weekend and my Trail Boss is noticeably higher up than it was stock. I am now running 35x12.5R20s on a total 4 inch lift. My rims are 20x9s with a 0 mm offset, however I added 1.5" spacers to stick the tires out even more. They sit about 3 inches past the fender line and it really balances out the truck nicely. Without the spacers there was a very minimal rub only at full lock. To run the spacers, I trimmed the first wall part of the mudflap (see pictures below) and with the spacers there is only a small touch at full lock now which I have no problem with. The truck rides fantastic, even better than stock and is super stable around turns. See below for pictures and before/after measurements. Best thing is I still fit in my car wash (monthly subscription) which has a 7 ft clearance. Parking garage wise I believe it will be tight fit, especially with speed bumps for the 7 ft ones but a 7' 6" garage should clear easily. As always, any questions just ask. Before: Front Fender to Floor: 39 7/8 Rear Fender to Floor: 41 1/8 Cab Height: 77 Roof Antenna Height: 2 3/4 Hood Height: 52 Bed Height: 58 1/4 Front Bumper Ground Clearance: 14 Front Suspension Ground Clearance: 11 1/8 Side Ground Clearance: 16 5/8 Rear Bumper Ground Clearance: 20 3/8 Rear Diff Ground Clearance: 9 1/2 Front Distance from Top of Tire to Fender: 7 7/8 Rear Distance from Top of Tire to Fender: 9 After: Front Fender to Floor: 42 3/8 Rear Fender to Floor: 43 1/8 Cab Height: 80 Roof Antenna Height: 2 3/4 Hood Height: 54 1/2 Bed Height: 59 5/8 Front Bumper Ground Clearance: 16 1/2 Front Suspension Ground Clearance: 14 Side Ground Clearance: 18 3/4 Rear Bumper Ground Clearance: 21 7/8 Rear Diff Ground Clearance: 10 3/16 Front Distance from Top of Tire to Fender: 8 3/8 Rear Distance from Top of Tire to Fender: 9
1 point
-
Any chance you can post the Lowe's item number? That way we can find it when we go to Lowe's. Thanks.1 point
-
** Just talked to Diablew (Lewis Eaton) and he says he can tune the 5.3L AFM with 6 speed auto - no go on the 5.3L DFM with 8 speed auto. Not now and possibly not ever.1 point
-
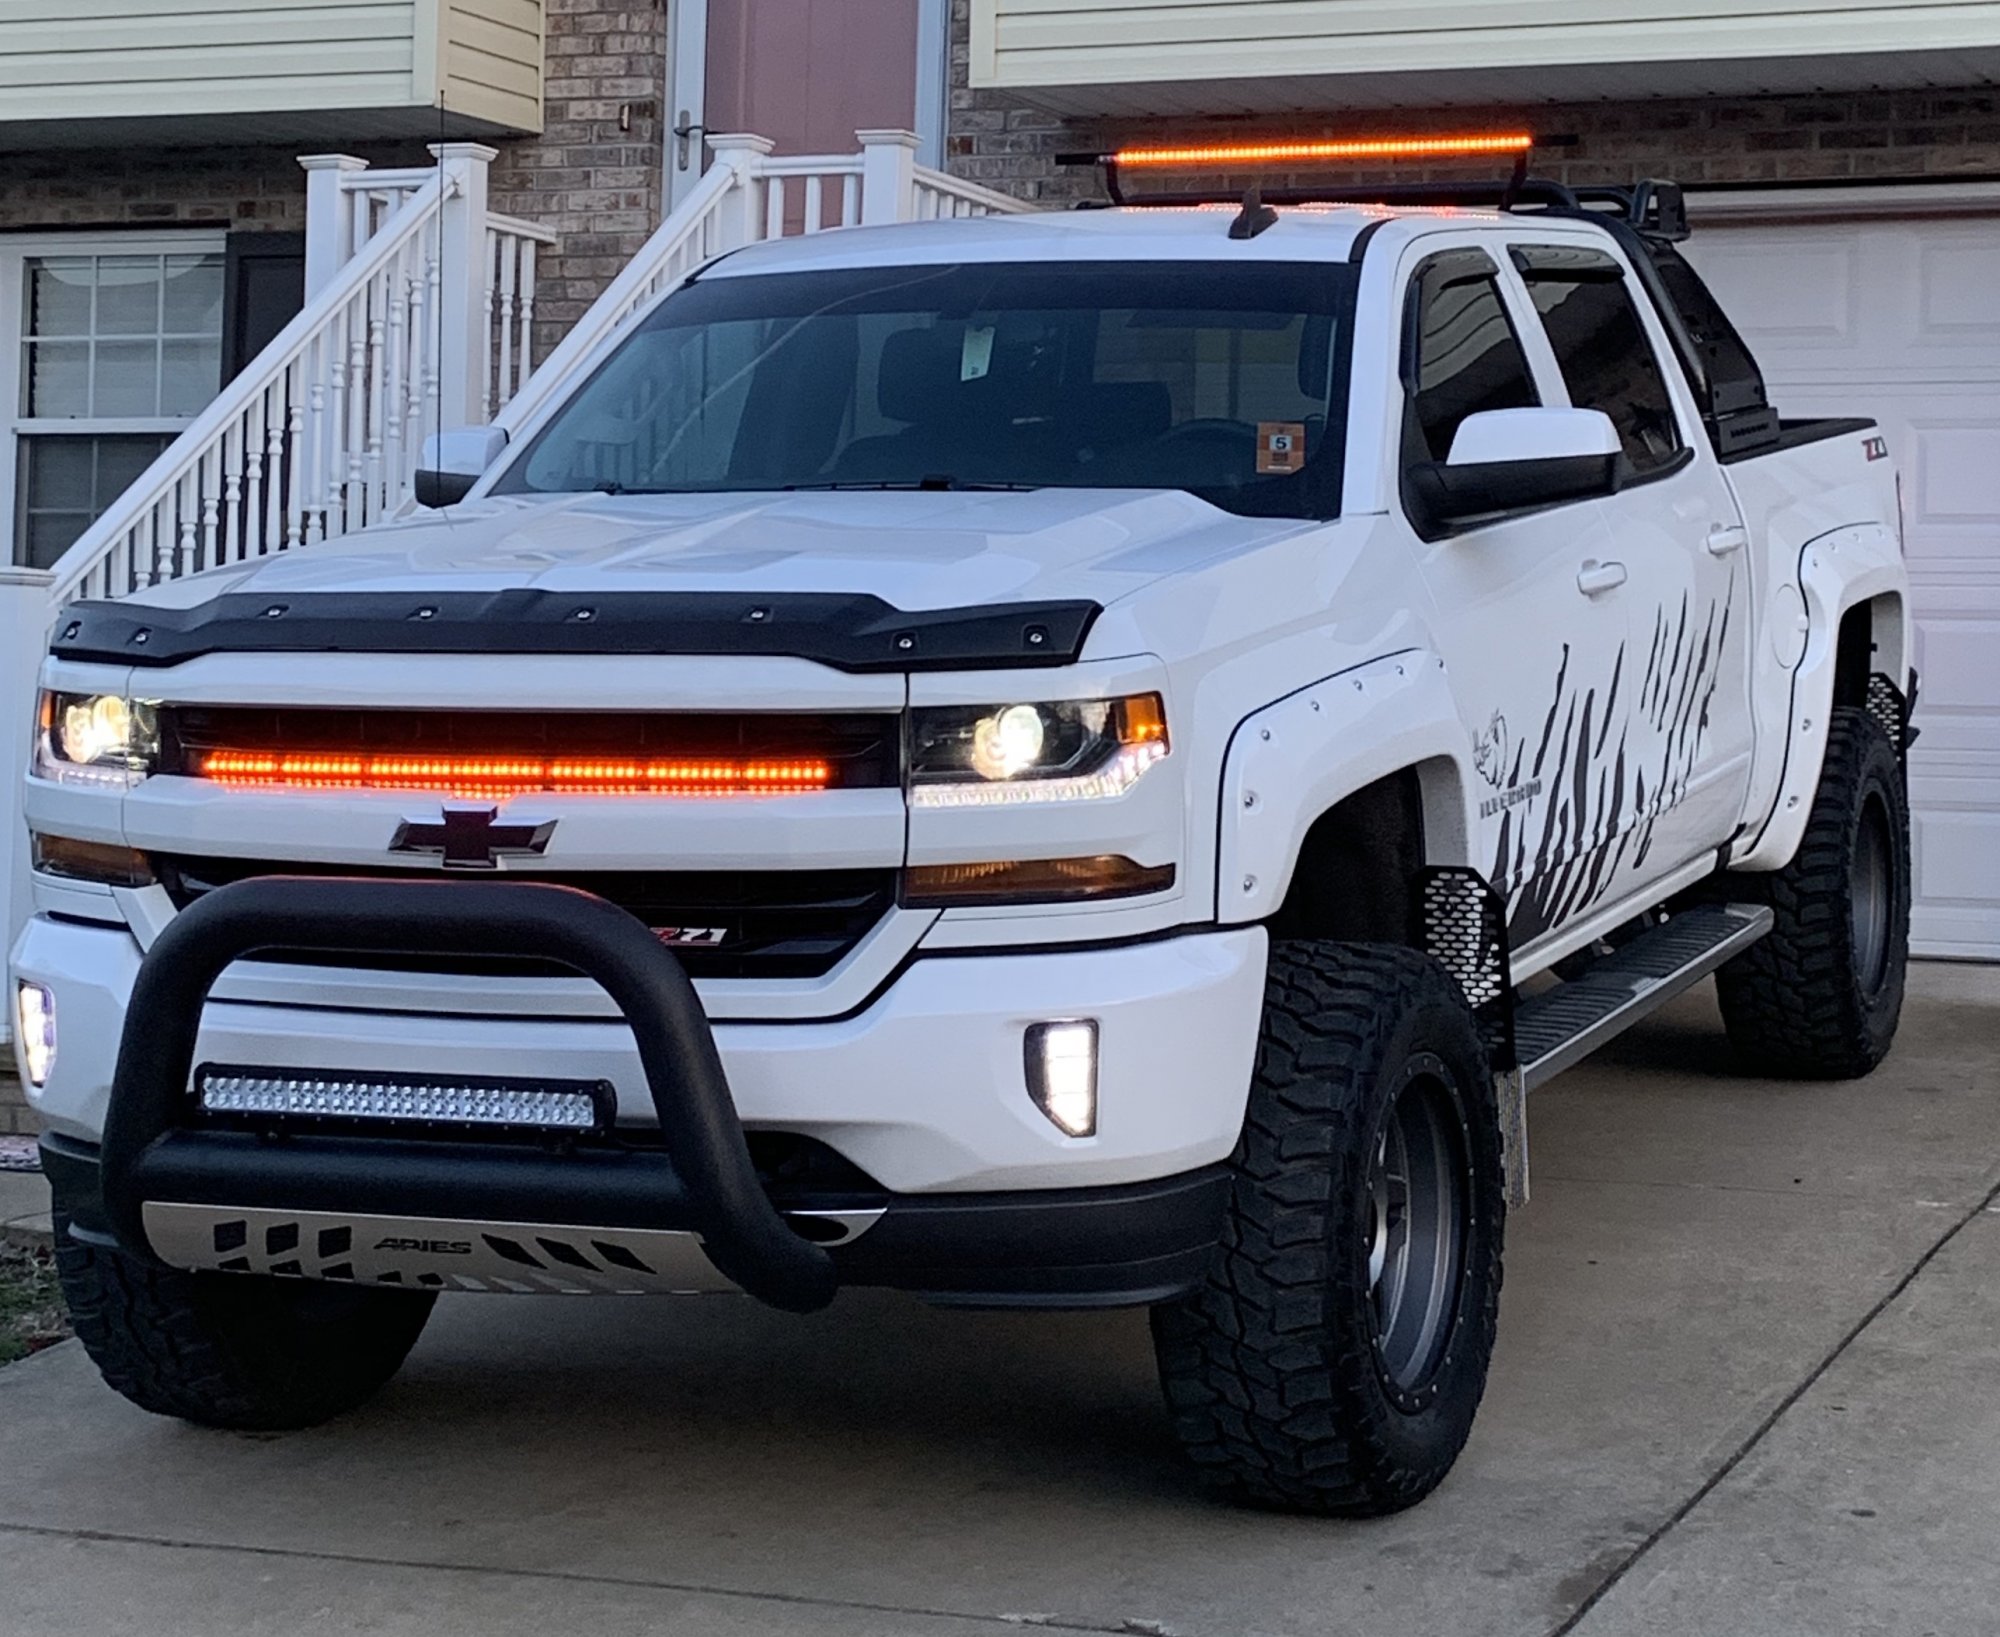
That looks awesome Tech510. I’m always trying to do a Close Encounters of the Third Kind with my vehicles. My camaro had grille, trunk and footwell lights. There’s a lot you can do with a truck. On my initial install I set off the computer in my Silverado because the light strip interfered with the grille vent closure mechanism so I had to adjust and reset the computer. I got my light strip from diodedynamics and fixed it to the back of an aluminum channel I got from homedepot and slid it behind the grille then fastened it. I wired it to the fog light fuse so that it only comes on when I hit the fogs. I also placed a couple of strips on the roll rack and have two red strips wired behind the rack which I may just hook to the tail light running wire.
1 point
-
10 years with her, 6 of those years she was with me damn near day and night at work with me in the day time and home after that.
1 point
-
Almost two years old...time flies...
1 point

.jpg.6741ed3cf2fda212eefc9851dccaab8d.jpg)
.jpg.d825aeff0dc9083086408d0aae9b8ce9.jpg)
.jpg.41a240305c3bb685fe6f9ae97d64e805.jpg)































This leaderboard is set to New York/GMT-04:00